
St. Kilian chapel – Pastor chair, part 4
Before I can fully assemble the chair, I need to cut the plywood panels for the seat and back.

Unfortunately, at the moment, the only place I have to store and cut the plywood is out in the garage. It is cold and rainy outside and the shop is filled with tools and chair parts.

That means my sheets of plywood will be cut where they are sitting on some saw horses. I have some 1″ thick pieces of foam that I slip between the top sheet and the rest of the pile. I add a few 1″ spacers under the top sheet, at the other end to keep it flat.

I laid my seat and back frames at the two corners and traced the inner edges.
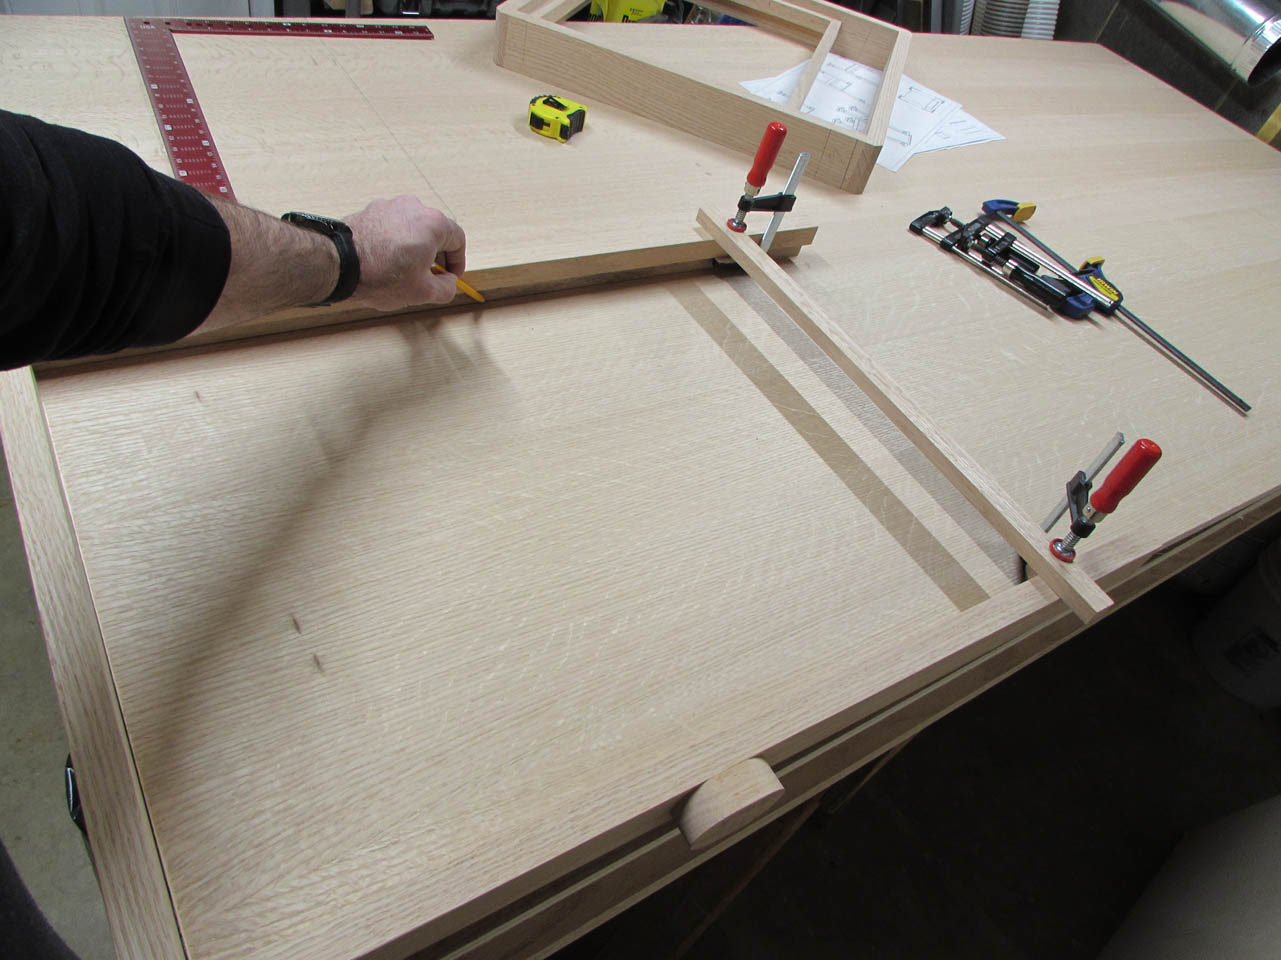
Then I set up my track saw, along the lines, to cut them out. Since I don’t have enough room to access the one end to clamp down the track, I used tape to hold it in place.
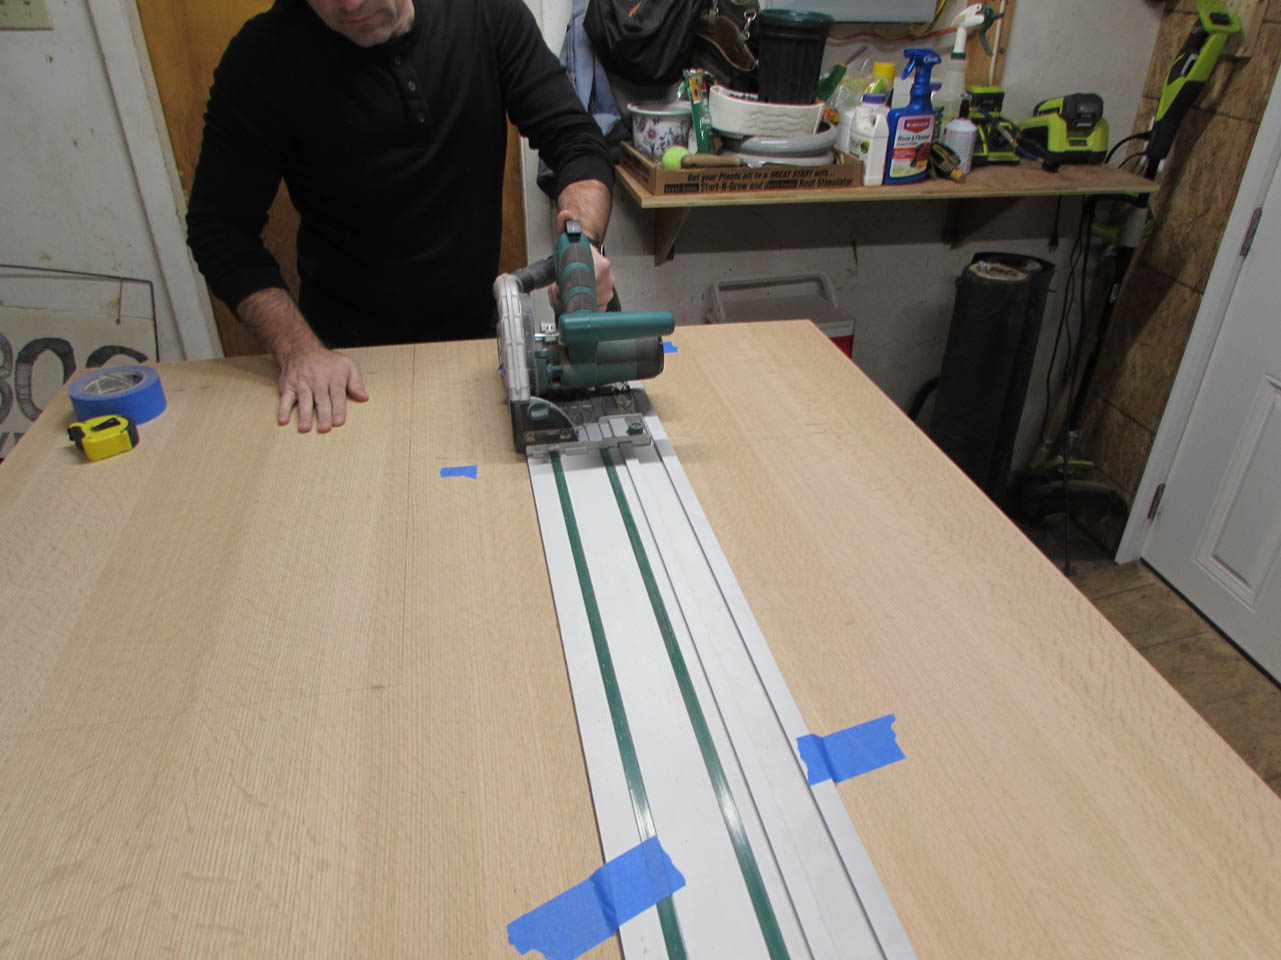
This worked surprisingly well. There are strips of rubber below, but I have had the tracks slide before.

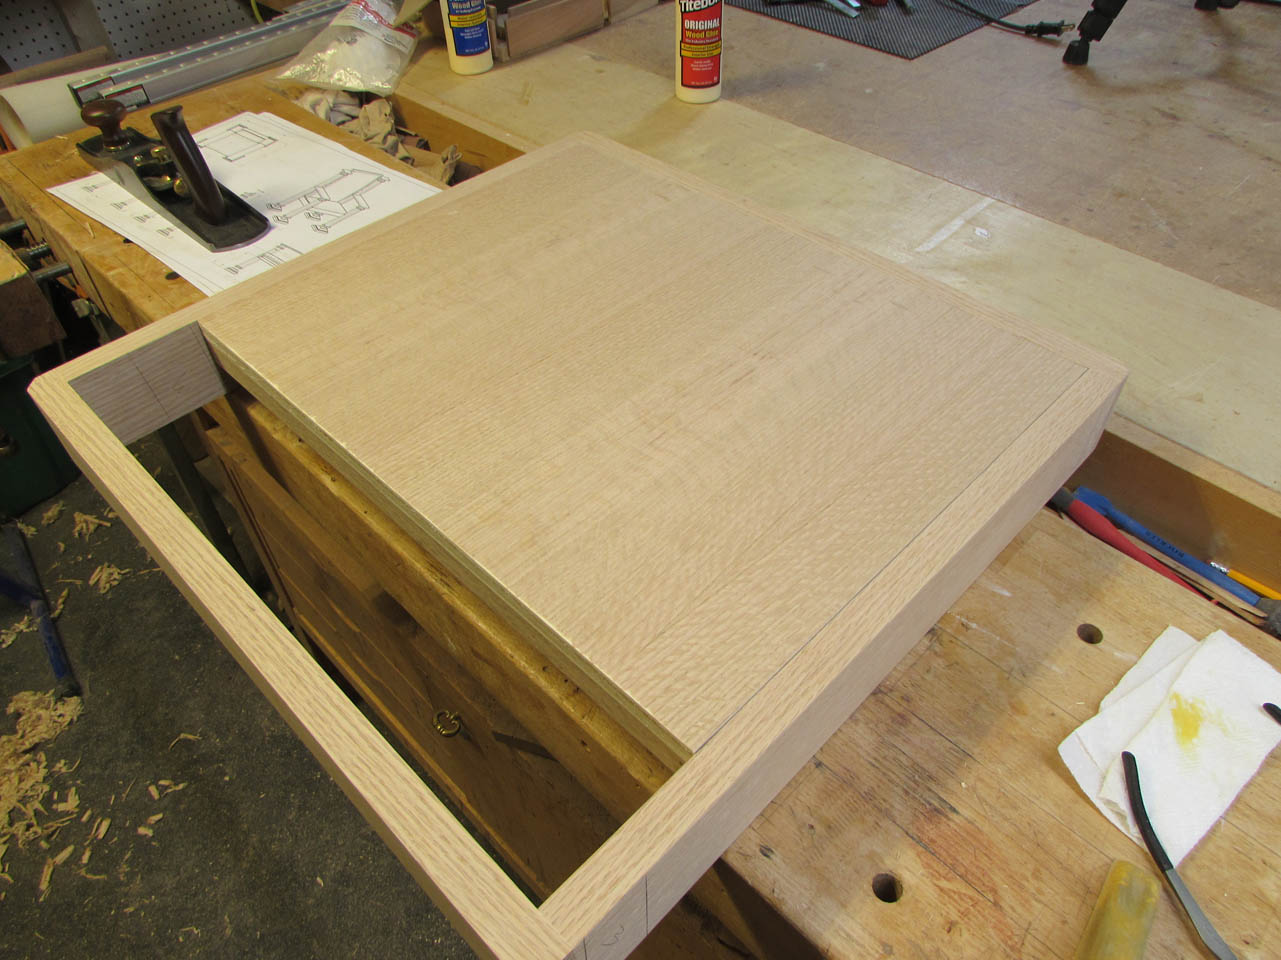
I removed the two boards and sanded the edges, then did a dry-fit on the chair. It is starting to look pretty good.


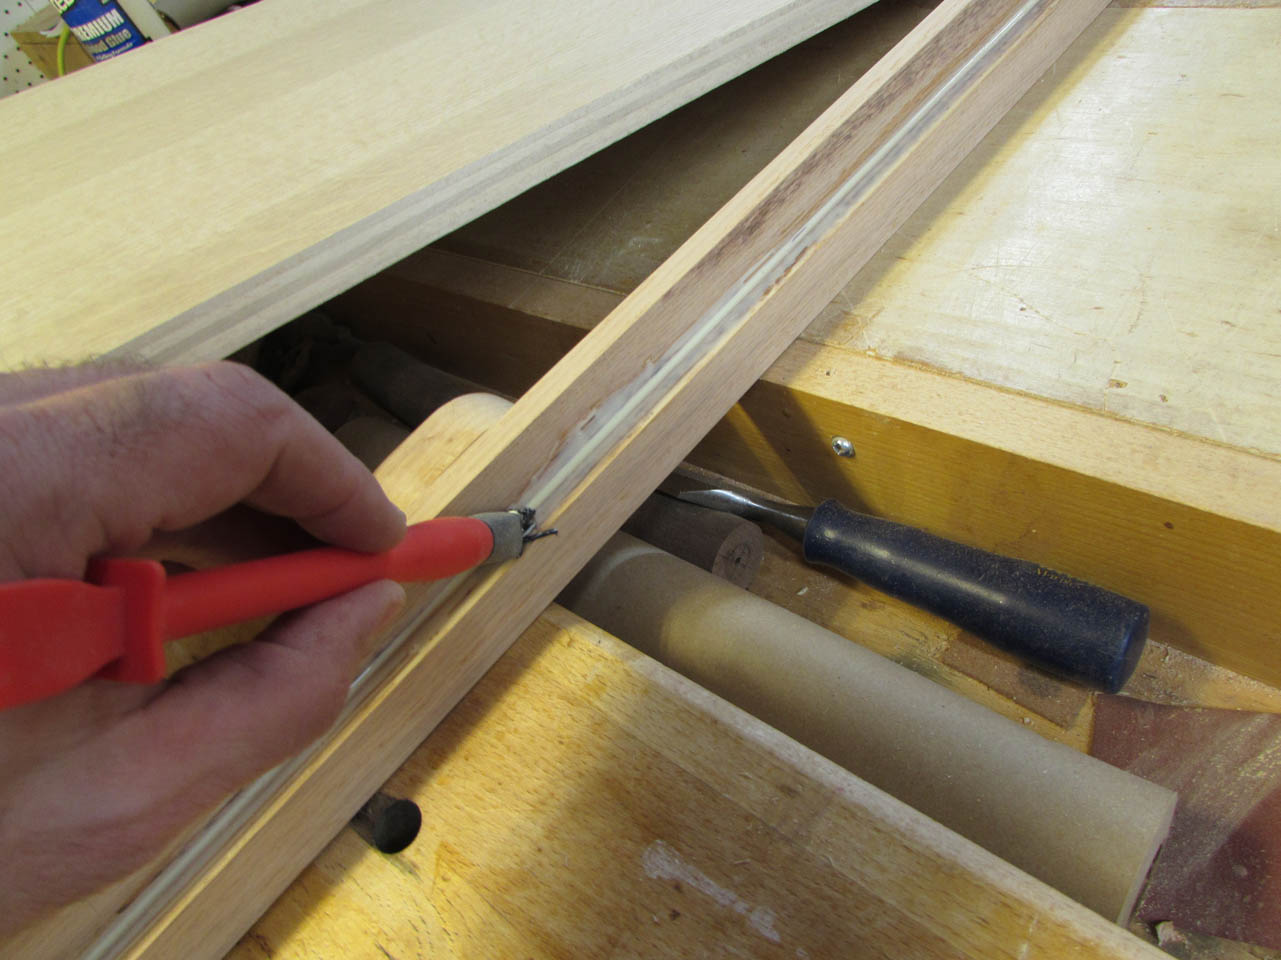
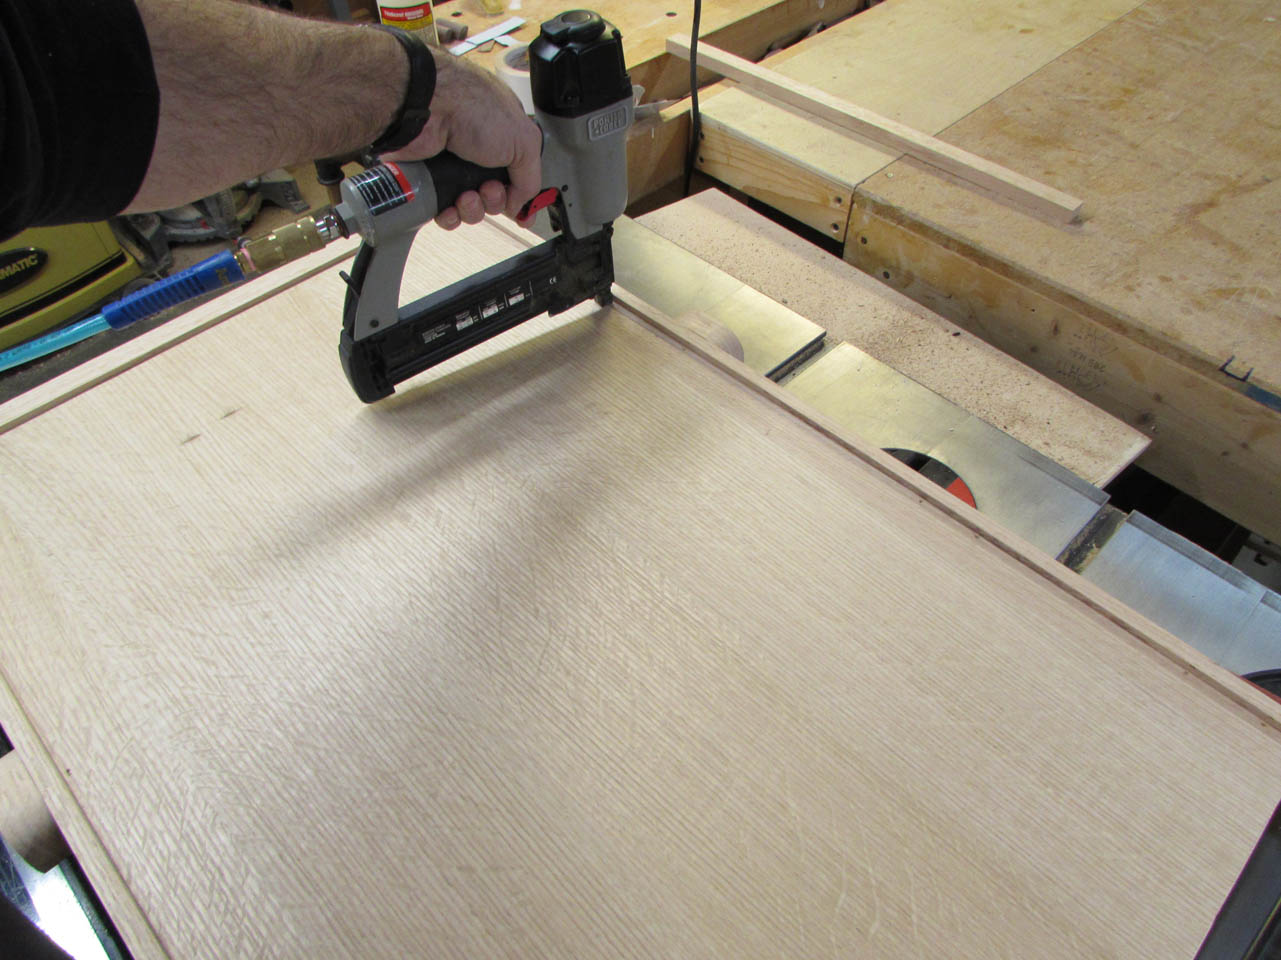
I applied some glue and laid the seat panel in place. Then I attached it with some 18 gauge brad nails. These panels will later be covered by cushions so I don’t mind a few exposed brad nail heads.

I repeated the procedure for the back as well.
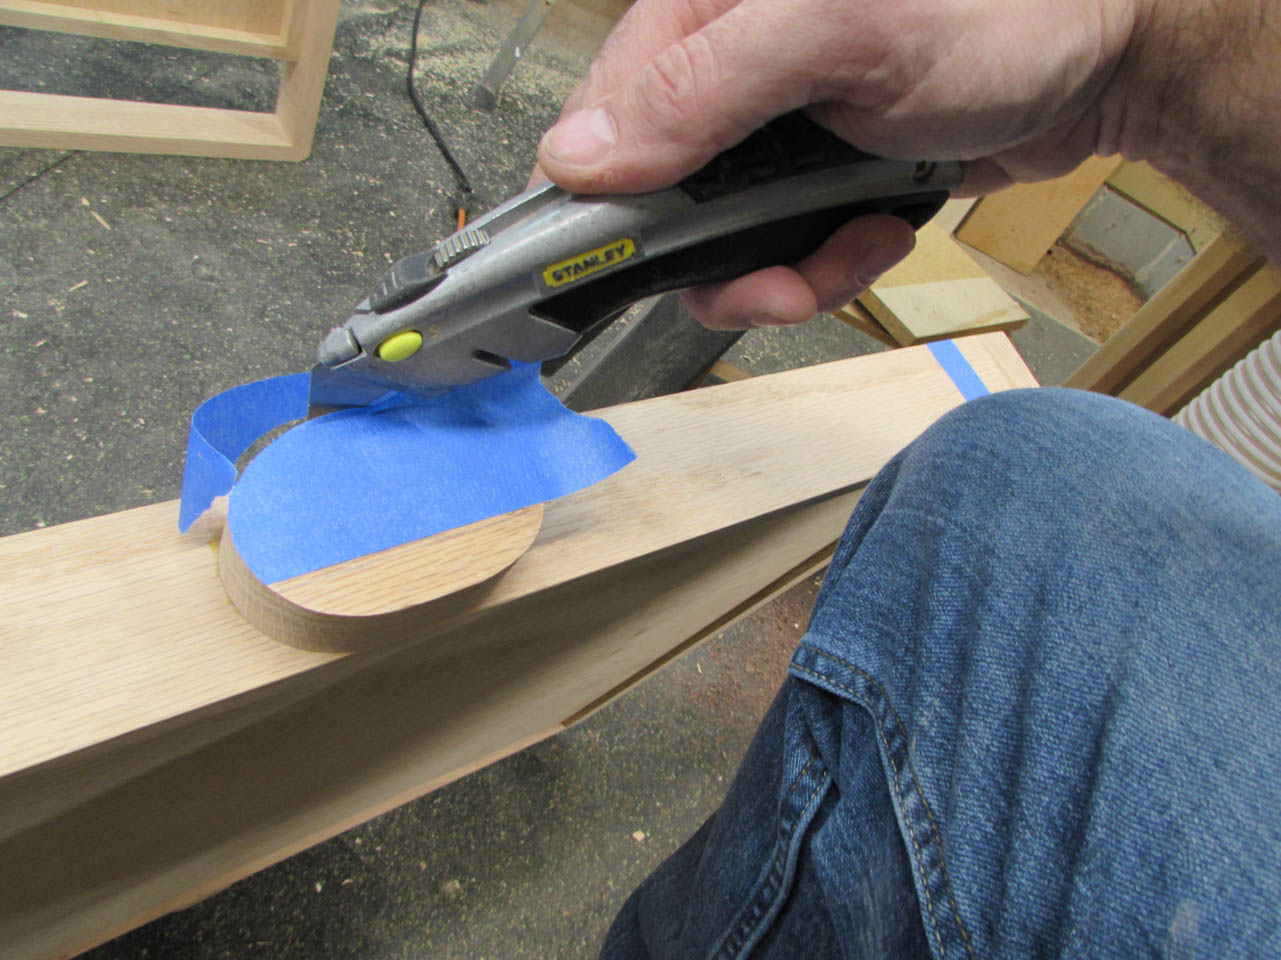
Before I can stain and finish these parts, I need to mask off the areas that will be glued up later.

I applied painter’s tape to the areas, then carefully trimmed it back to just inside my lines.


All masked and ready for stain.

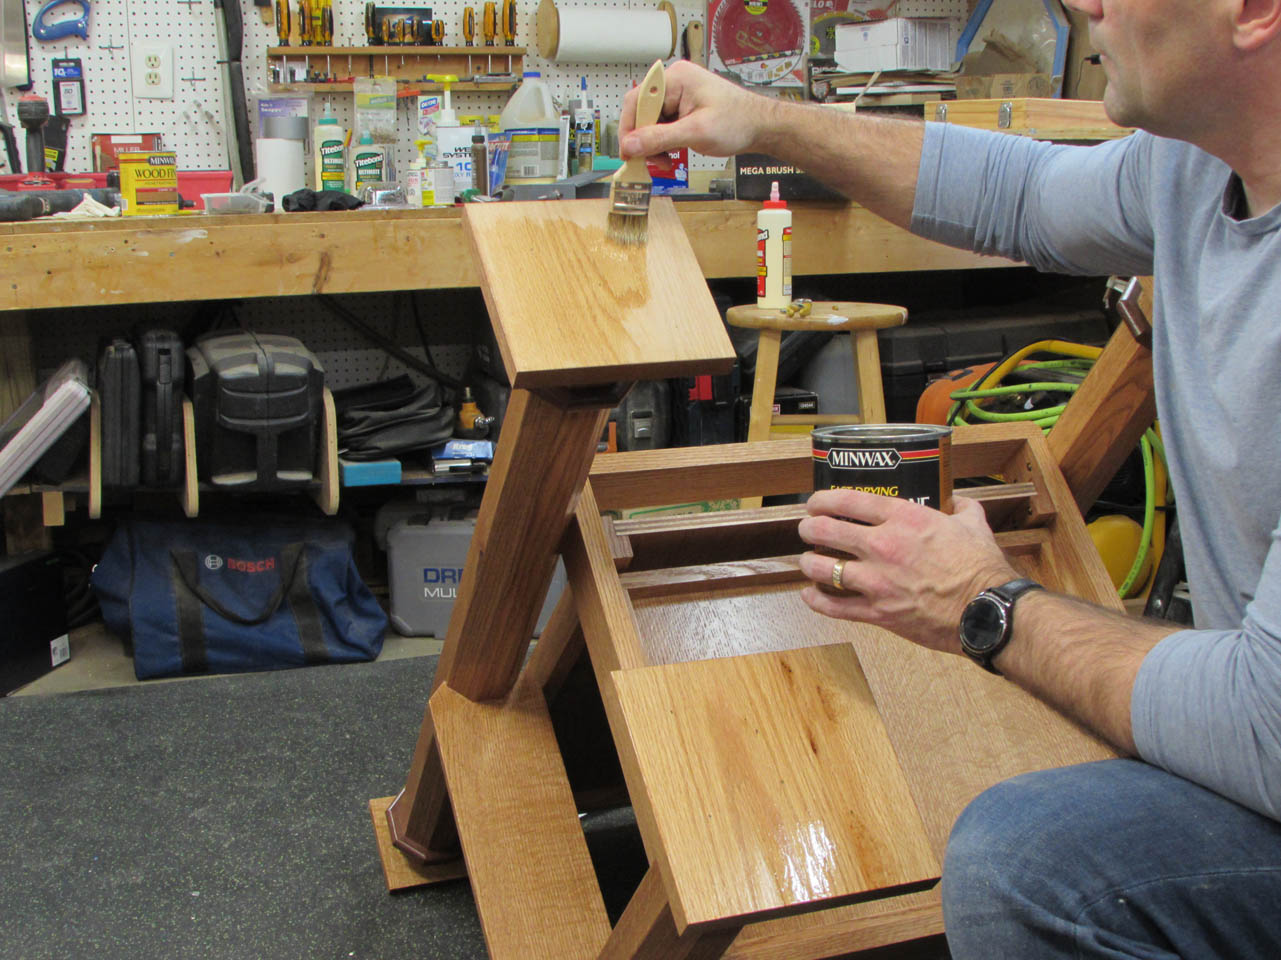
The stain is Minwax Cherry 235. I apply it with a lint-free cloth (i.e. an old T-shirt…)
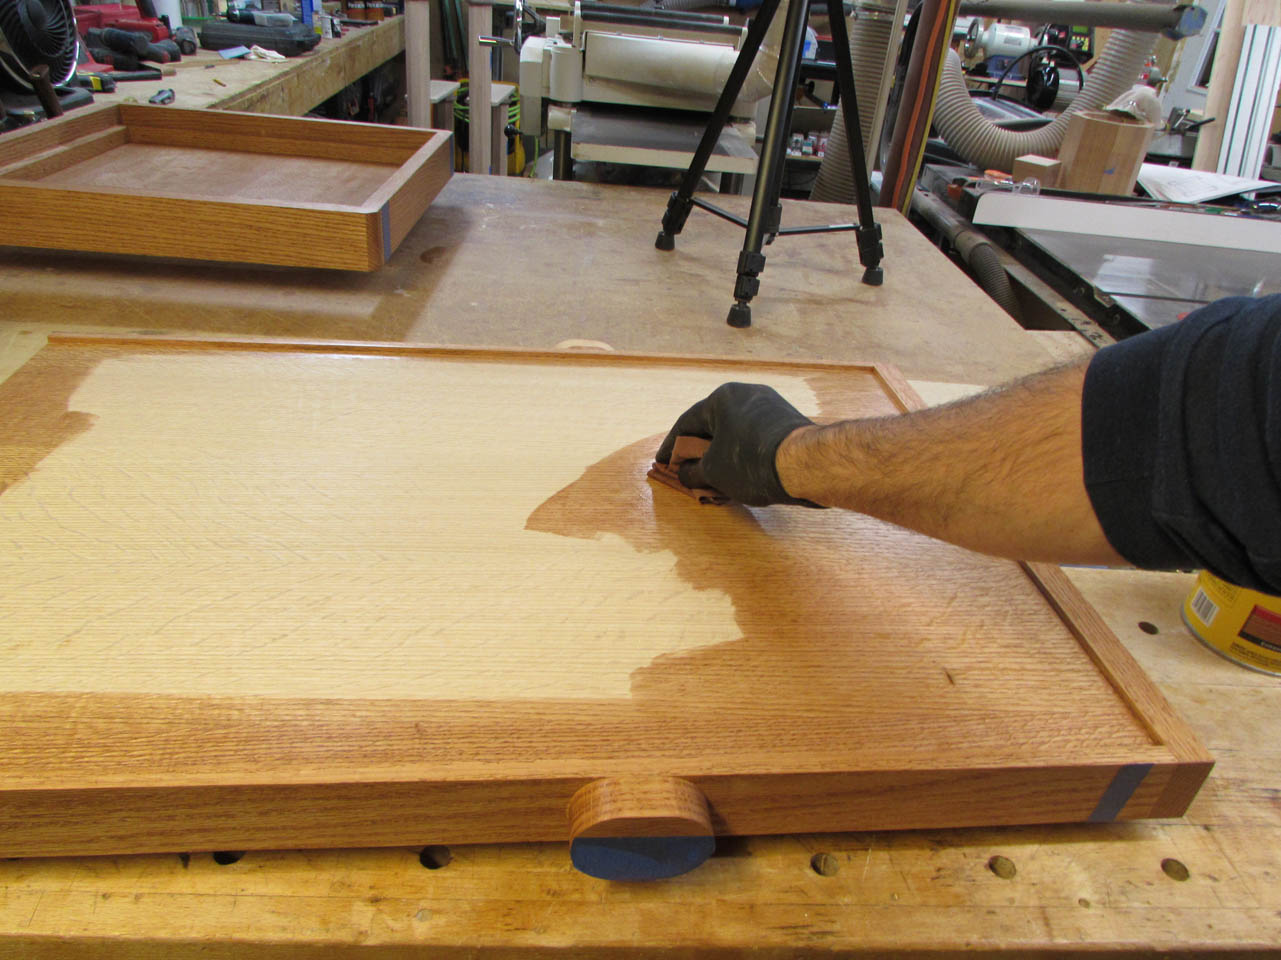
Stain was applied to all surfaces, except the bottoms of the feet, then allowed to cure for 24 hours.

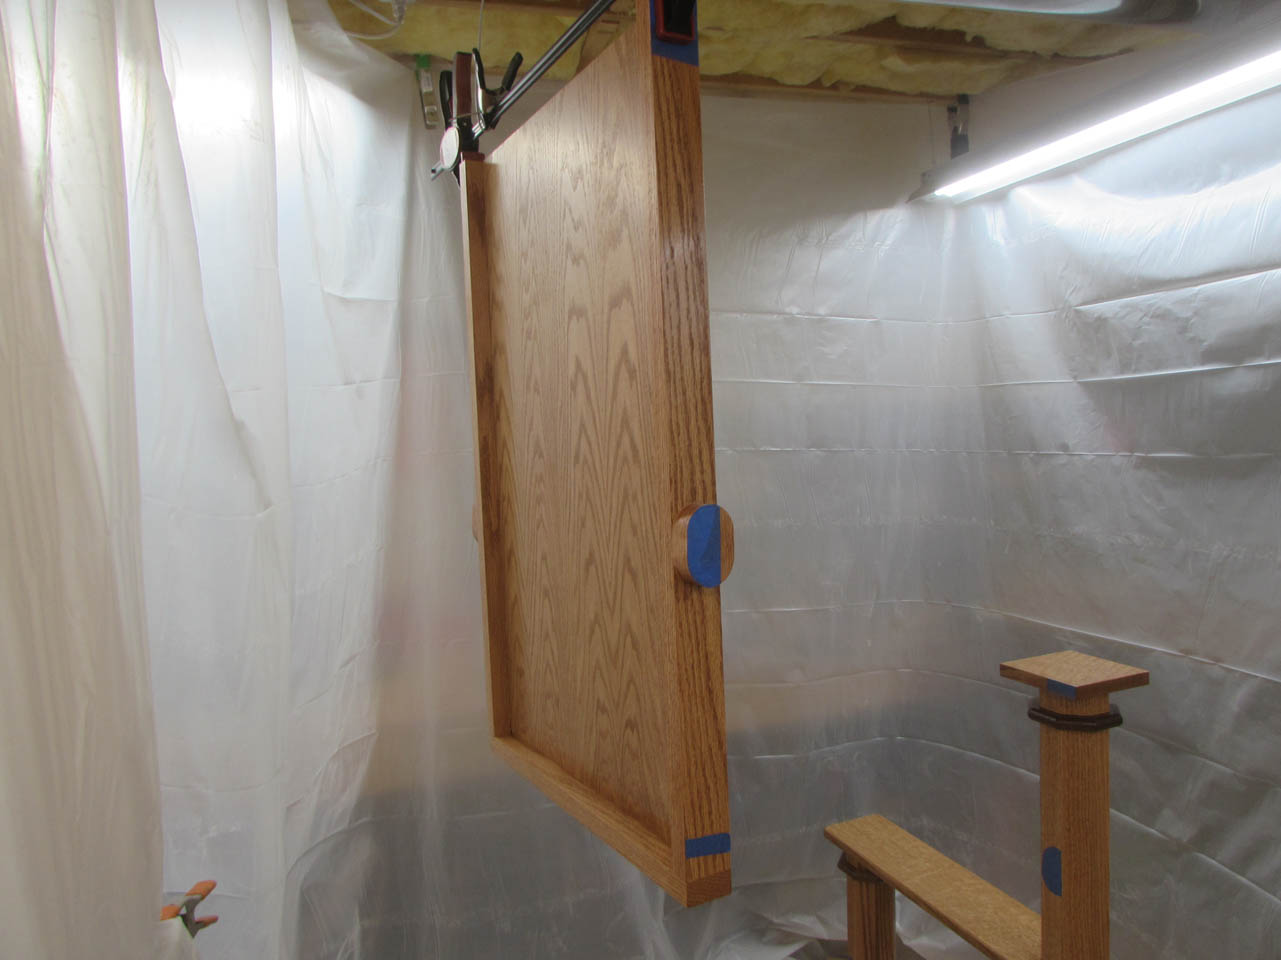
Then it was time to clear out a small corner of the shop and set up my temporary spray booth. I laid a canvas drop cloth down on the floor and hung plastic sheeting from the ceiling joists with spring clamps.
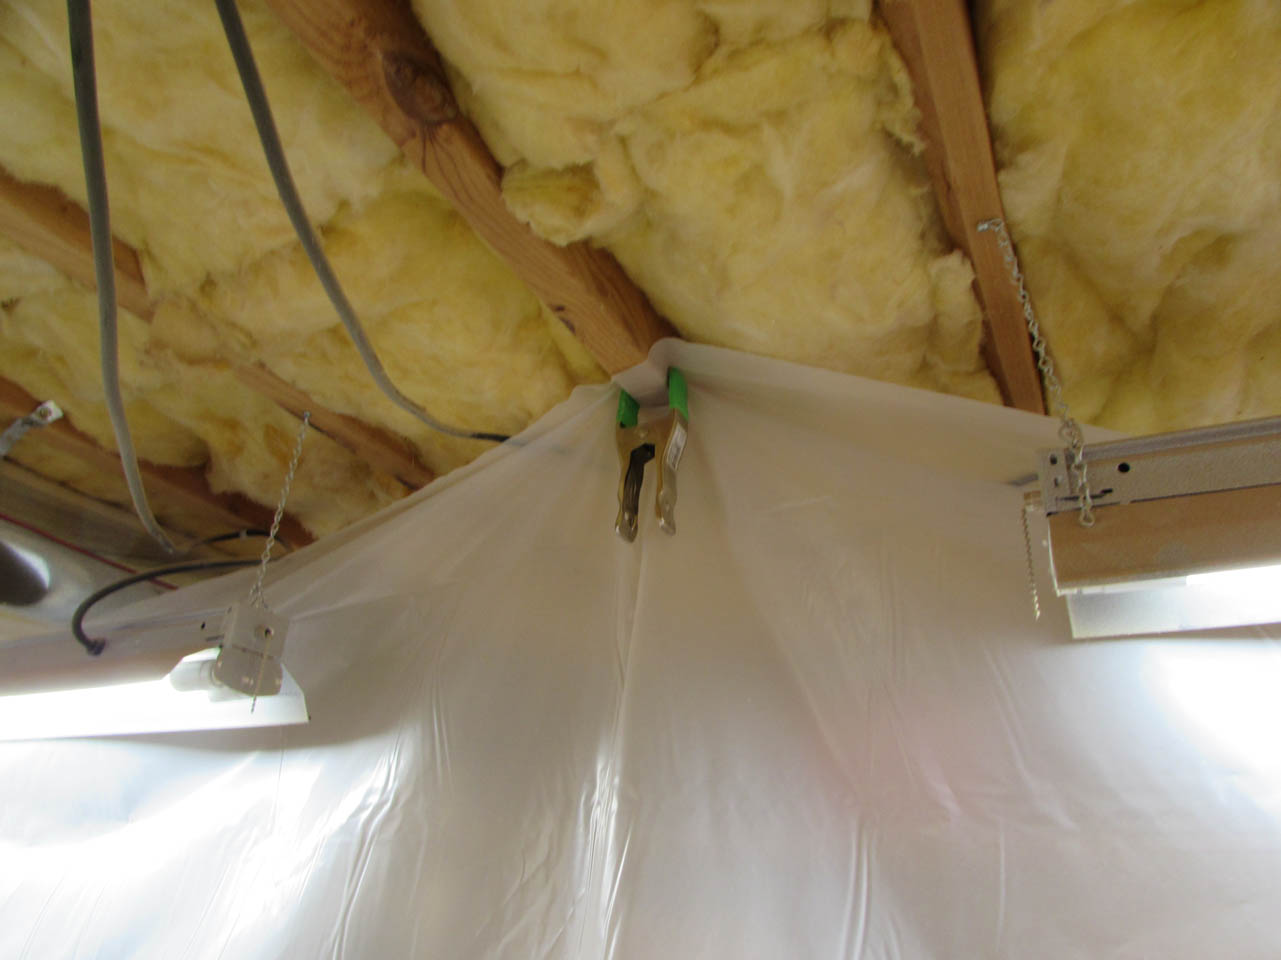

I had to get creative to squeeze all four pieces into the booth.

Once everything was in place, I started spraying on polyurethane with my HVLP sprayer.
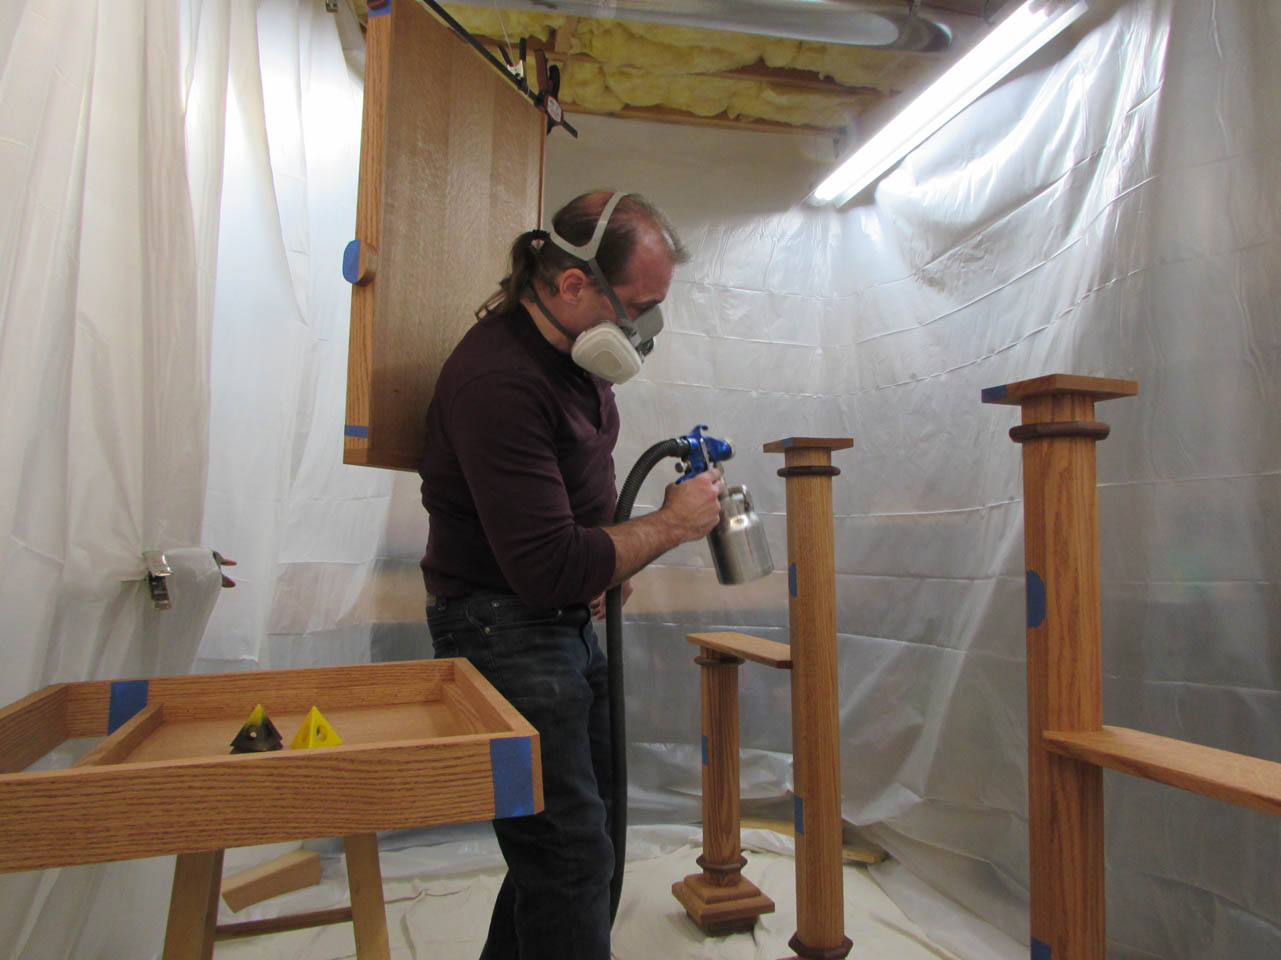
It was tight, but I managed to not bump into anything wet…

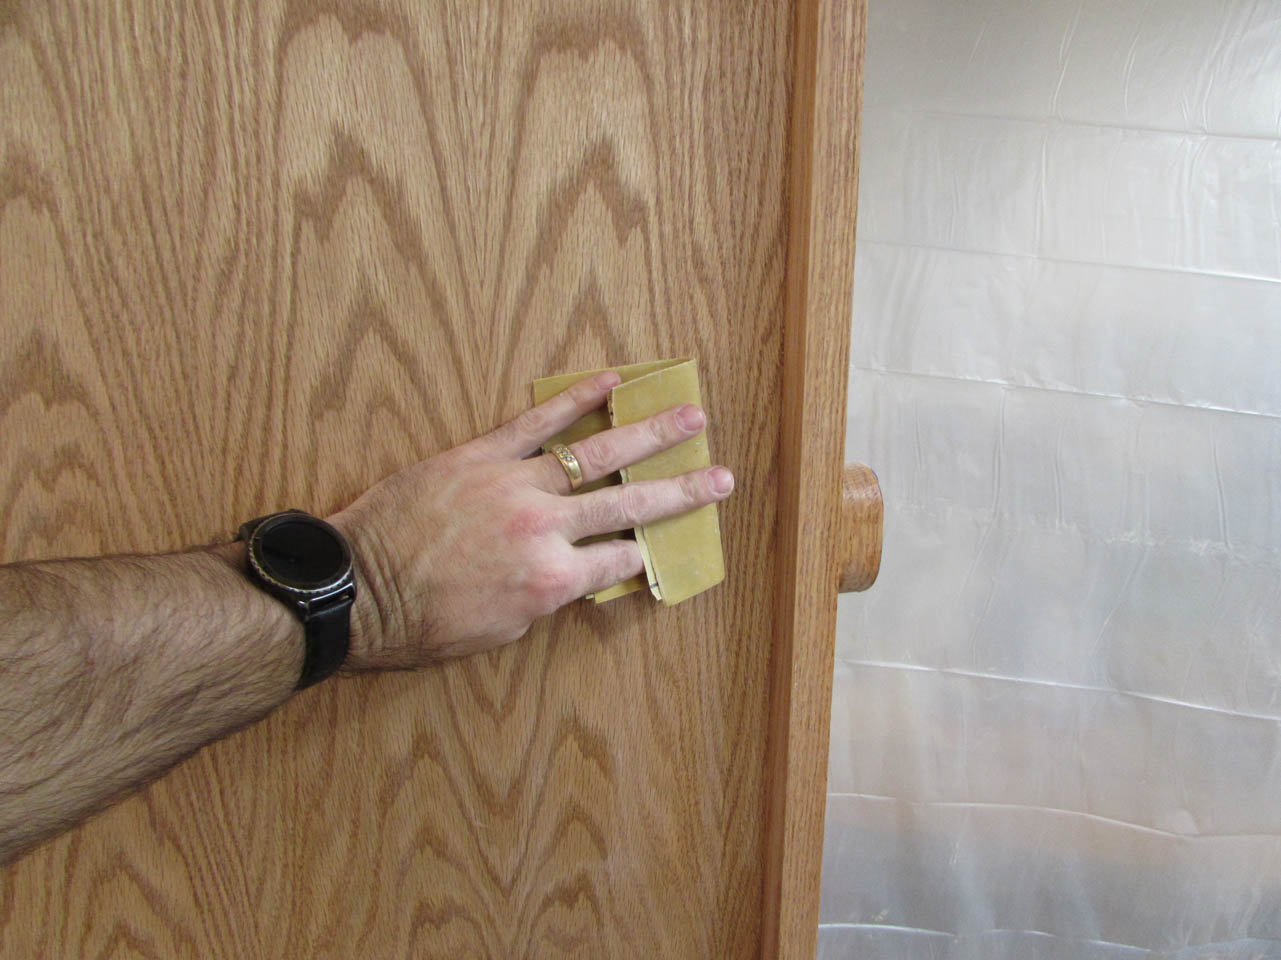
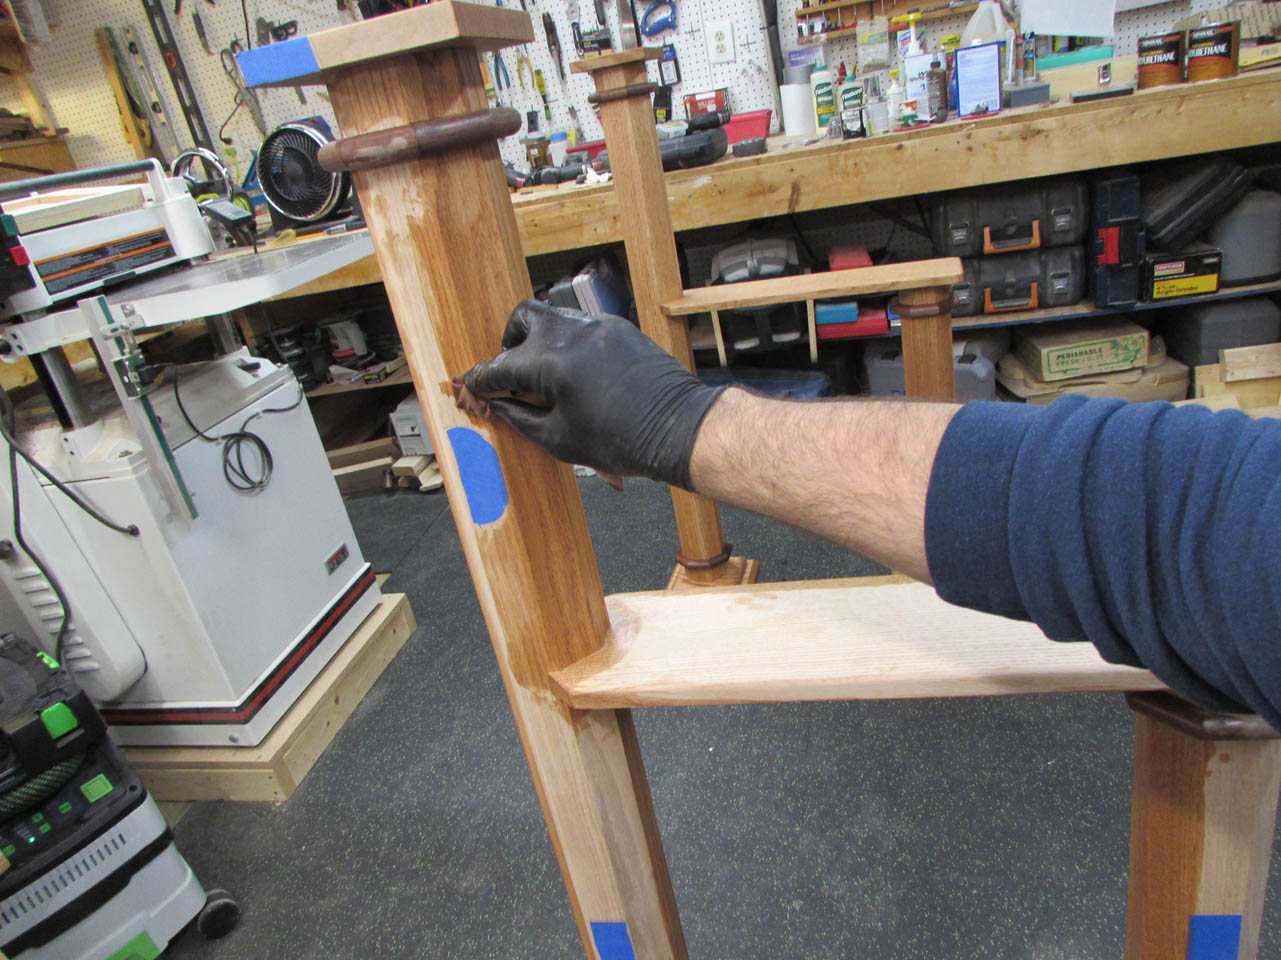
The next day, when it was all dry, I sanded everything down with 400 grit paper and wiped it down to remove the dust.
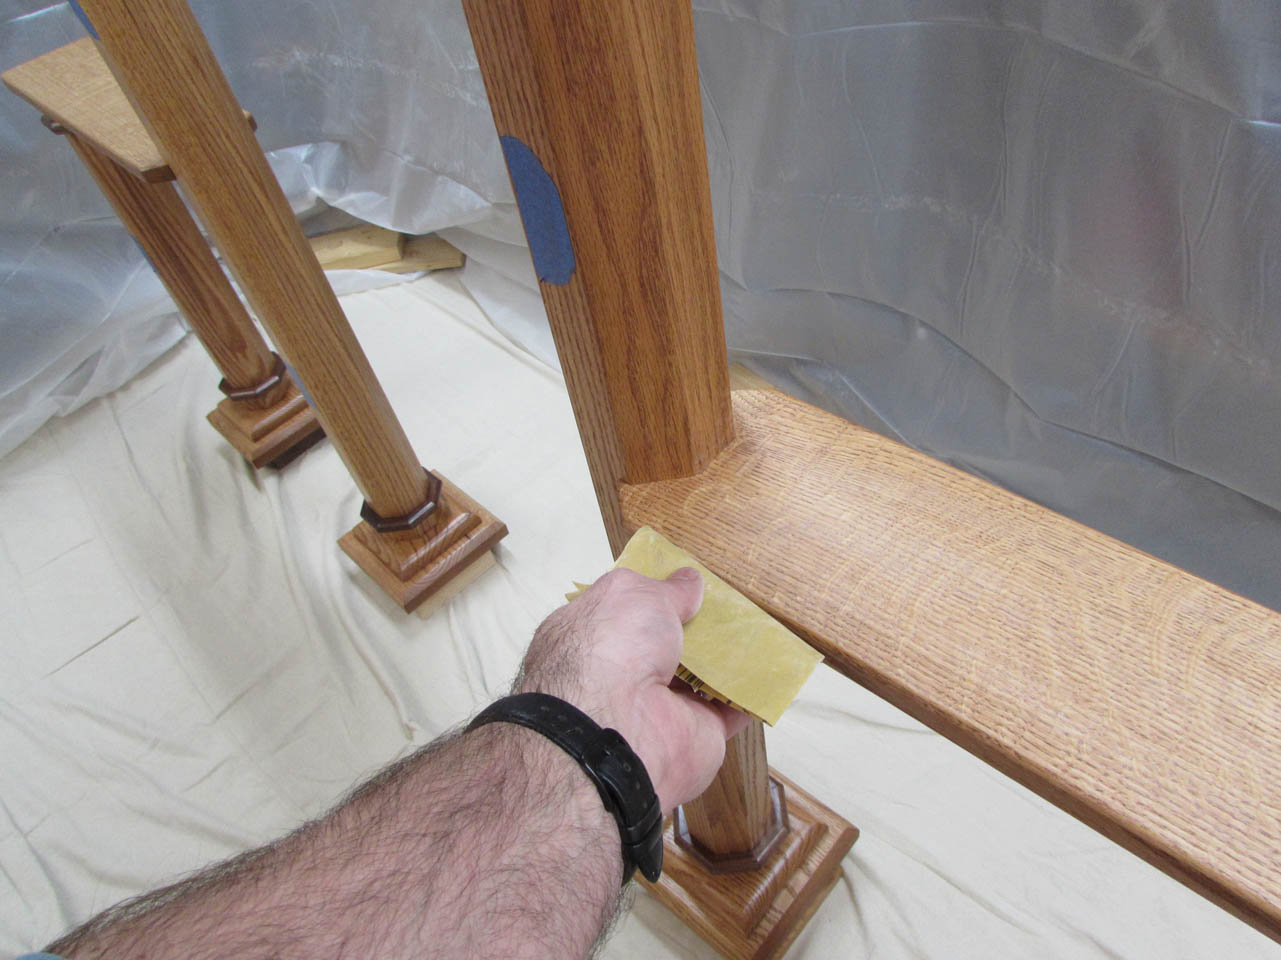

Then I applied the second coat. This time I remembered to wear a hat. The polyurethane over-spray tends to float around and attach itself to any hair it finds, then hardens like hair-spray. Next time, I might even remember to pull down my sleeves…


When it was all dry the following day, I peeled off the masking tape.


Then got ready for the glue-up.

I will be using a combination of glue and screws. I could have used either, but I am overly cautious.

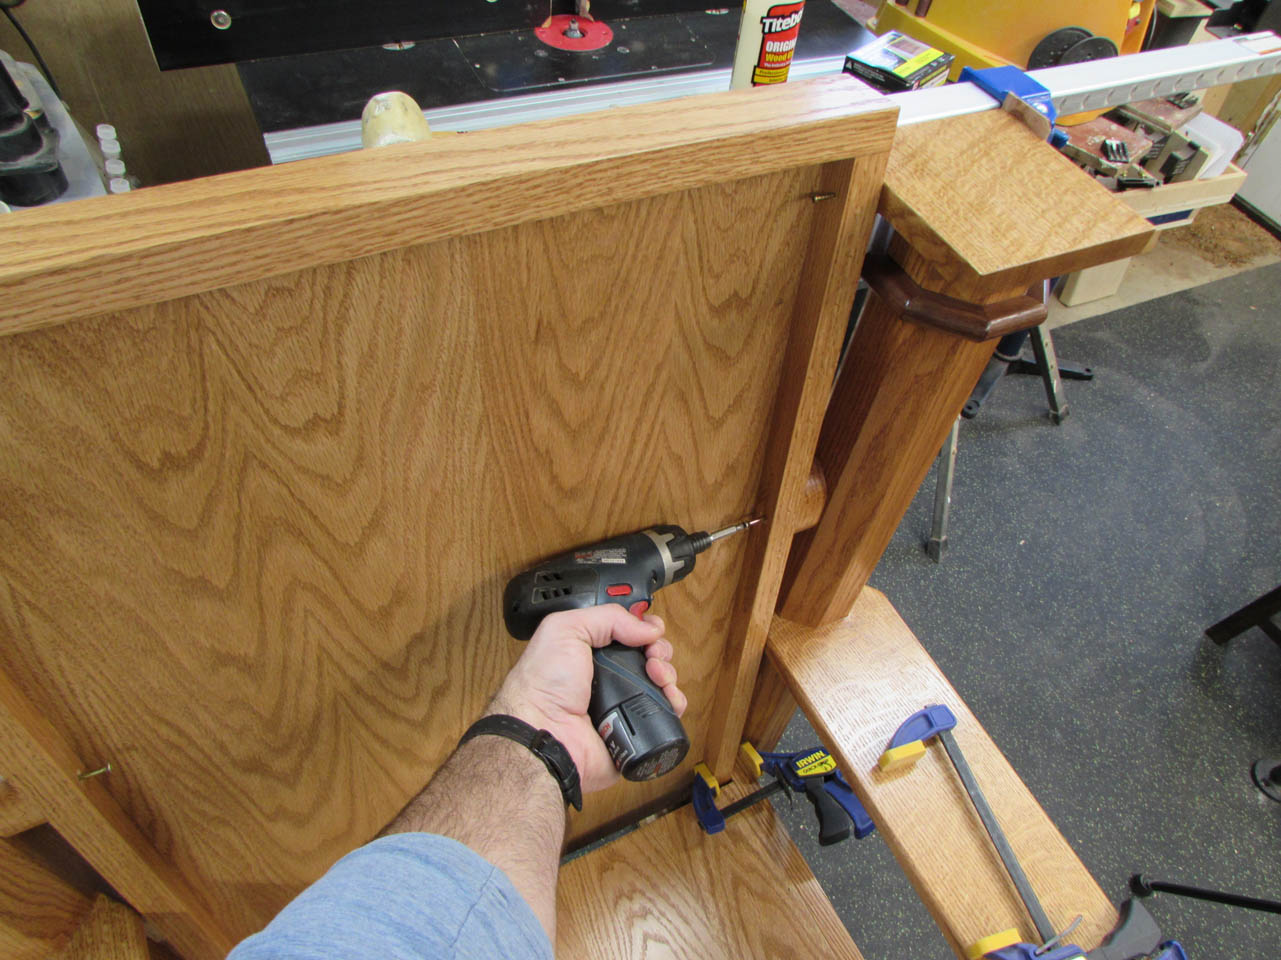
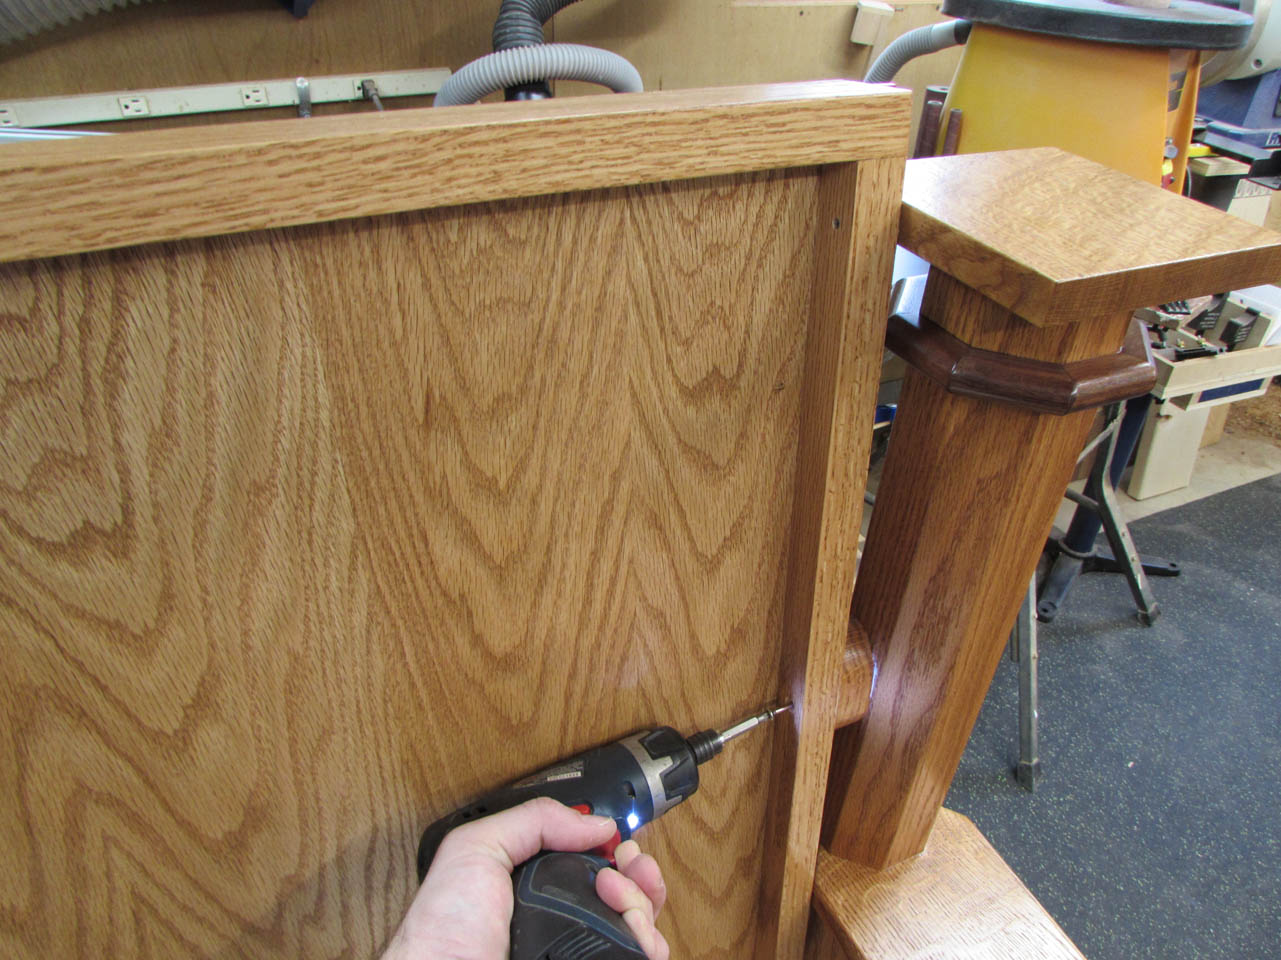
I applied glue to one set of legs first and pre-drilled the frame for the screws, then placed the frame in place and attached the screws.

Two in the back and one in the front.


Then I stood that side up and attached the frame to the other set of legs the same way.


For the back, I am using three different types of screws. At the bottom, I am using two thin cabinet screws on each side. They will not be visible so I don’t mind the large head in that location.

For the mid-span attachment, I need a longer screw, and I feel it will take the brunt of the force of someone leaning back, so I am using a 3″ construction screw. It has a bugle head that I will counter-sink so that it is not in the way of the seat cushion panel when it gets installed.
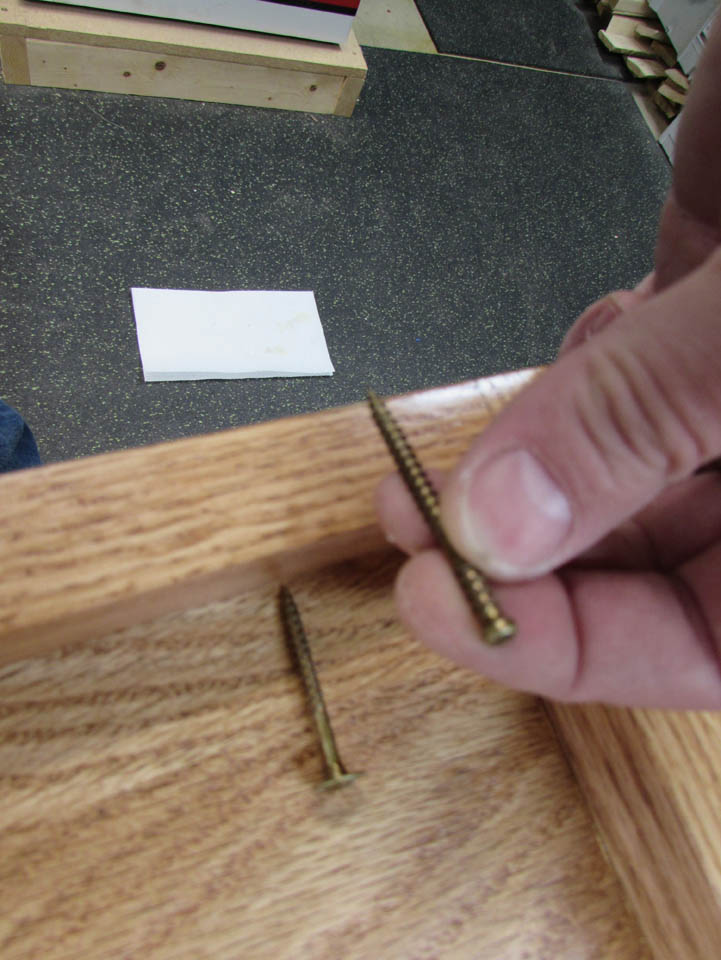
For the top attachment point, I am dropping back to a thinner finish head screw. It will also need to be recessed into the wood to avoid the cushion, but it doesn’t need to be as heavy as the mid-span screw. It is a little longer than the cabinet screws, but that is fine.

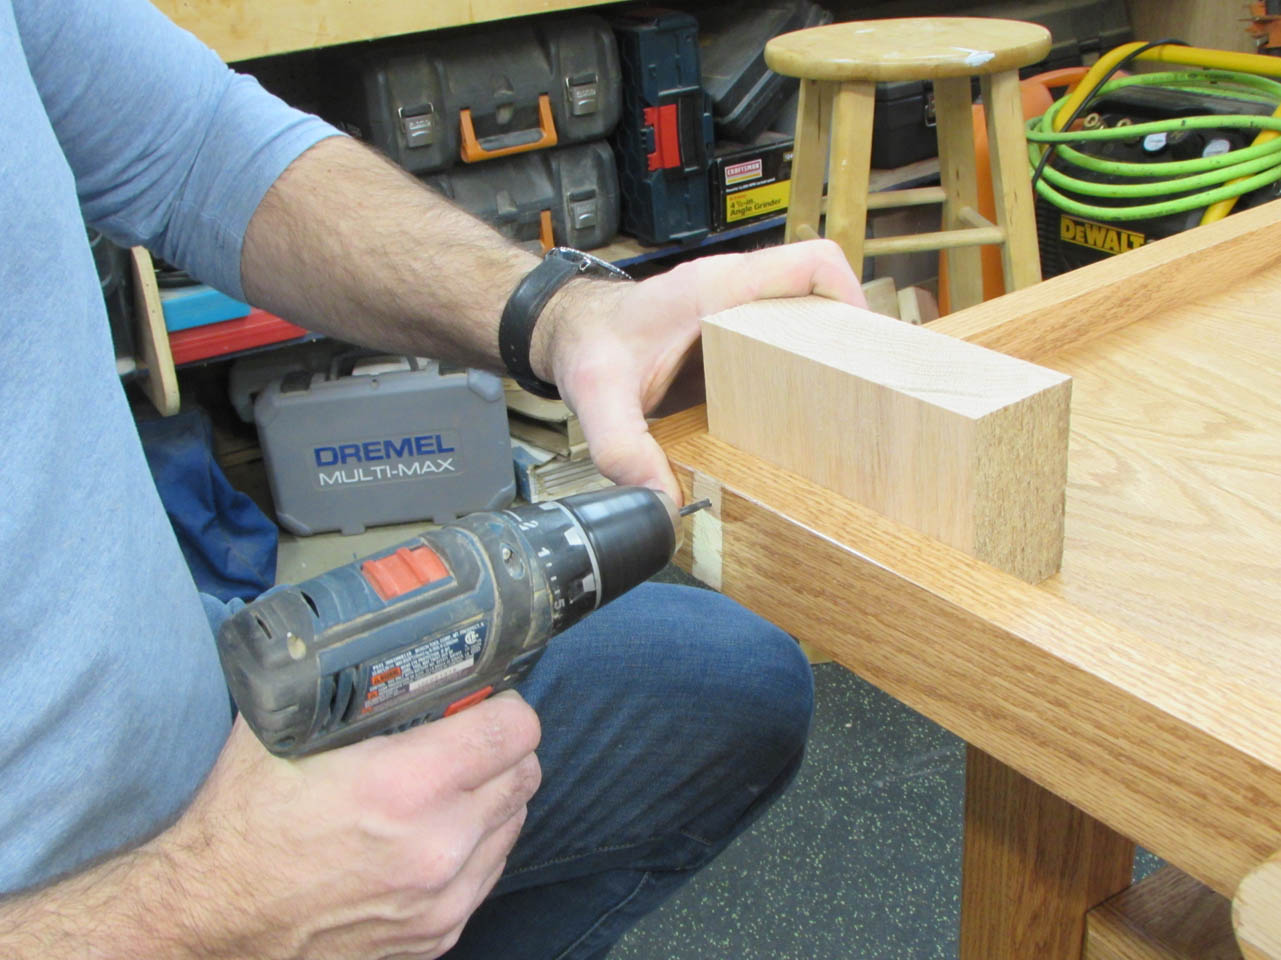
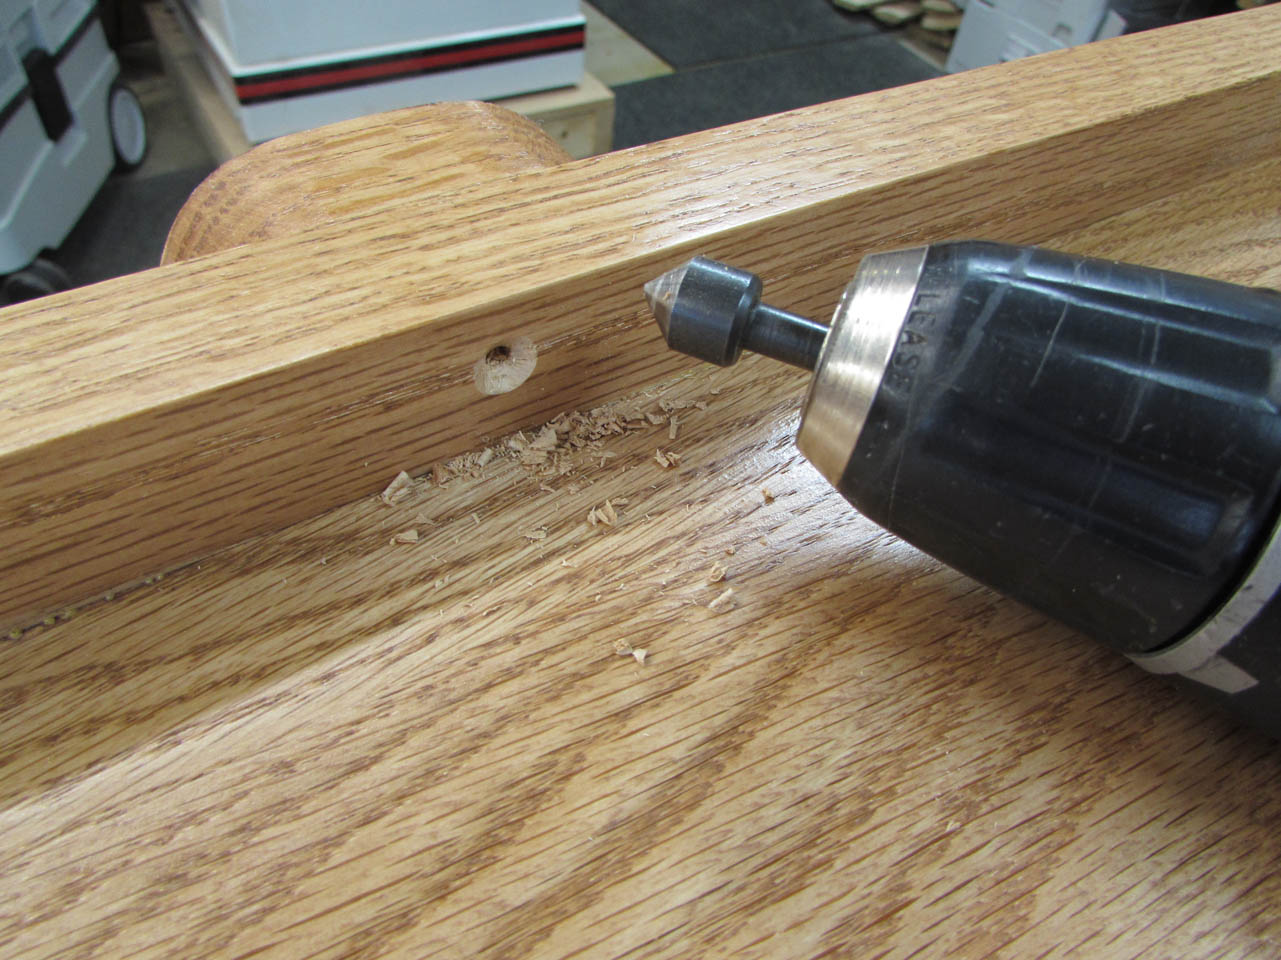
To pre-drill, I am drilling through my masked areas . It is easier to drill from the outside of the frame, in towards the center so I am using a large backer block to avoid blow-out from the drill.
I also used a counter-sink bit to make room for the construction screw head.
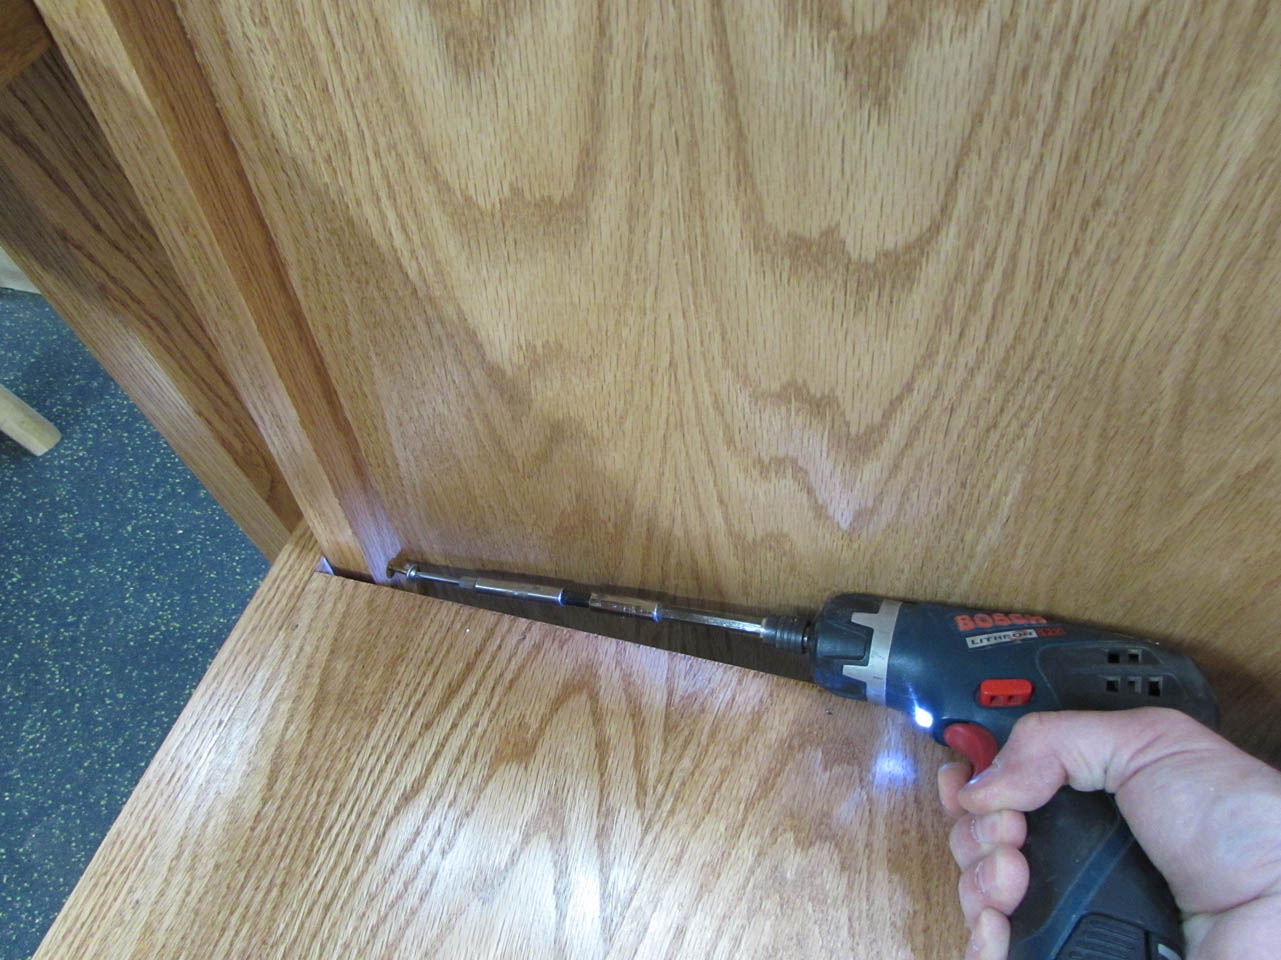
Then I did another dry-fit and ran the screws in about 1/8″ just to make a mark, then I disassembled the back and drilled pilot holes at those locations.
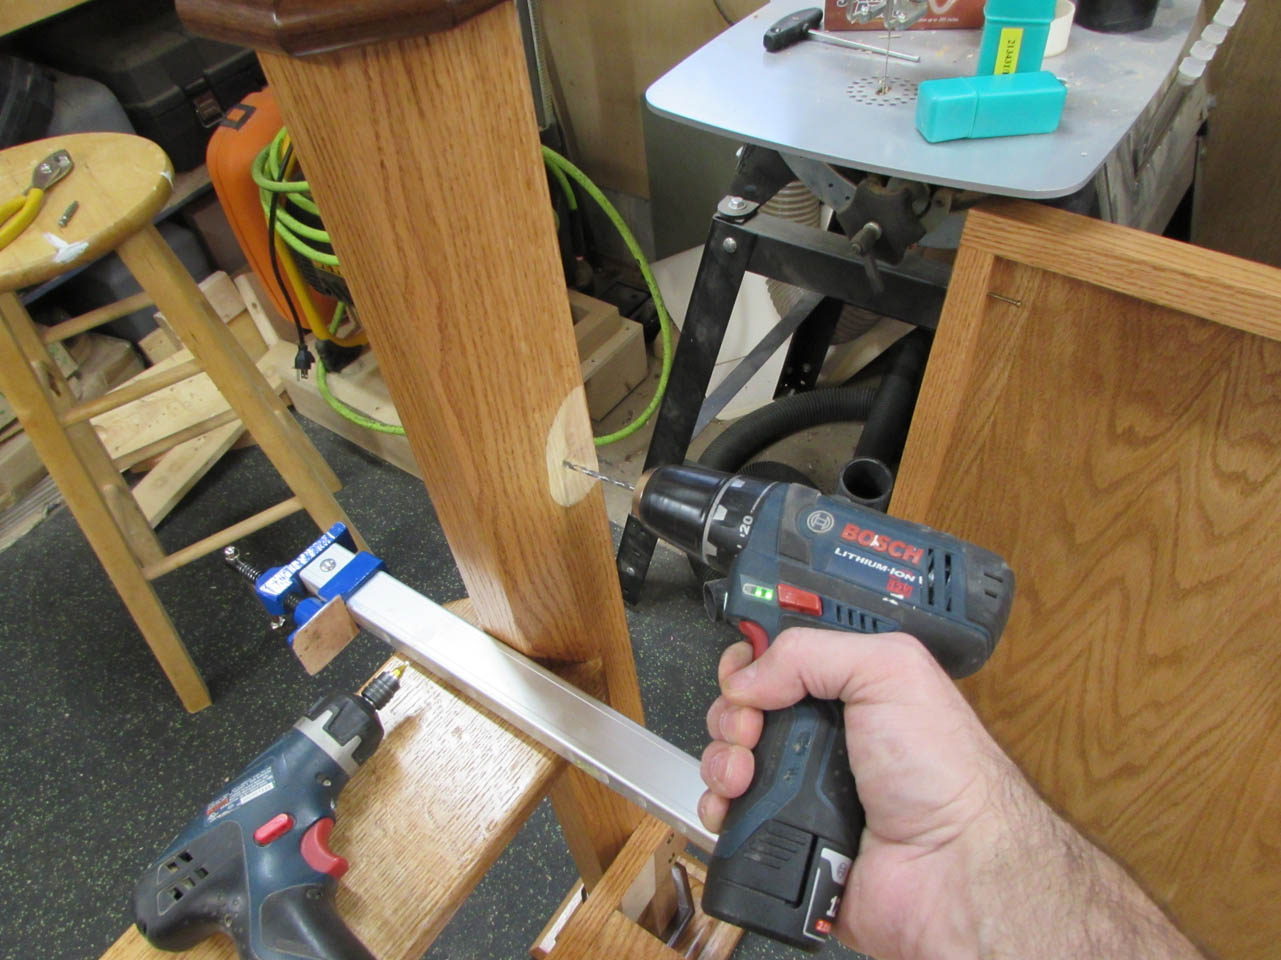
Pre-drilling will help to avoid splitting. Even though the screws are self-tapping, they can still split hardwoods.

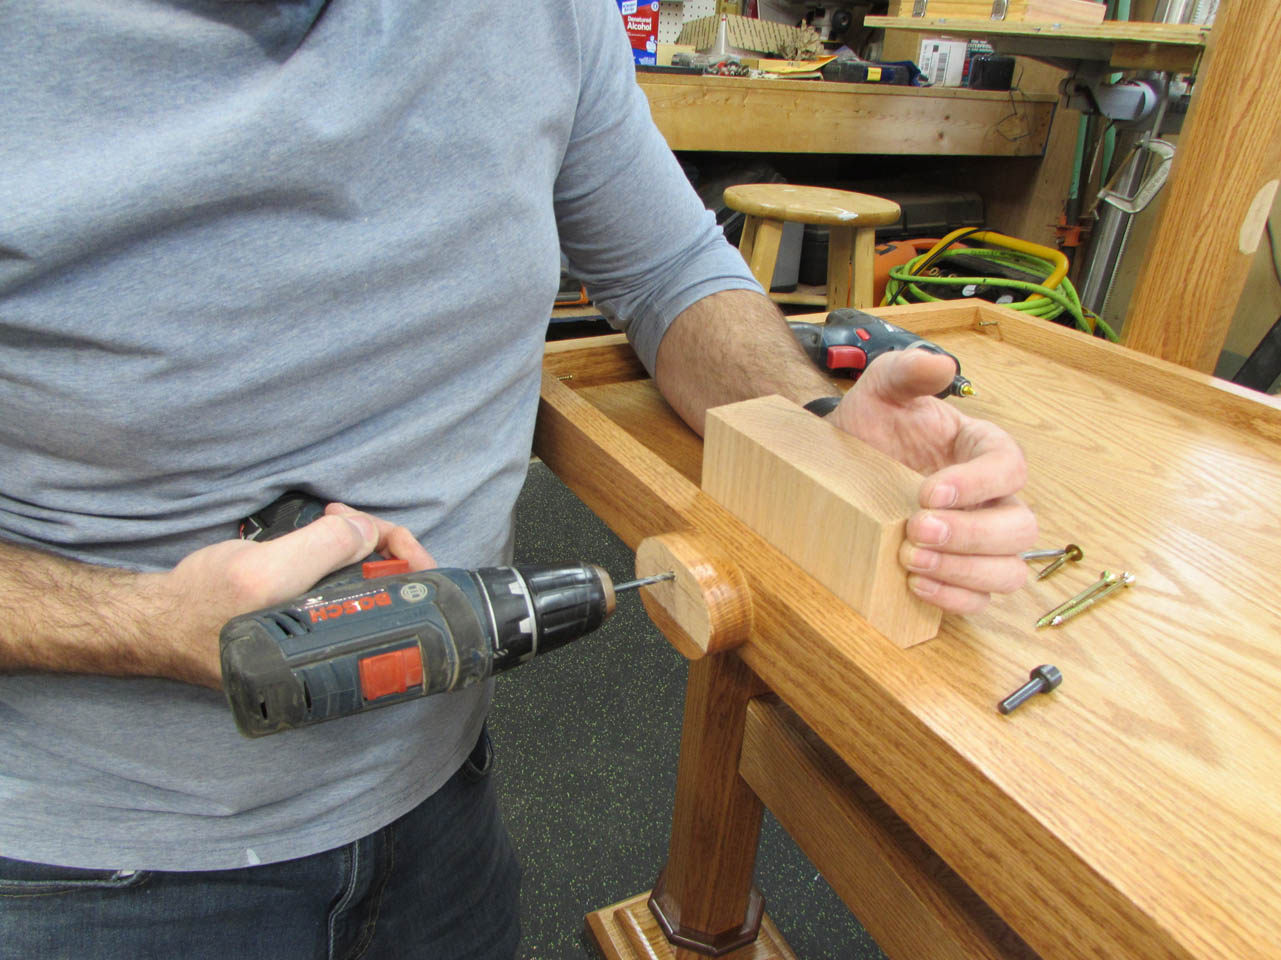
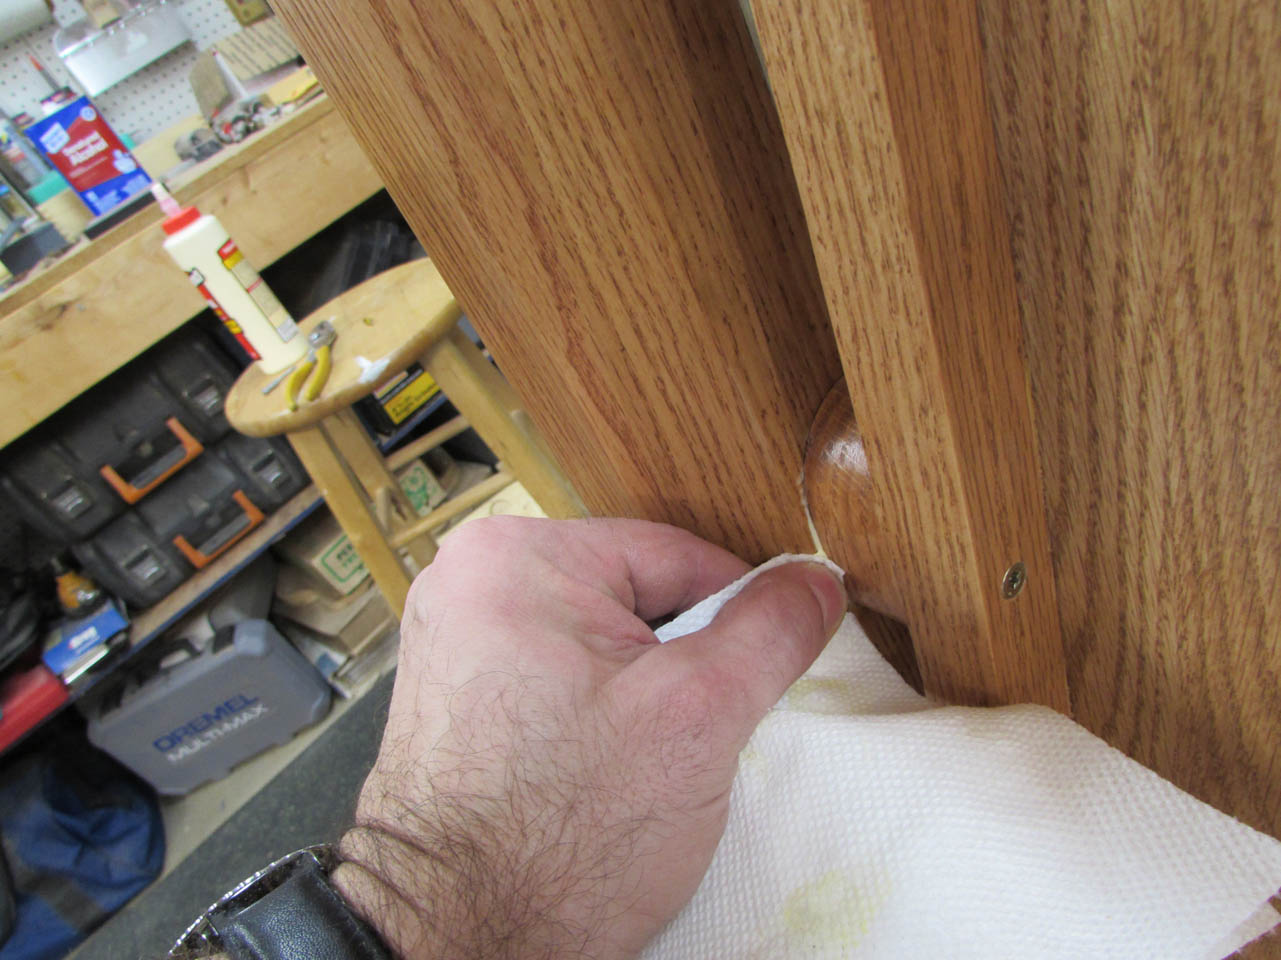
Then I applied glue to all the masked points and started assembling.
There is another advantage to pre-finishing before glue-up. It is really easy to clean up glue squeeze-out.
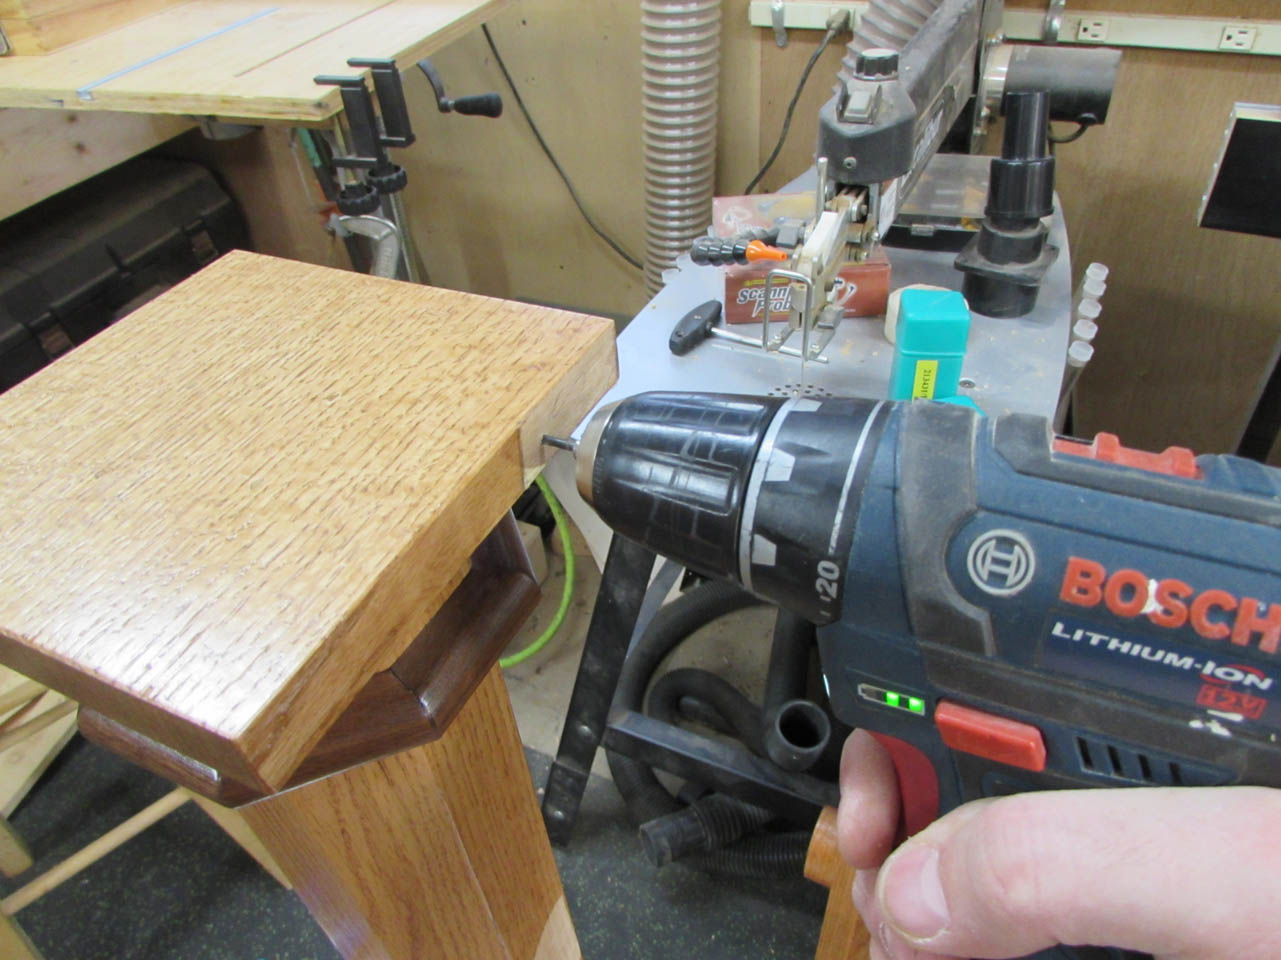
I had to get creative to get the last two screws in, but the chair is assembled.
Time for a load test…

Now that the chair is assembled and the glue is drying, I can flip it over and apply a couple coats of polyurethane to the bottoms of the feet.
I am waiting on the fabric for the seat panels, so until that arrives, the chair can hang out with the ambo while I get started on the next piece.


Nice work. Congratulations!