
St. Kilian chapel – Pastor chair, part 3
With just about all the parts cut out, it was time to start sanding. I took everything down to 180 grit in preparation for glueing up the legs.

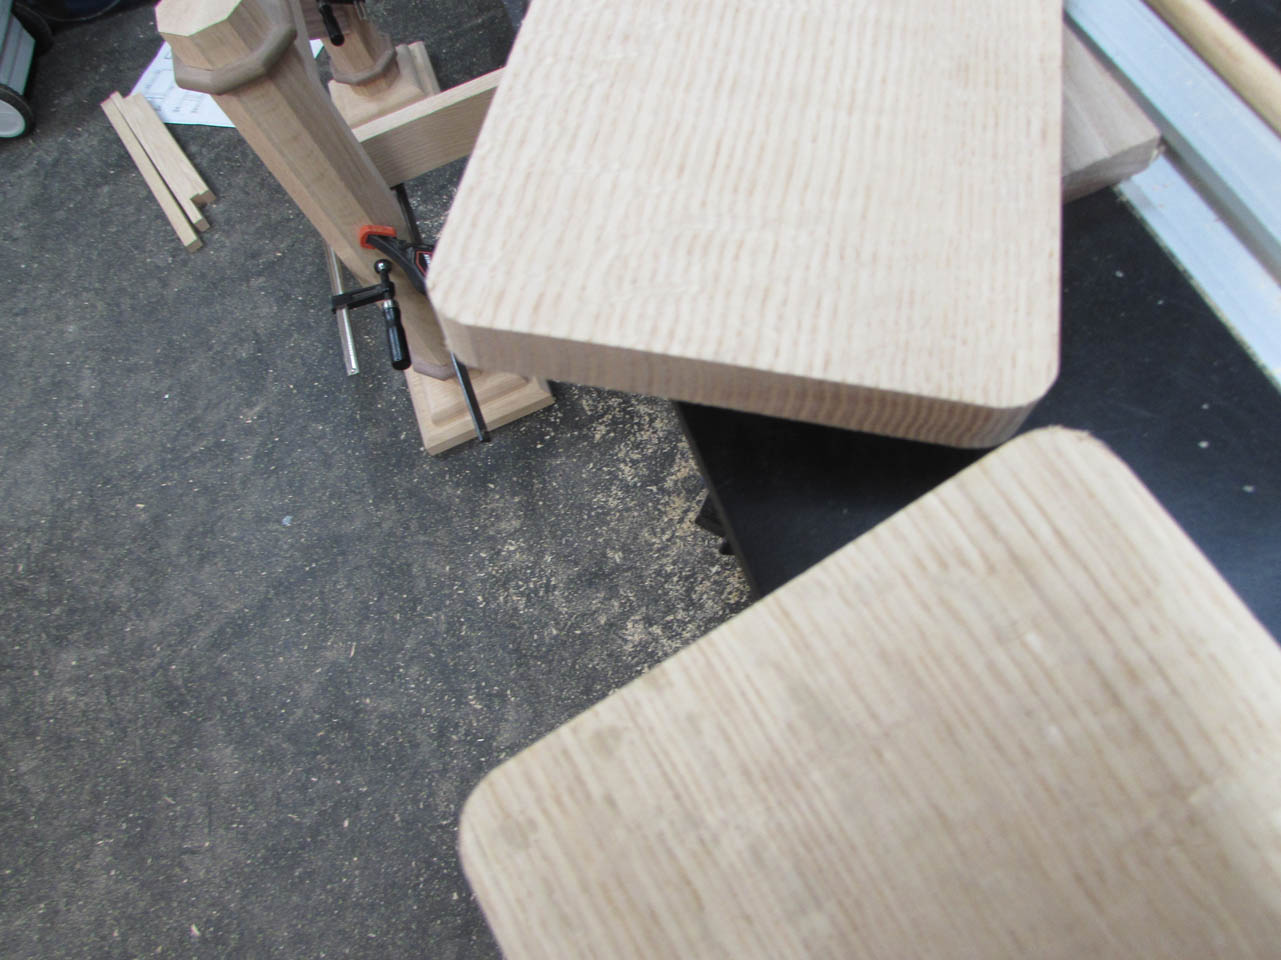
To attach the base and caps to the legs, I opted for a different approach than the last project.

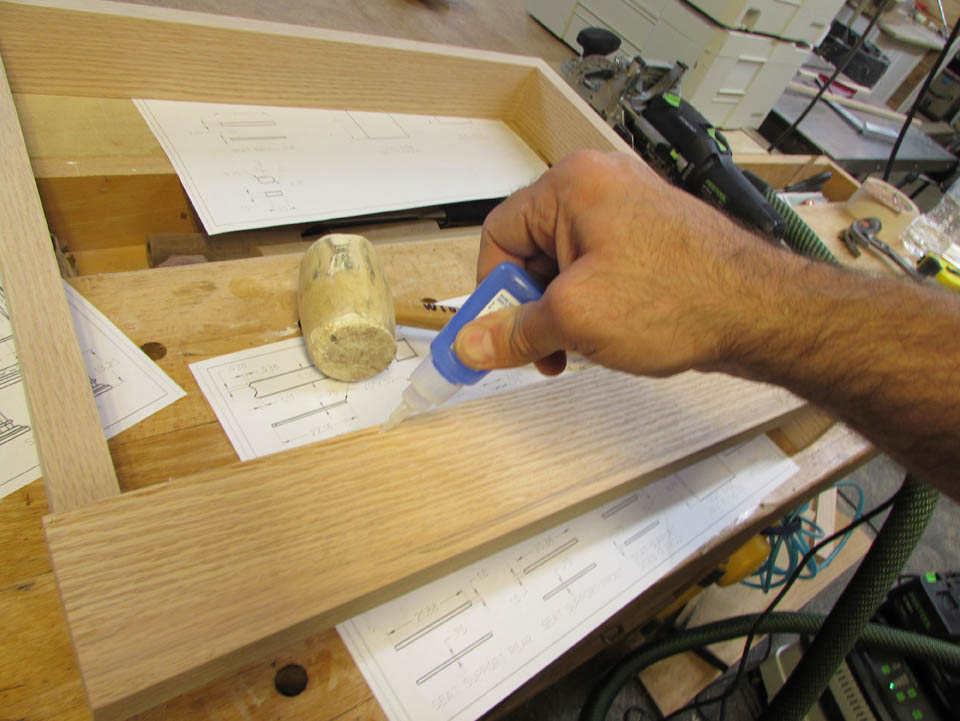
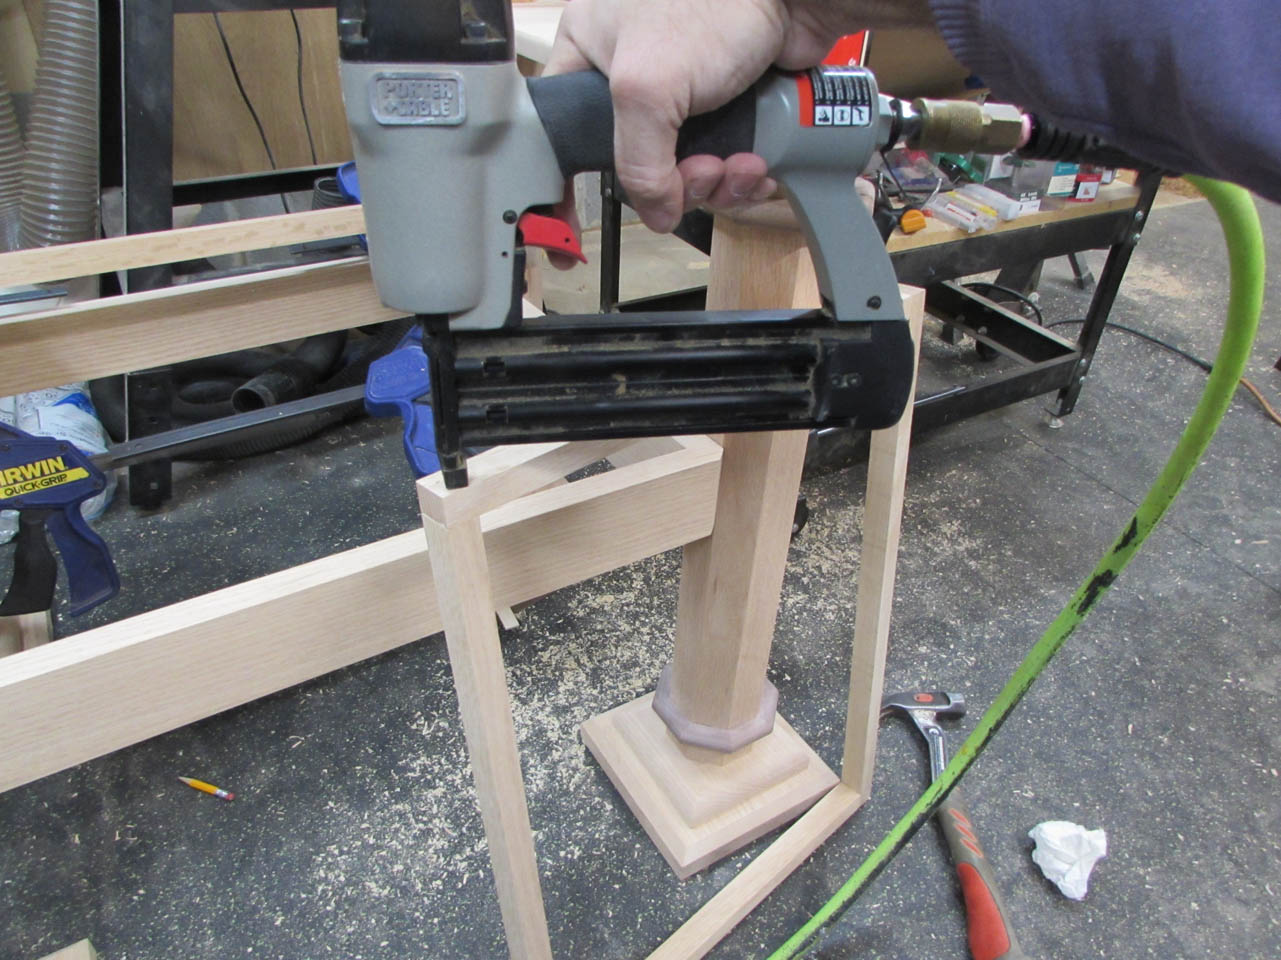
I placed blocks and shims below the column and accurately centered the top on the column.
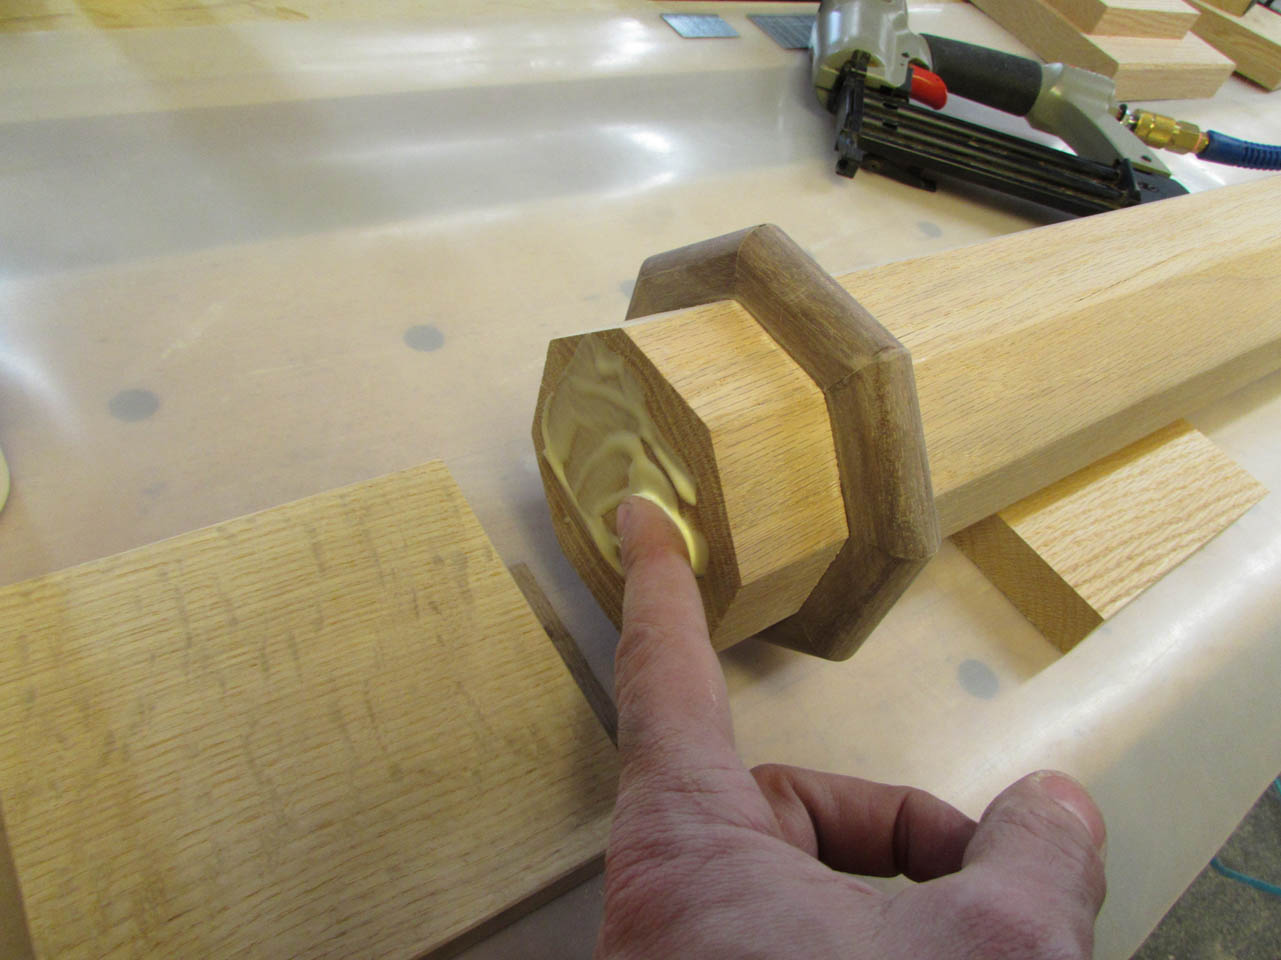
Then I applied a bit of wood glue and tacked the cap in place with an 18 gauge brad nailer.

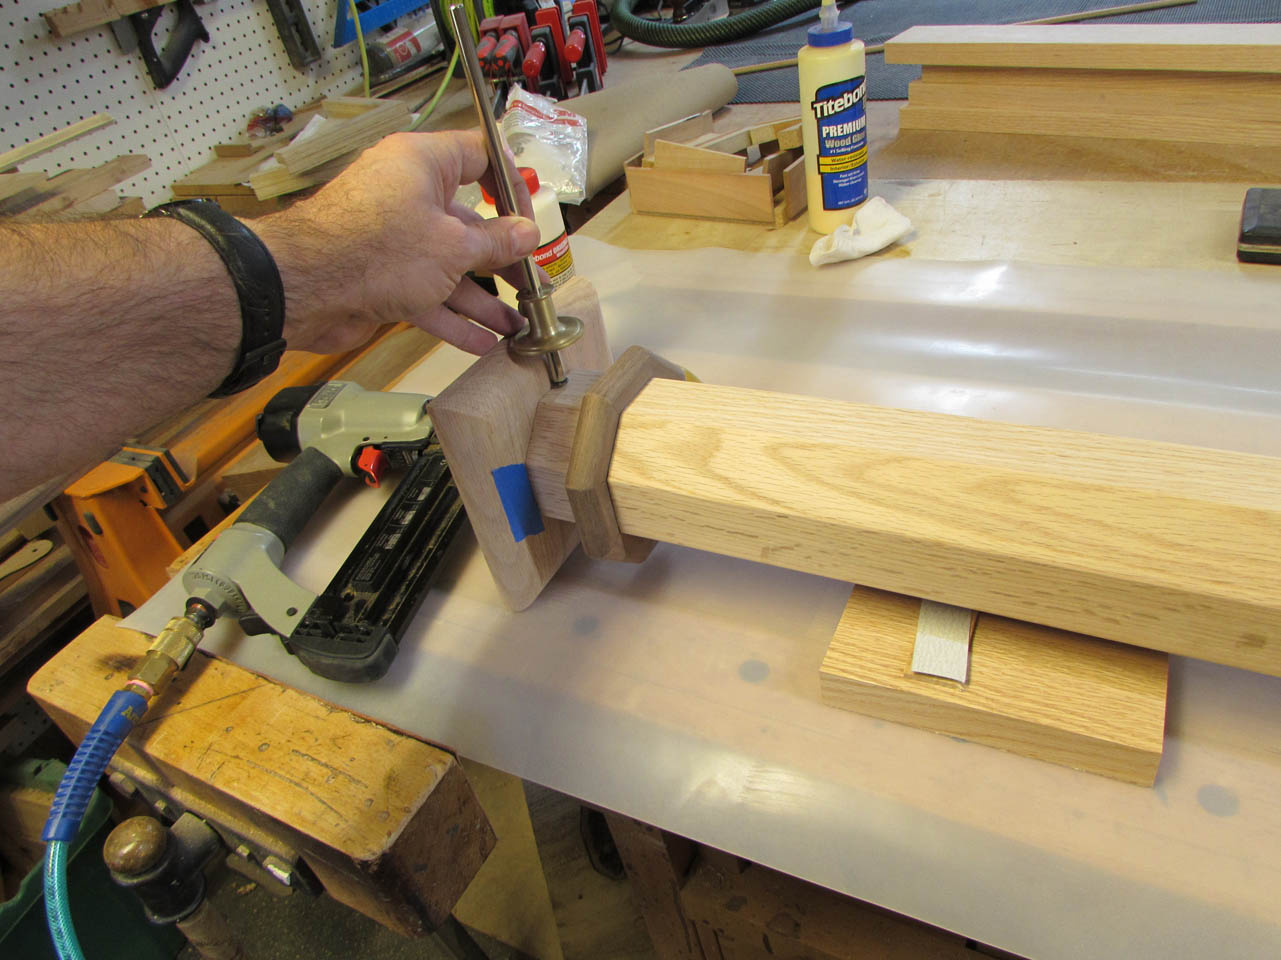
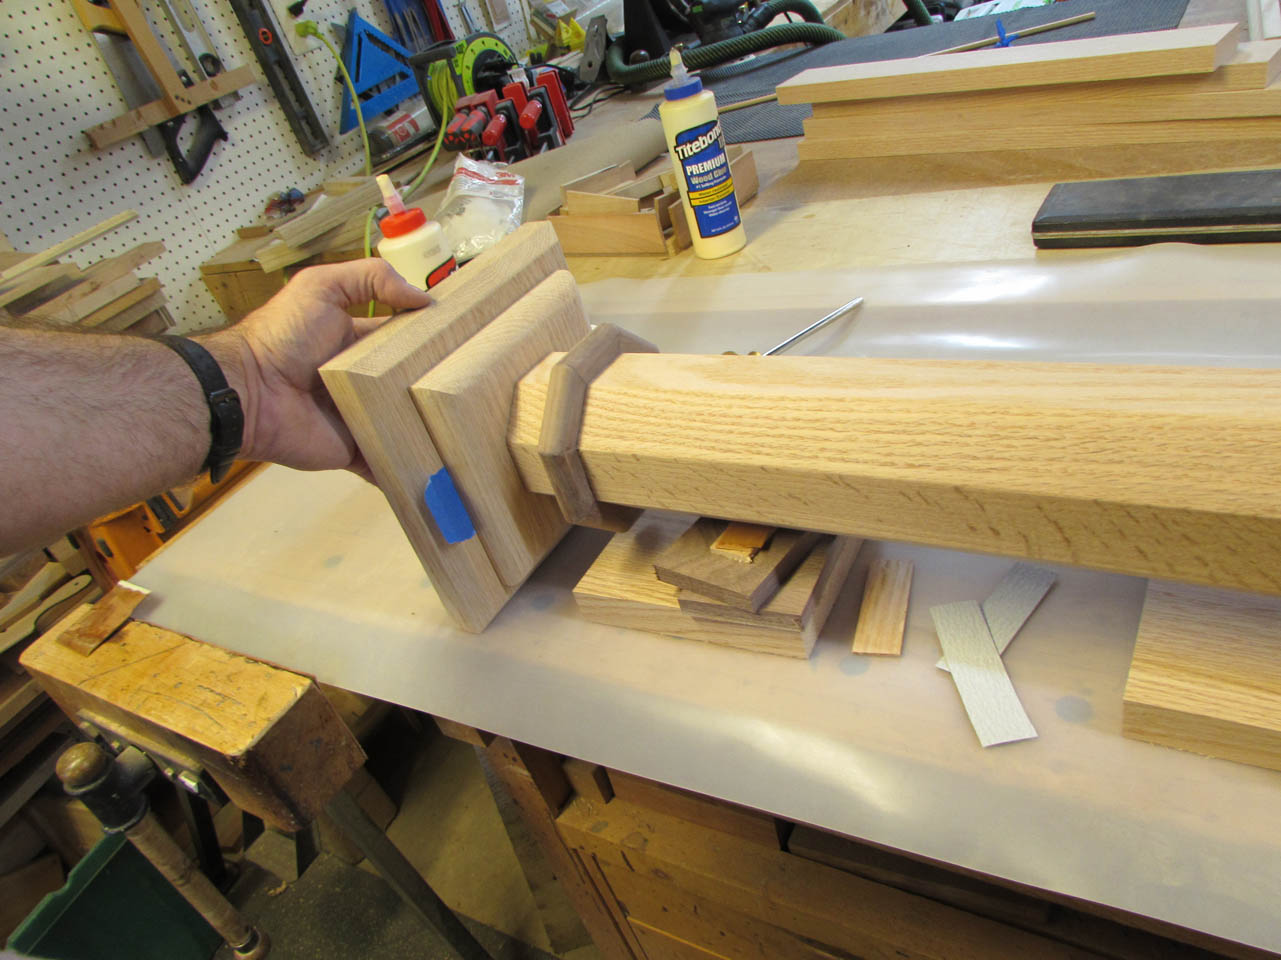
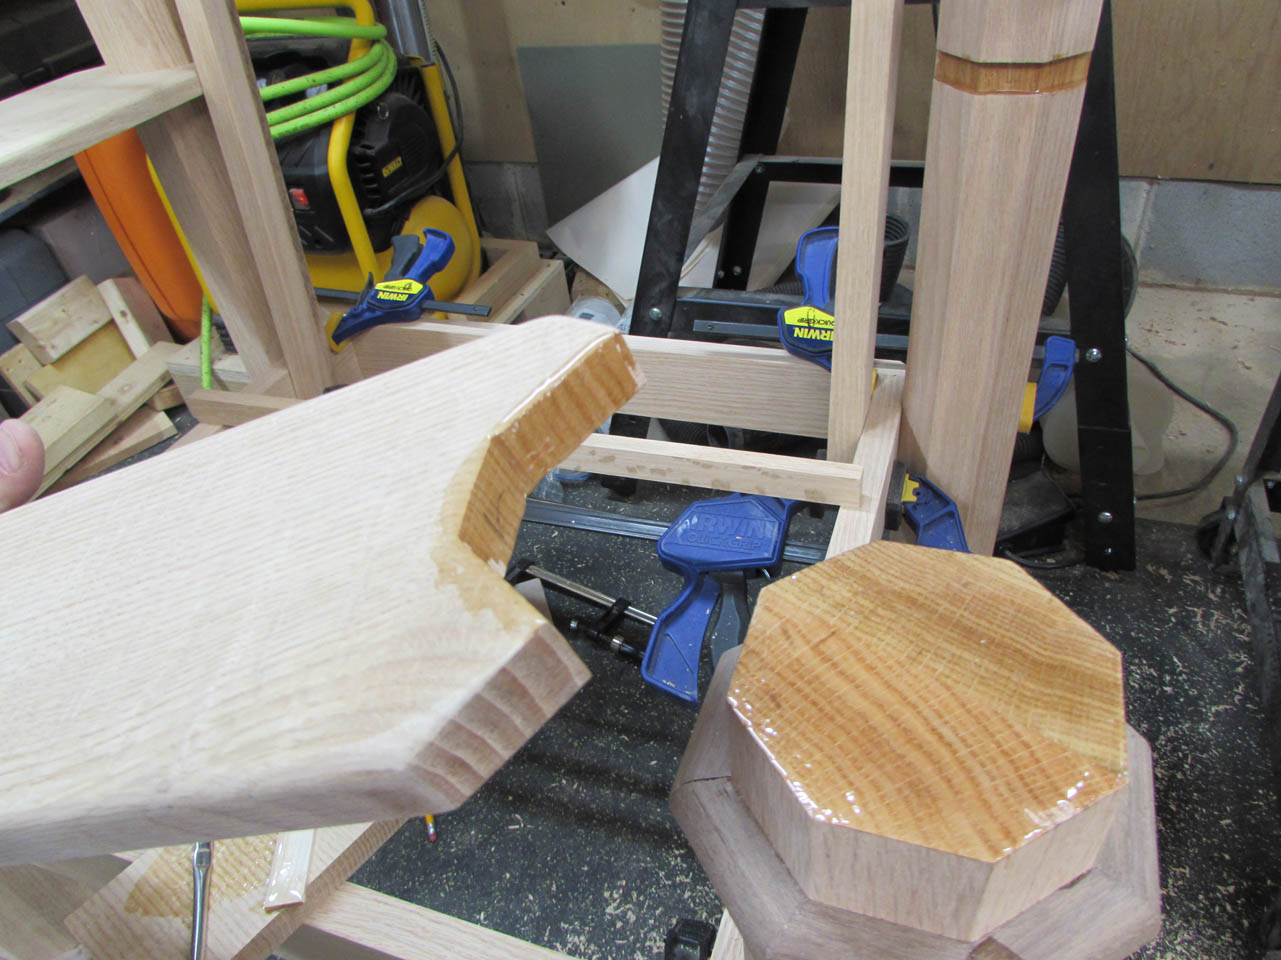
To attach the base cap, I used a similar method. I used a marking gauge to center the base from side to side, then shimmed below the column until the top was the same distance as the sides. The marking gauge has a wide base that reached over the curve of the base cap block. I used a piece of tape to mark the side then, added glue and again nailed on the plate with a few brad nails.

The base plate was added in a similar fashion. This method of attachment insures that the flat sides of the base are perfectly in line with the flat sides of the columns. This will be critical when the chair is assembled, so that the feet all line up squarely.
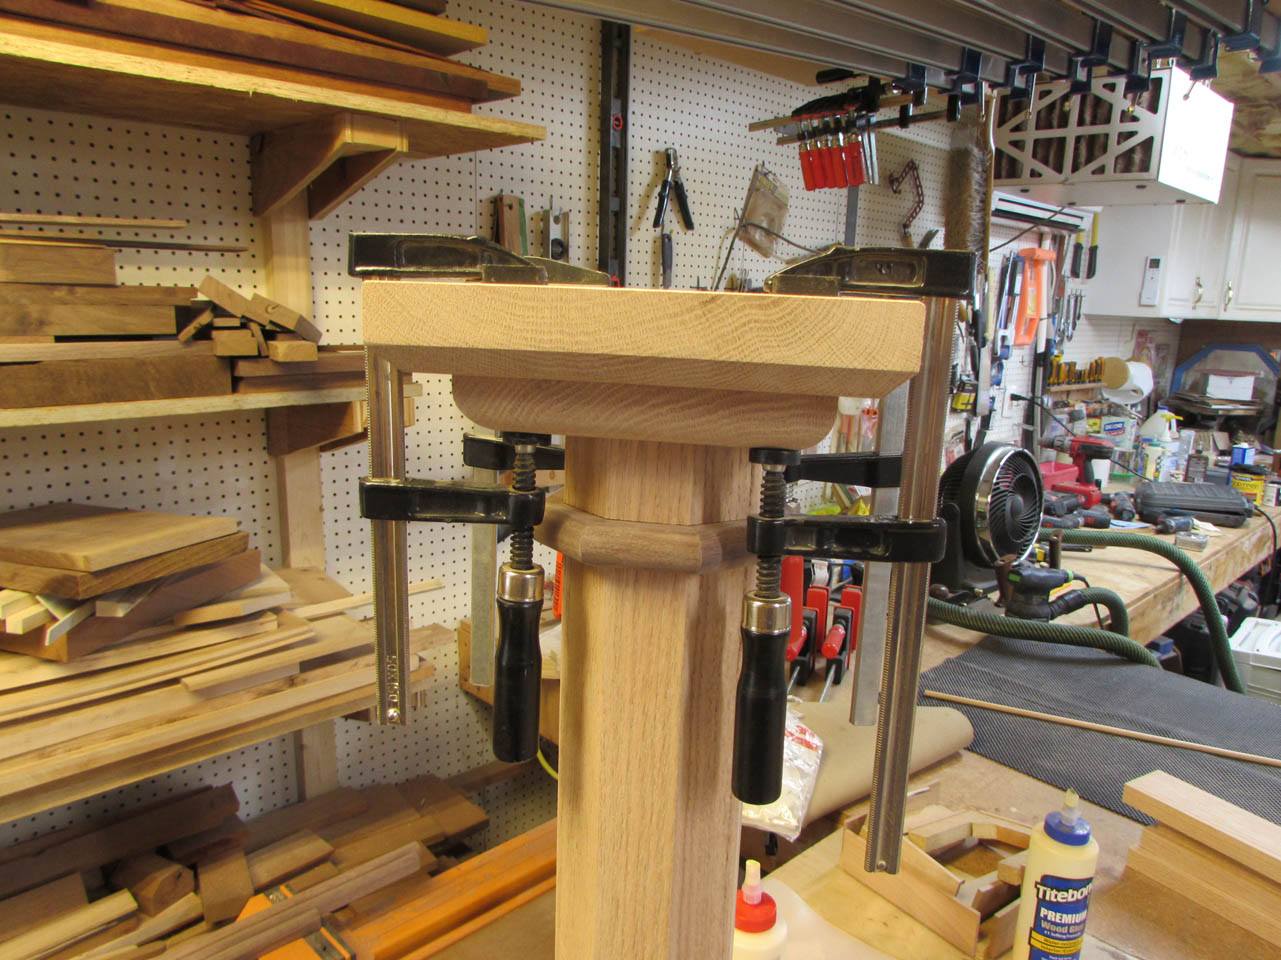
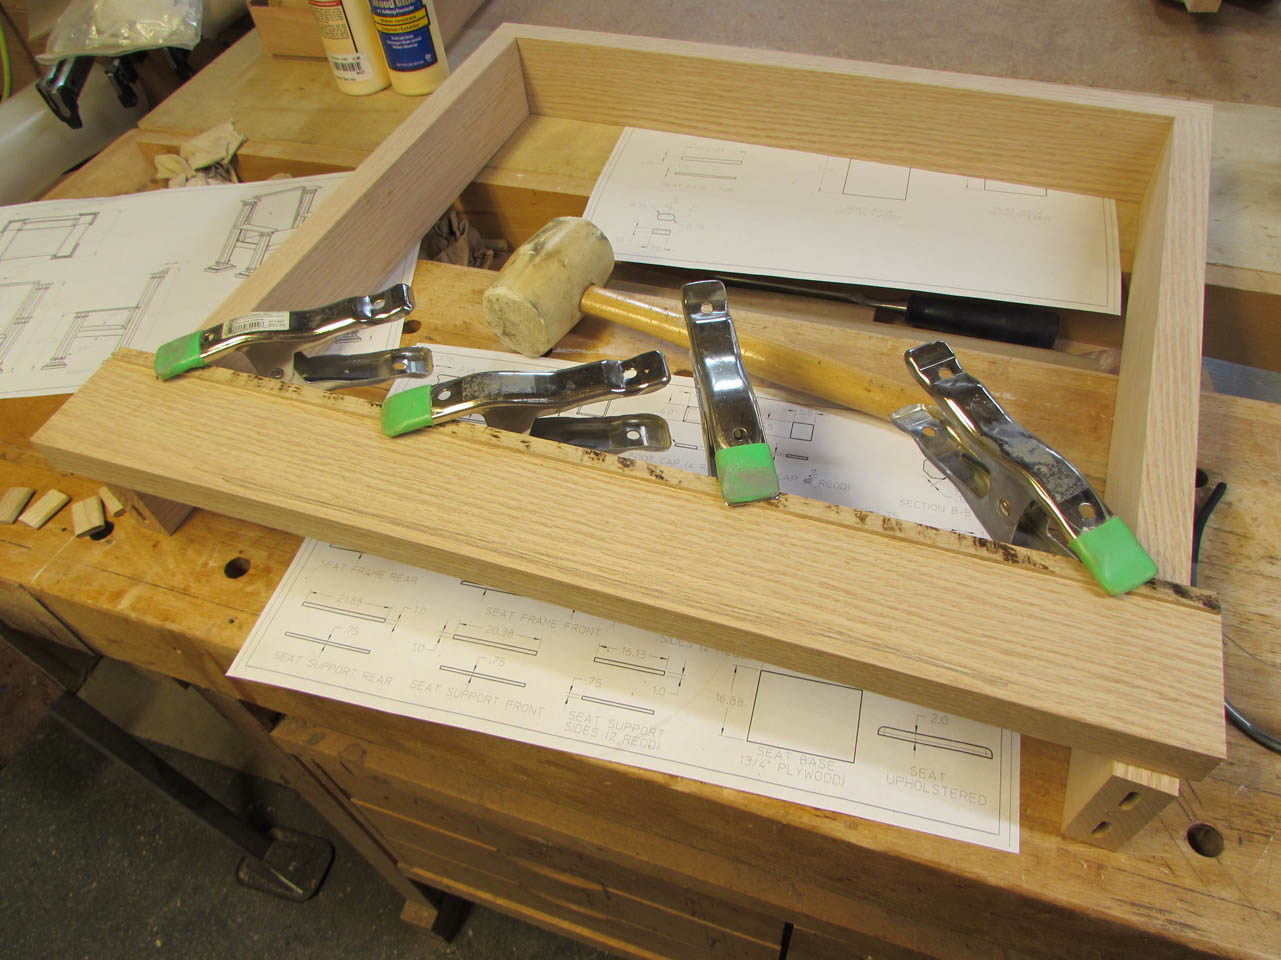
I used a clamp at each corner to insure that there were no gaps between the plates.


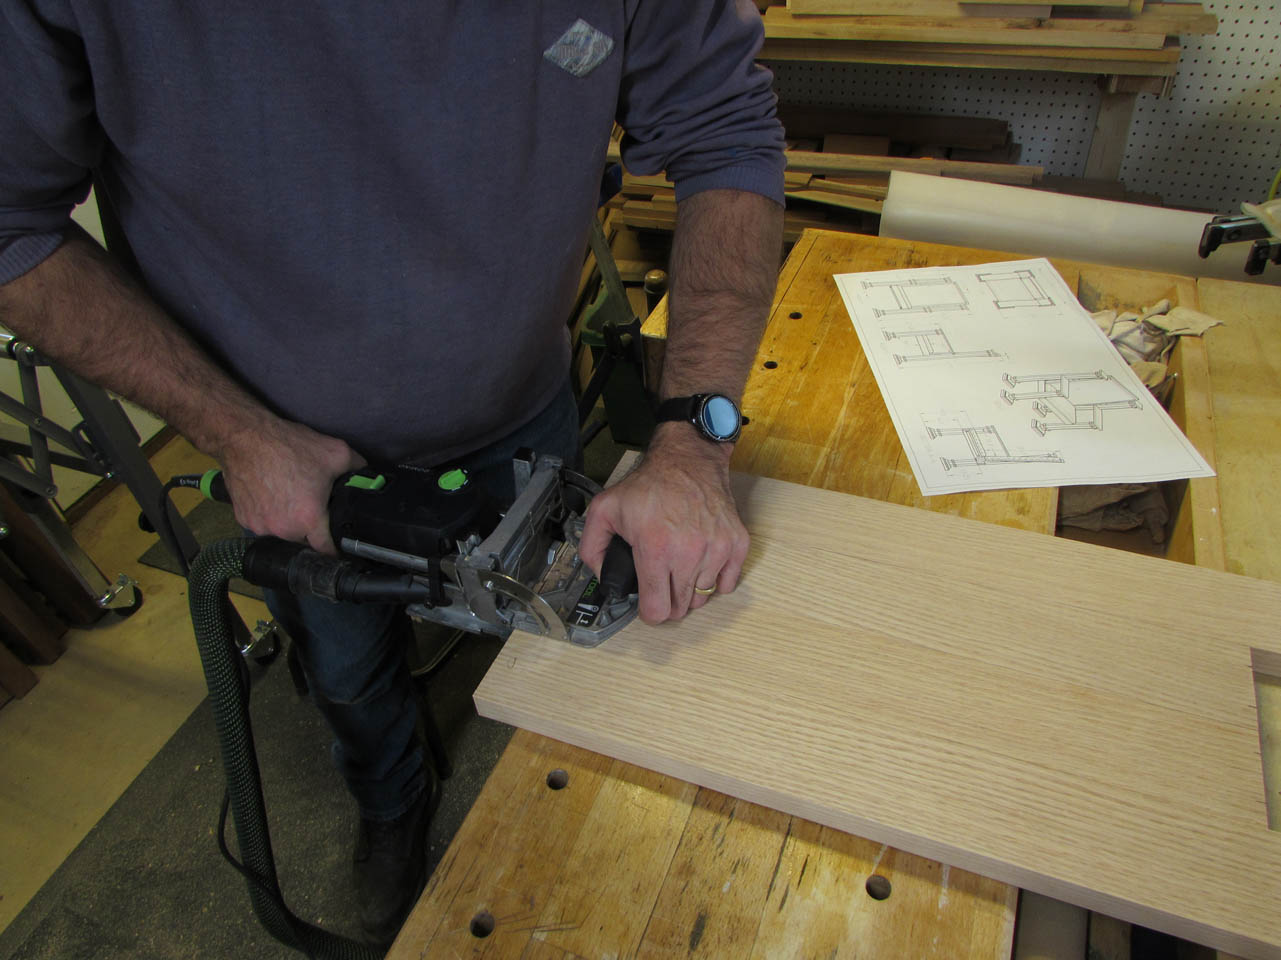
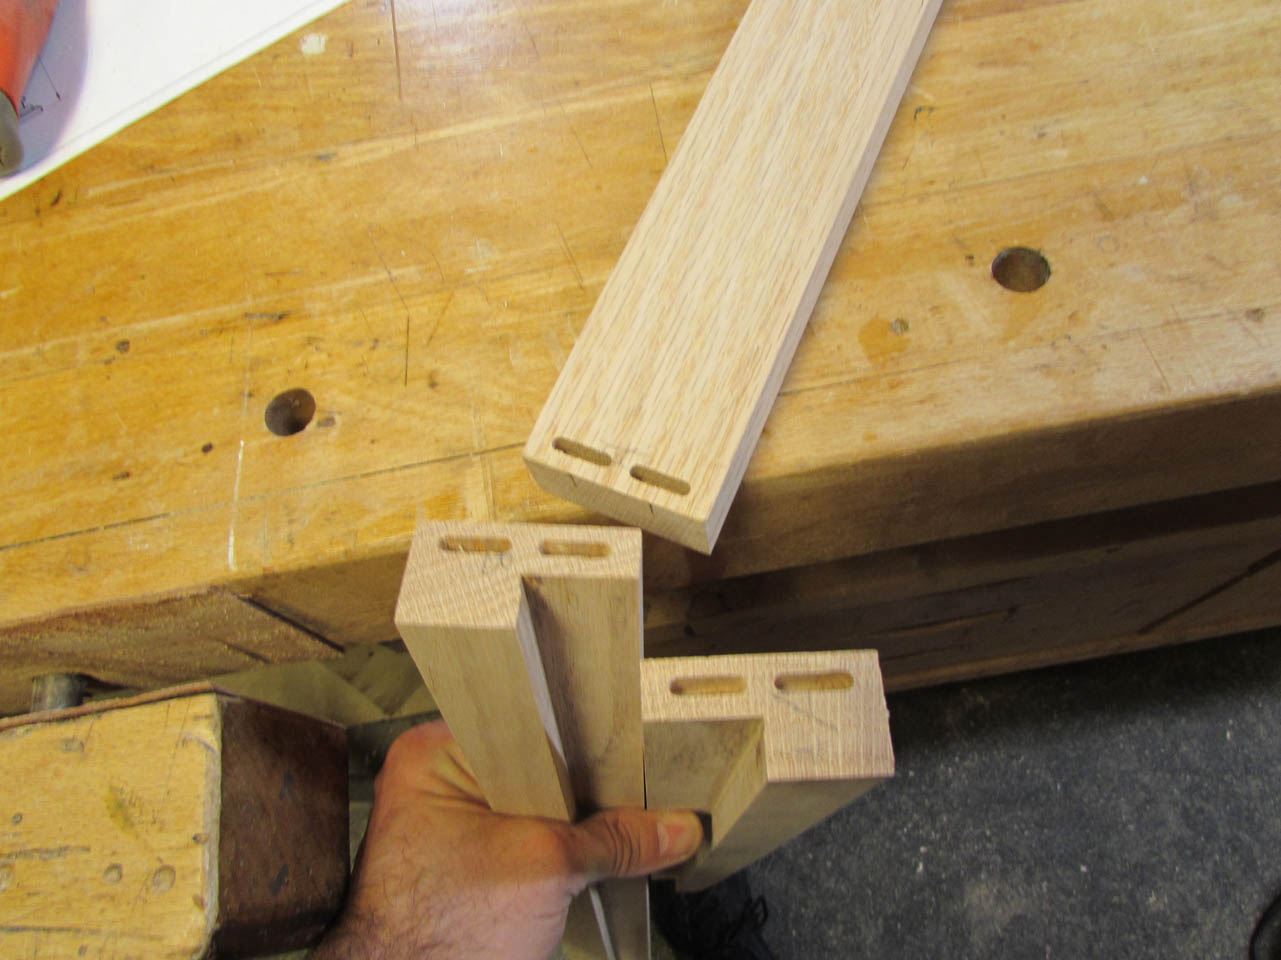
While they were curing, I began to assemble the bottom of the seat. An end-grain glue-up will not be strong enough to hold the frame together so I am going to use two loose tenons in each connection.

I marked the location of each of the tenons, then used my Festool Domino to cut the mortises.
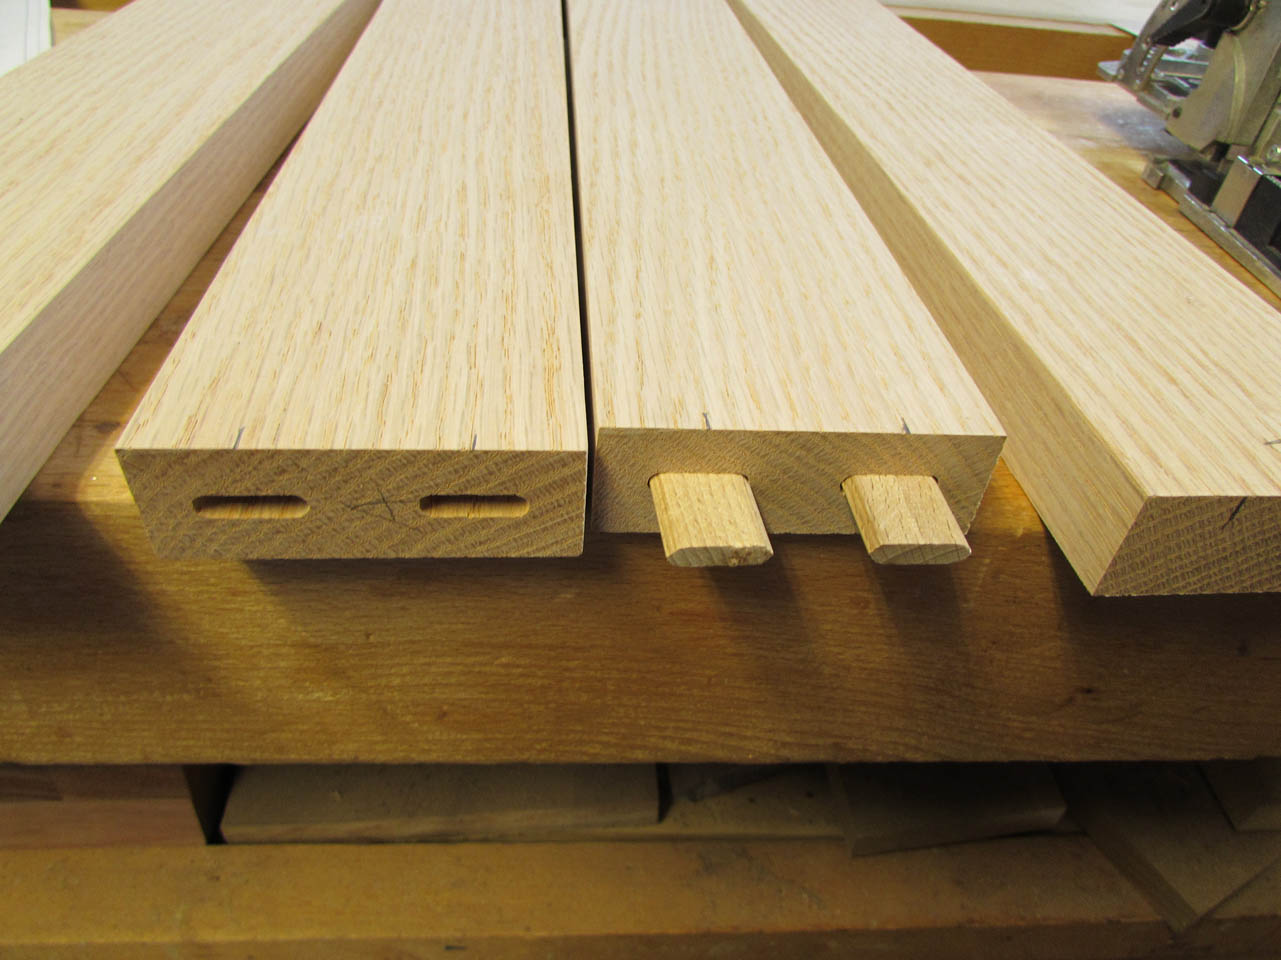
After the ends were cut into the sides of the frame, I cut the mortises into the faces of the front and back boards.


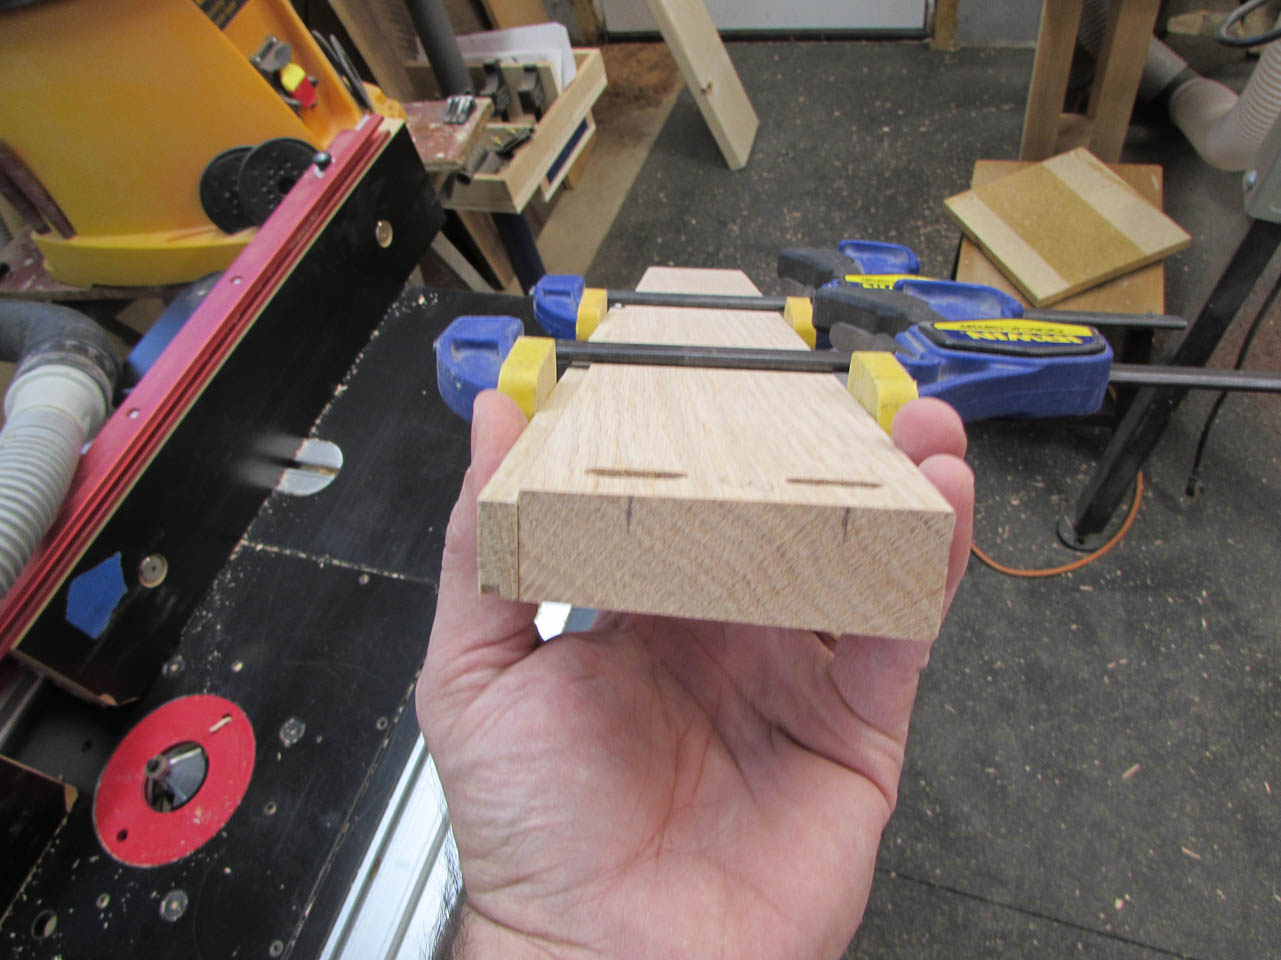
A firm tap with the mallet or two and the frame was dry-assembled to test fit.
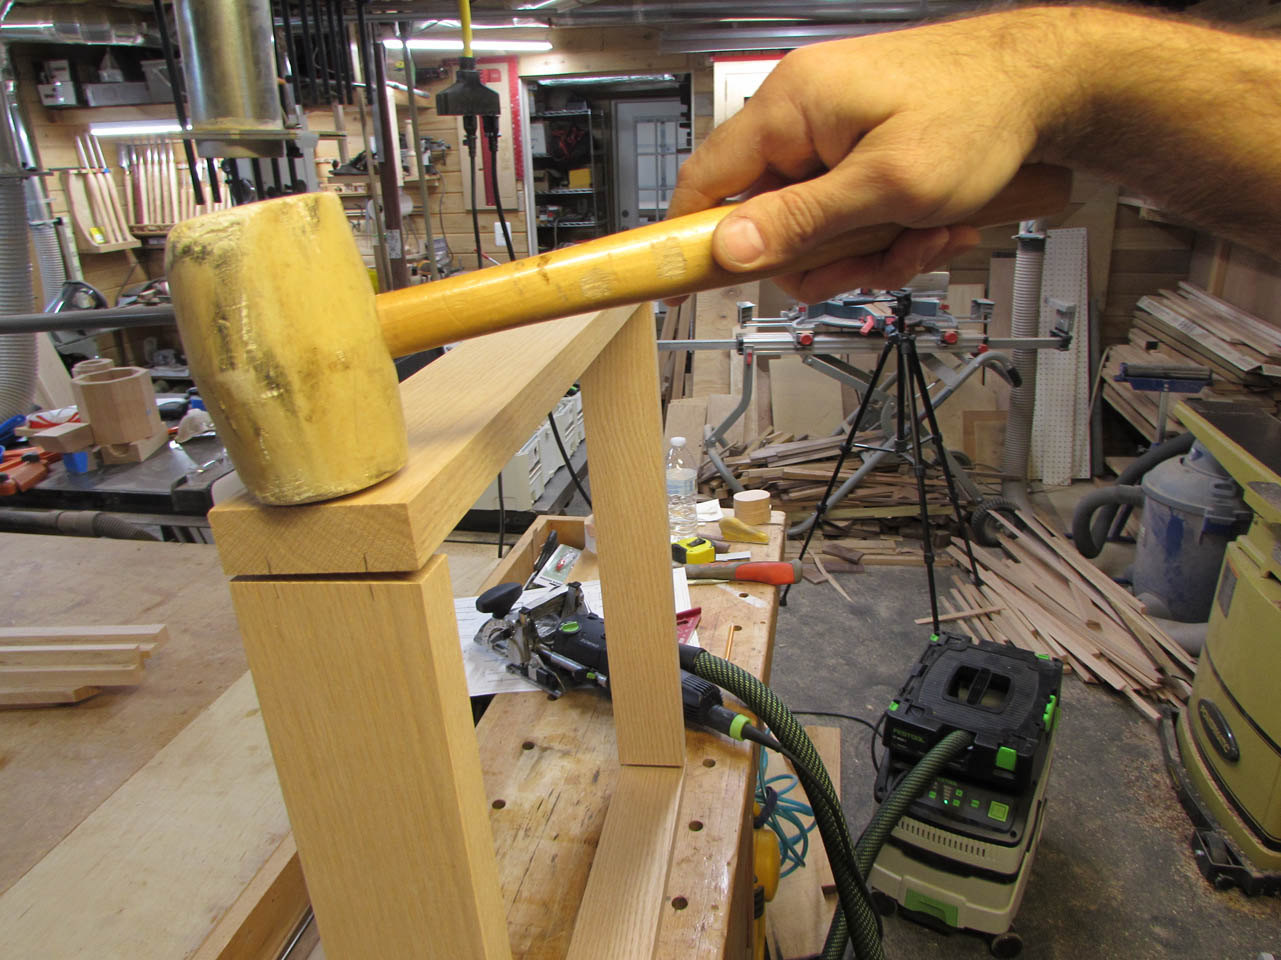
Everything seated squarely so now it is time to finish milling the front and back pieces of the frame. It was far easier to cut the mortises into the square end of the boards.

The front face of the seat frame needs to be angled a bit so that it sits parallel to the columns even though the seat itself will be angled back a few degrees. To achieve this slight angle, I cut a strip of wood, 1/8″ thick.
I used some CA glue to attach the strip to the edge of my front frame piece.
This little strip angles the board about 3° as I run it across the blade of the jointer.
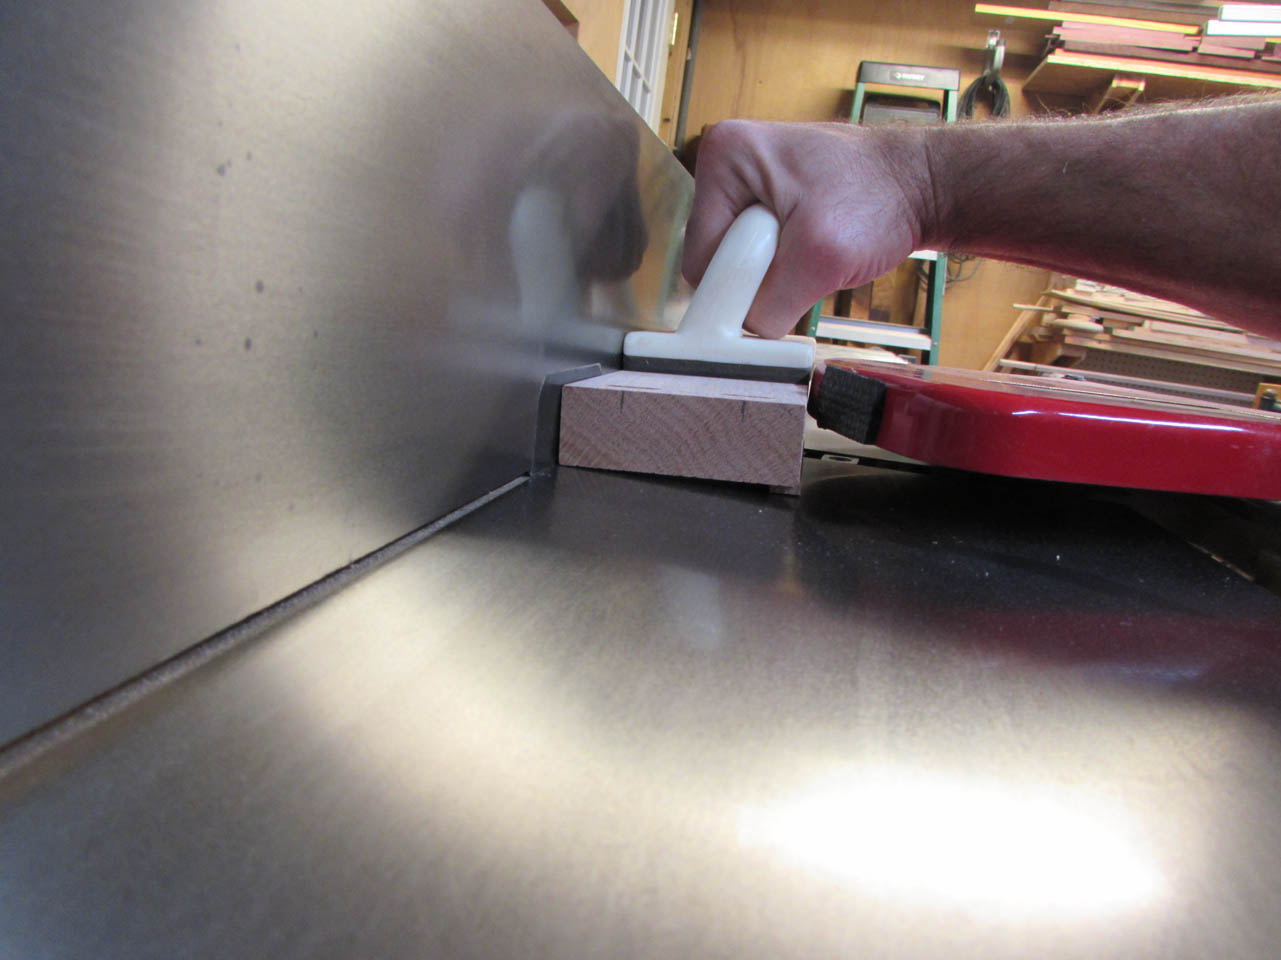
Four passes later, I have a perfectly planed angle. That was a cool trick, I am glad it worked…

I also need to cut a 45° chamfer onto the ends of that board, and the rear of the frame, to mirror the 45° angle of the columns they will be mounted along side. To avoid blow-out, while cutting the angle into end grain, I clamp a sacrificial strip to the back side.

As I cut the chamfer, the strip seems to work well in that capacity. The strip itself only suffered a few fibers torn away, but the main block was undamaged.


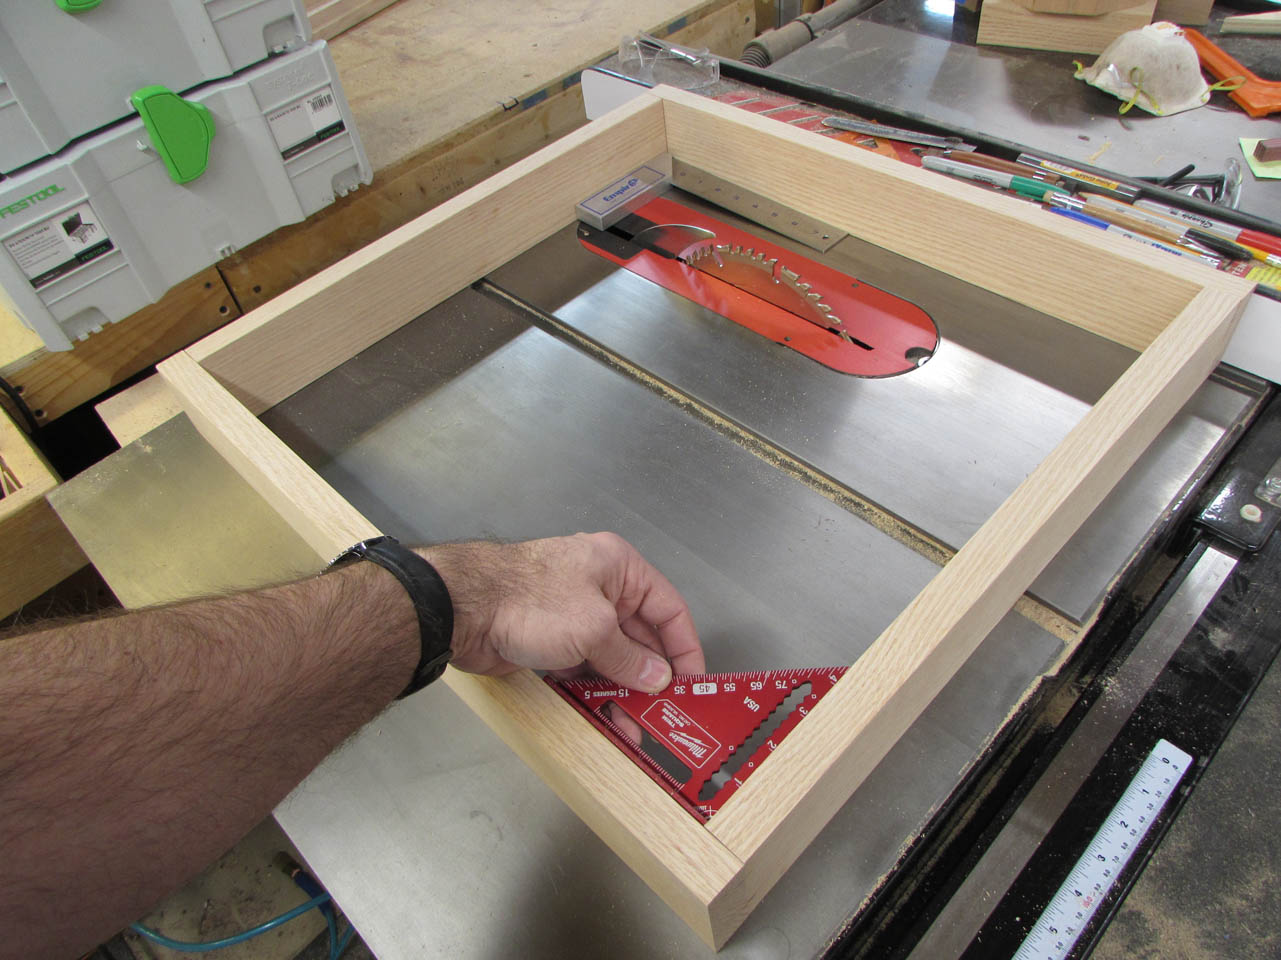
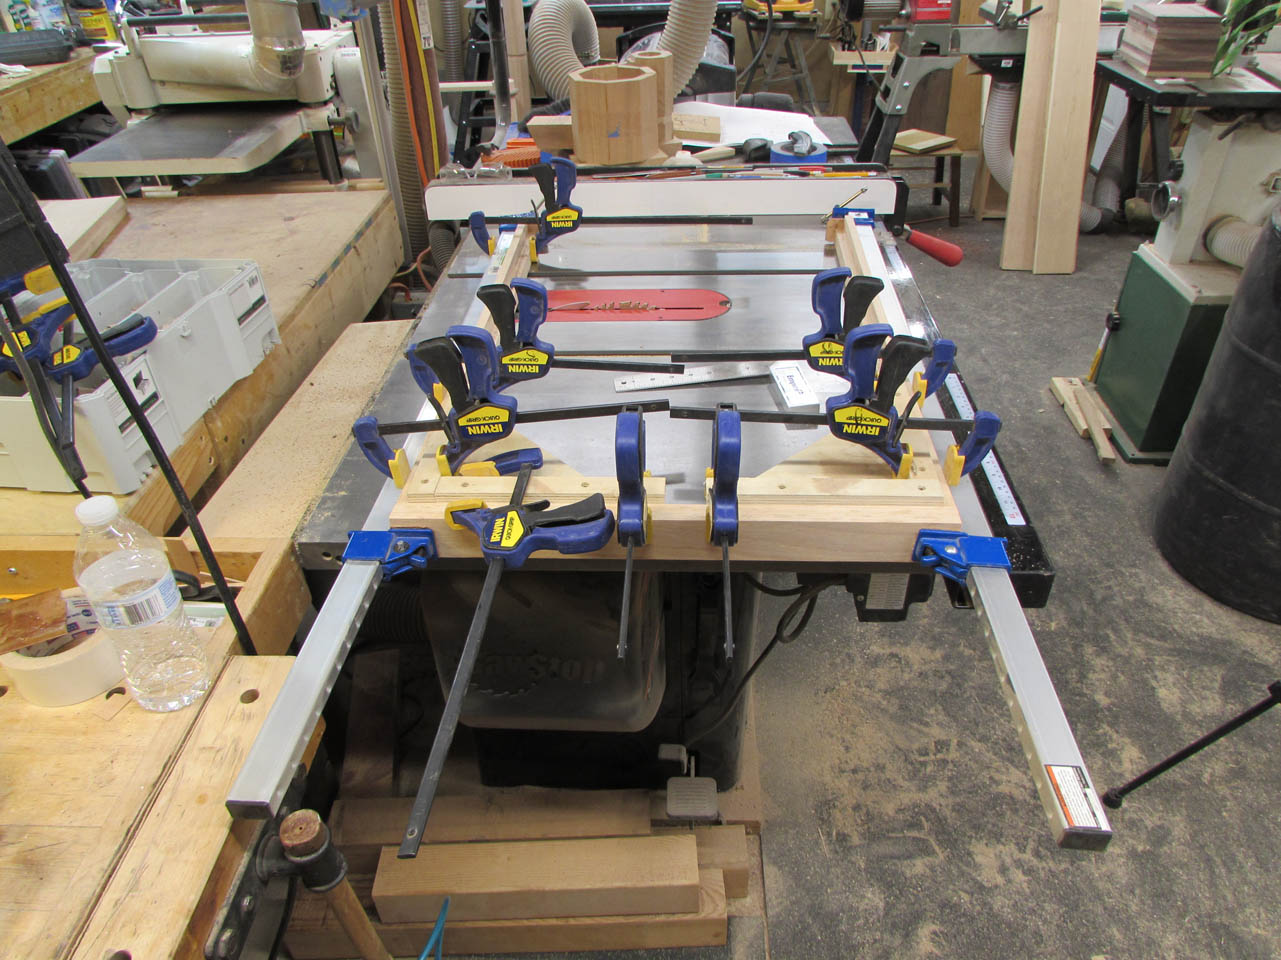
After sanding the chamfered ends, it was time to glue everything together.

I used my square corner blocks and a lot of clamps to insure that the frame was square and flat.


While that part of the seat was drying, I moved on to assembling the rear frame. Since the vertical sides had a rabbet cut into them, I stepped down to smaller tenons. They don’t seem like much, but they are incredibly strong within the joint.

I used my Domino again to cut the mortises.

Then glued, squared, and clamped up the three sides of the frame.

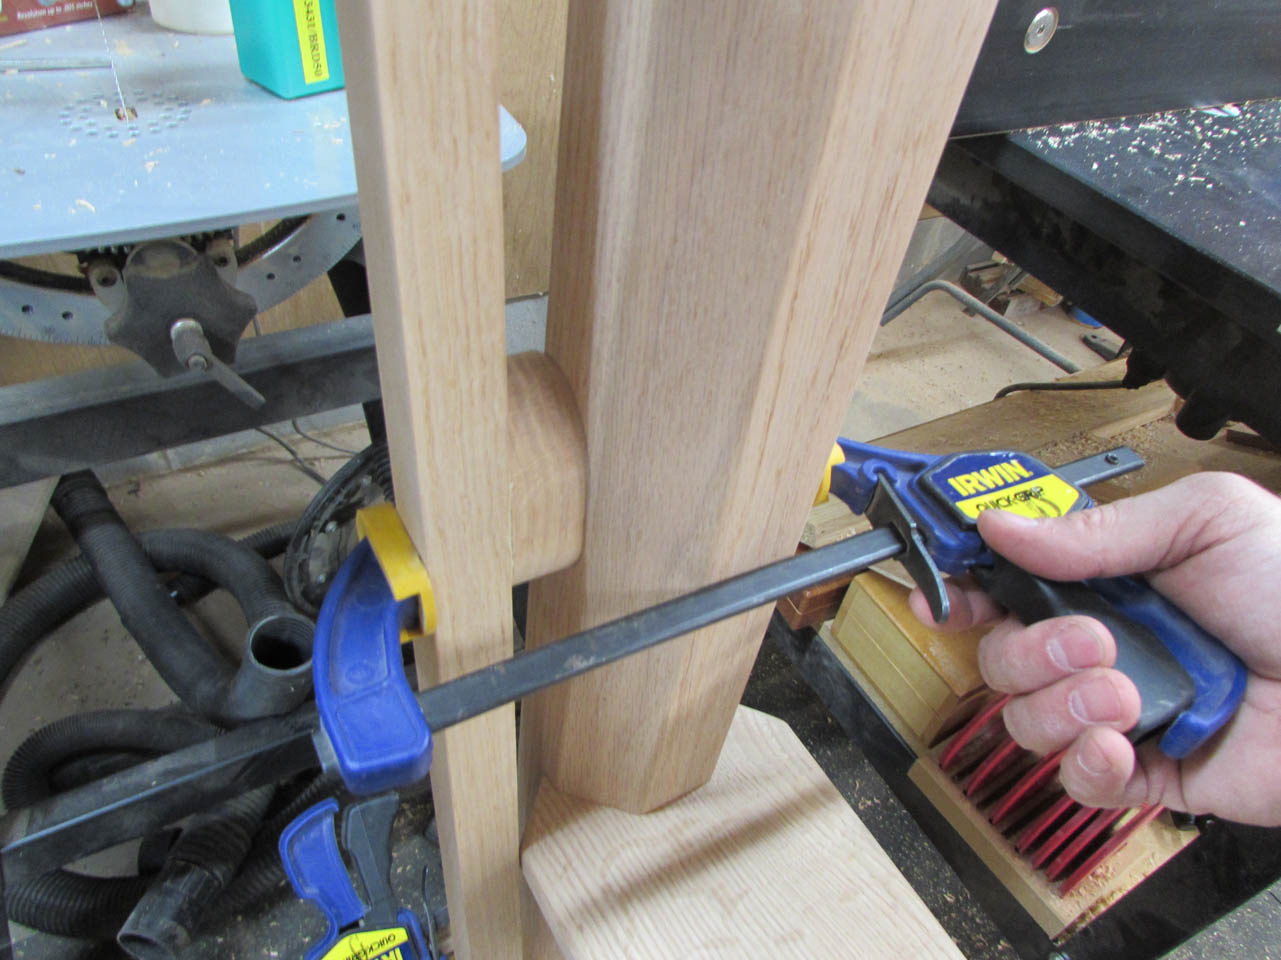
To achieve the slight back angle that makes a seat comfortable, I needed to get creative to figure out how to accurately mark the columns. I clamped together two squares to accurately project my height over to the column.

Then I clamped a block to each of these marks and set the frame in place.
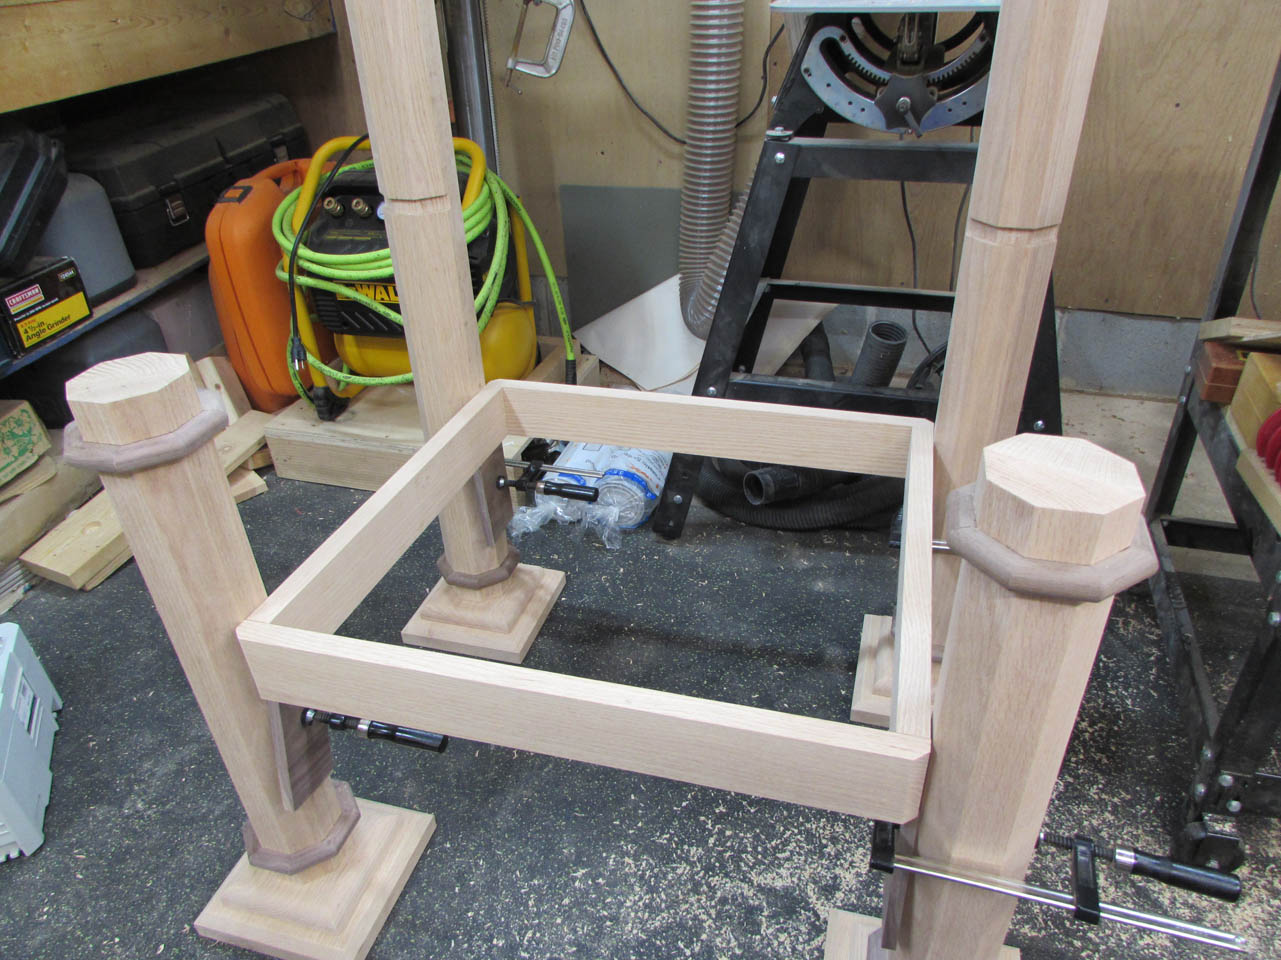
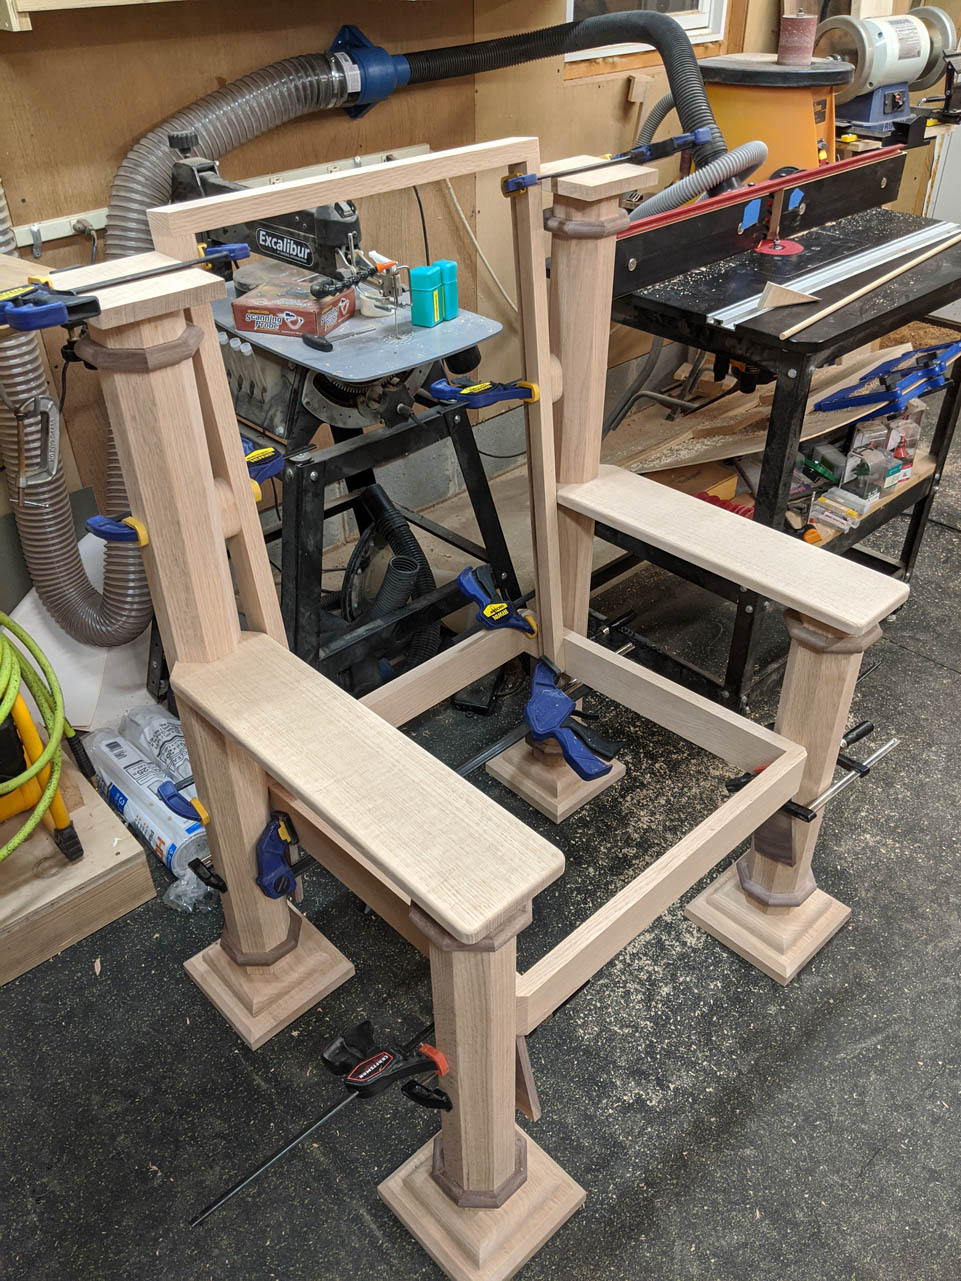
You can see below that the angled front board lines up perfectly parallel to the column and mirrors the angle. I wasn’t too worried about the back, but this front piece is highly visible and I wanted it to look right…


I squared and aligned the bases of the columns and clamped the seat frame in place.

With everything clamped in its final location, I can now mark the length of the arms to cut them to the correct length.


I marked 1″ past the column, to match the sides, then cut away the excess.

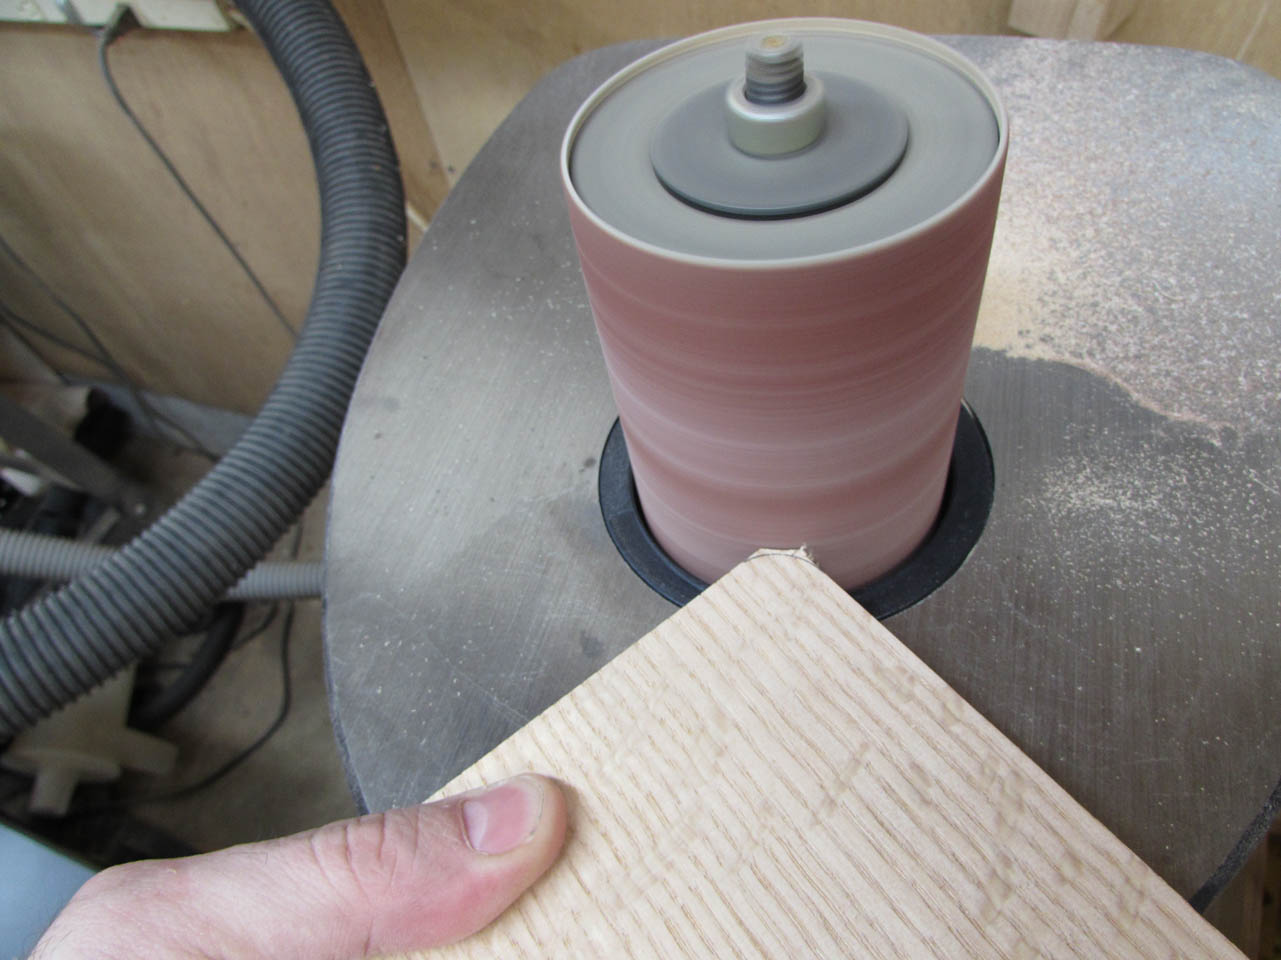
I used a coin to mark the small curve at the front corners and sanded down to my mark on the spindle sander.
With the arms nicely radiused, I installed my 1/4″ round-over bit in the router table.

I cut the radius onto the two long sides and the ends of the arms, leaving the bottom of the arms square.

Then I blended that curve around the back angle, with my sander, to transition from the 1/4″ radius to a sharp corner, where it meets the column.


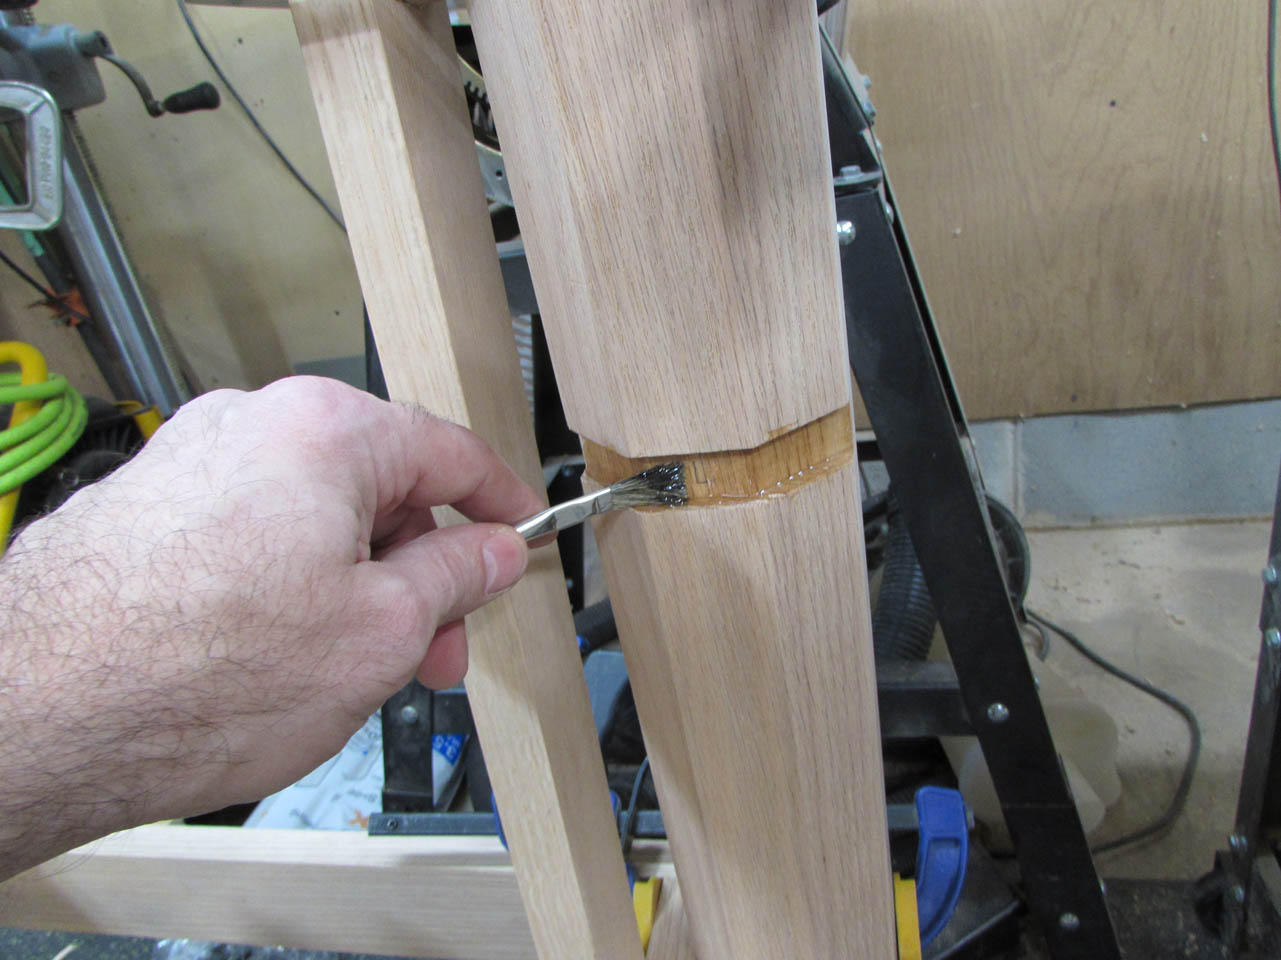
With the arms back in place, I started marking every connection to the columns. I intend to mask these areas so that I can pre-finish the chair in pieces, then glue it back together at these locations.


I applied a little bit of glue to my mid-span connector blocks and clamped them back in place.
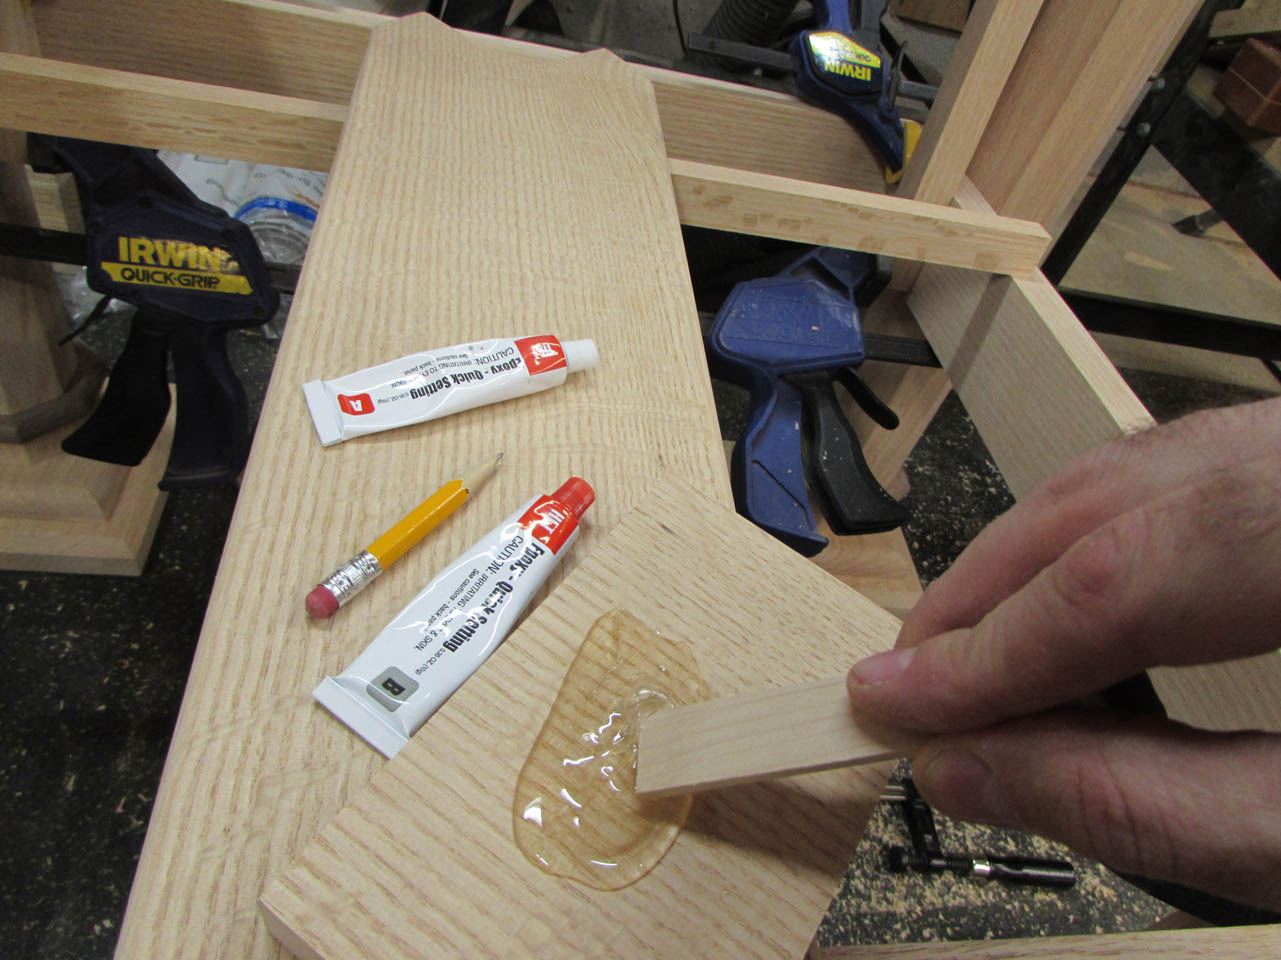
Next I mixed some two-part quick-set epoxy and applied it to the arms for assembly. Being an end-grain glue-up in an awkward location, epoxy is the best choice.

I mixed another batch and installed the second arm, then used a few brad nails to attach the arms to the front columns.

And, we have the beginnings of a chair!
I assembled the inner seat frame with glue and some brad nails, then using a chunk of 3/4″ plywood as a spacer, set the frame in place then glued and nailed it on. This piece will support the plywood base.

When all the glue had set up, I pulled off the two frames and marked all the locations that needed masking.

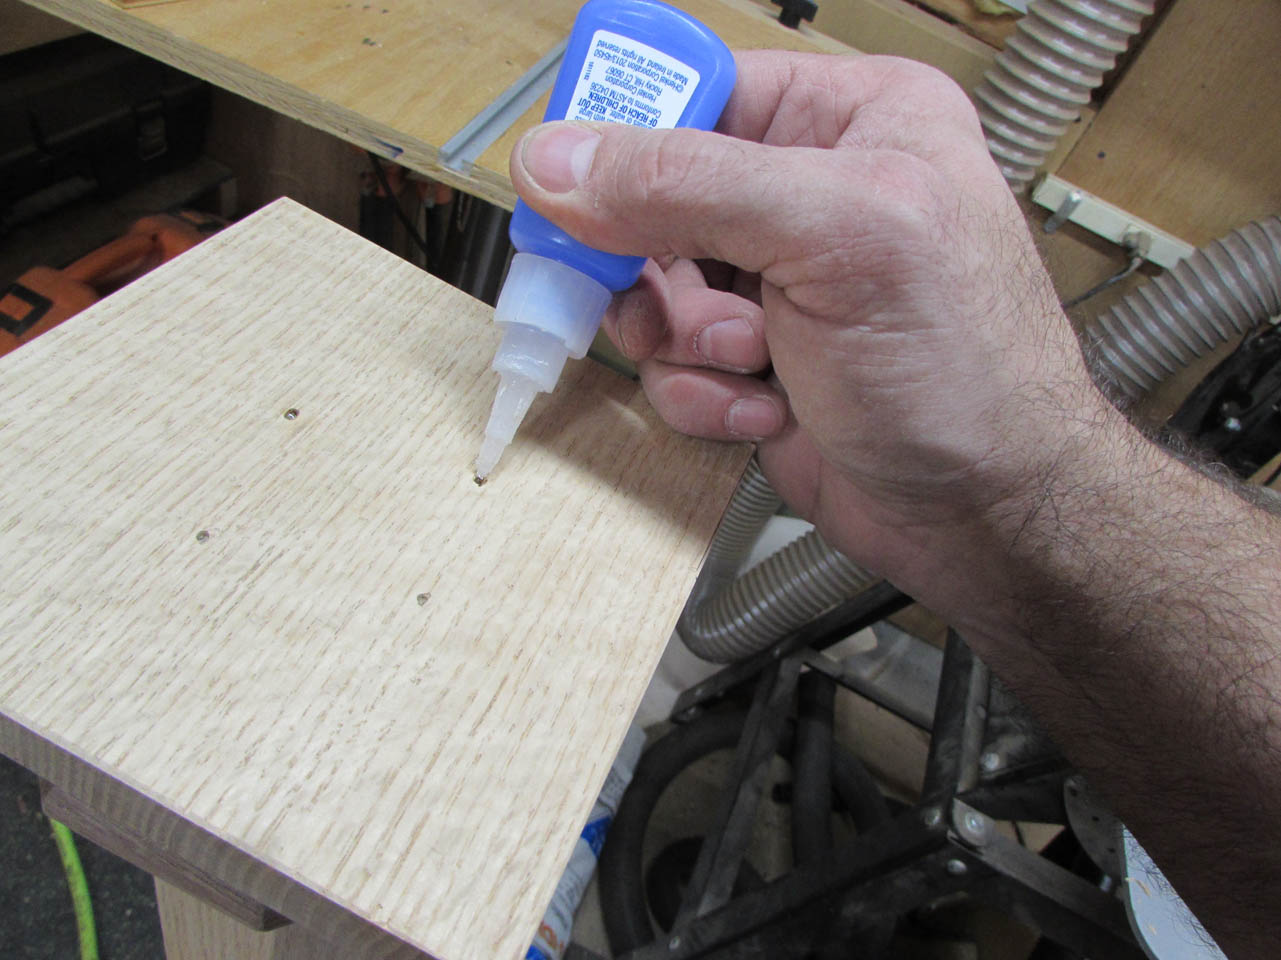
The final thing I am doing this weekend is filling the brad nail holes in the arms and column caps. I placed a small drop of CA glue into each nail hole, then filled the hole with fine oak sawdust.
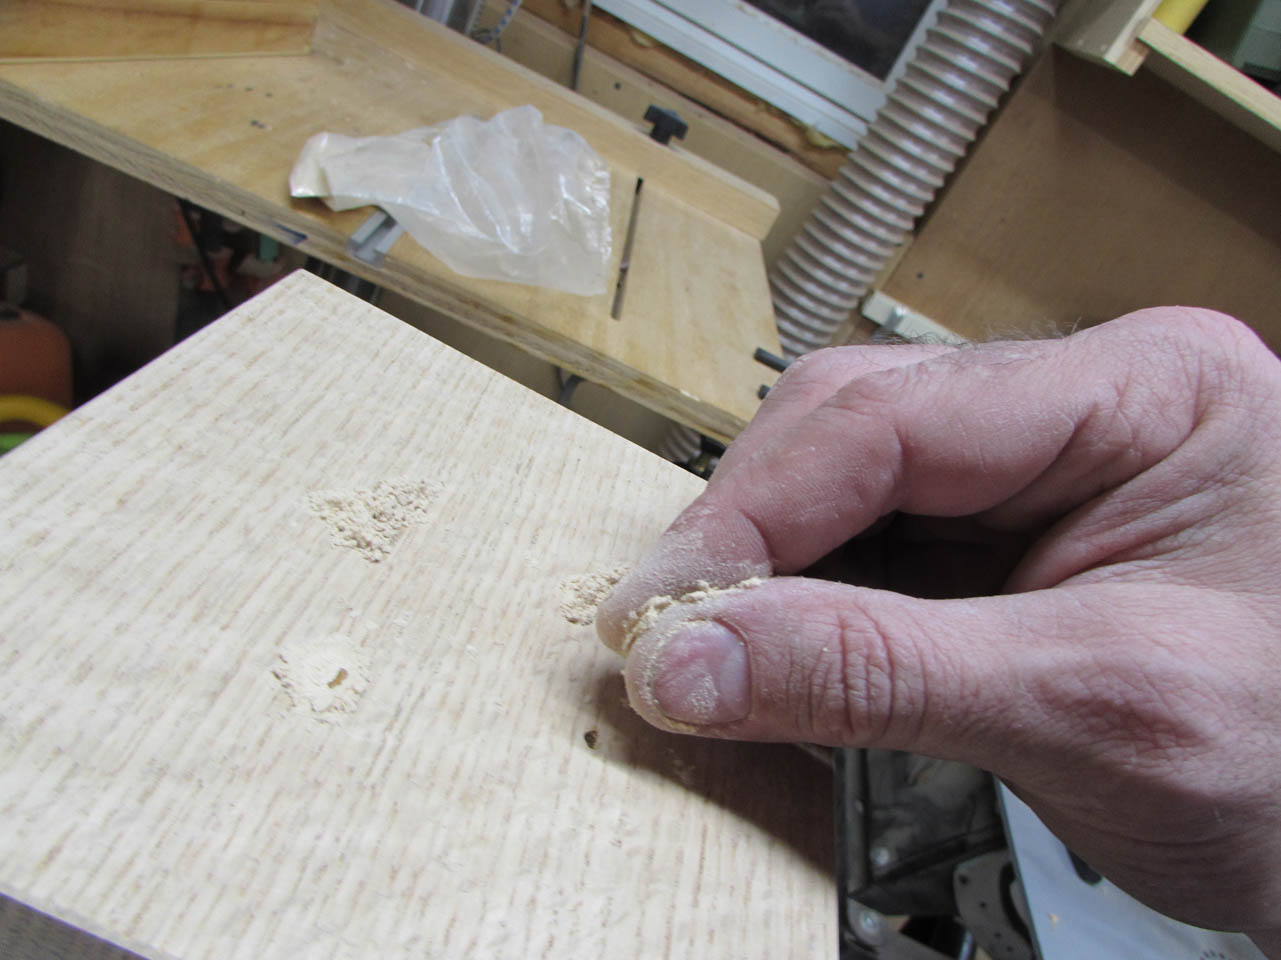
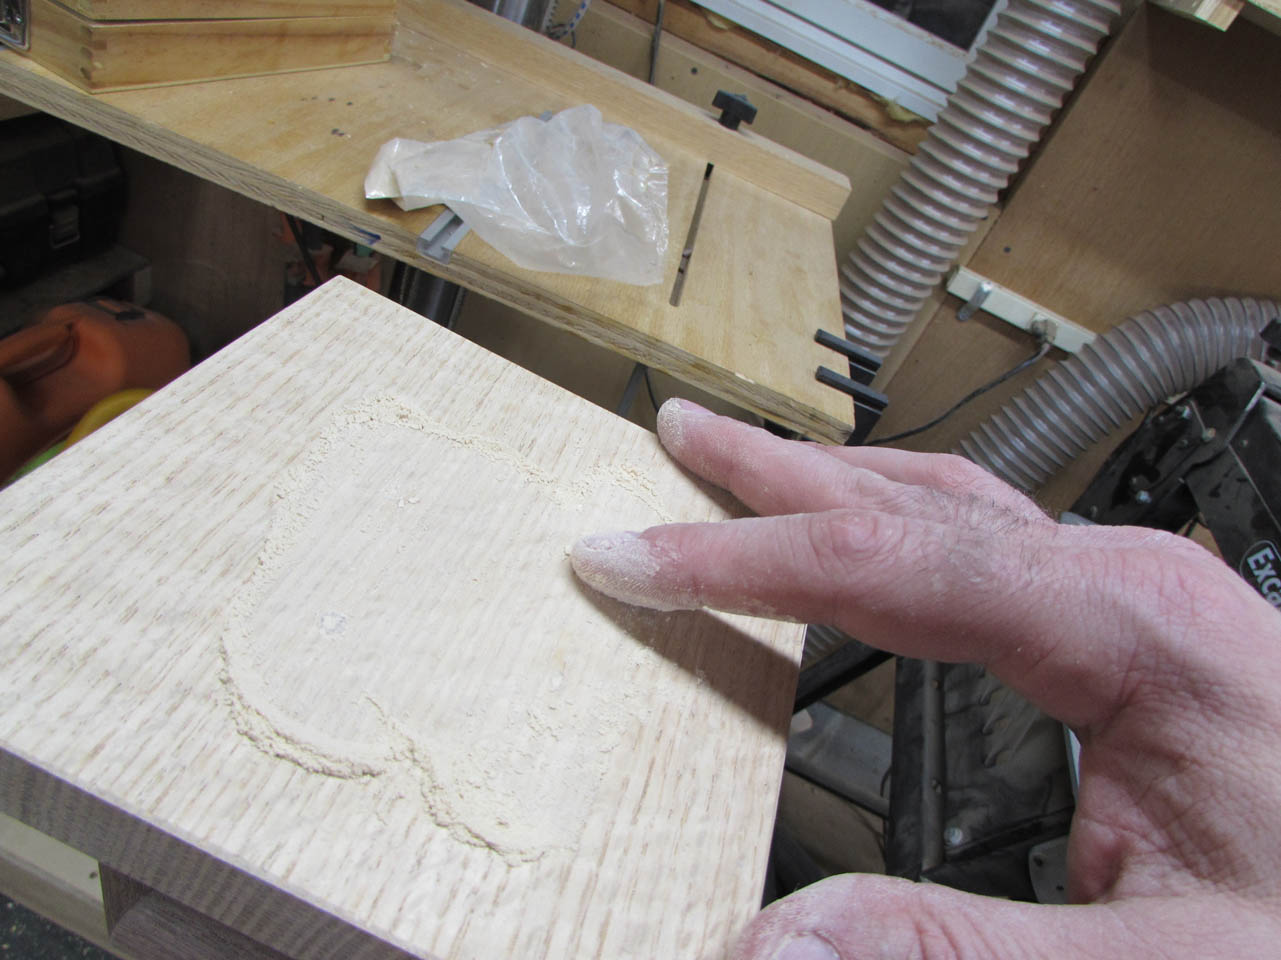
I rub this in and repeat if necessary, then sand it down flush. The nail holes nearly disappear completely.

I got a lot done this weekend, Hopefully I can get the chair finished and assembled this week.
