
St. Kilian chapel – Pastor chair, part 2
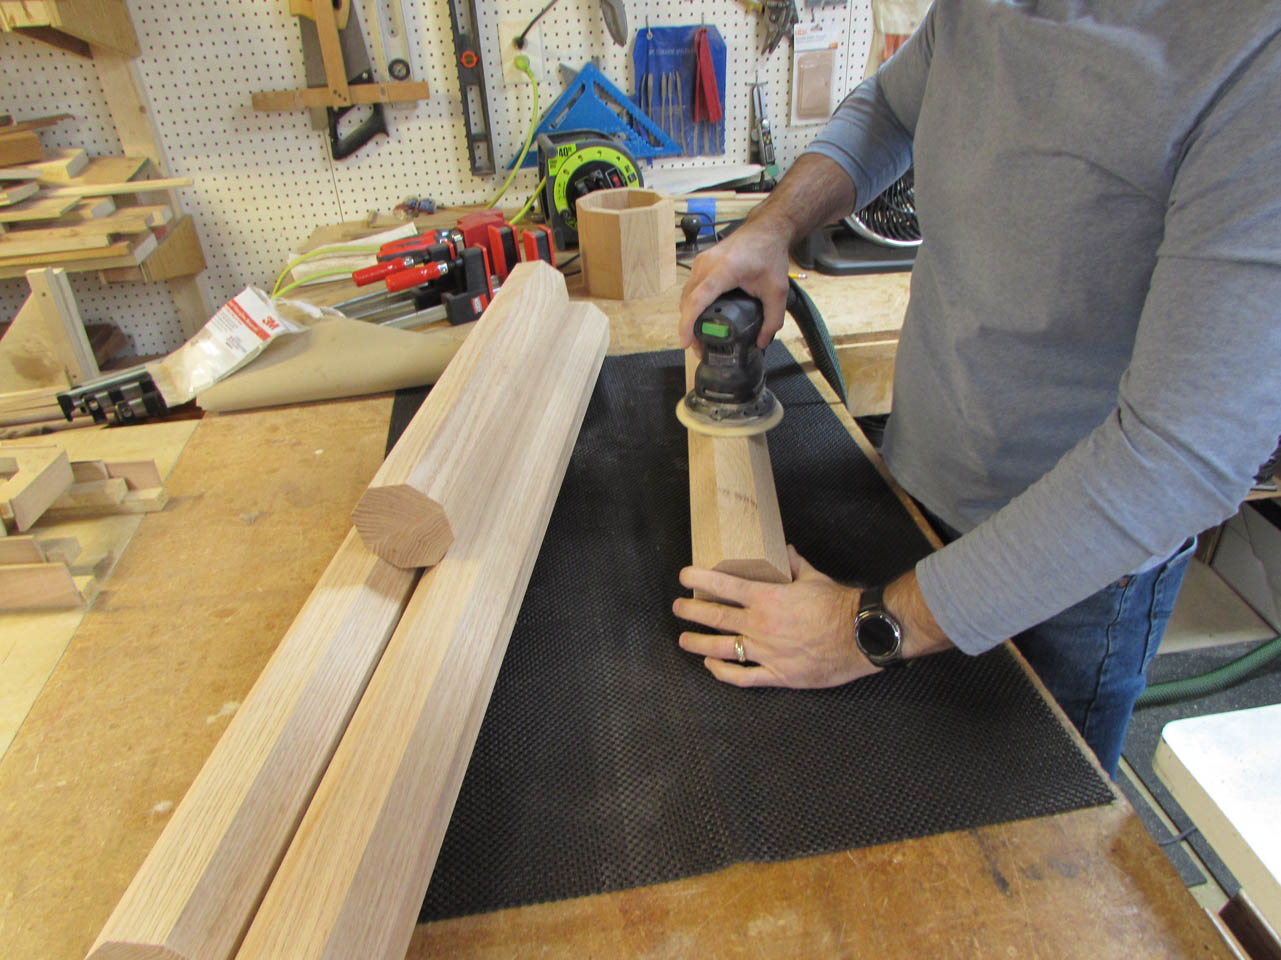
I decided to sand the four columns before adding the trim.

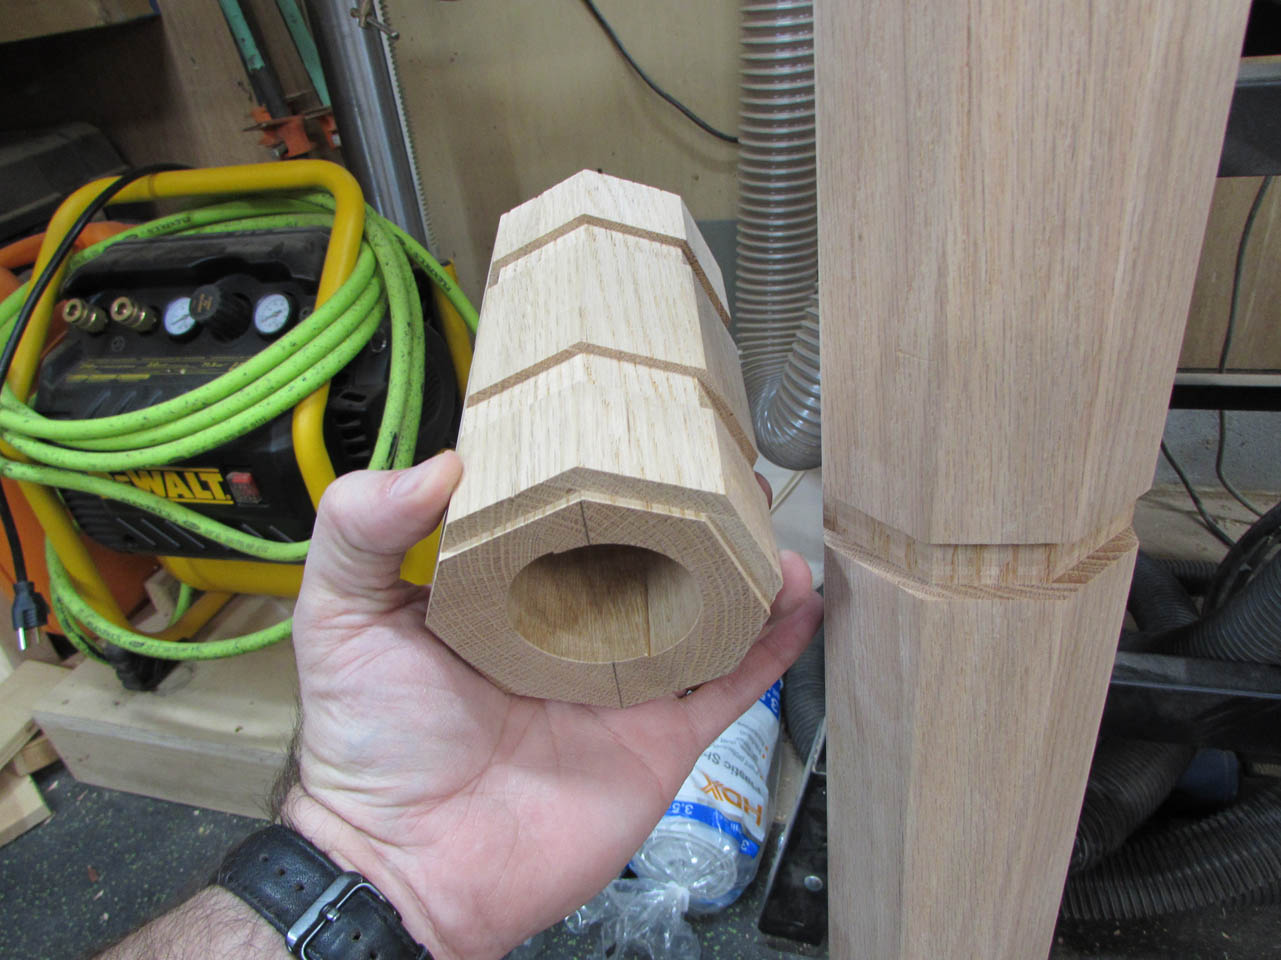
Like the Ambo, the columns on the chair will have a walnut bullnose wrapped around the top and bottom of the columns.
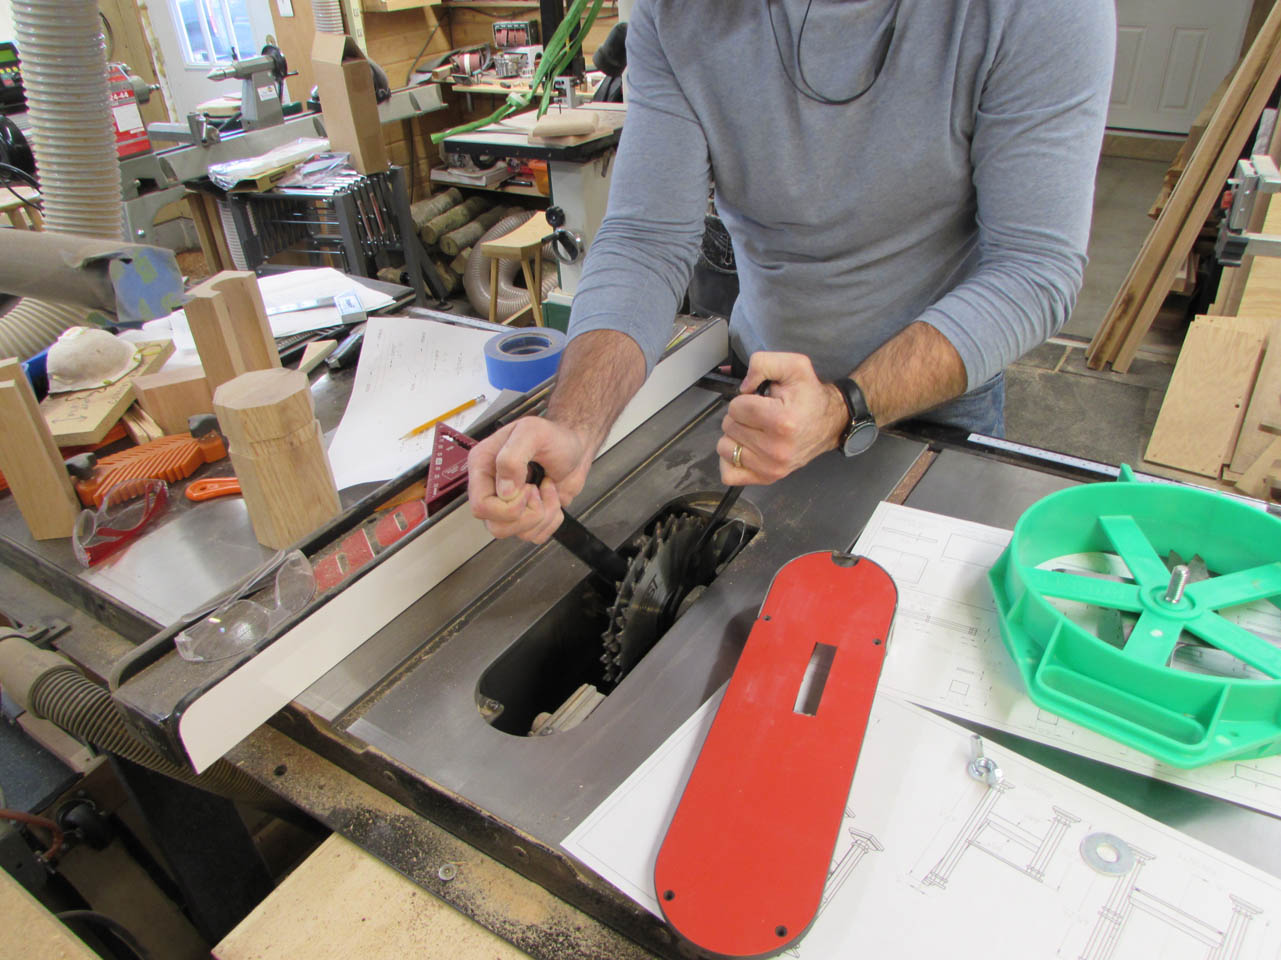
I installed my dado blade in the table saw, set at 3/4″ wide.

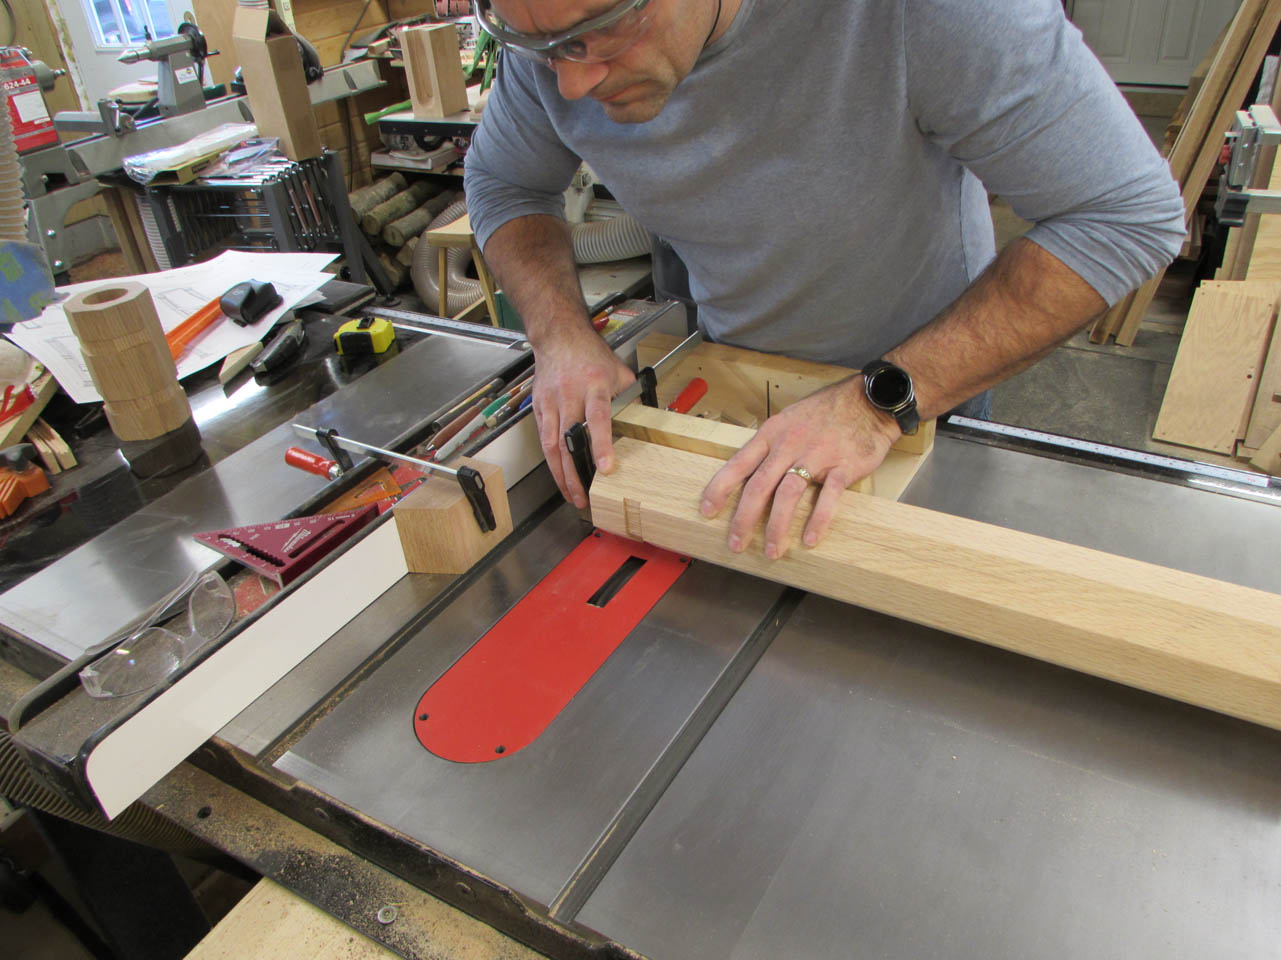
Then I set up some stop blocks on my fence and cross-cut sled. I used my short prototype column to verify my setup and set the depth of the blade.
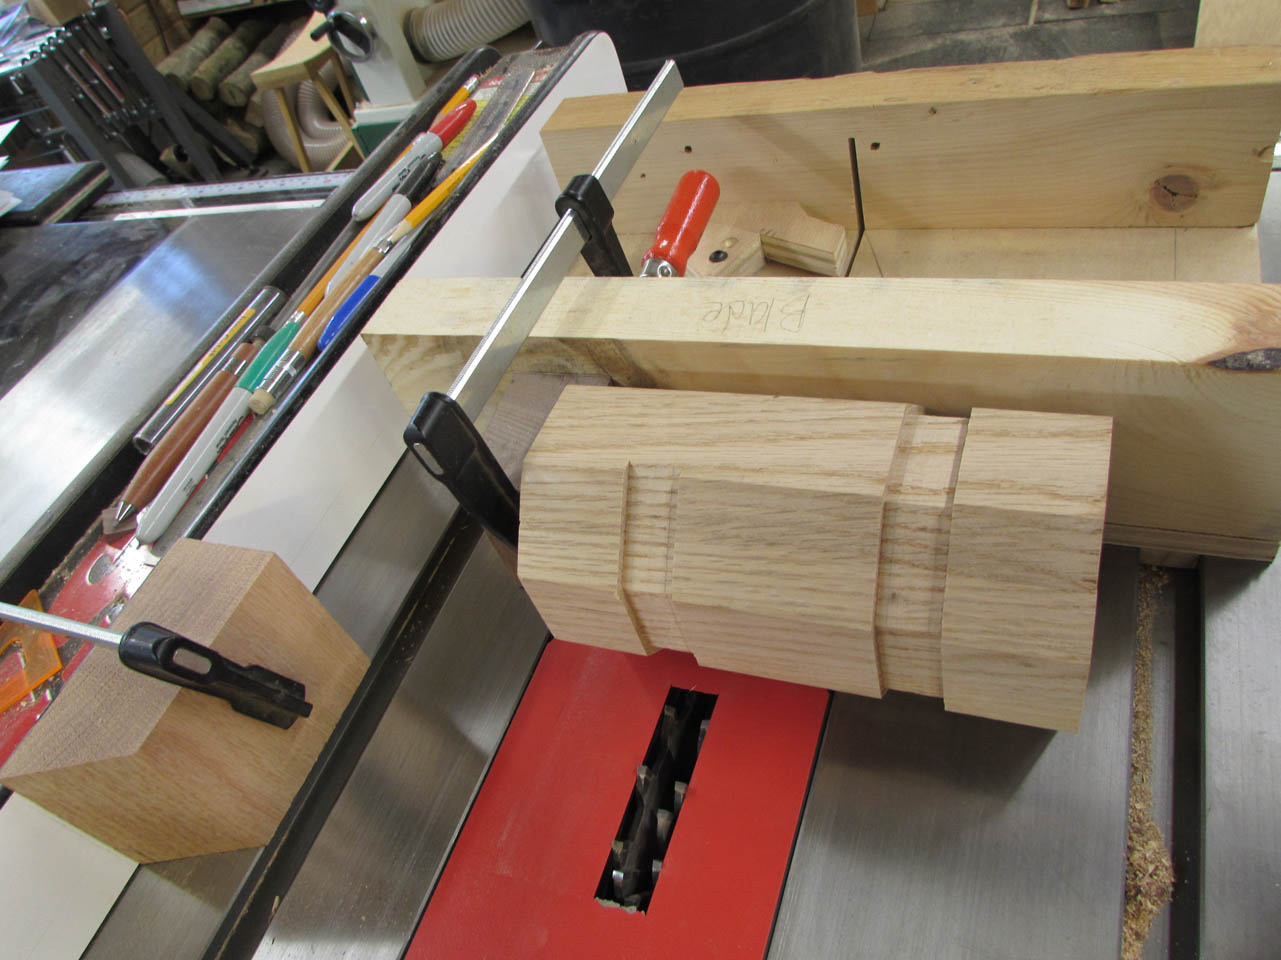
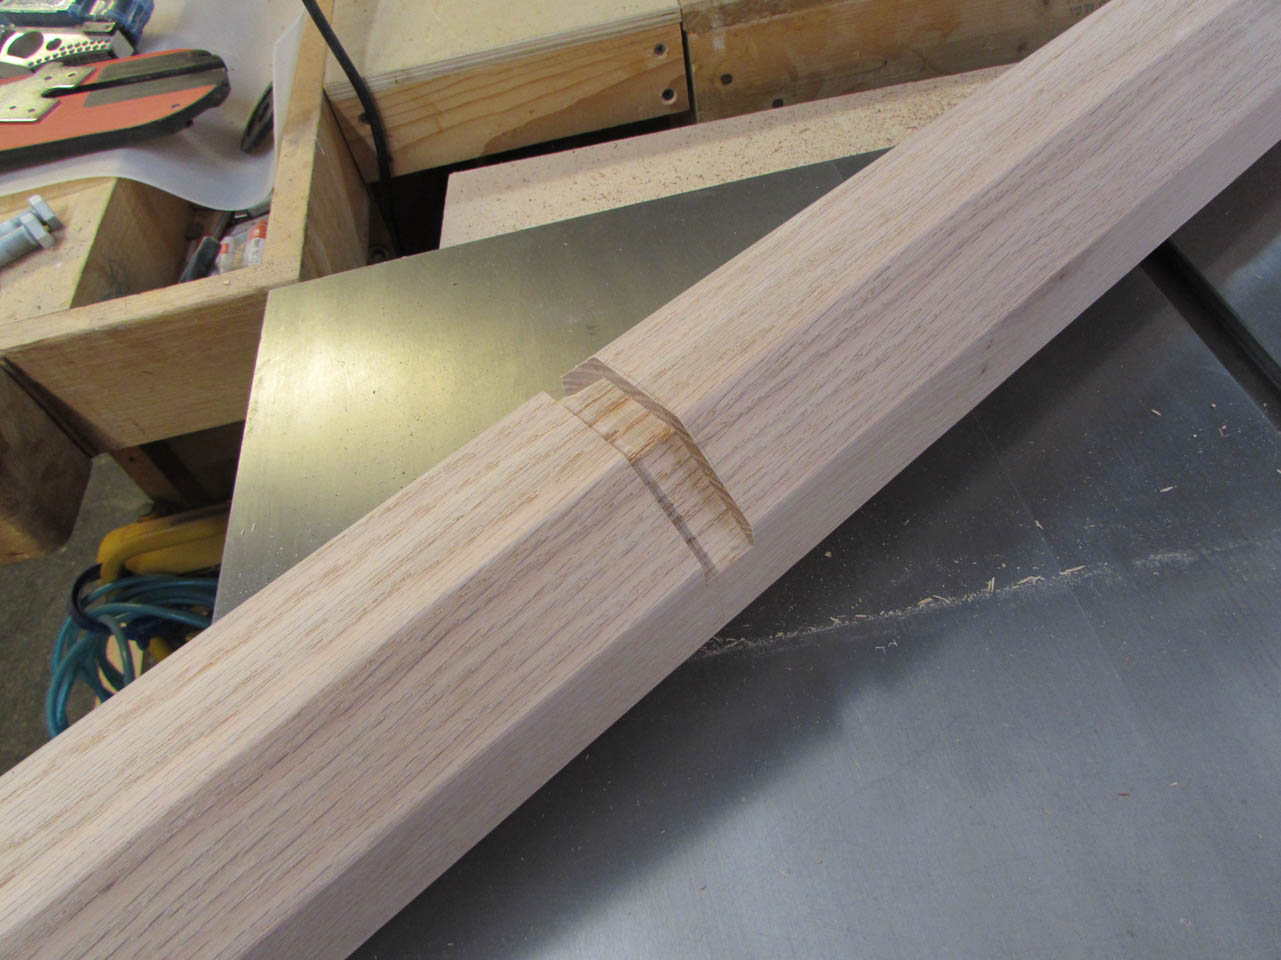
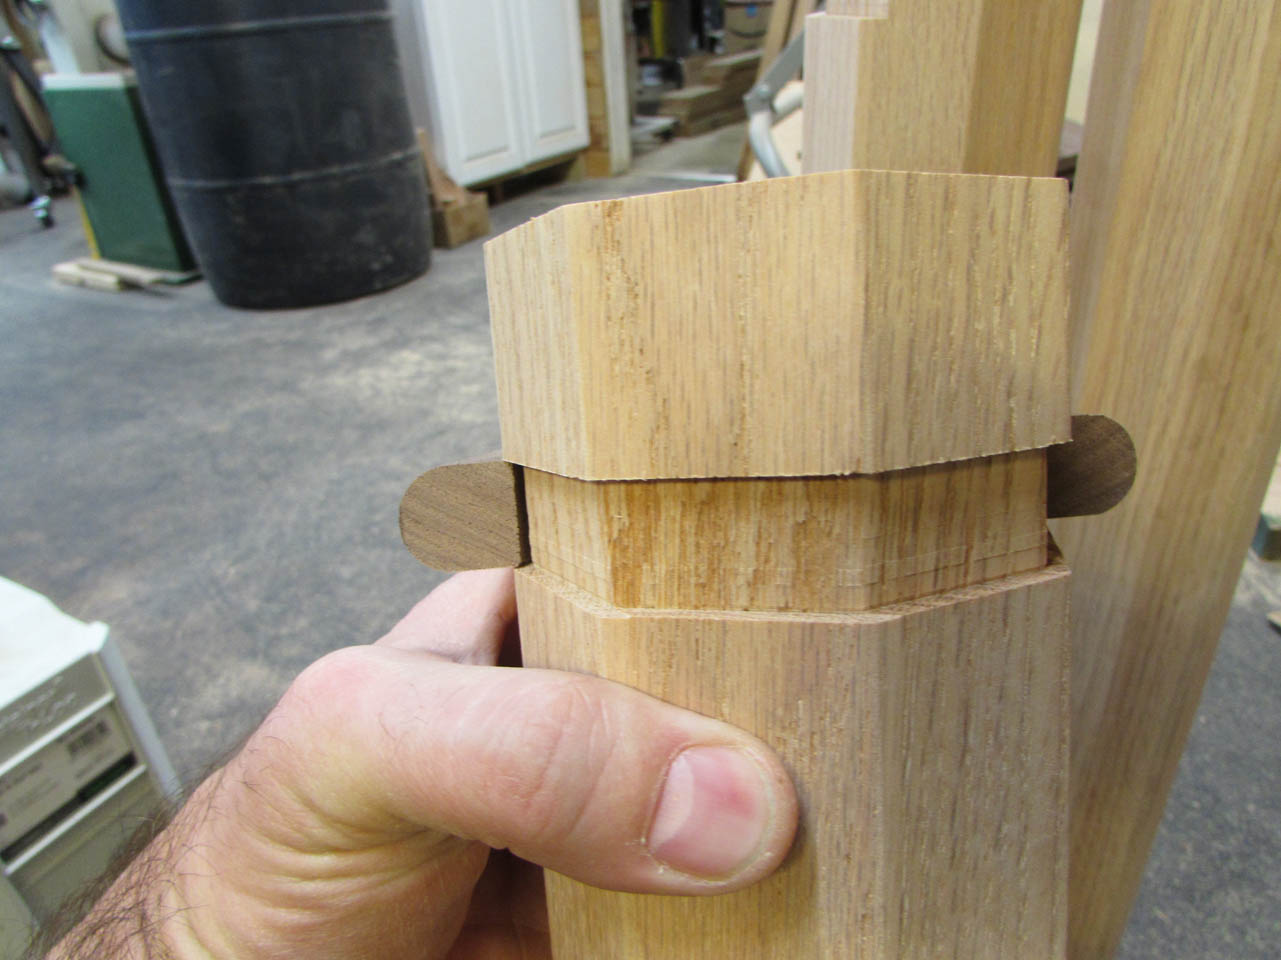
I cut a 1/8″ deep dado around the top, then the bottom of each column.

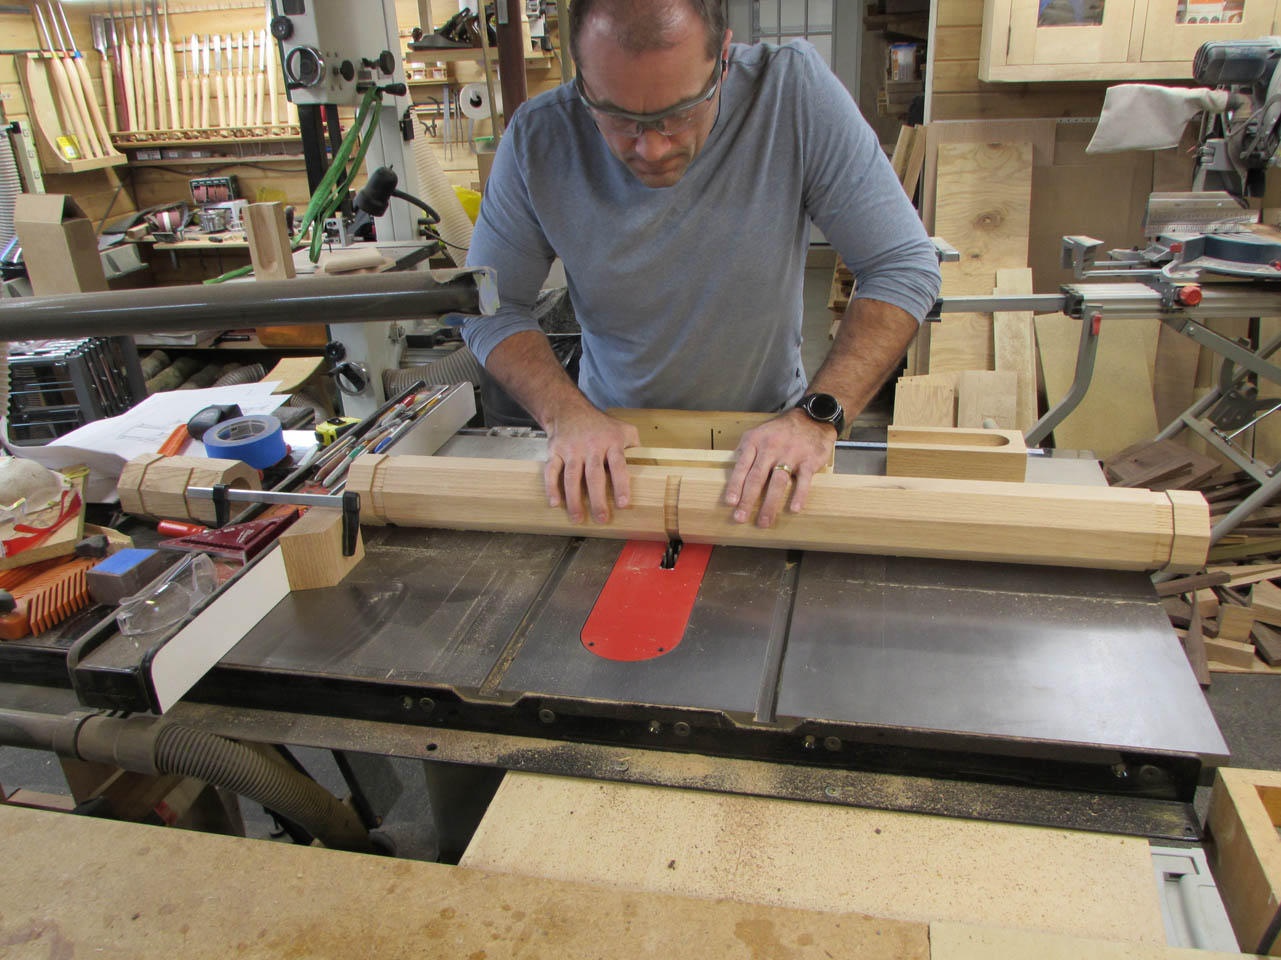
Then I adjusted the fence and cut a 1/4″ deep dado on three facets to establish the pocket for the arm of the chair to attach to.
The columns are done so I got some of the walnut bullnose, left over from the ambo, and started cutting it down to the right length.
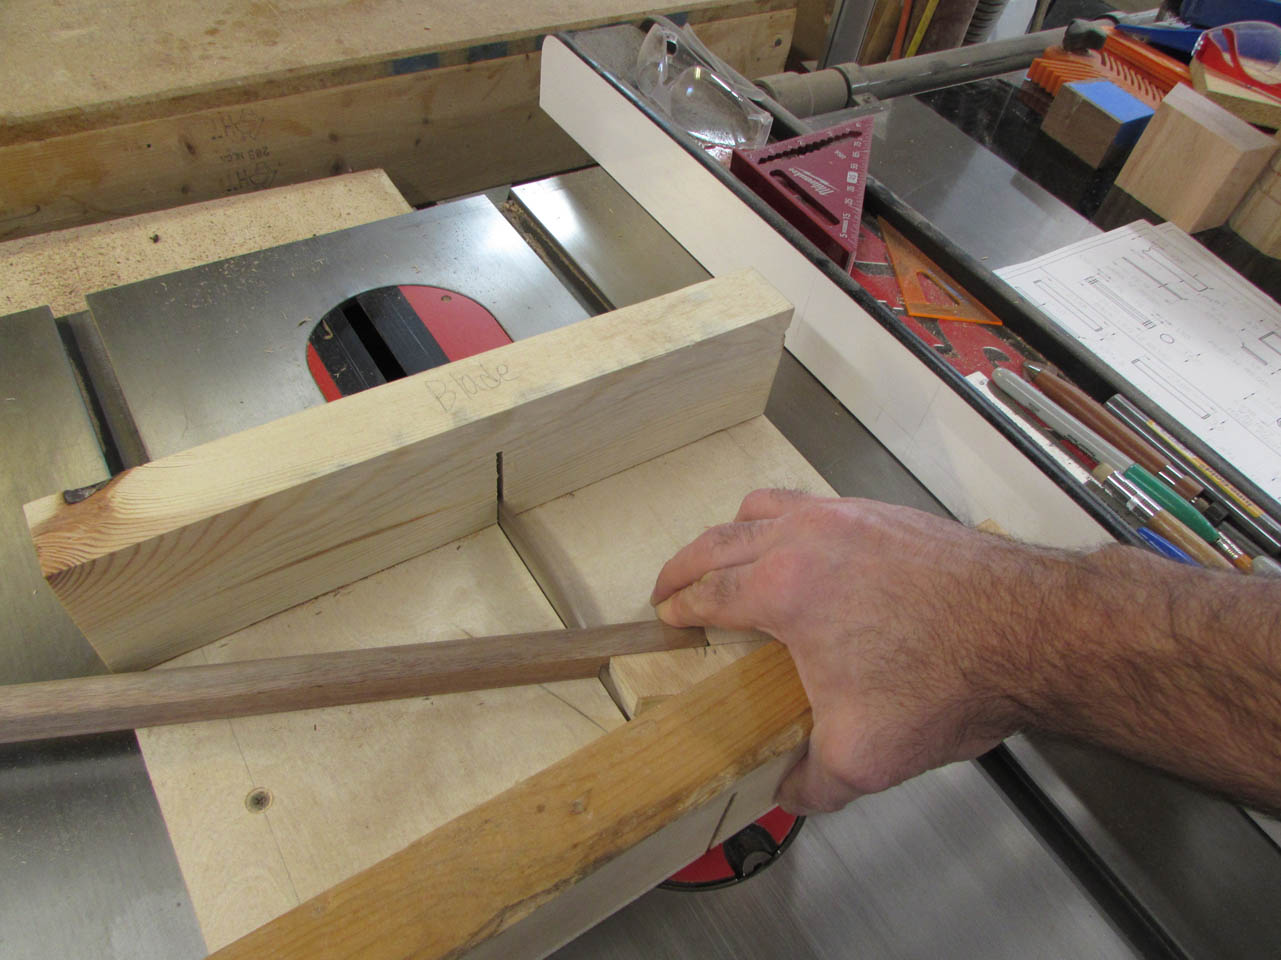
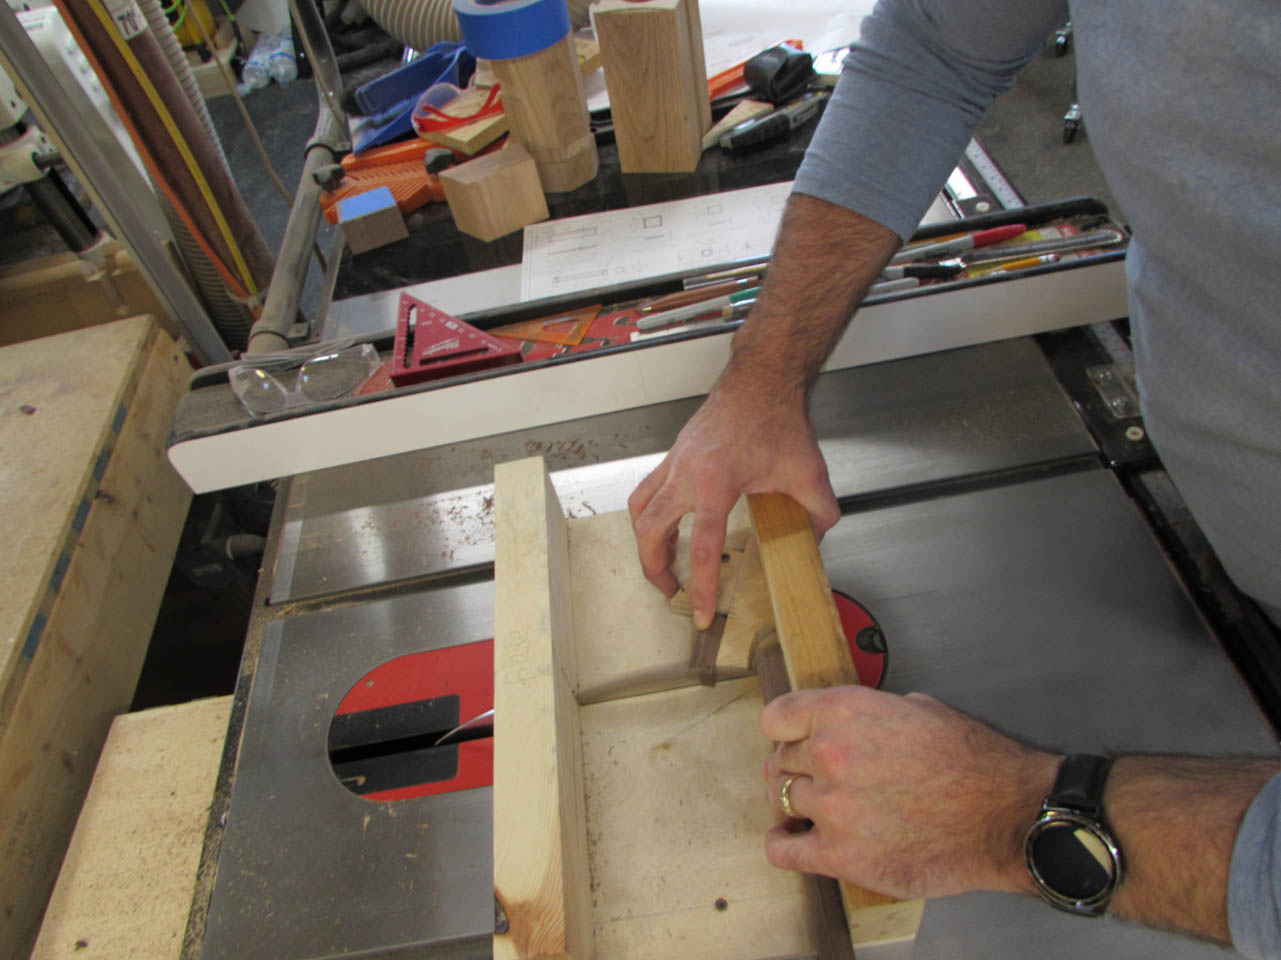
My stop blocks, added to my cross-cut sled make it easy to cut the walnut to length and add the angles.
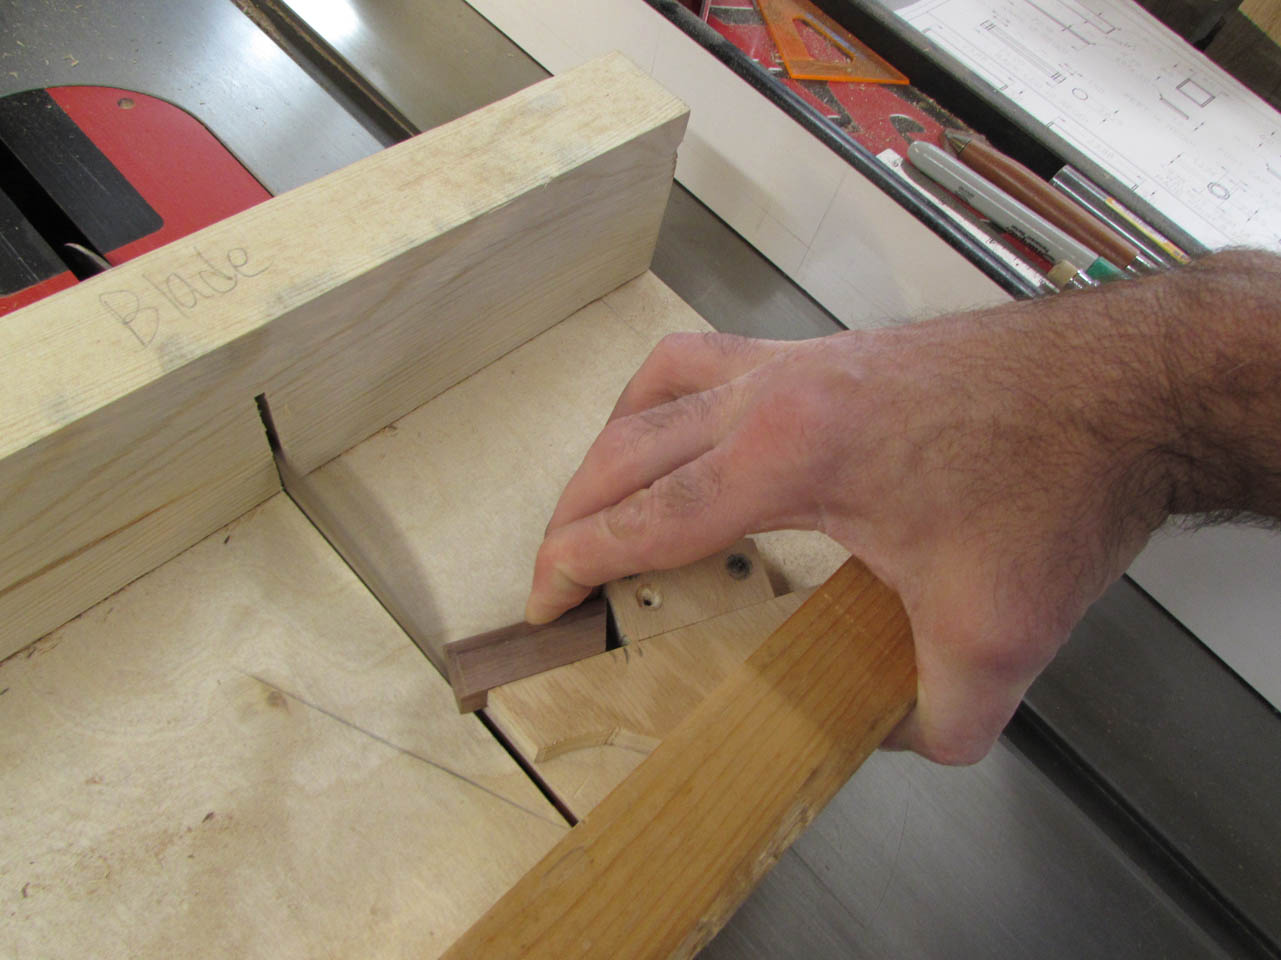
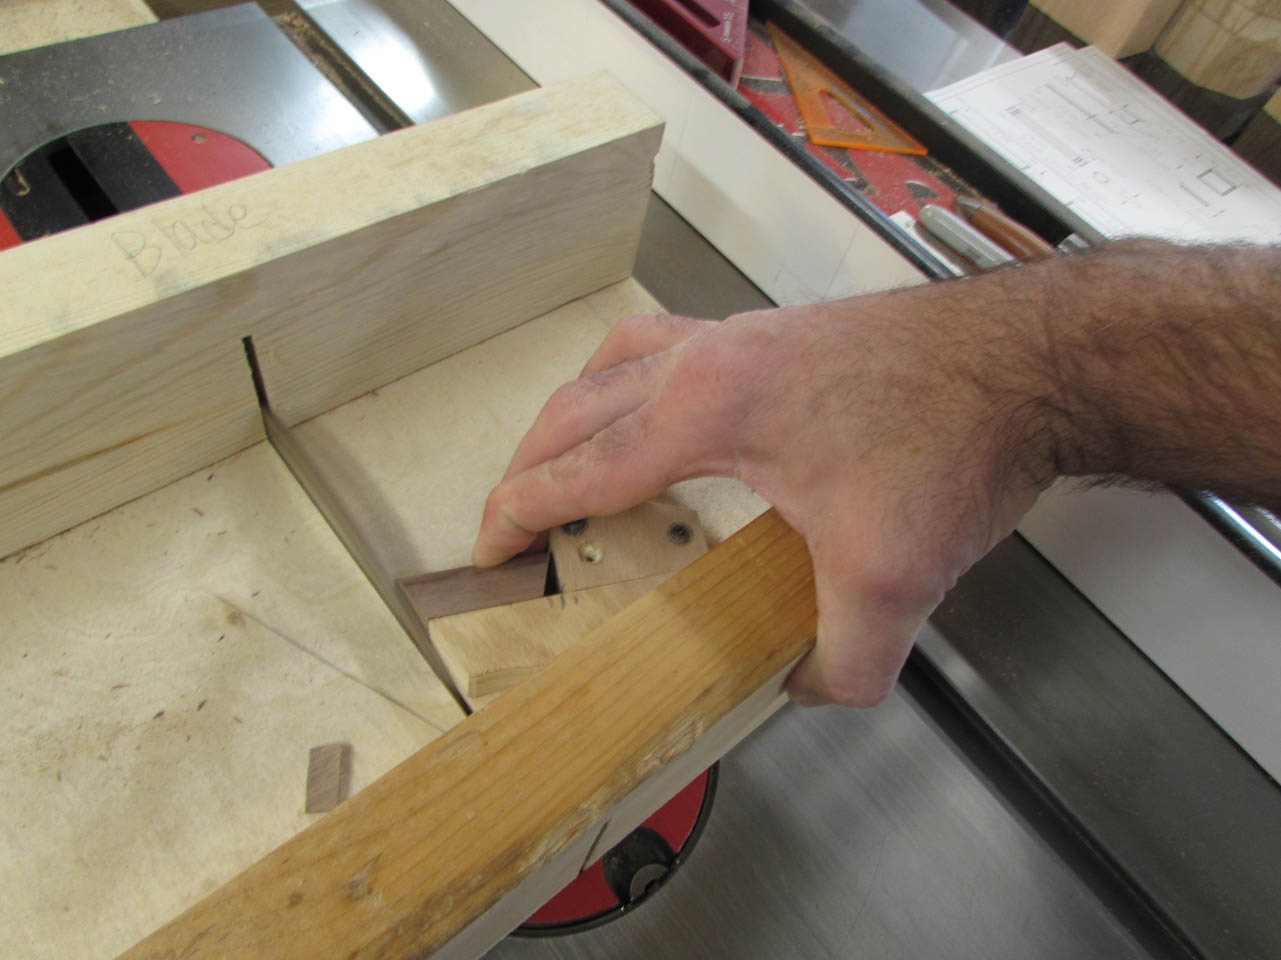
When one piece is cut, the end has to be cut off to make the next.

I found that if I paid careful attention to where my fingers were, I could cut the end of the long piece of stock straight while cutting the angle on the short piece.
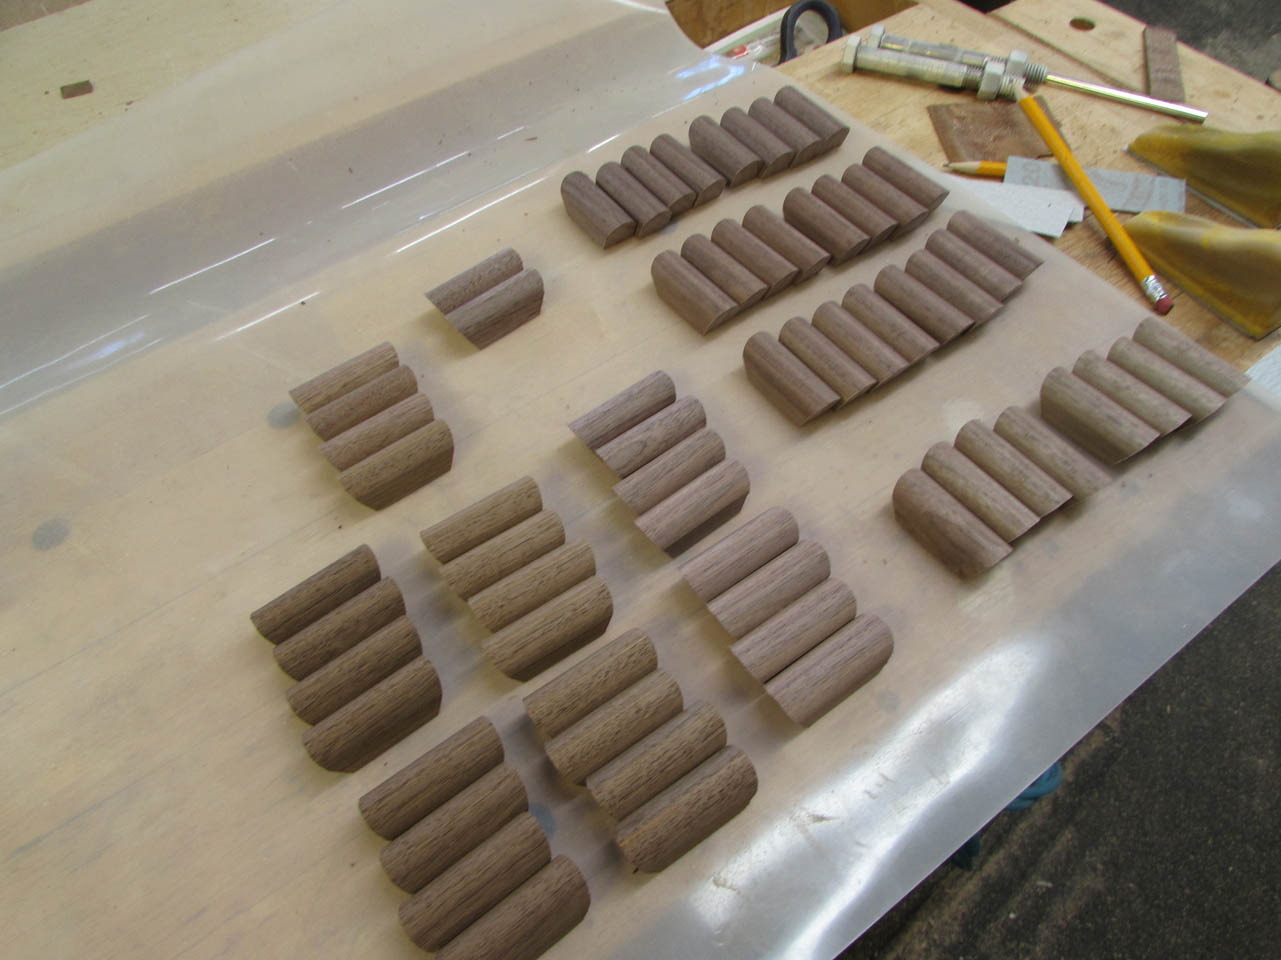
When I had 64 of these little pieces, it was time to start cutting.

I made sure, when I cut the pieces, to lay them out in the order they were cut. This allows me to match the grain back up so that it appears to flow all the way around.
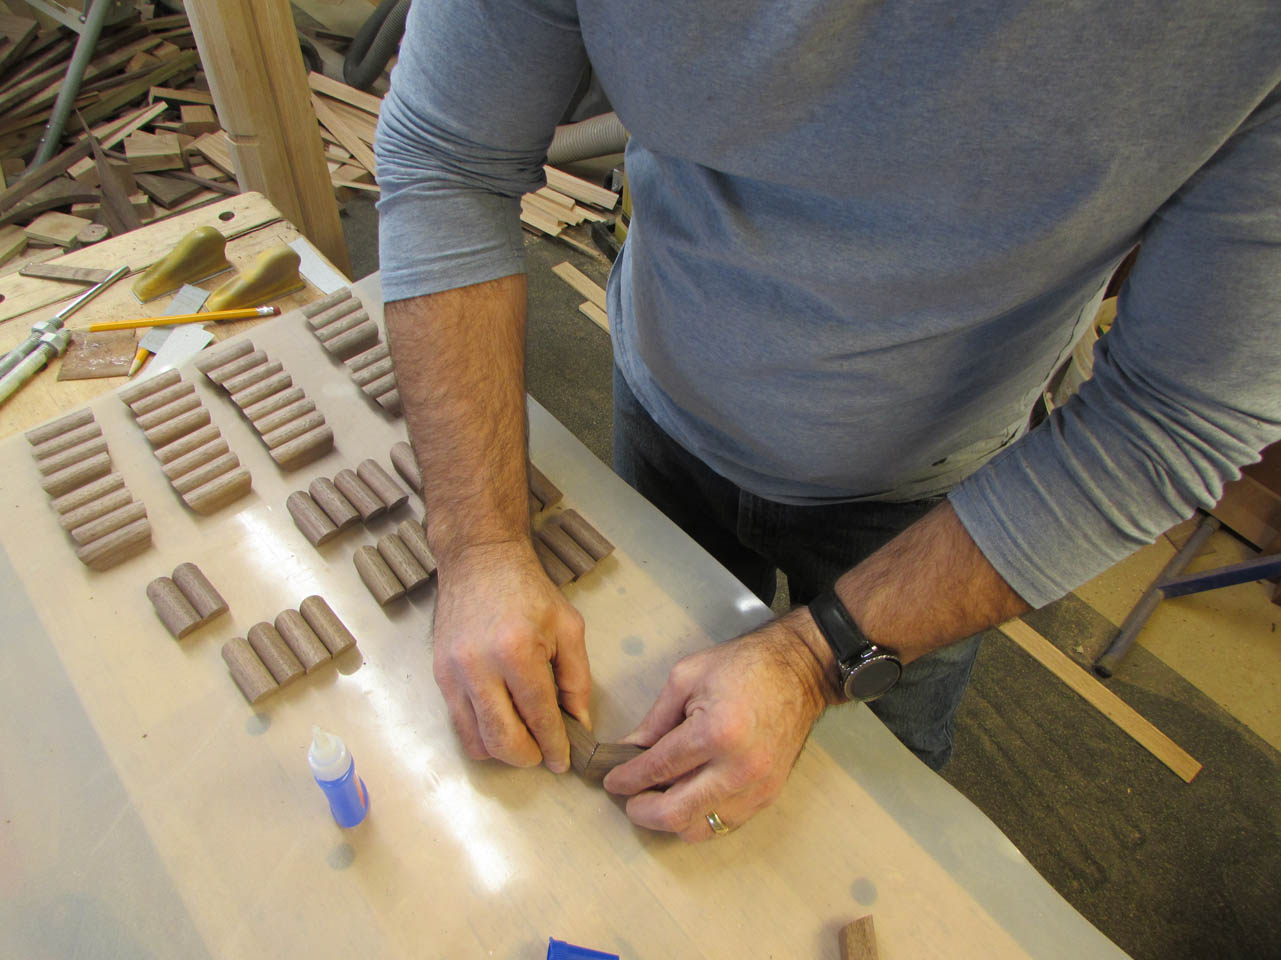
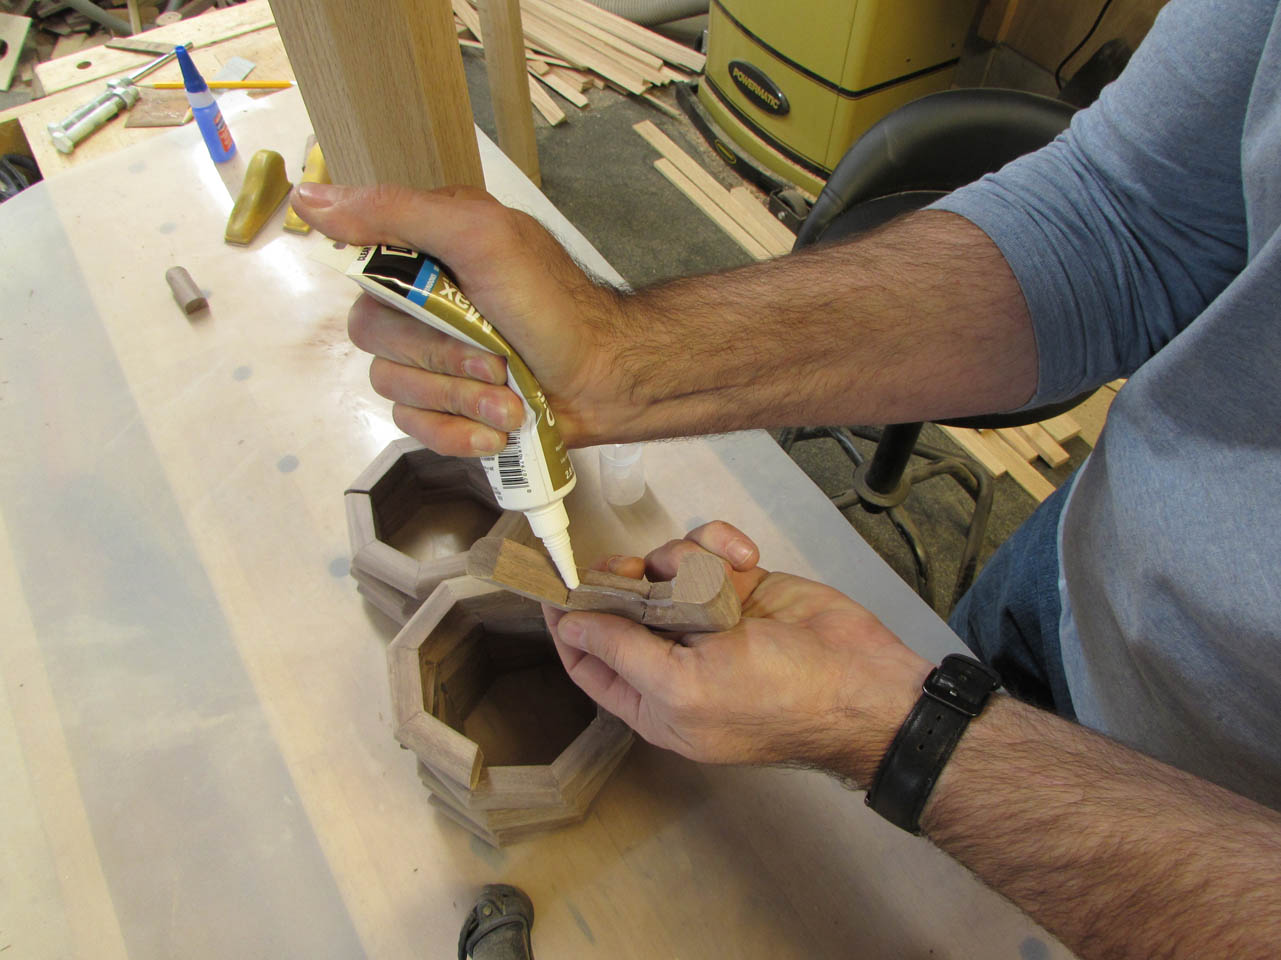
I am using a quick-set CA glue (Super Glue) to attach the facets of the ring together. I can hold them in place for about 15 seconds and they are set enough to move on to the next one.
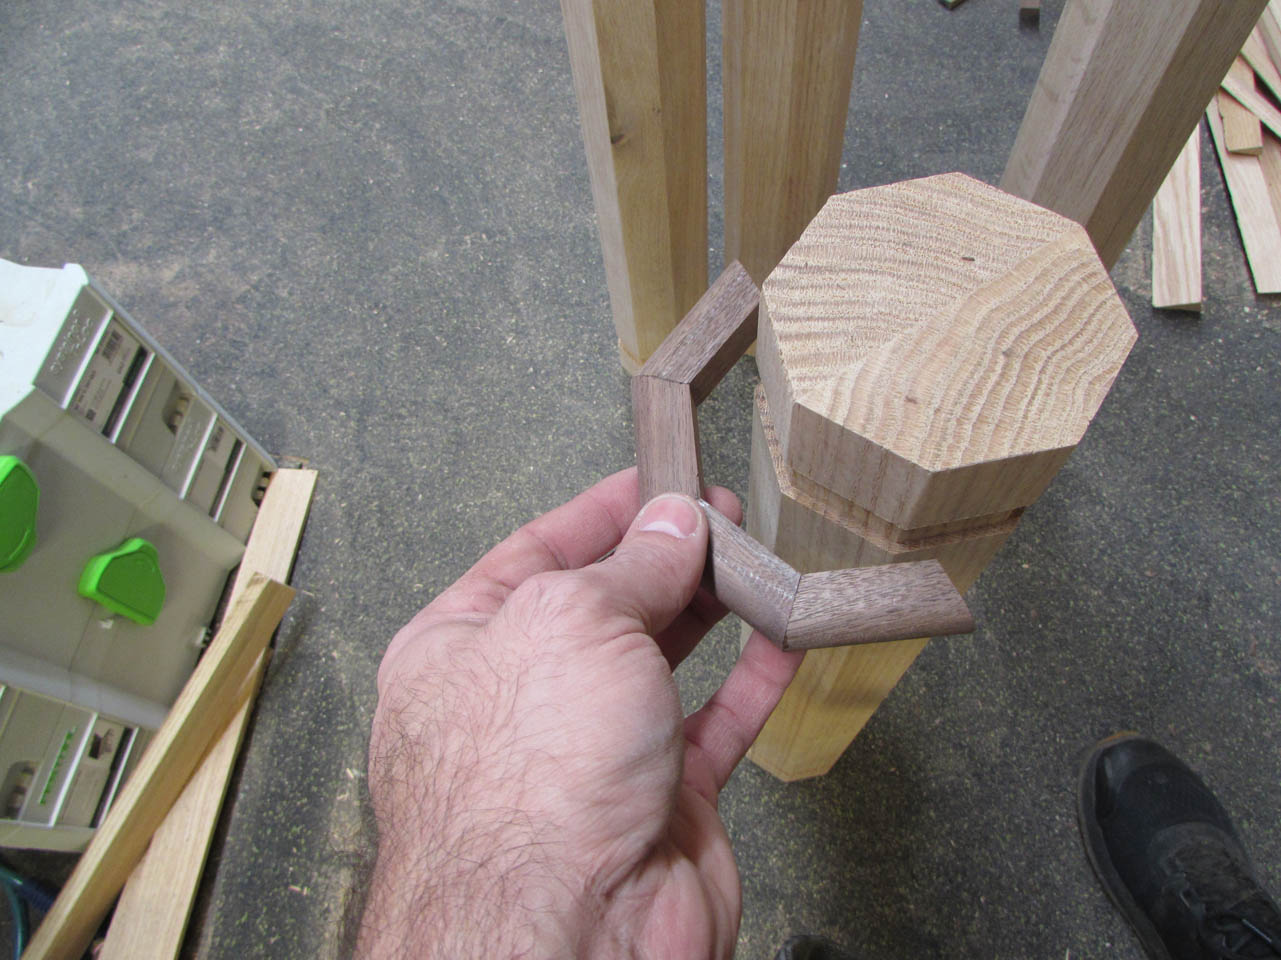
After the first half-ring was complete, I did a test fit to make sure there was a small gap to allow for expansion.
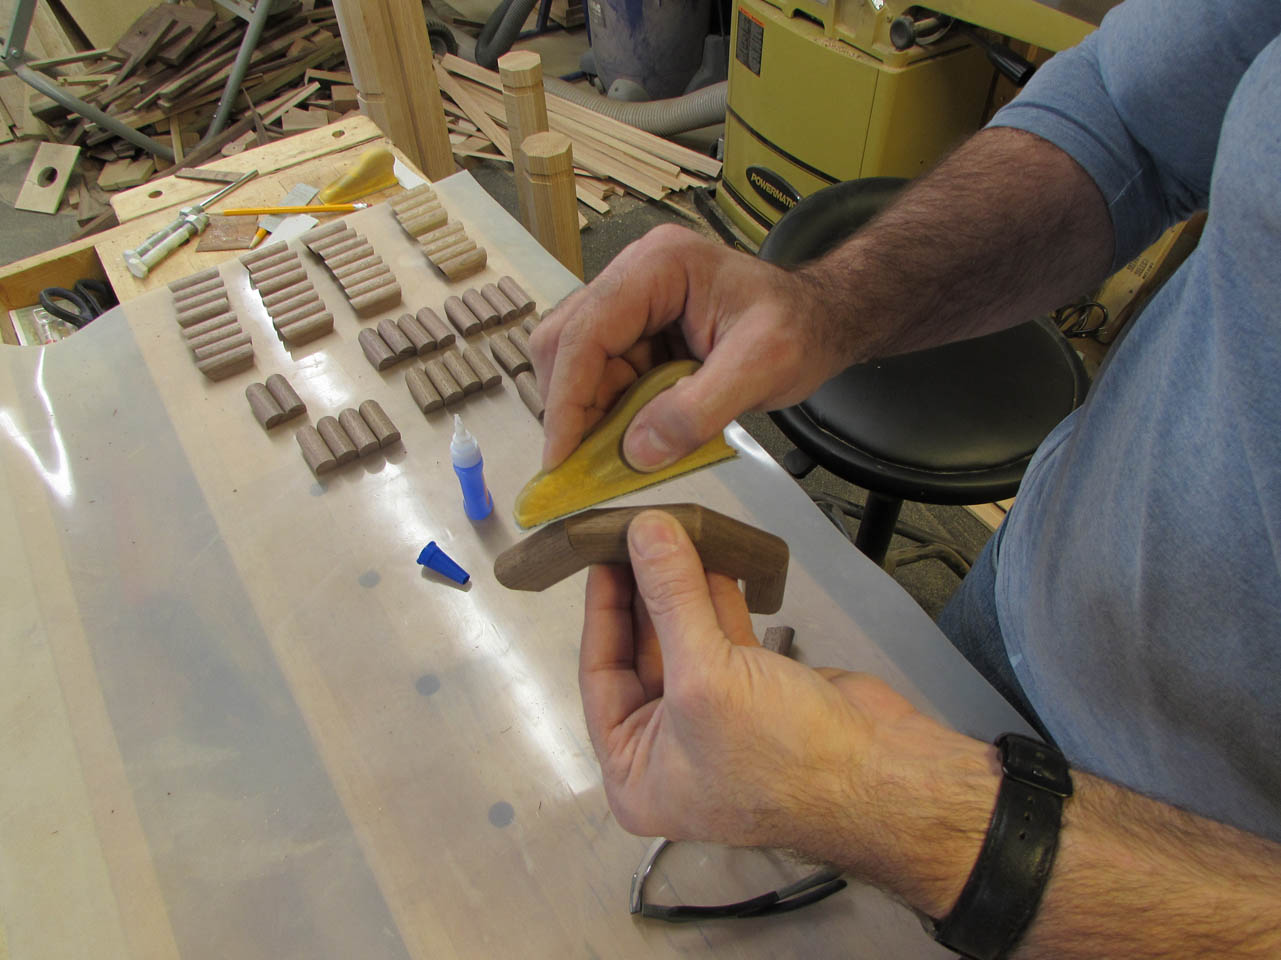
While the glue was still wet on the outside, I sanded over the connections, embedding fine sawdust into the glue that wasn’t removed. This effectively fills any hairline gaps.

After I had the half-rings all glued and sanded, I placed a thin bead of silicone along the middle if the inside surface. The silicone will stay flexible but firm. This will hold the ring In place, but allow for small movements like expansion and contraction of the wood.
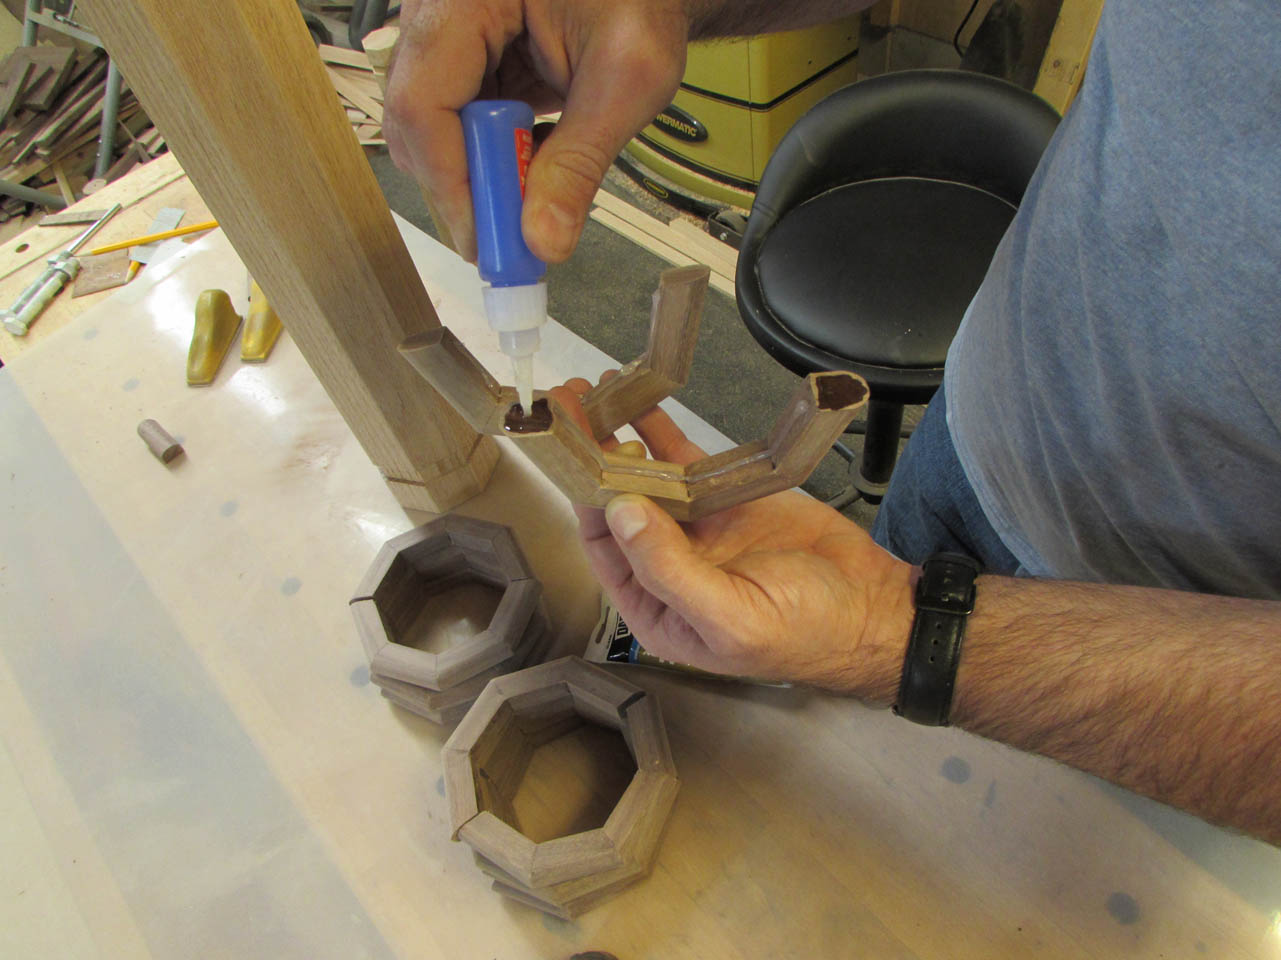
I placed the silicone on both pieces than put more CA glue on the ends of one of the halves.
Press them together for about 20 seconds then you can sand the joint and move on to the next one.

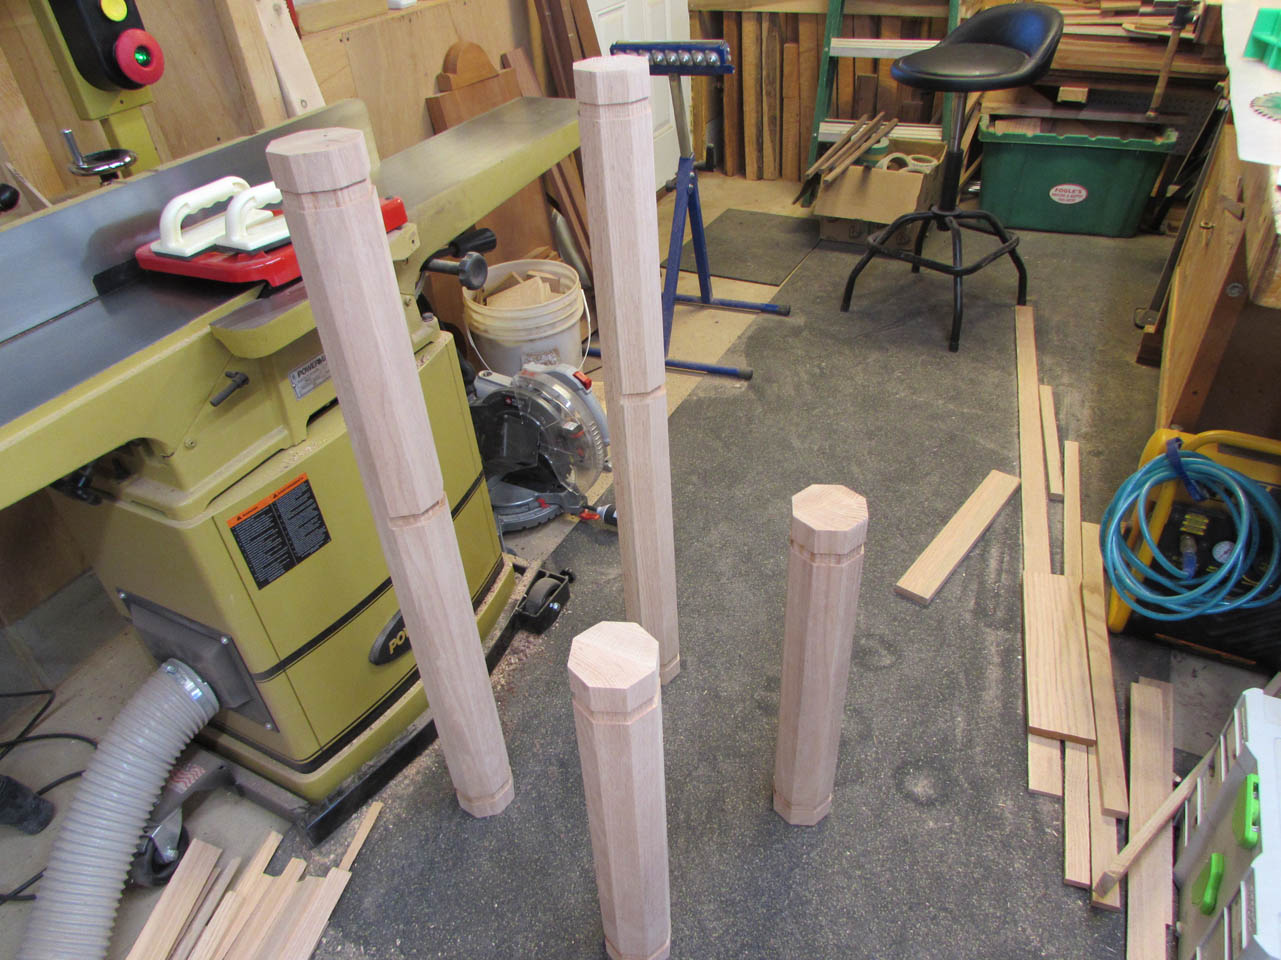
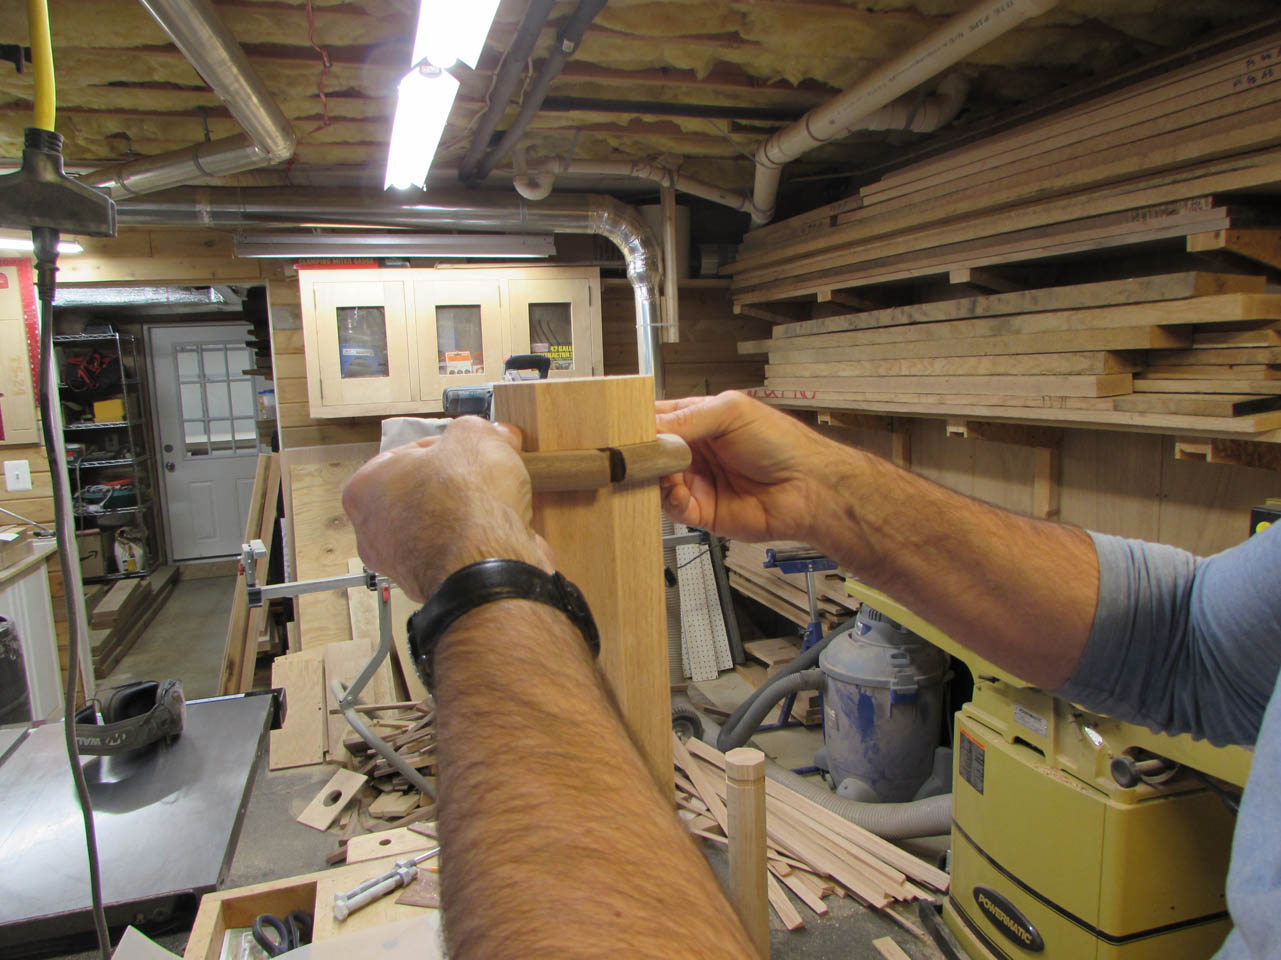
All four columns are now trimmed and sanded.

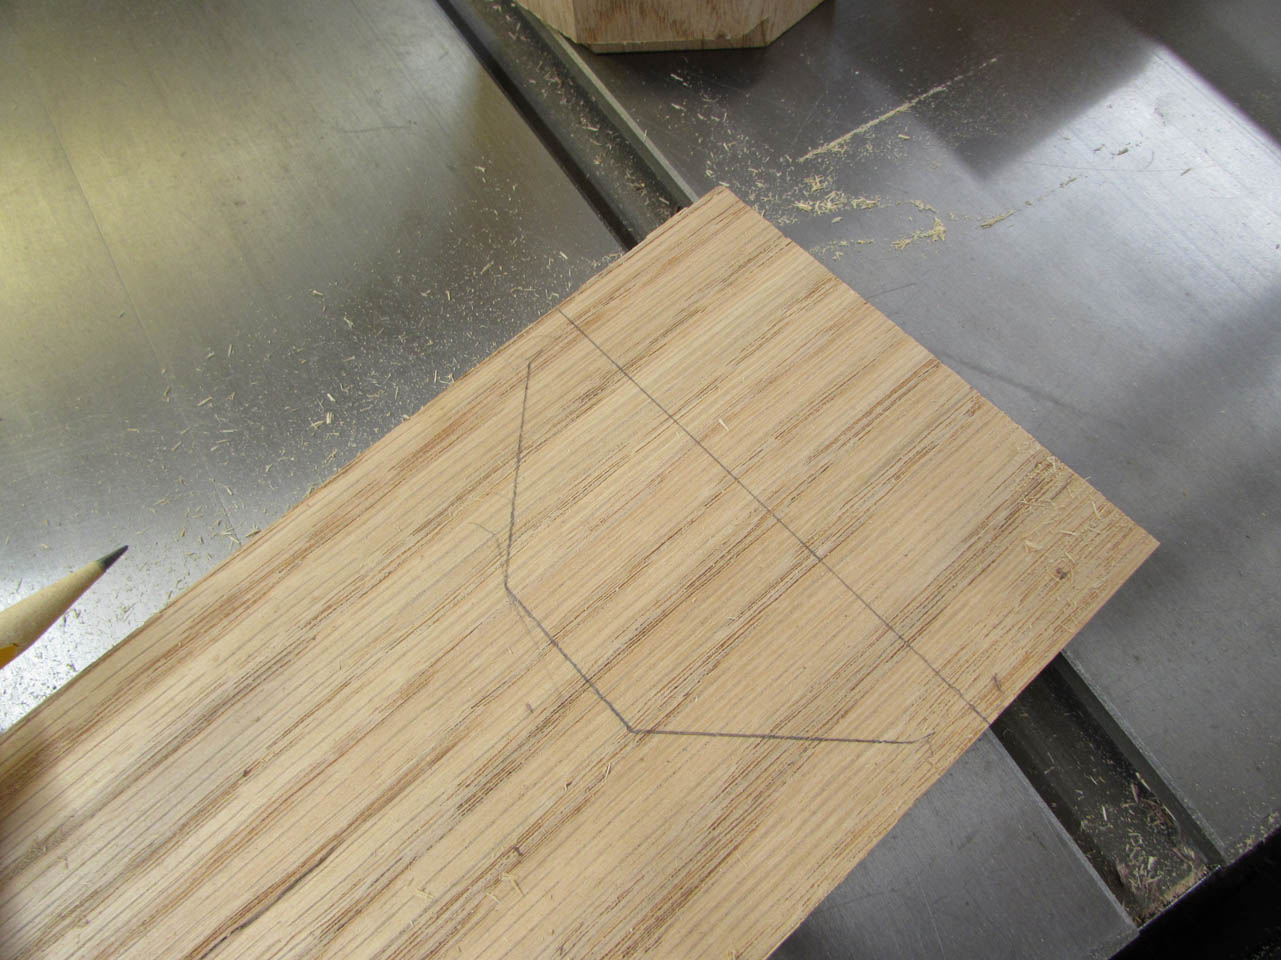
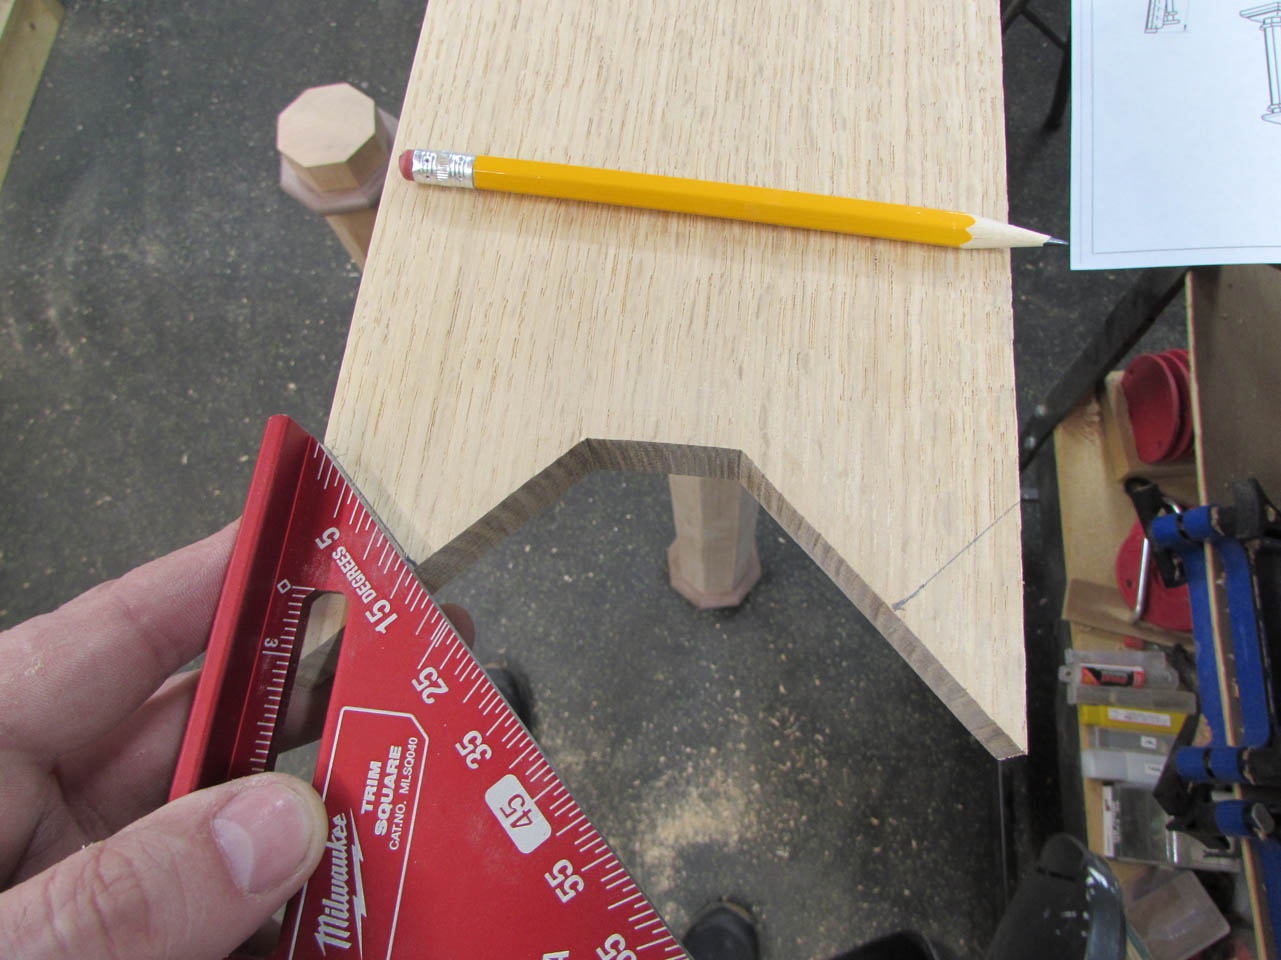
To get a pattern for the notch in the arms, I cut a 1/4″ deep dado onto my prototype column, then set it on top of a scrap piece of 3/4″ thick wood. I squared the wood to the fence on my table saw, then pressed the back of the column to it as well to orient them together.

Then I traced the three facets.
I cut them out on my band saw then sanded the facets smooth.

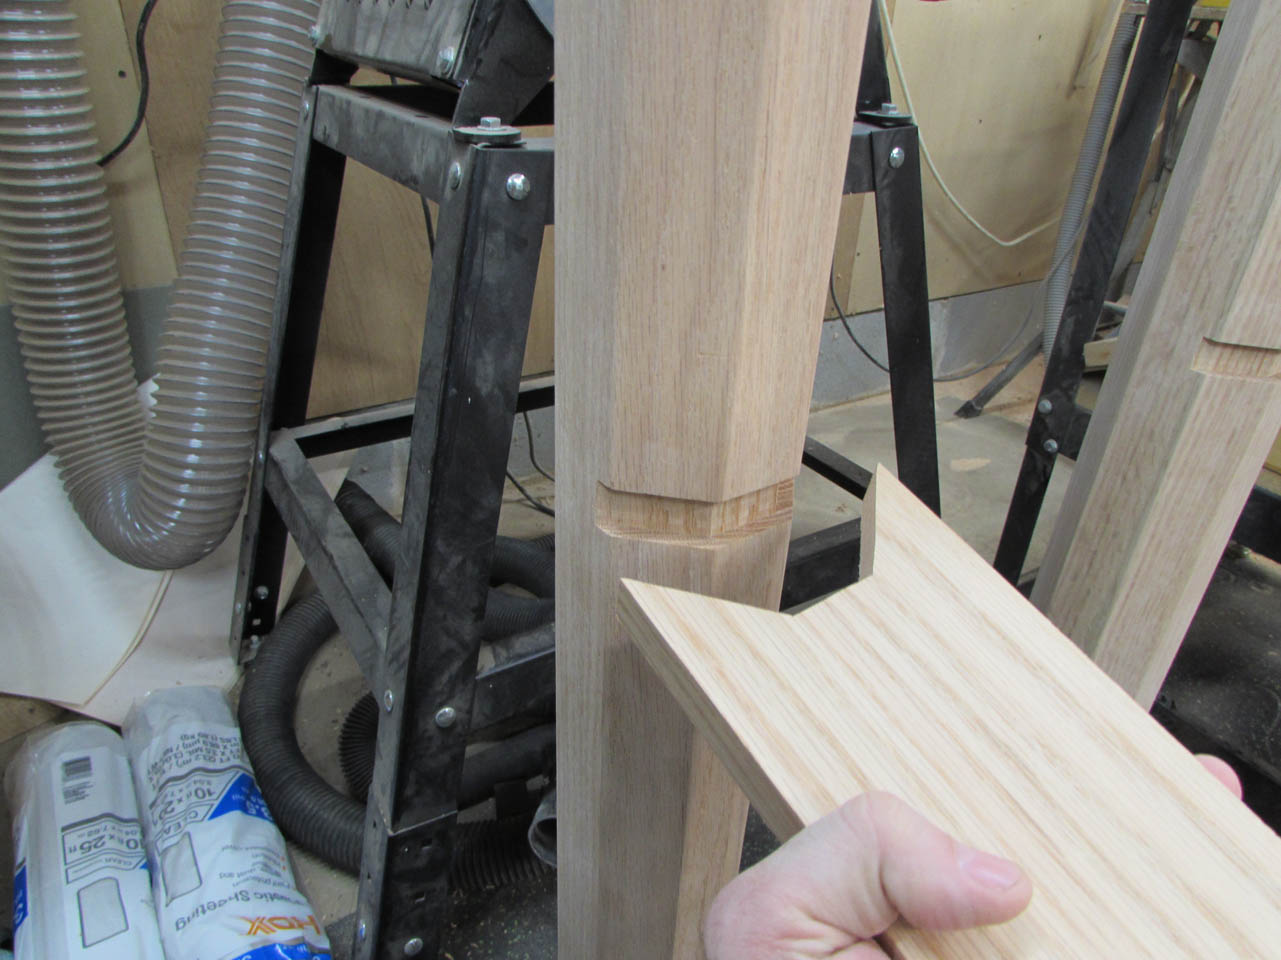
I pressed the arm into place and it was a tight fit.

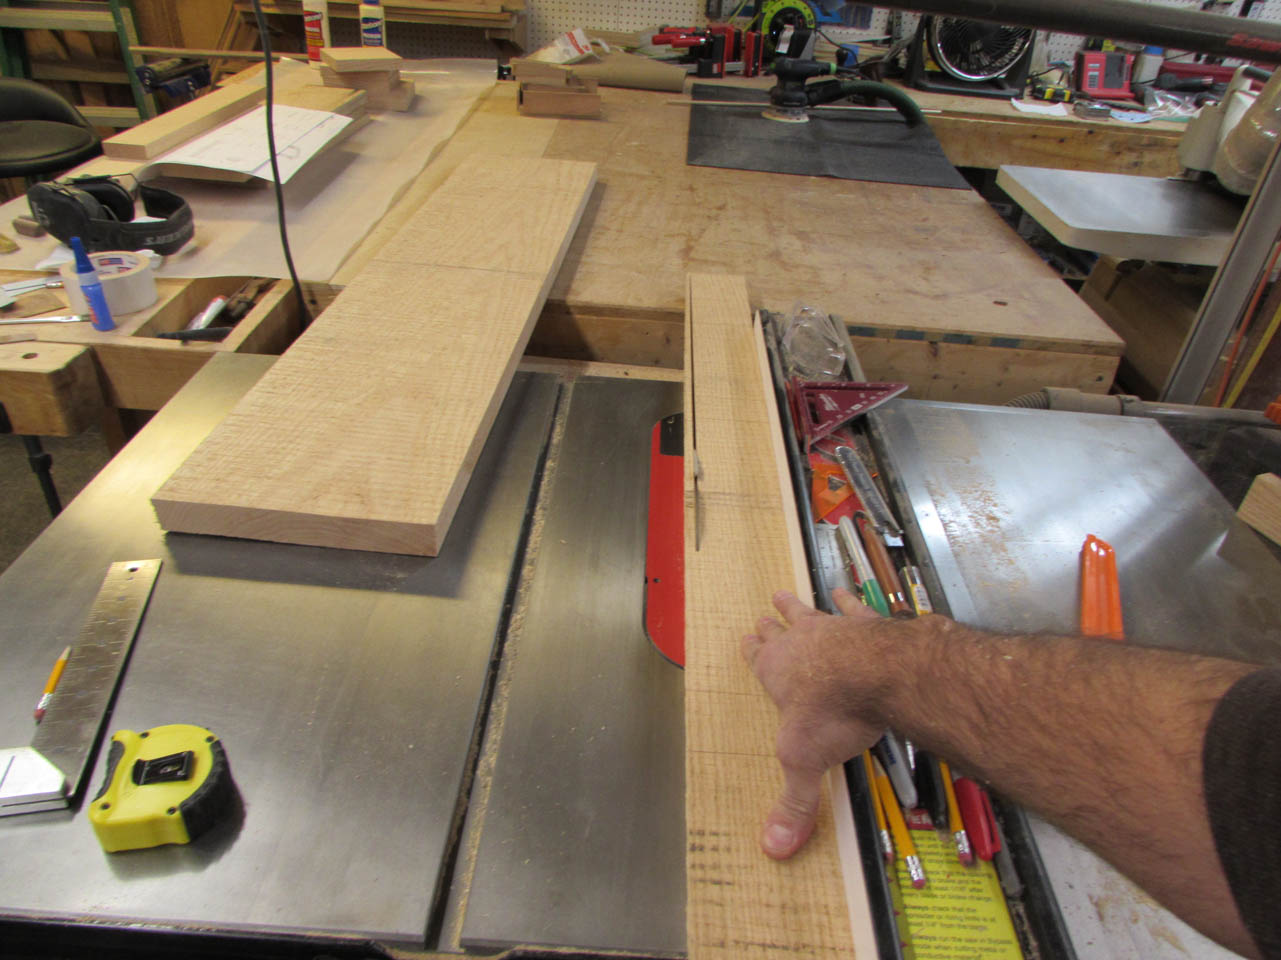
Since that worked successfully, I pulled out a big board and cut it down to pieces a little longer than I needed for the arms.


I jointed and planed them down to the correct height and width, leaving the length a few inches longer. Those will be cut down later.


I centered the column onto the new boards and traced the facets again.

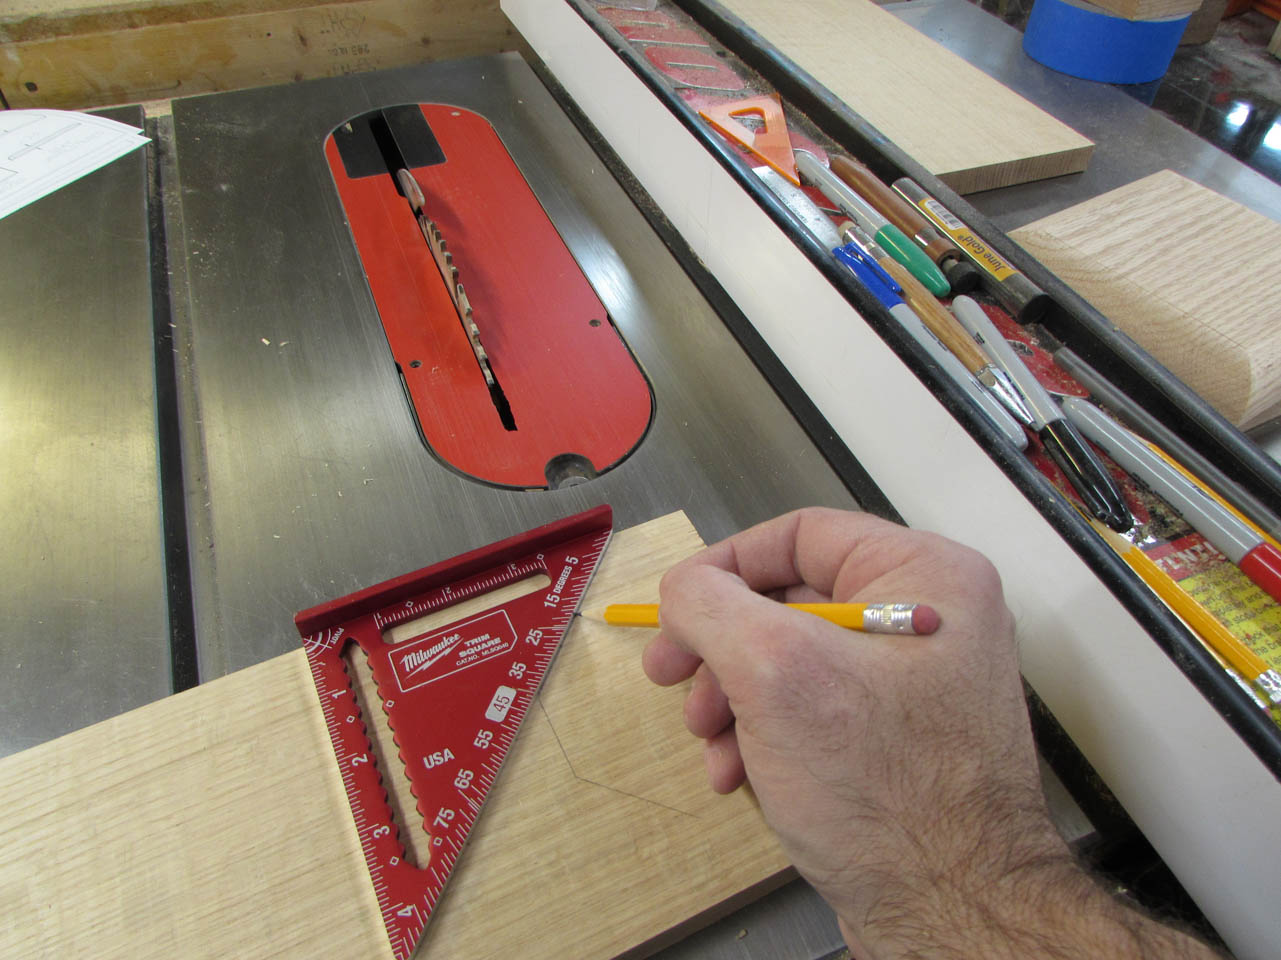
I used my speed square to extend the lines to the edge and verify that they were at 45° angles to the edge.

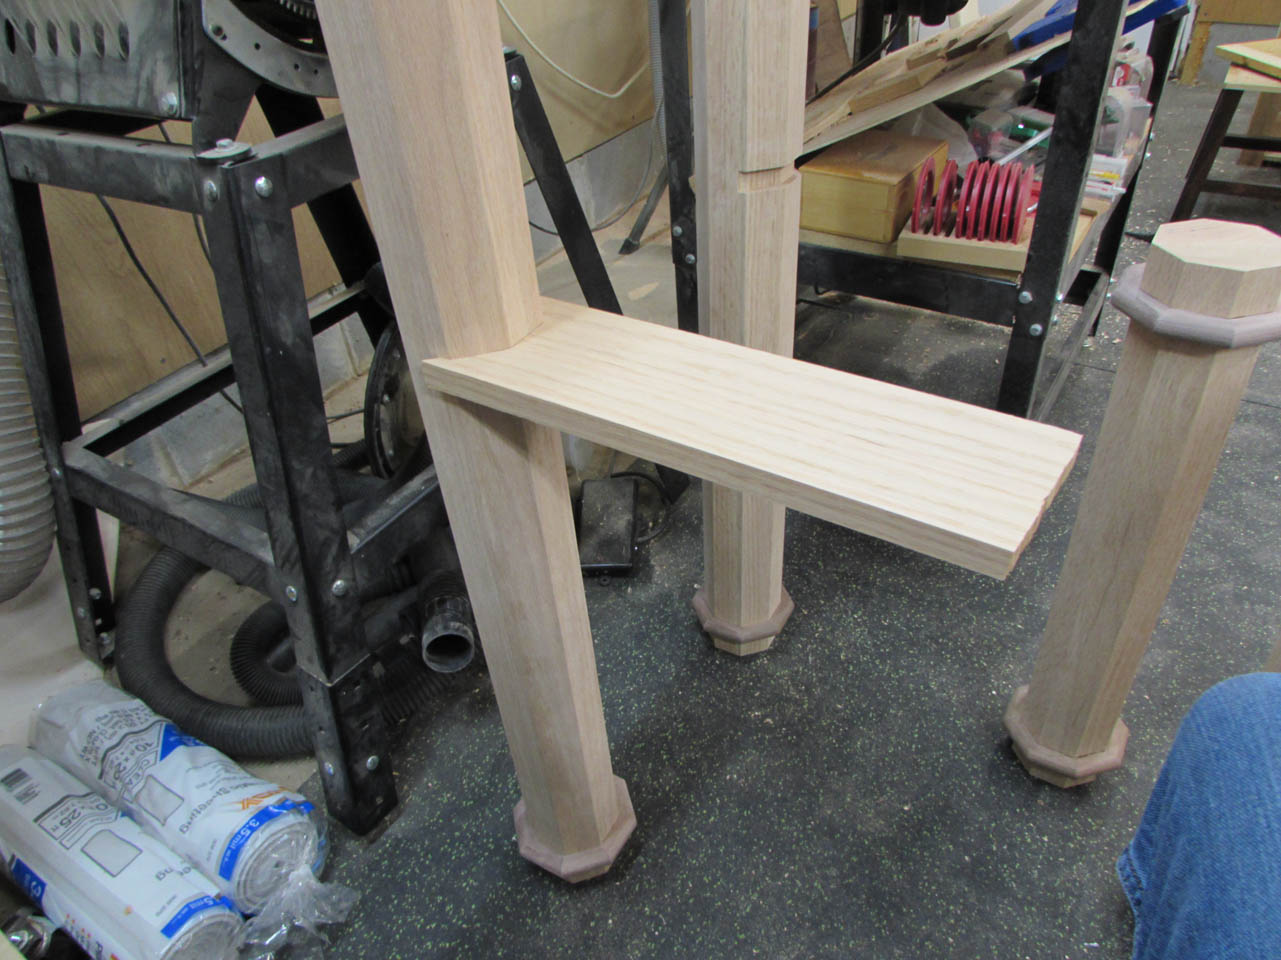
These were cut out on the band saw, then I installed one and placed the columns up on blocks to mimic the finished height. I grabbed a chair and sat in it to test the arm height. It seems to be at a comfortable level.


Since the points stick out too far, I marked them and drew some back-angles from those points.
Then I used my miter saw to cut them off.

They look a lot nicer like that (and less painful).


The arms are done for now, so I moved on to cutting out the squares for the tops and bottoms of the columns.


After they were cut, I set up the 3/4″ round-over bit in the router table and trimmed the base caps.
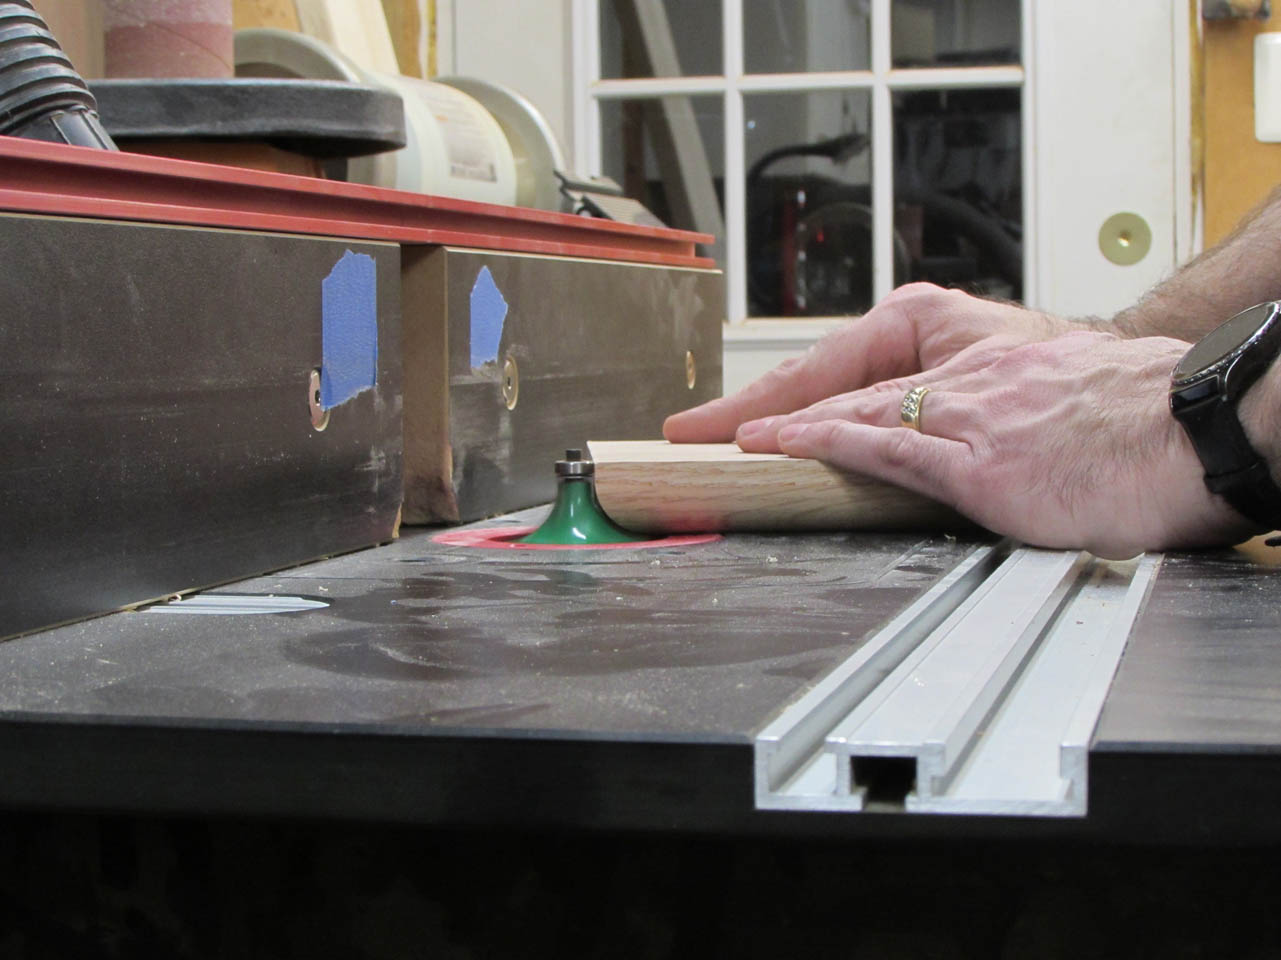

Then I loaded in the chamfer bit and cut the angle on the base plates.

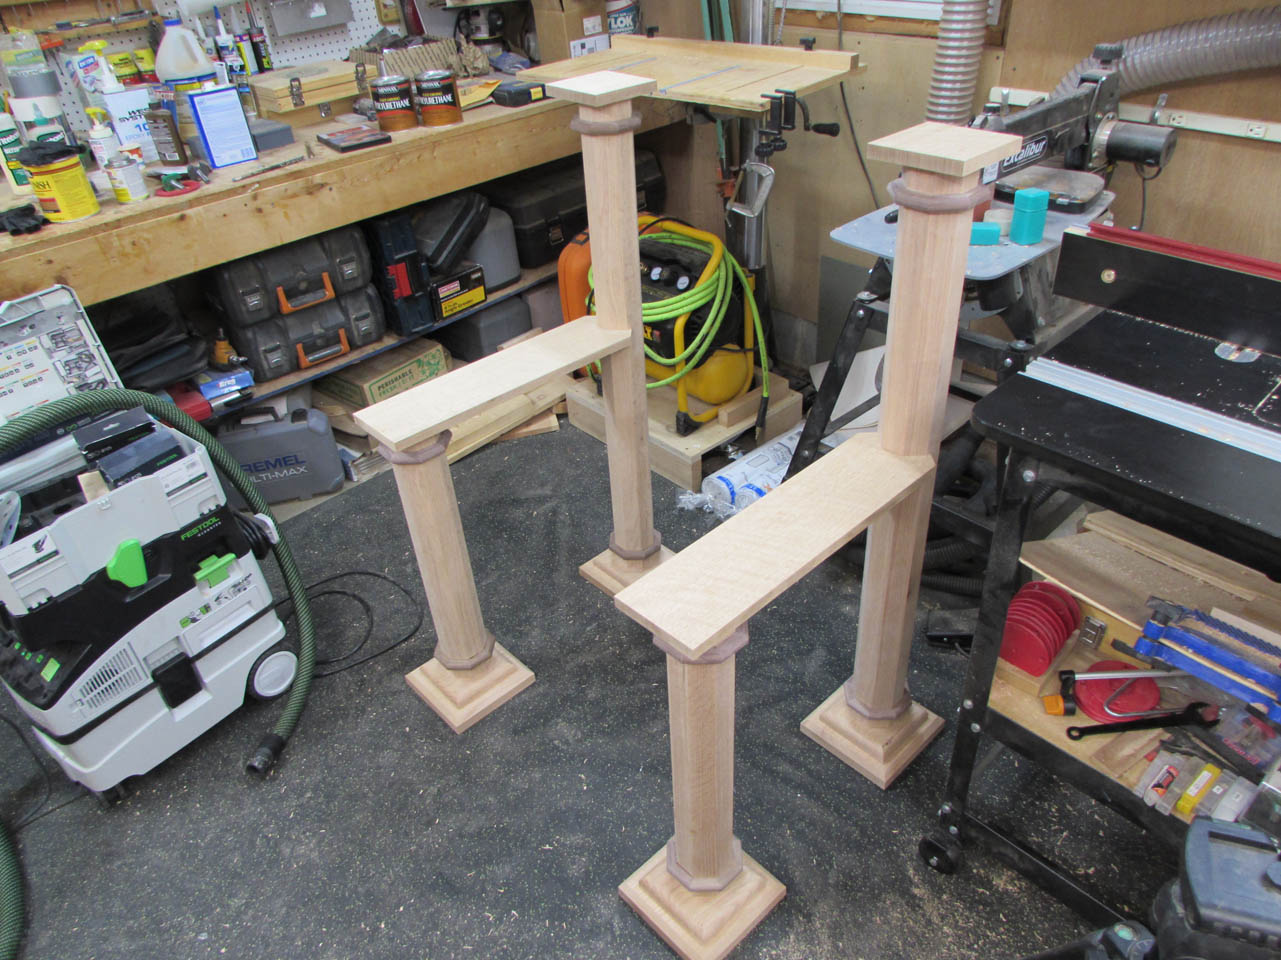
I did a dry-fit with all the pieces so far. Starting to look like a chair.
Next, I moved on to milling up the wood for the seat.


Then I milled up the wood for the back.


I cut a 1/2″x1″ rabbet onto the two back sides. These will receive a 3/4″ piece of plywood later.

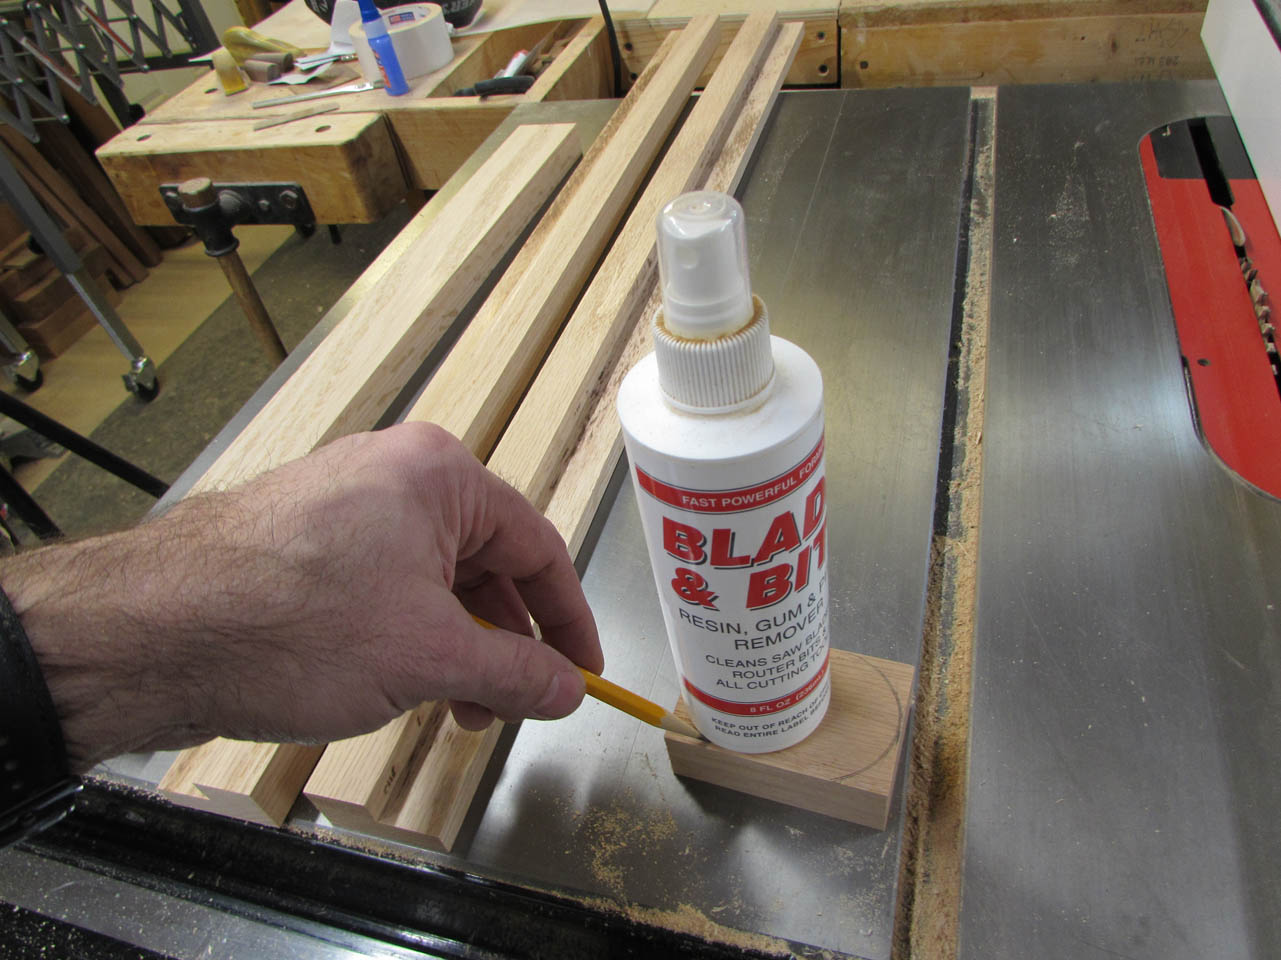
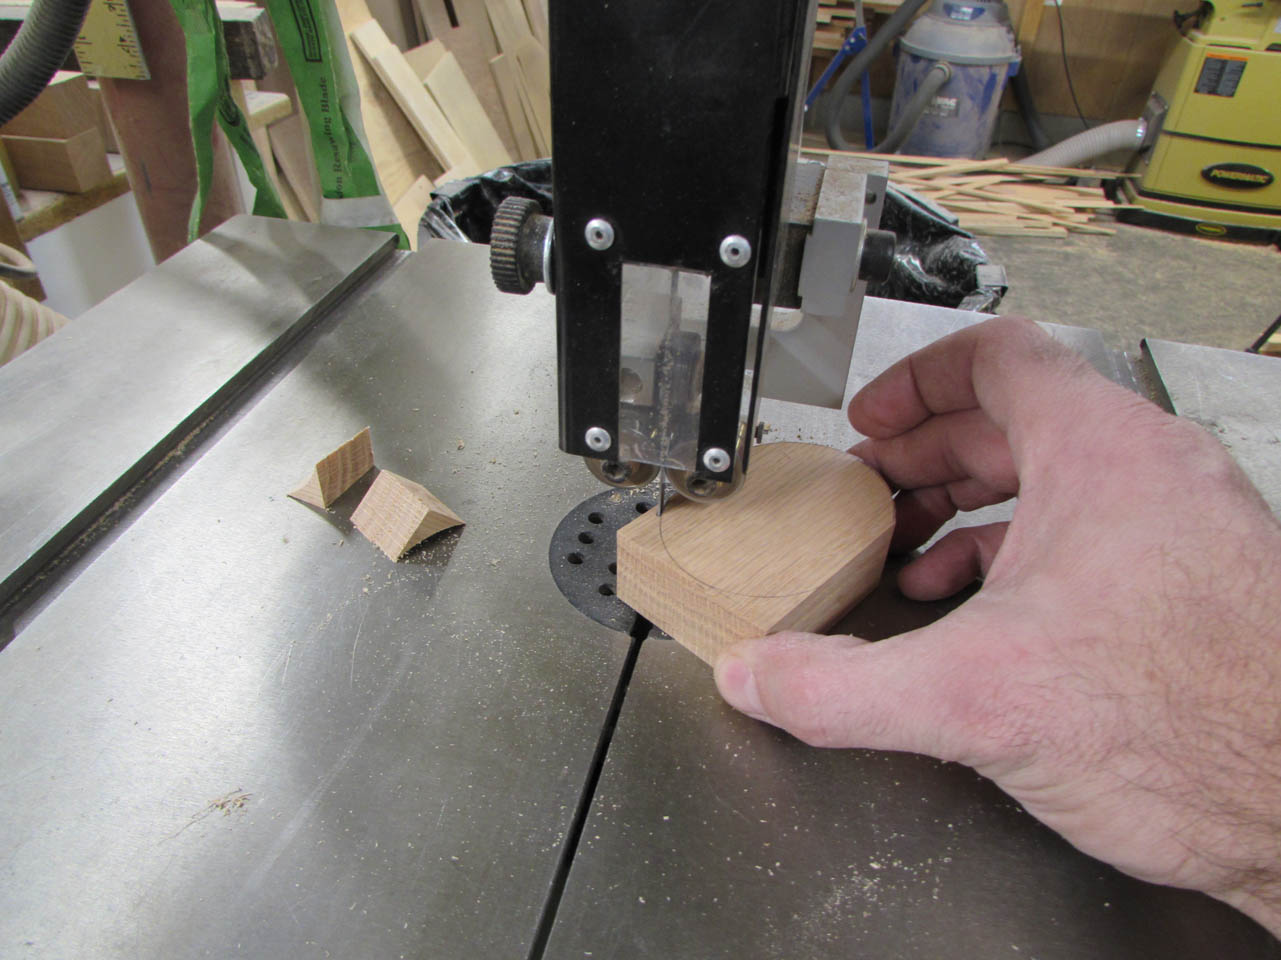
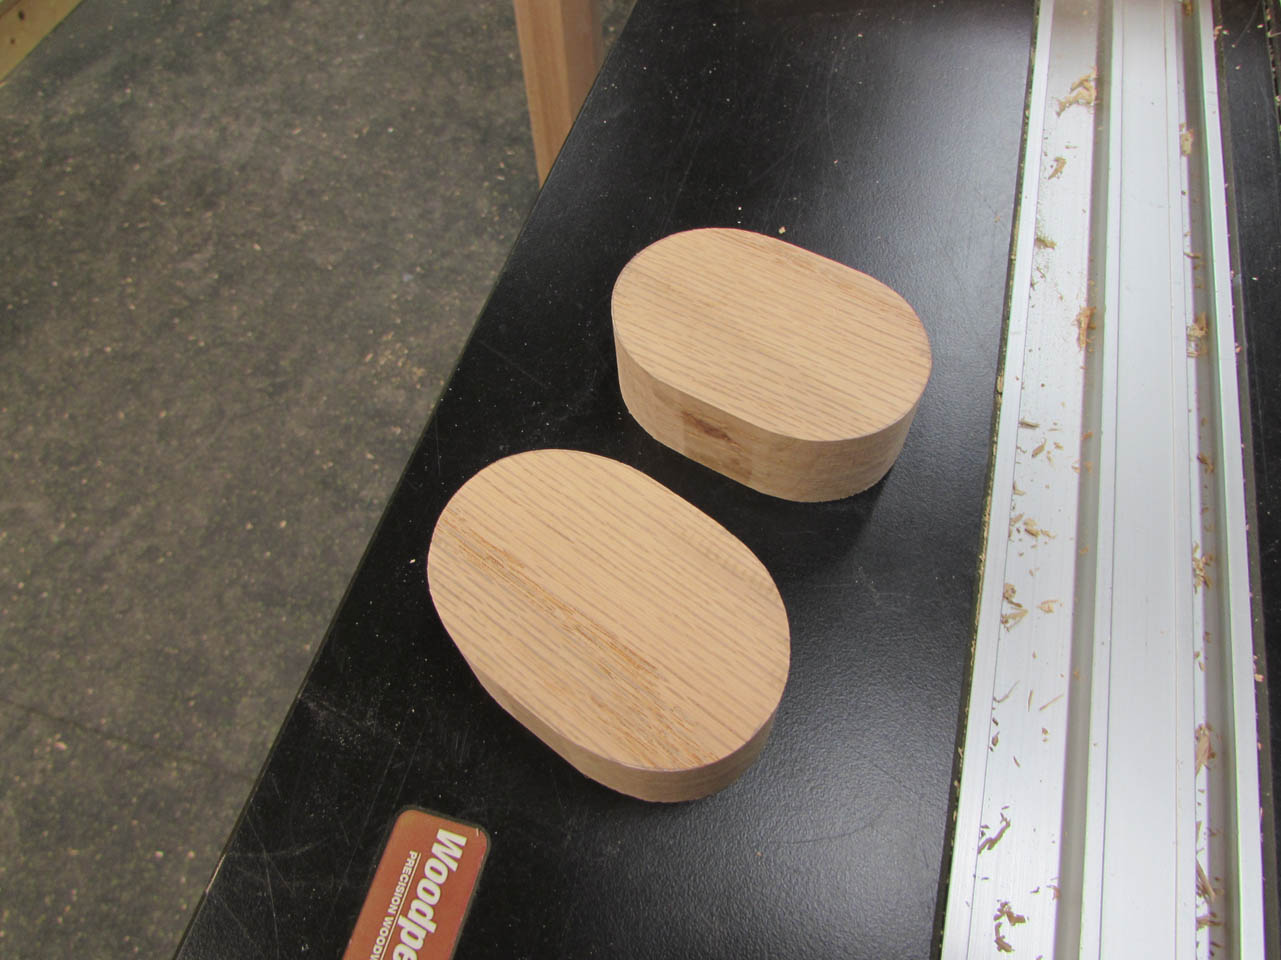
The last funky little piece is the mid-span connection for the back. I am not entirely sure what size and shape it will wind up, but I am starting with rounded ends. I traced the base of a bottle that was just the right size, then cut my curves on the band saw.

A little sanding at the spindle sander and they were done as well.
That should be just about all of the milling for the chair. There are just a couple of more modifications to the seat pieces, but that is enough for today.
