
Beer flights
Here is a good project if you are into beer tasting. I am not, but I have friends who are. One of those friends recently volunteered my services at his favorite drinking establishment. In the picture below, you see part of a beer flight, on the left side. That is what they were using. Basically a paddle with a few circles dimpled into the top to locate your beer tasting glasses. They paid about $35 each for them and they required the wait staff to balance 4 beer glasses on top while they negotiate their way through a crowd to set them on a table. My friend had me make one with holes drilled all the way through. Mine was thicker and easier to hold, and the glasses slipped halfway down into the holes completely preventing them from toppling off if unbalanced. Mine was also made of oiled walnut, so it looked nicer as well. the owner of the establishment immediately requested a dozen of them, so I had to figure out the best way to batch them out.

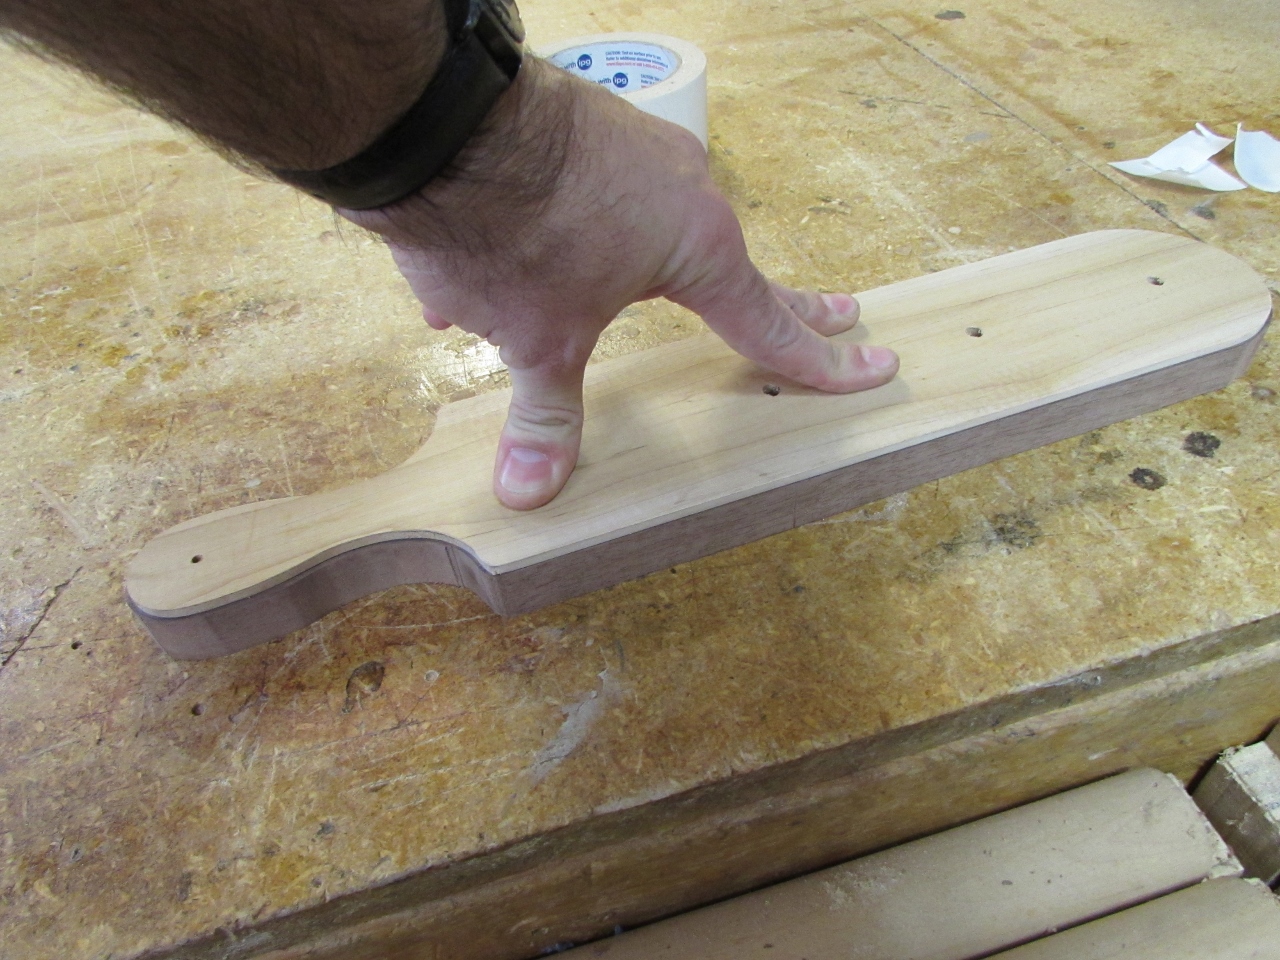
The first thing I did was create a pattern out of a scrap of maple.

Next I traced them all out on my scraps of walnut and rough cut them out on the bandsaw.
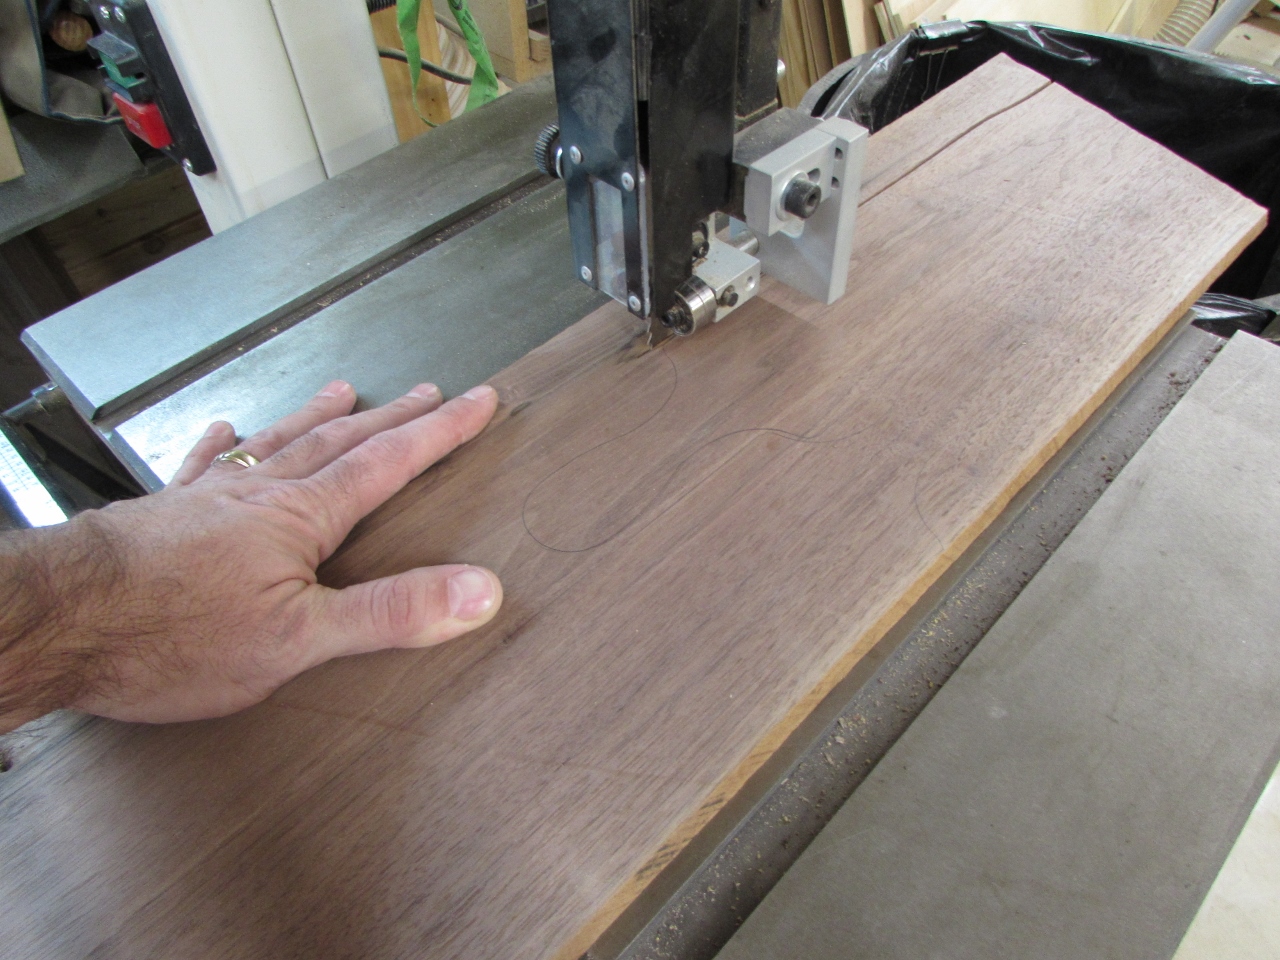
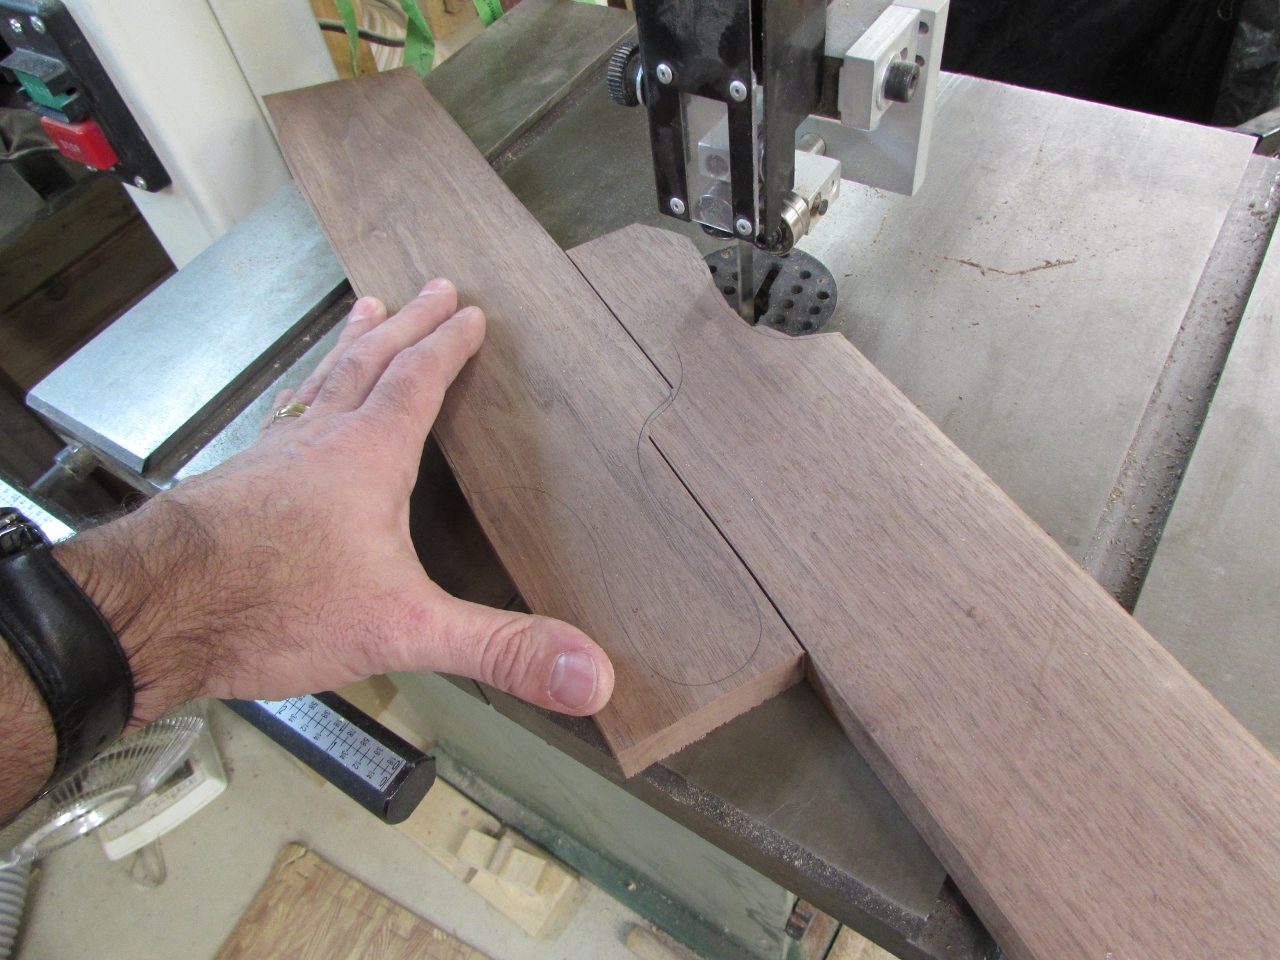
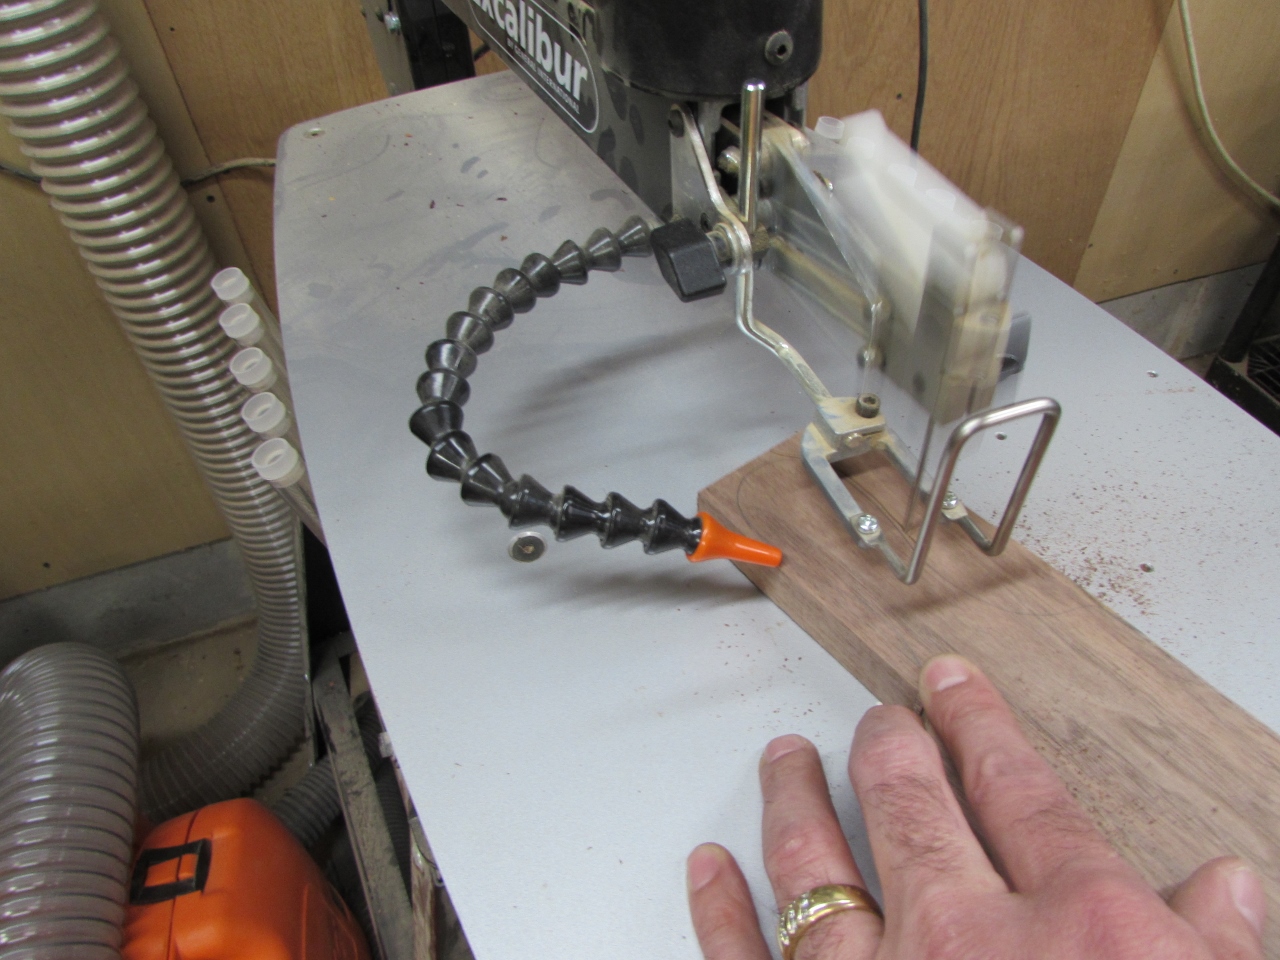
I had my thicker re-saw blade in the bandsaw, so I did some of the more curvy cuts on my scroll saw.

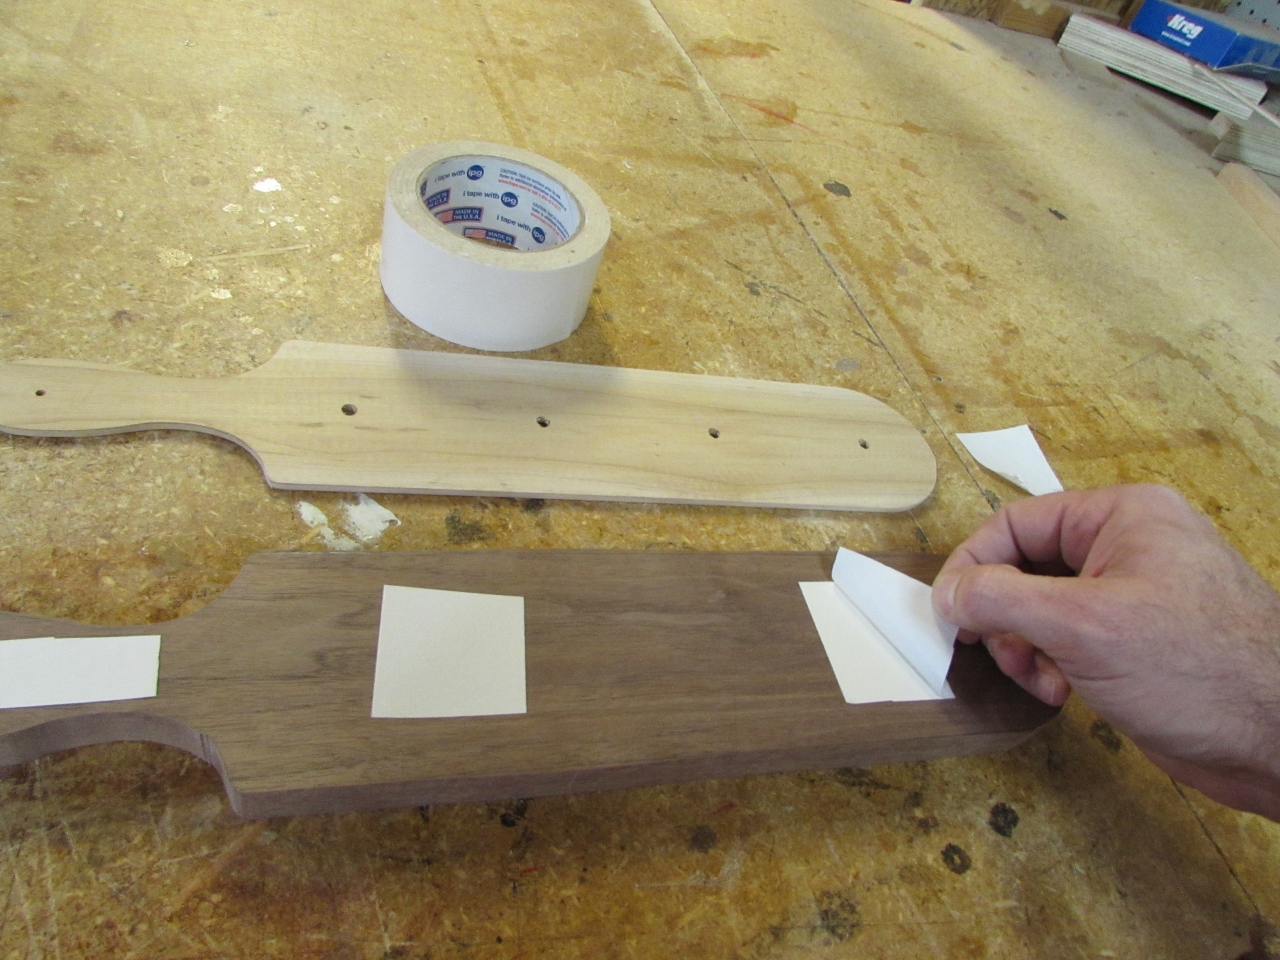
Now my initial thought was to double-side tape the pattern to the first flight.
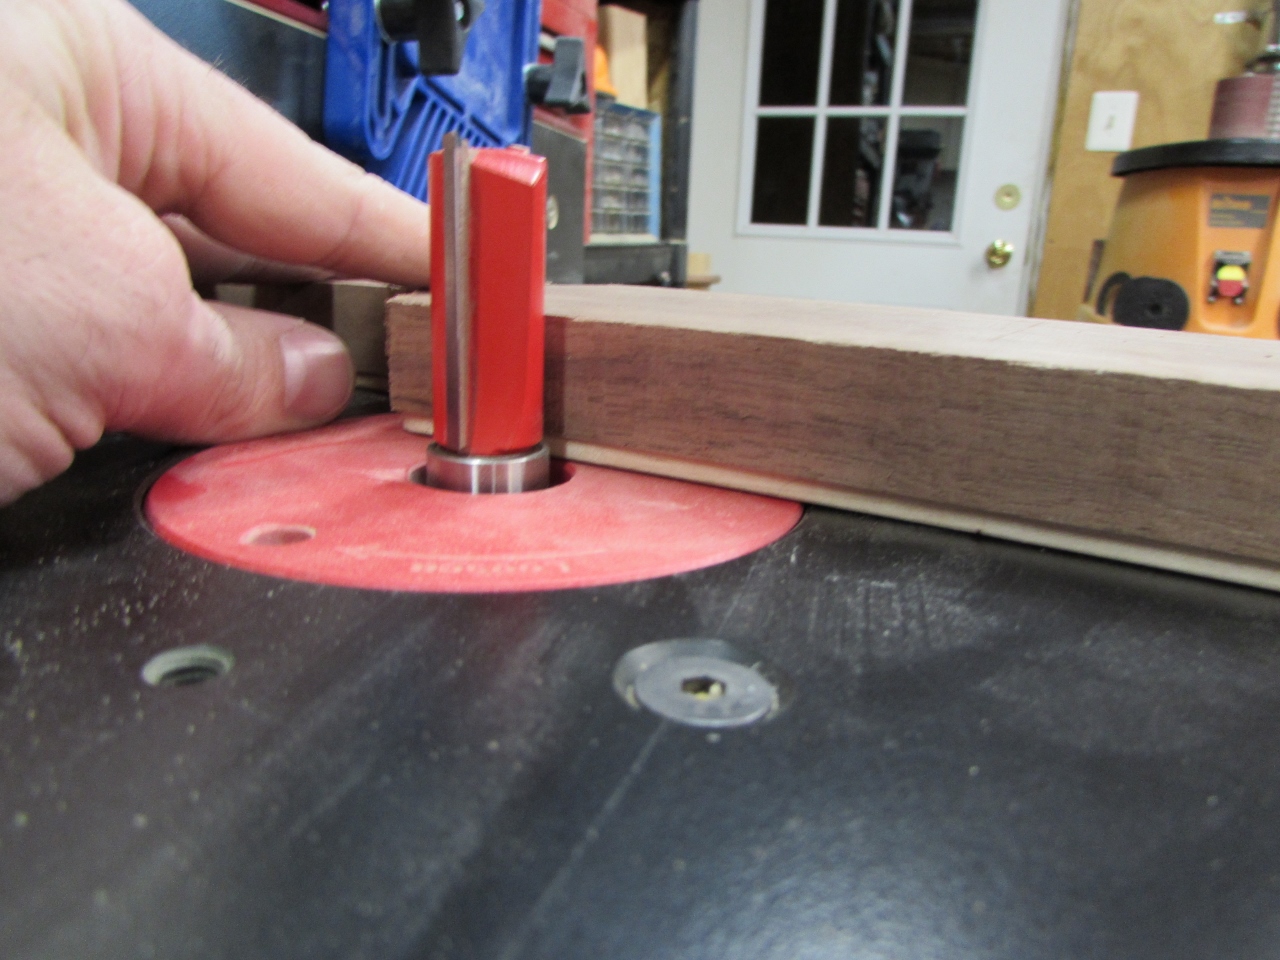
This allowed me to use a flush trim bit, on my router table to match the shape of the pattern perfectly.

Quick and painless, right? Wrong. I don’t know how it worked so perfectly on the first one, but the next three I tried, tore apart in my hands each time I went around a curve and the grain reversed.
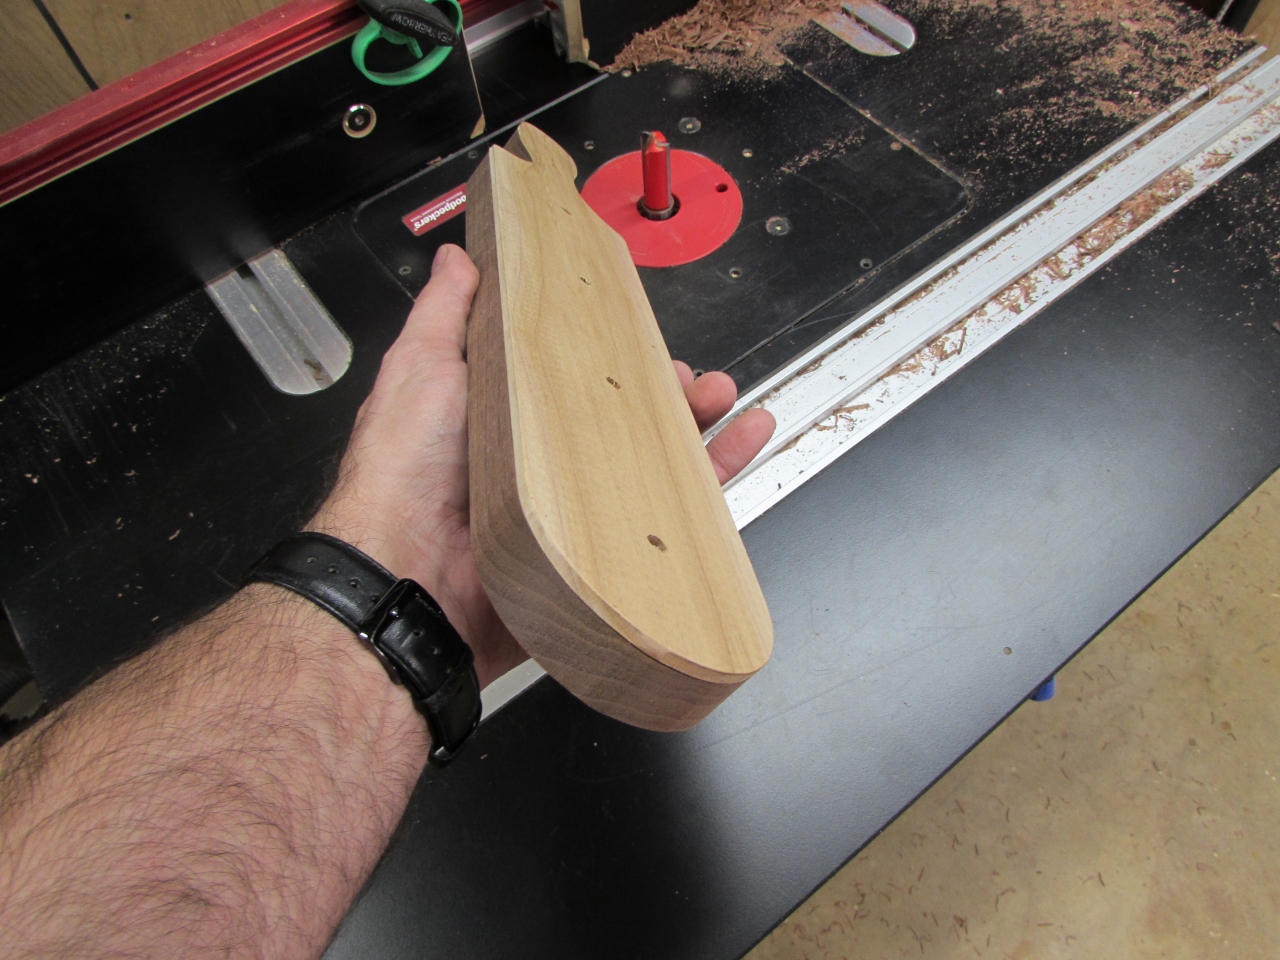
I decided to finish this one, then go back to the drawing board a bit. On the rest, I traced the pattern and just sanded up to the line on my spindle sander. It took way more time, but it was way safer and I didn’t ruin anymore of my walnut.

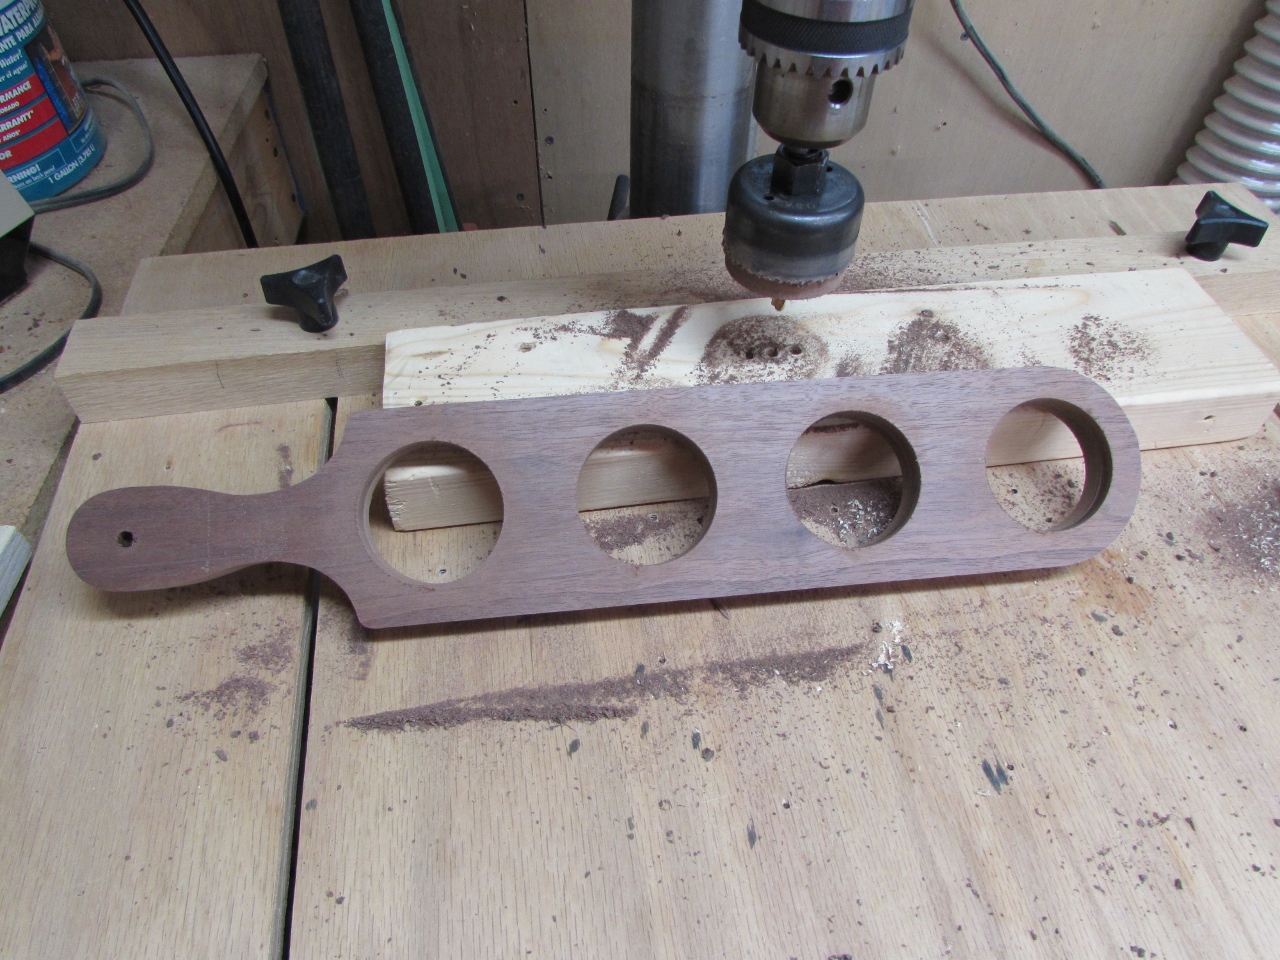
Since my pattern was still in place, I drilled out the four, 1/4″ holes at the center of each glass slot, then removed my pattern.

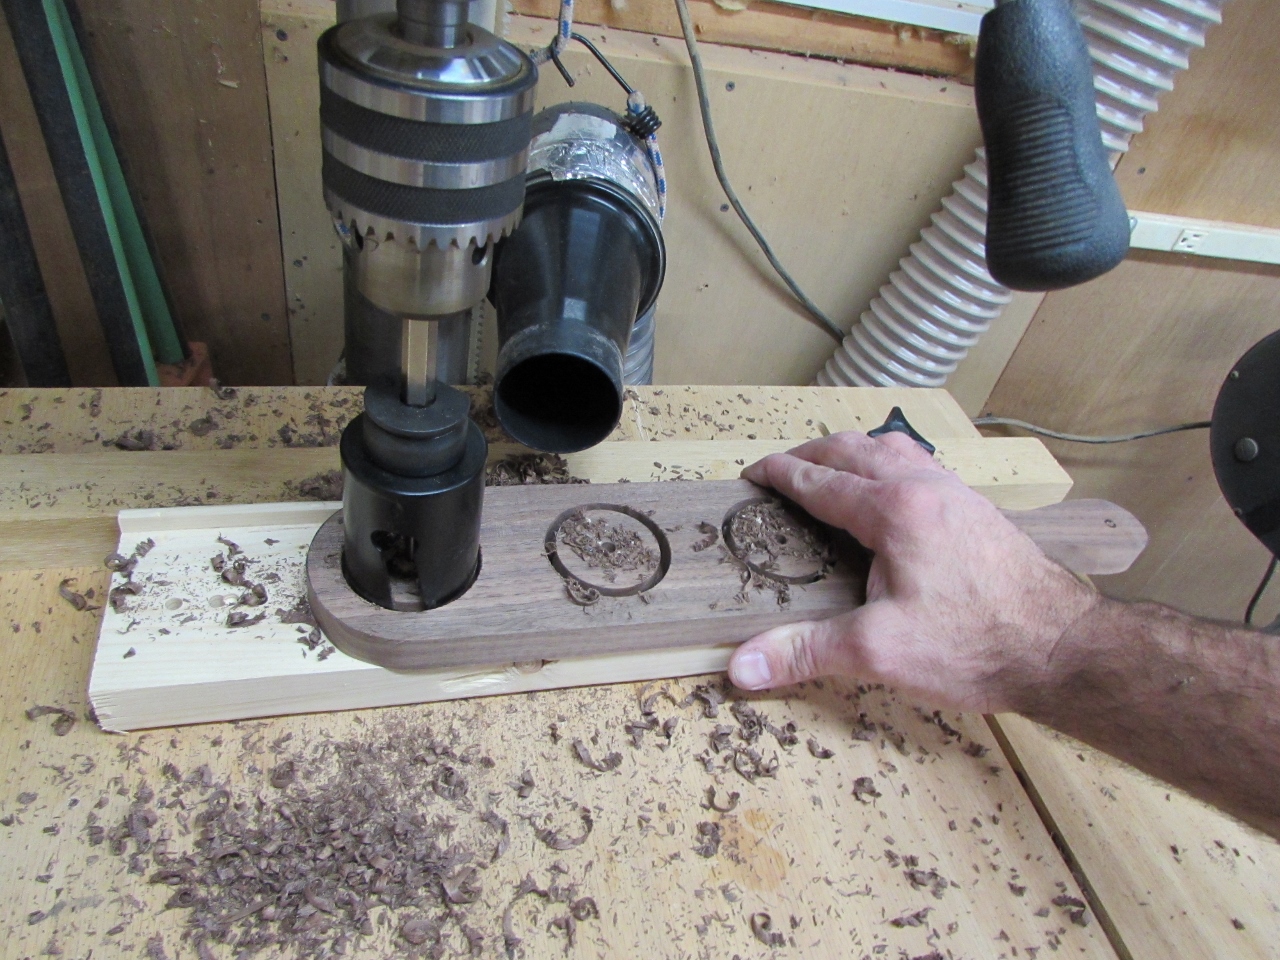
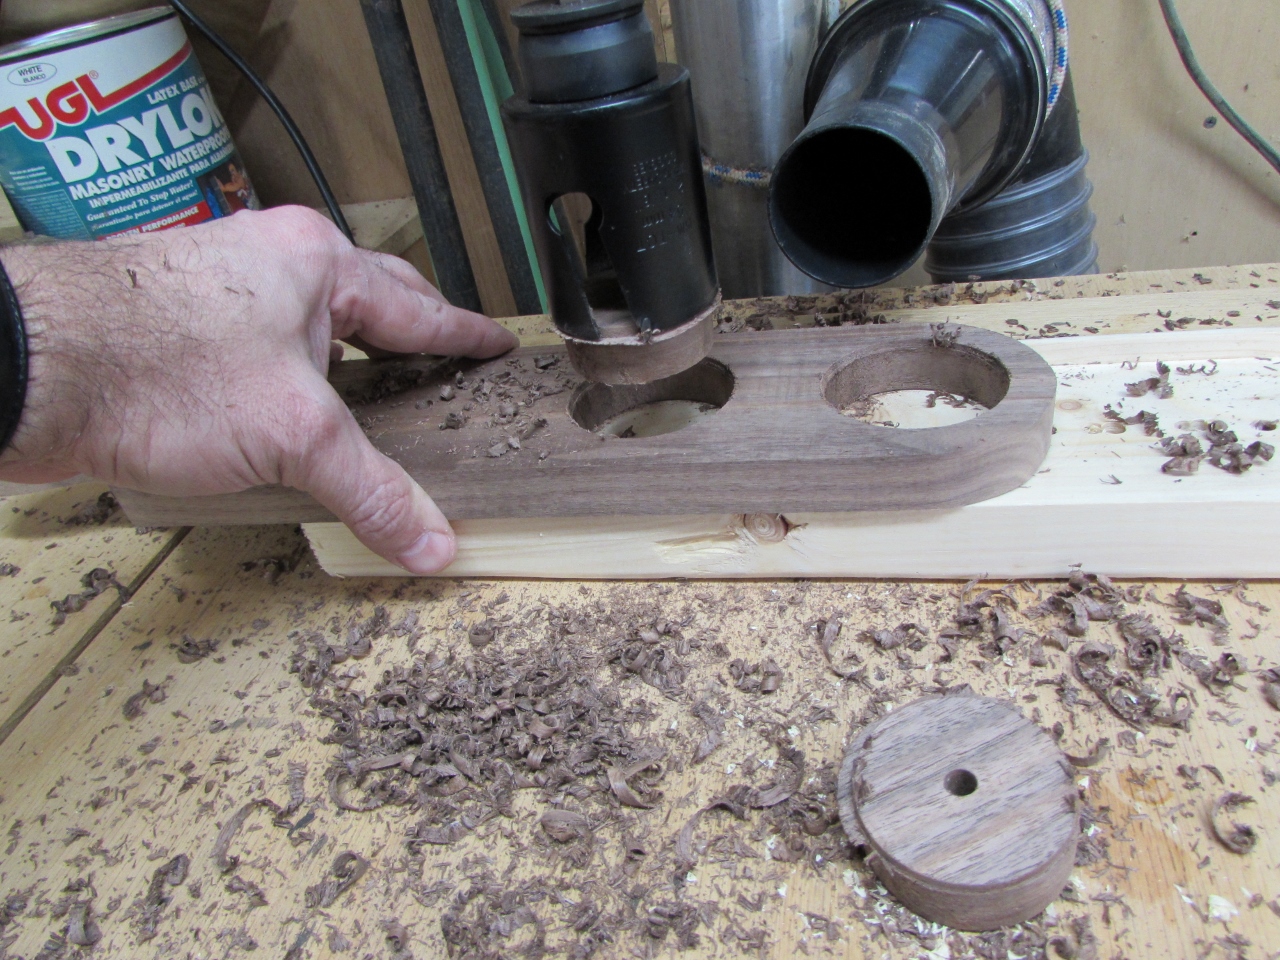
I used an inexpensive old hole saw that I have had for years. It has a 1/4″ pilot bit, which I lined up with my 1/4″ holes and drilled most of the way through.


To prevent tear-out, I flipped the board over and finished drilling out the hole from the back side. The hole looked pretty good, but there is a lot of burning with this type of hole saw. Not sure I want to cut 48 holes this way. It is slow, and you have to spend a good bit of time removing the circle blank from the screaming hot saw blade.
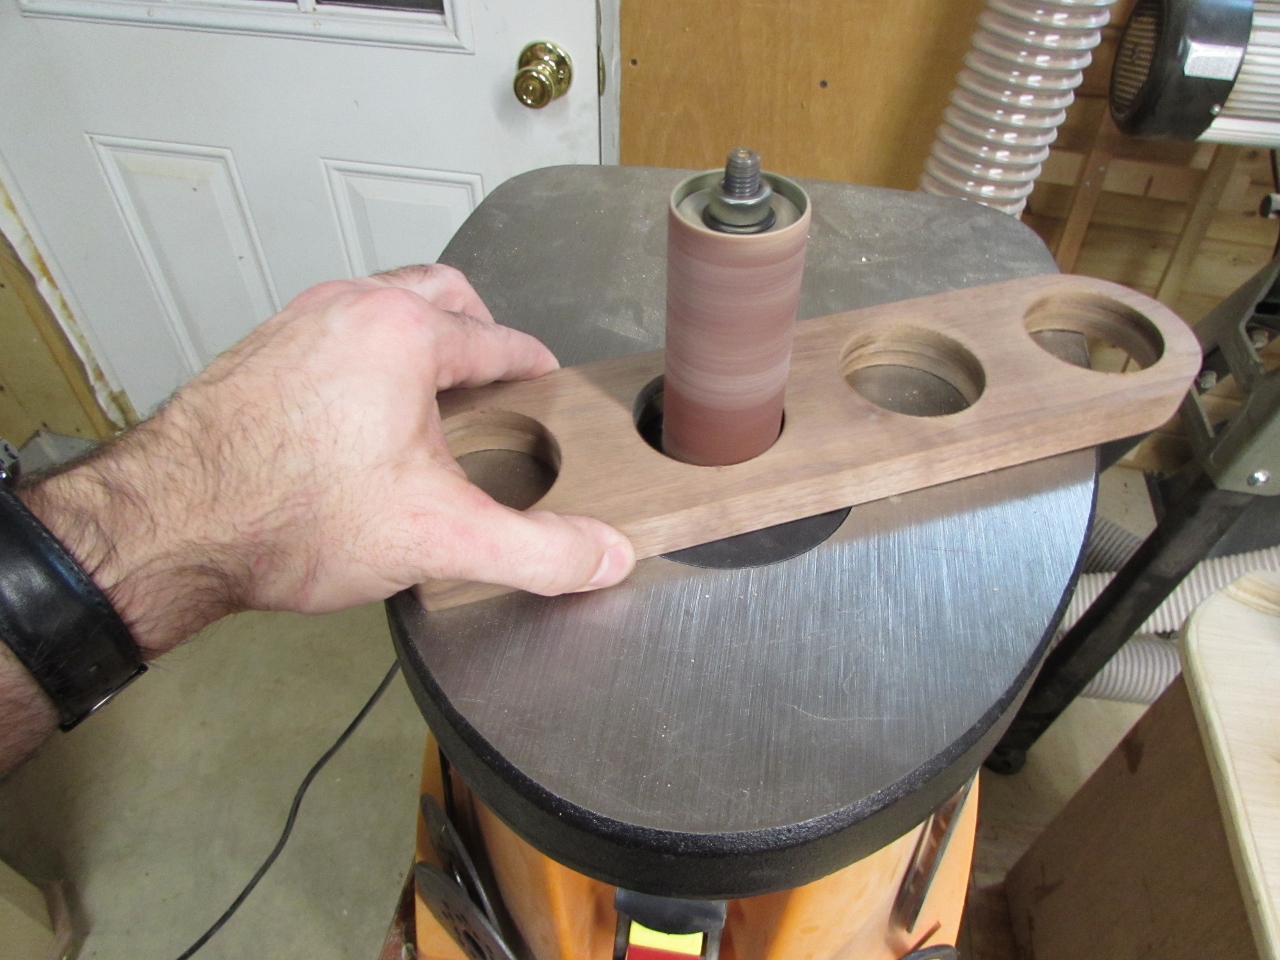
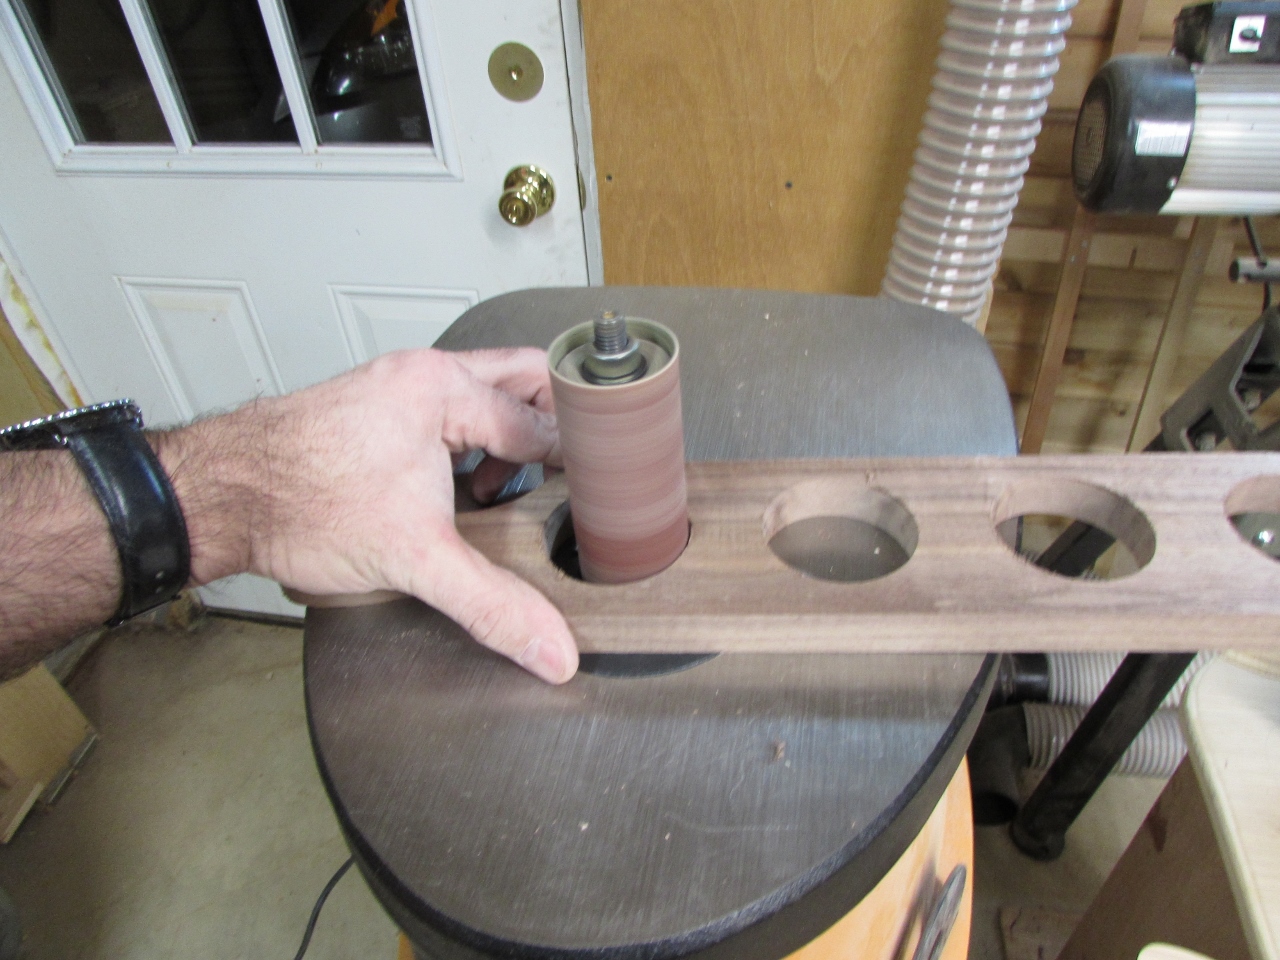
A quick swipe around the spindle sander and the holes were smoothed out nicely.
I took a trip to Lowes, the next day and looked for a new hole saw. Apparently they have improved in the last 20 years, since I bought my cheap set.
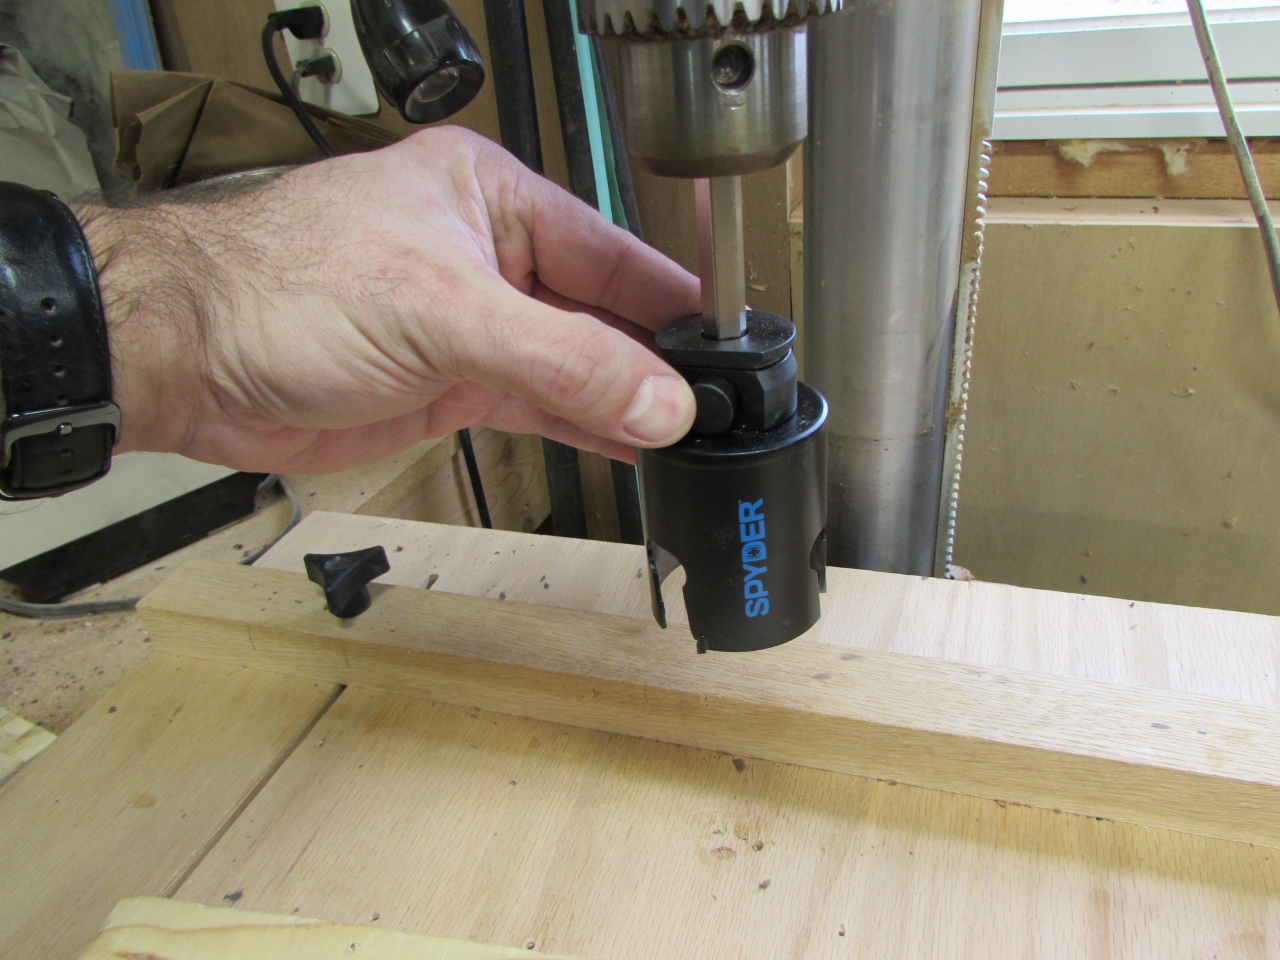
I found a cool setup from a company called “Spyder” It is a carbide toothed saw and the carbide teeth are twice as wide as the rest of the body. This means the groove cut is a lot wider and the plug does not get bound up inside. Also the hole saw, itself is removable, making it way easier to remove the blank which basically falls out anyway. Only the carbide comes in contact with the wood, so nothing gets overheated either.
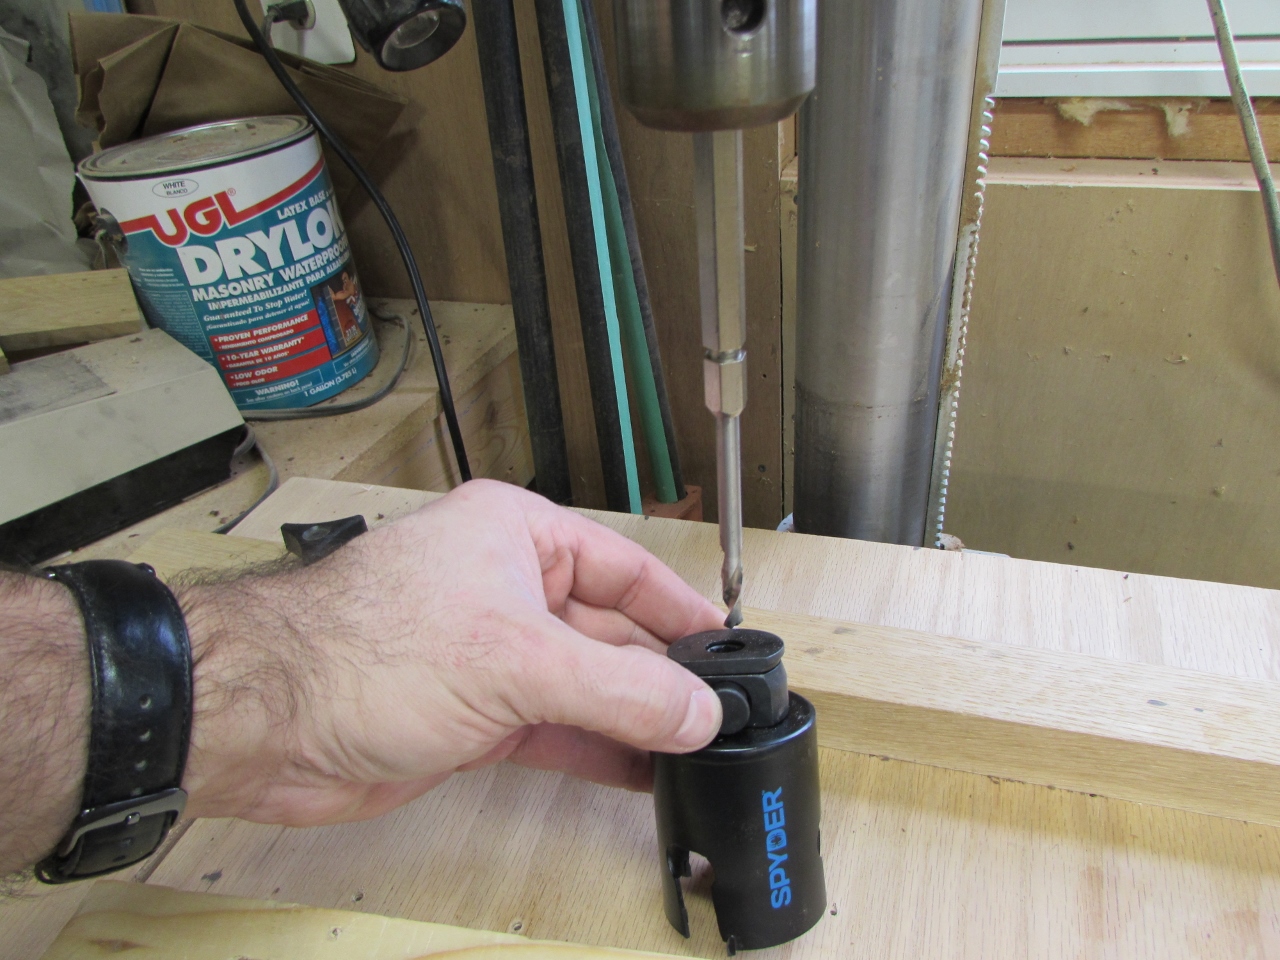
With the new hole saw, I flew through the next 40 holes in a matter of minutes.
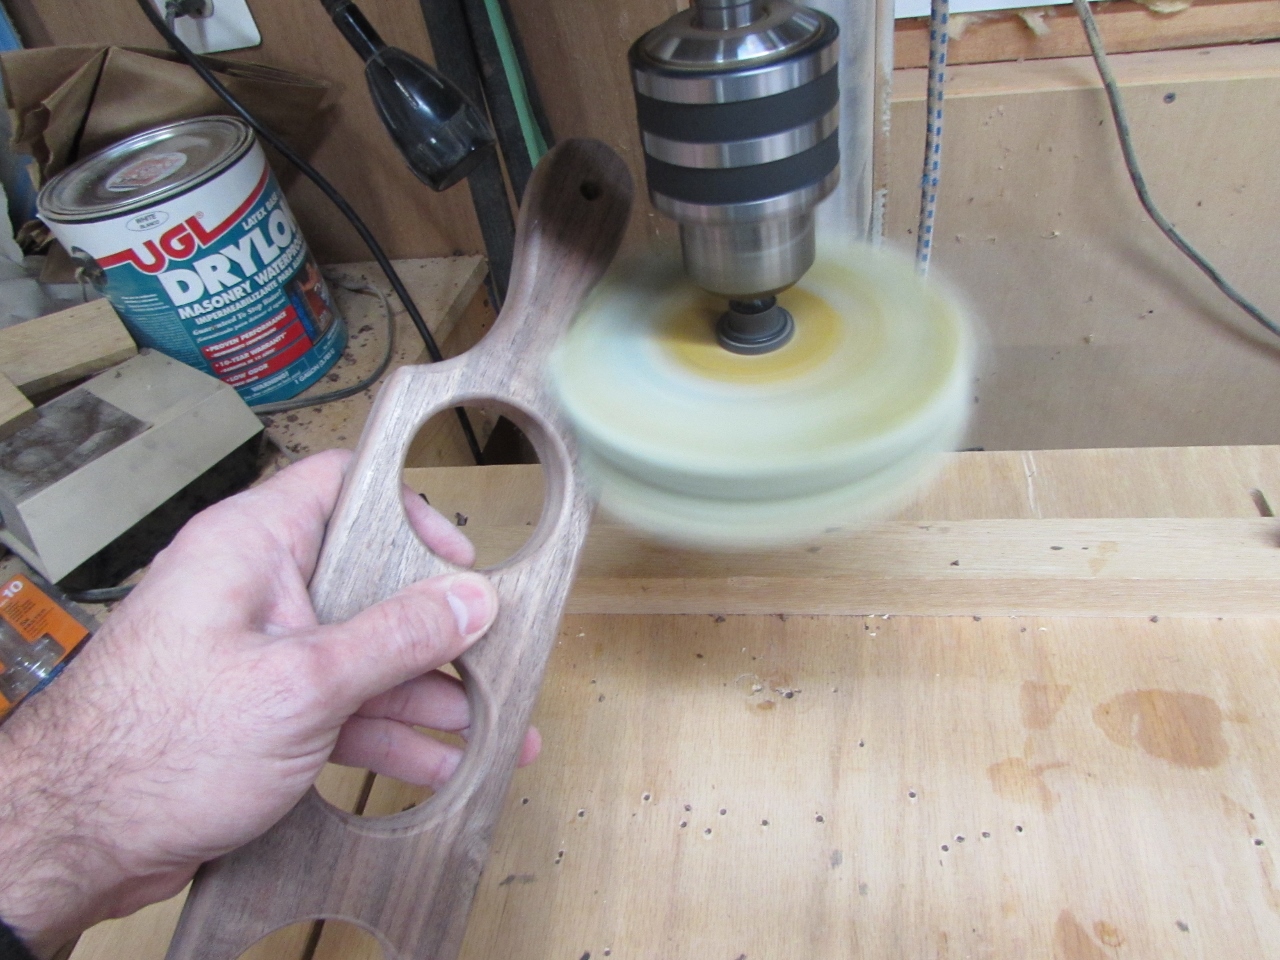
After a quick sanding of the holes, I went through and drilled a 1/4″ hole in each of the handles in case they wanted to hang them or attach a thong.

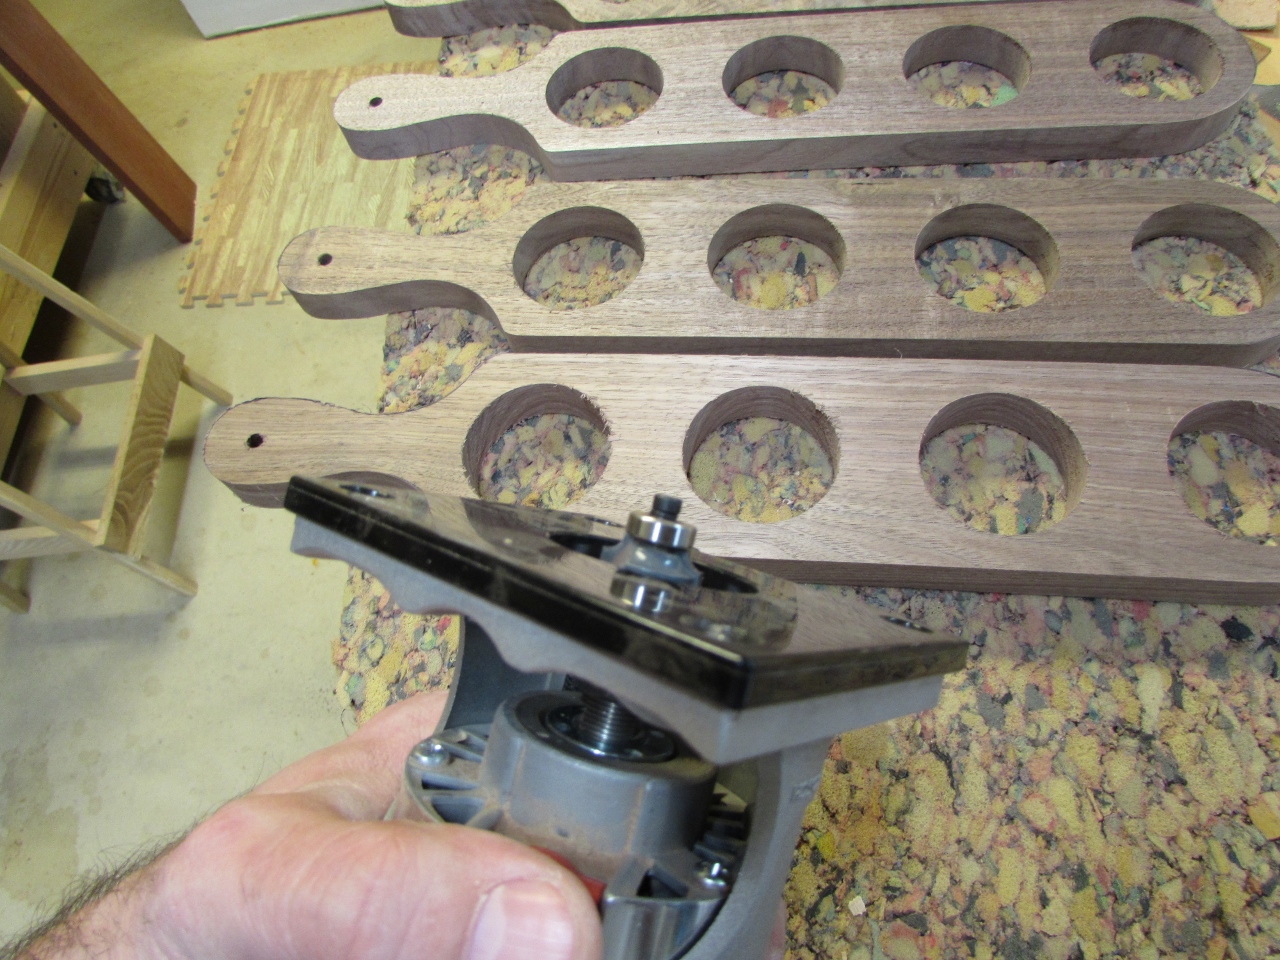
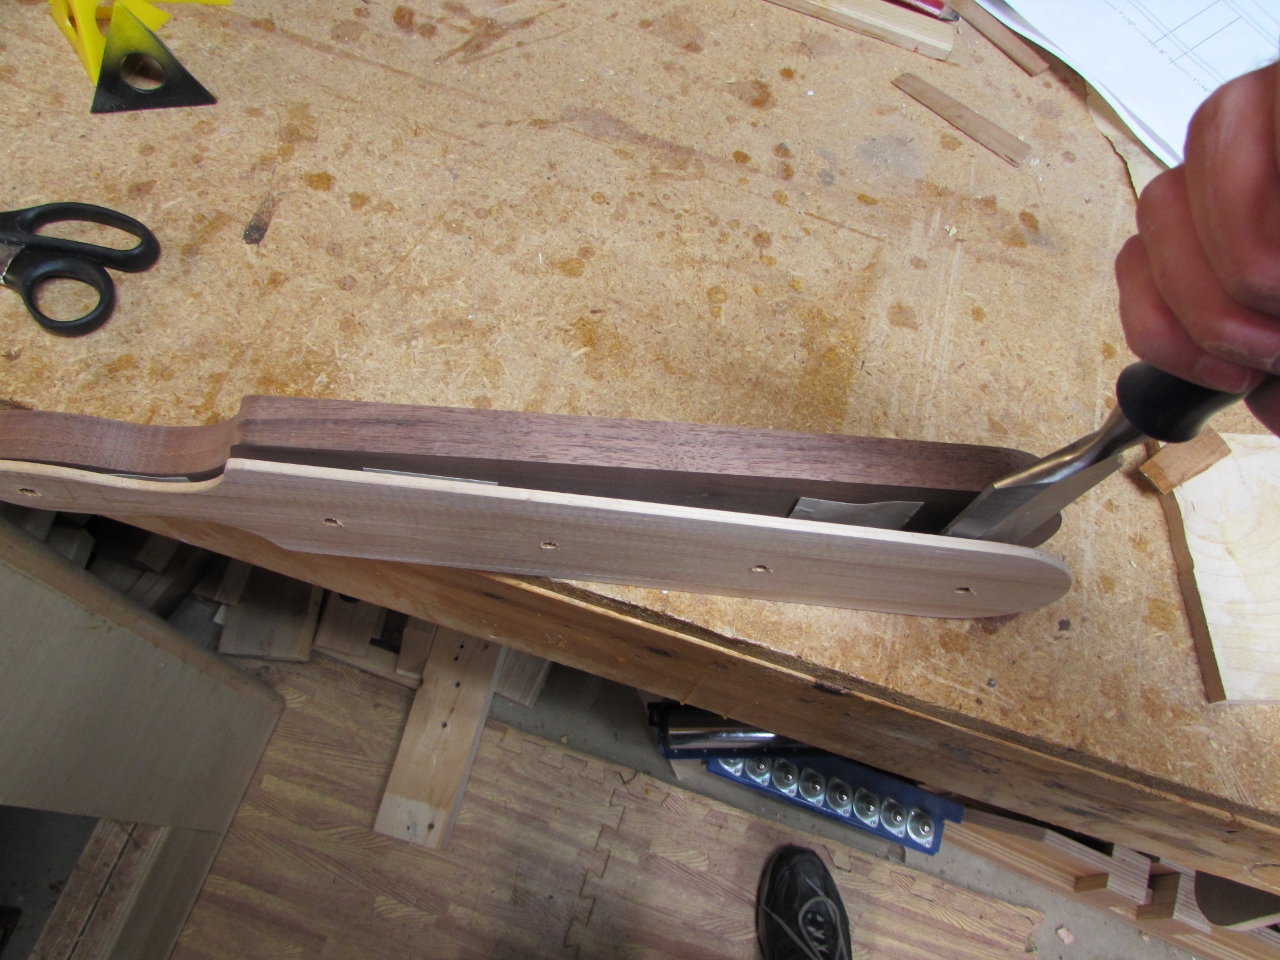
The edges of the holes were still sharp so I loaded my 1/8″ radius bearing bit, into the trim router and went around each hole.
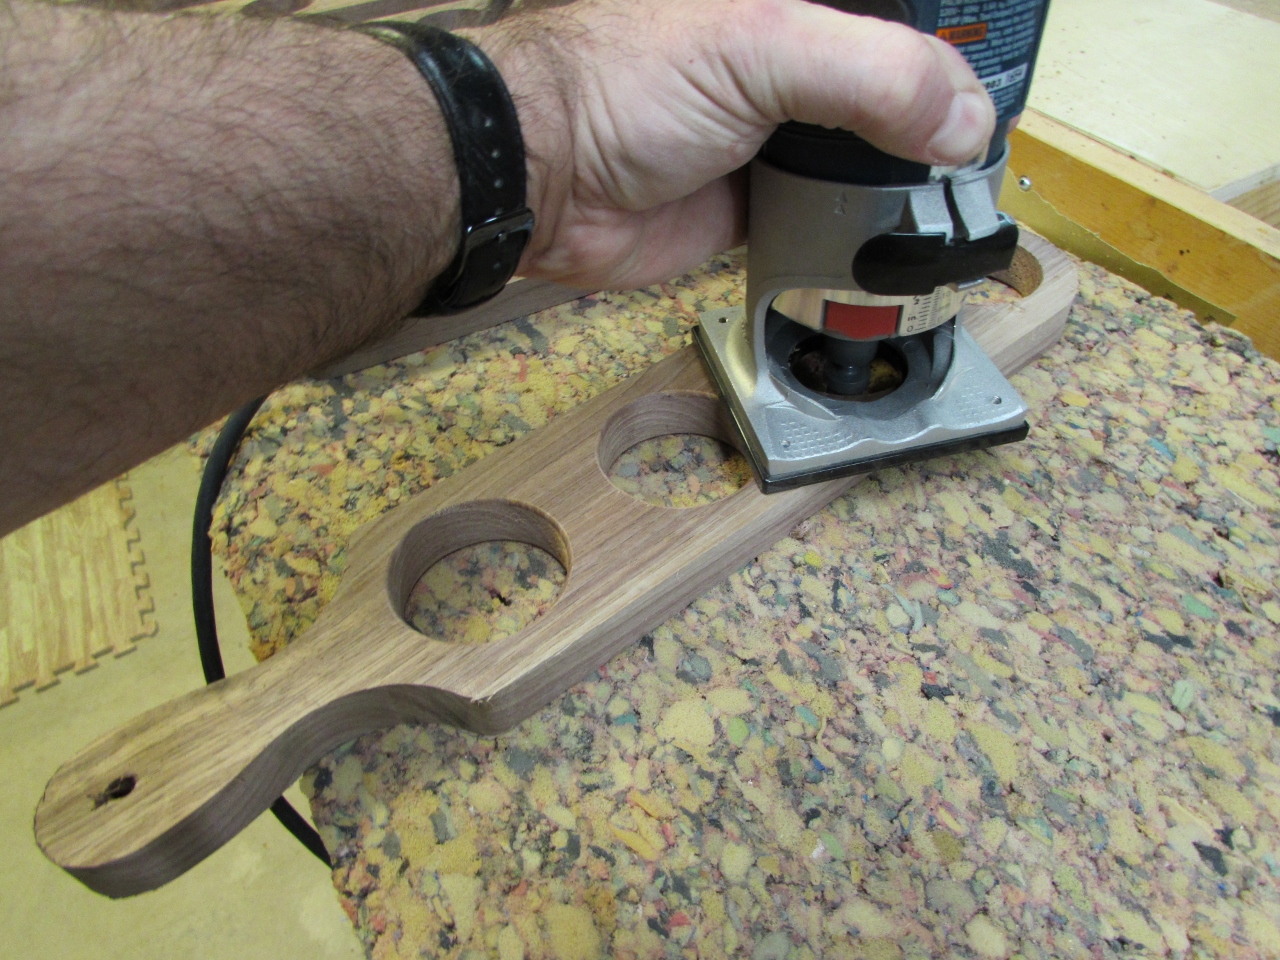
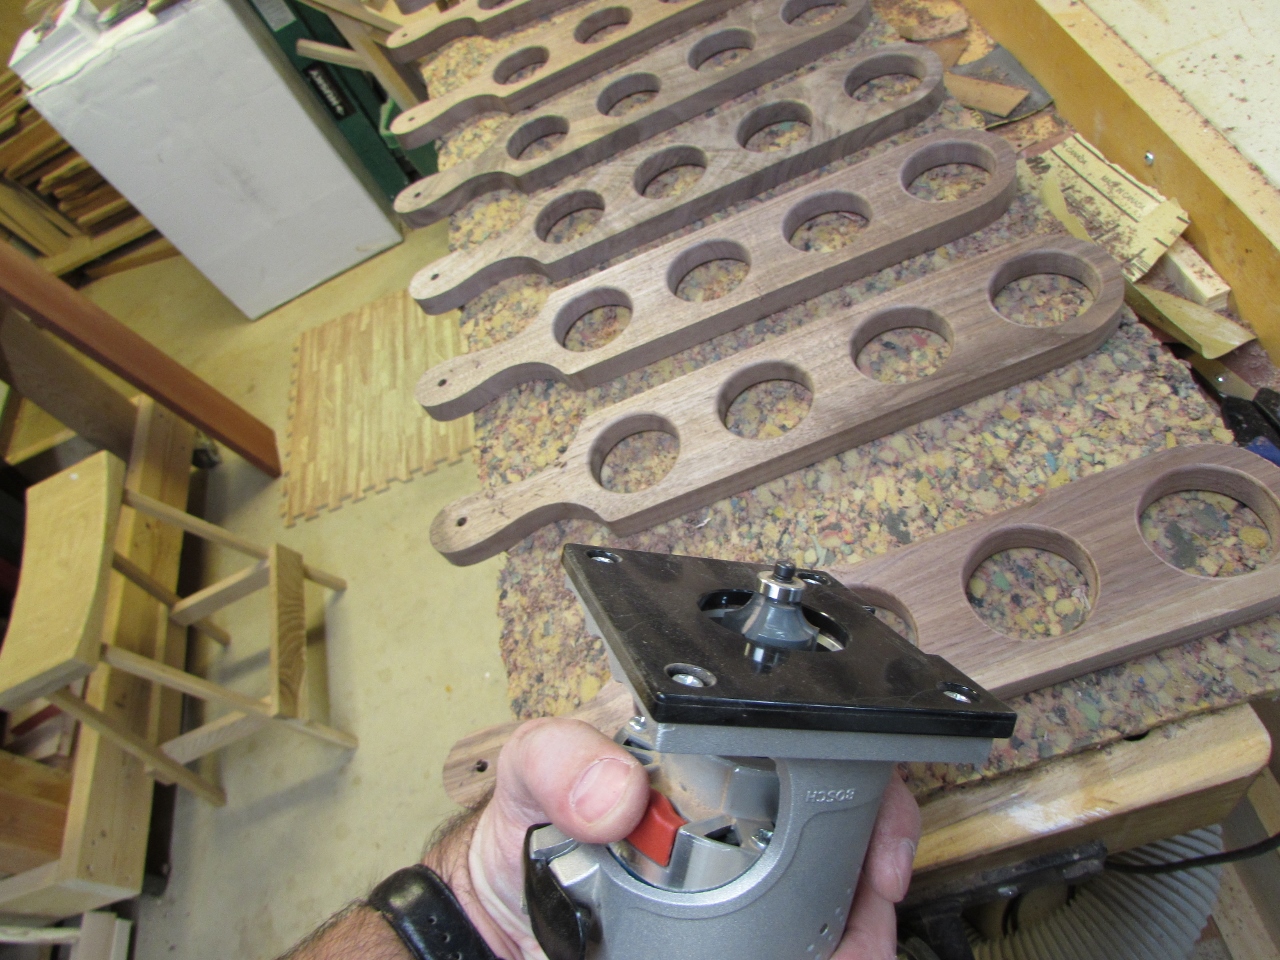
Then I loaded the 1/4″ radius bit and did the same around the outside of each flight.

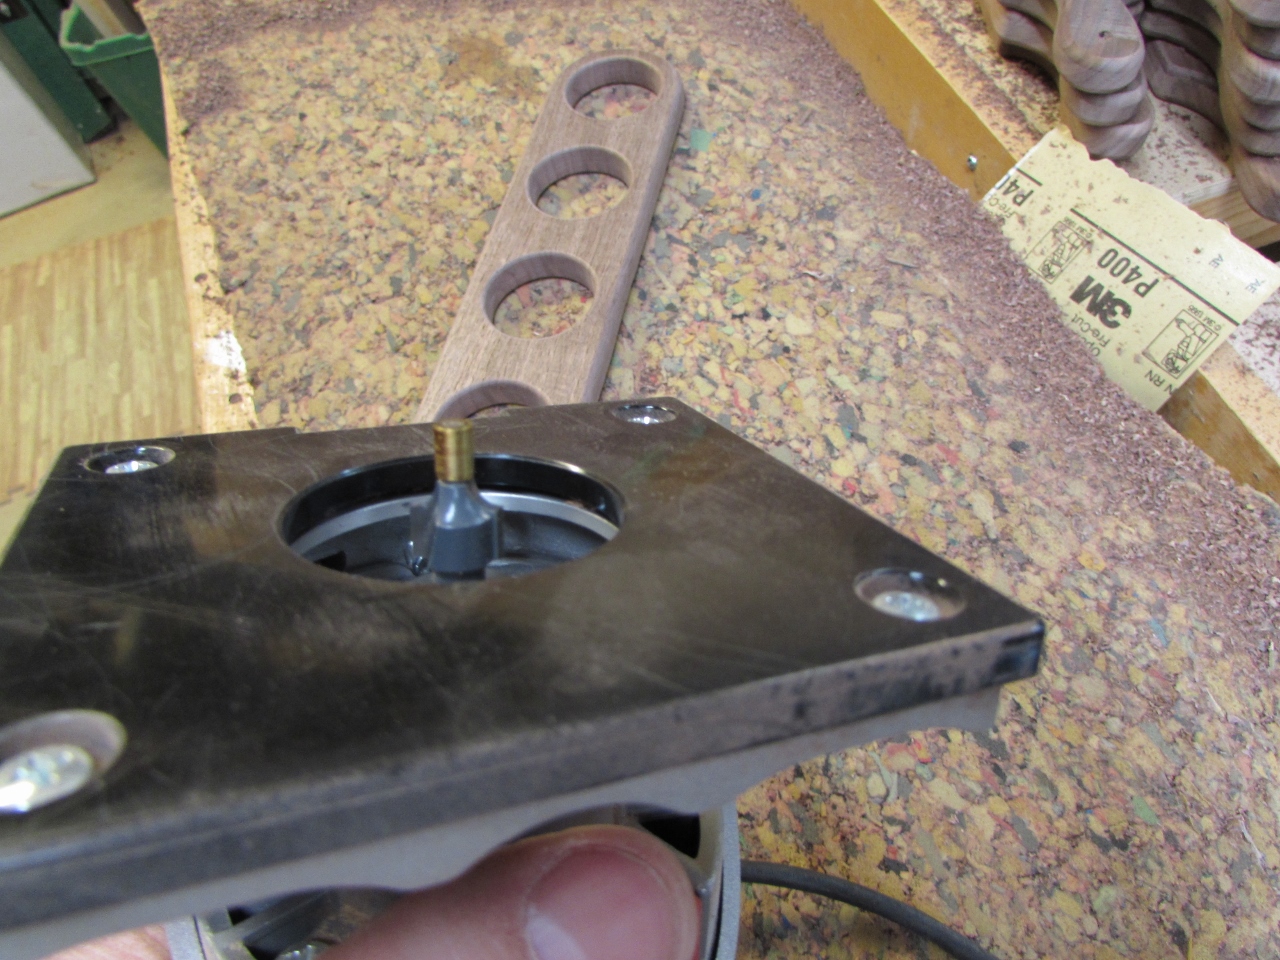
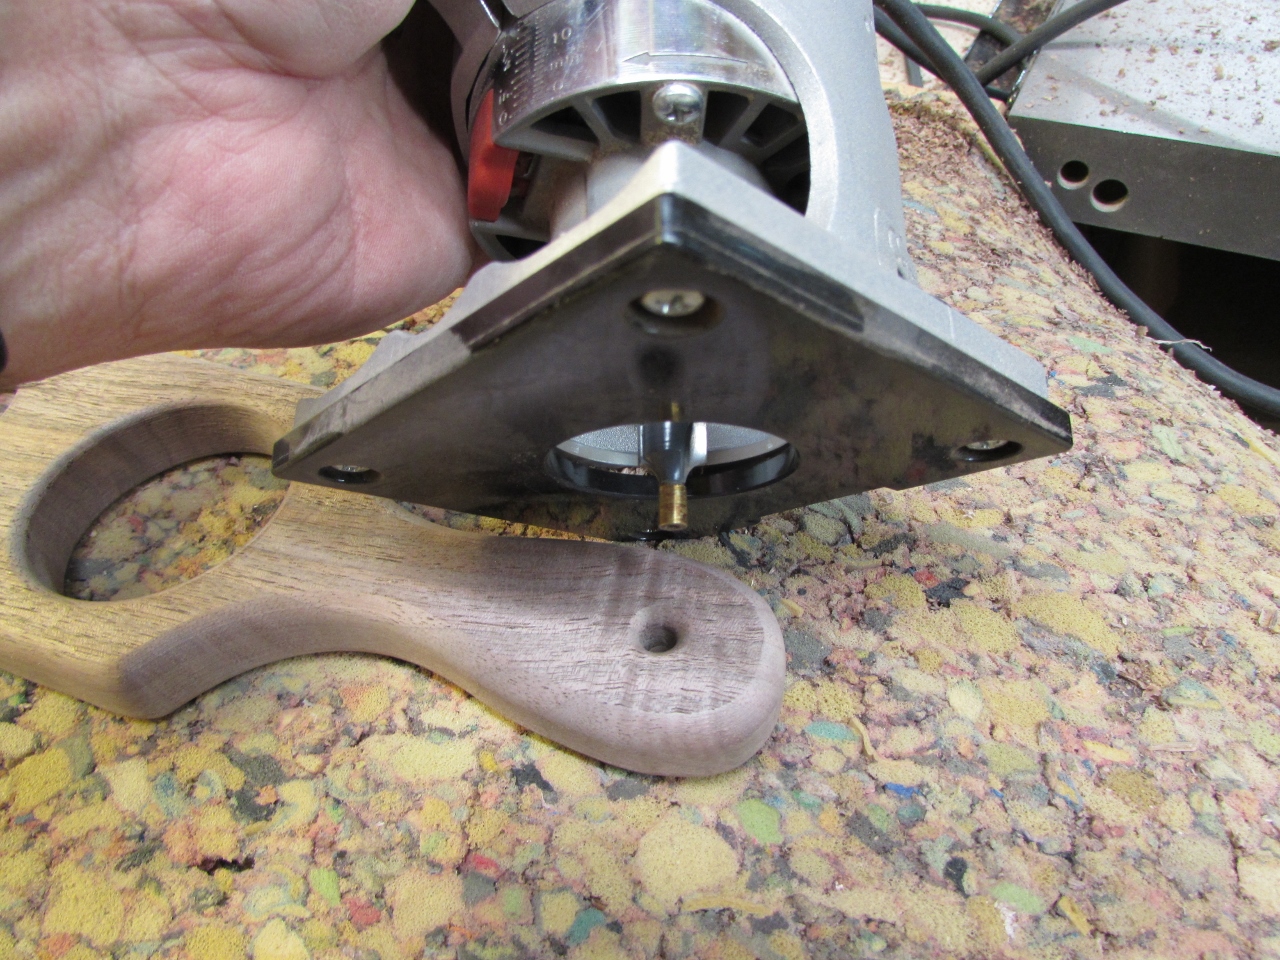
For the hole in the handle, I used a brass tipped 1/8″ radius bit and did a quick plunge and sweep around the hole, leaving it smoothly rounded.

With that done, I just needed to do a little finish sanding.

Not wanting the glasses to wedge into the hole and bind on plasticy finishes, I opted for some basic cutting board oil as my finish.
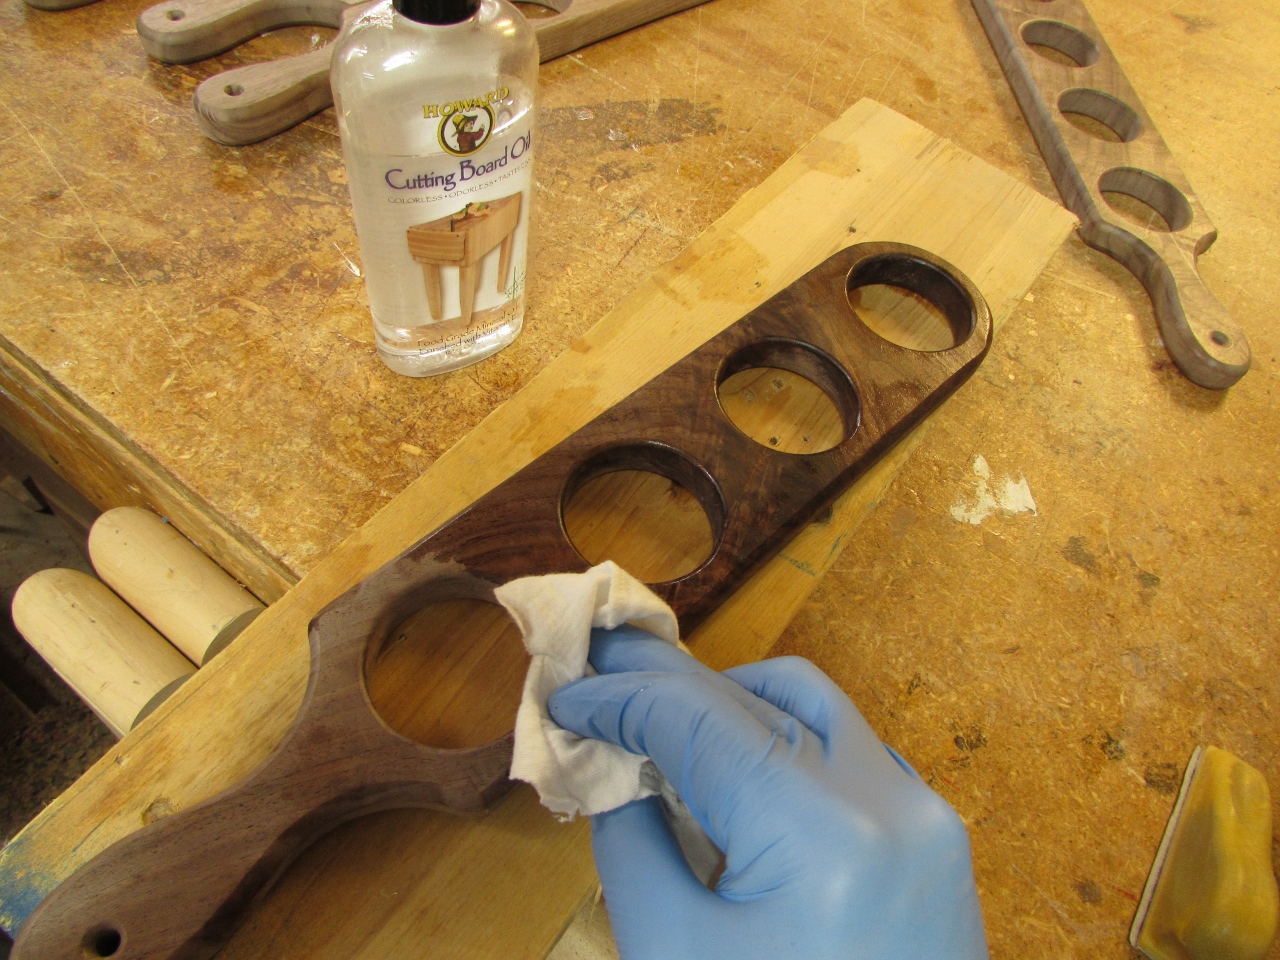
I applied two coats and let them dry for a day or two.

The client was very happy with the outcome and so was his wait staff.

Pingback: Quick and dirty Moxon vise | Midnight Woodworking