
Quick and dirty Moxon vise
I am going to need something to clamp wood into, for this class I am teaching. I need to hold wood in a vertical position so the teens can cut it with a hand saw. I searched the web for a few different approaches and decided on a Moxon vise. I have scraps of everything I need to build one, just lying around the shop. I could spend a lot more money to get hardware that would make the vise better, but I just need a simple clamp, so scrap it is…

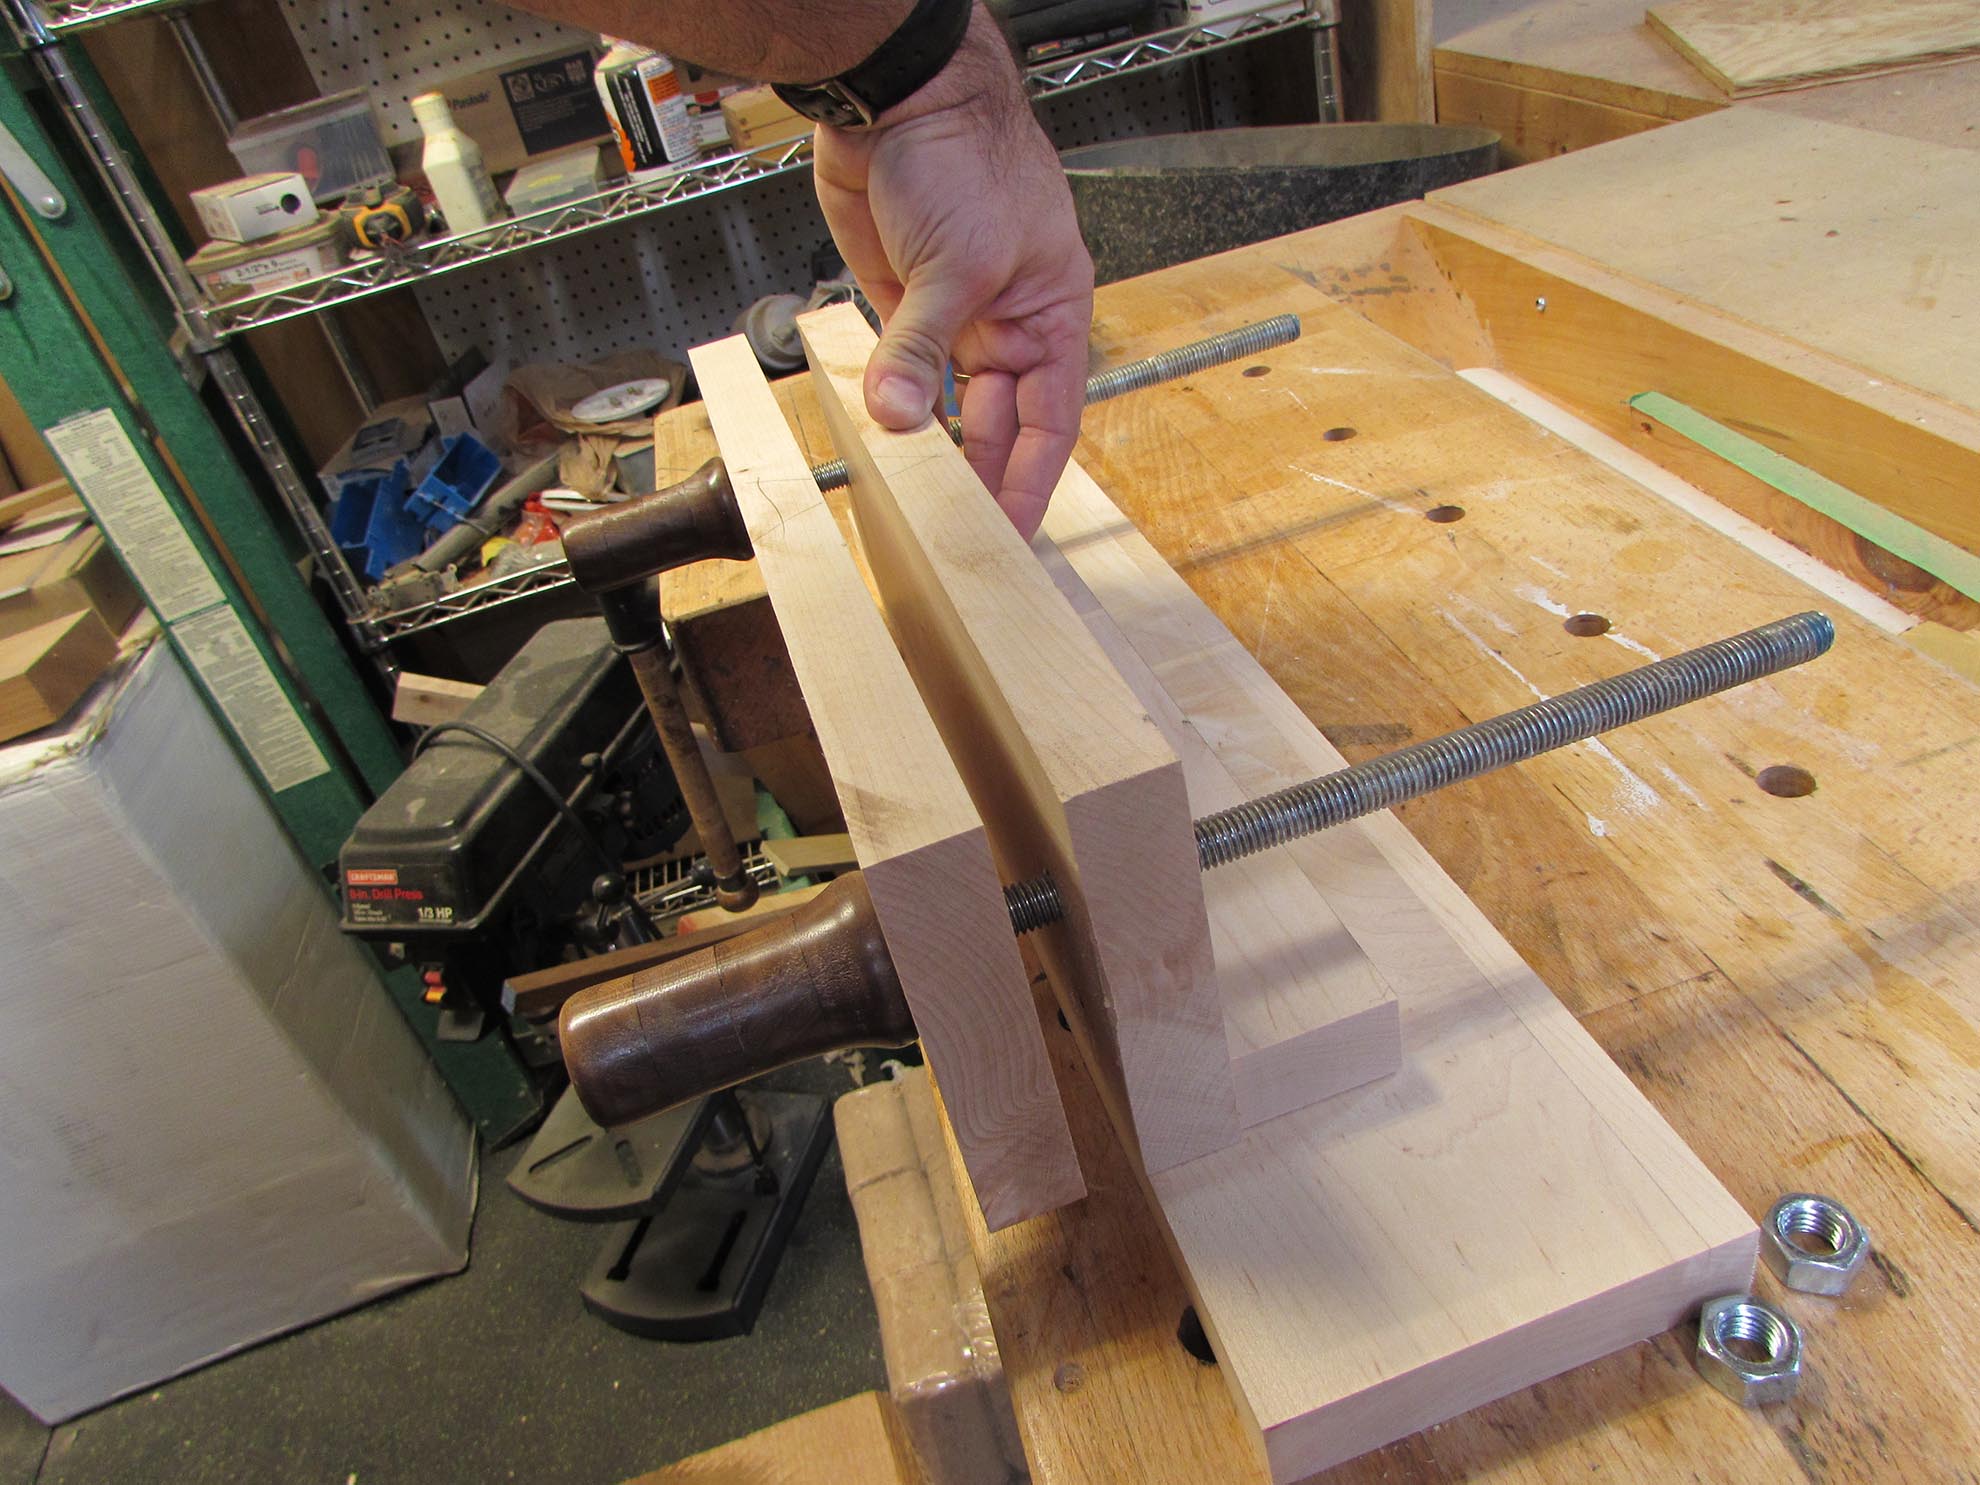
I have a few chunks of maple left-over from the maple & purpleheart crib build, so I started cutting them down. The jaws of the vise are 15″ long X 4-1/2″ tall, and about 1″ thick. I cut the base 6″ longer to leave room for clamping.

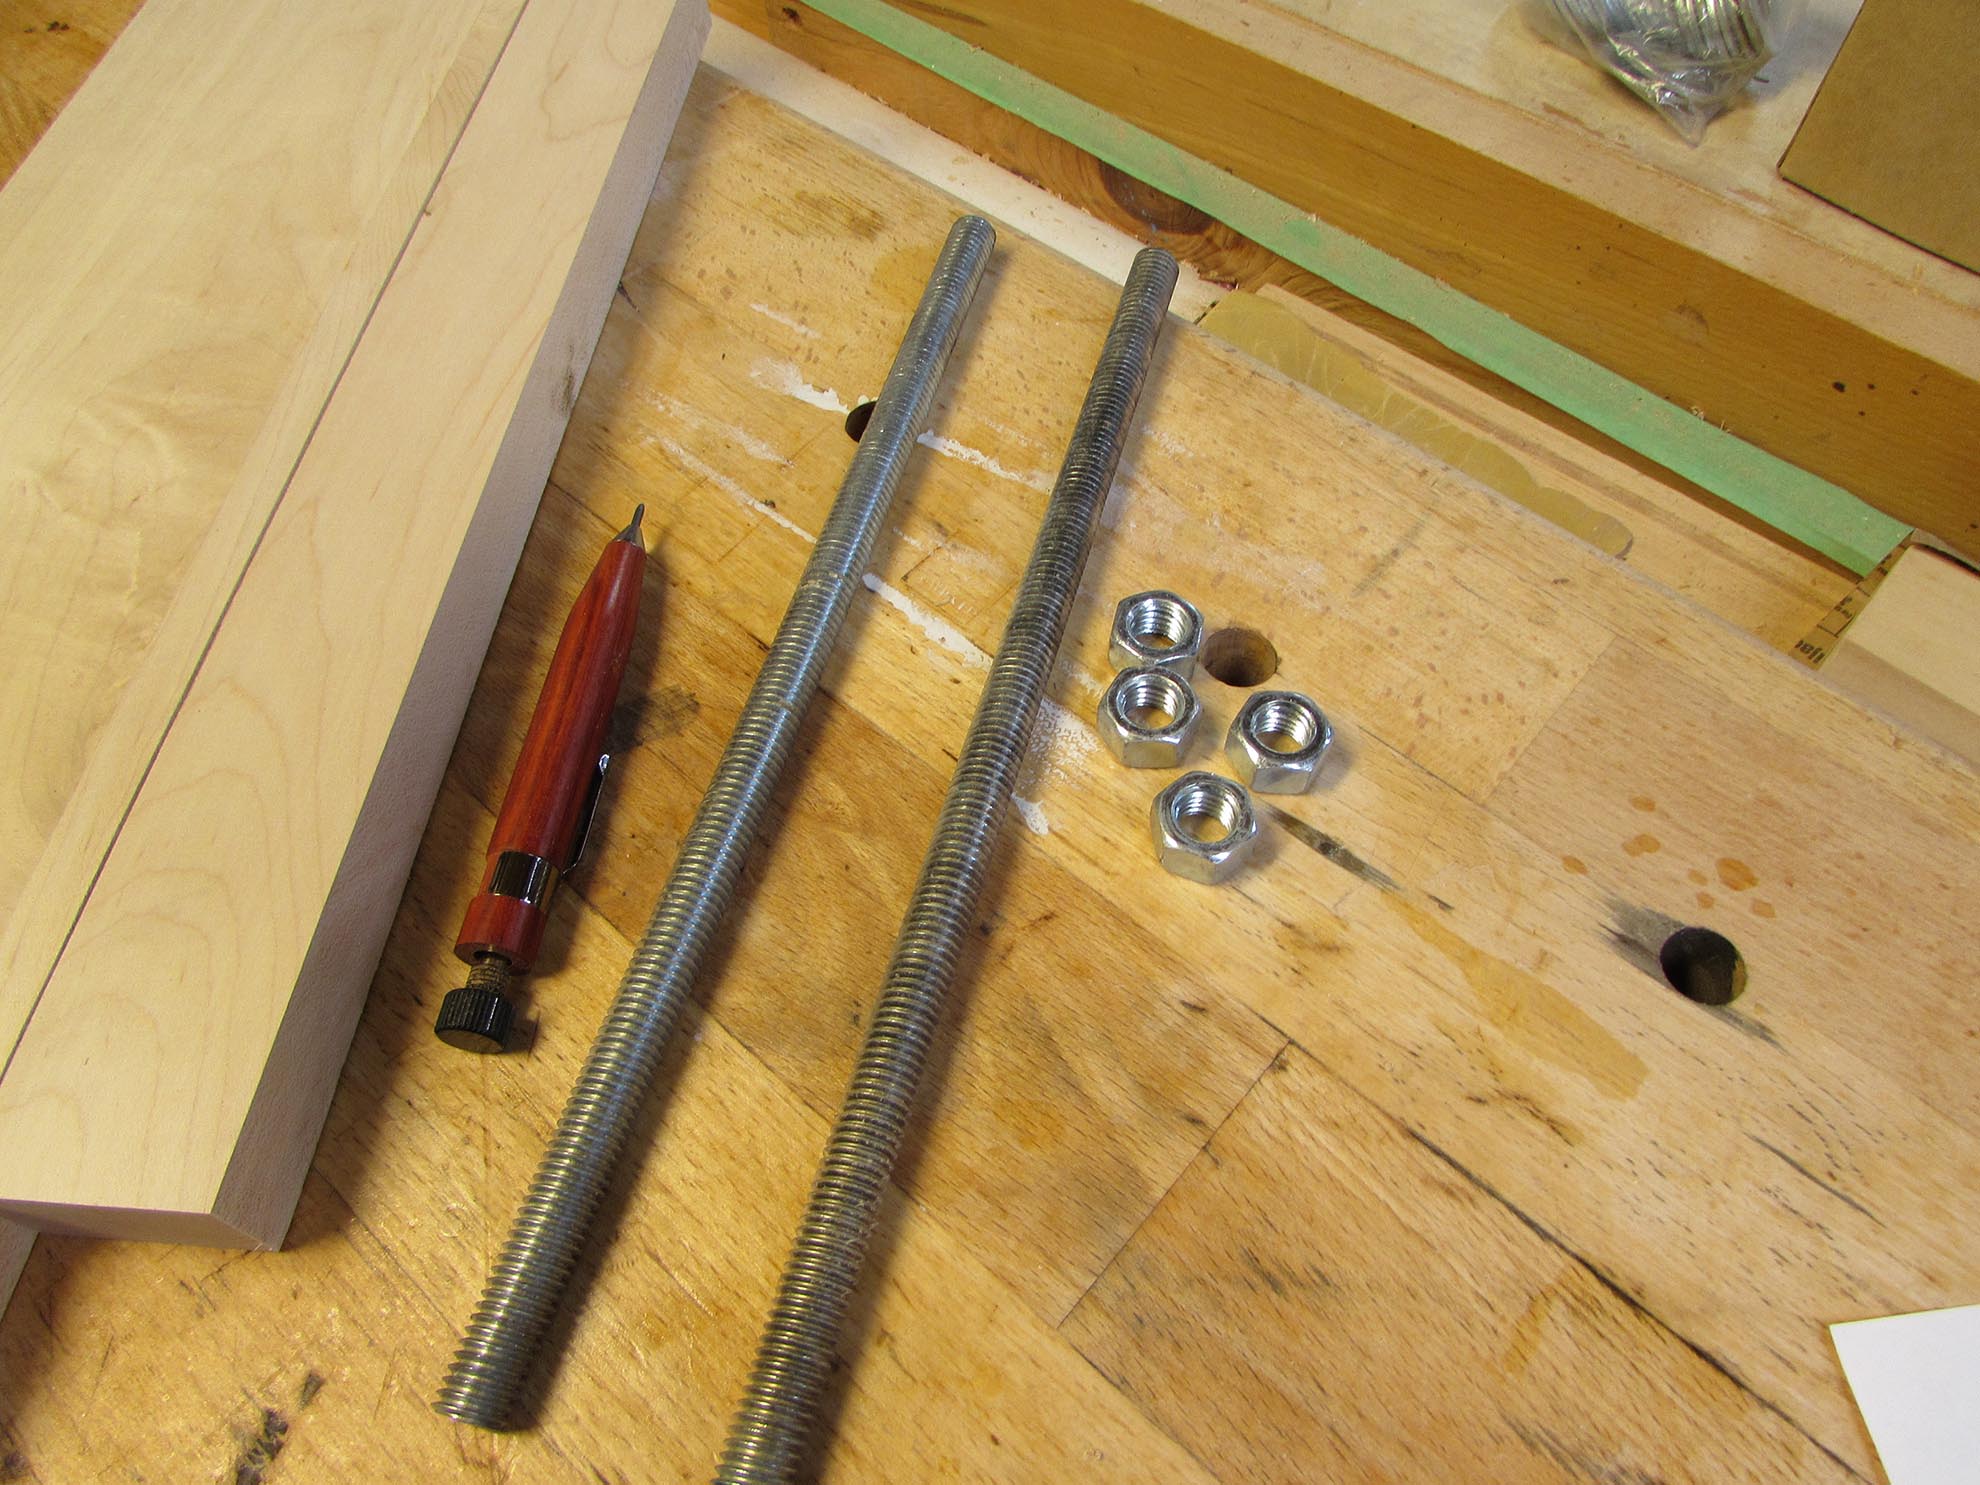
The handles are going to be made from all of the left-over slugs from the Beer flights I made a while back. They were from the holes that were cut with a hole saw. I glued them up, four at a time, for my wife to play with, on the lathe. The threaded rods were 12″ off-cuts, left-over from the last addition I built. I used 1/2″ all-thread to attach wood to my steel beam. The threads are a bit fine, so it won’t be a fast vise, but it also won’t cost me anything, so I can be a little more patient, opening and closing the vise.
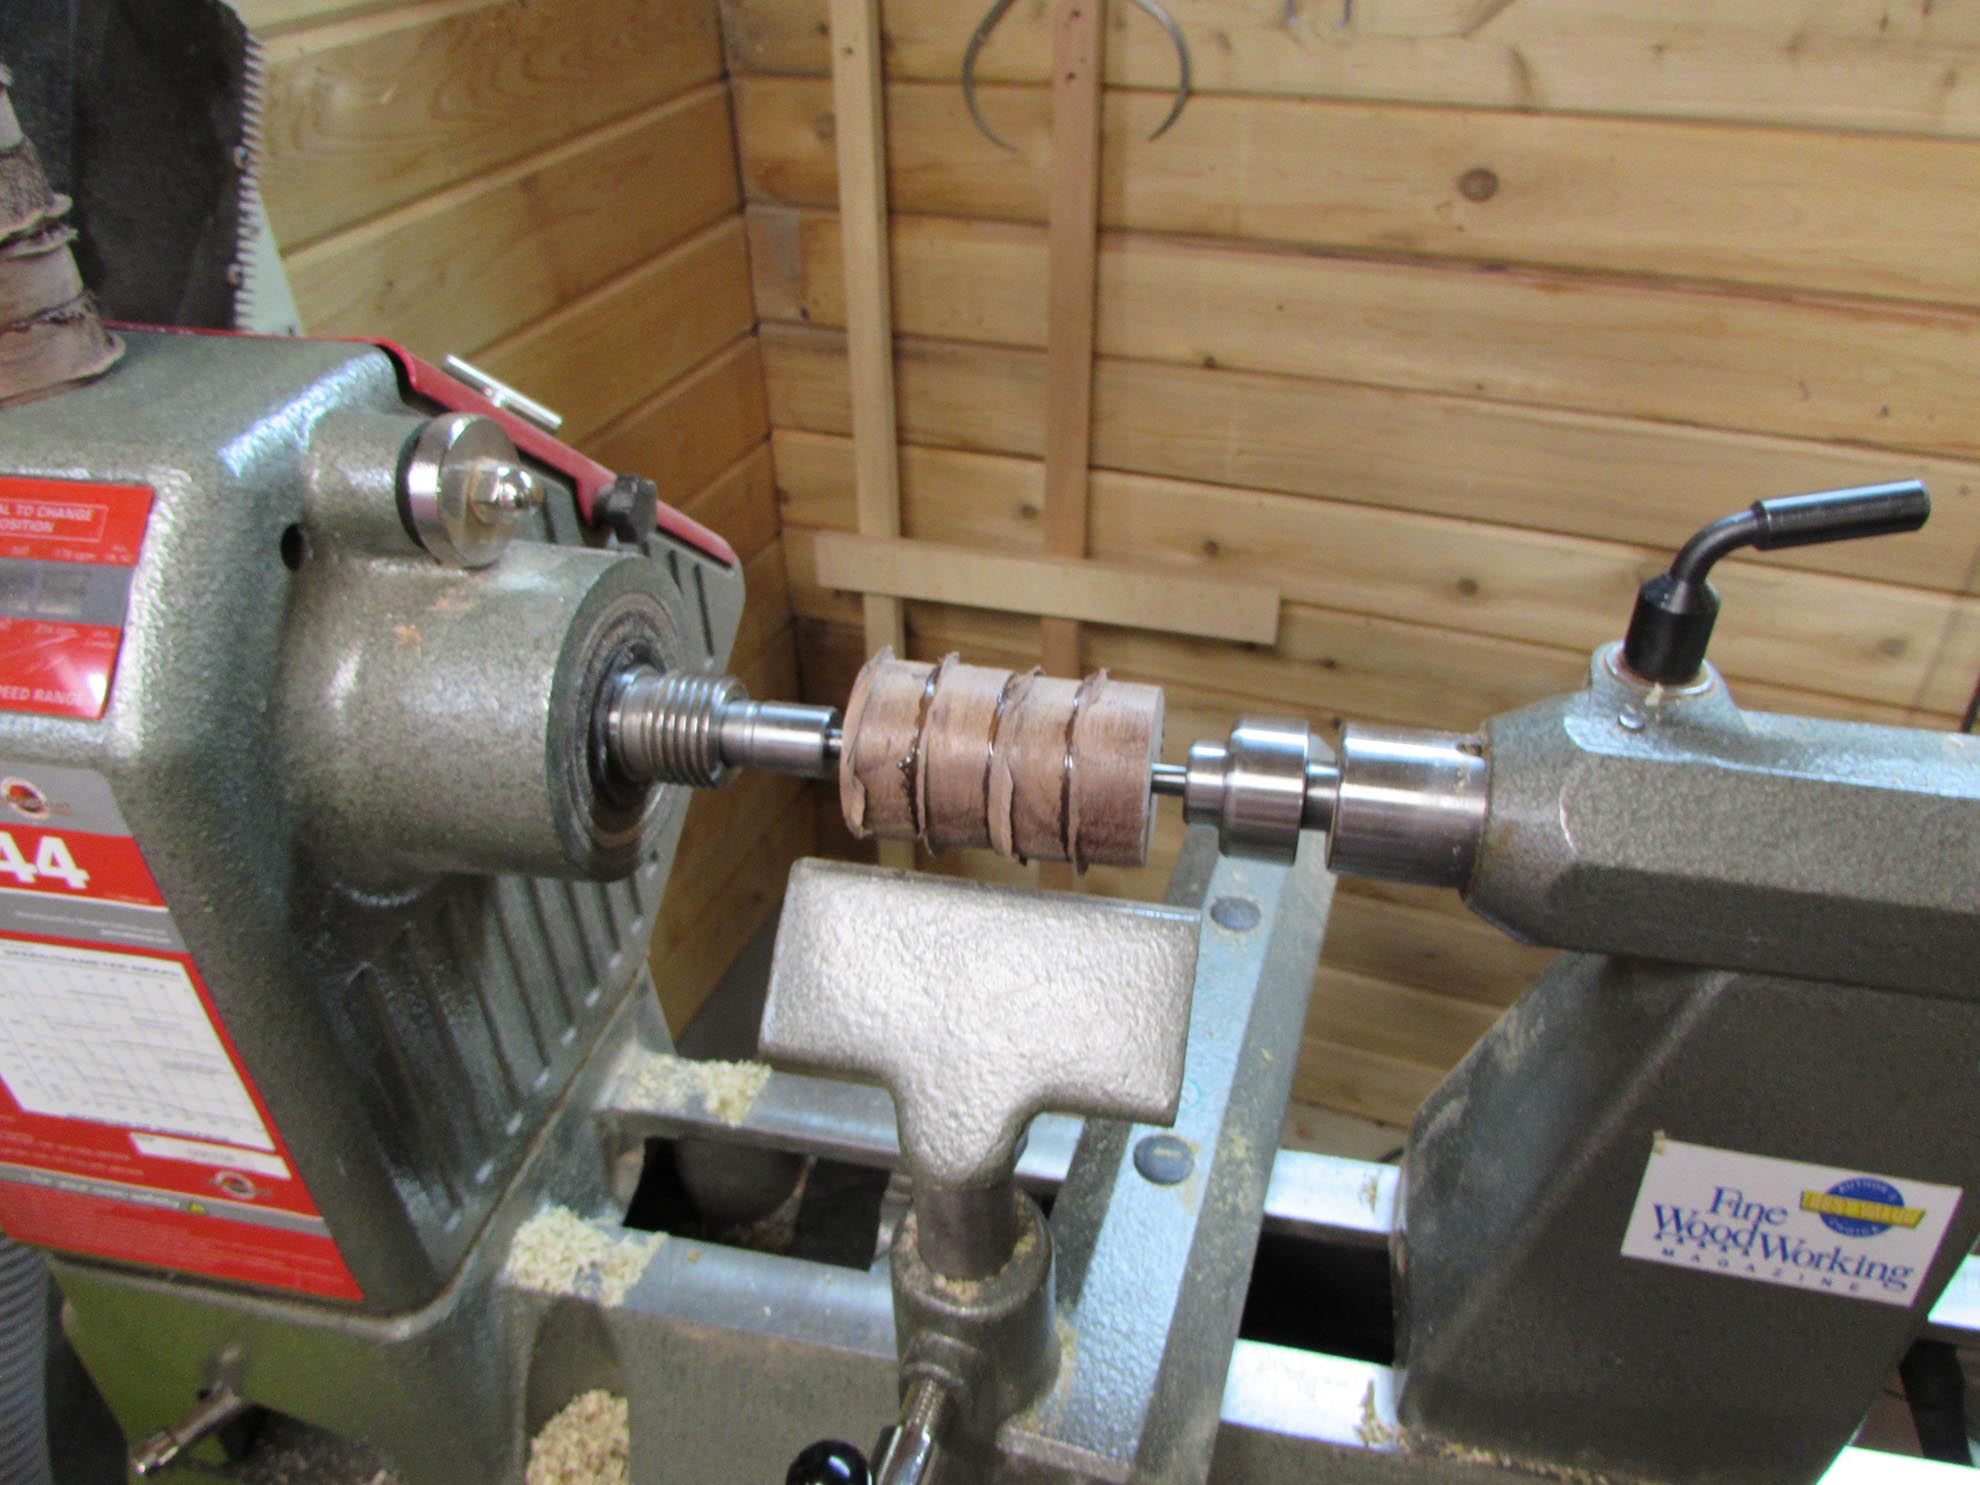
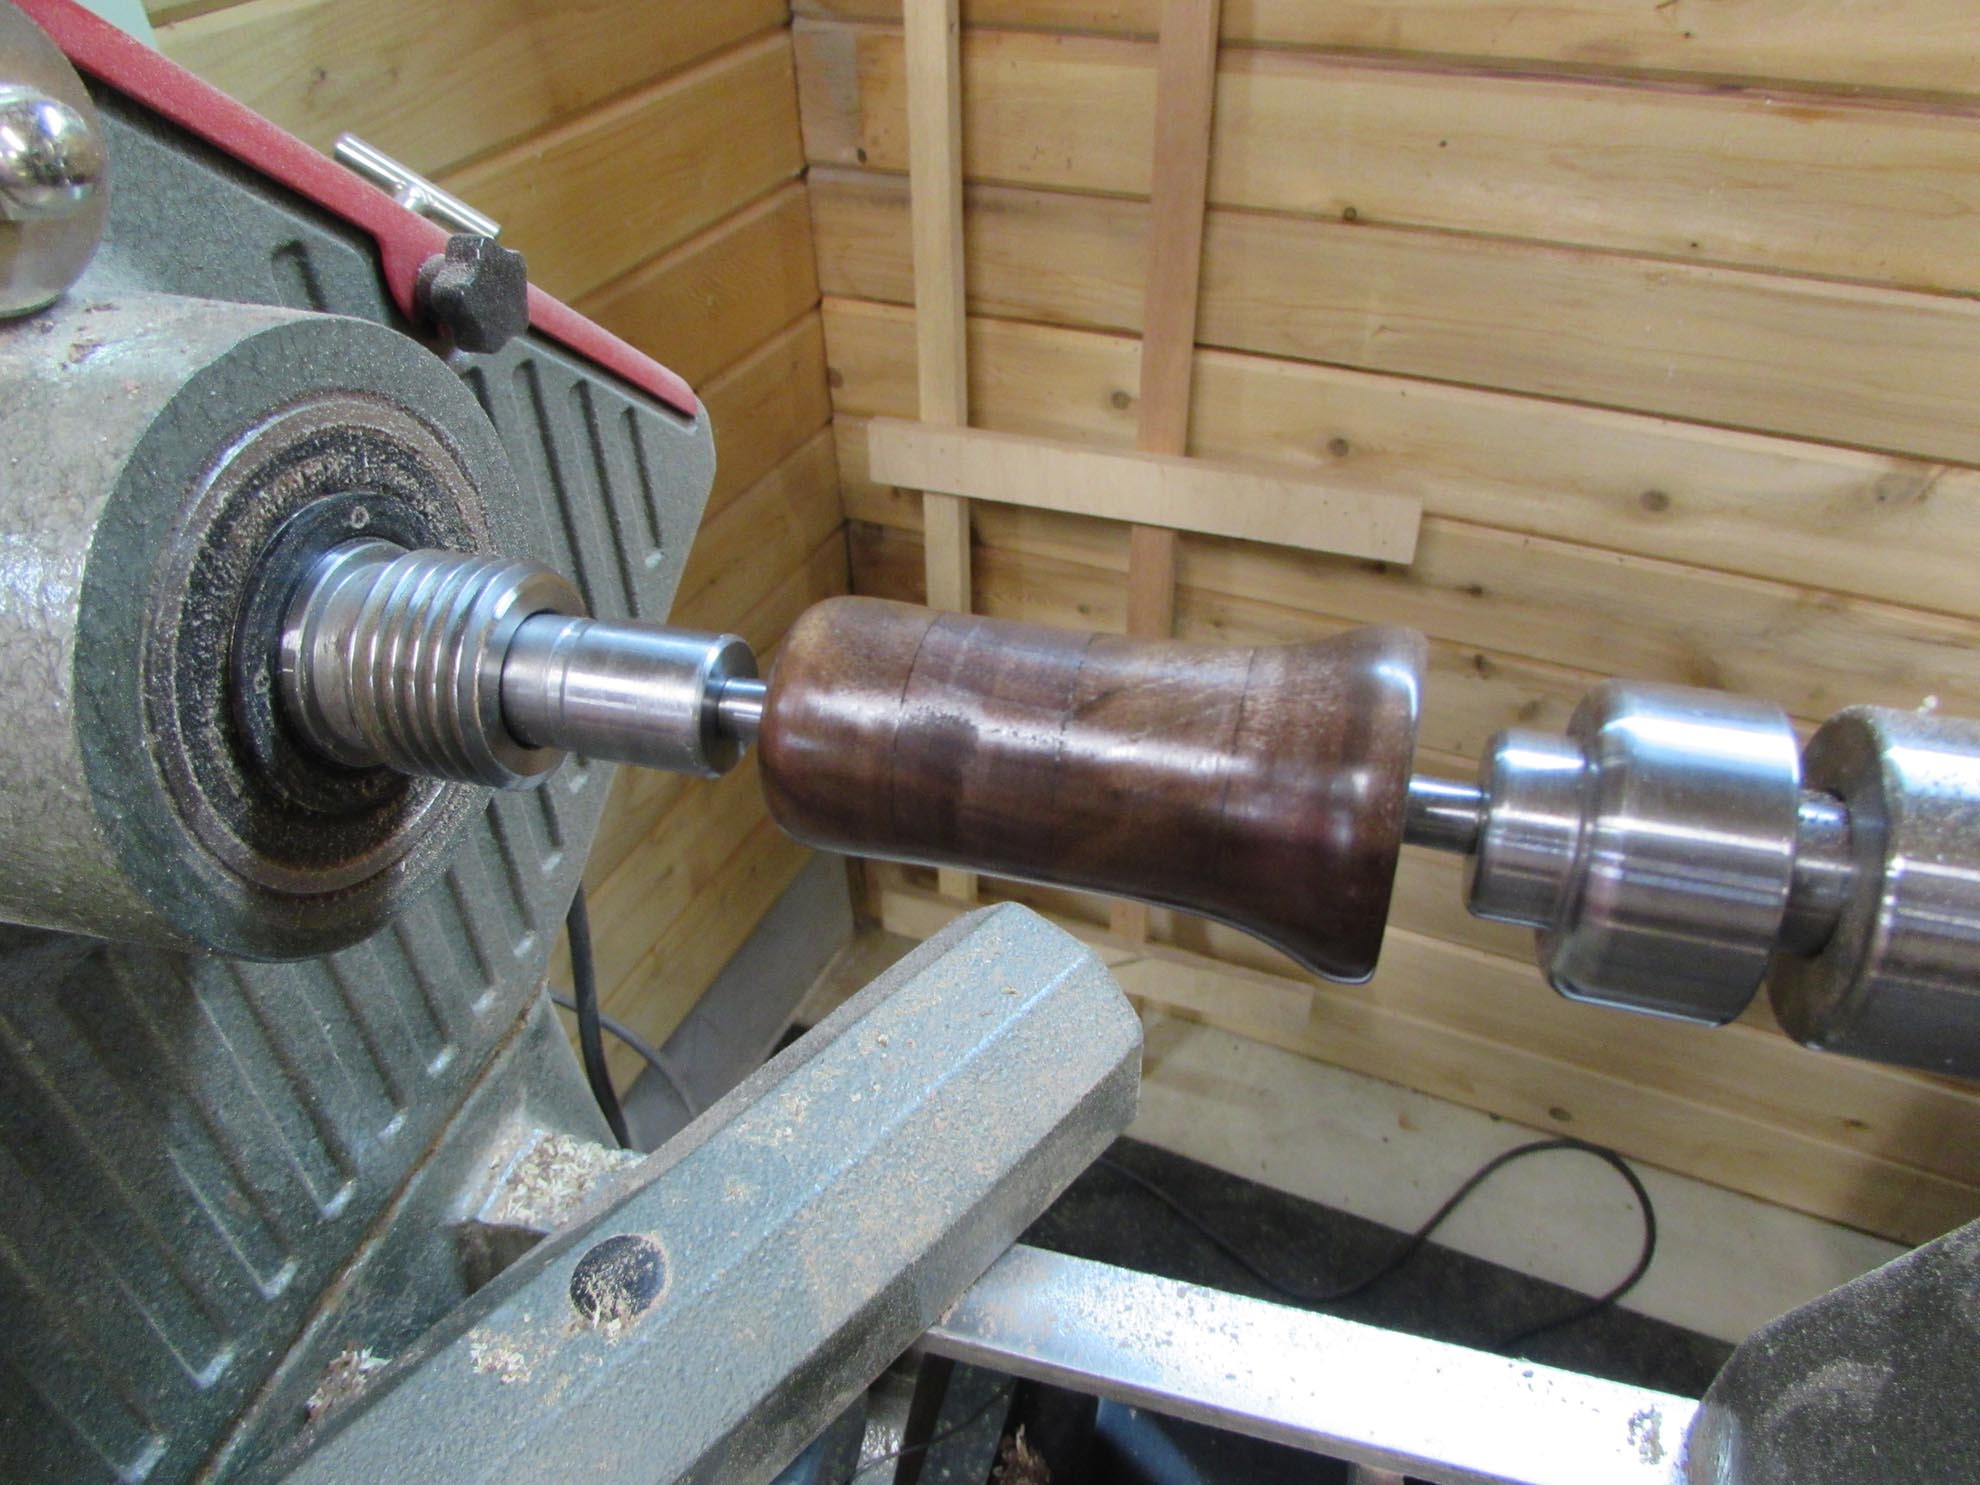
I got my wife working on turning down the handles.

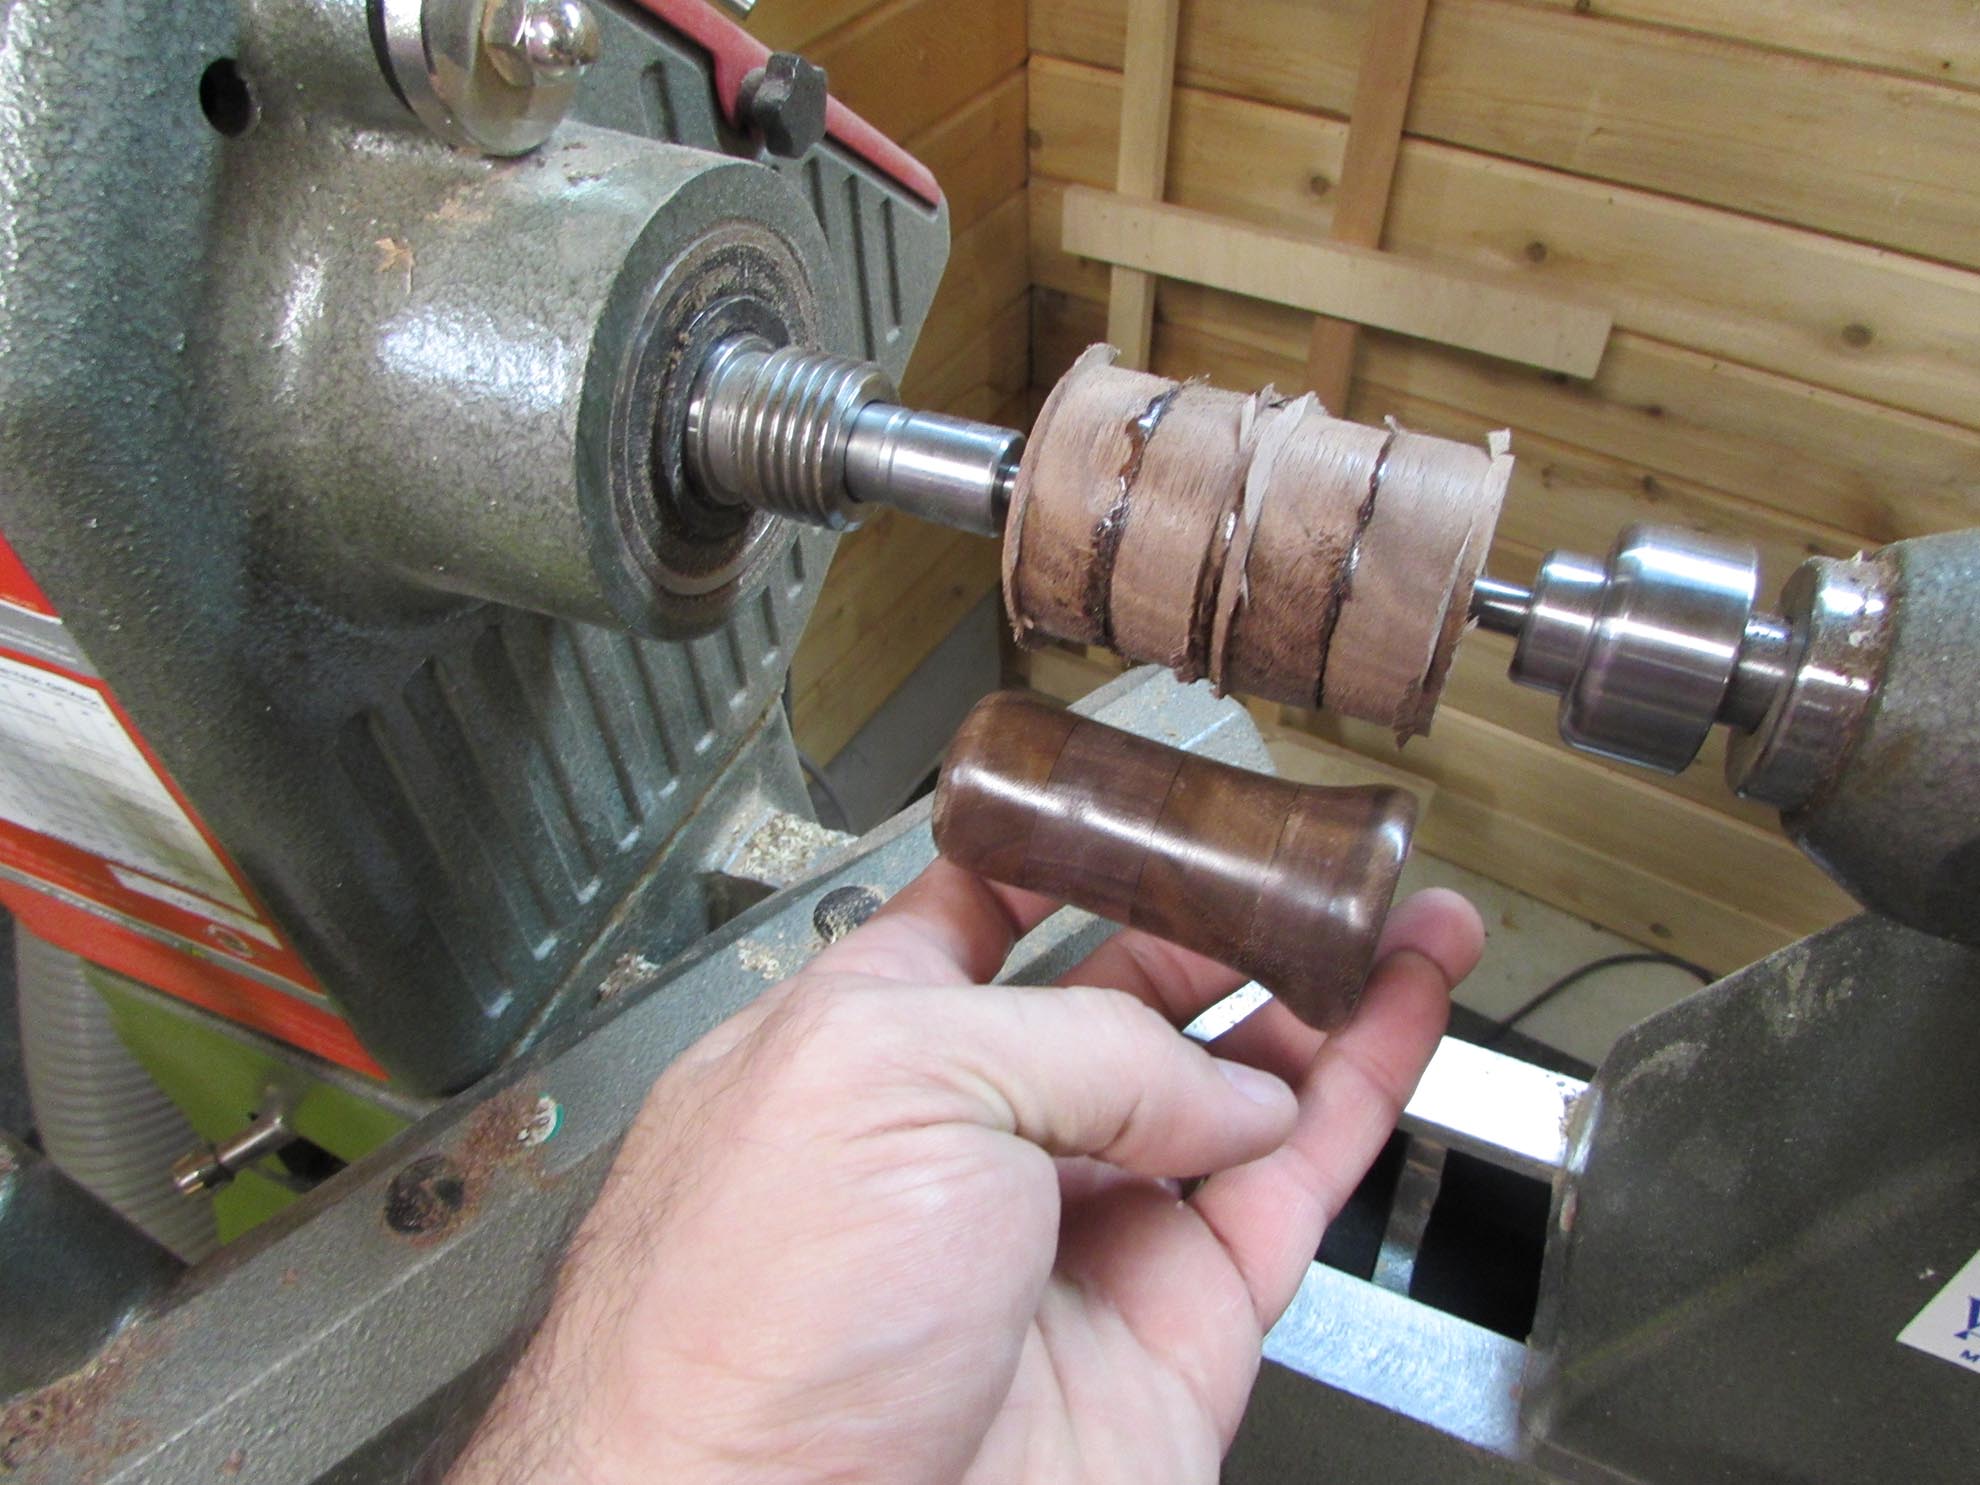
I asked for something simple and easy to grasp. She cranked out two of them in just a few minutes.
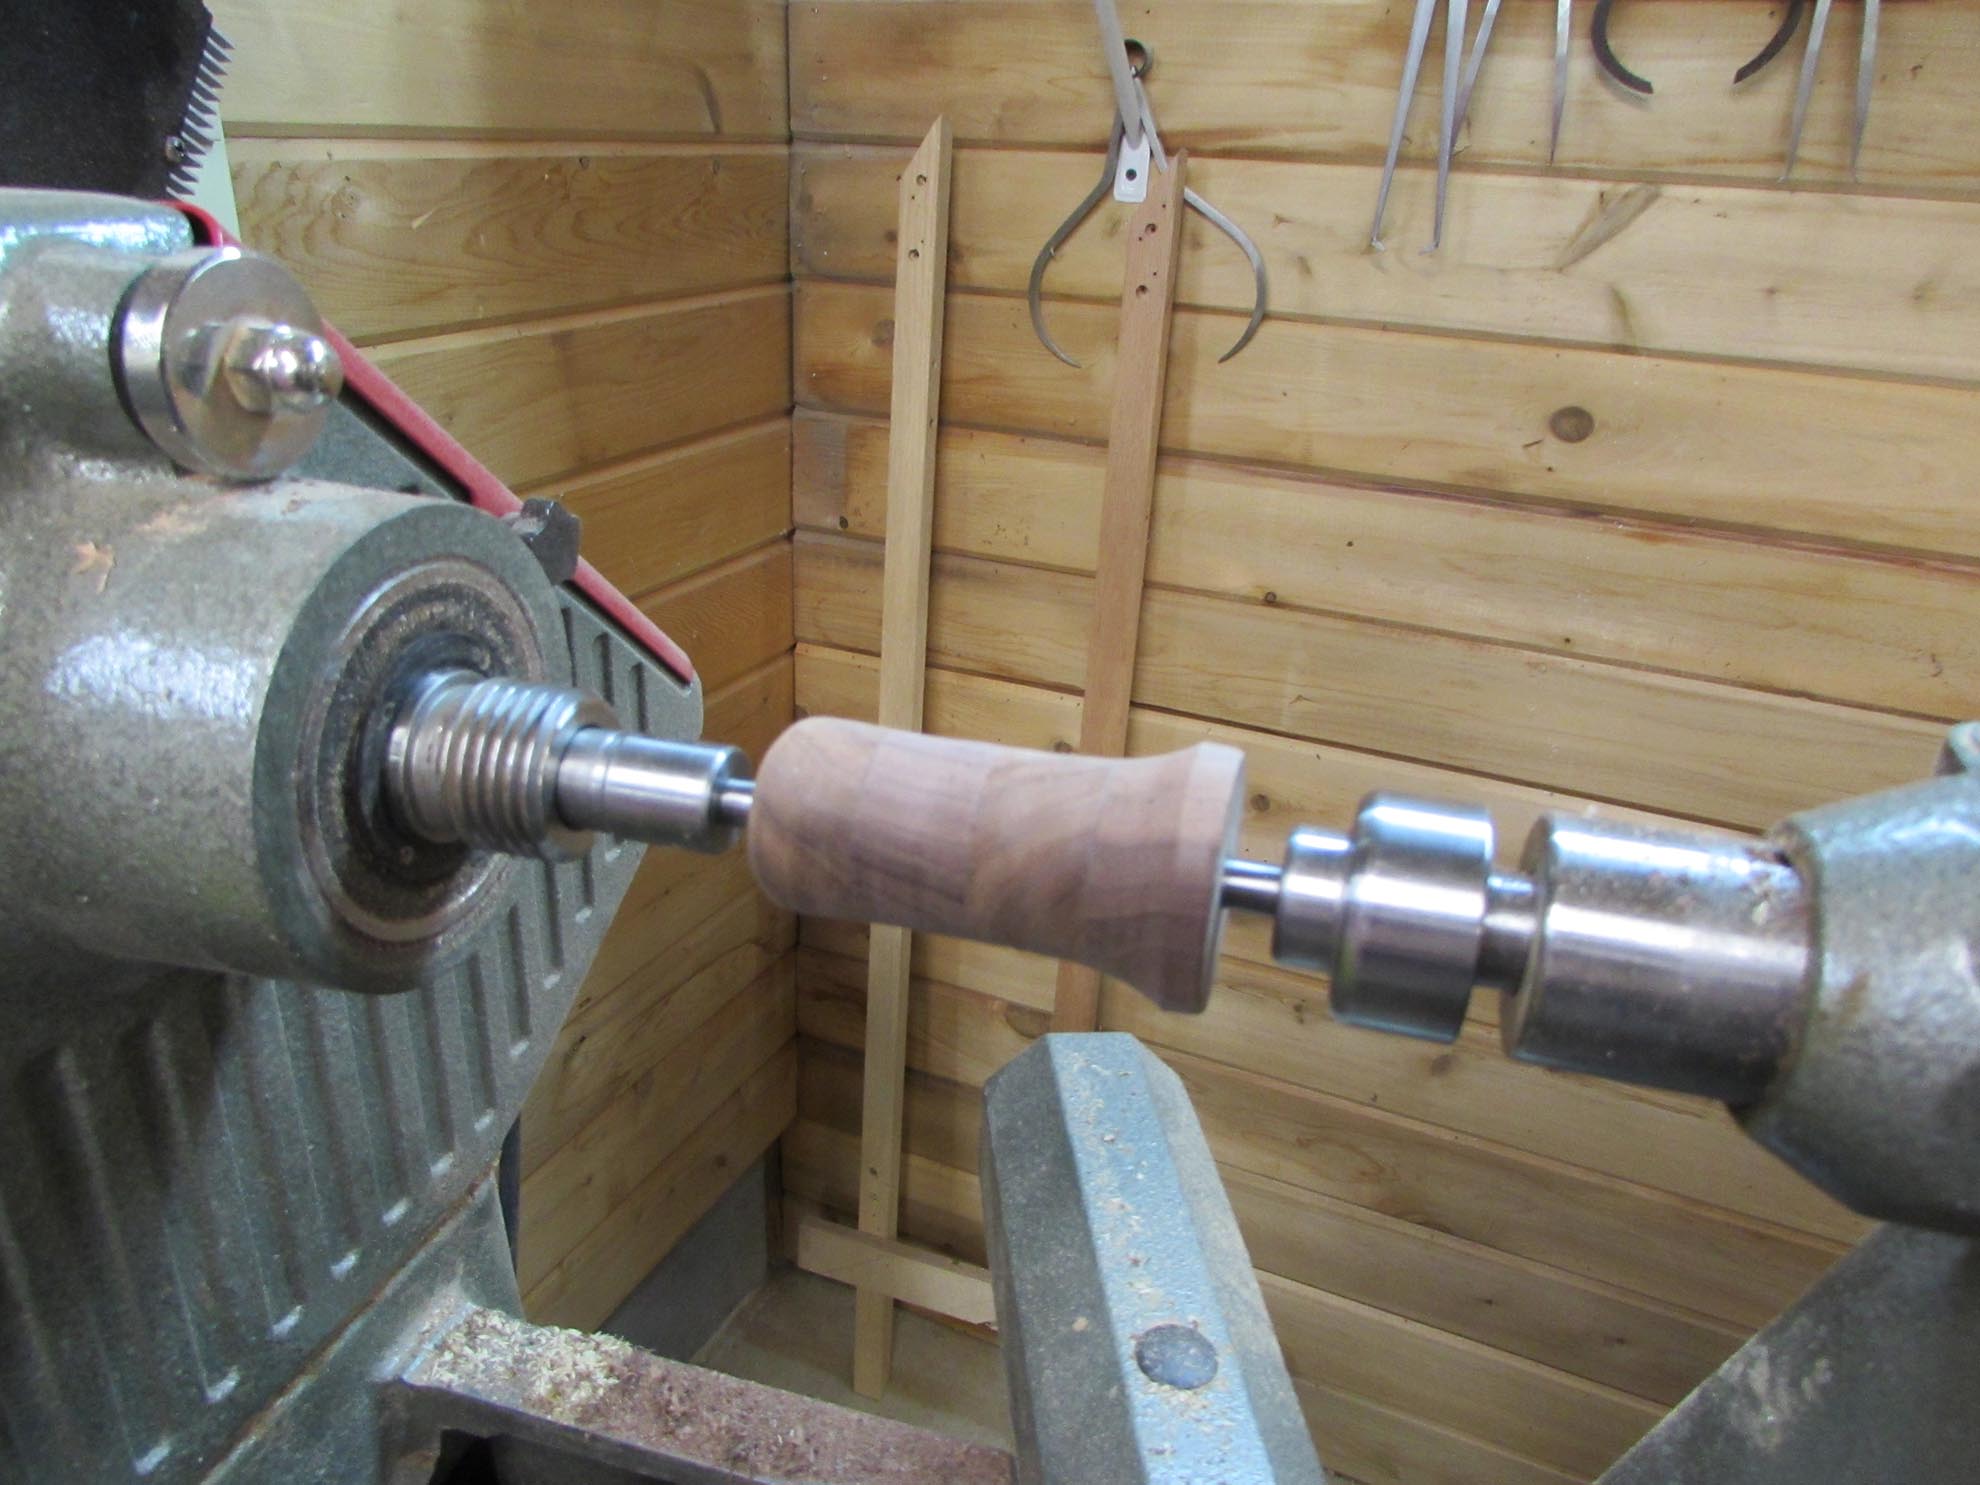
Just add a quick friction finish, and they turned out great.

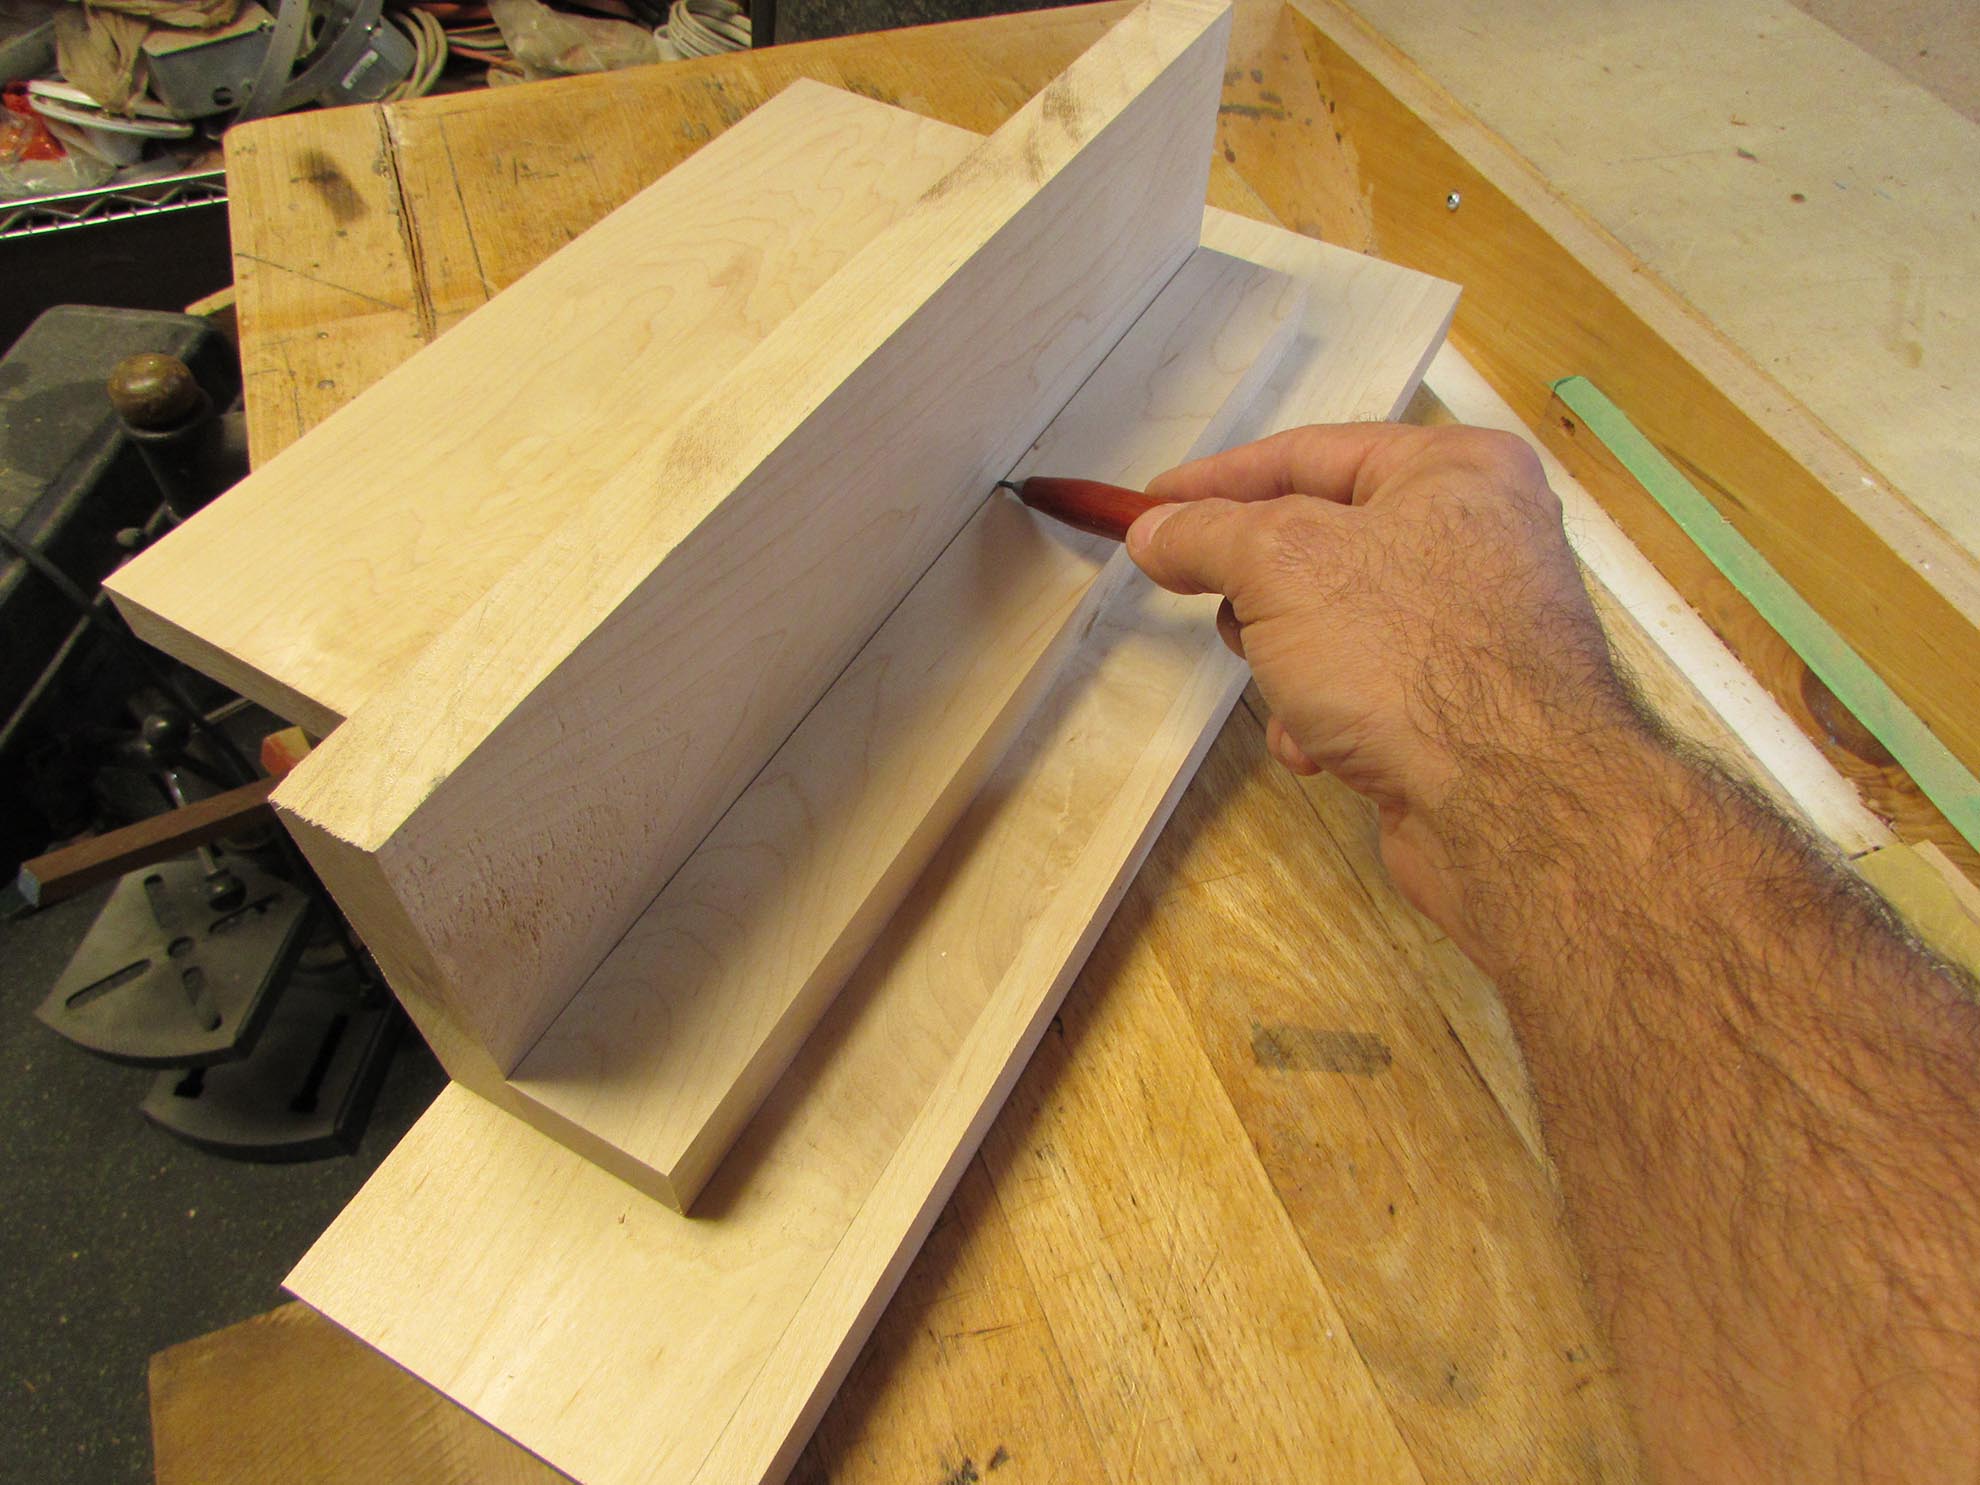
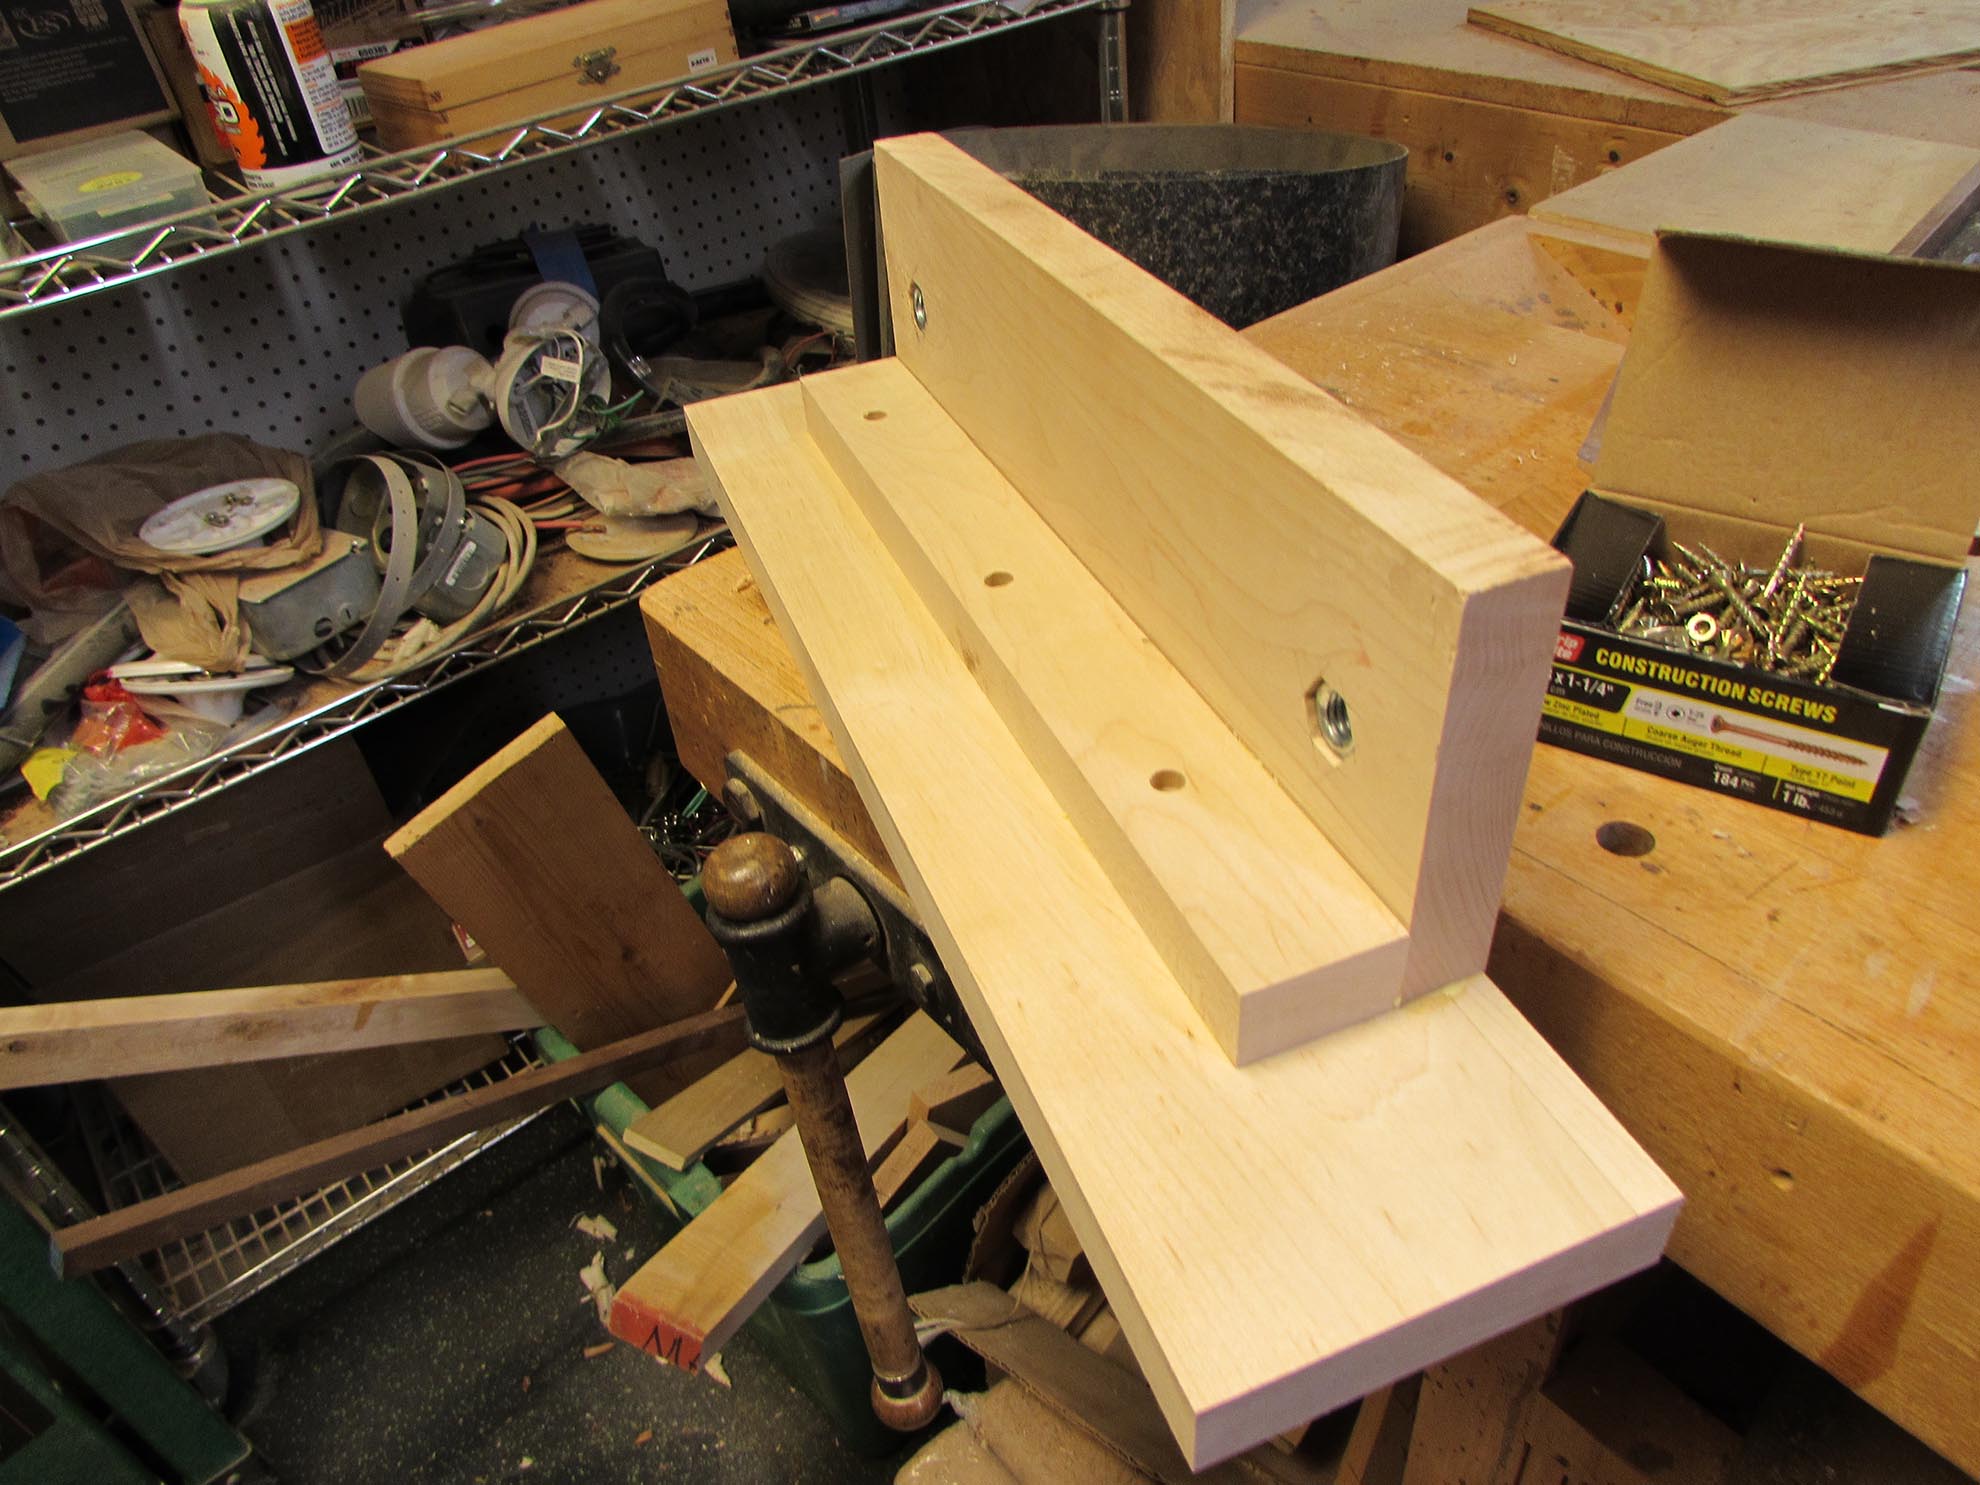
I taped the two jaws of the vise together to drill pilot holes for the rods and nut pockets.
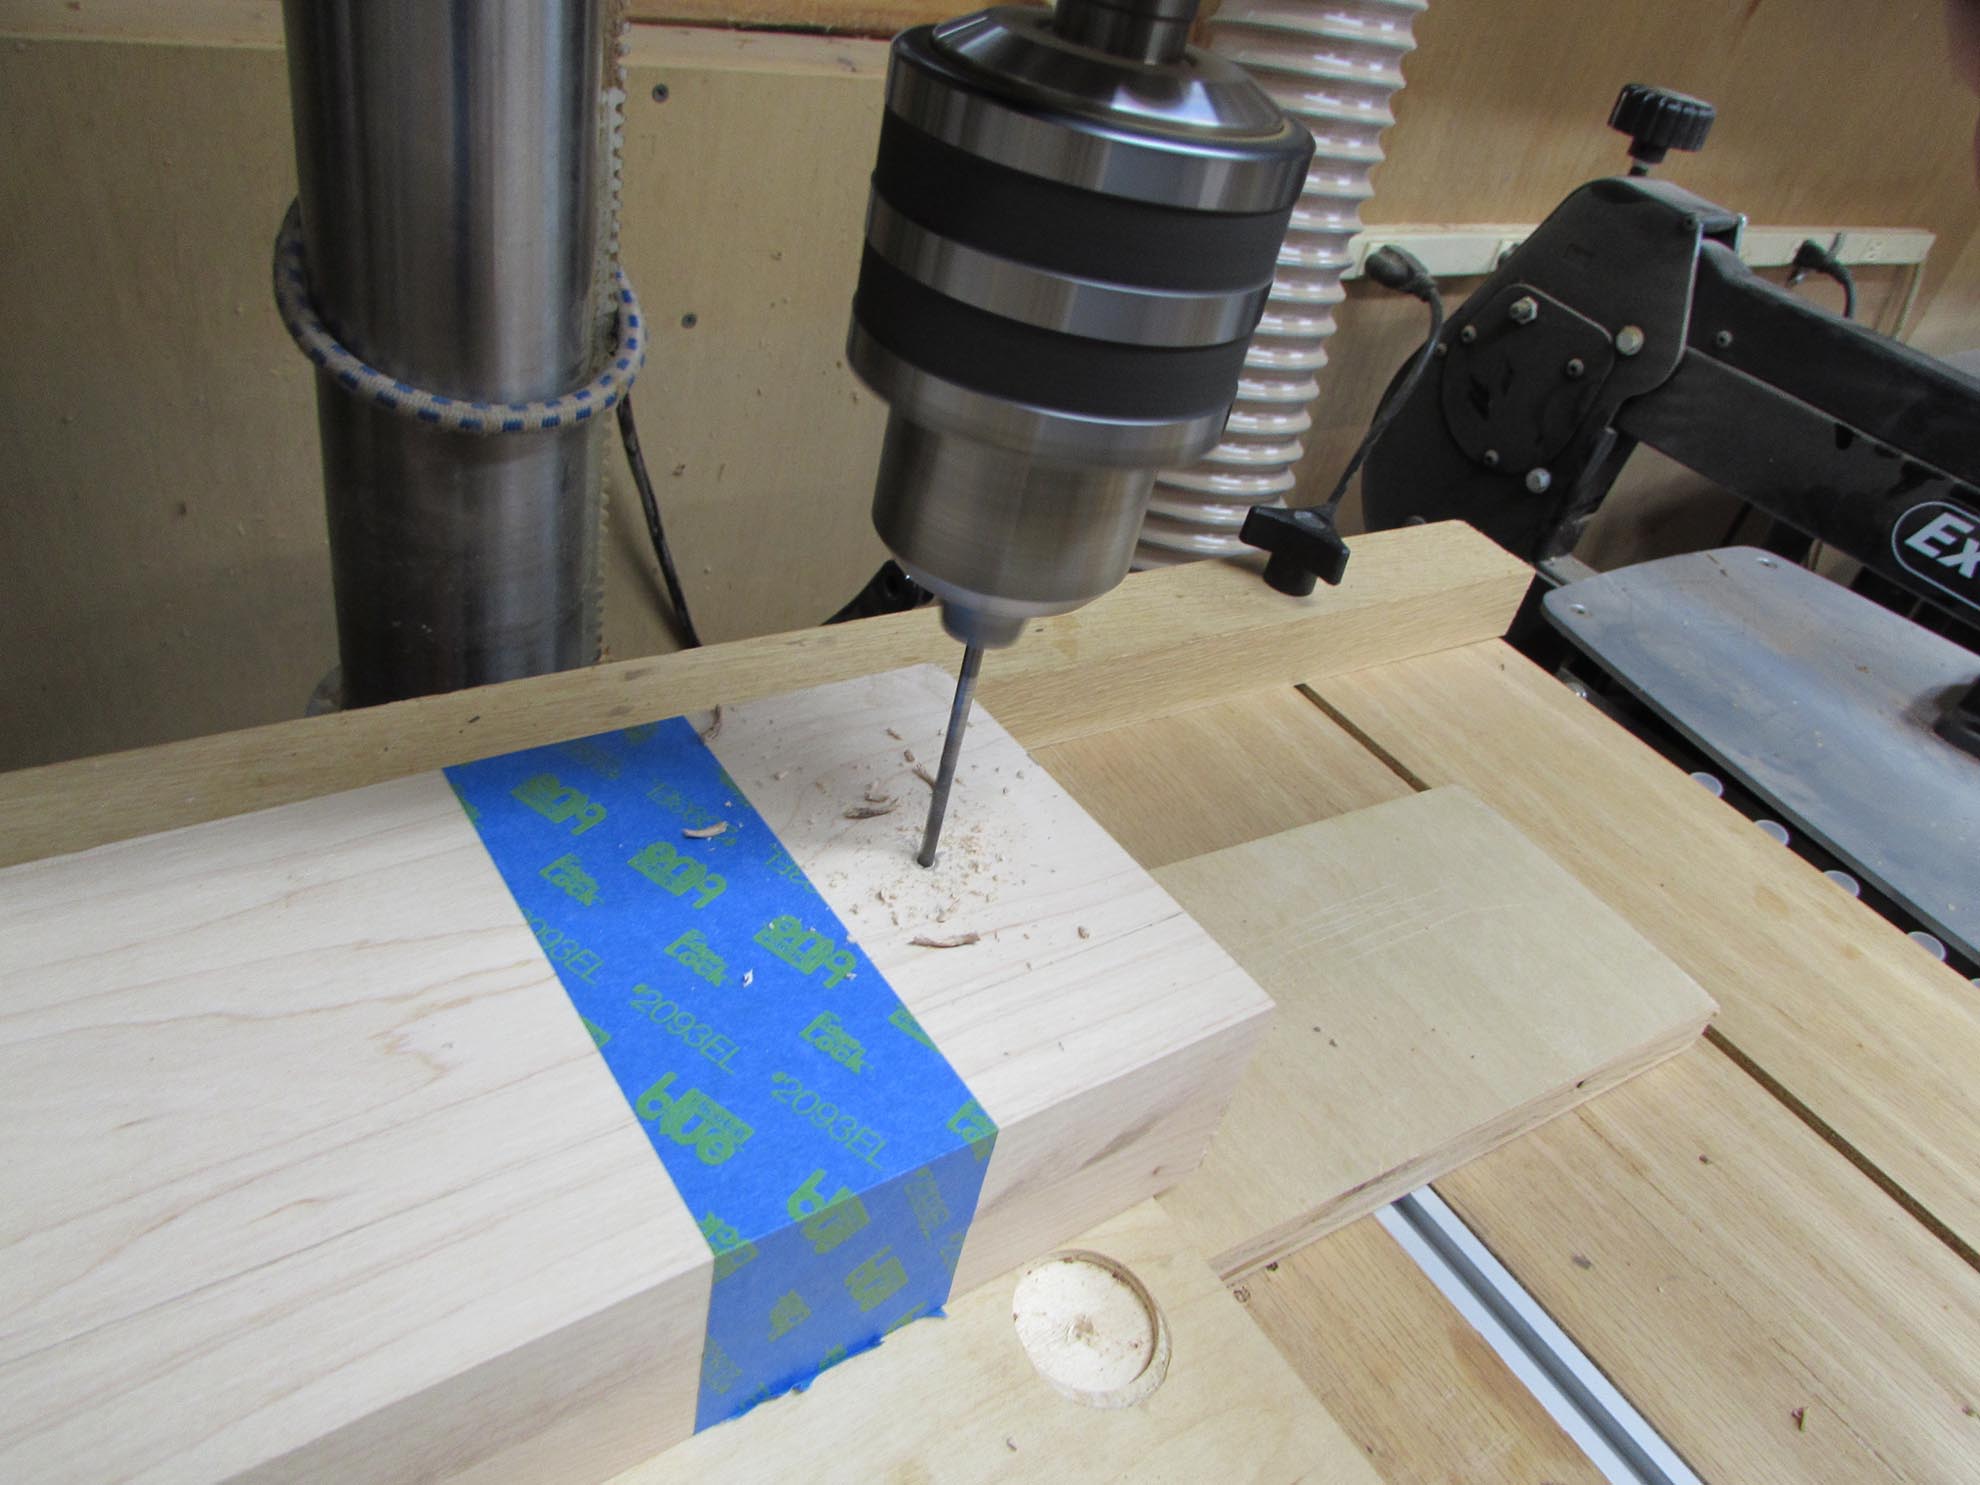

On one jaw, I need to press-fit a nut in, so I drilled a hole that was smaller than the nut. I will chop out the rest with a chisel later.
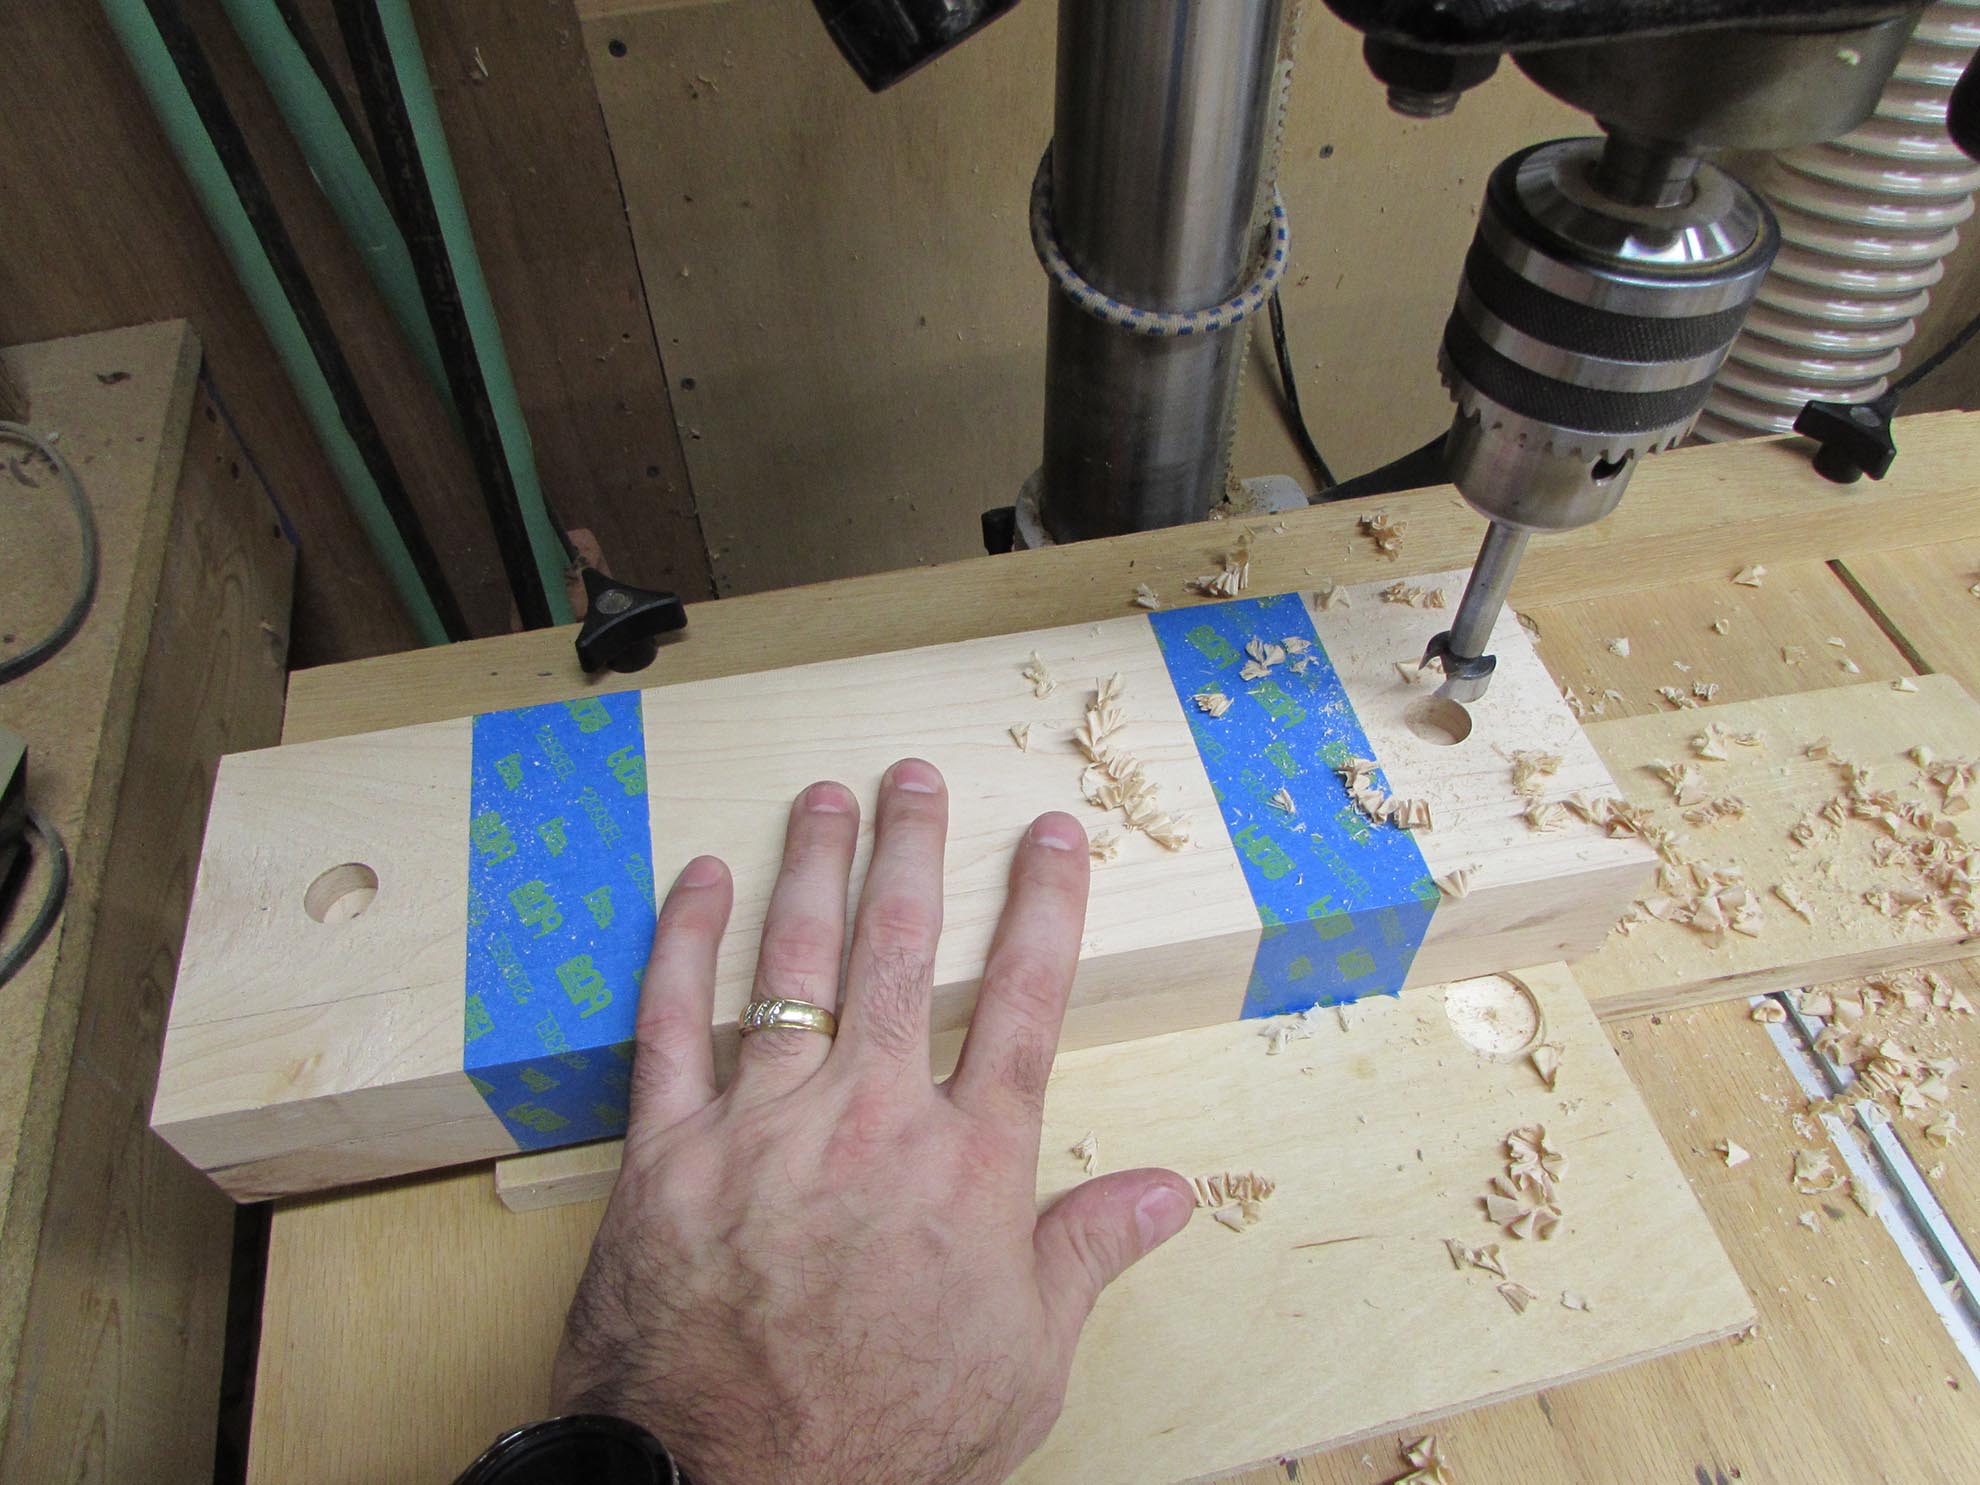
For the second jaw, I drilled a pocket, larger than the nut. This one will need to spin freely.
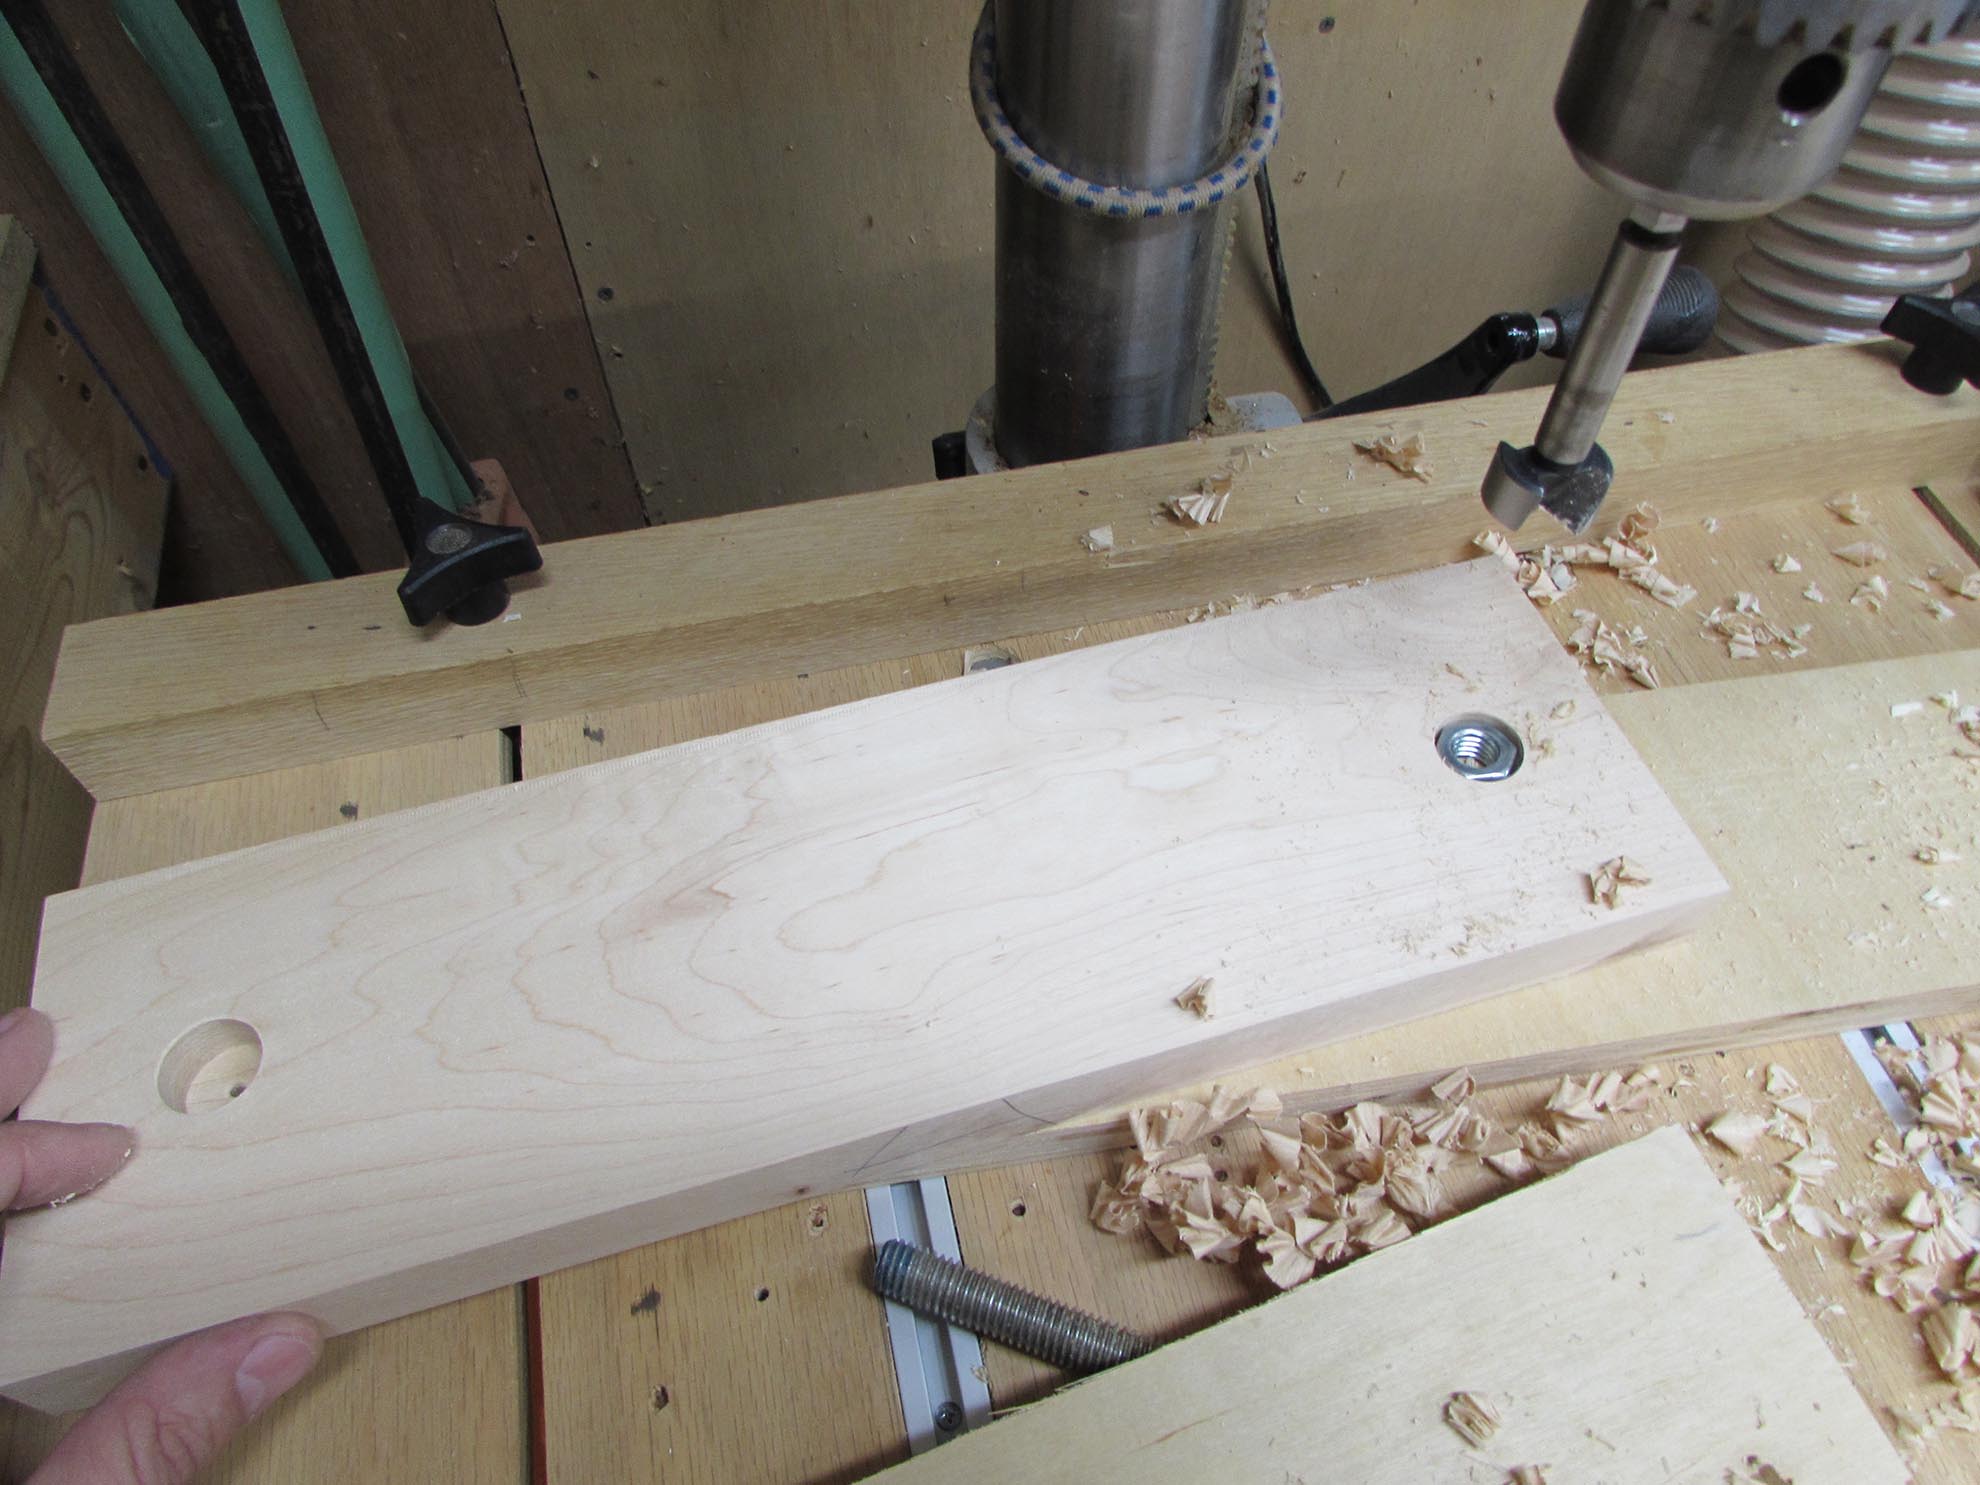
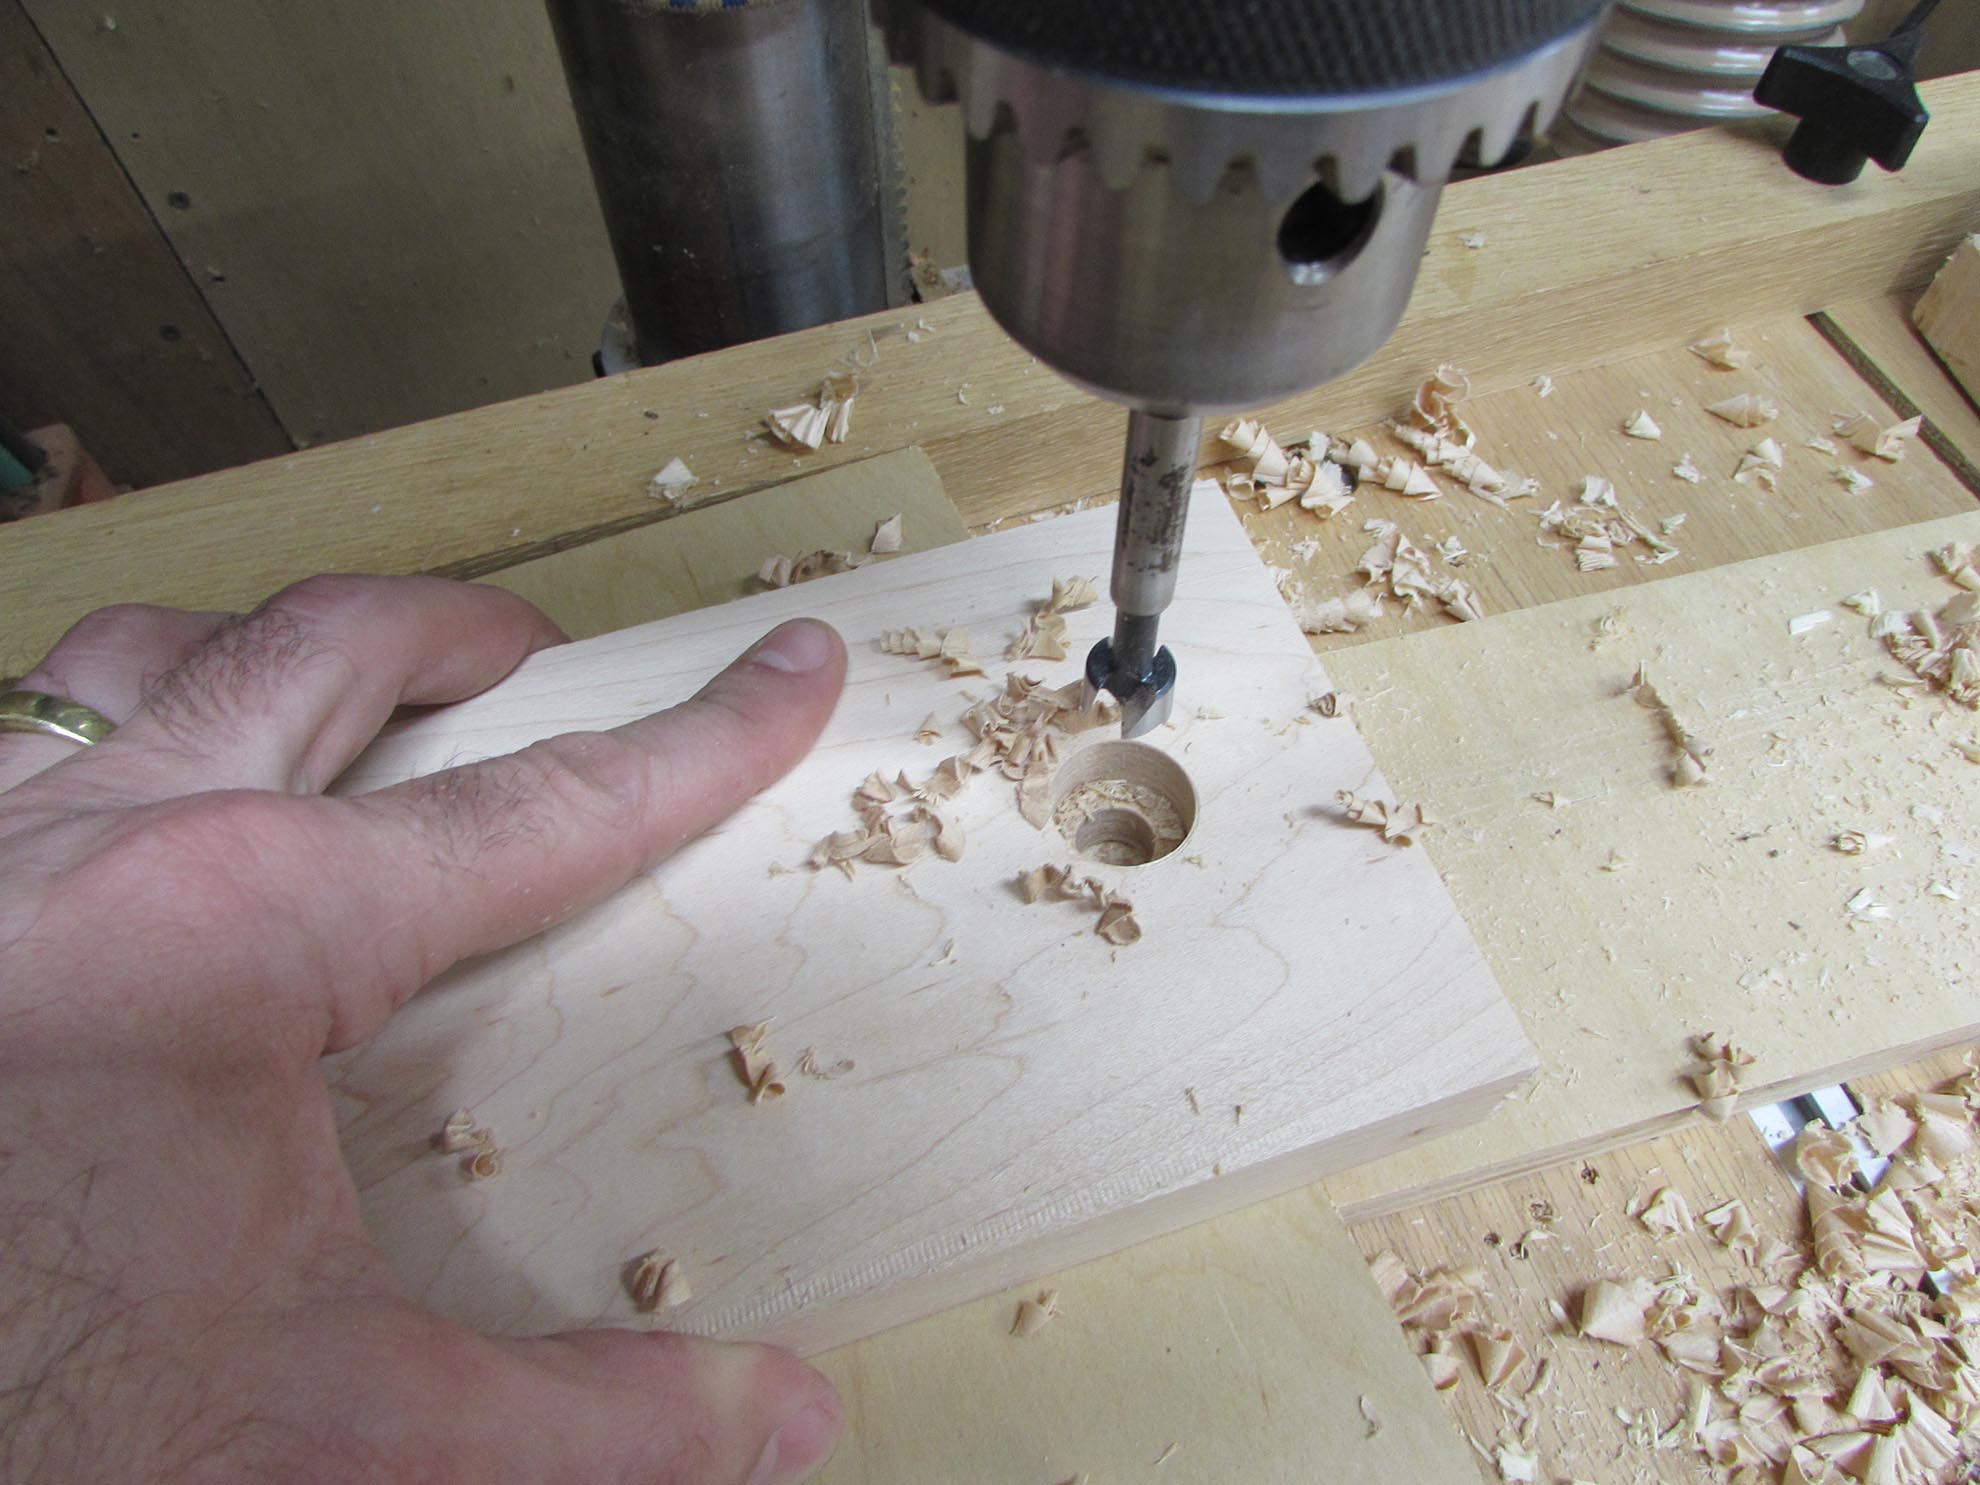
Next I drilled a 1/2″ hole all the way through both jaws, in the center of the pocket that I just drilled. This will allow the threaded rod to pass through, but not the nut.
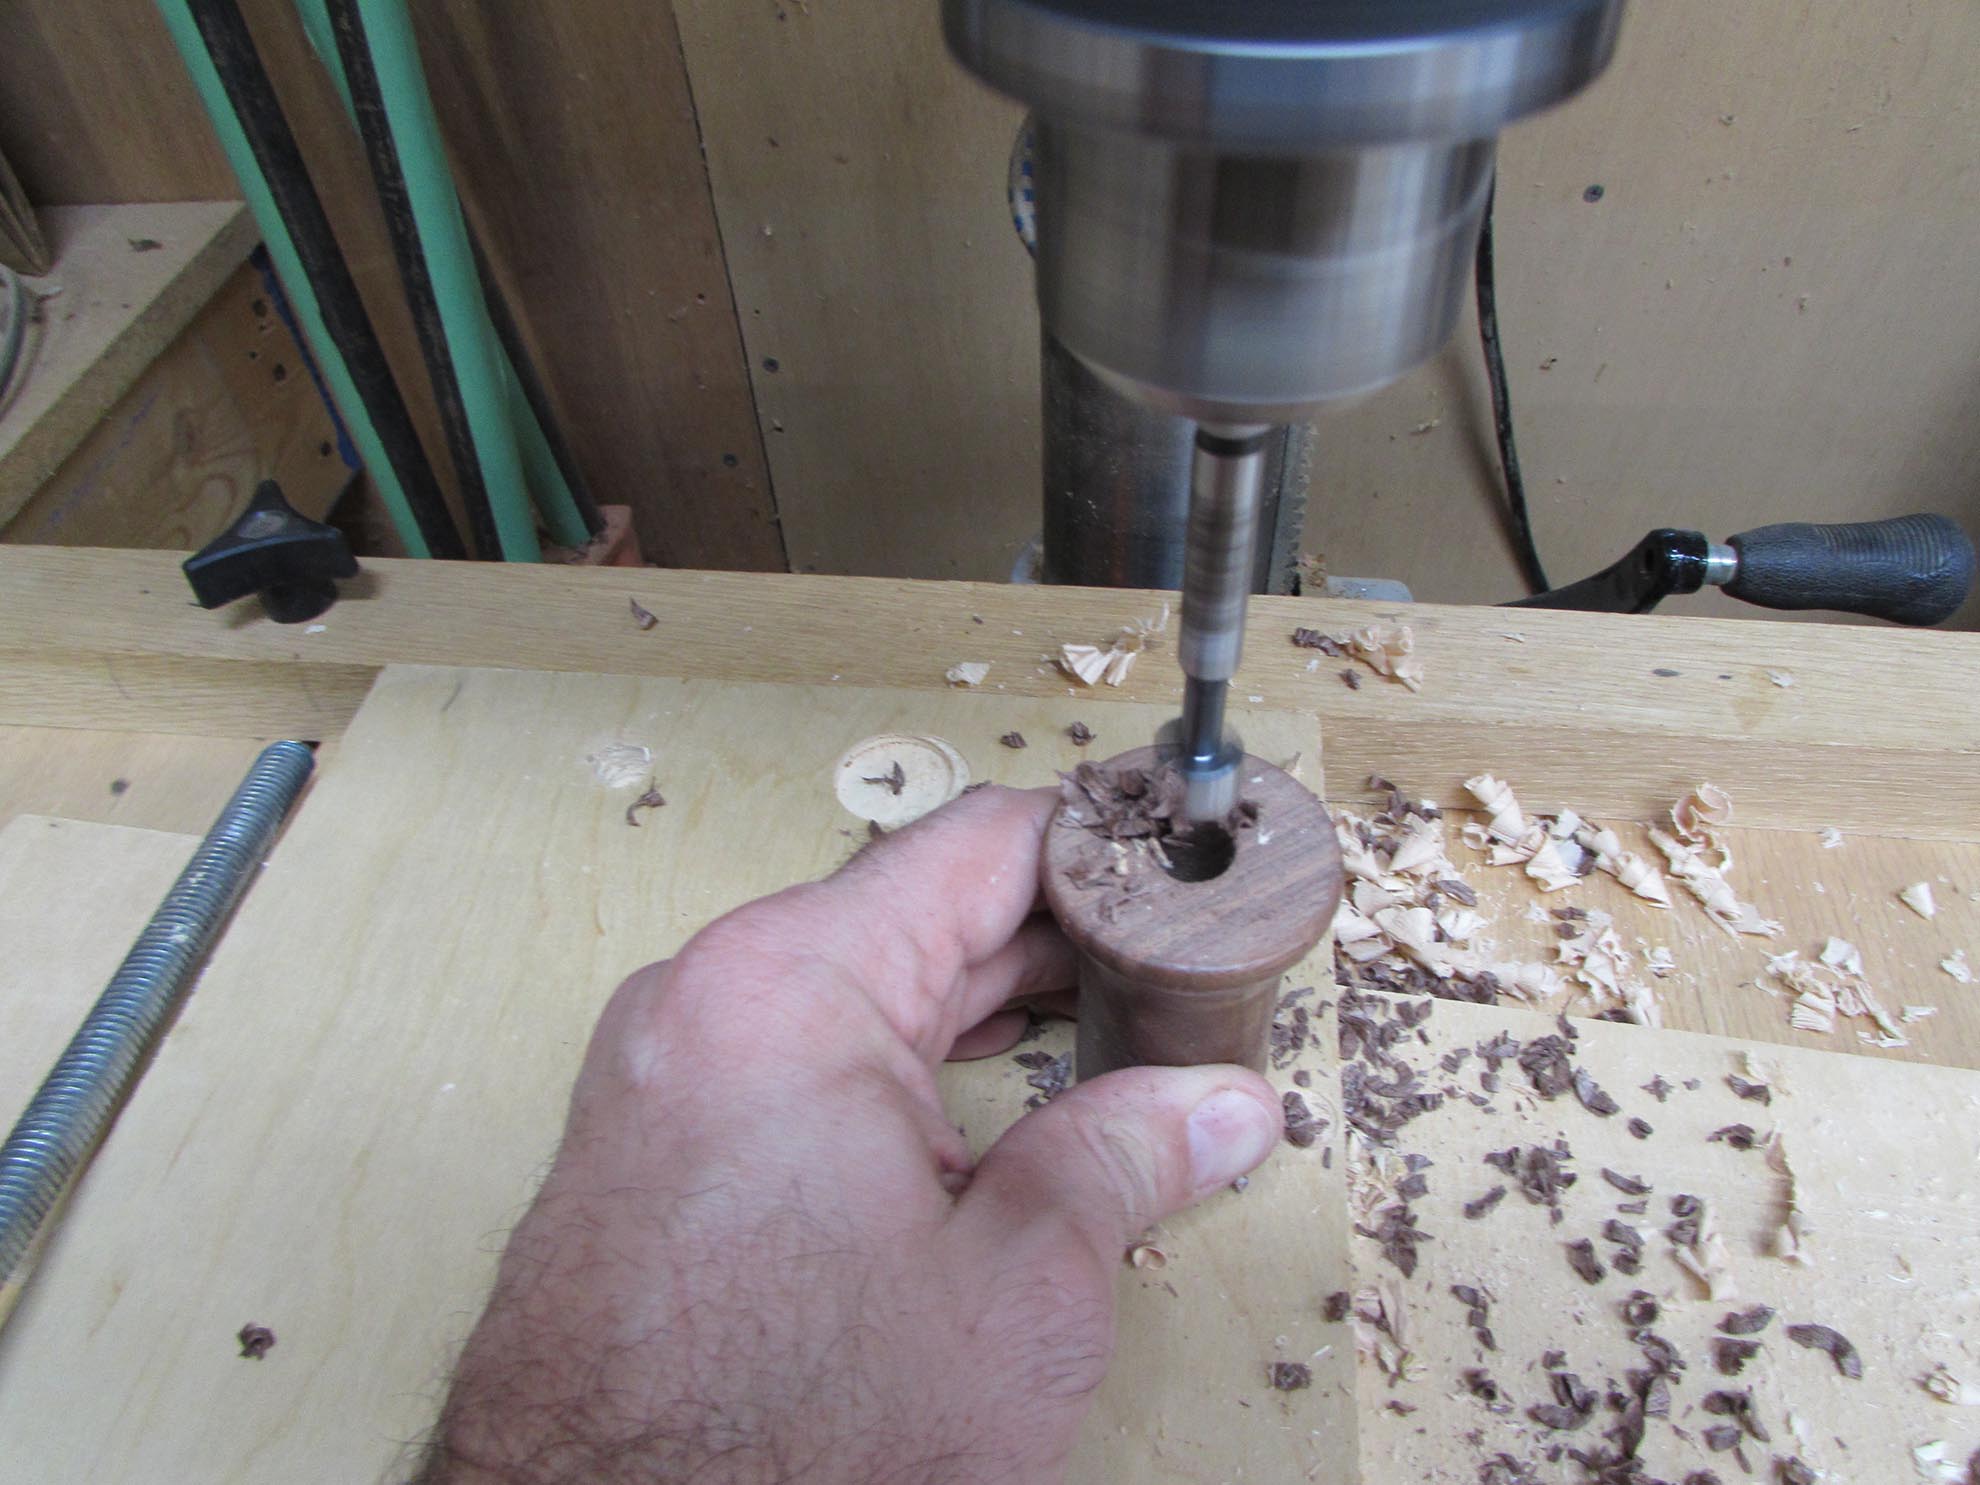
I also bored a 1/2″ hole about 2″ into the handles.

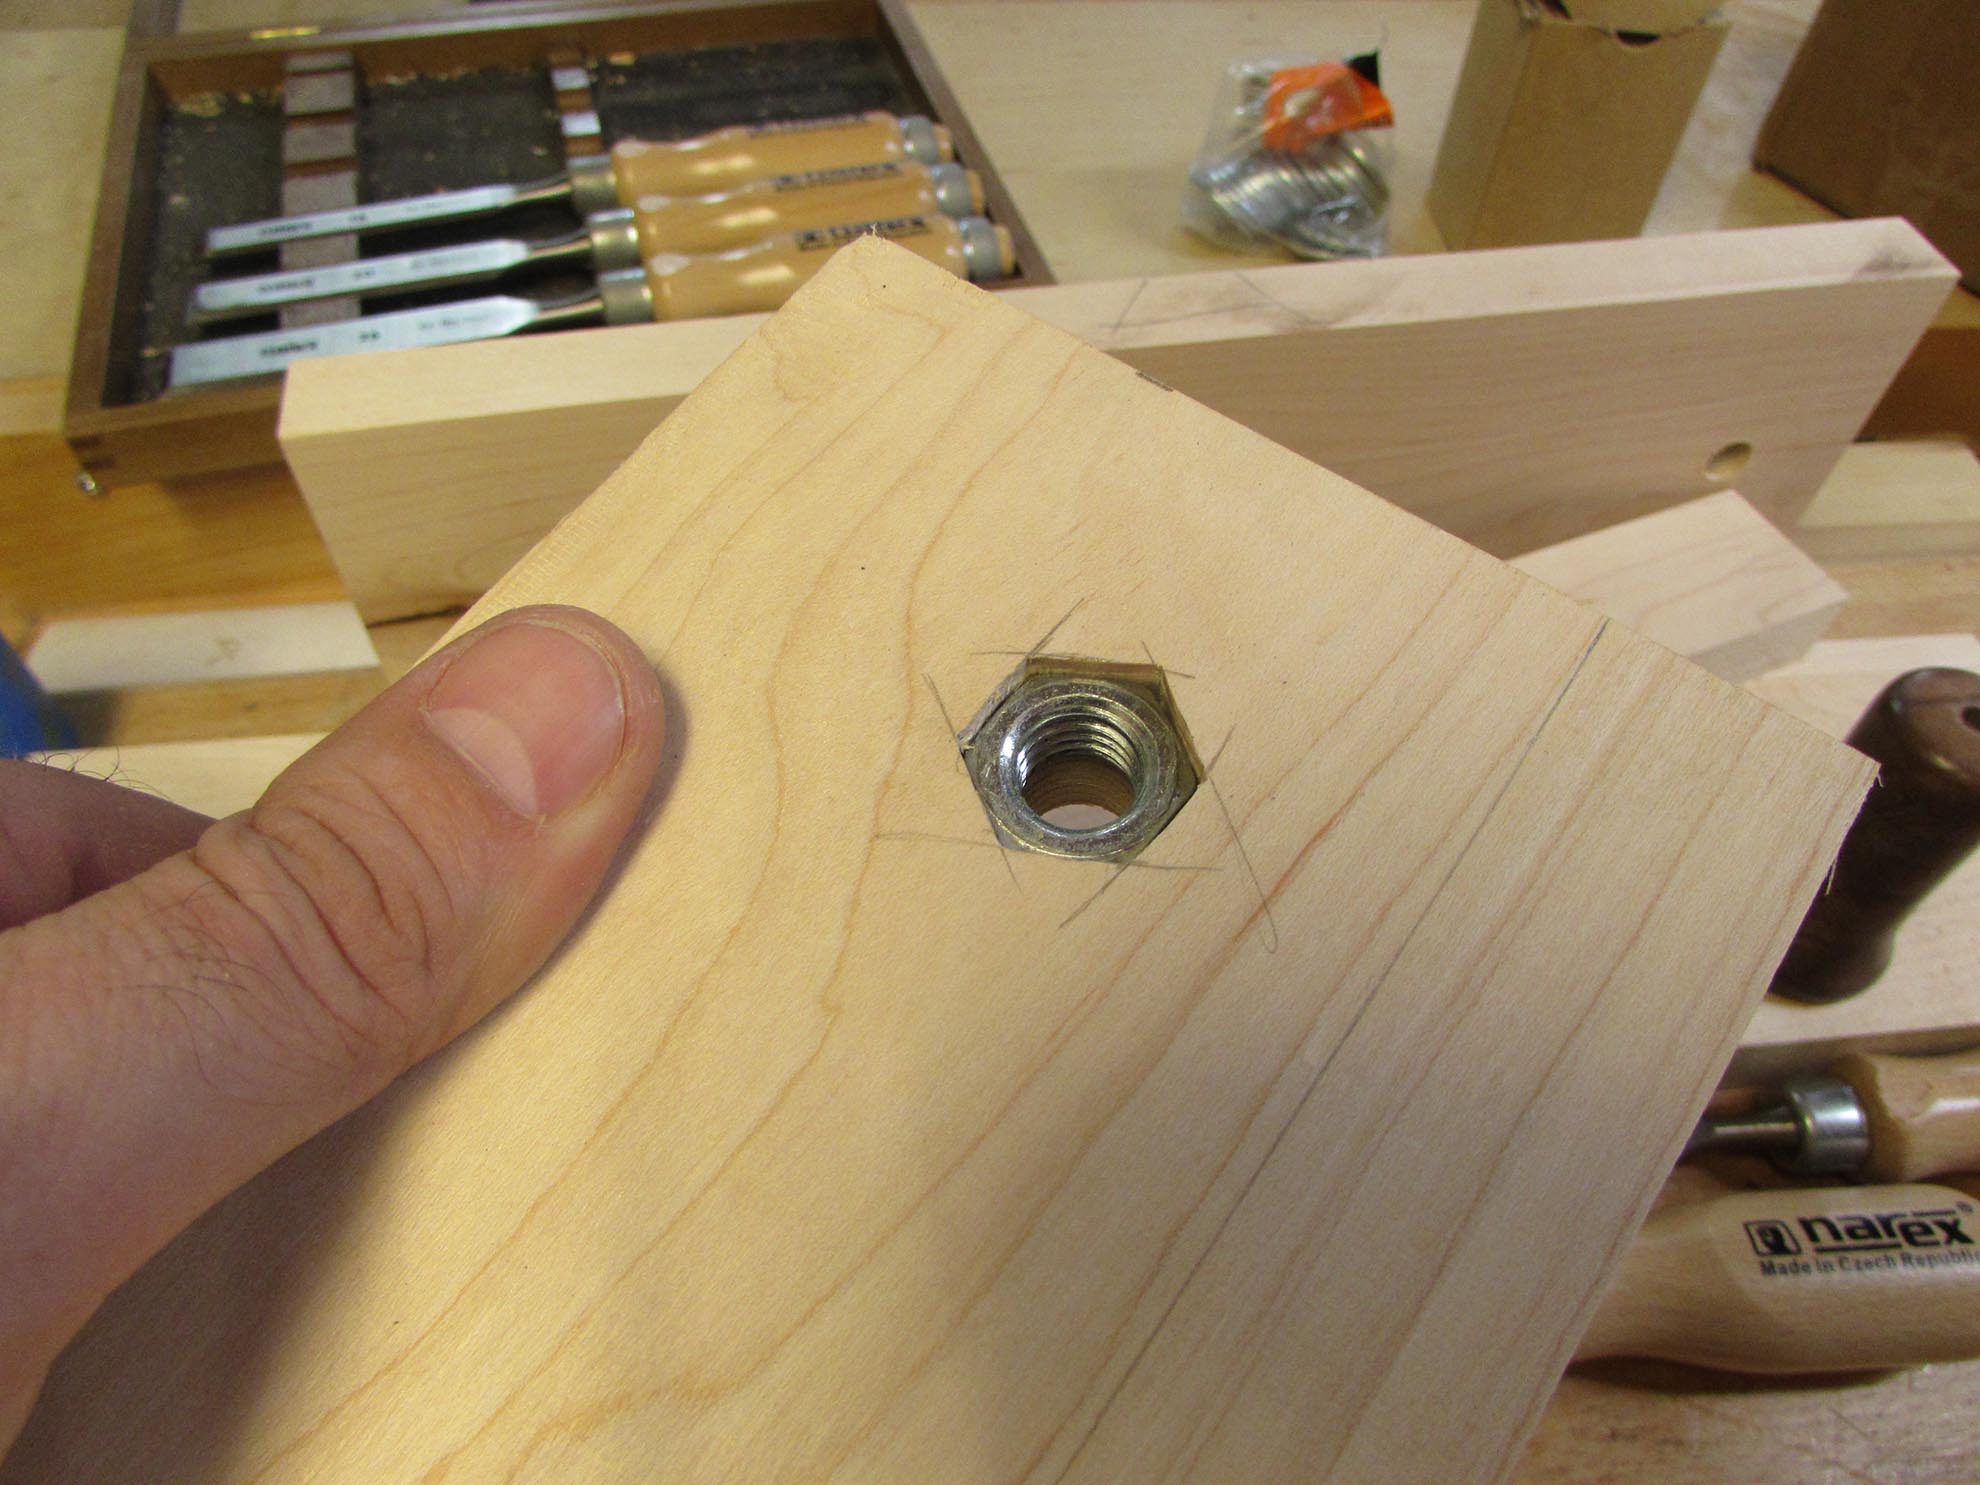
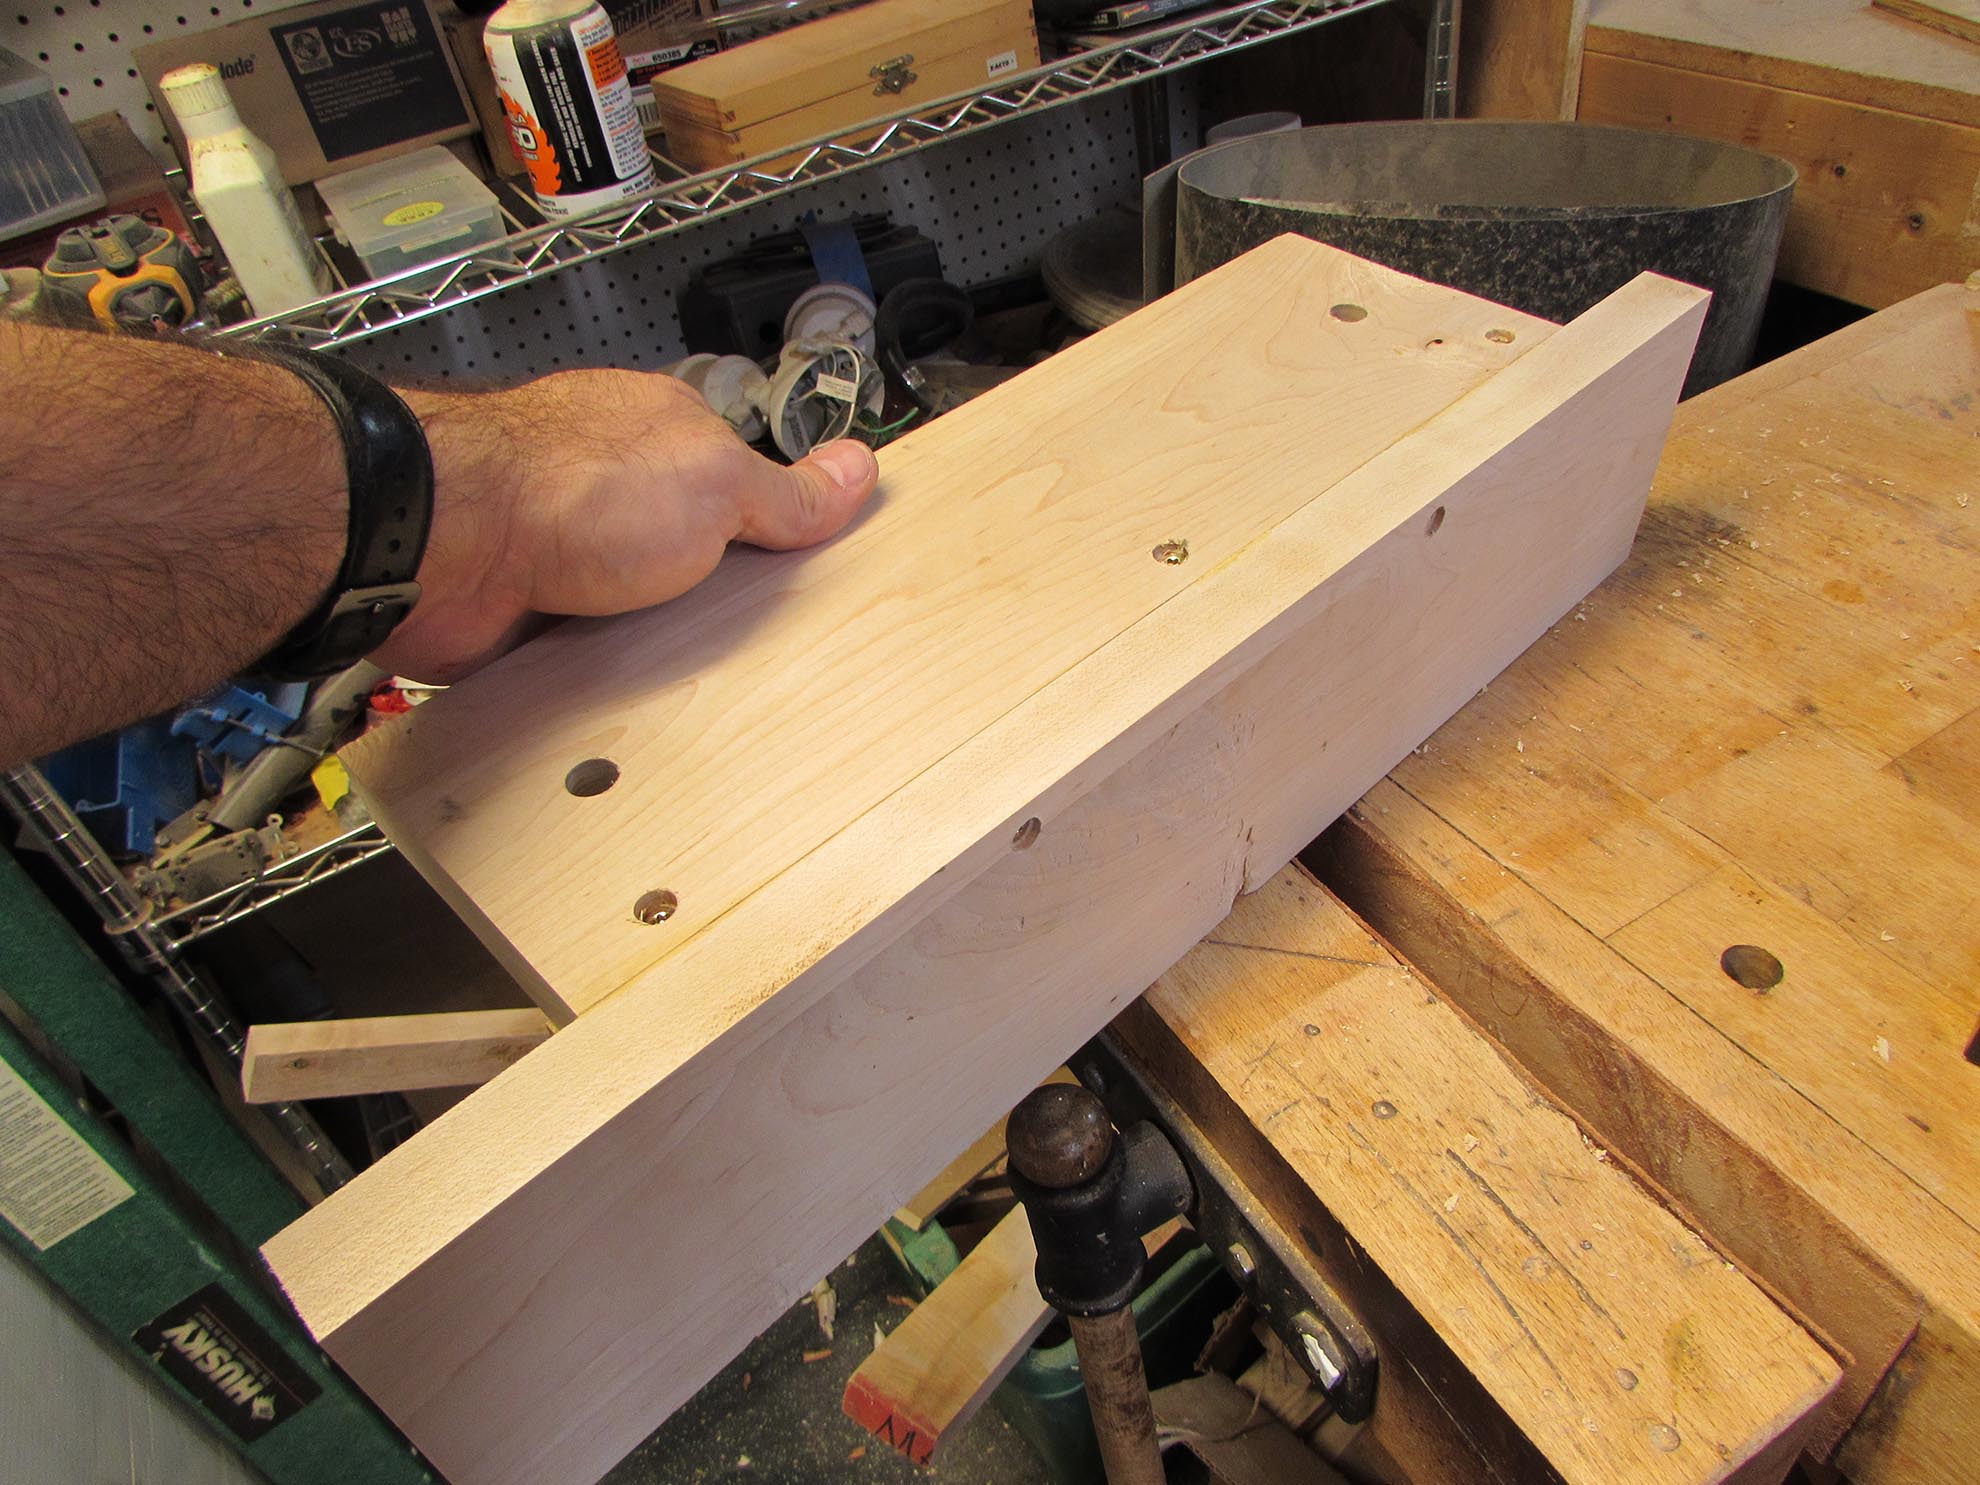
After a quick dry-fit, I marked the edges of the two nuts that will be pressed-fit into the first jaw.

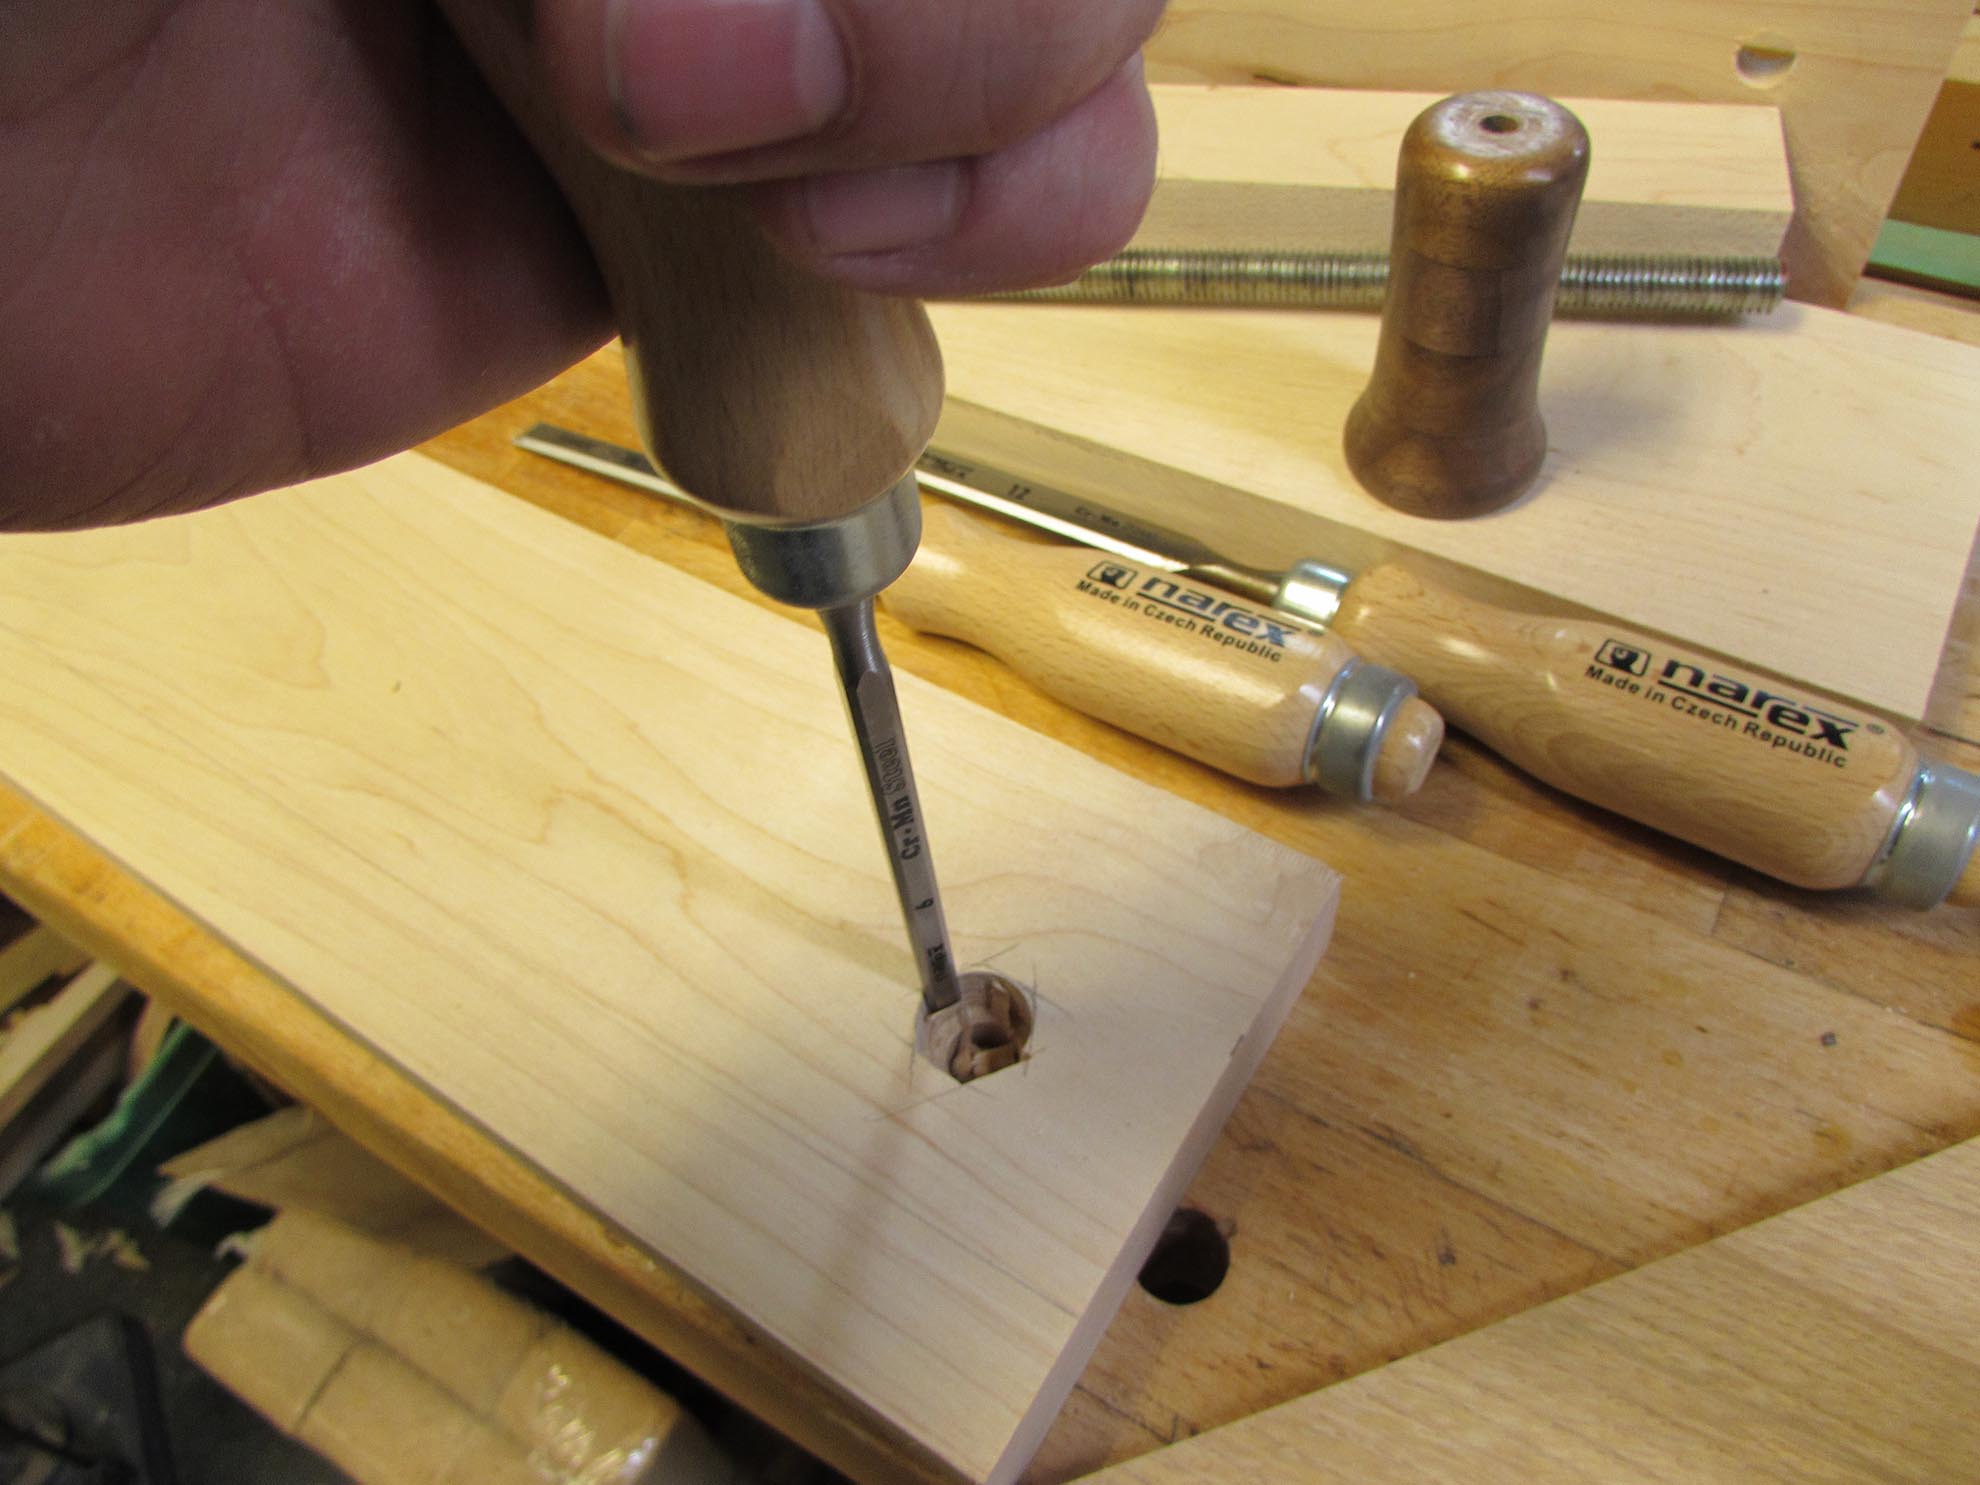
I used my 1/4″ chisel to carefully cut out the hex shape of the nut. The nut was pressed firmly into place. The tight fit will keep the nut from spinning.
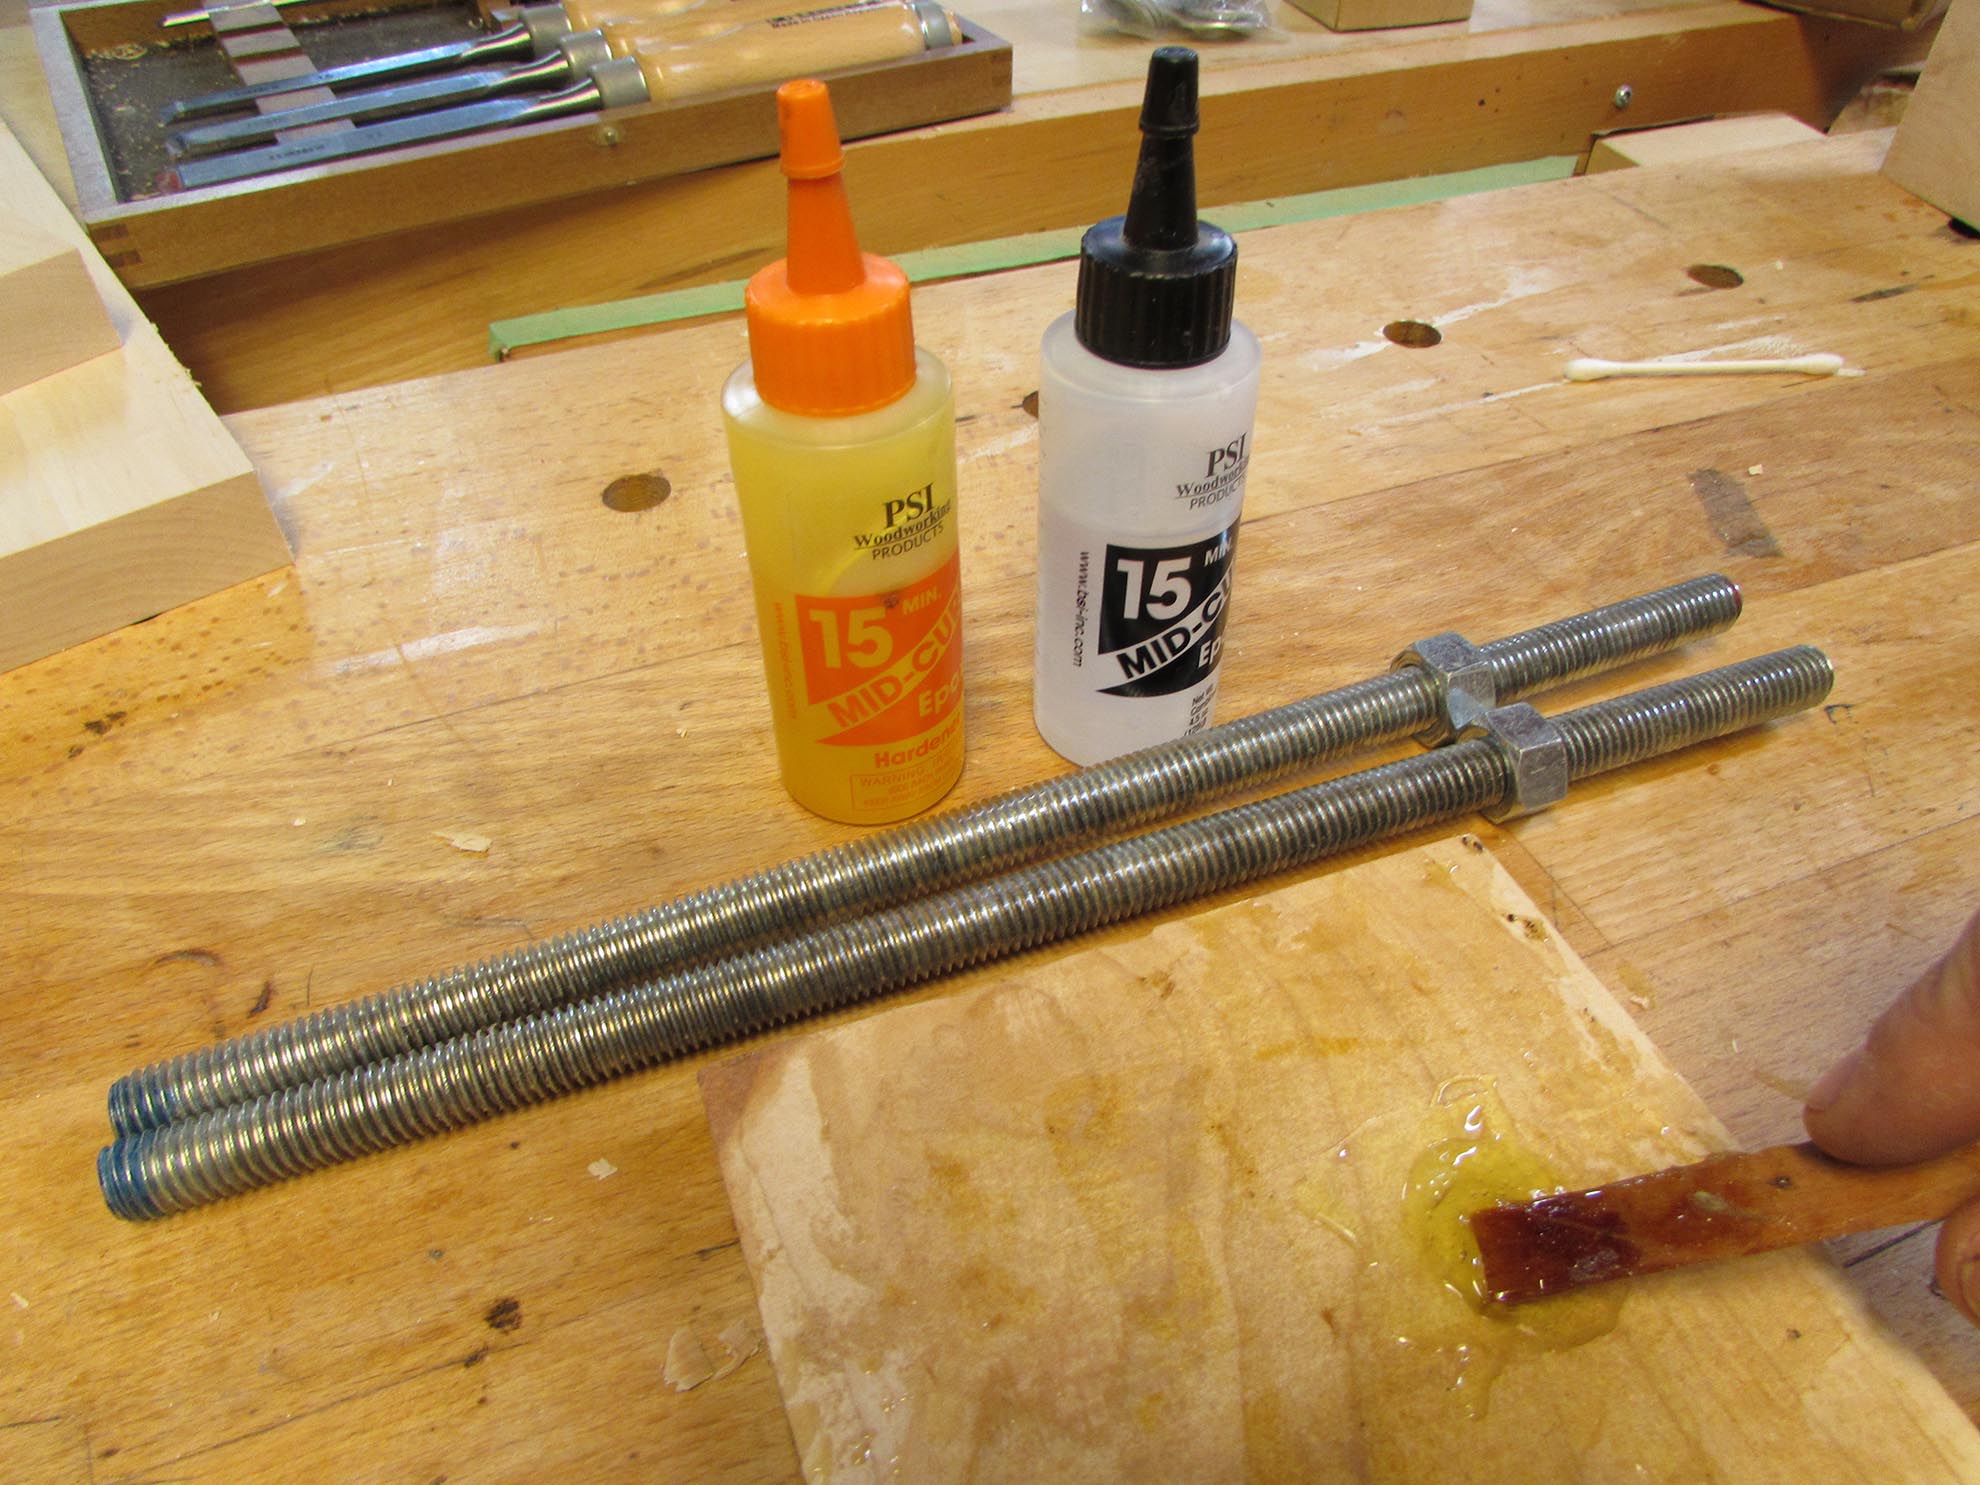
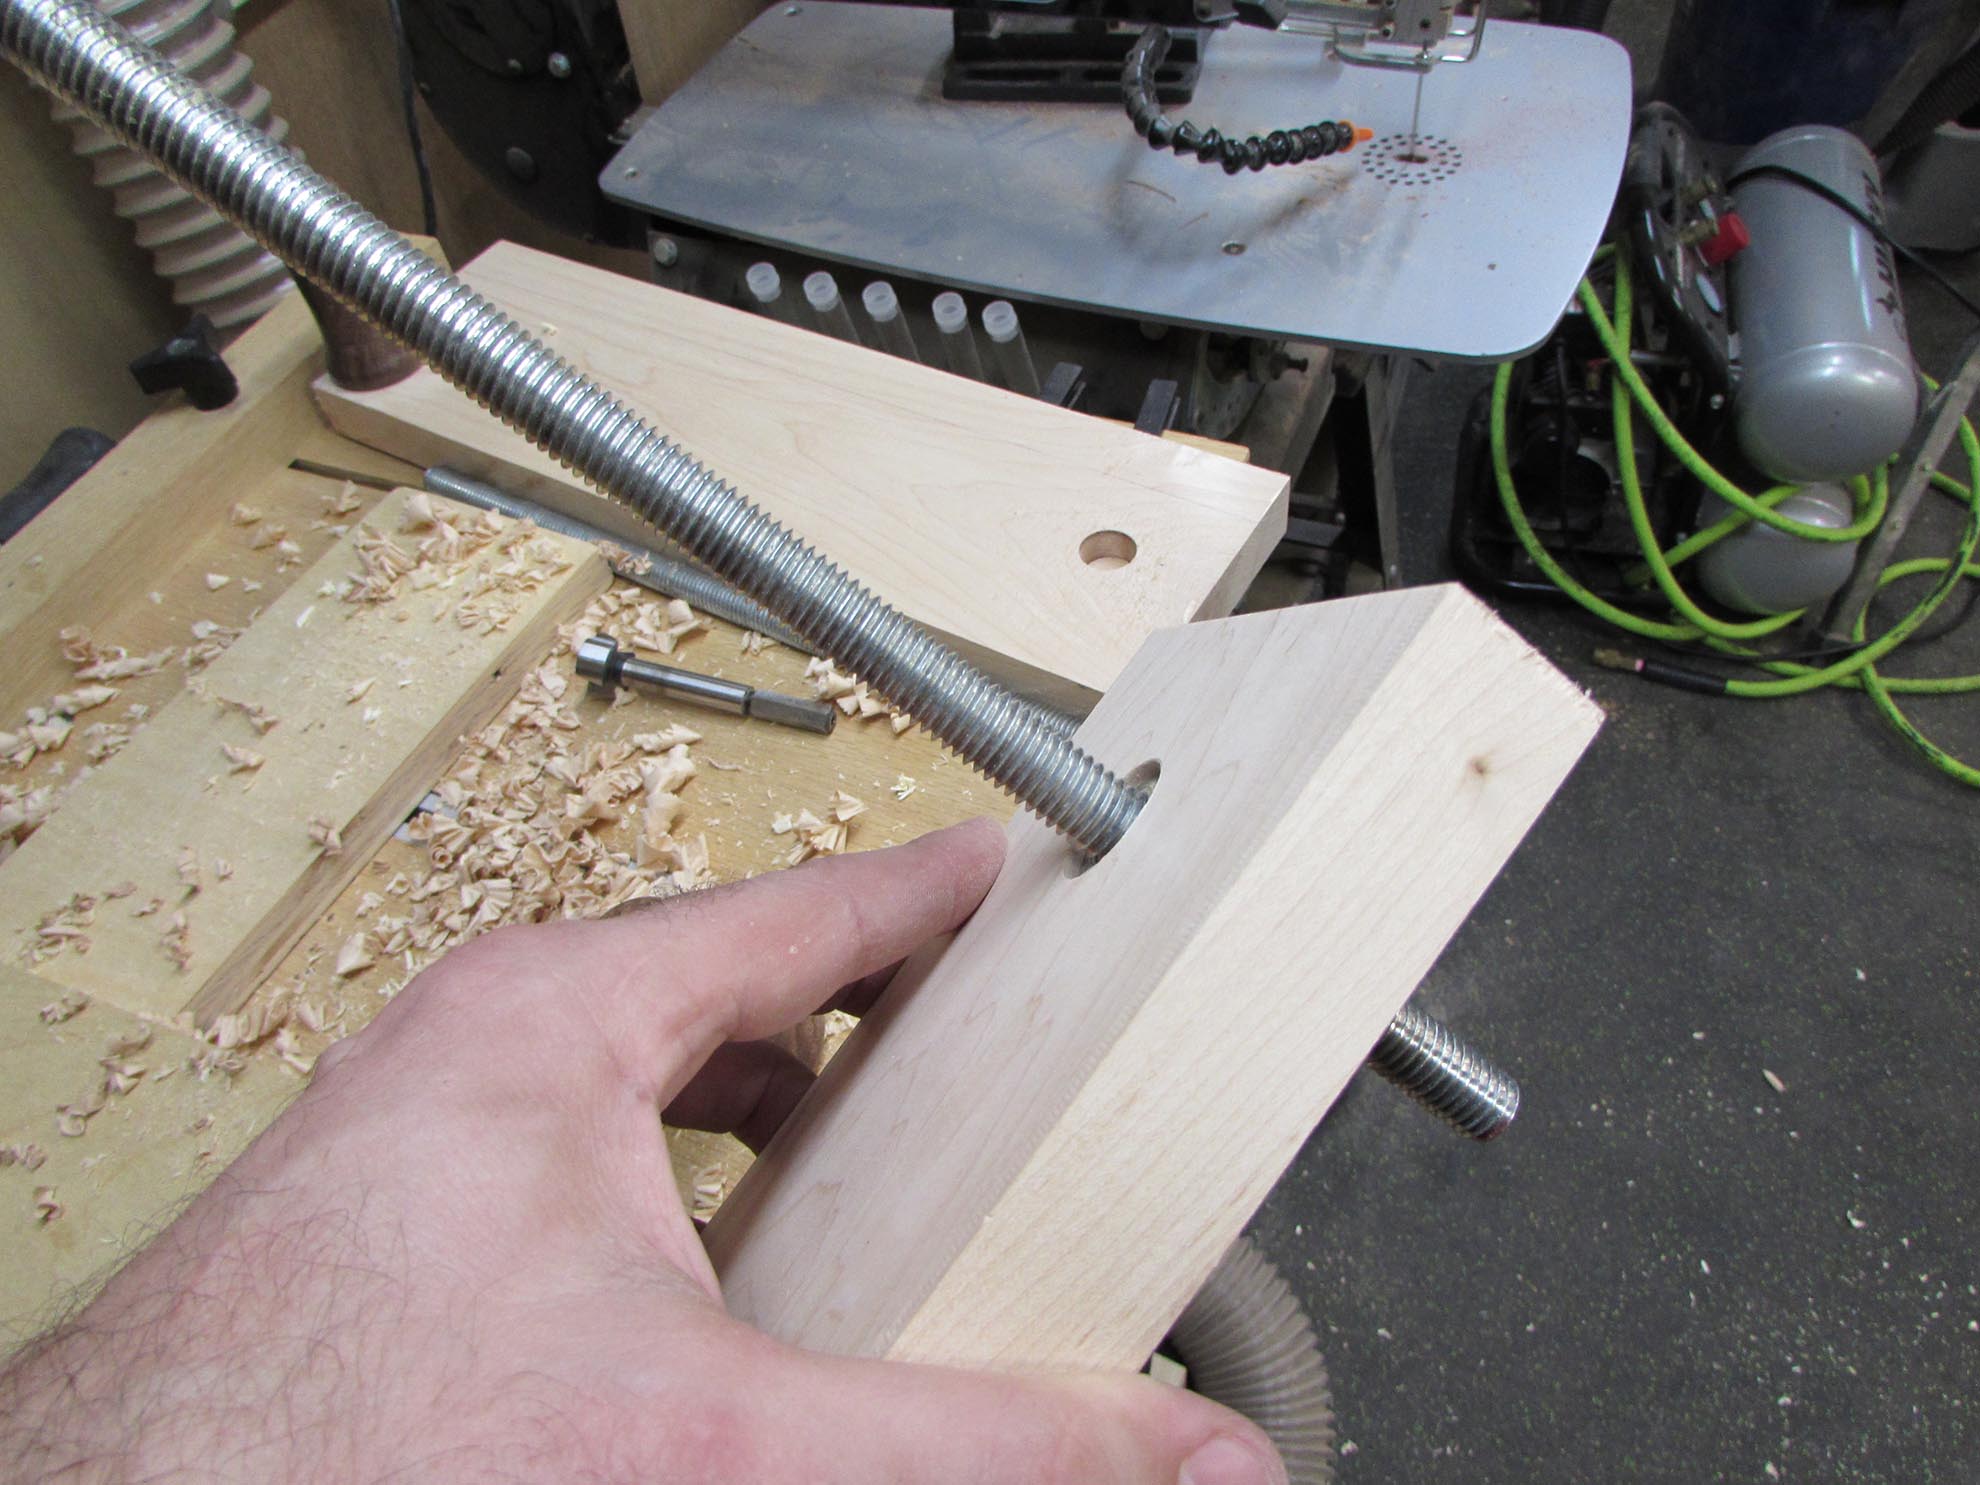
I set two nuts on the handle side, then marked their locations. These will be epoxied to the rod, to act as a stop. I did not require the hex shape of the nut at this end, pretty much anything larger that the rod would do, but I had a bunch of the nuts, so I used them.
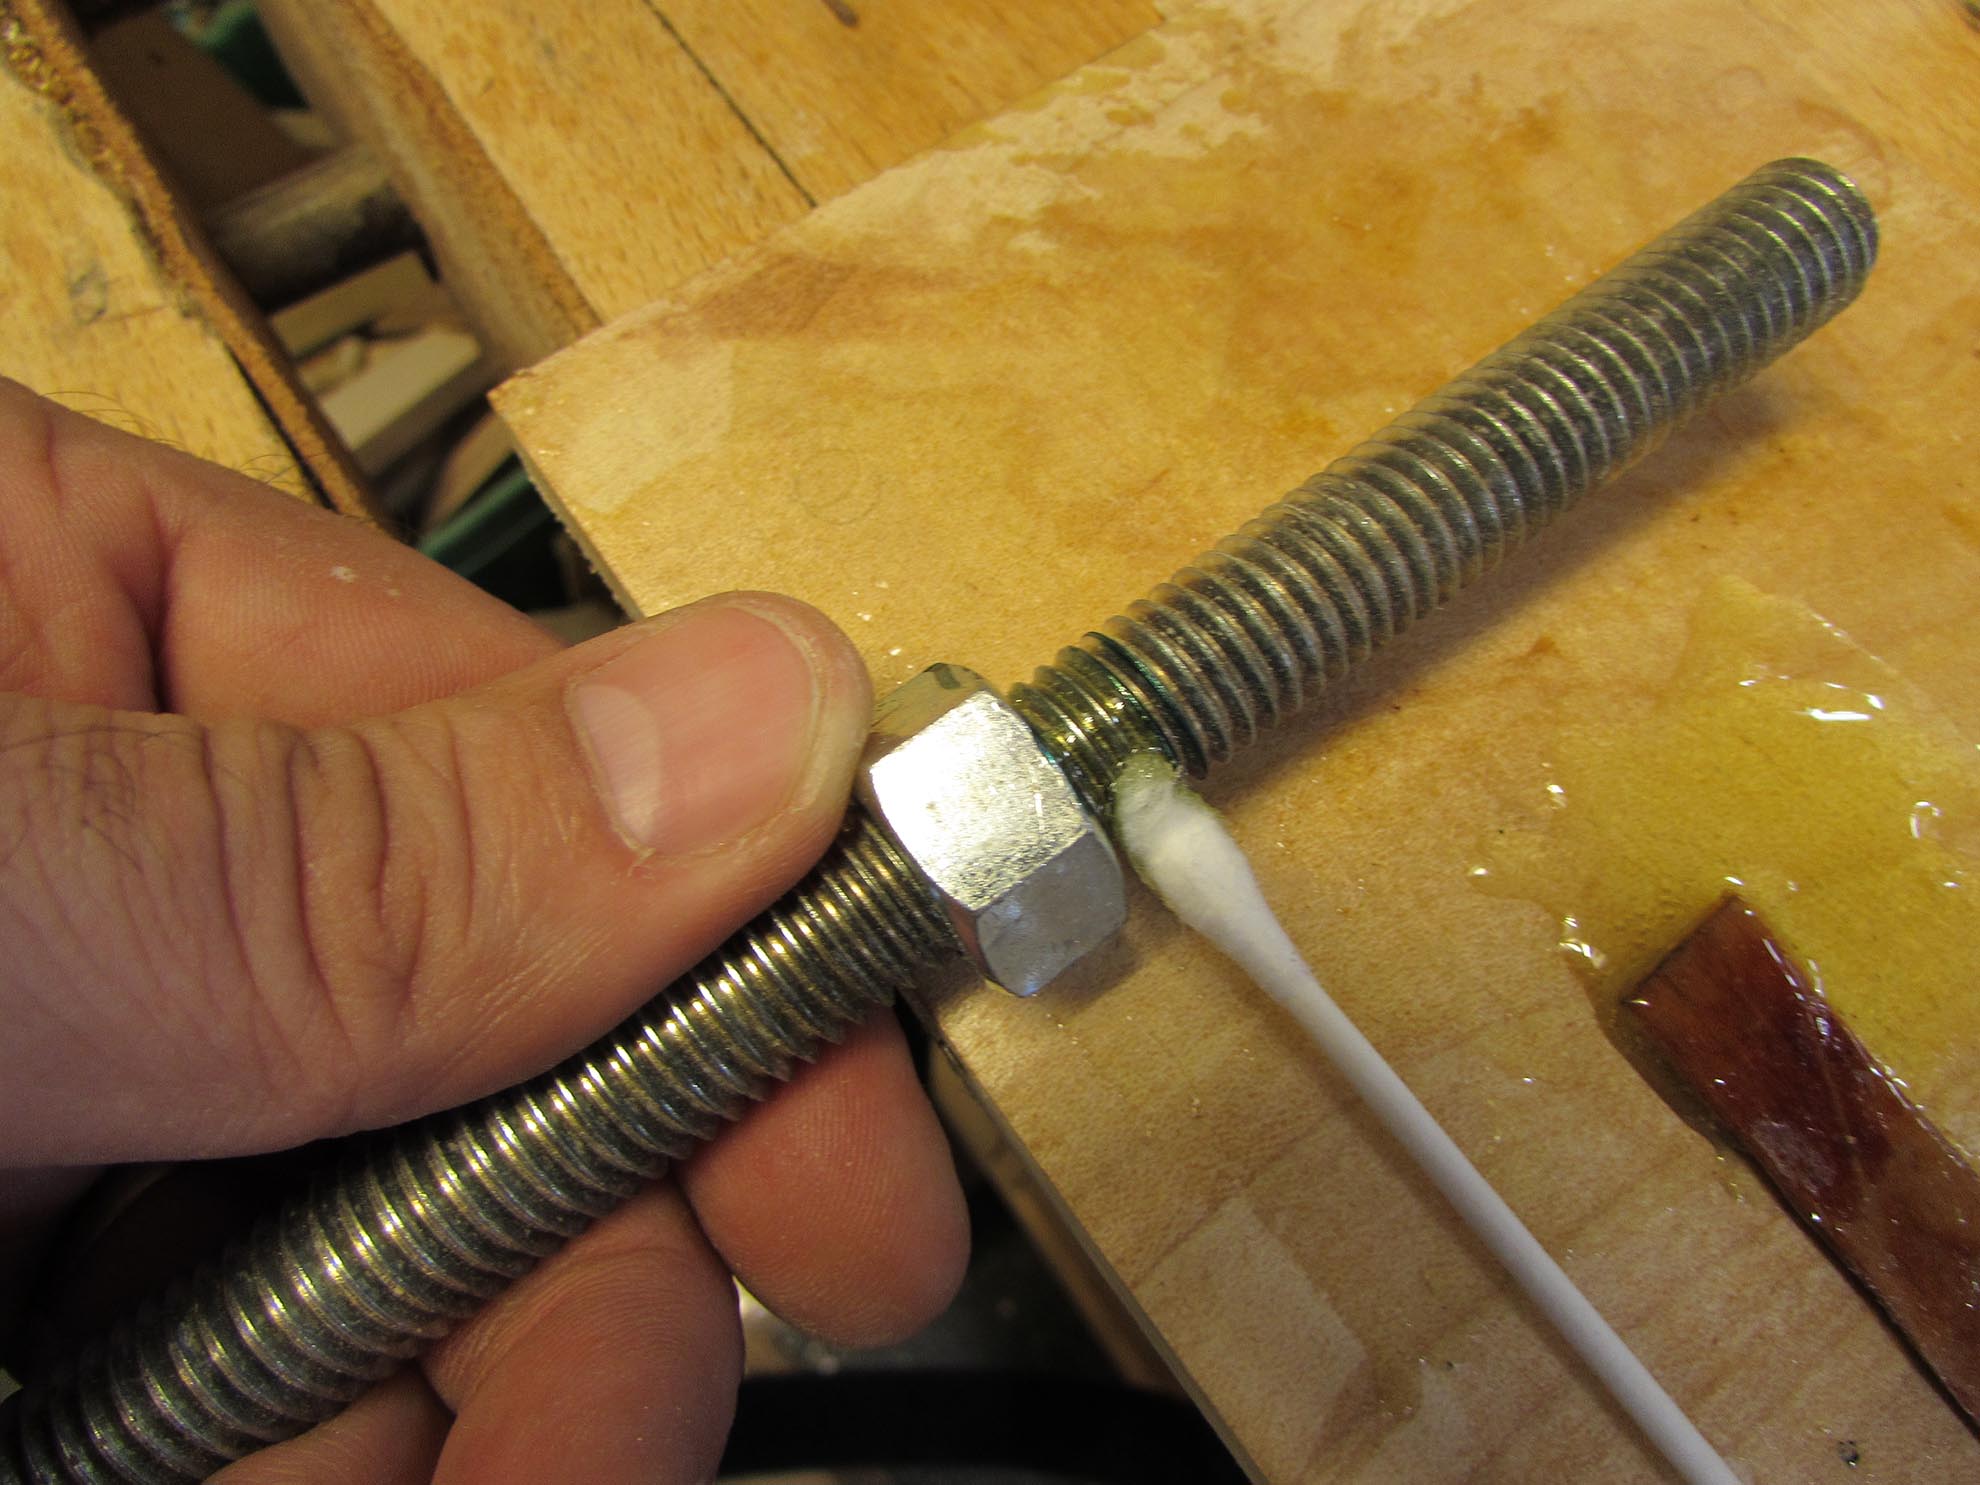
I mixed up some 15 minute epoxy and applied it to the nuts and the inside of the handles.


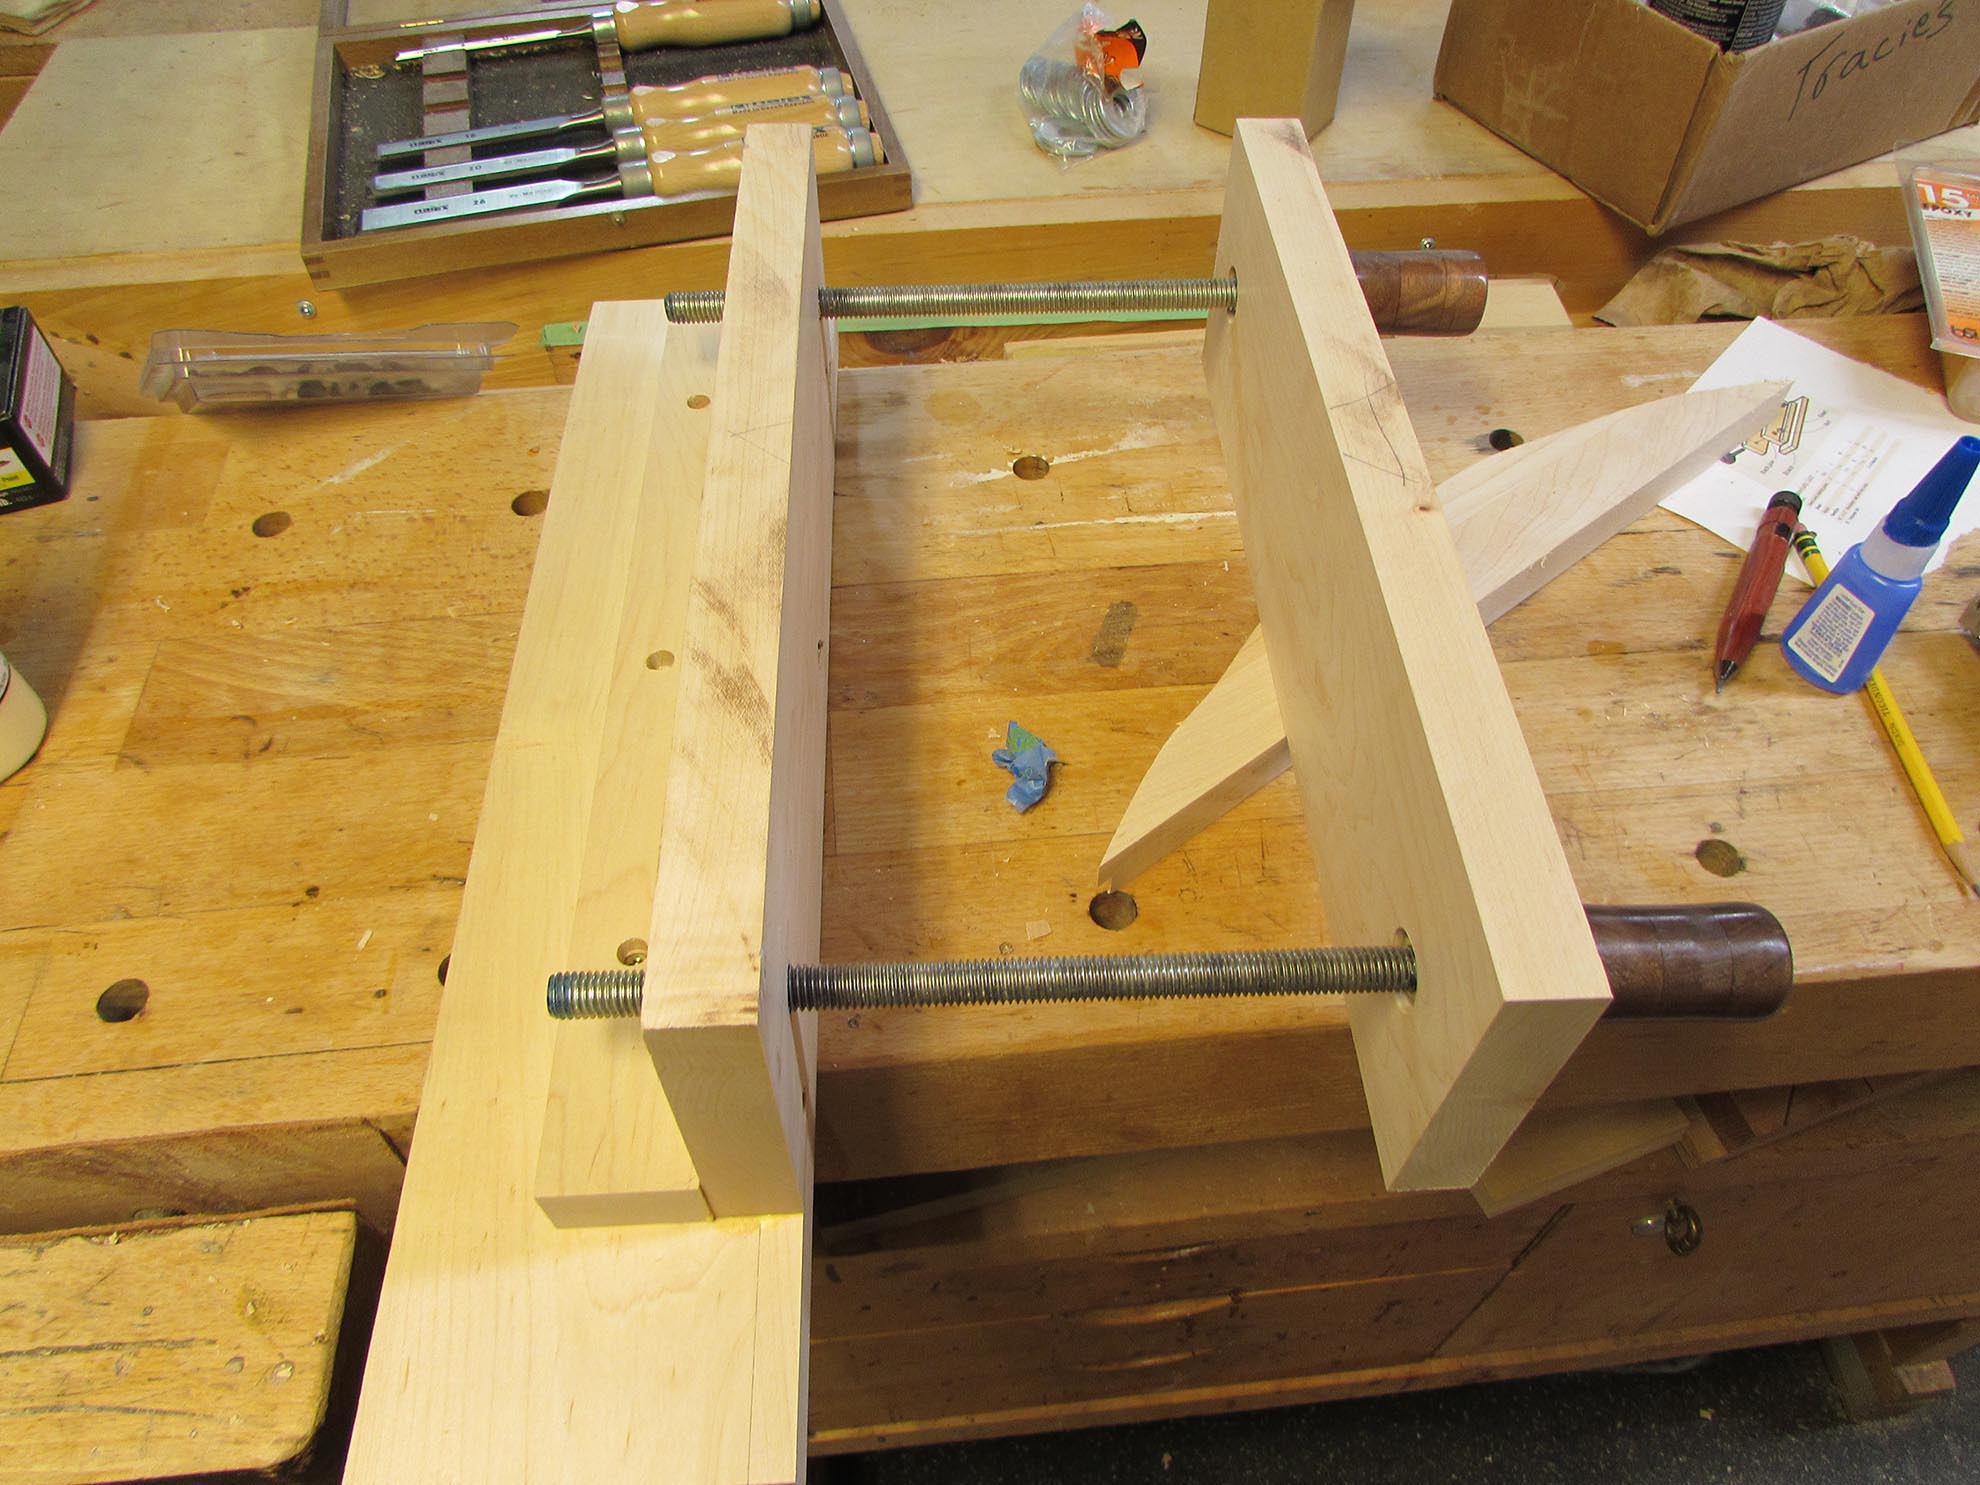
With the nut permanently affixed on one side and the handle on the other, the handles & threaded rods are now captive to the front jaw. This will keep it near the handles as I open and close the jaws.

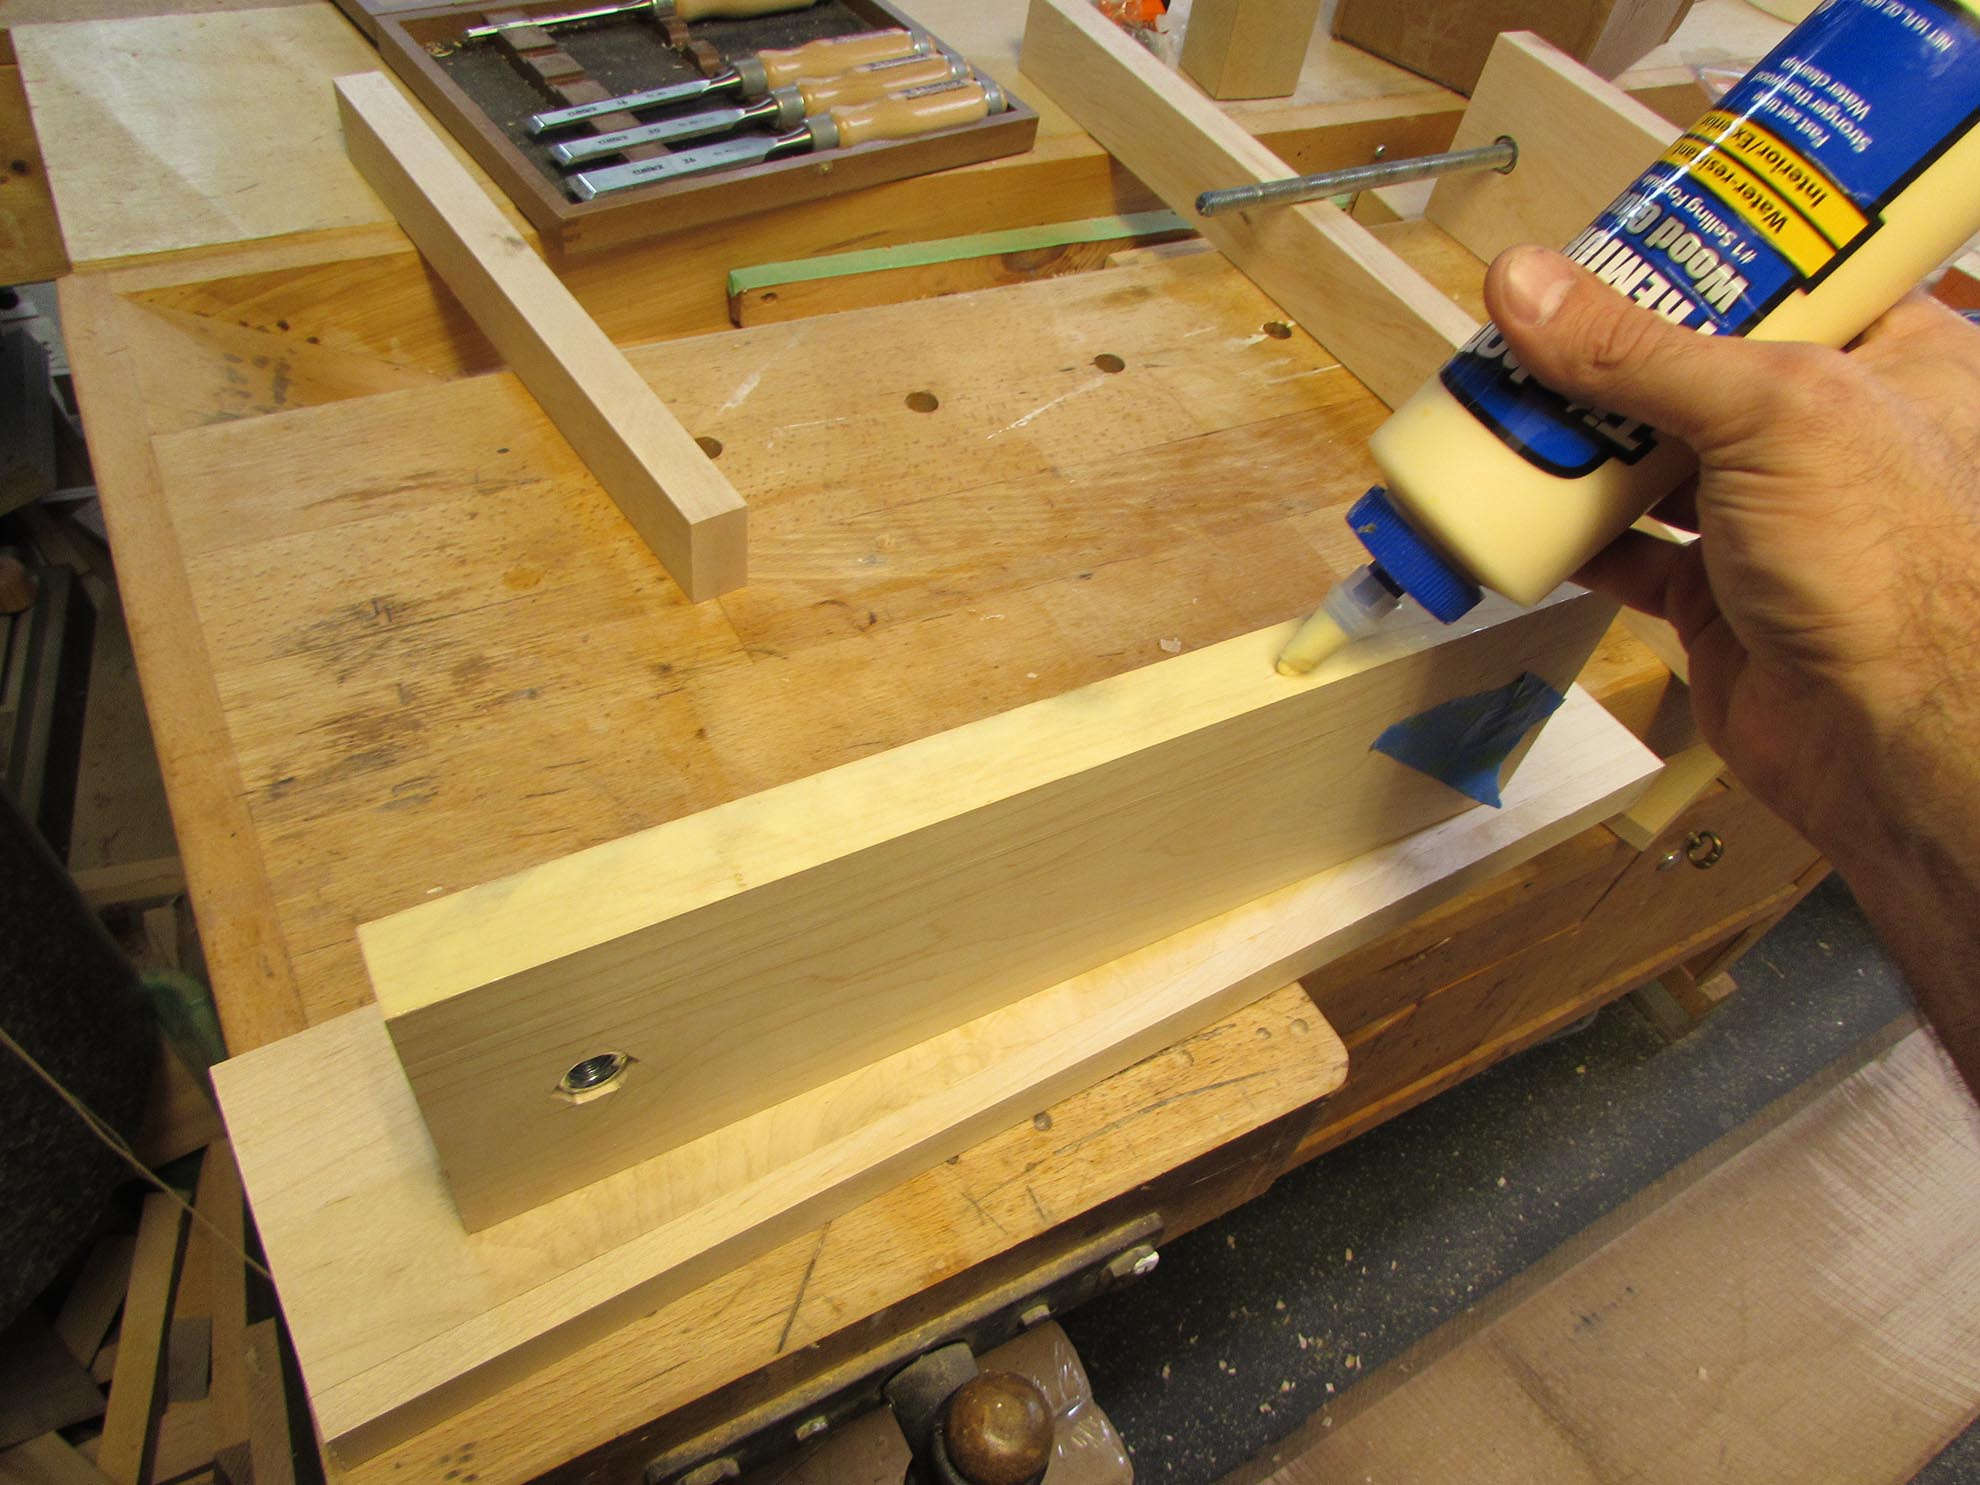
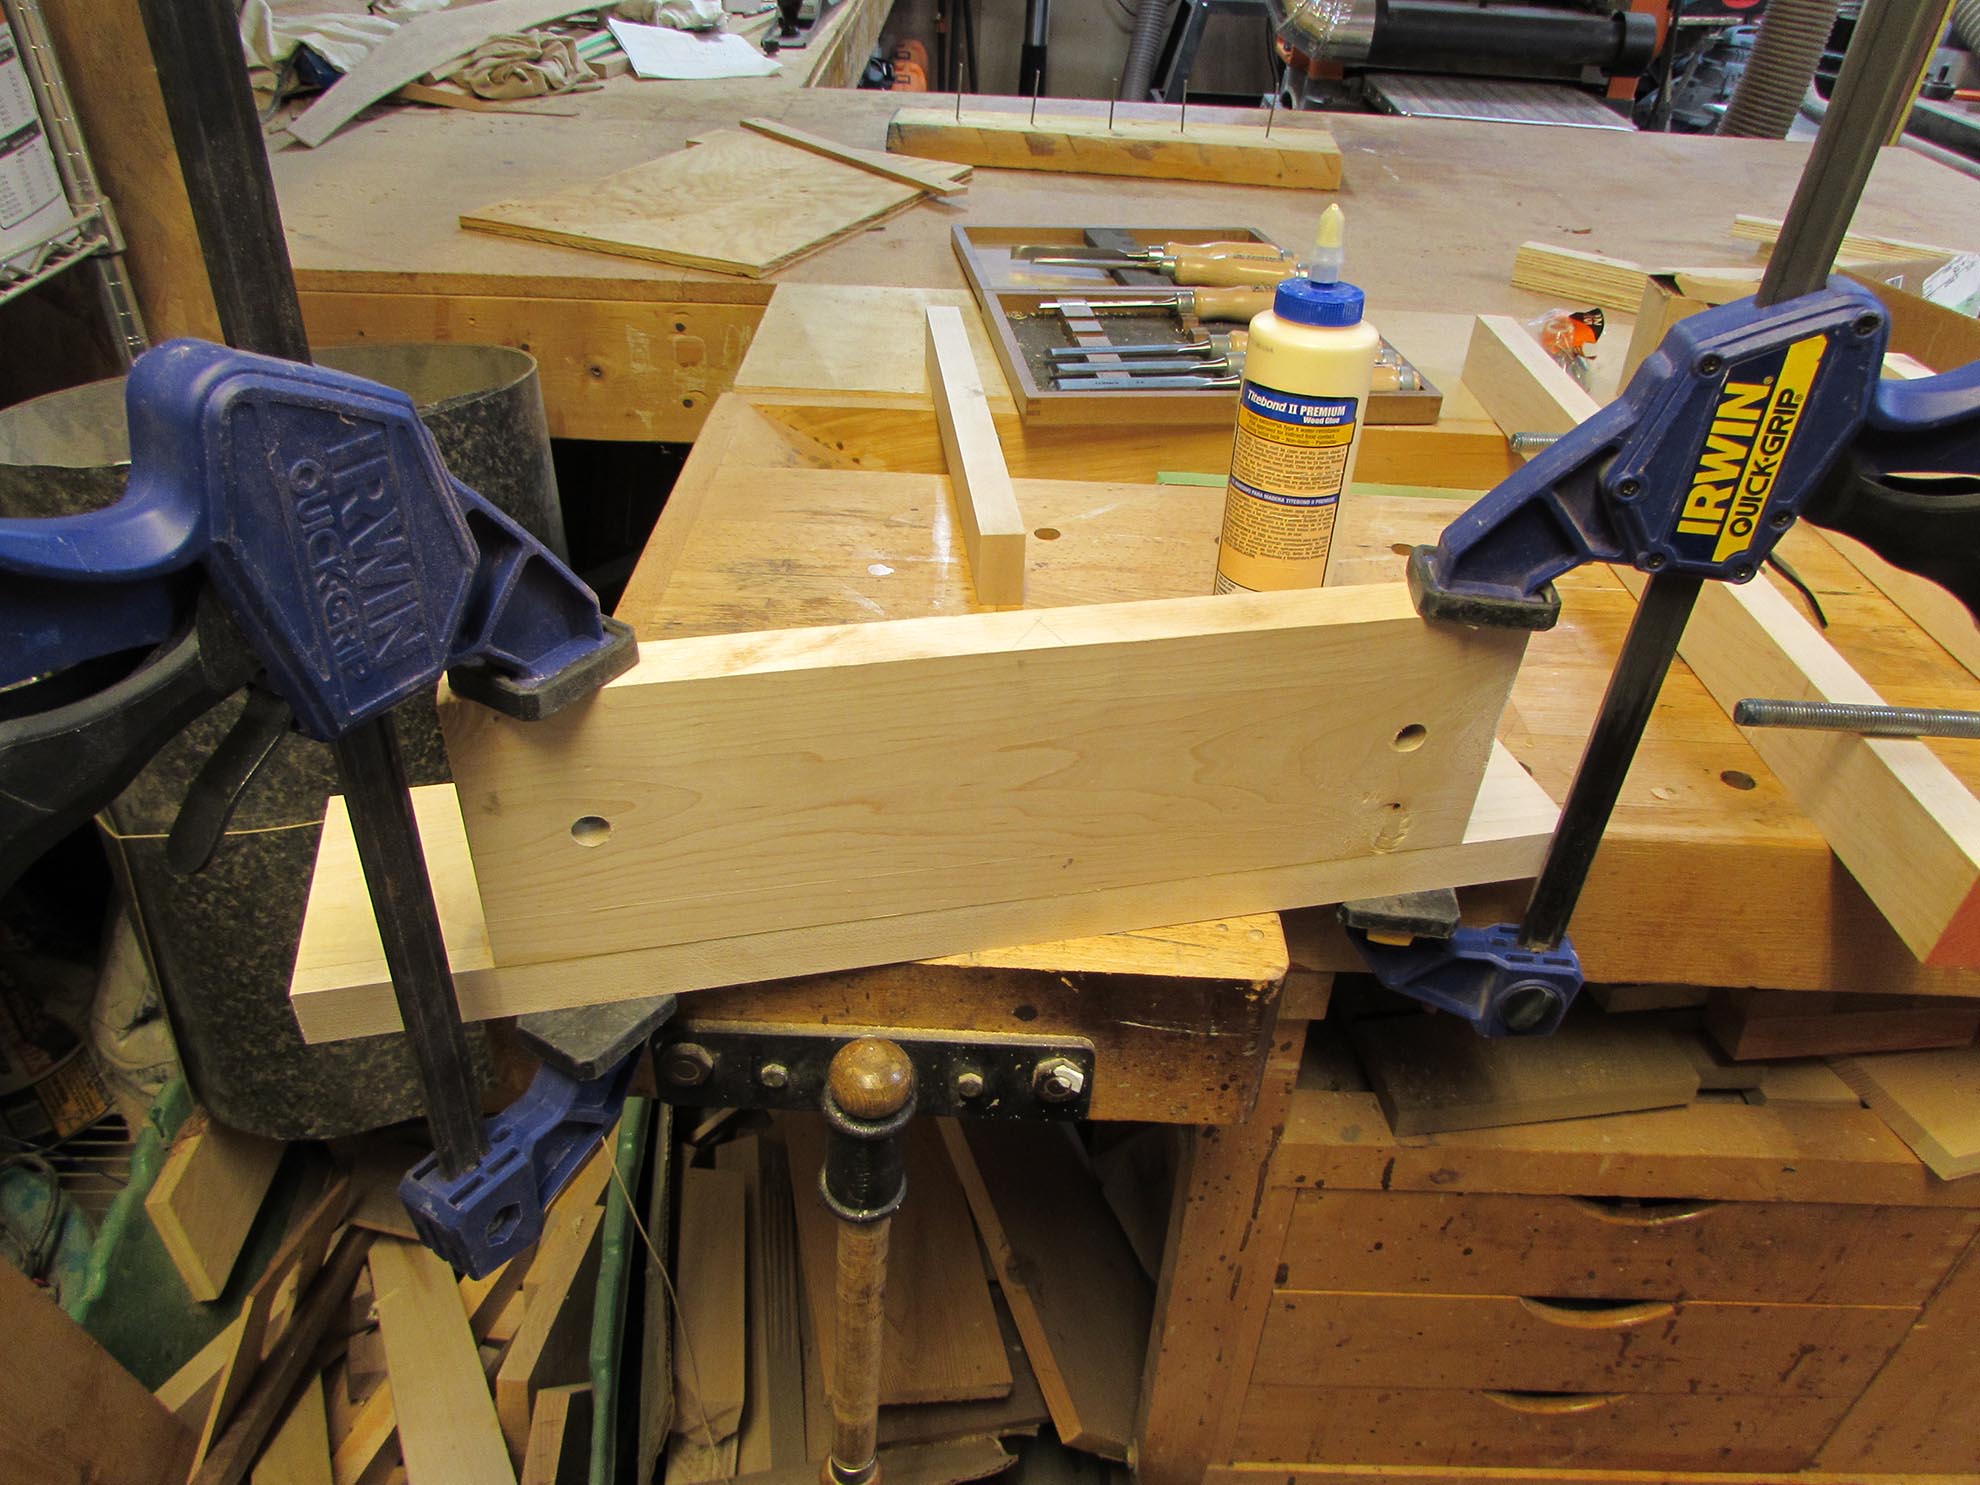
Next I started glueing and clamping the rest of the vise together.
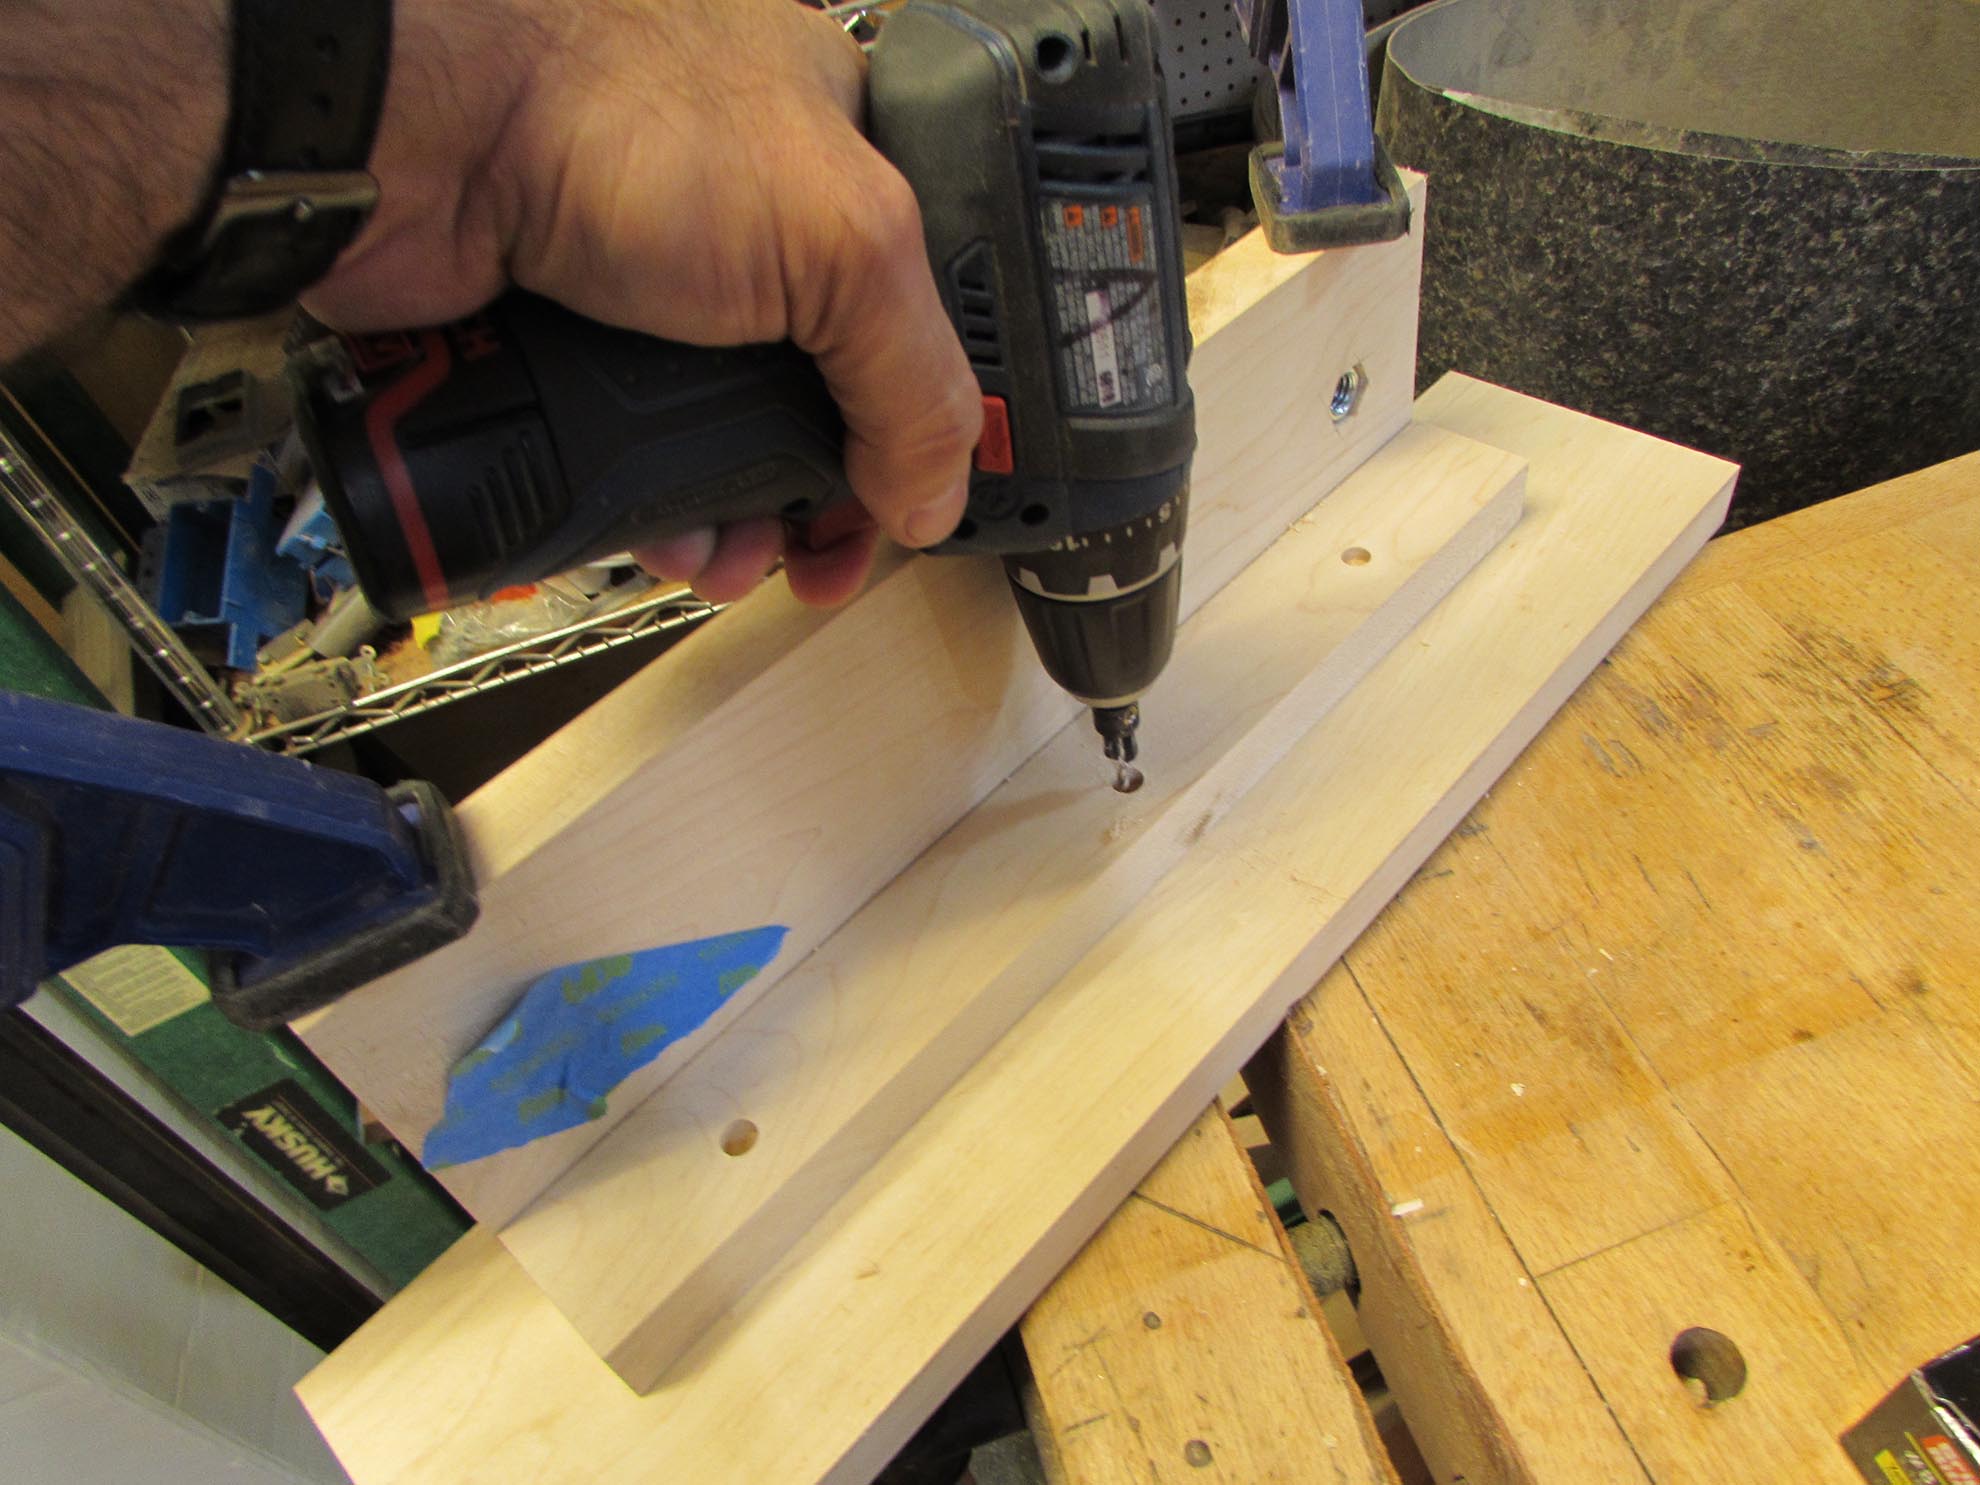
I decided that glue may not be strong enough if the kids started pulling on the vise, so I backed up the glue joints with some construction screws.

I left the glue and epoxy to cure over night and tested it out in the morning.
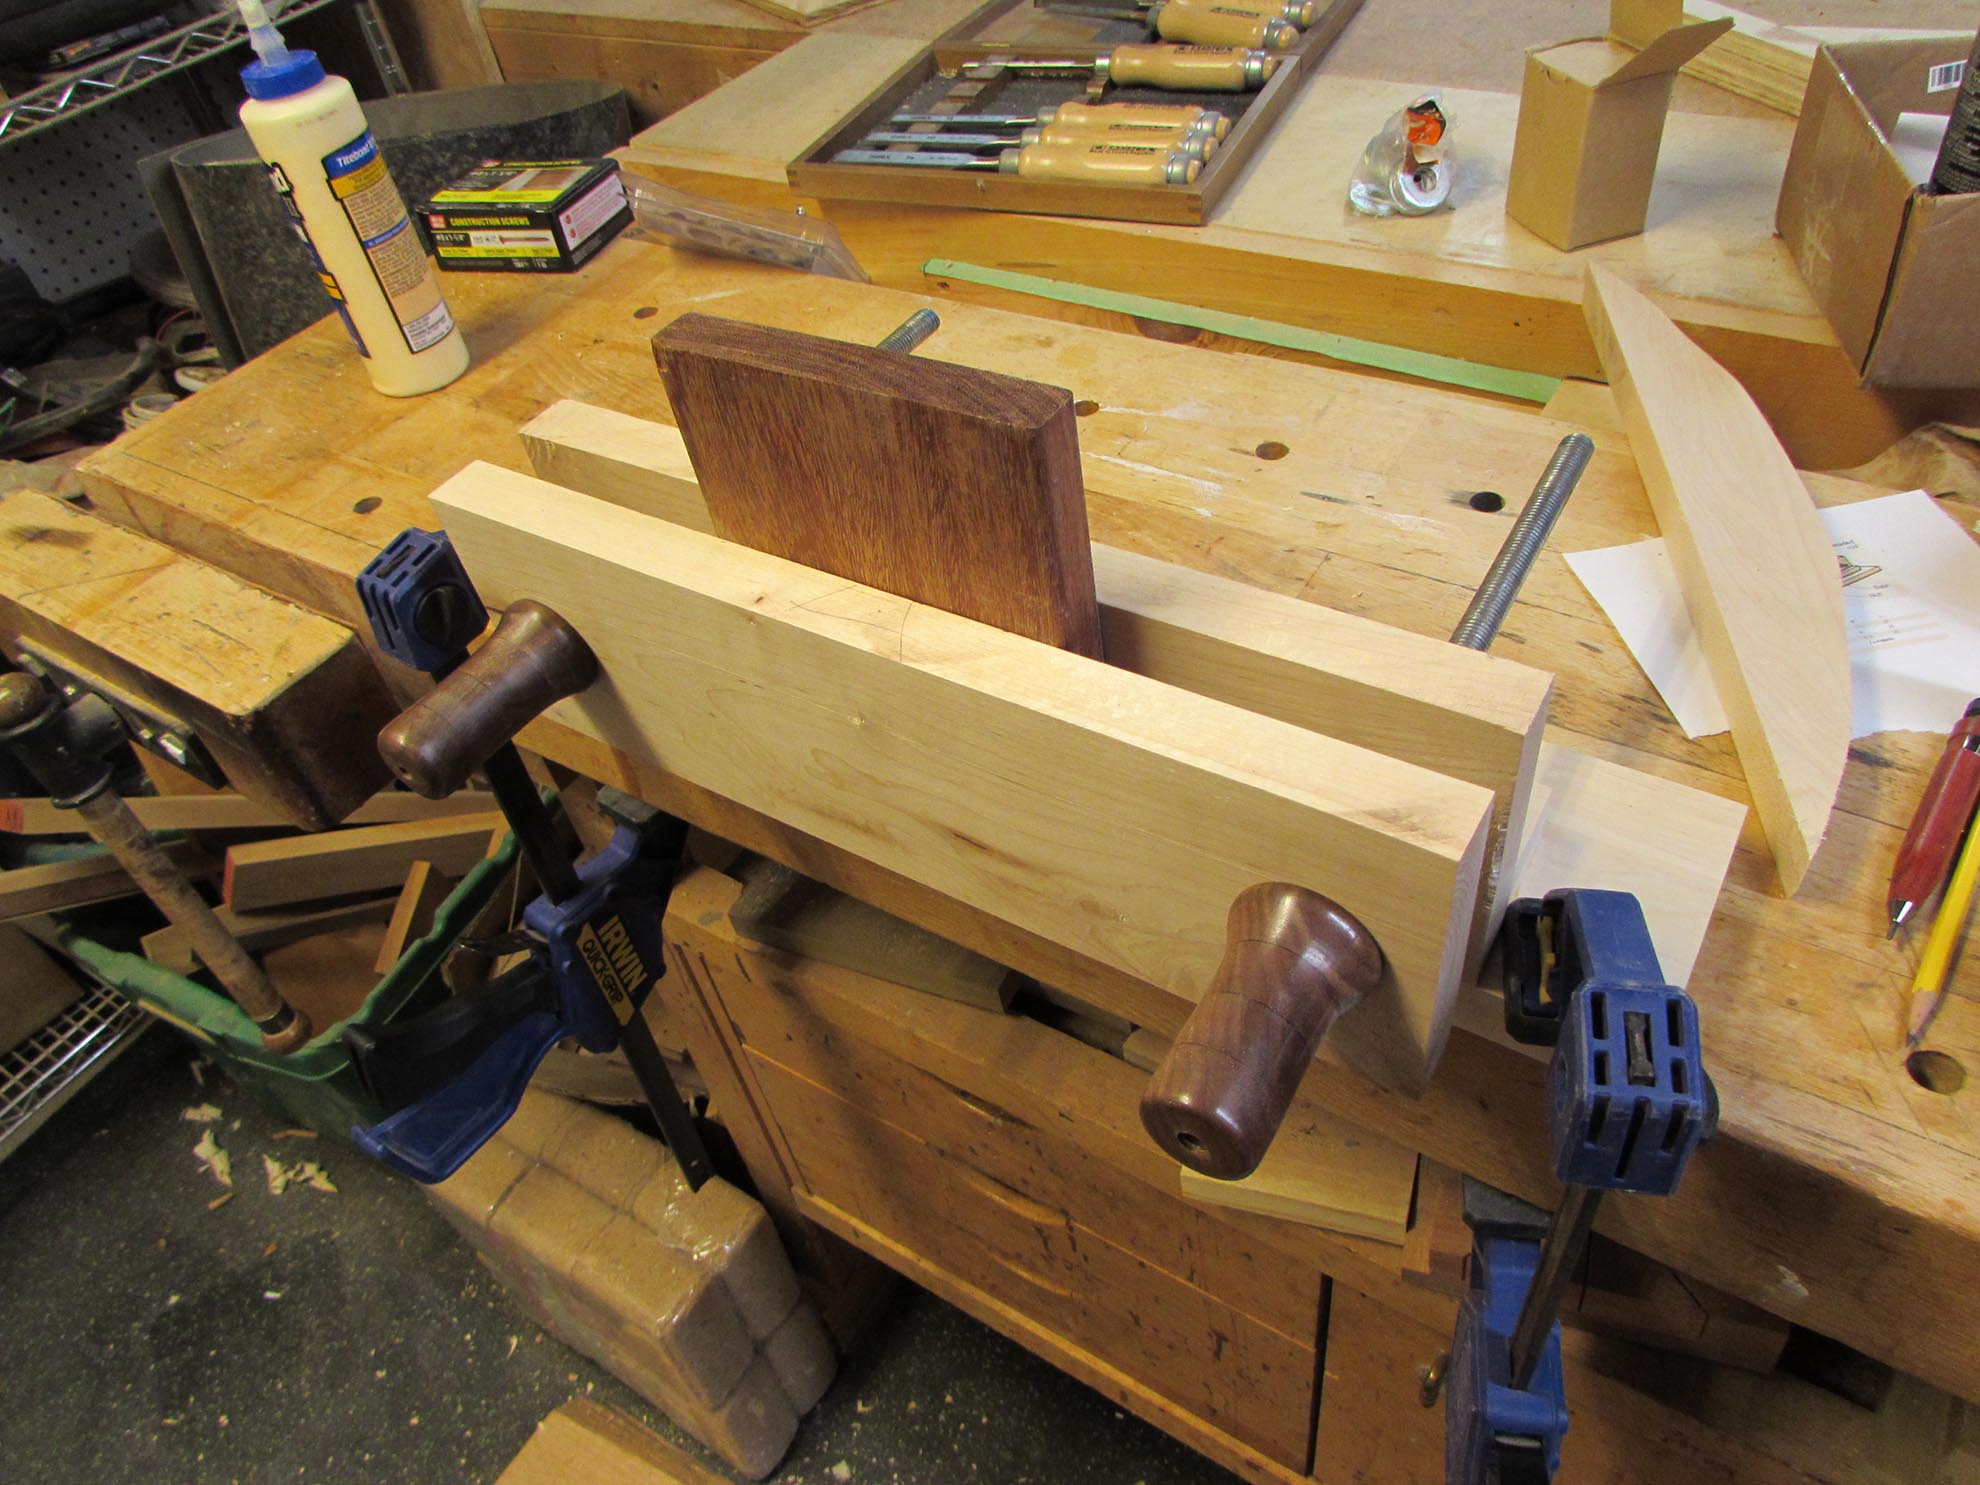
As I suspected, screw travel is a bit slow, but the jaws clamp together very well. I think it will work perfectly for teaching the kids to handsaw a notch in the base of their catapults.

For a quick project, it seems very stout. I think it will be very useful as a portable vise.

Pingback: High school woodworking class – day 5 | Midnight Woodworking