
High school woodworking class – day 5
Day five of this six-day woodworking class, and we are starting on our third project, a marshmallow catapult. When I was looking for projects to build in this class, I stumbled across a blog post for the marshmallow catapult. I took some time and drew up the plans for it here: Catapult.PDF
I built two prototypes before I had all of the details nailed down. Having a prototype was useful for the kids to see what we were doing with each step. I prepped some supplies for the class by cutting the wood to width, then got the teens started with planing the stock down to the proper thickness.

I gave them each a set of plans to work from, a small, homemade speed square, and a transparent 6″ ruler. With only a little supervision, I walked them through laying out each section to be marked, then cut out.


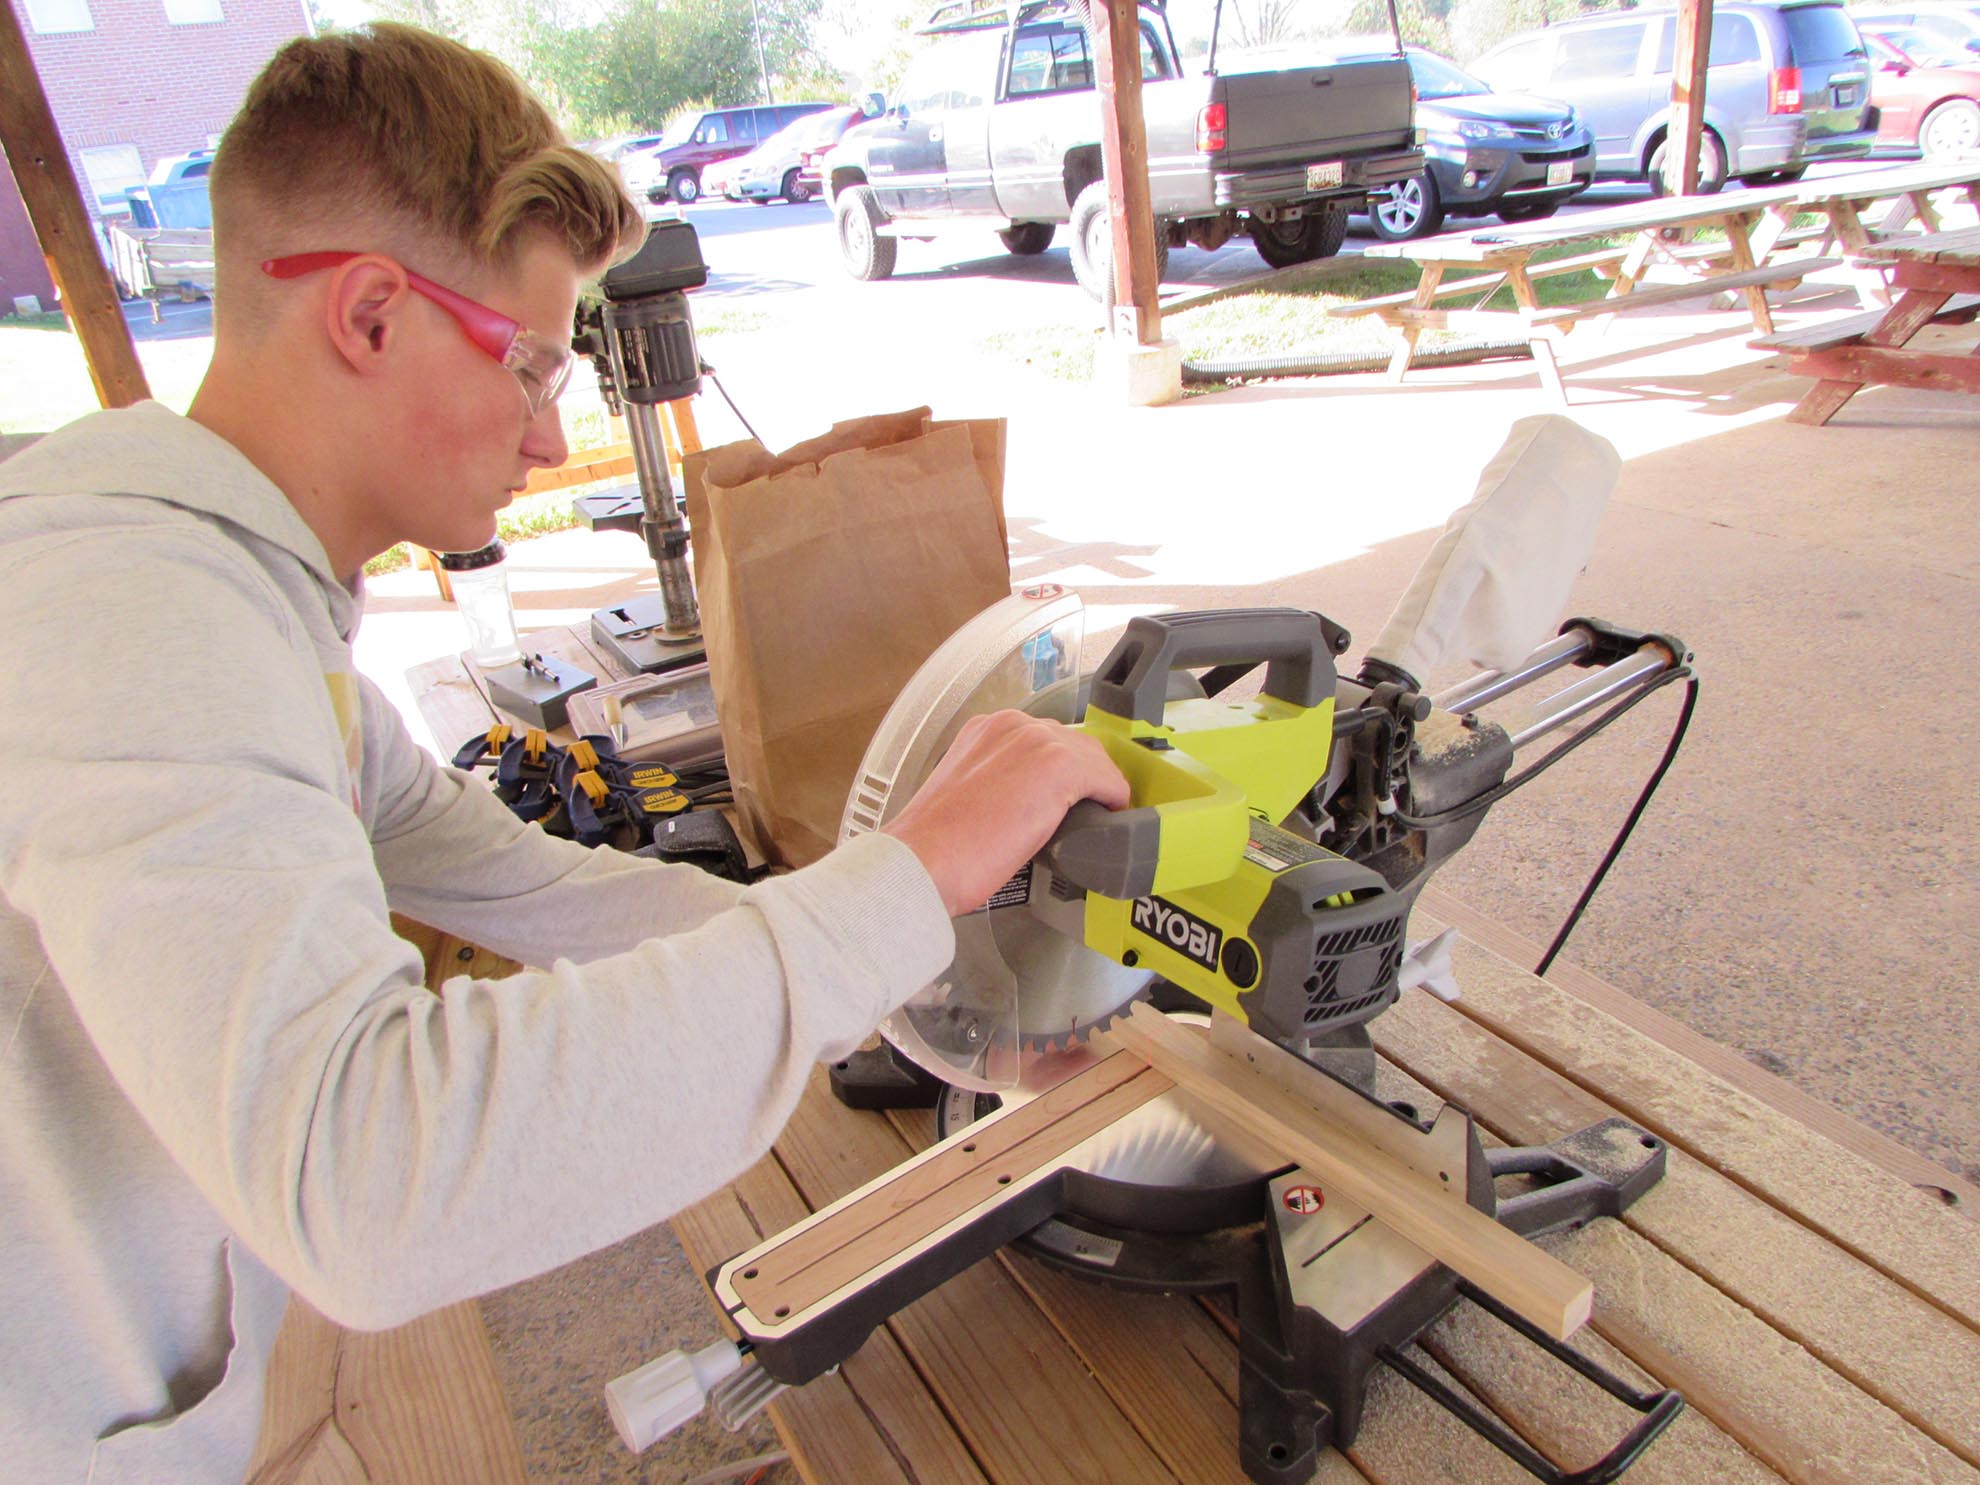
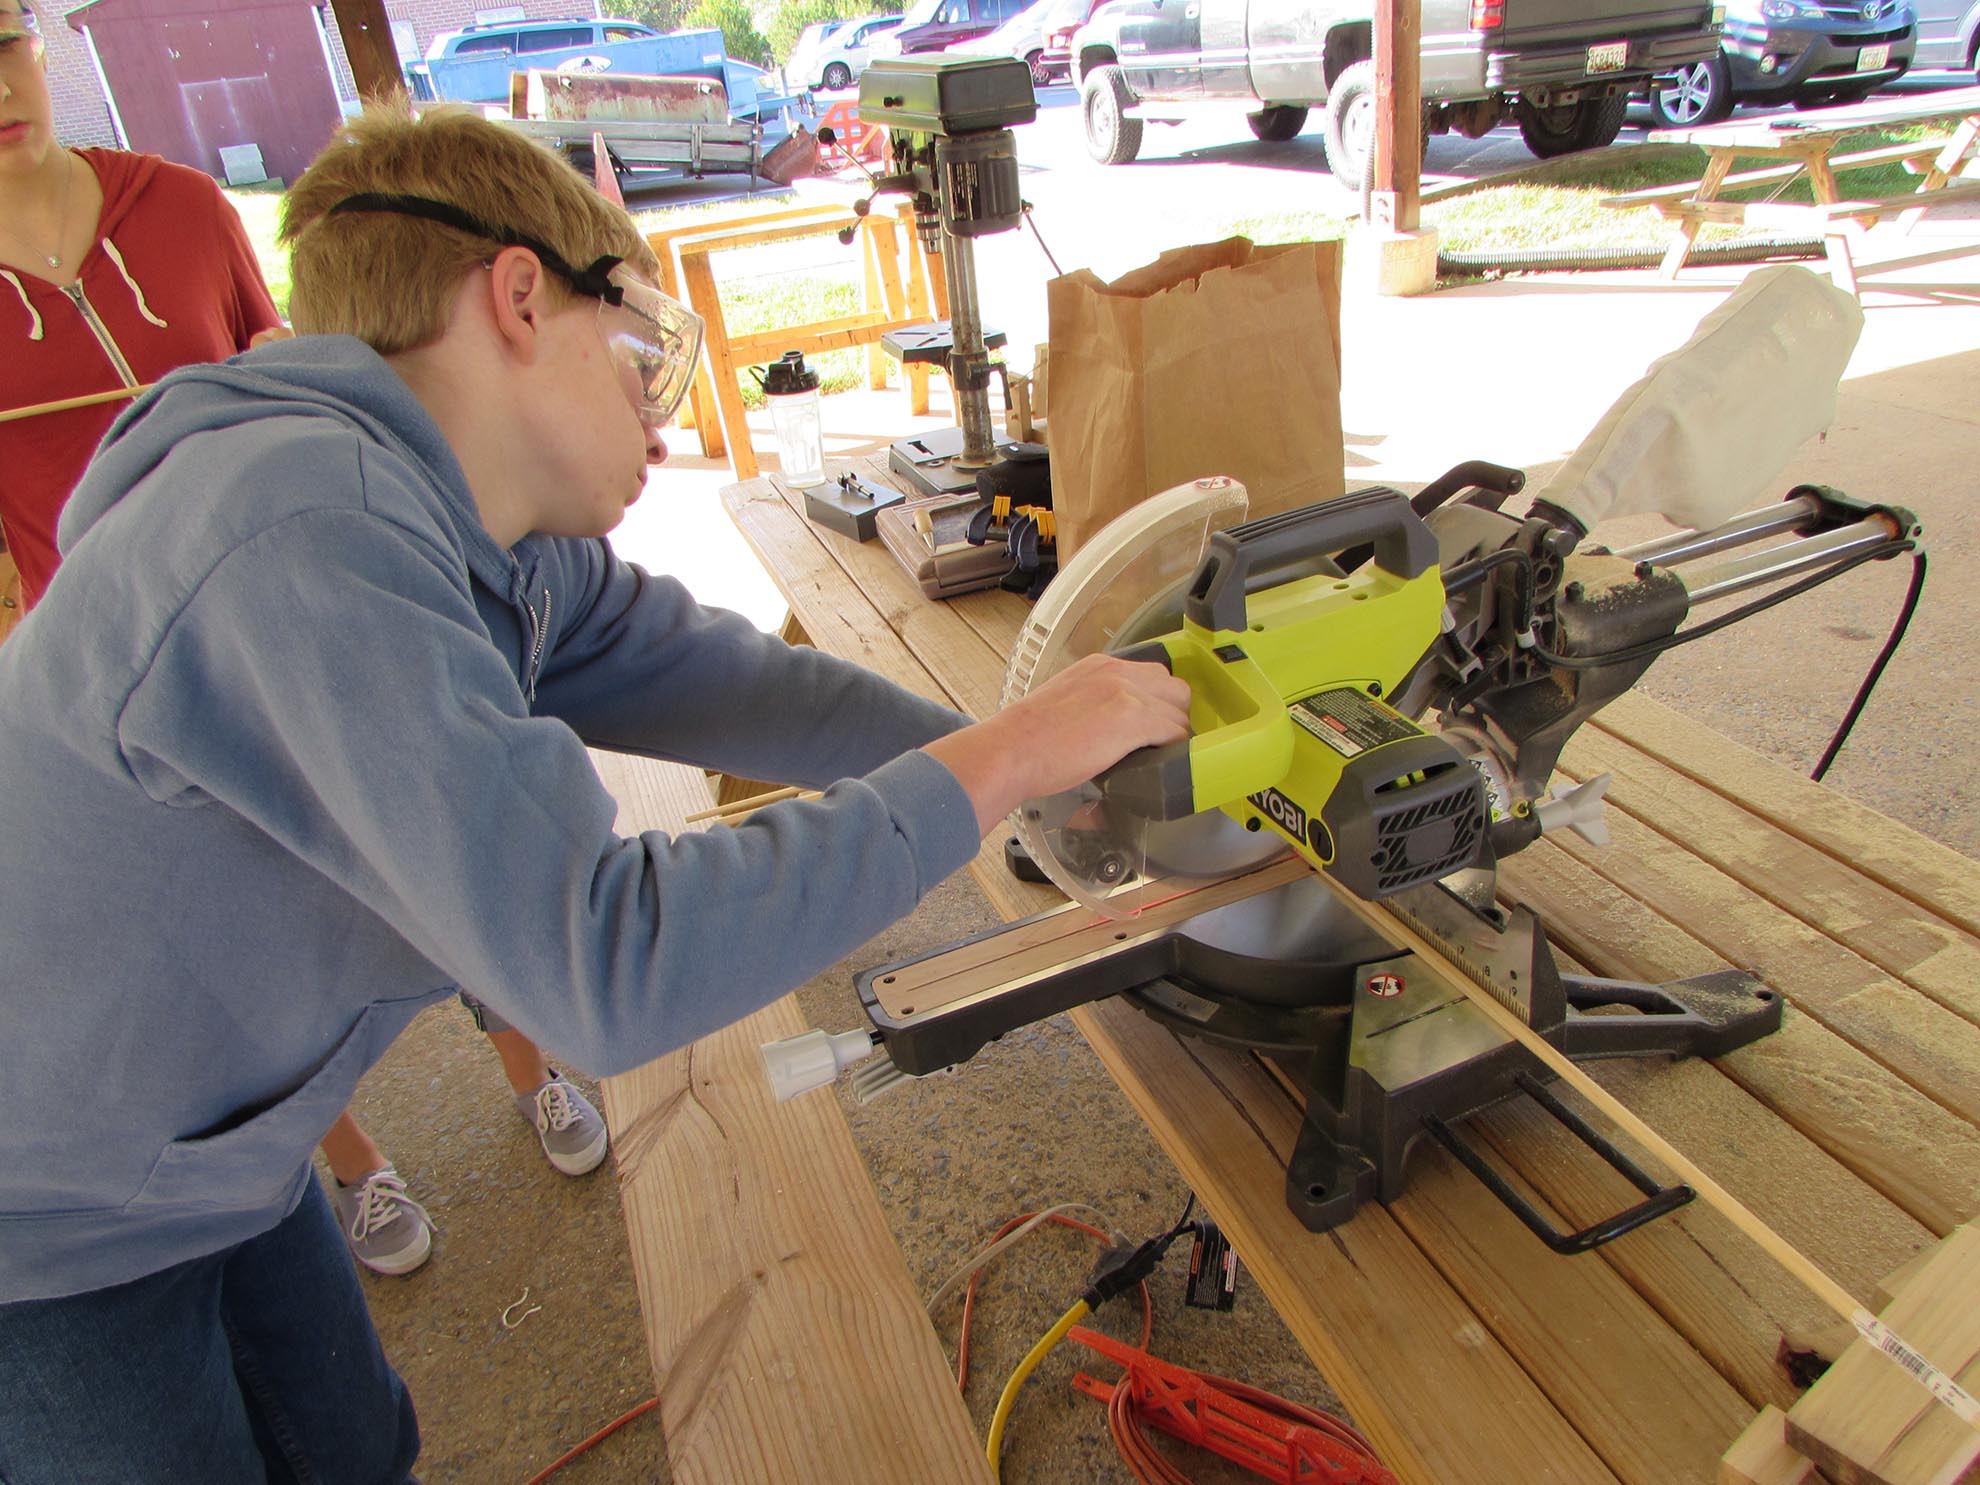
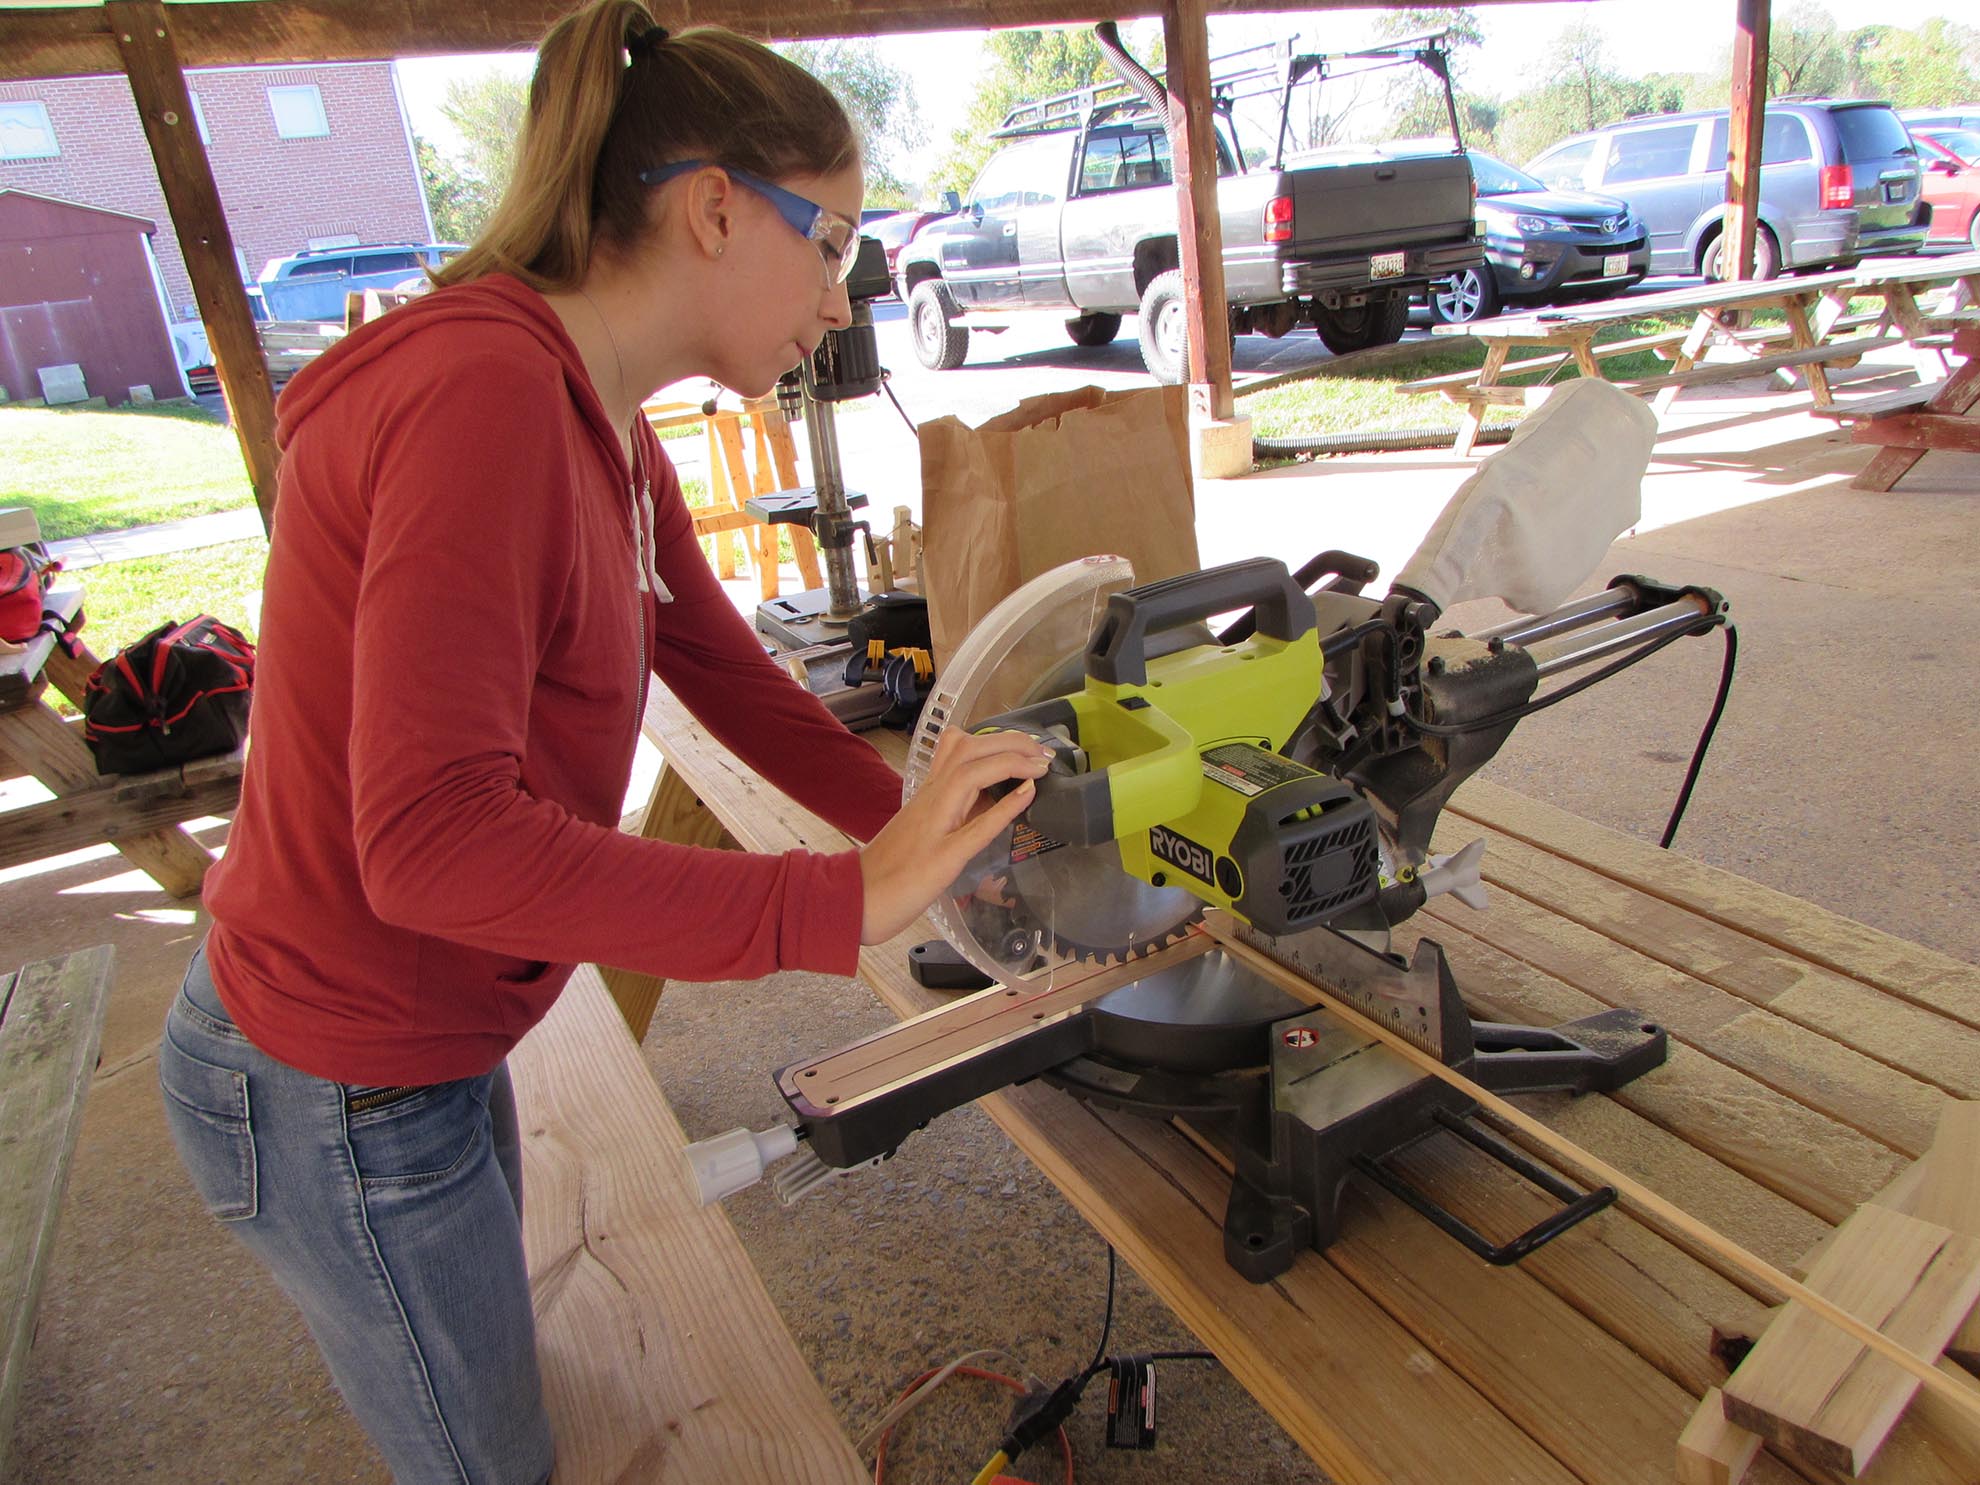
With only one saw, and my need to make sure everyone was working safely, they all took turns cutting each piece, then returning to the table to lay out the next piece.

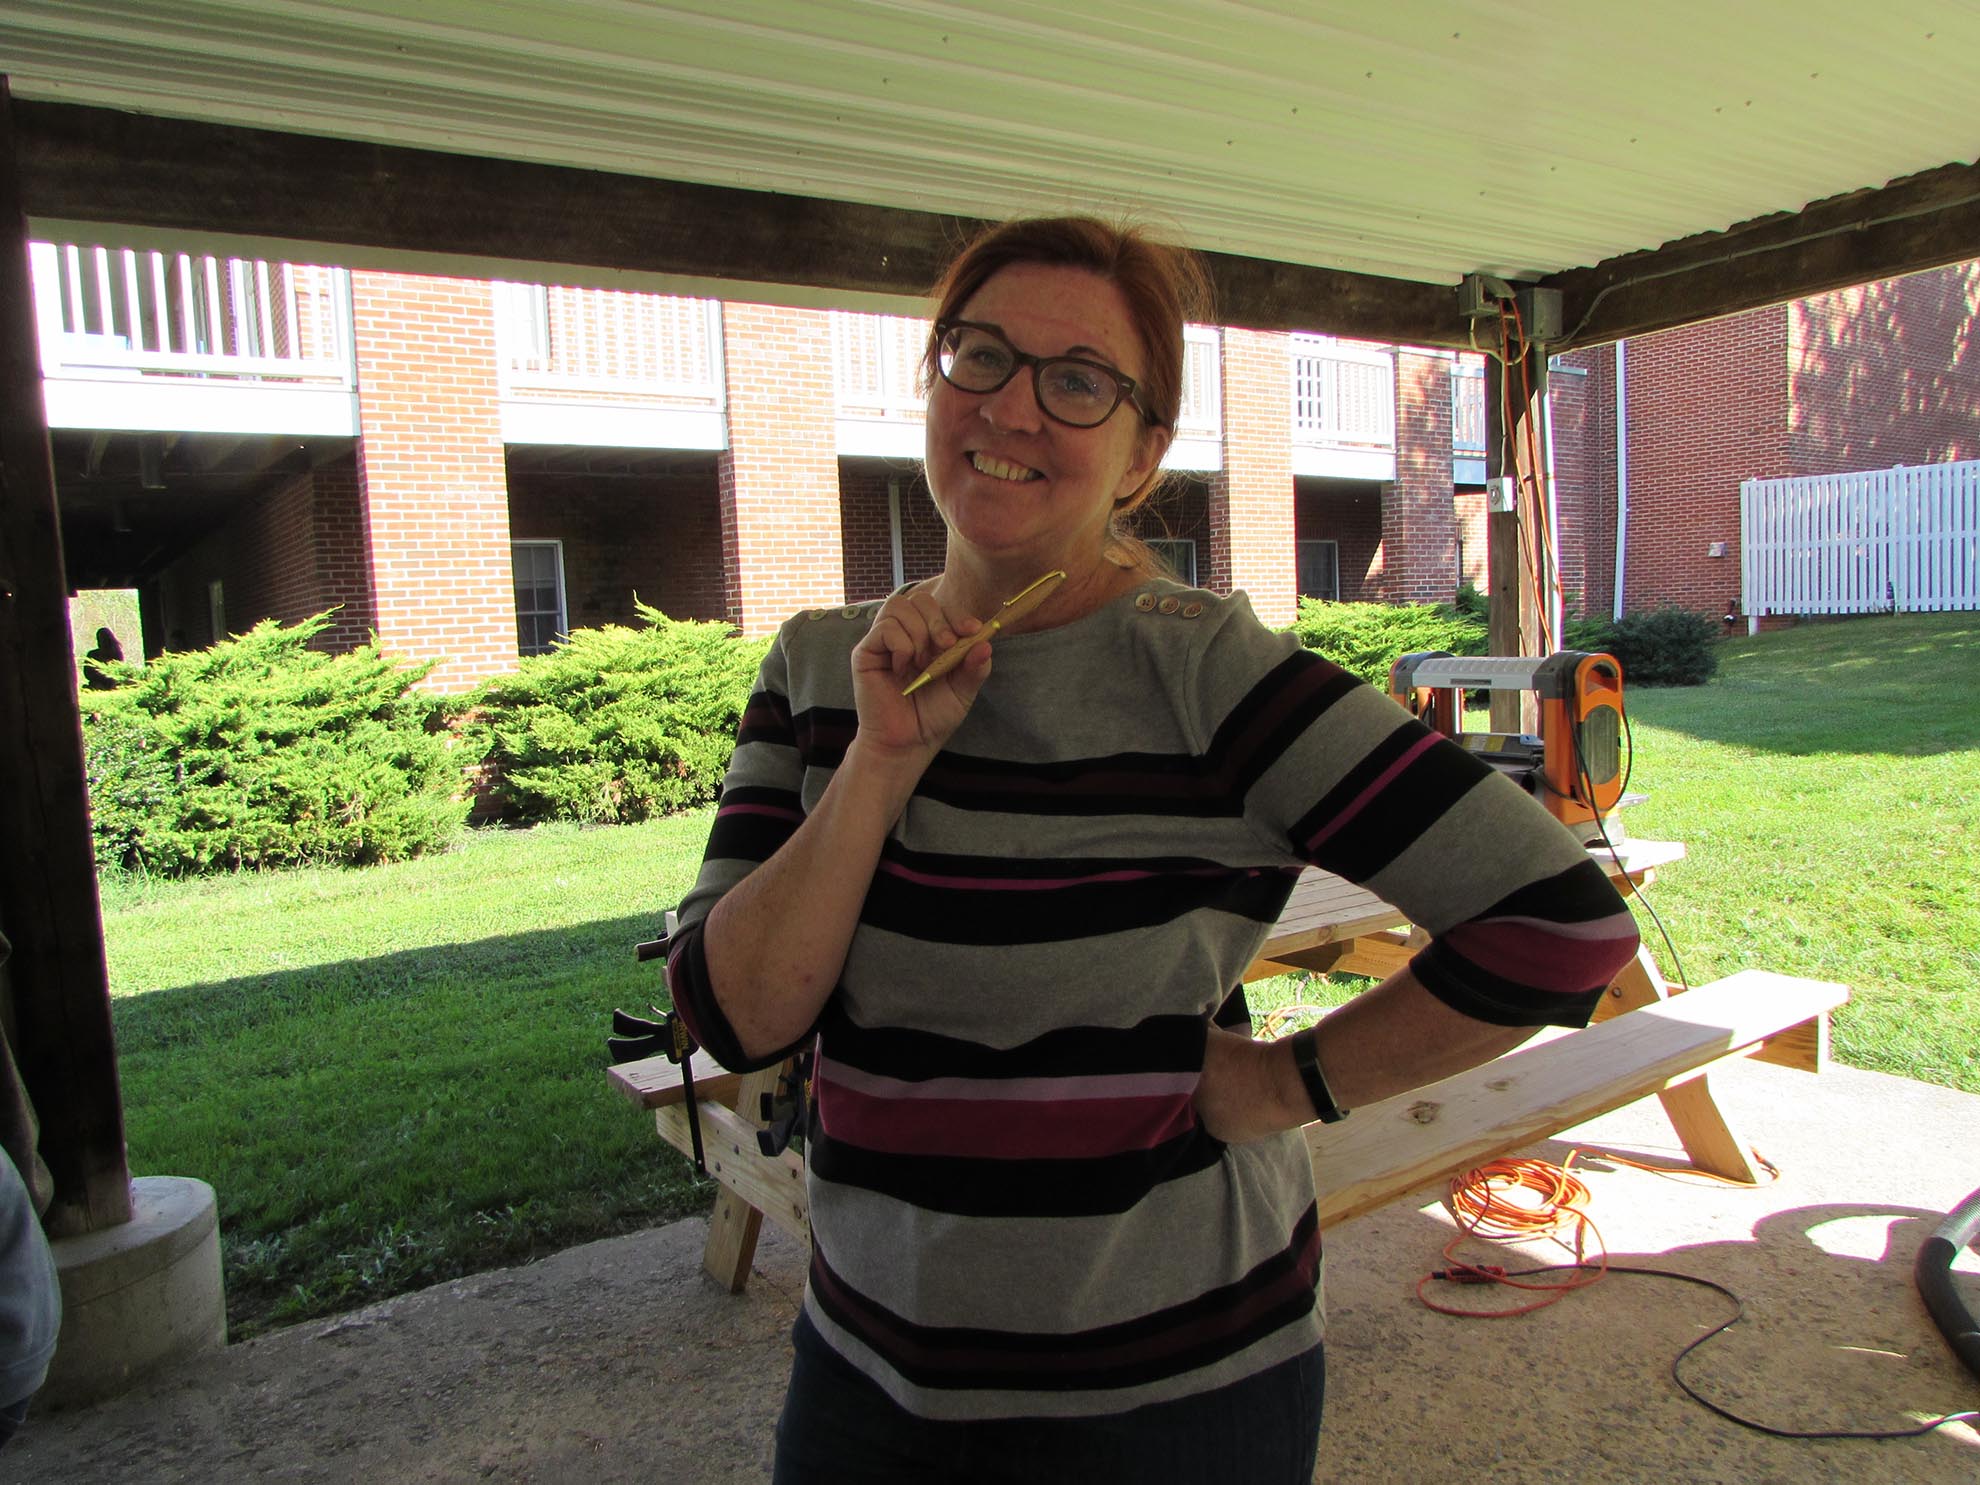
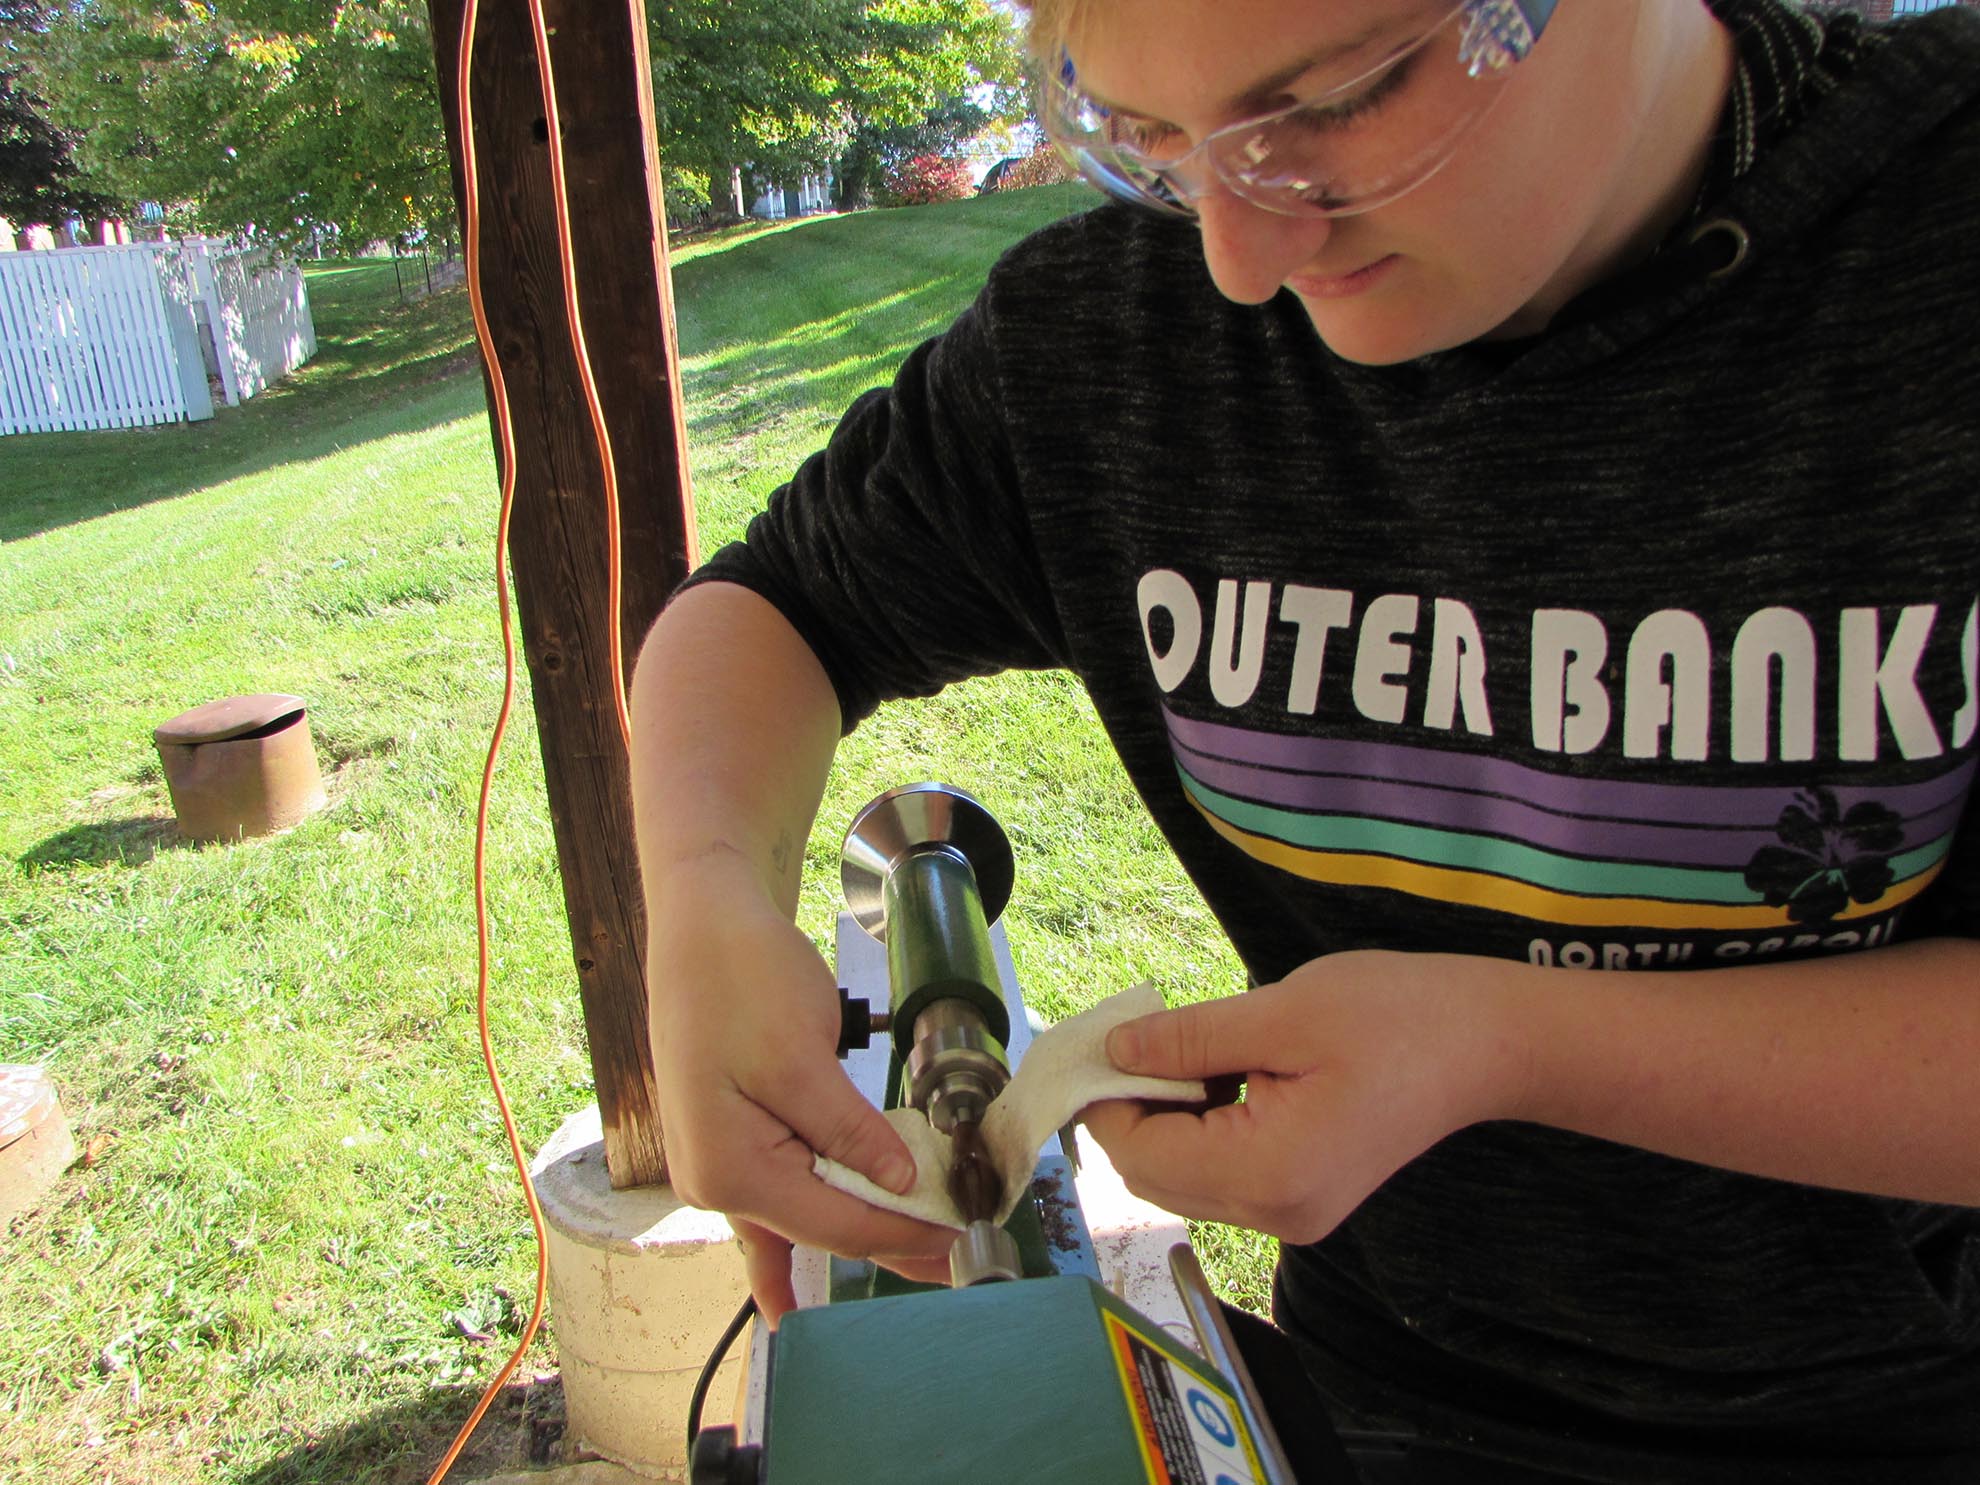
While the kids were busy, my wife started teaching one of my adult helpers to turn her own pen. My need to be in control of all of the power tool operations has been leaving my adult helpers rather bored…


After we cut the main base, they moved on to laying out and cutting the sides.


When the sides were done, we cut down the arm.

Then it was on to the pivot dowel and the stop dowel.
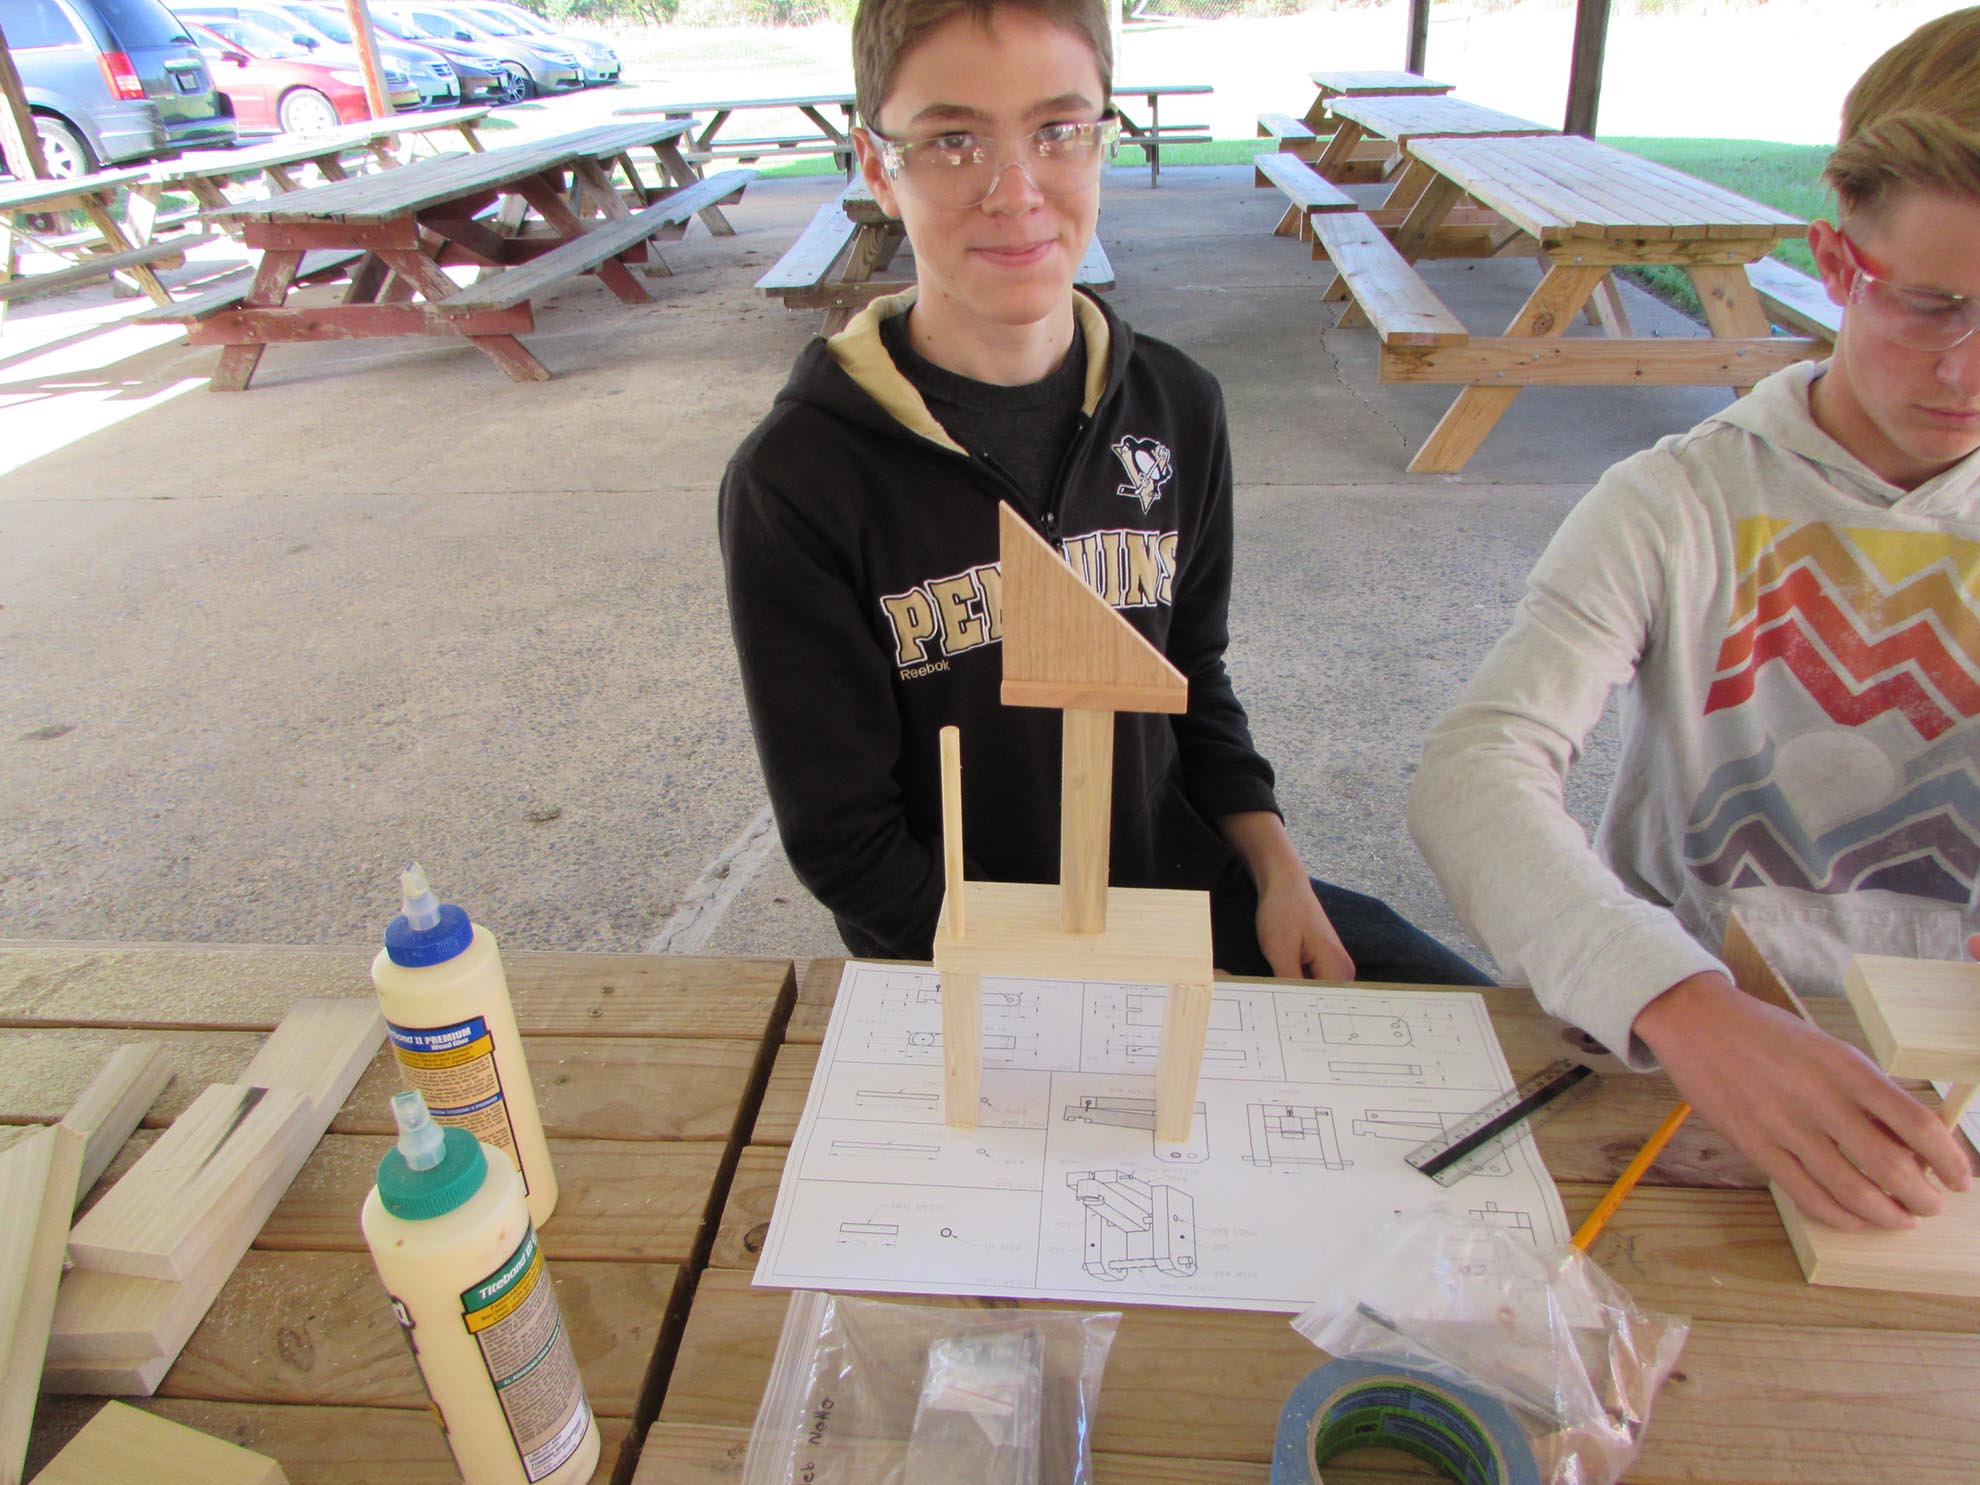
Some of our teens were showing off their creativity along the way…
Next all of the kids started laying out the locations of all of the holes that had to be drilled.


Amy finished off her pen and was very proud of herself.
Since we were done the cutting and layout phase, I could start one of the teens on the lathe, pulling her away from her pen to drill holes as the drill press was set up.


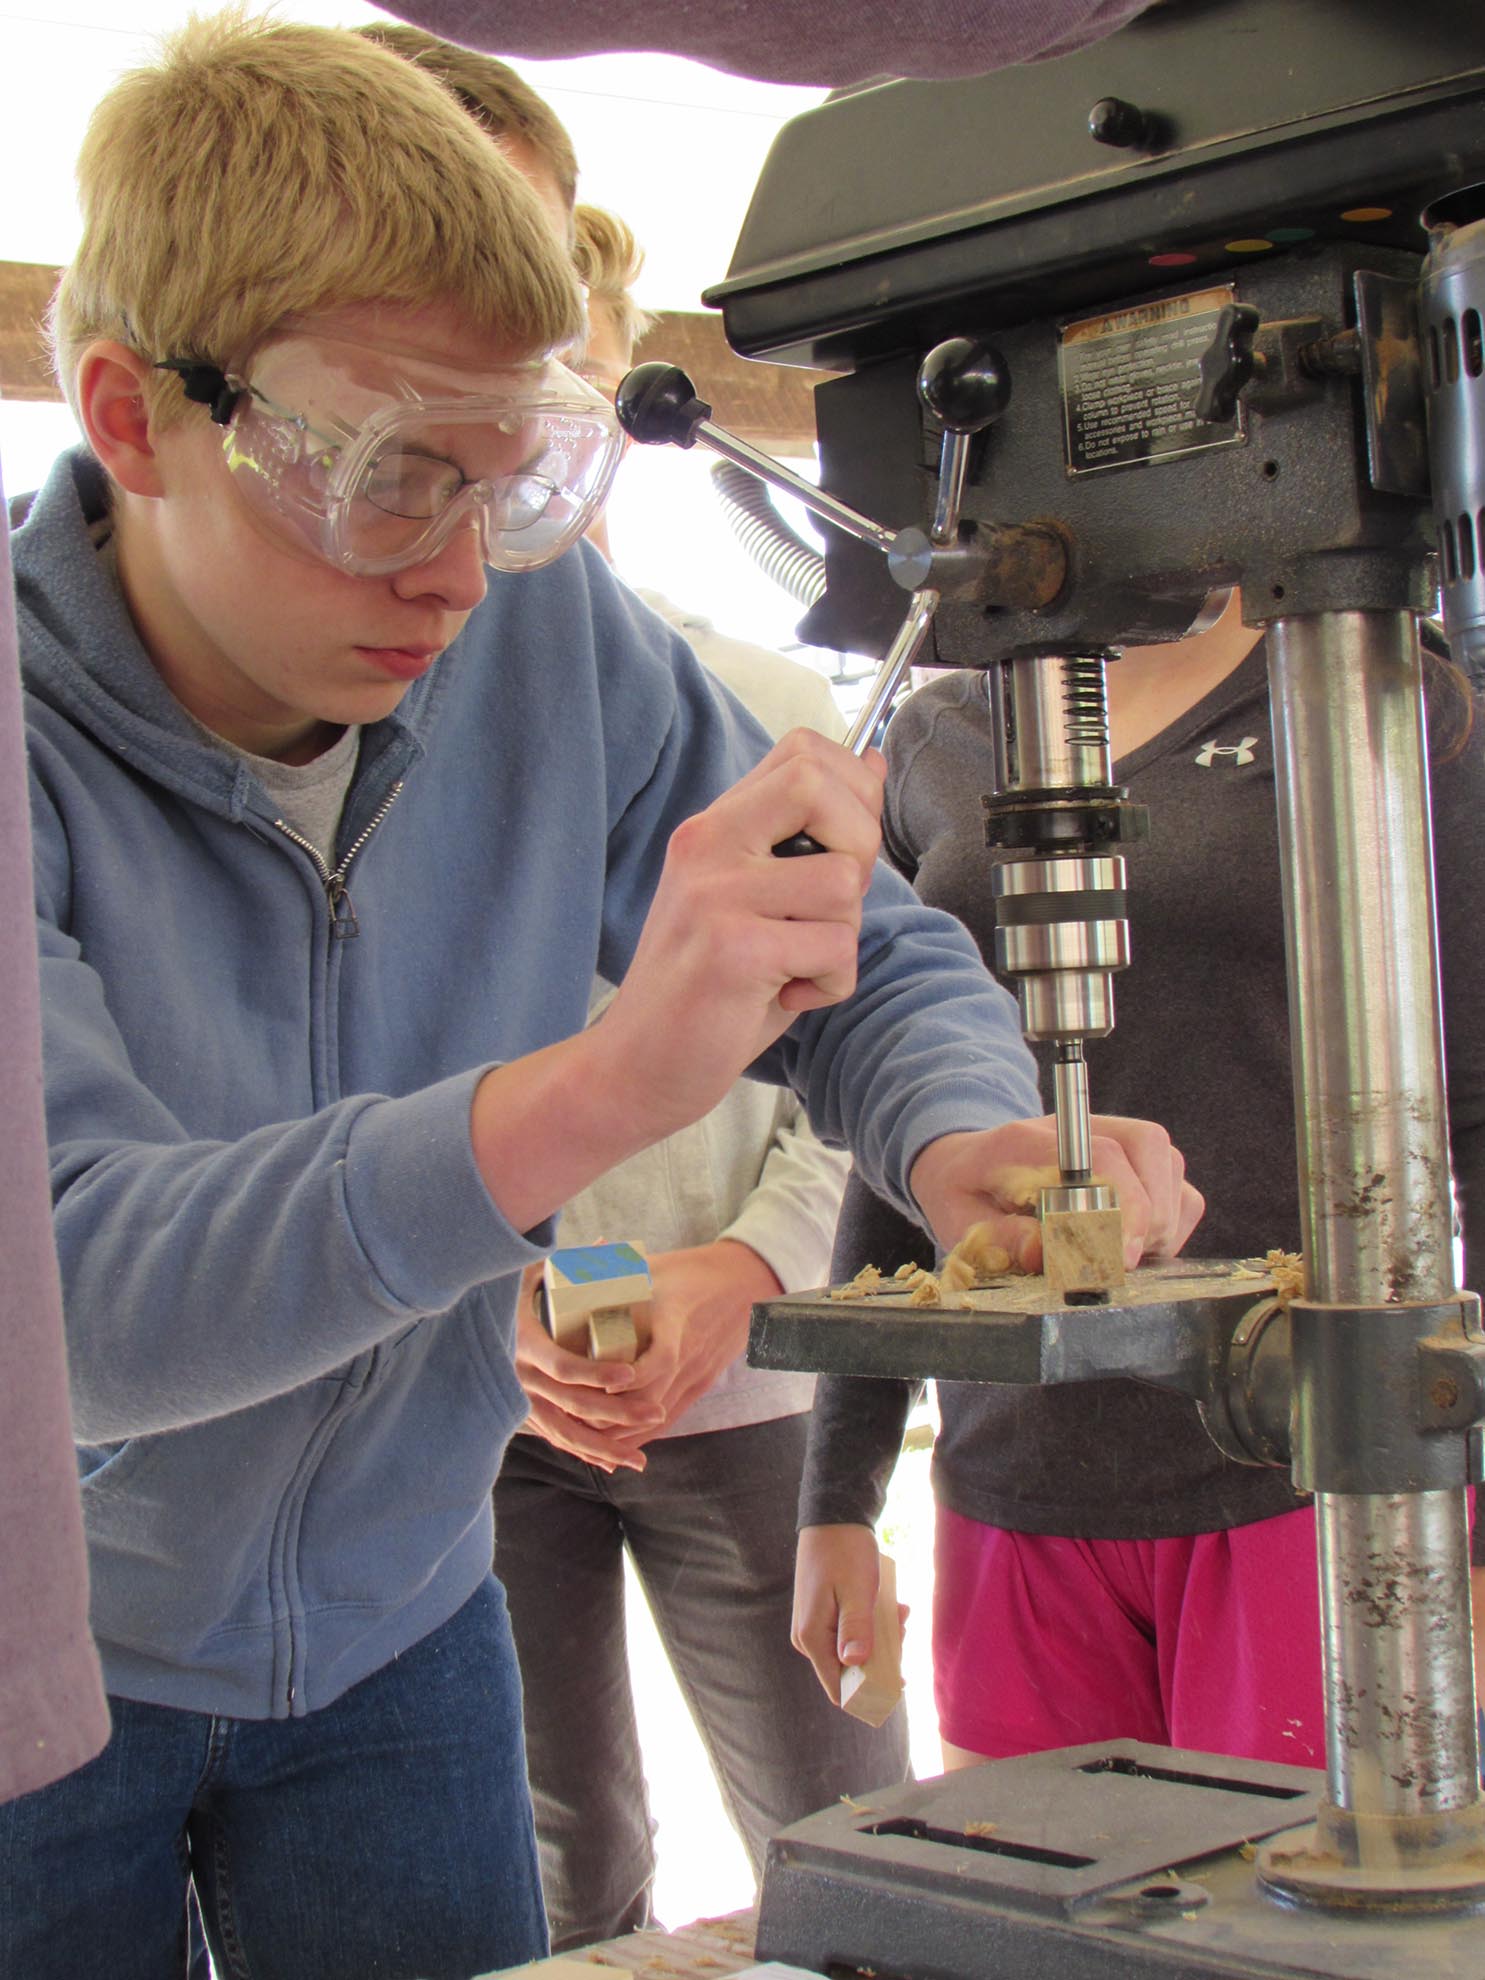
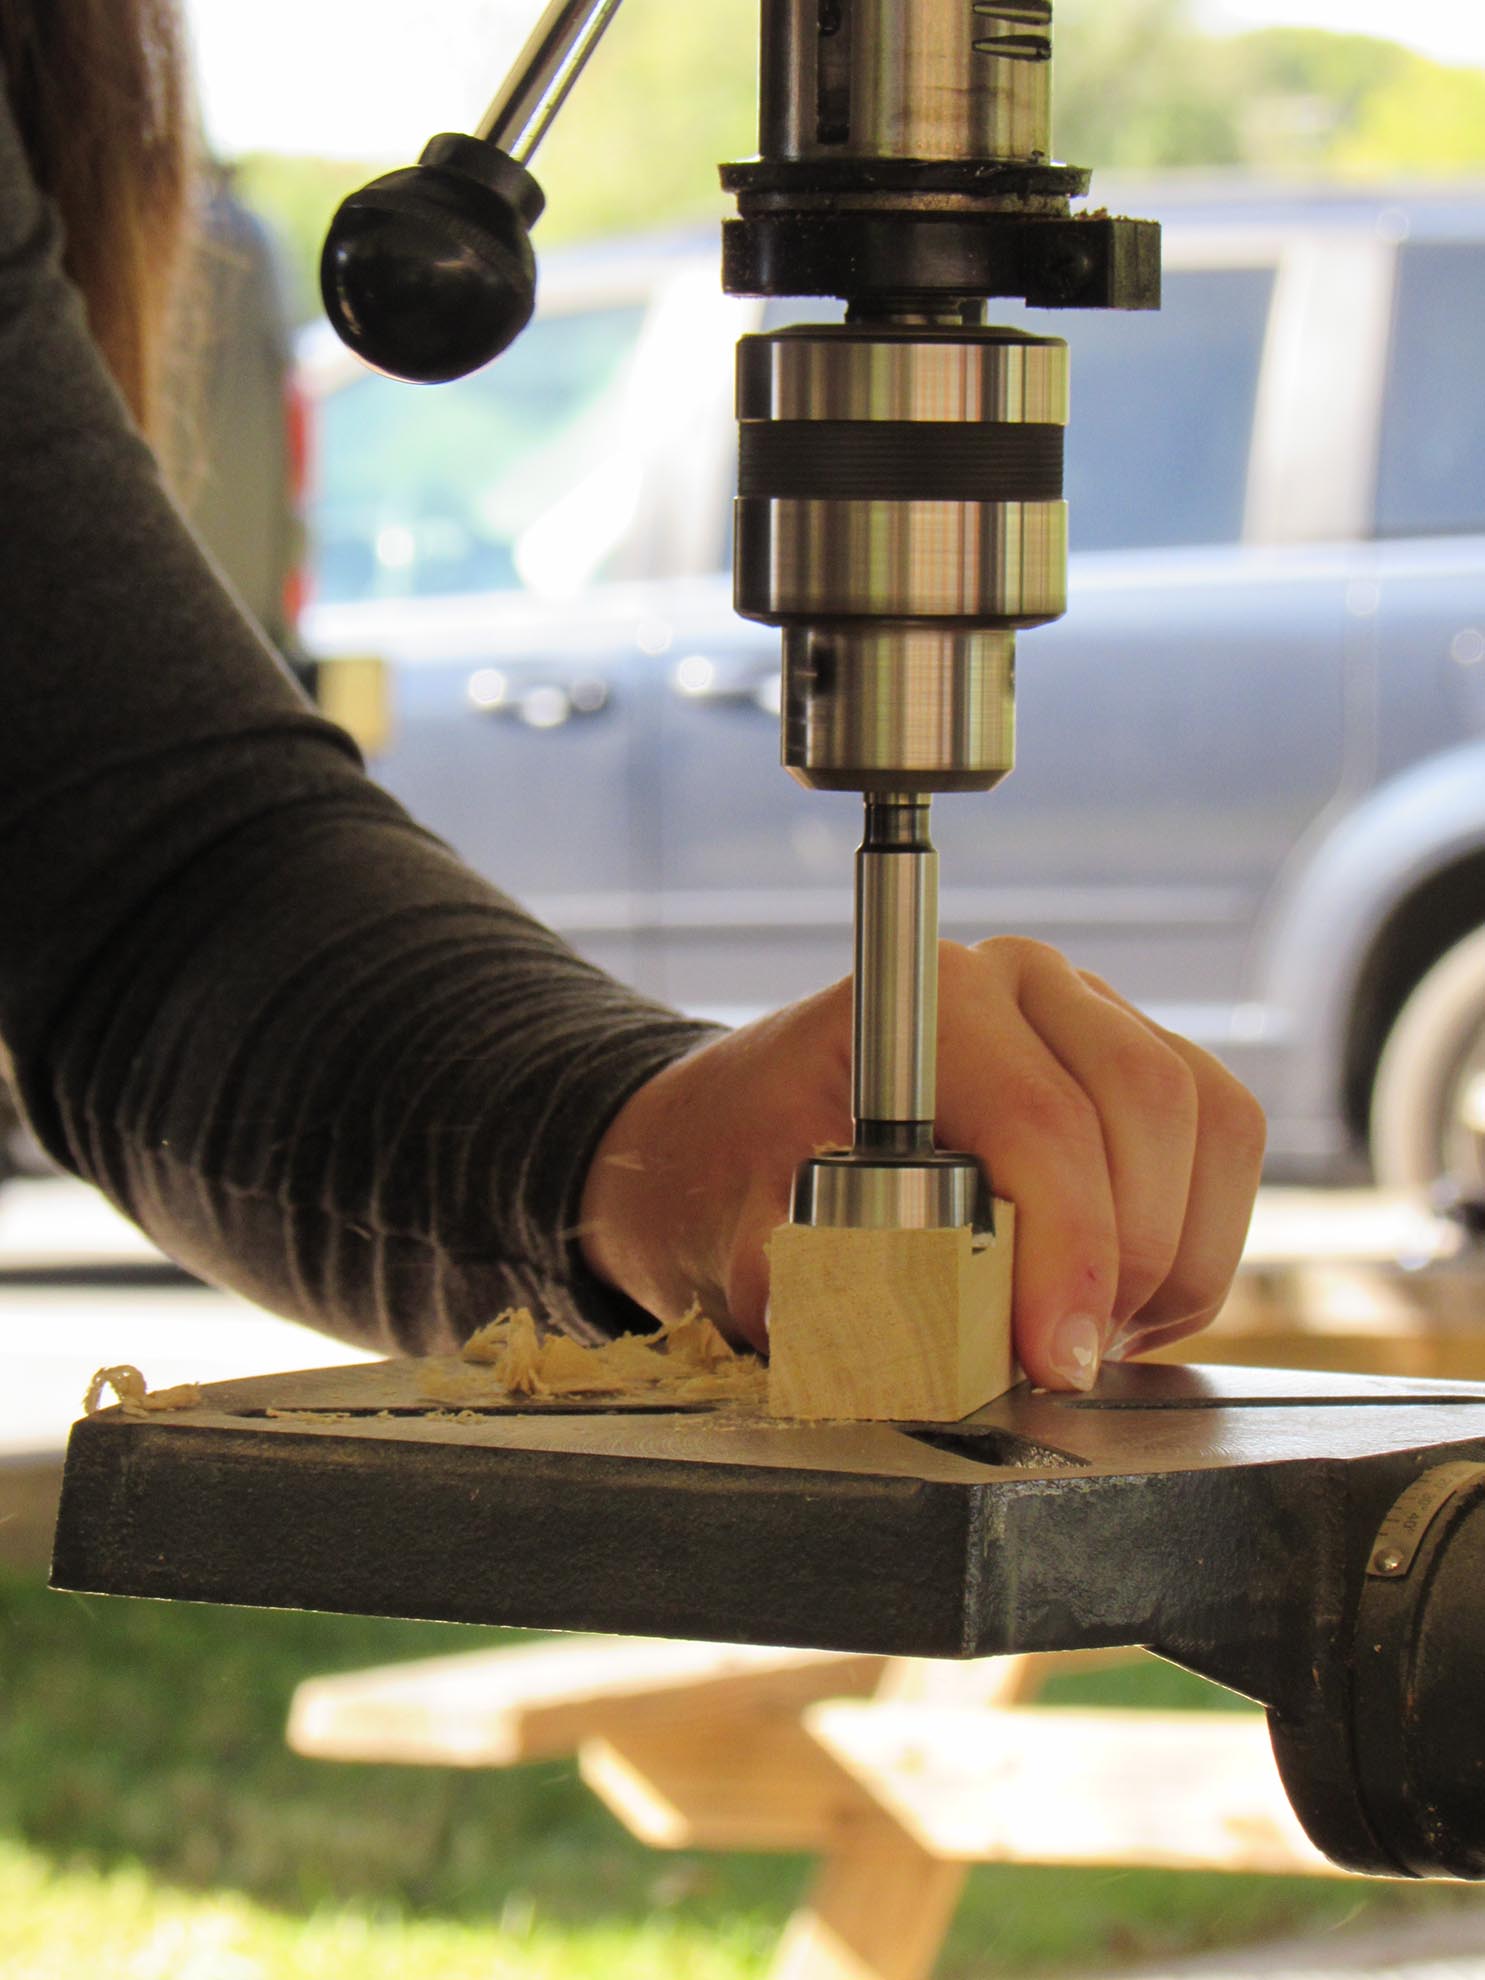
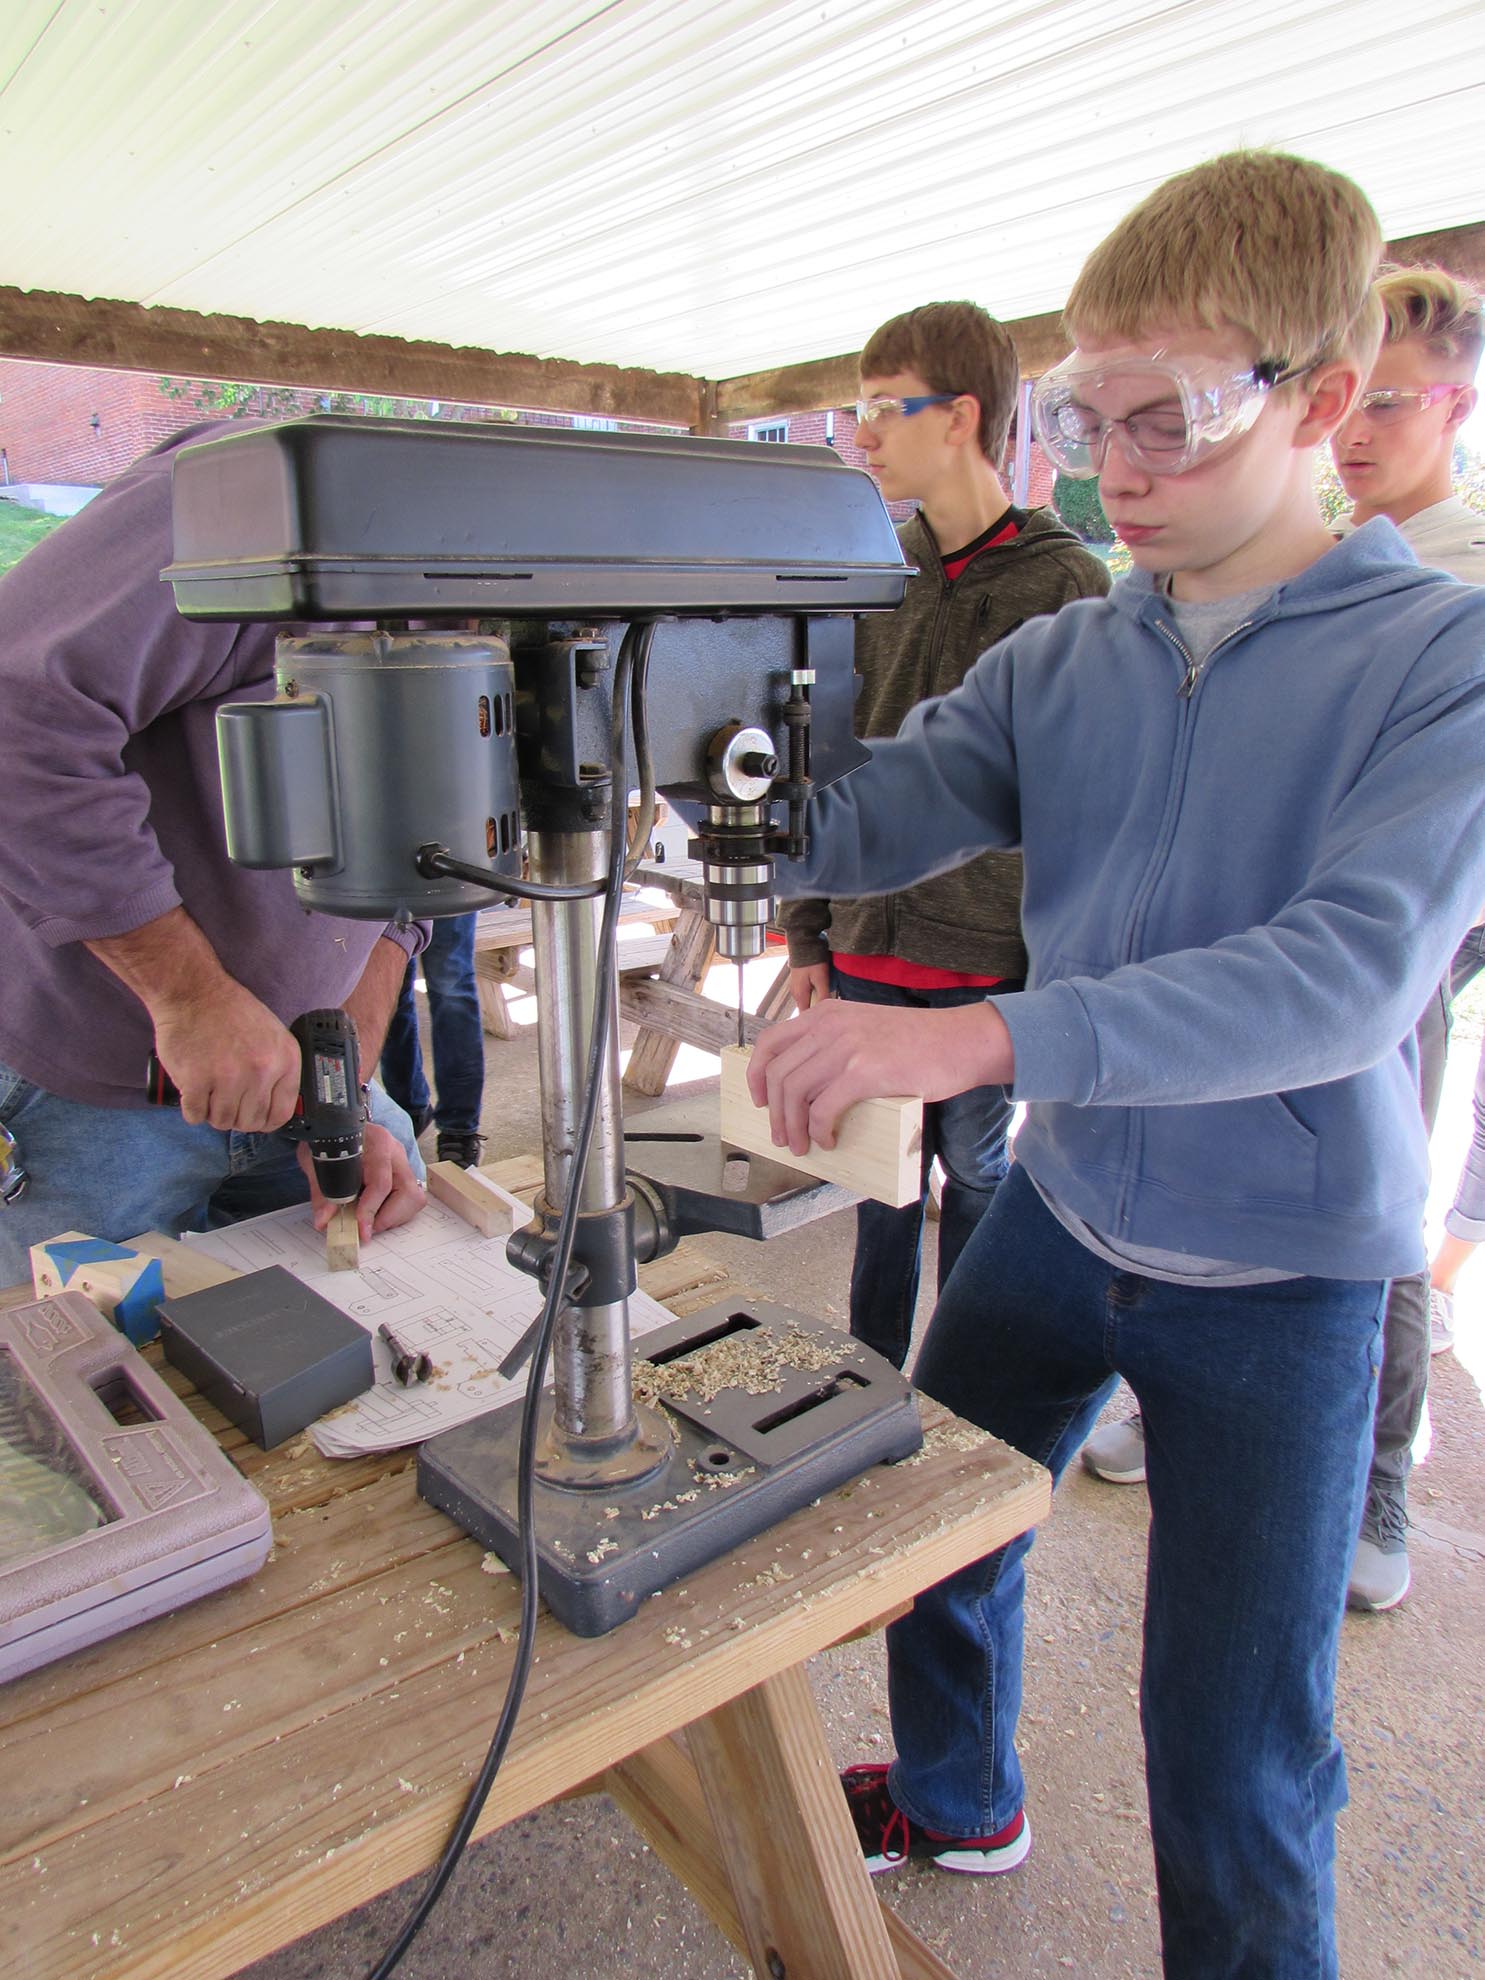
With all the holes laid out, I showed them how to install a bit and set the depth stop, on the drill press.


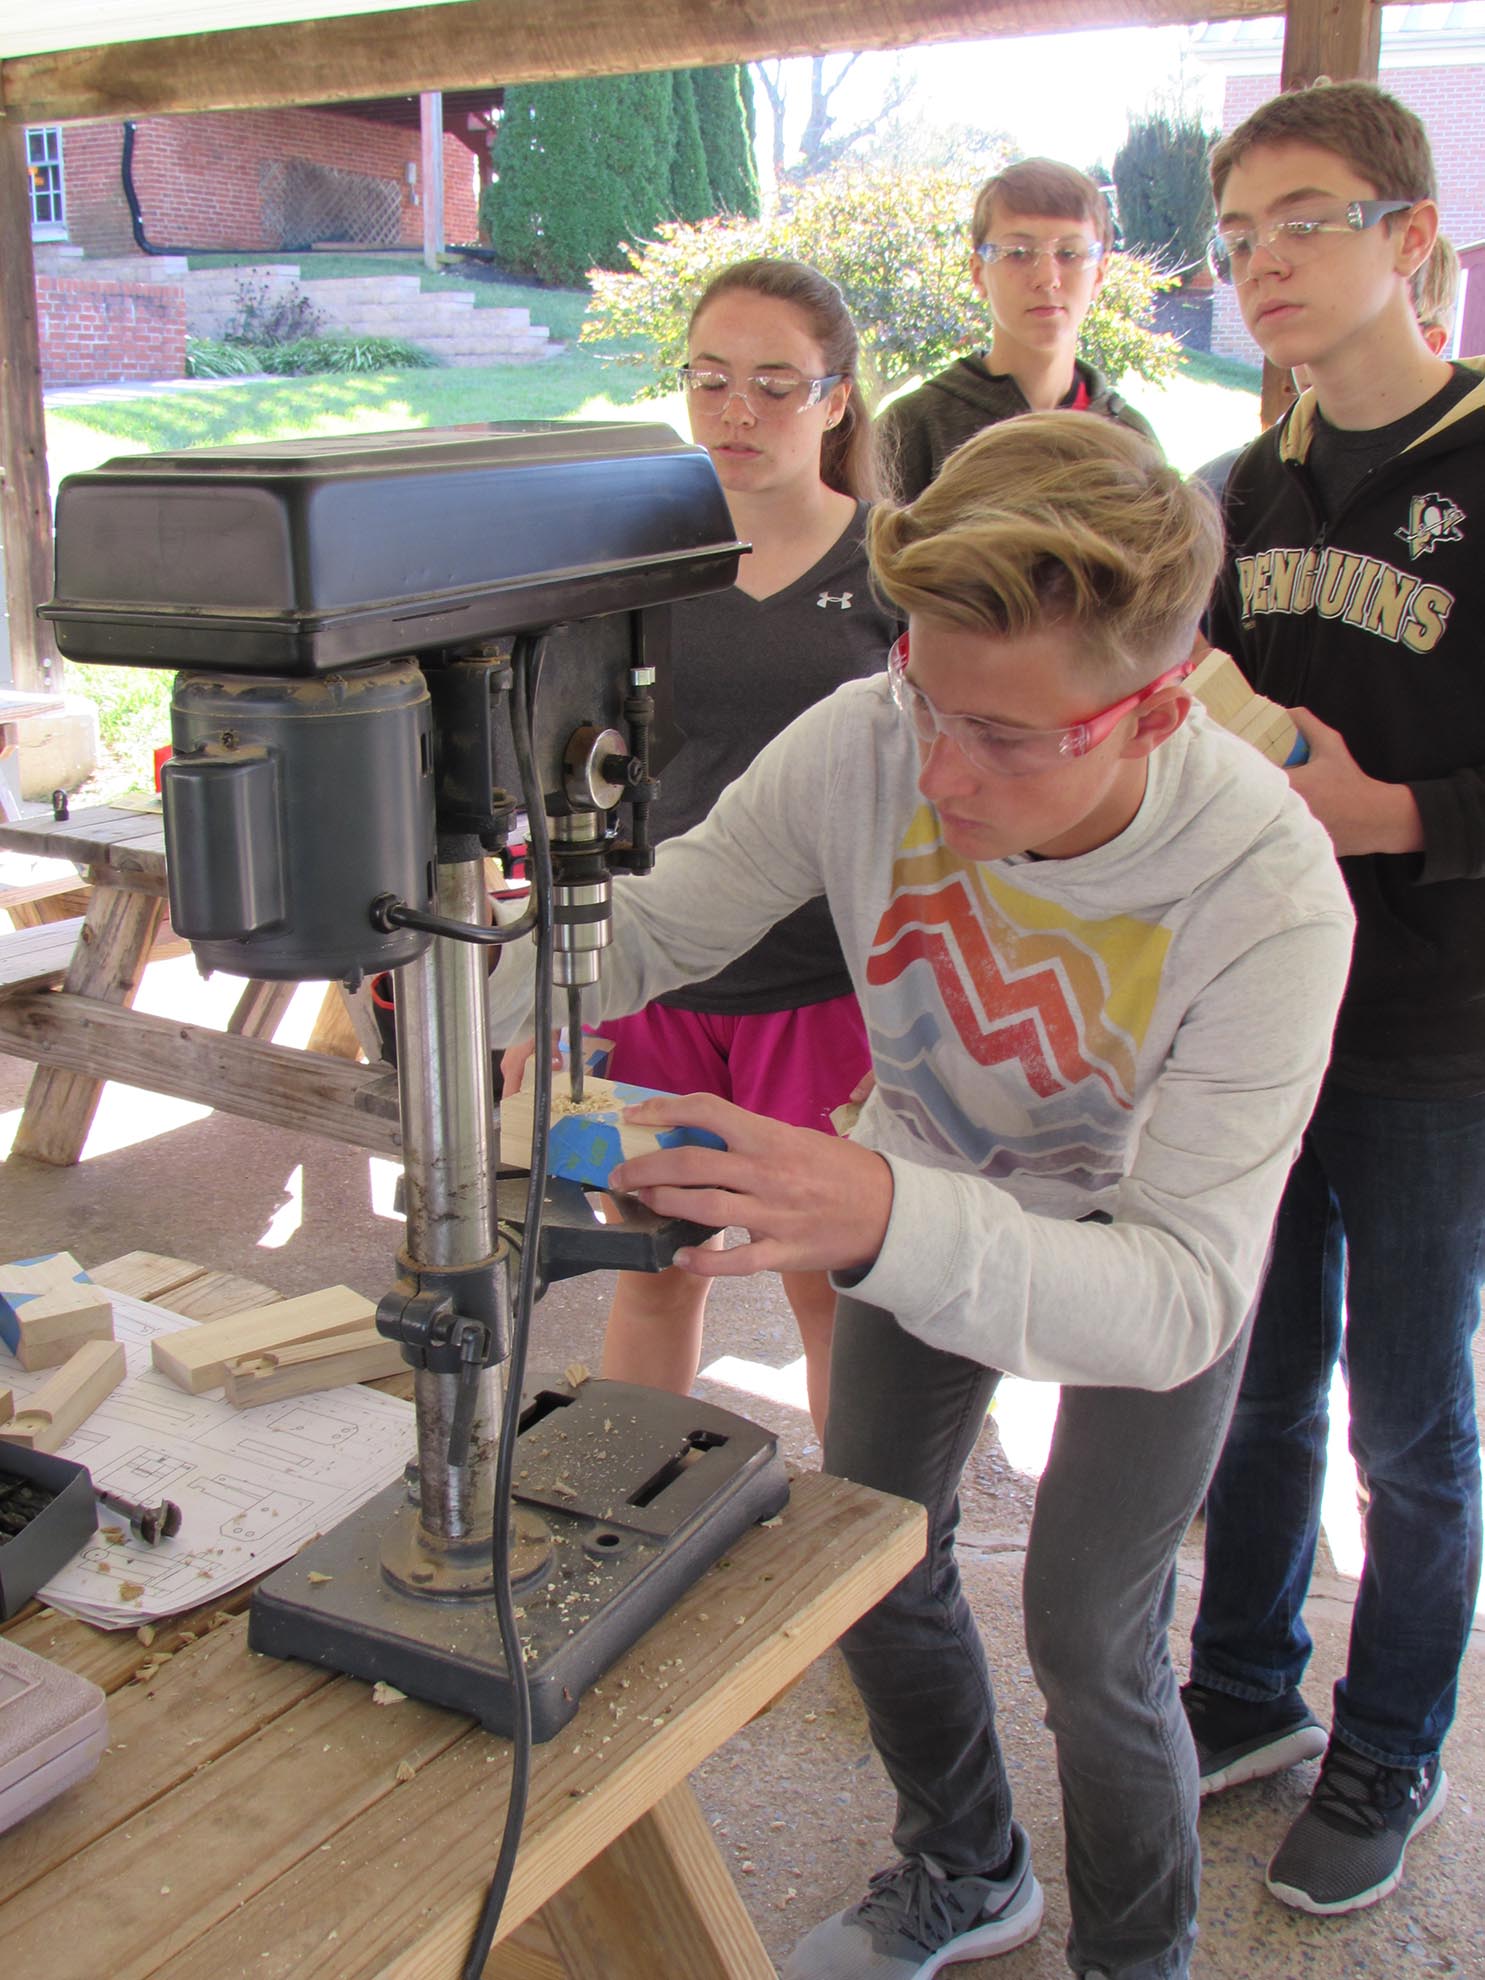
And away they went, drilling out the pocket for the marshmallow.


Then we moved on to the two different hole sizes in the sides. We taped both sides together for this operation to save having to layout a second side, as well as making sure the holes were perfectly aligned. This was something I learned on my first prototype. The holes have to be perfectly aligned, and the dowels have to be installed, during the glue-up for everything to be in perfect alignment.


Izzy flew through her pen, while bouncing back and forth to the drill press.


After all of the holes were drilled, we moved over to the Moxon vise, and started cutting out the slot in the base. I intended to have them drill a hole at the bottom of the slot, to cut down to, but we ran out of time. I had them cut both sides of the 1″ deep slot with a pull saw, and I will finish cleaning out the slot this week at home, so they can finish assembling their catapults next week at our last class.

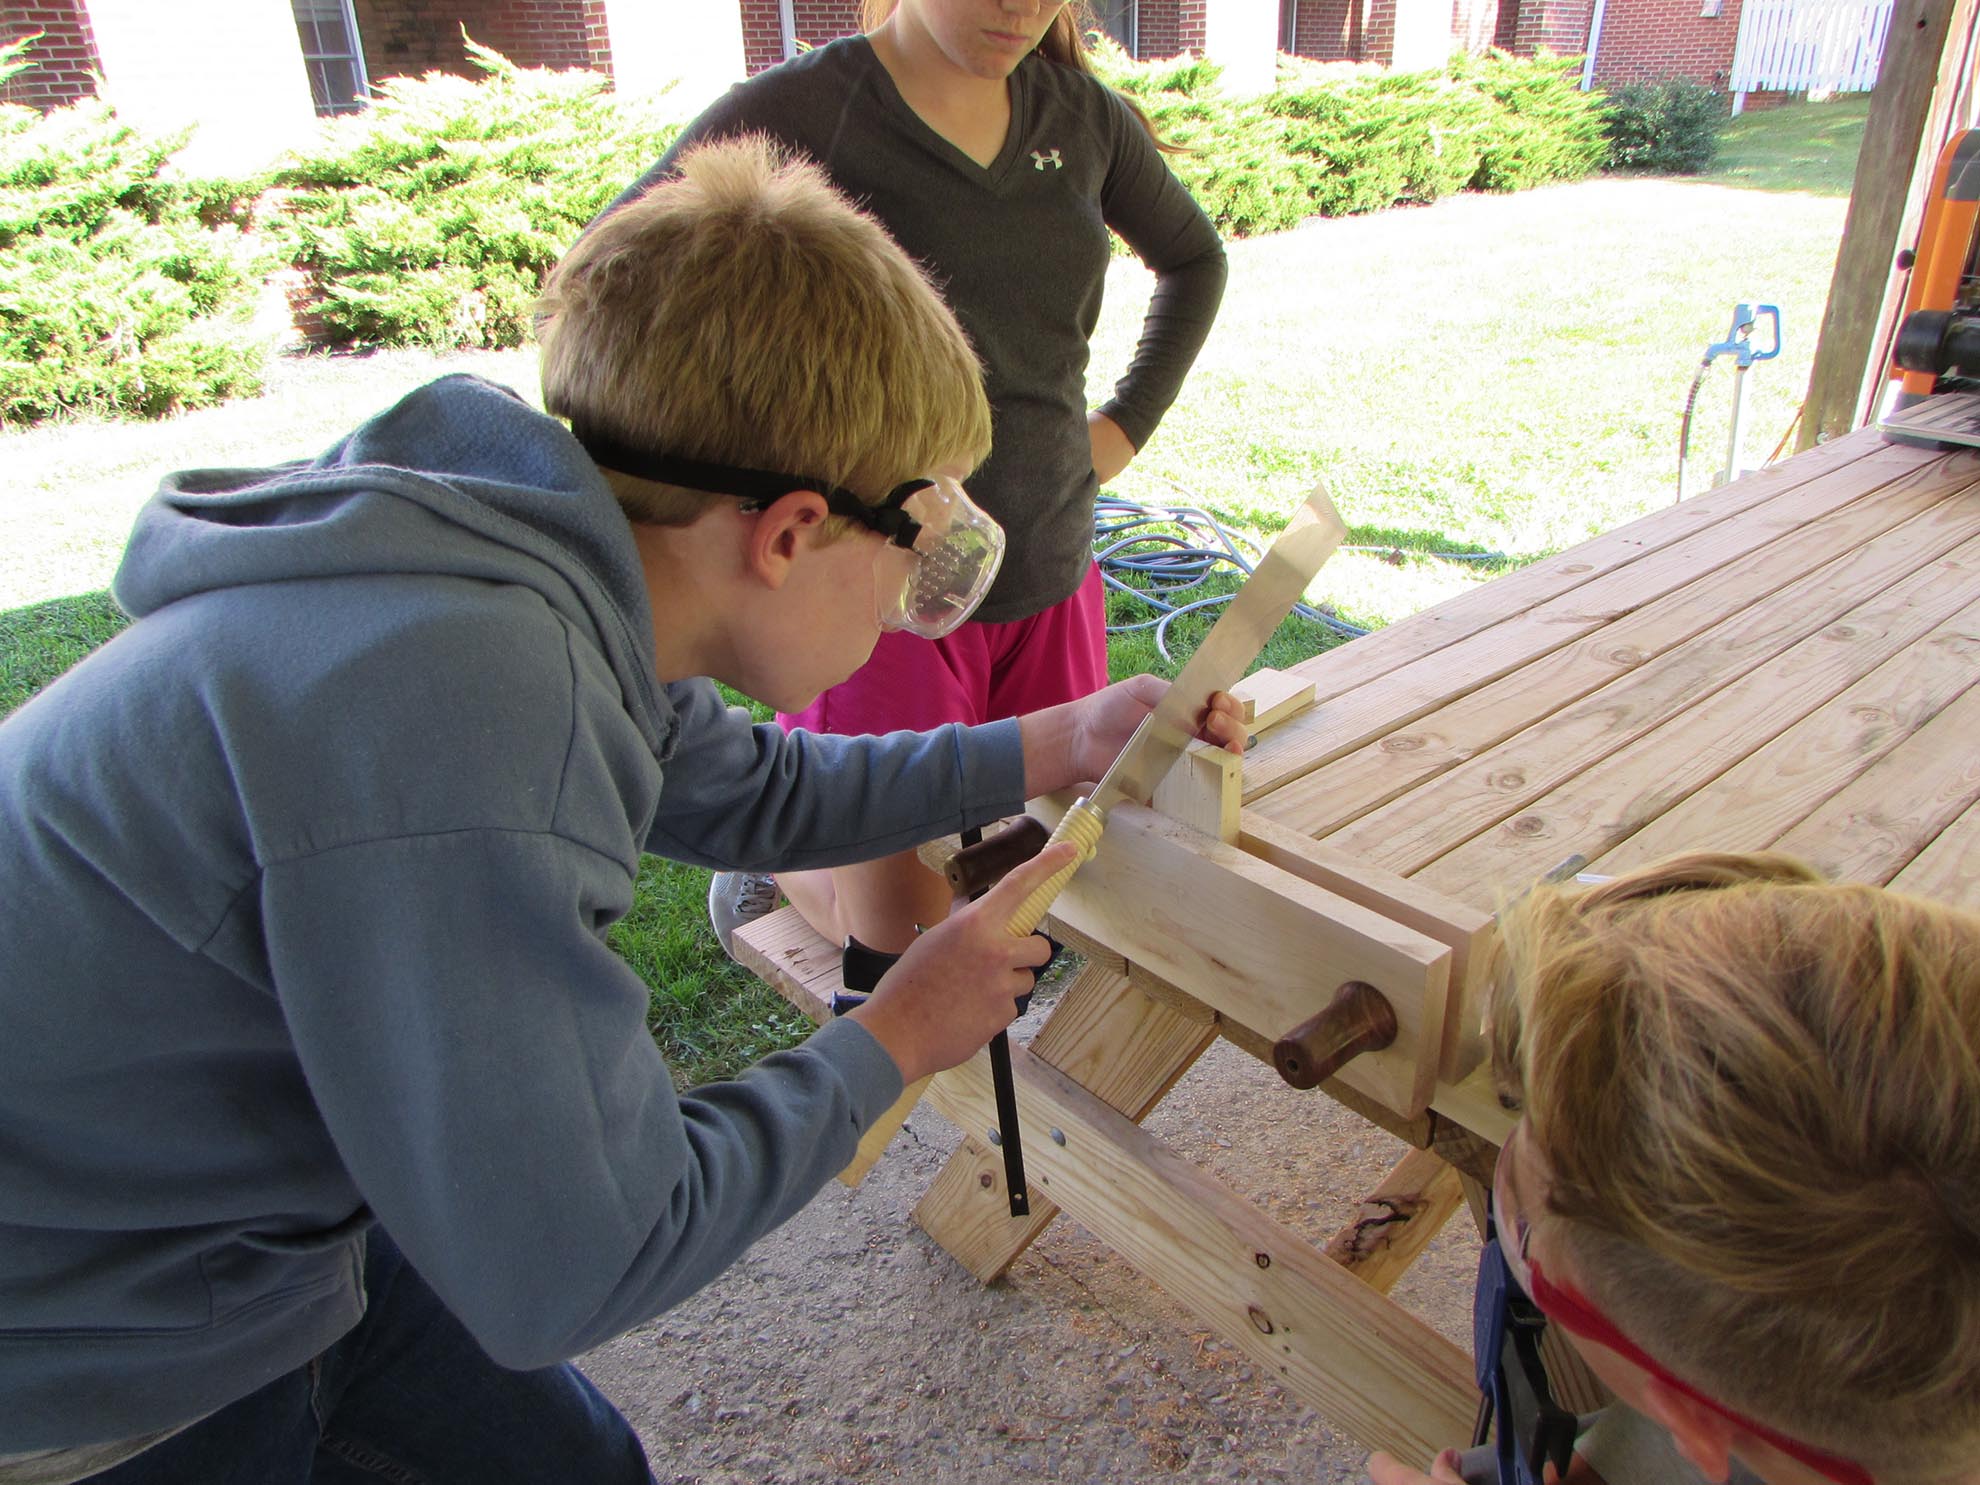
Everybody got to use the saw to cut their slots, but we ran out of time to do anything else.

After my class got packed up and went home, my wife and son stayed behind to put the first coat of polyurethane on the picture frame, while I cleaned up. I dropped by a day or two later to put on the second coat so it should be ready to hang up for the final class, next week.

