
Winter recap
First off, sorry I haven’t posted anything in a couple of months. I have been busy, but not all that much in the shop. I started a project back in December that consumed a lot of my evenings. I built a covered back porch. I have had a lot of problems with water coming in around my back doors and I wanted to permanently fix the problem, so instead of installing storm doors, I built a porch instead. I also had some septic repair work done so I now have a large manhole where my deck used to be. I also wanted to cover that with a more attractive access.
I didn’t document a lot of the process since it was winter so most of the work was done under flood lights, not so good for photography… I did take a few pics as I went along though.
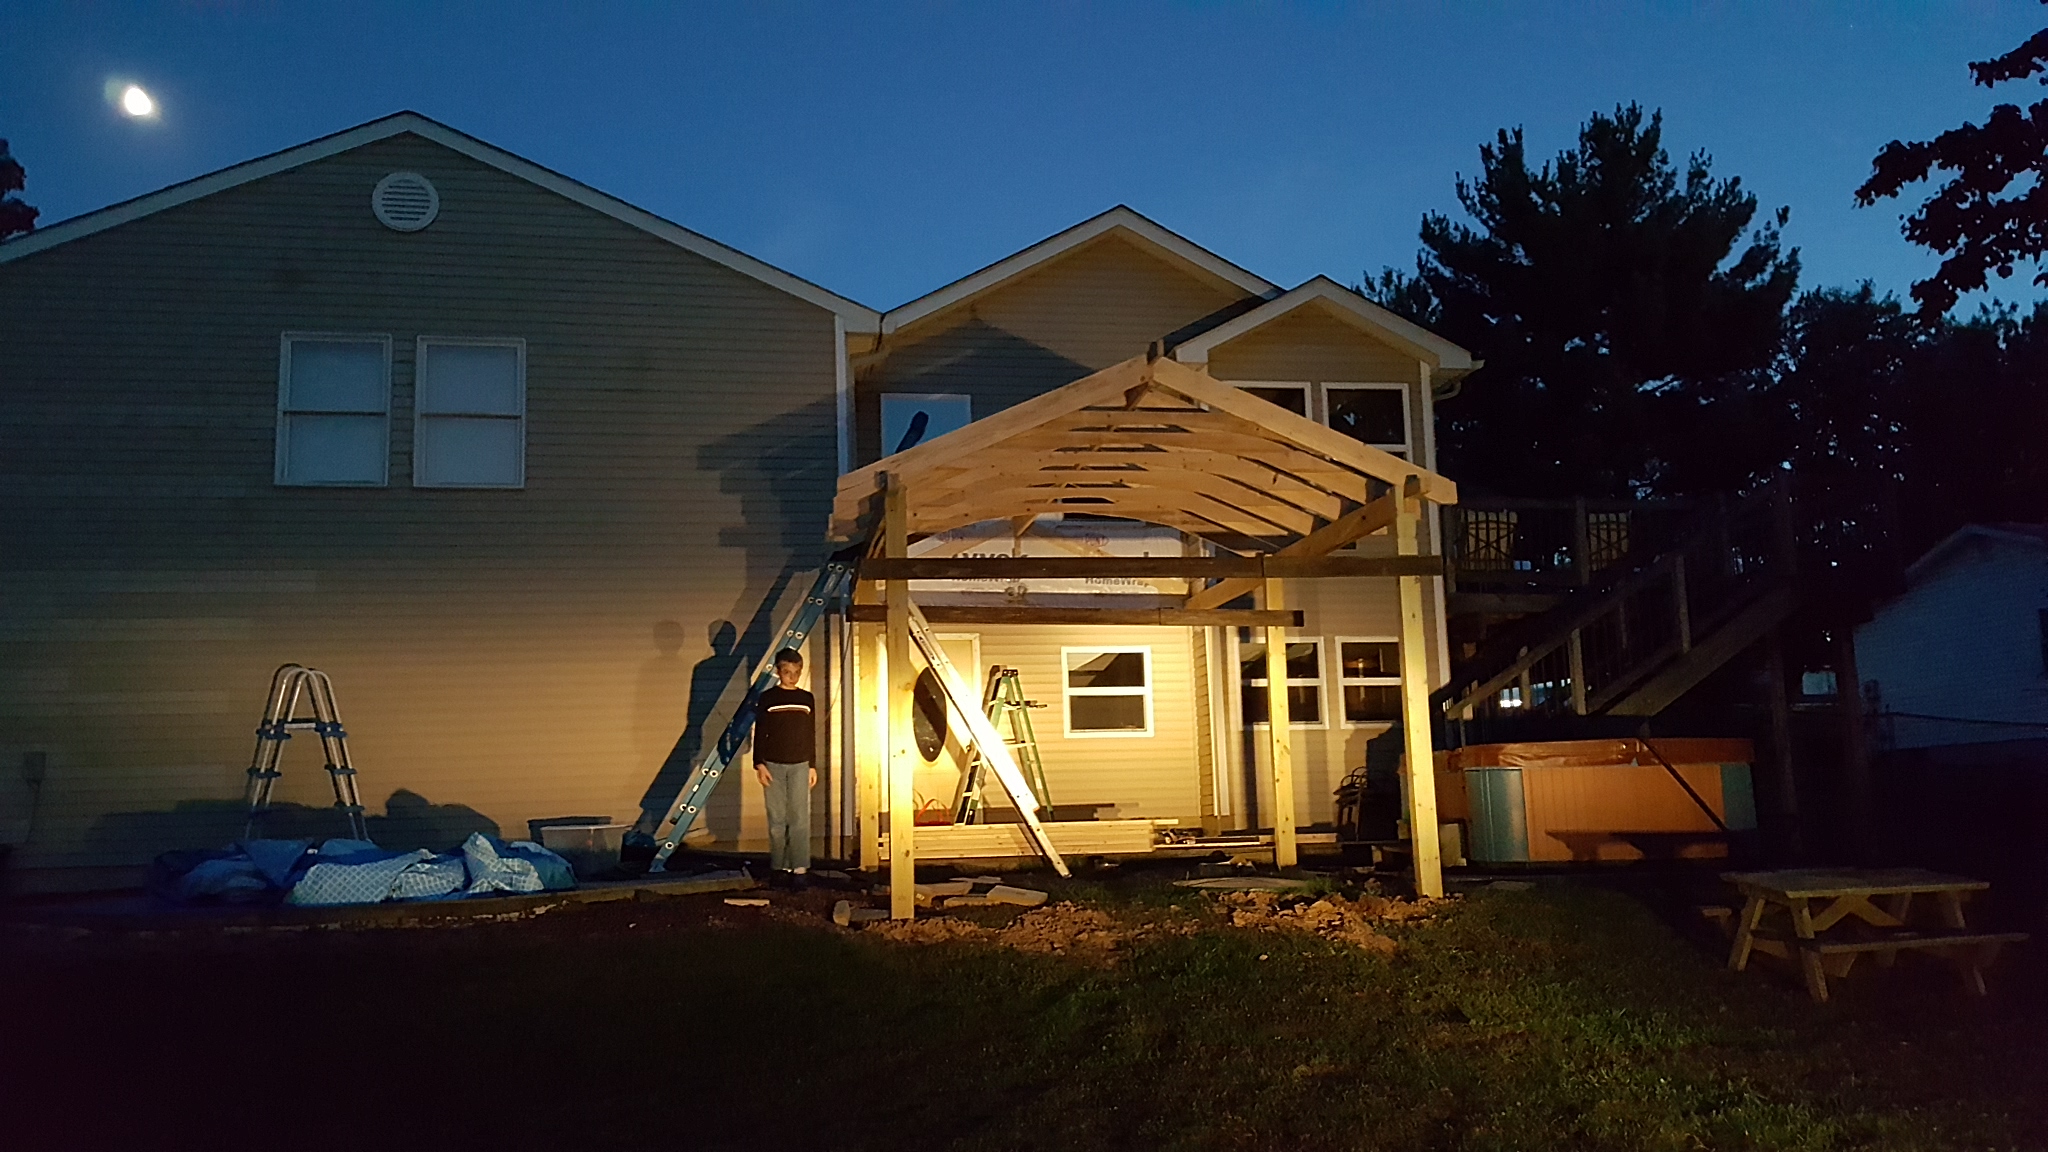
I laid out and pre-cut all the rafters and collar ties in my garage. That gave me both light and heat, two things in short supply in winter. I set the posts and beams very carefully making sure everything was square and plumb (critical). I got my taller son Ian to help me set the ridge beam, then I was easily able to drop all of the rafters in place. The collar ties started out as 2″x12″ boards, then I cut a 14′ arc across them, leaving 3″ of material at the top. I marked their locations on the rafters before I installed them.

After all the rafters were in place, I installed the plywood and shingles.
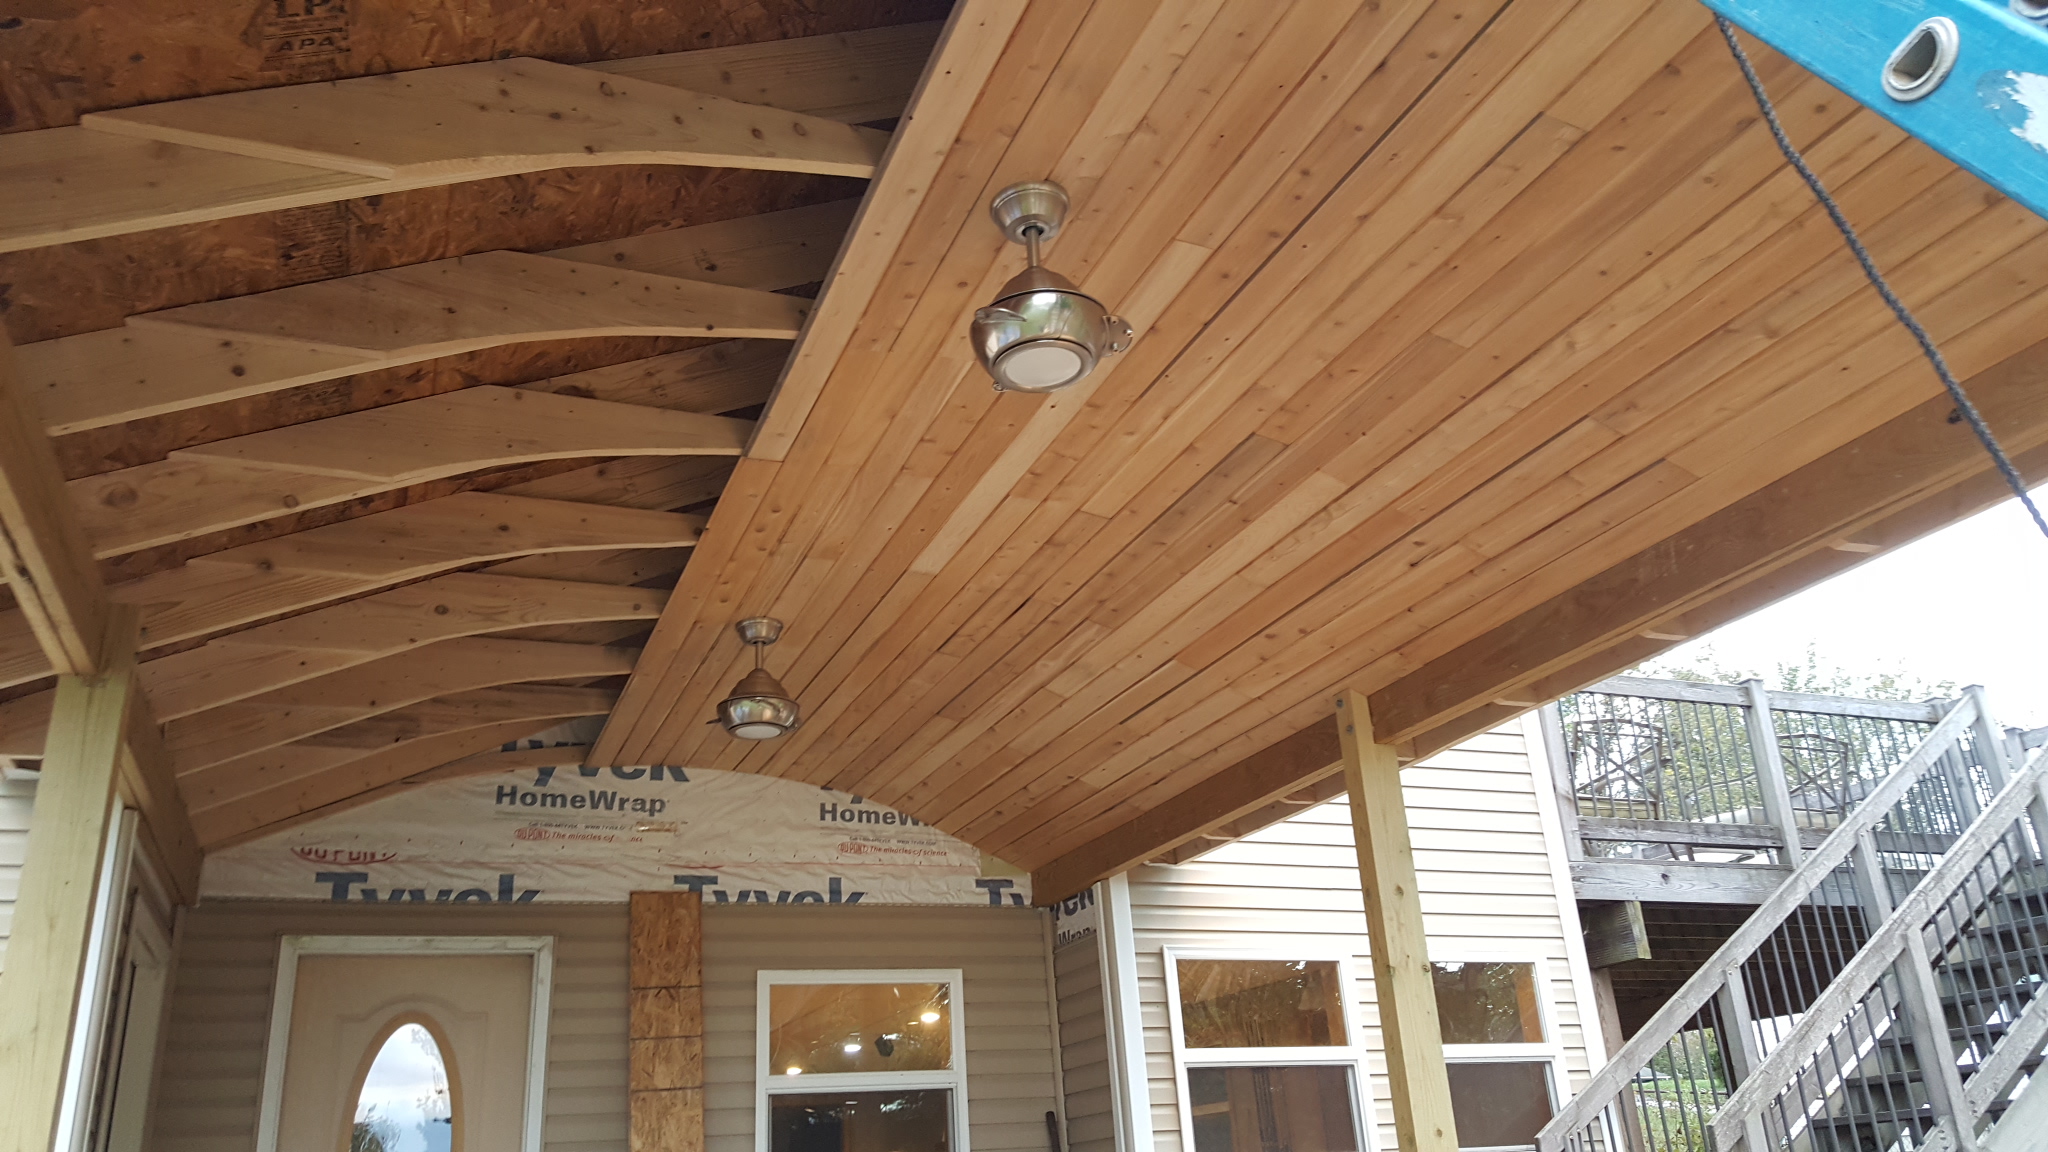
With the top weather-tight, I started on the ceiling. I was using 3/4″ T&G cedar siding. A friend of mine had a bunch left over from building his log home, that had been sitting outside for a few years, housing stink bugs and turning grey. A quick pass through the planer, removing 1/32″ from each side, left the cedar clean and pretty again. I started in the center of the ceiling with the tongues facing the right. When I finished the right side, I cut a 1/4″ thick strip and inserted it in the groove, and created a new tongue to the left so I could install the left side in the opposite direction. It turned out very nicely and when I had a warm enough day, I re-installed the siding up along the curve.

With the roof on, I could get to work rebuilding the deck around the manhole.

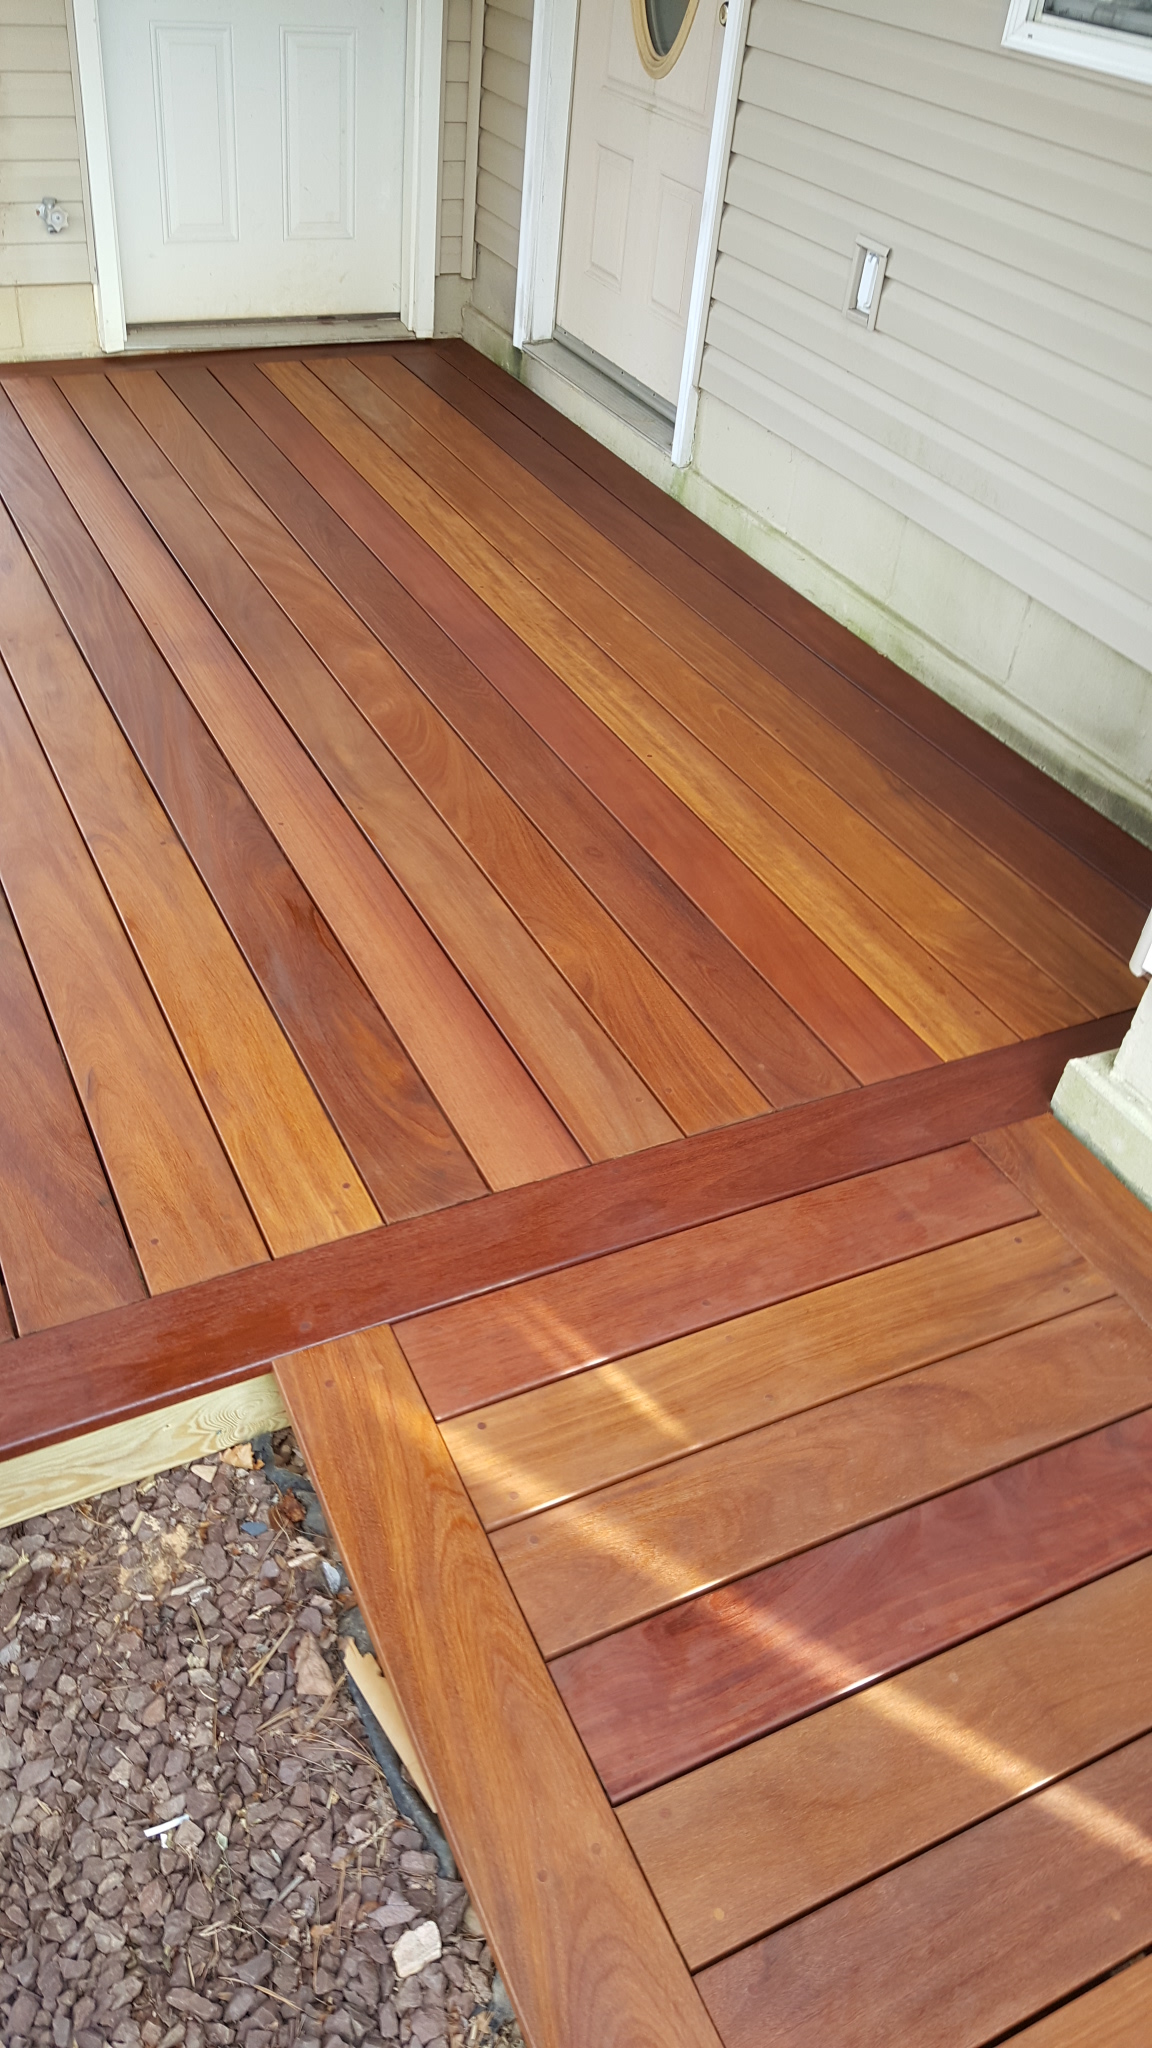
I decided to use Cumaru (Brazilian Teak). Beautiful stuff, and it should last 50 years without any chemicals or treatments, just an occasional coat of UV protect oil to prevent fading. I researched local sources for different South American rain forest woods, and they all told me to order it online. I went with Advantage Lumber. Decent pricing and free shipping, I had a better experience than I expected. The wood was top quality and they answered all my questions. Since it is so close to the ground, they recommended screwing it down and plugging the screw holes. I admit it looks great, but the wood was so hard that it took forever and I broke a lot of bits in the process.
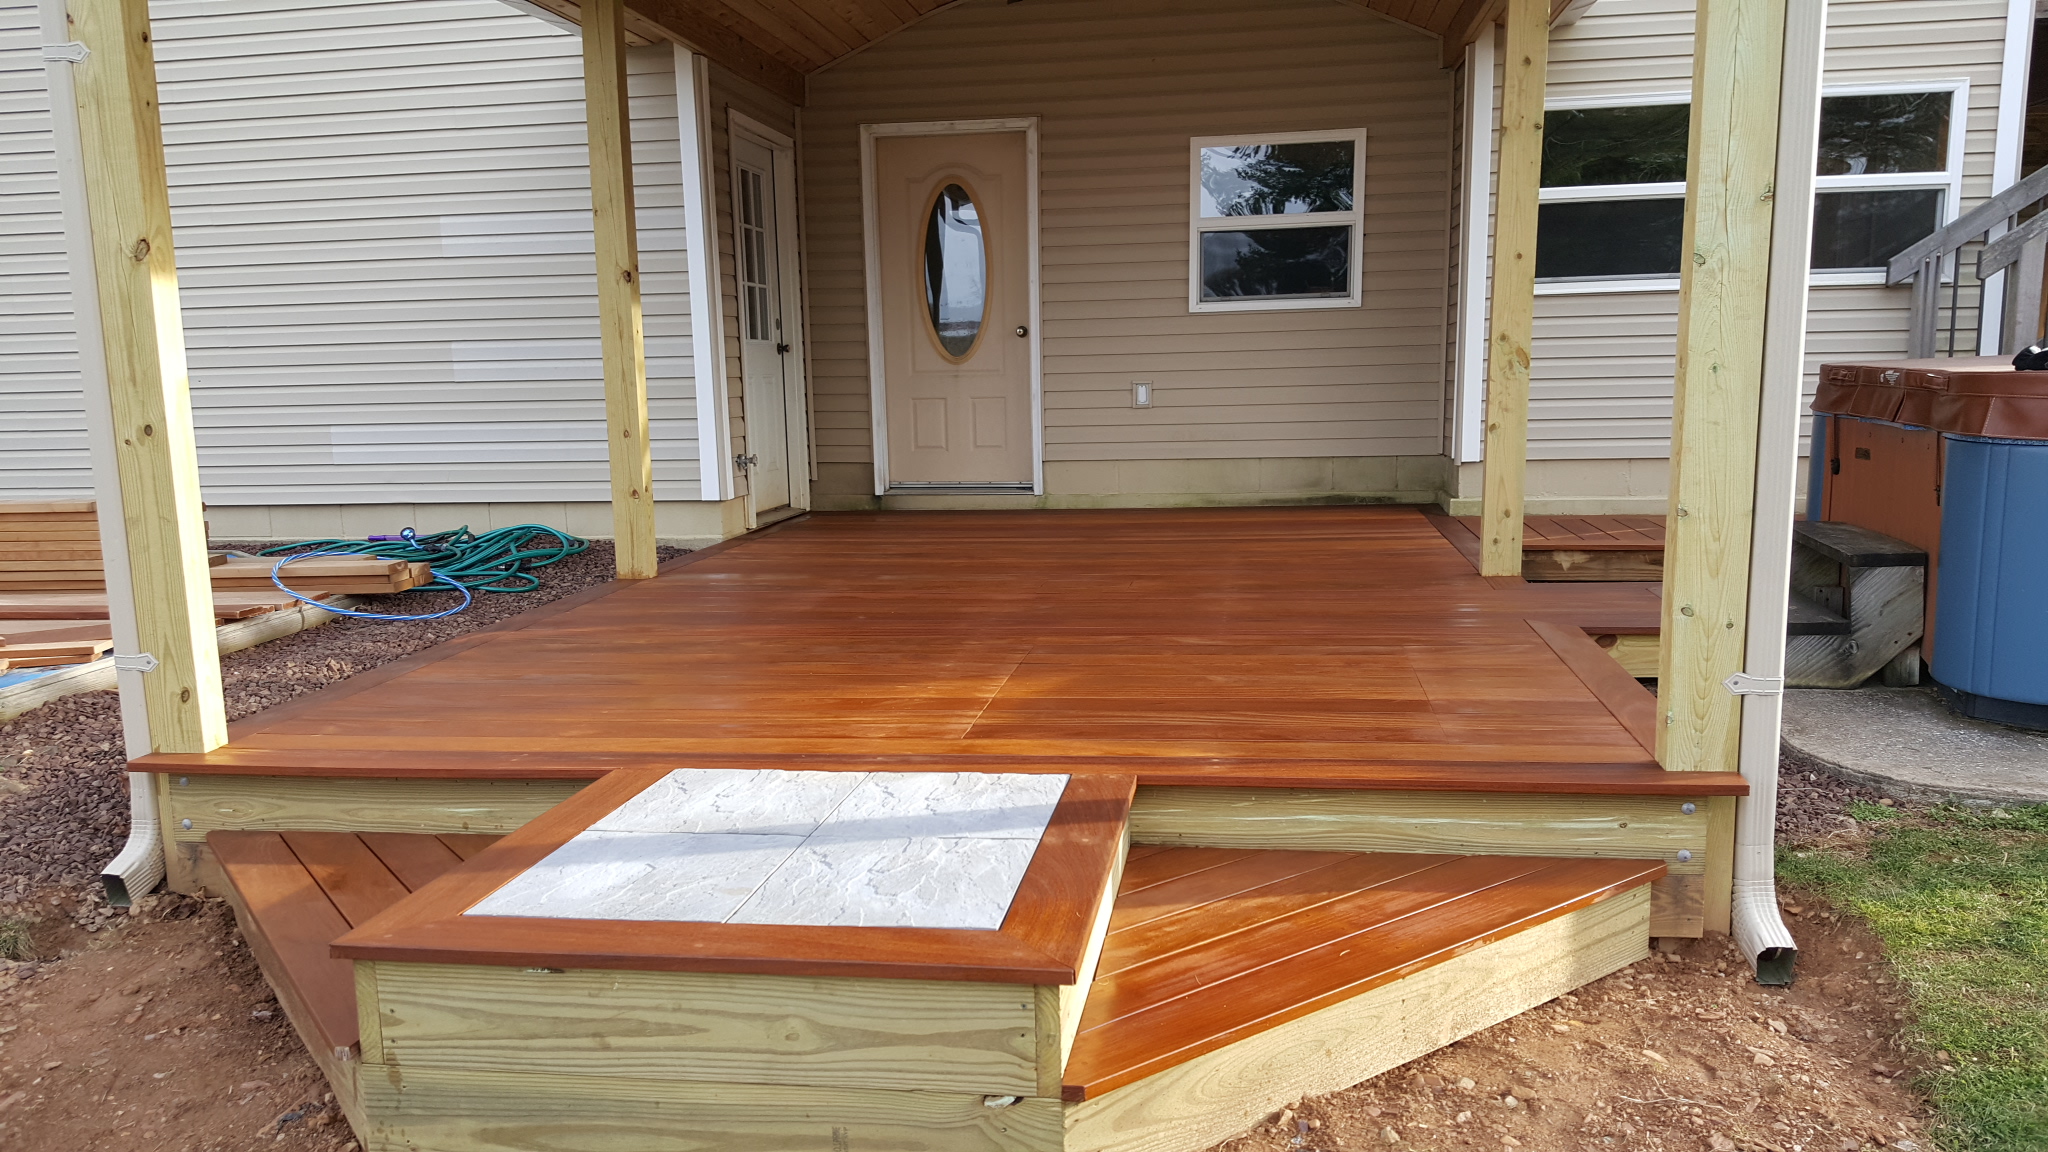
The finished product was well worth it, but I will think long and hard before replacing the rest of my decking to match it…
 I even added a little chimenea out at the end, beyond the roof overhang, so we can have a little ambiance and maybe make a smore or two.
One of the other big projects I have been working on, for the last couple of months, is helping my buddy Bryan gut his house and put on a big addition. I strongly recommend that you do this sort of thing in the Spring, Summer, or Fall. Winter sucks for outdoor work!

Bryan has a 118 year old, one bedroom house. He and his wife just had their second child this past weekend and they definitely need the extra bedrooms.


It has been an interesting project, especially working in 20 degree weather.
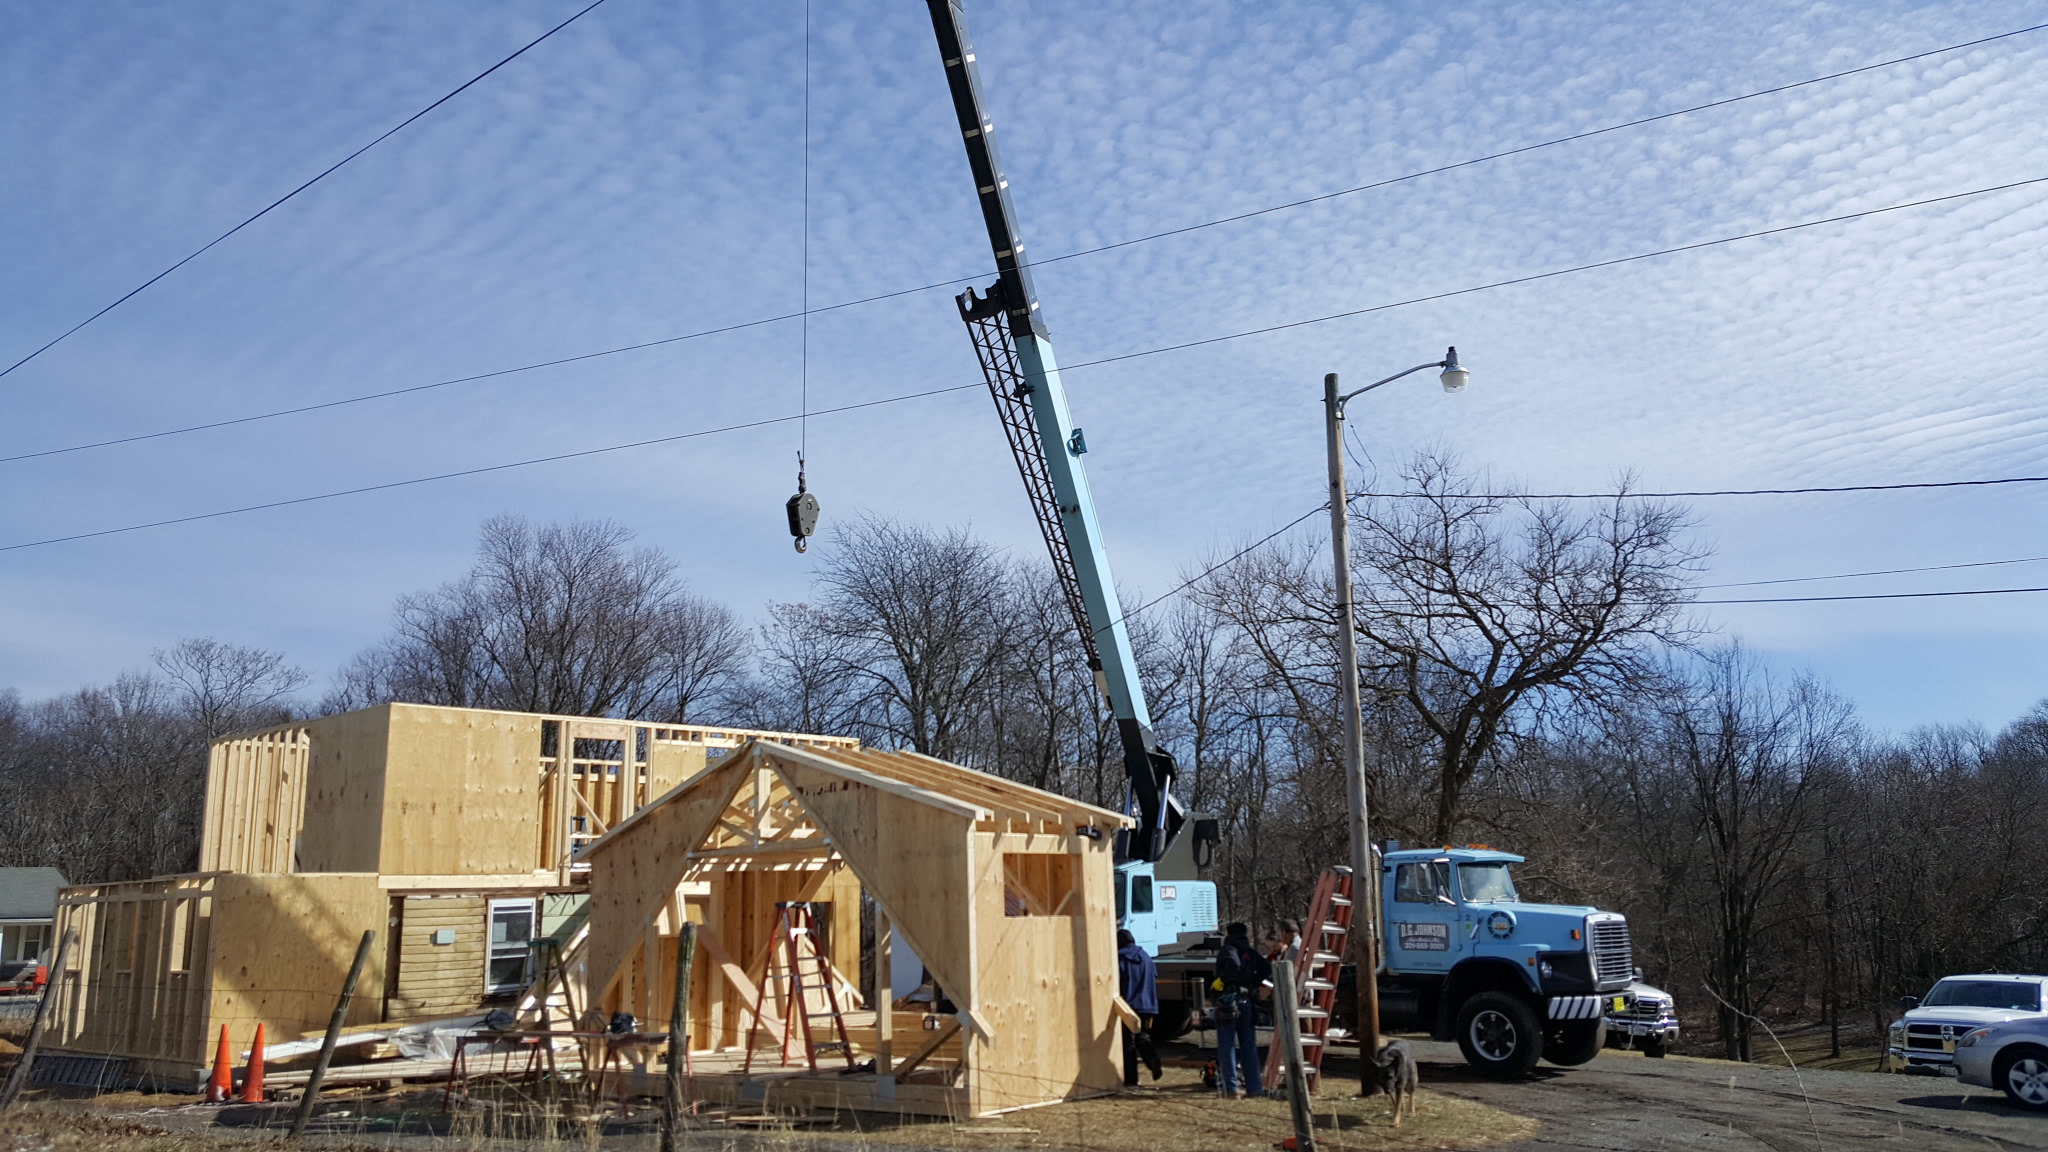
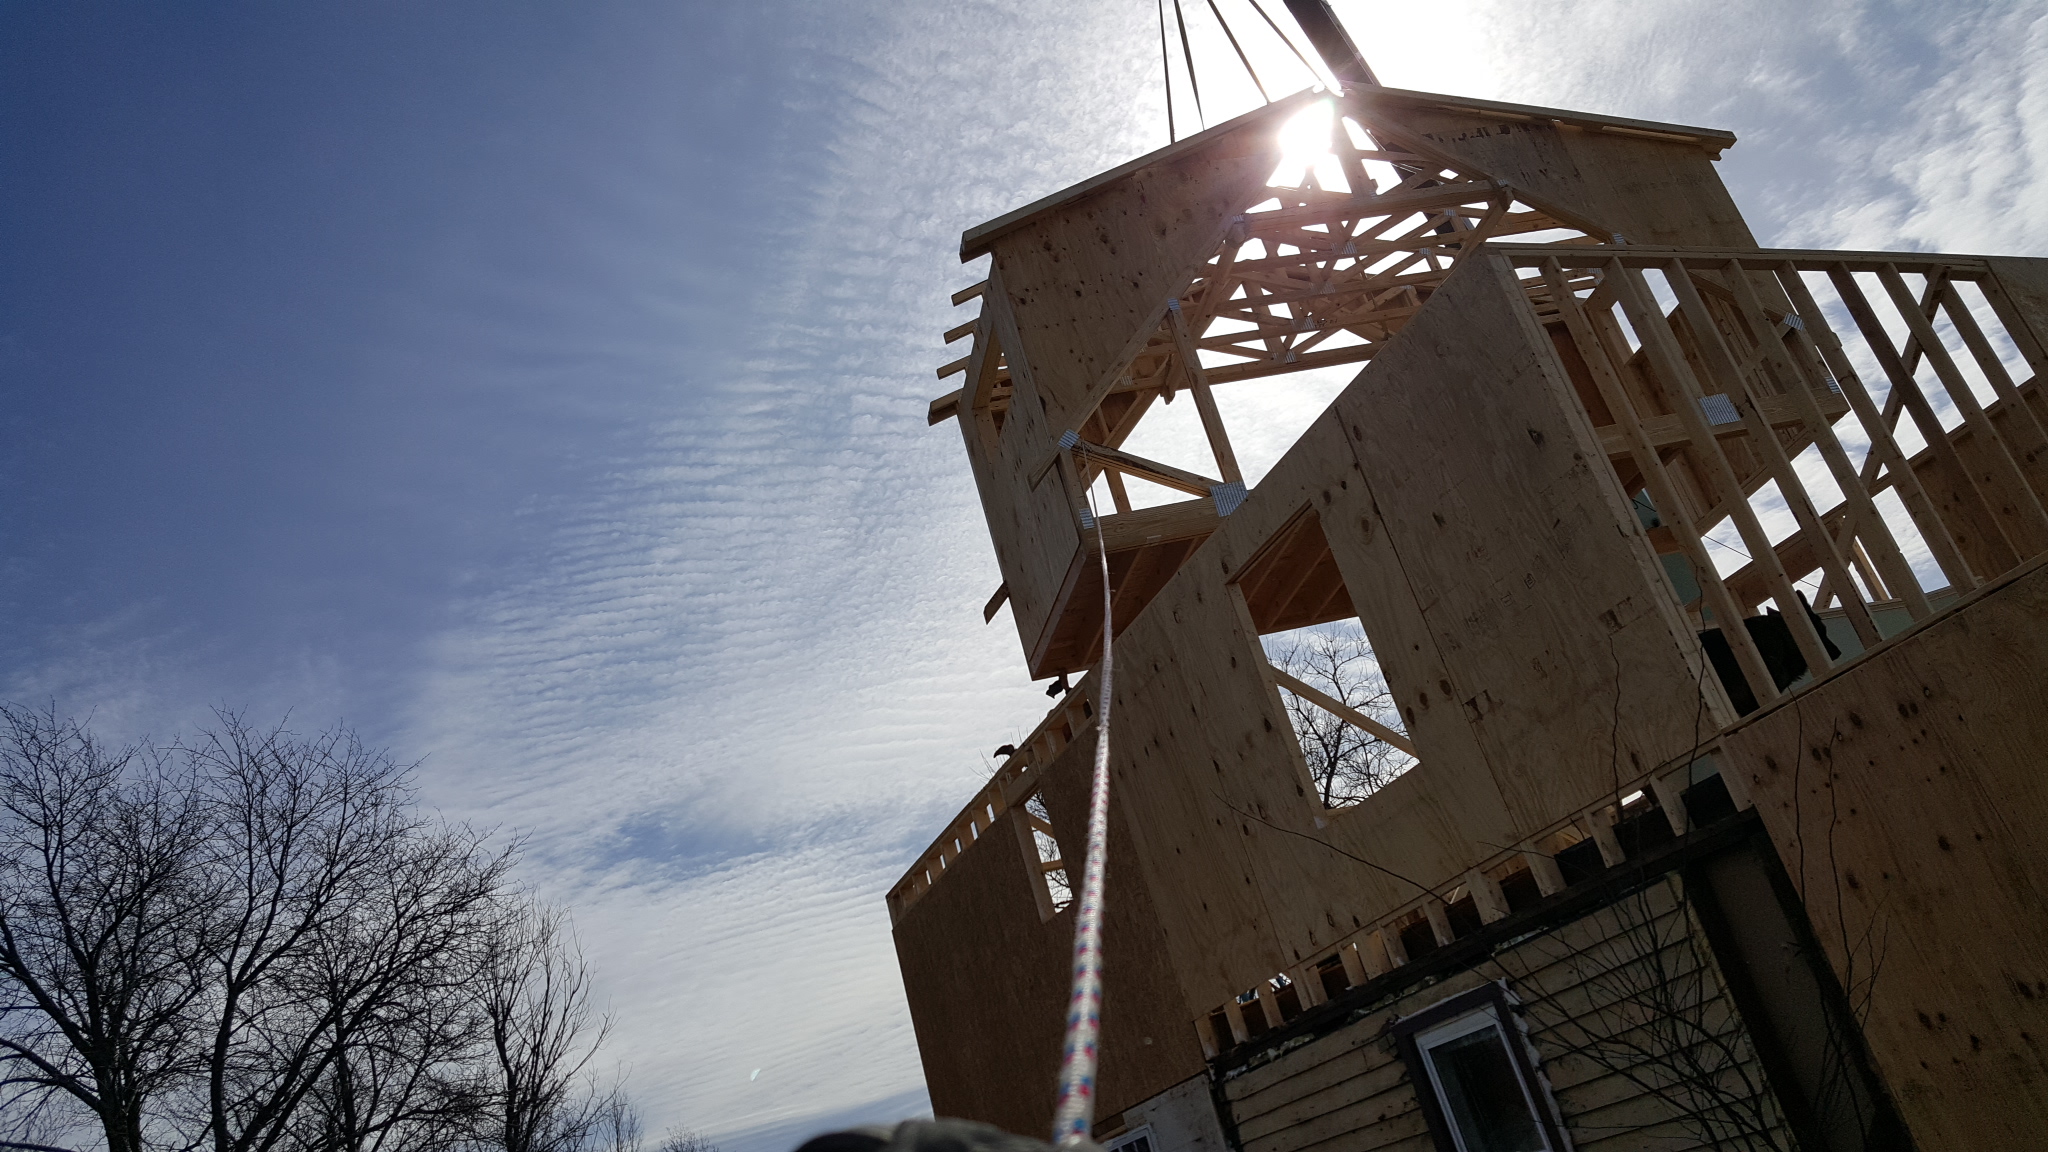
The most interesting part was craning the roof on. Everything, of course was laying under the power lines to the house and had to be carefully maneuvered away from the lines. We set the dormer, all in one piece, then set all the trusses.
Here is Bryan happily climbing on his new roof.

We just finished prepping for the metal roof yesterday, and the roof will be going on as soon as the weather is clear.
Then we will be able to close it up and Bryan can really get rolling and maybe move back in this spring sometime.
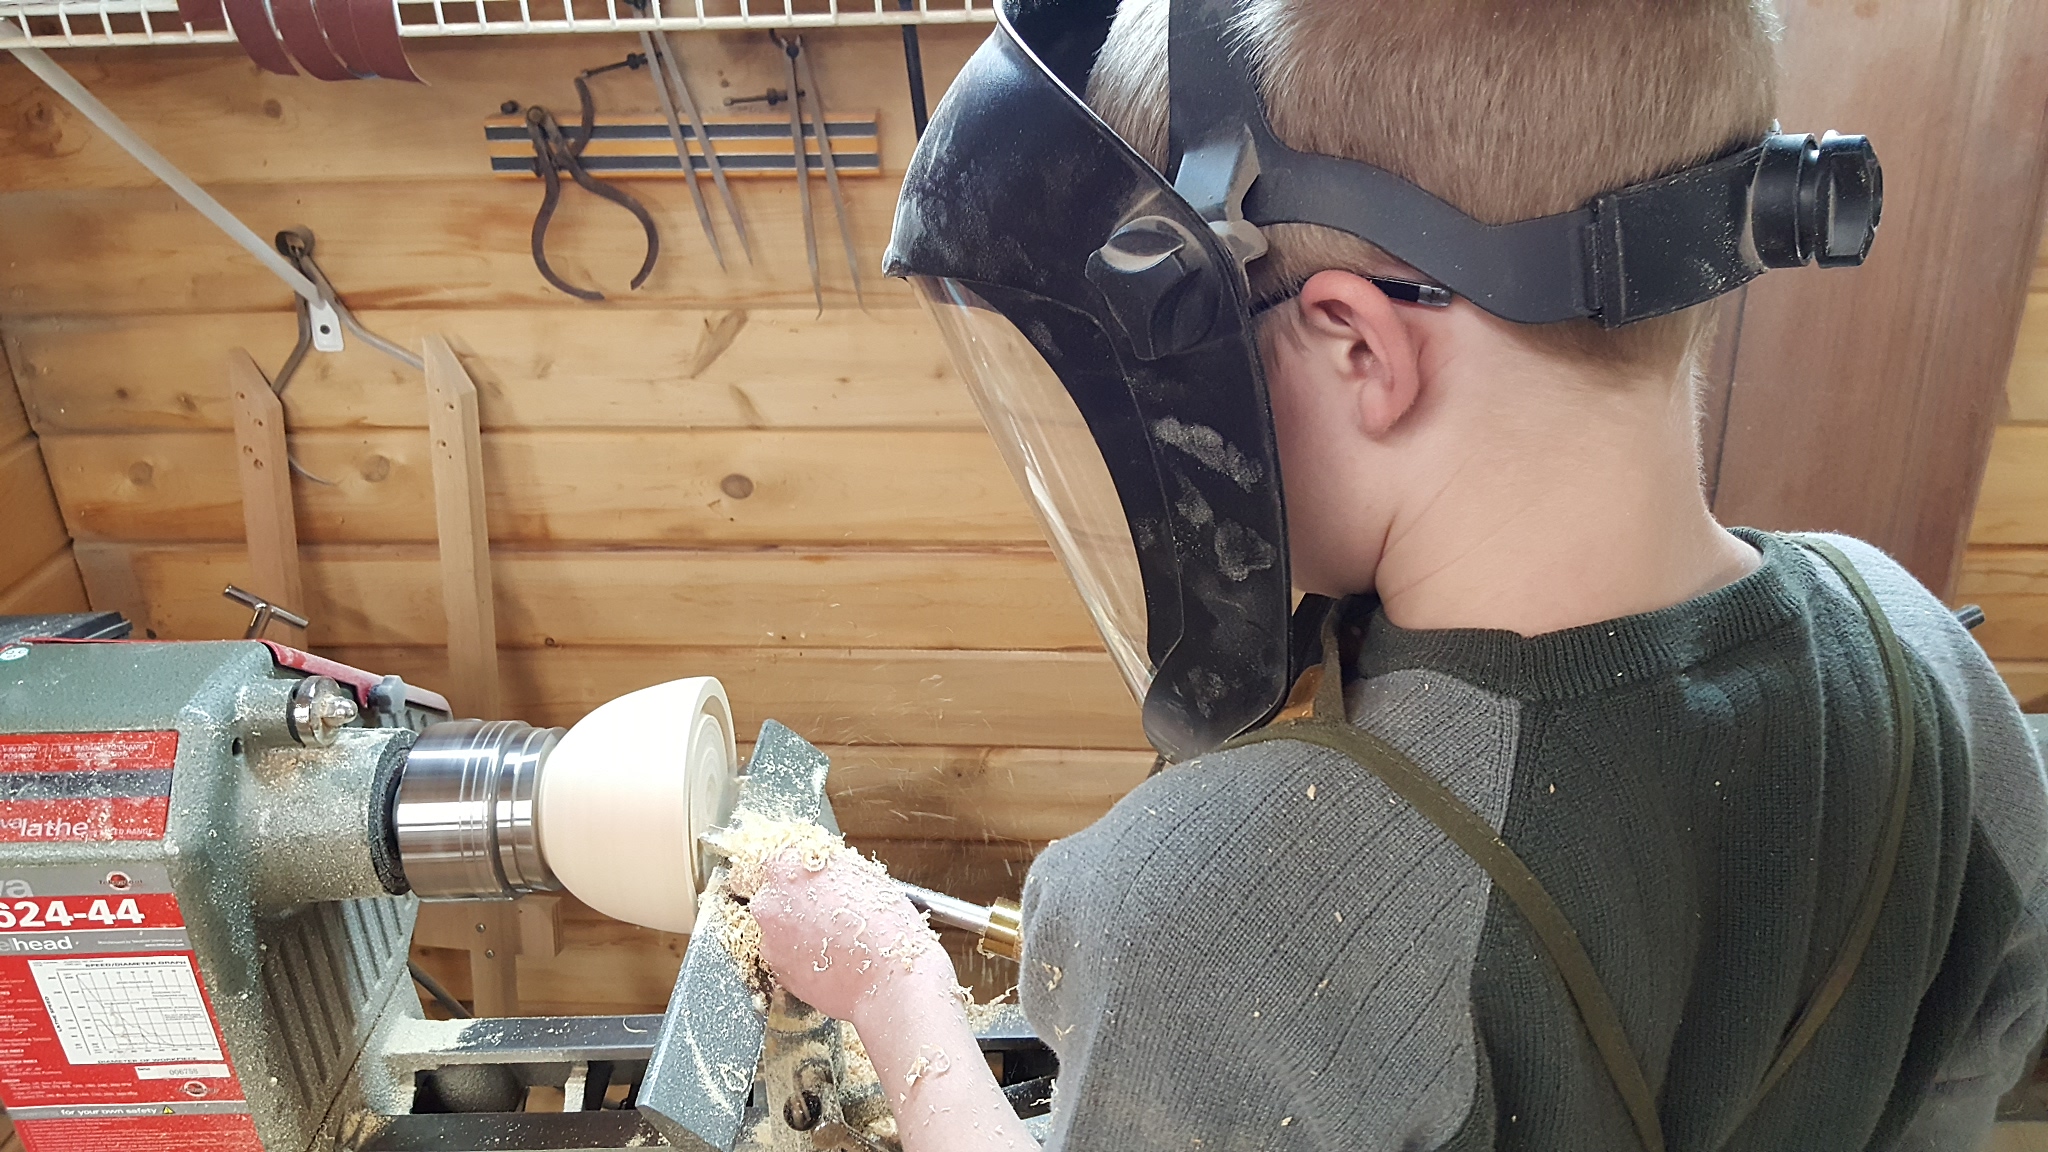
In between those two big projects, my son Adam and my wife Tracie have been coming down to play in the shop occasionally.

Adam really wanted to make a bowl, so we cut up a chunk of pine and let him be creative.
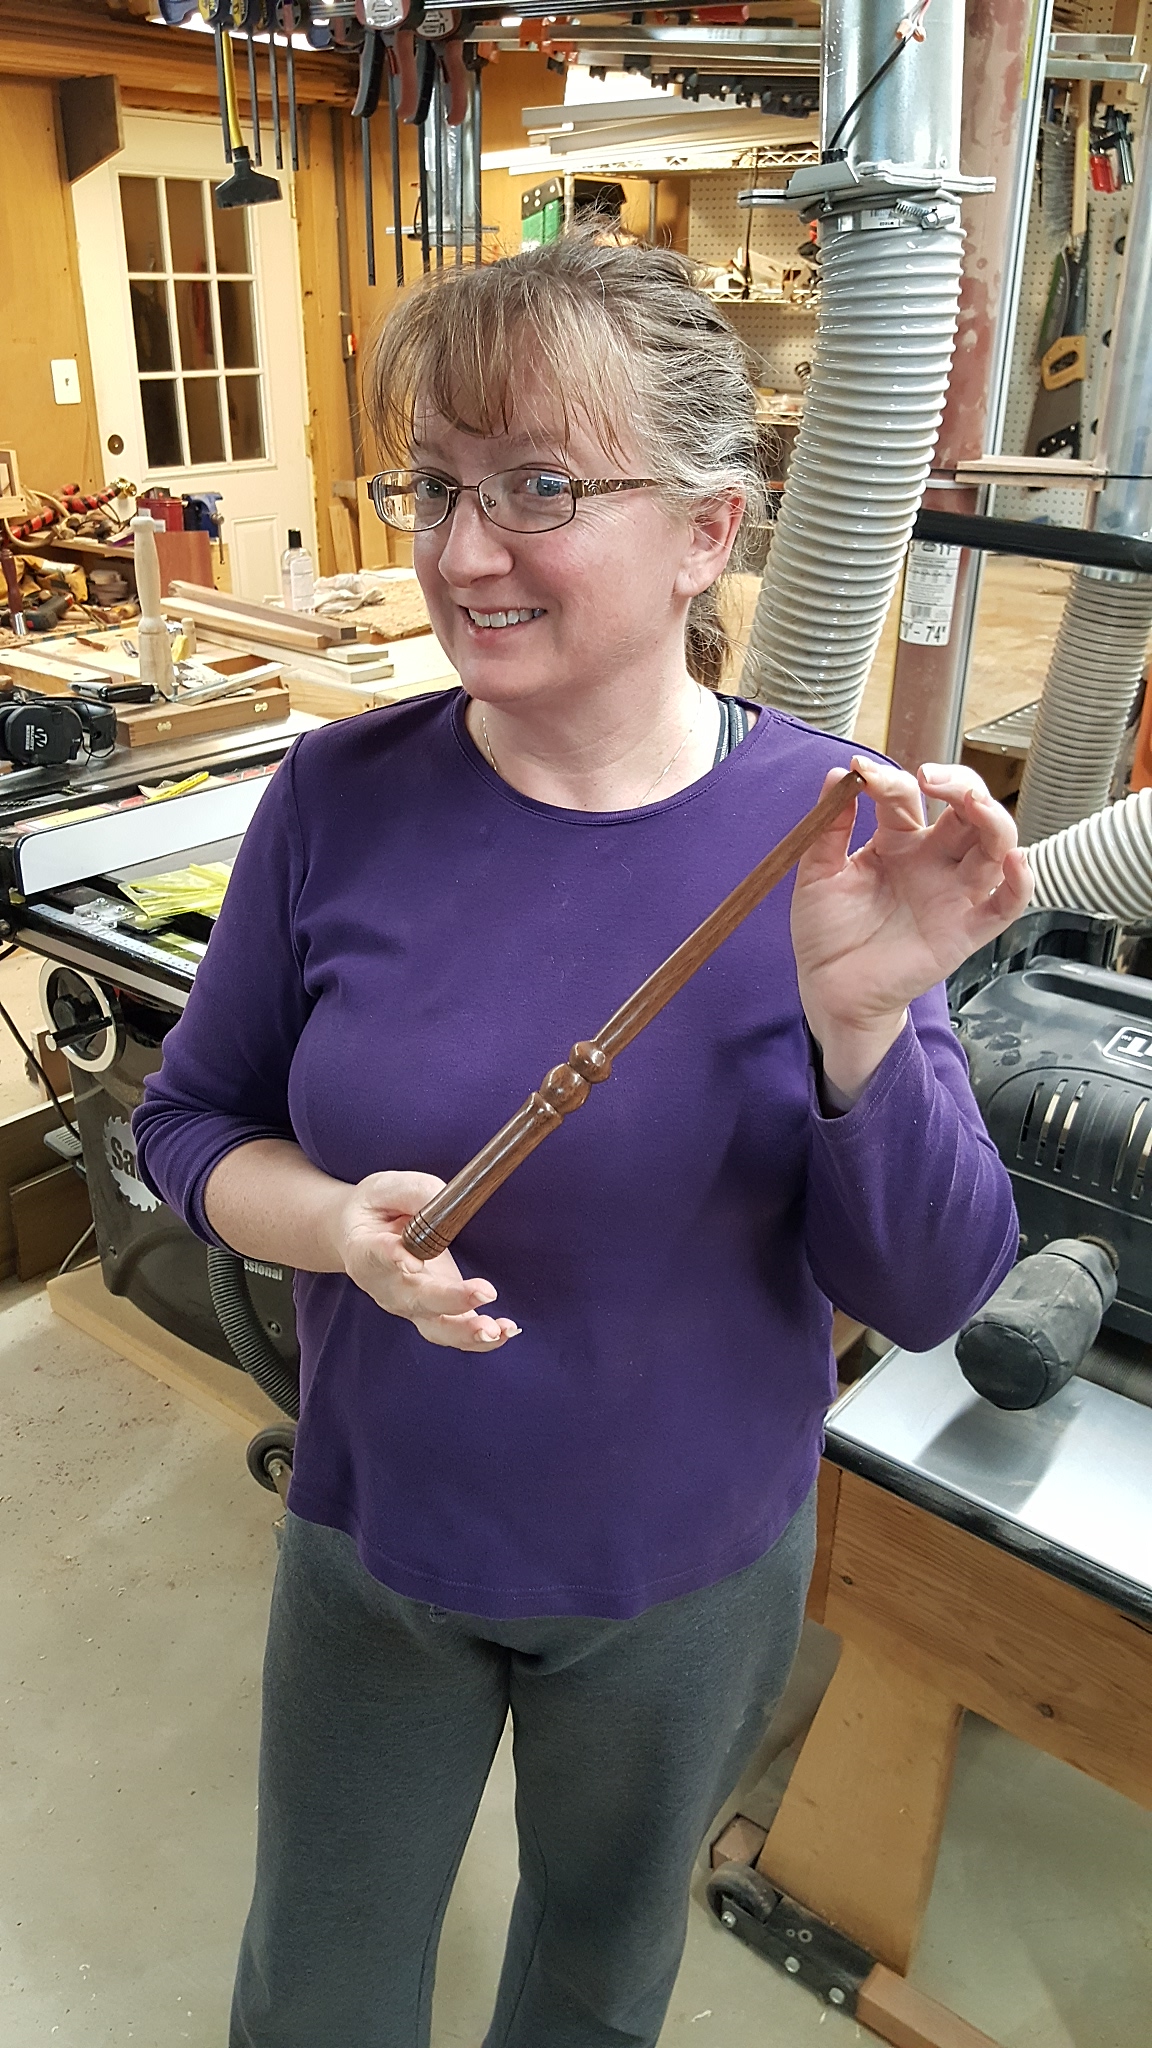
My wife surprised me by asking to come down to the shop and learn to use the lathe.
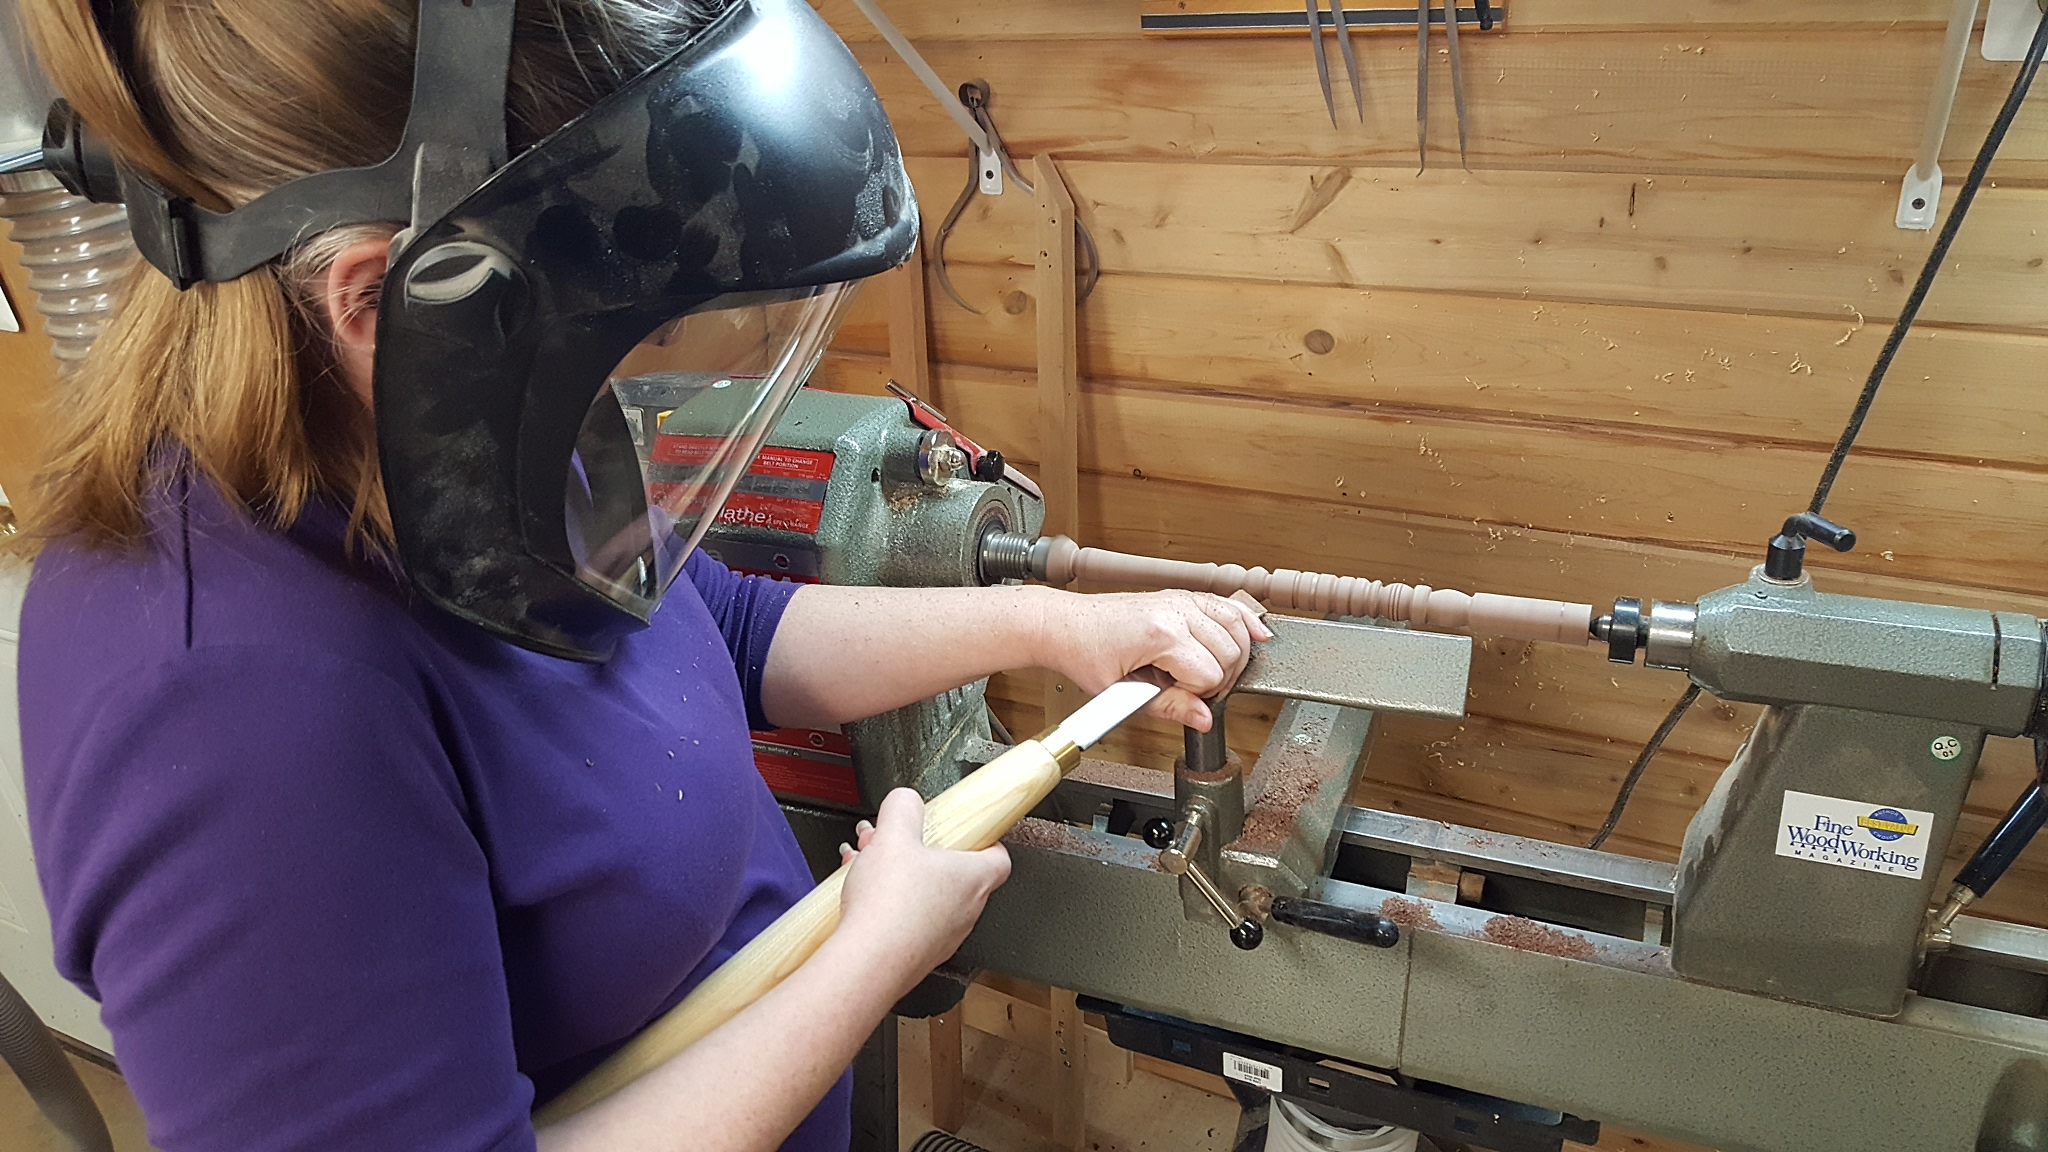
I was happy to load up a chunk of wood and let her experiment with the different tools.

Her first project was a rather respectable walnut magic wand.
Back in January I bought a pen blank for her, it was made of coffee beans in acrylic. She likes her coffee so I thought she would enjoy the pen, especially working her night shift. The smell of coffee might help keep her awake. She decided that she wanted to make the pen herself. So I got a few acrylic blanks for her to practice on.
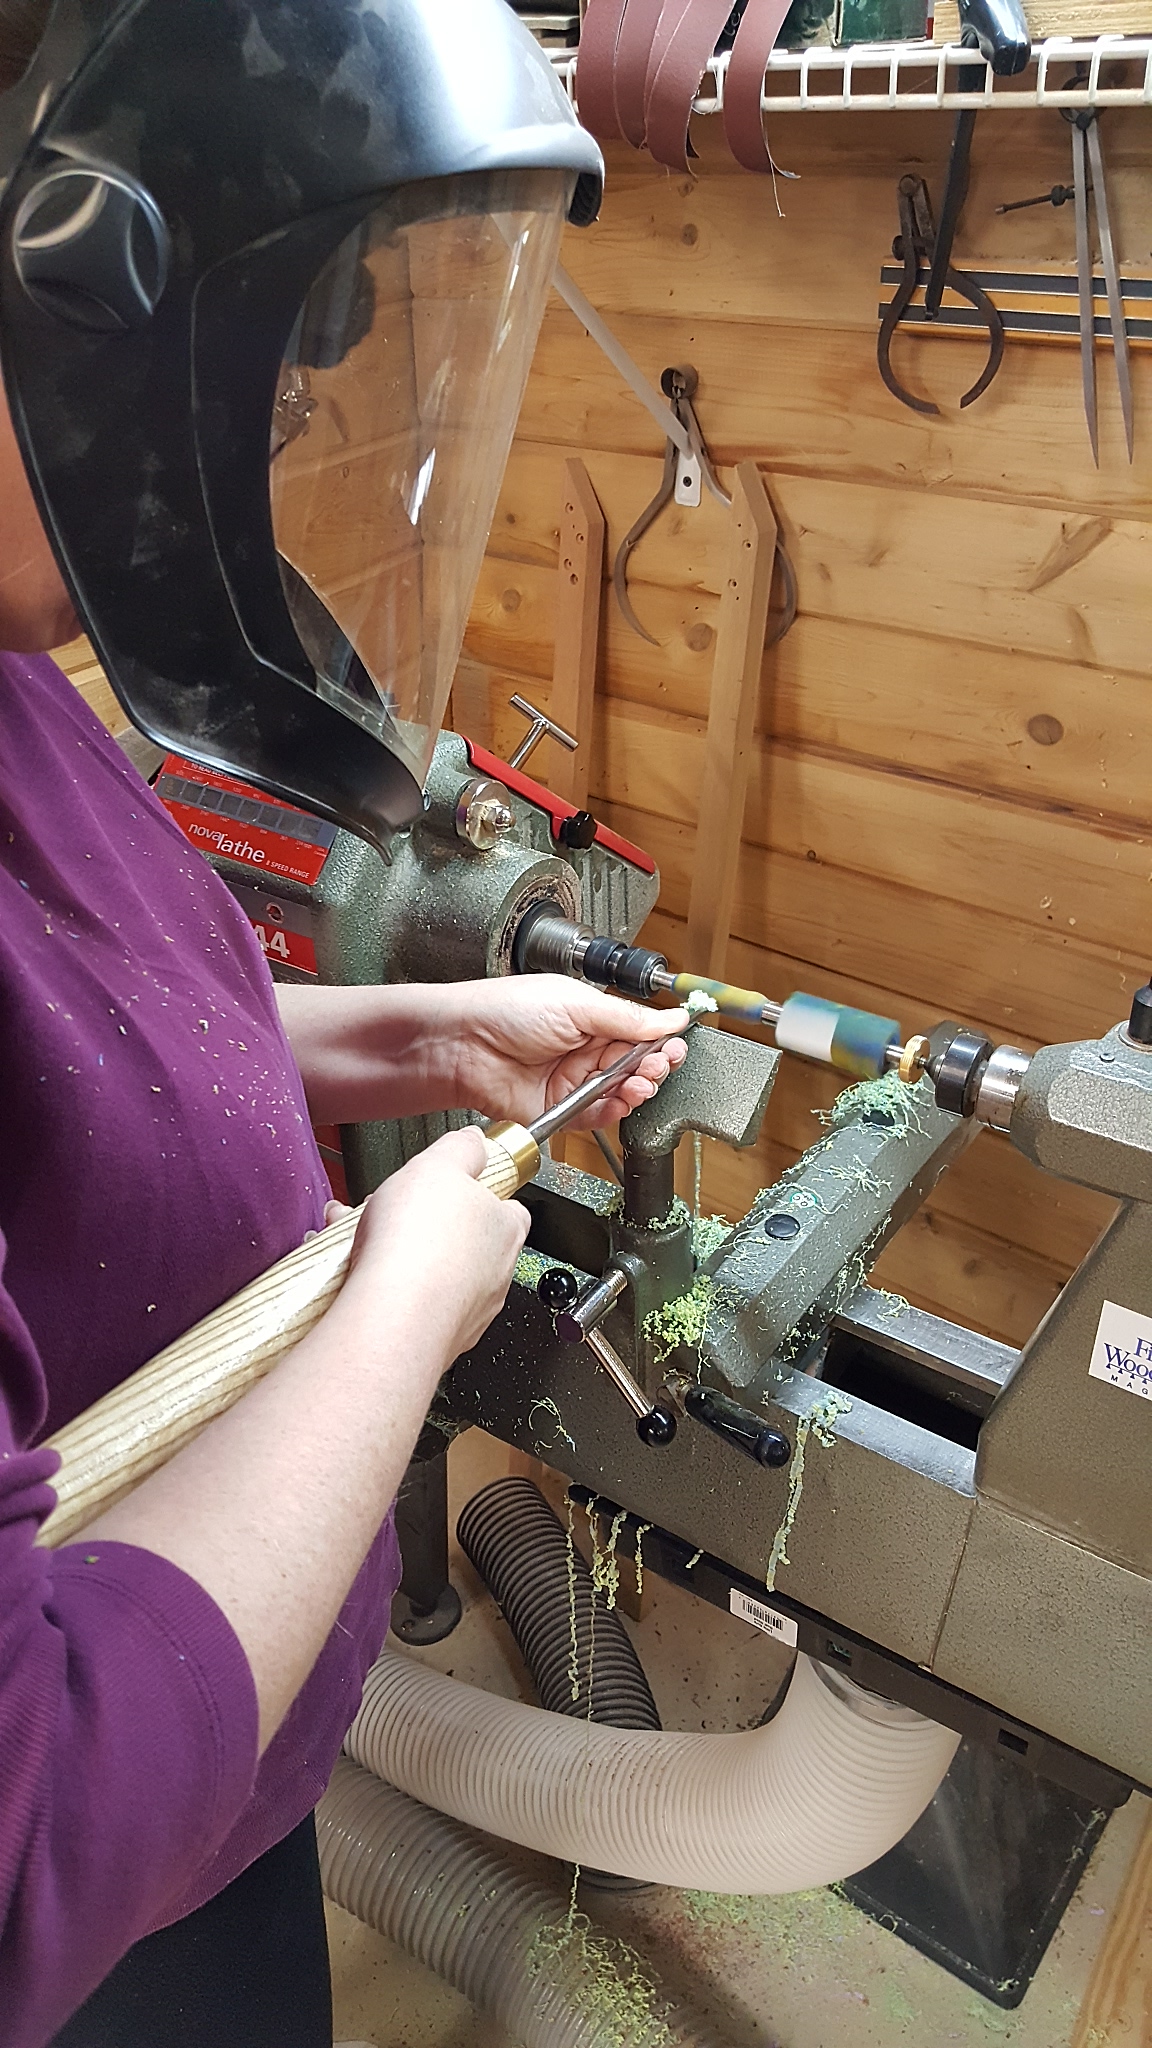
She has made 3 or 4 pens now and is quite enjoying the process.


After a bit of practice, she turned the coffee pen and is quite happy with it.
 It has been really nice having her take an interest in working in the shop, I hope to get her rolling on a few more projects here soon.
All in all, it has been a rather busy winter, but not a whole lot of shop time. Hope you all missed my posts, I will be putting more up soon.

You sure have been busy! Your friend is basically building a new house. From the pictures, I would say “gut” is an understatement, it’s more like complete tear-down and rebuild.
The porch addition is very nice. I’m curious about the deck floor. How is it supported and how will frost heaving affect it? I would like to install a low deck and am on the hunt for ideas.
Frost upheval is prevented by putting footers under the posts. Footers are typically an 8″ thick concrete slab at least 14″ in diameter. In my area, the footers are 30″ down to get below the frost line. Check your counties, permit department’s website. They usually have all the requirements for a deck listed there.
Got it. You were able to make it really low to the ground by hanging the joists using hangers off the end headers. In my area, frost line is at 36″ and this means a lot of digging. I have a big tree right where I want to put the deck so roots are going to be a problem. I’m wondering if I can get away with concrete deck blocks since the deck will not be rigidly attached to the house.
You should be able to, if it isn’t attached to the house, but it will float up and down with the grade, as a unit.