
Walnut counter – day 6 – installed
After the first coat of urethane had cured, I had Erin sand down everything with 400 grit paper.


Then she proceeded to apply the second coat.
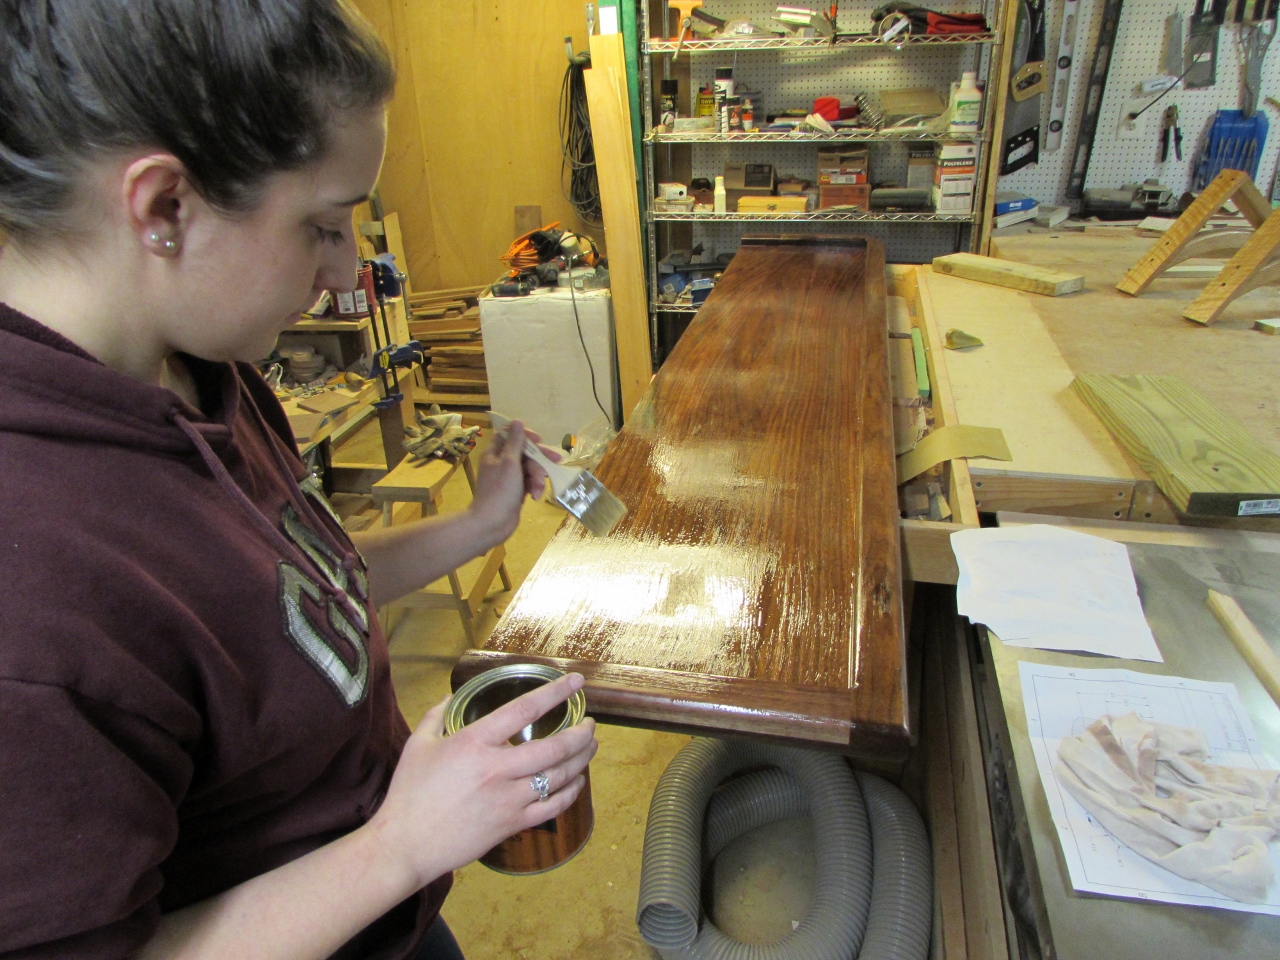
Over the next day or two we repeated the process until we had two coats on the bottom and three on top.

A little polishing with brown paper and the last of the dust nibs were rubbed away. I packed up the truck and headed to Erin’s for installation.

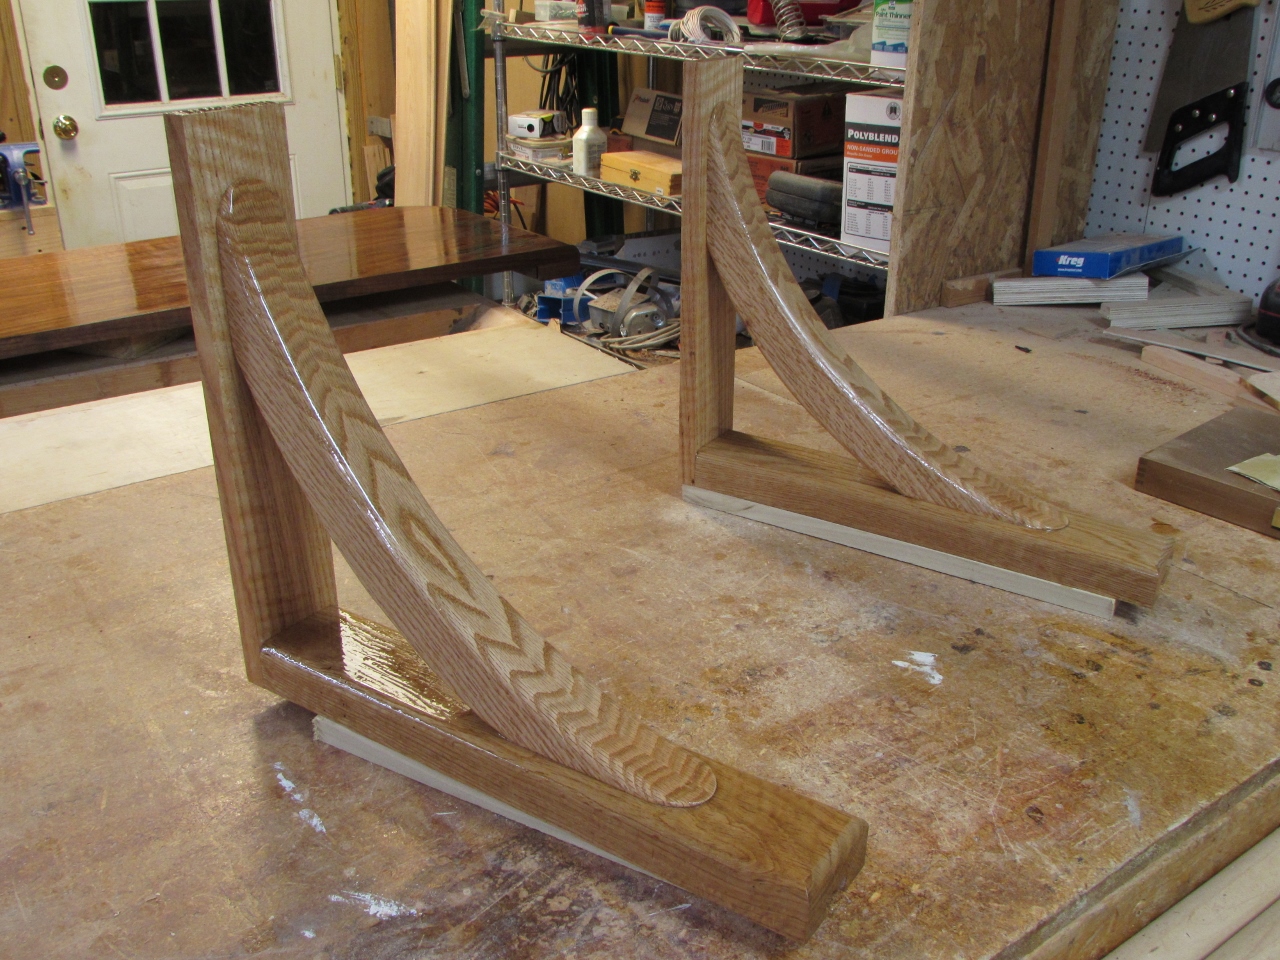
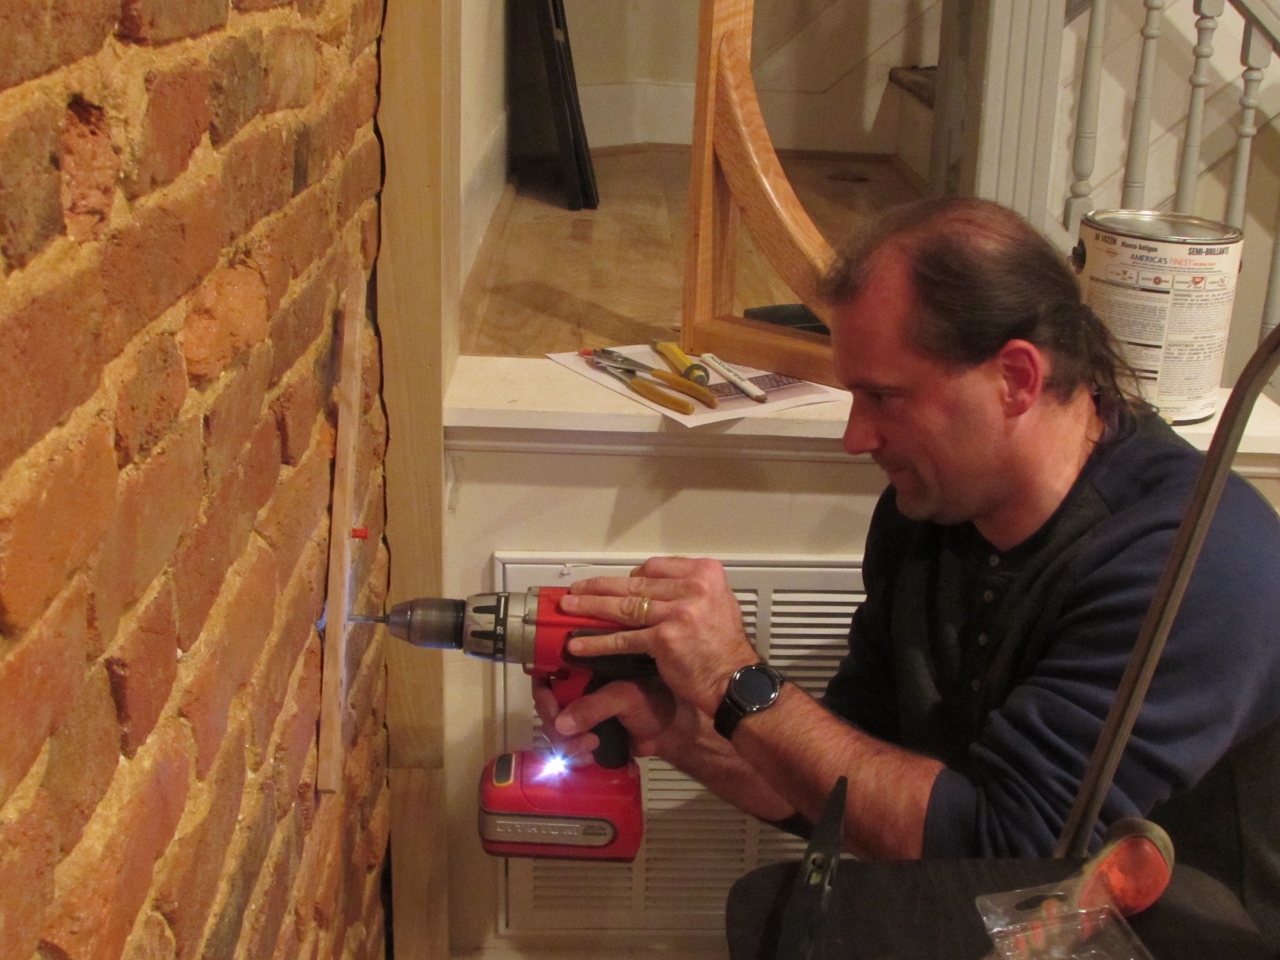
We hung the trim with some hammer set wall anchors that worked really well, but for mounting the dovetails, I wanted something removable, just in case there were any problems. The wall is not dead flat, and I anticipated the possible need to adjust looser or tighter, in order to keep the dovetail straight. For this, we are using some plastic wall anchors that were made for masonry.
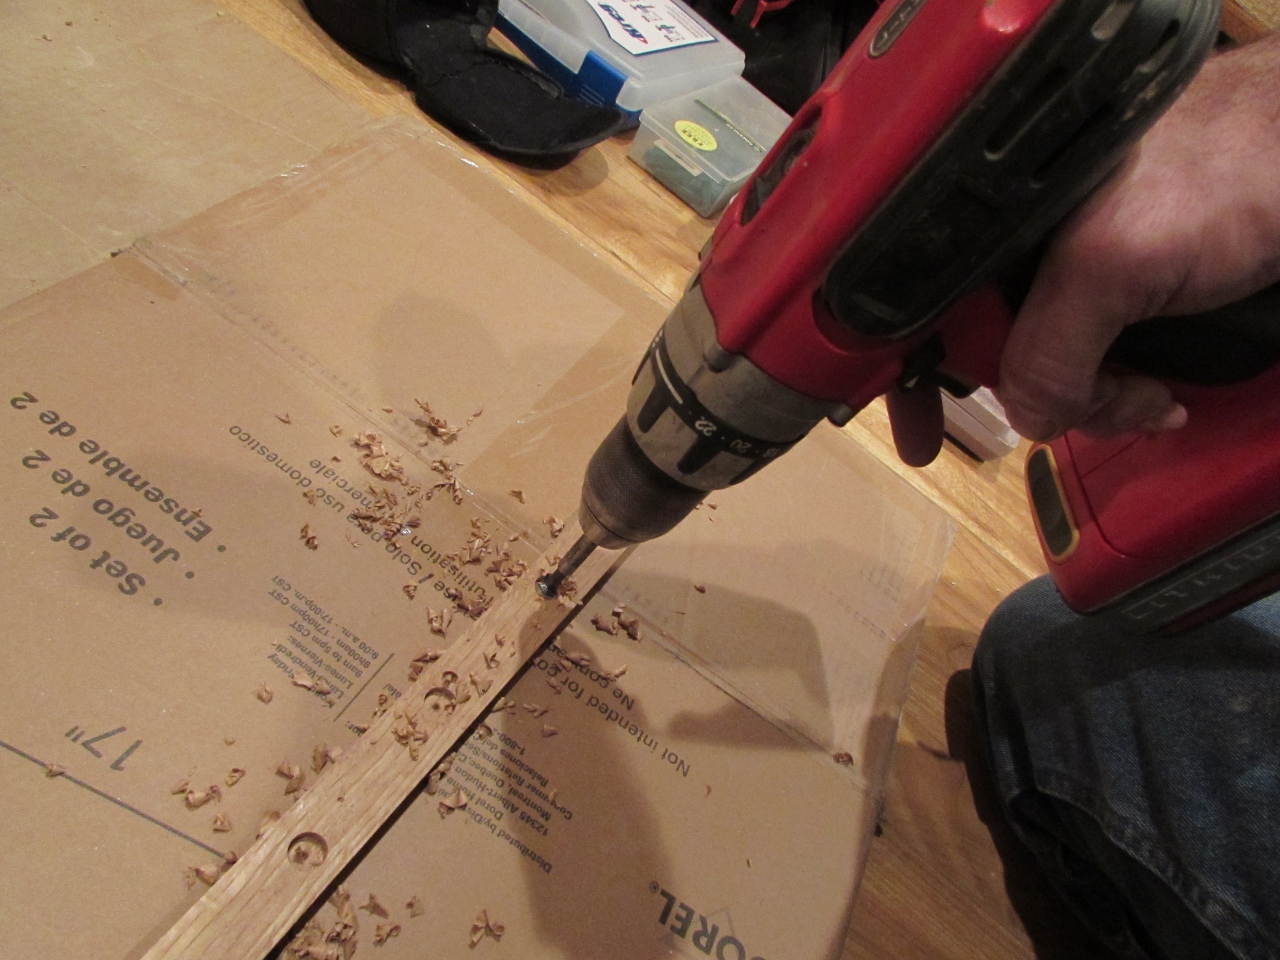
I drilled 1/2″ counter-bores into our dovetails, to receive the head of the screw, then drilled a 1/4″ through-hole in the center of that.

I marked the wall at 40-1/4″ to locate the top of the dovetail. That will place the counter top at exactly 42″. After locating the dovetail on the wall, I marked and drilled the first hole.

I hammered the wall anchor in place and screwed in the top screw.

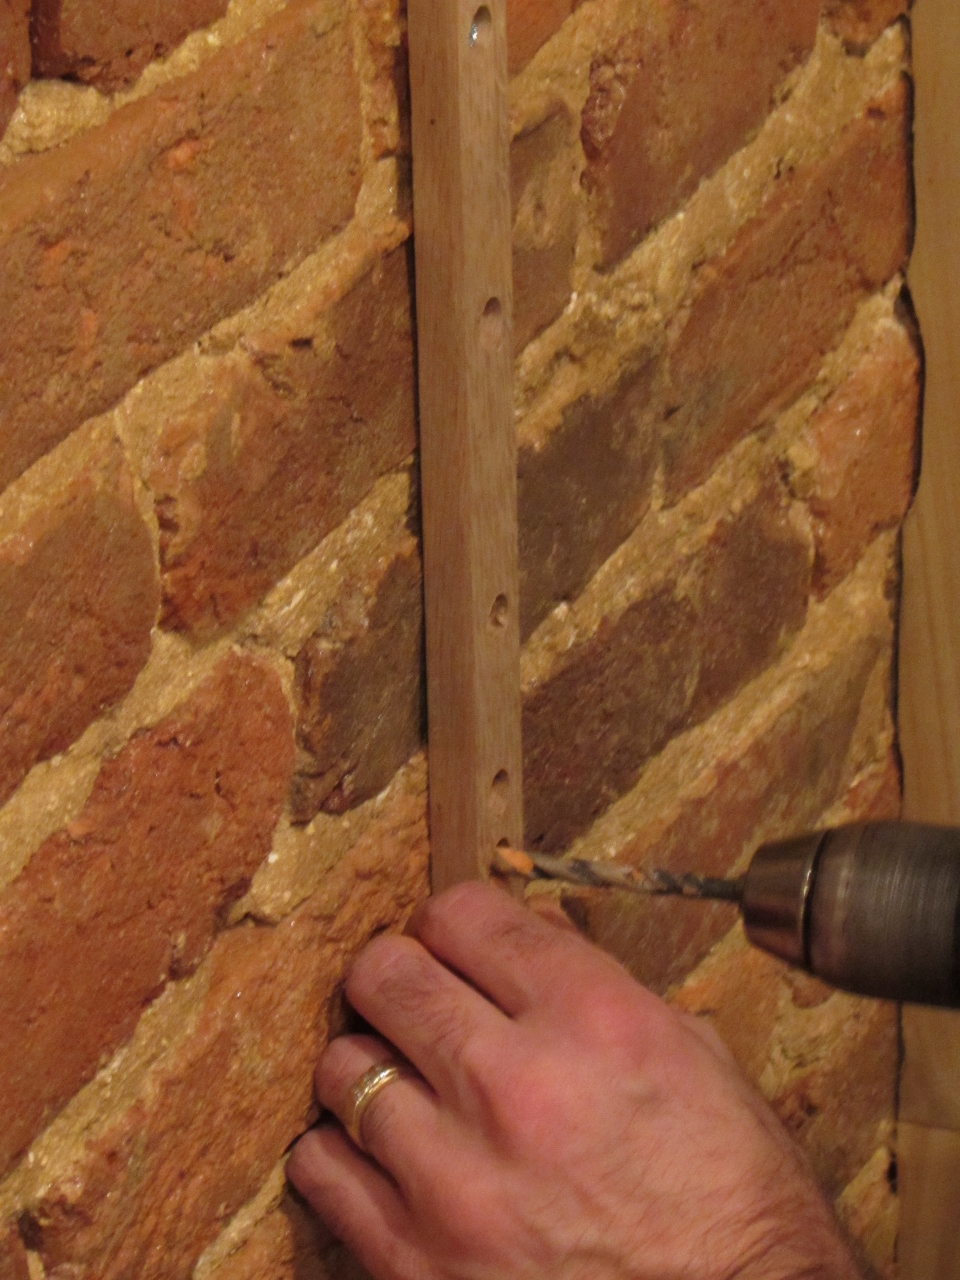
With the dovetail held plumb, I marked and drilled the rest of the holes.
After installing all four screws, I simply slid the corbel down over the dovetail and it seated perfectly.

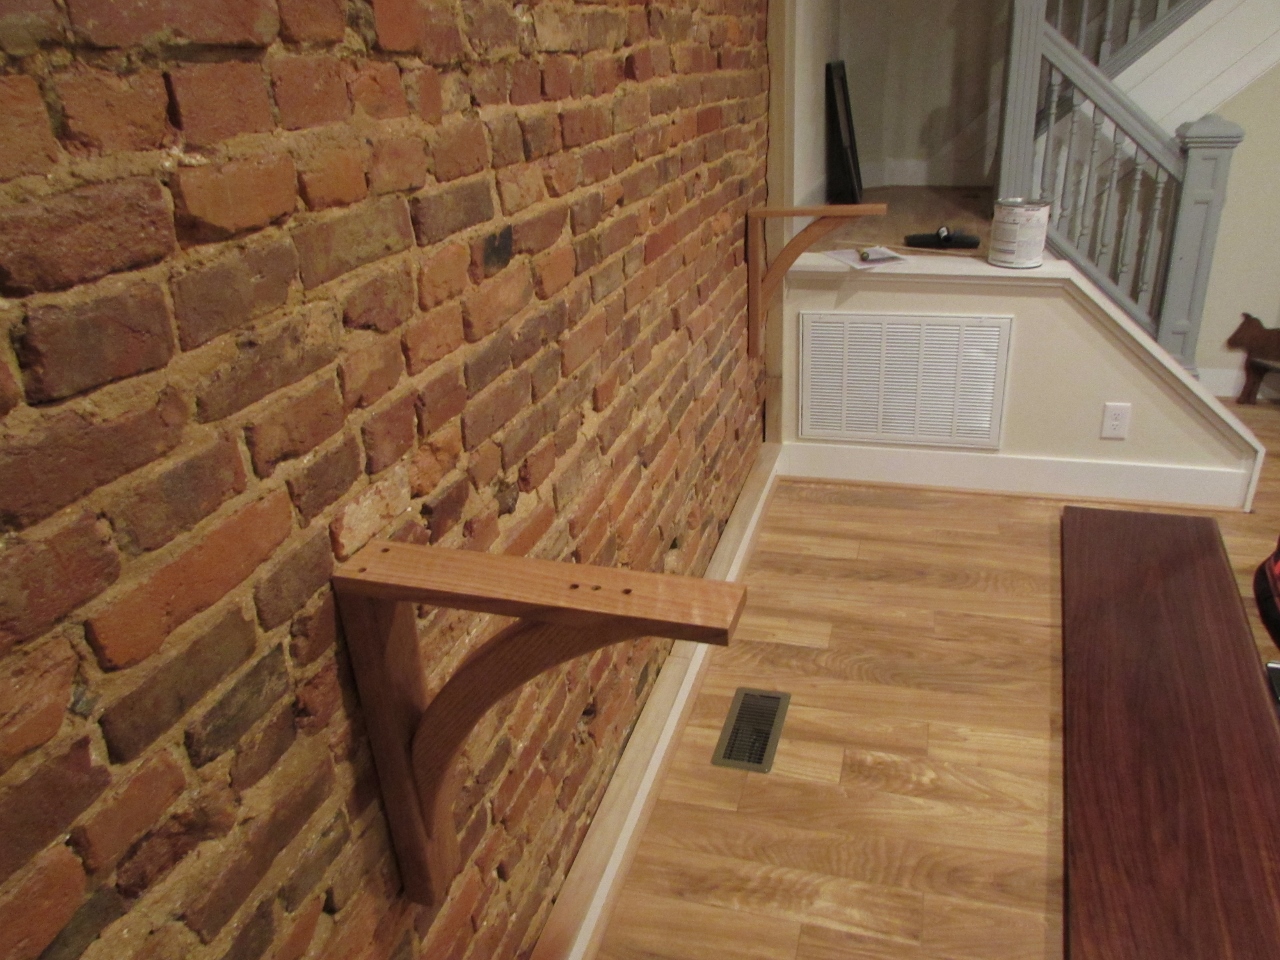
Five more screws later, and the second corbel was installed. We set the counter top in place and did a little load testing until we were satisfied that it would hold up whatever would generally be set onto a table or counter.

And even though the wall was not perfectly vertical, we managed to get the counter level.

A few 1-1/2″ pocket hole screws in the top flange of each corbel held the top on securely.


Erin is quite happy now that she finally has somewhere to eat. I think replacing the seats of the bar stools will be a project for another day. Perhaps some matching walnut and a few contours for comfort…

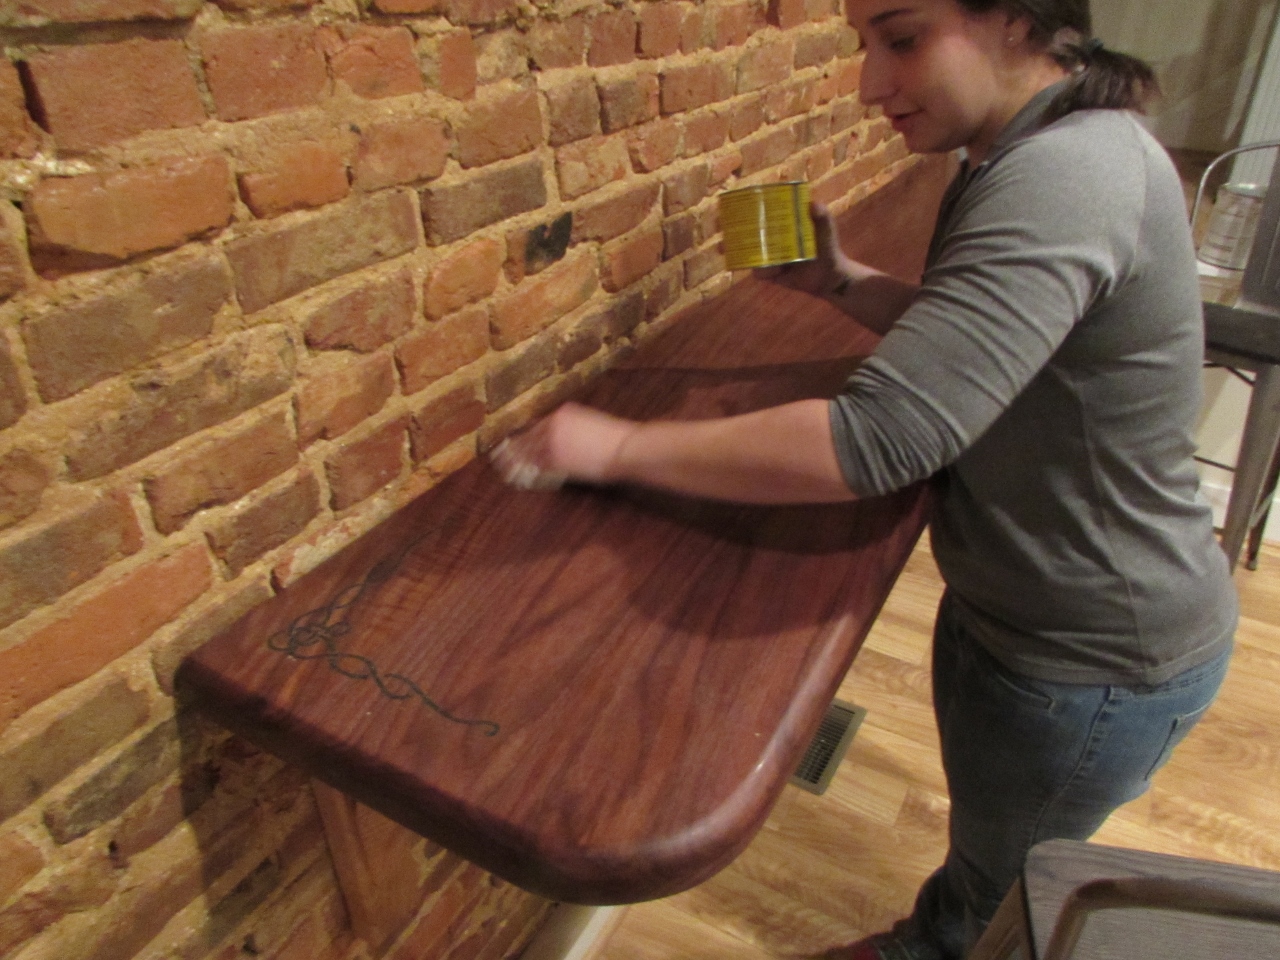
The last thing I wanted to do was add a coat of paste wax to polish things up a bit.
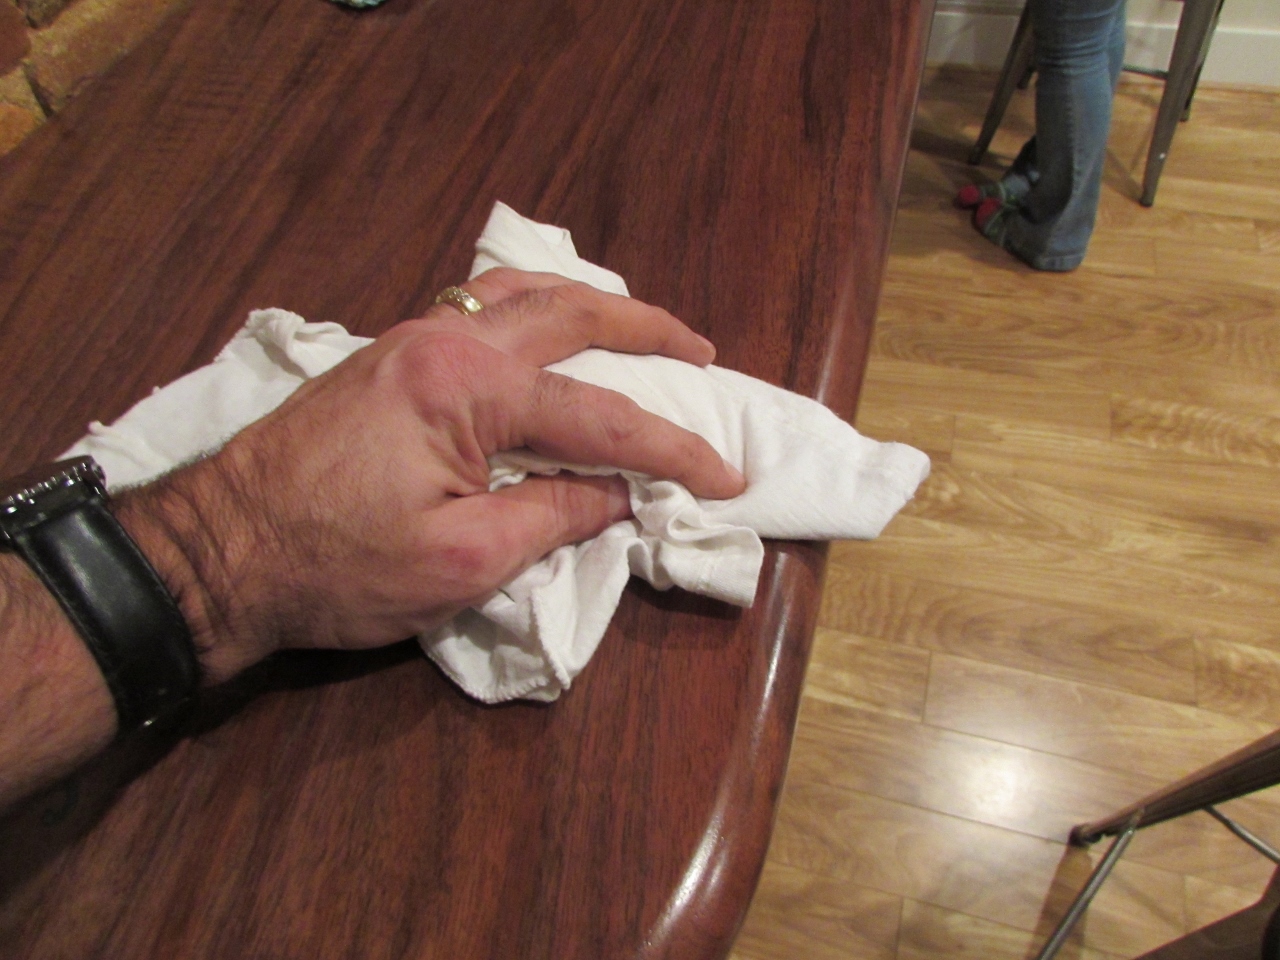
I think it adds a bit of a glow to the wood, Erin thinks the wax just makes it slippery… Either way, it turned out really nice and the curve of the corbels is small enough that you don’t hit them with your knees when you swivel on or off your bar stool.

Oh, and look there goes Delia, sneaking in a lick while Erin is distracted. Weird dog!

Very nice solution to tricky problem