
Picture frames
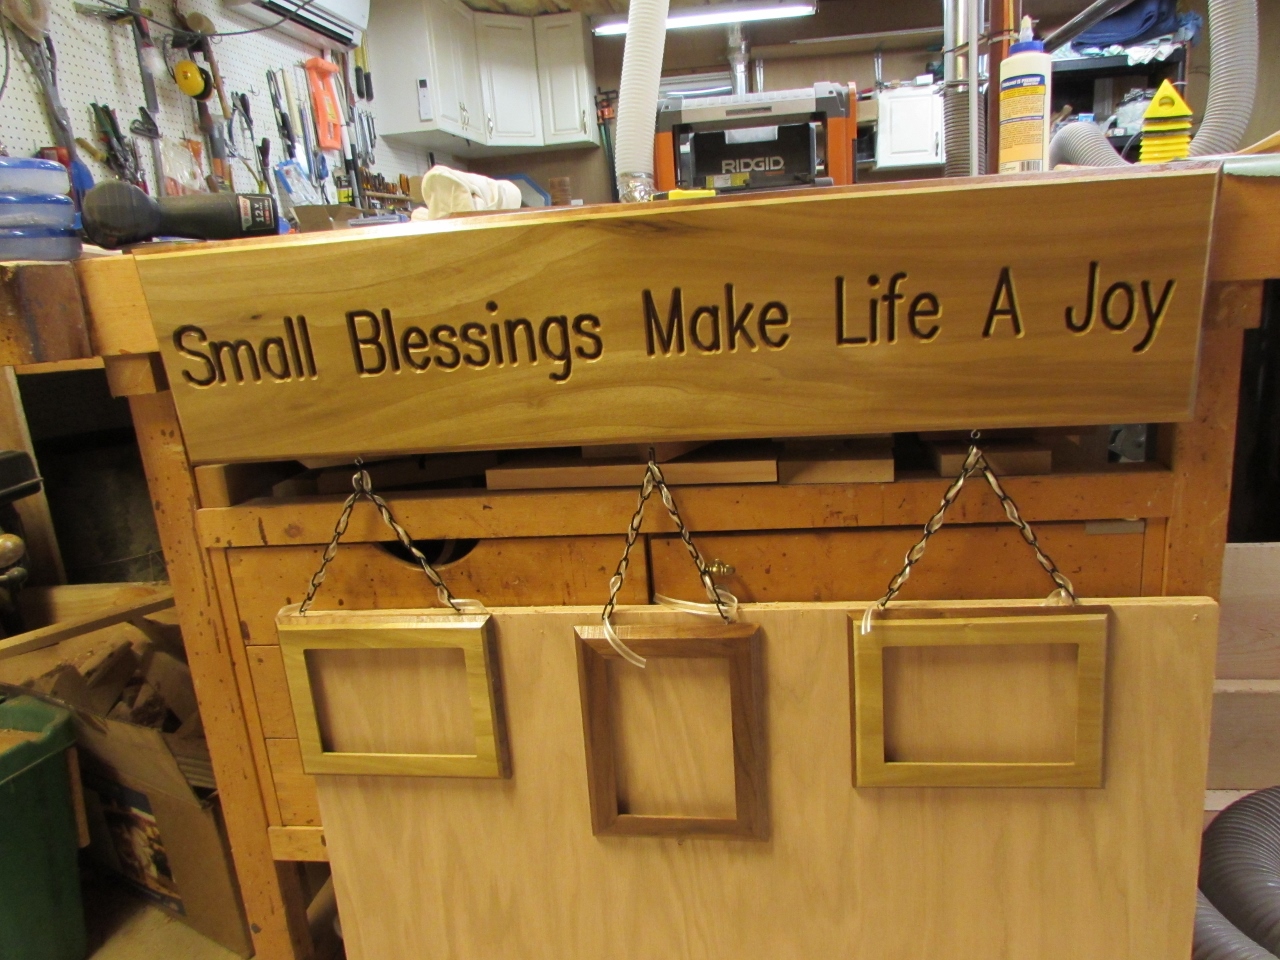
Erin came over, just before Christmas, to start on a present for her sister. We made this plaque by laminating a 1/8″ thick sheet of poplar to a 1/2″ thick piece of walnut, then carving away the text with my CNC, and chamfering the edges with a 45 degree router bit. The project was done very quickly and I forgot to photograph it as we went.
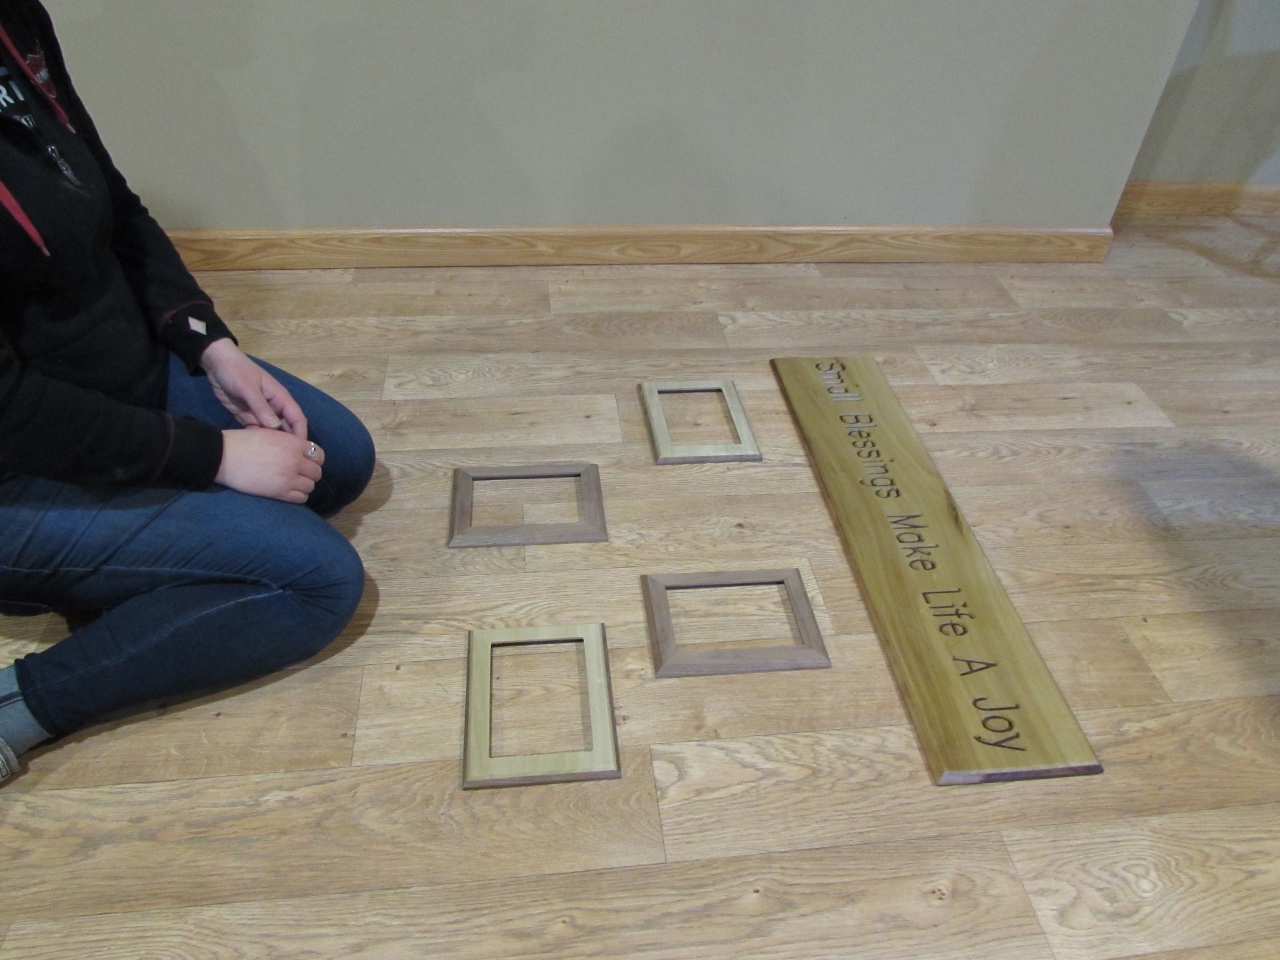
Having more time after Christmas, Erin came over to finish the project. She wanted to make several picture frames and hang them from the plaque. Picture frames look simple, but they can be surprisingly difficult to get the angles and lengths perfect so you don’t have gaps in your miters. I had a new idea to minimize the chance of having gaps, so we gave it a try on the frames.
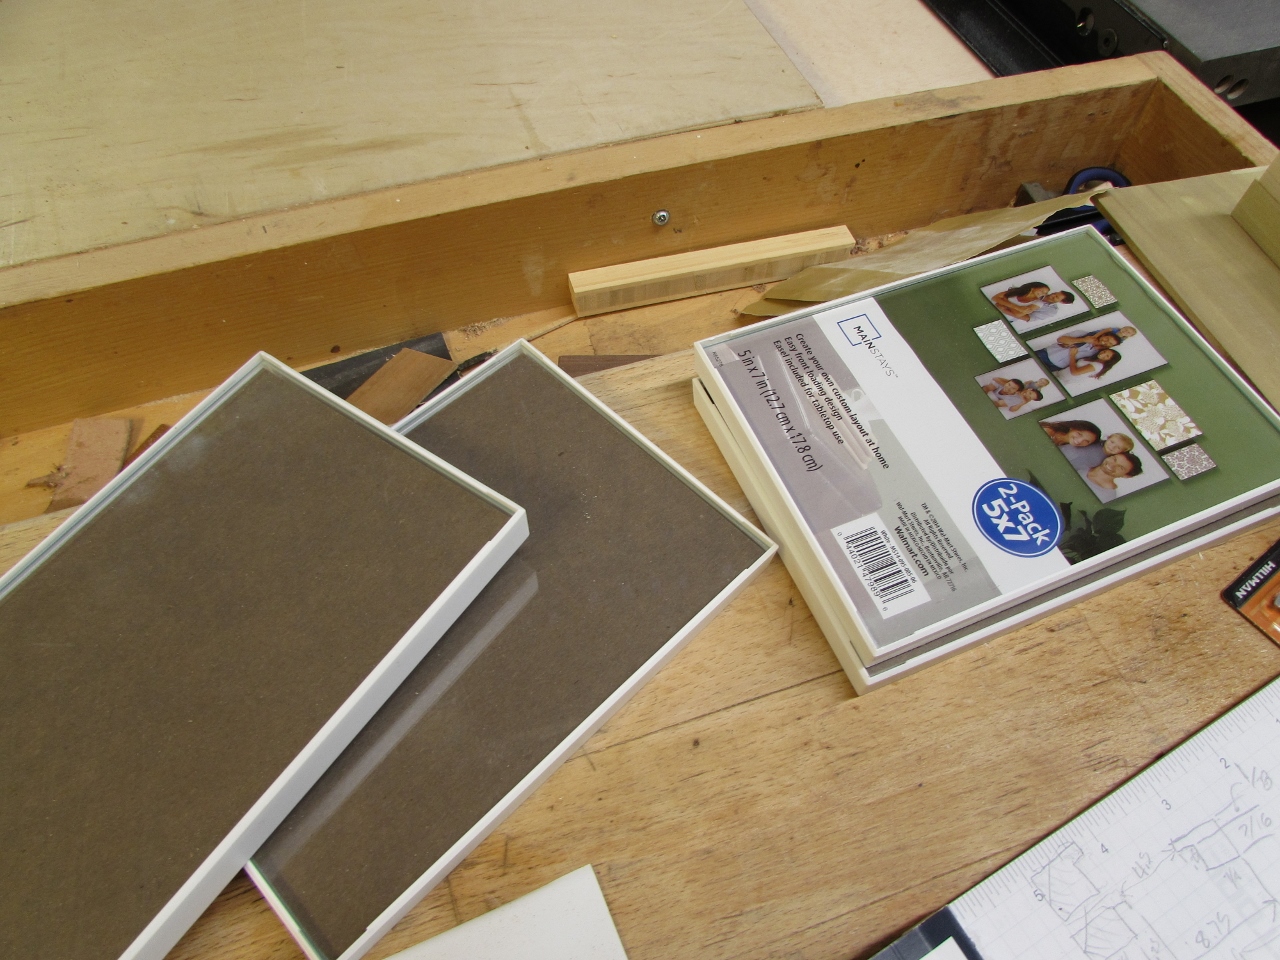
The first thing I recommend is to go out and buy the cheapest frames you can, in the required size. Try not to spend much if you can help it. This will get you the glass and the cardboard backer far cheaper than buying the glass and cardboard, on their own. No need to fool around with glass cutting or anything. Just pull what you need and recycle the rest… In this case, Erin found some nice little 5″x7″ frames at Walmart for around $1 each. The rest of the project comes pretty much from my scrap pile. And yes, I do have several big chunks of walnut just laying in my scrap pile. There are always some good smaller pieces left over from a larger build that you can’t bear to part with, because you paid for it.
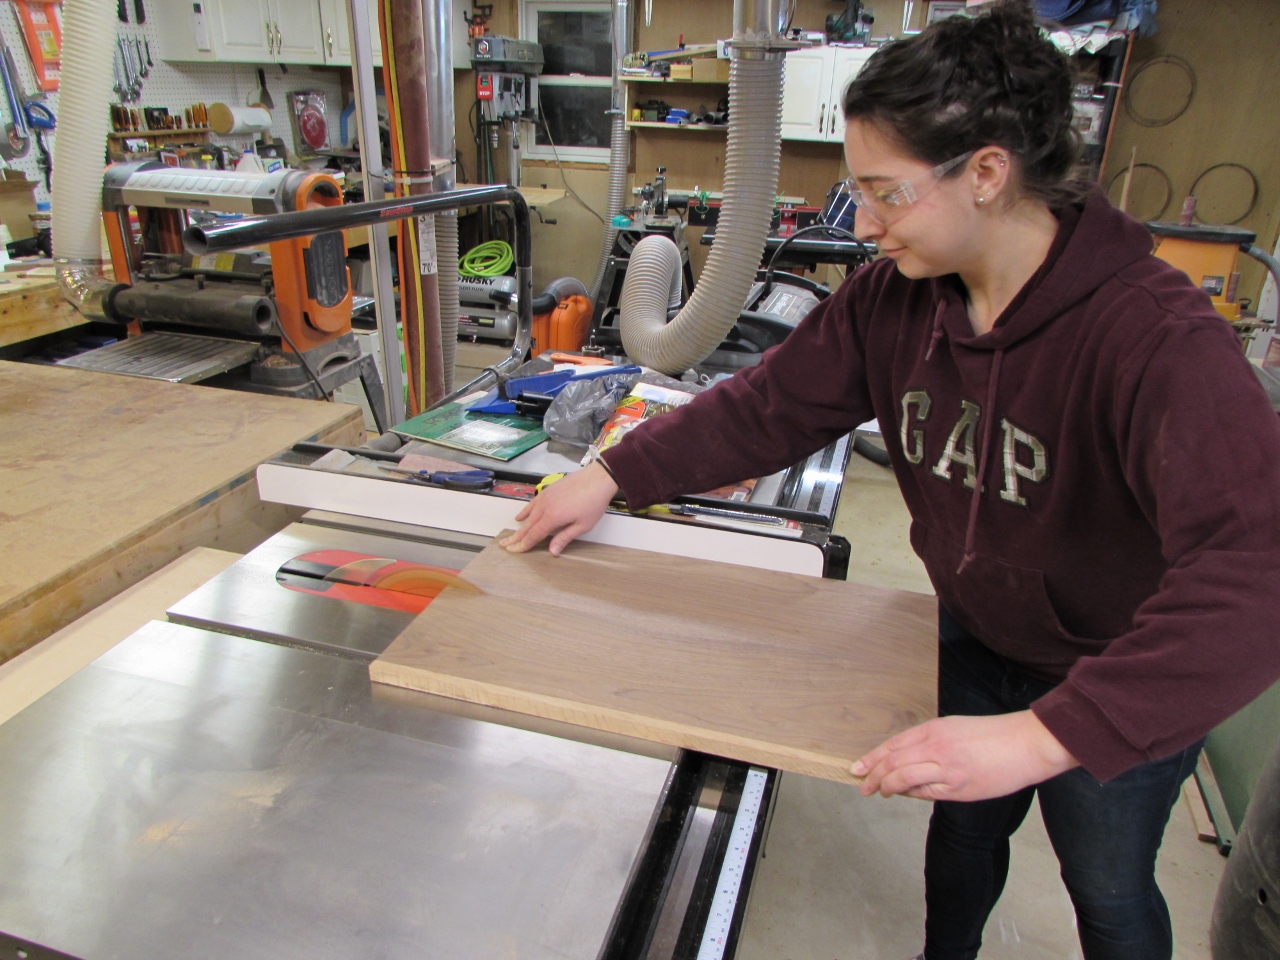
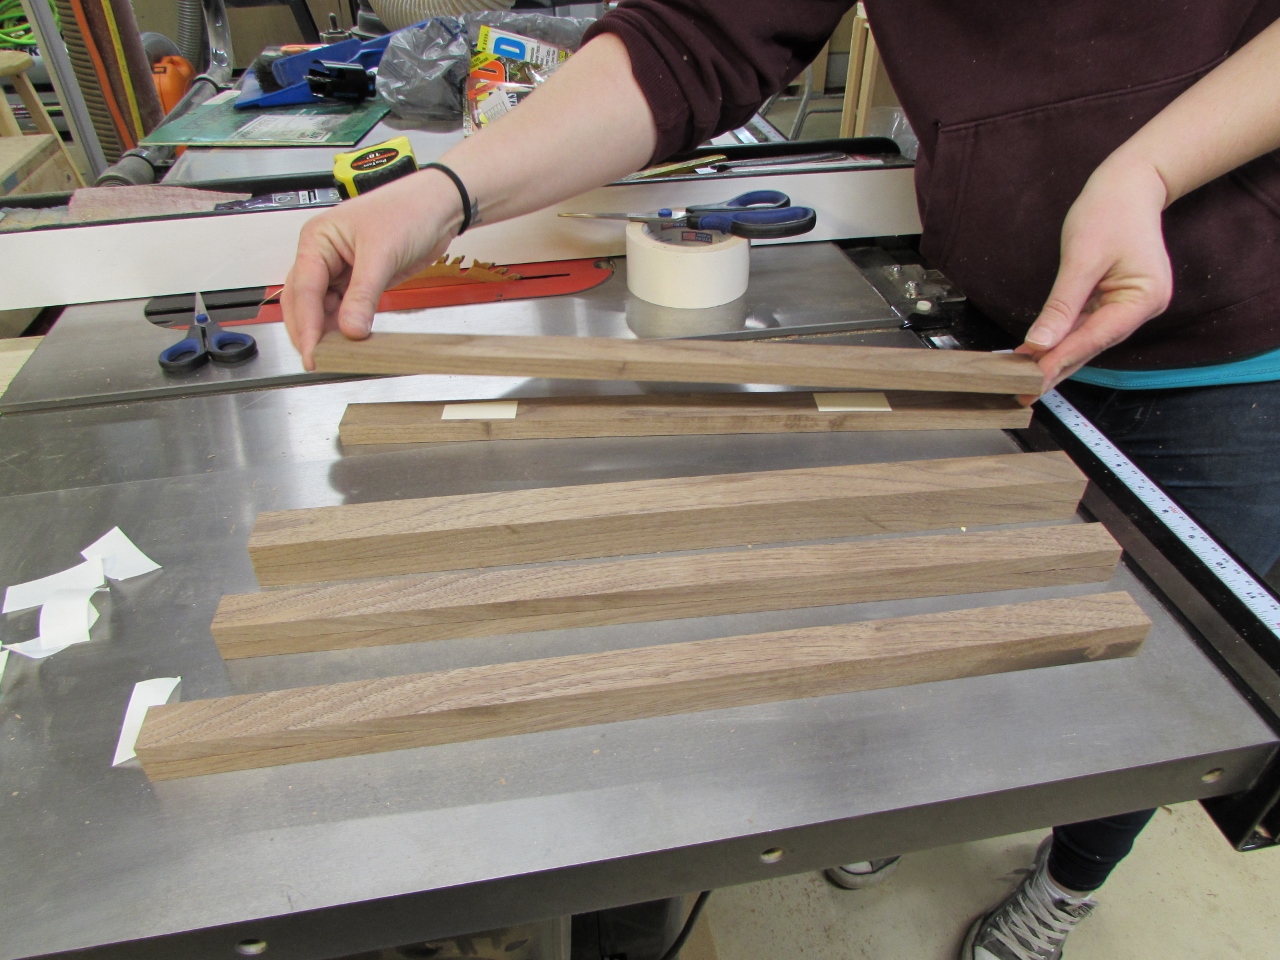
Erin cut several strips, all from the same board, so that the grain would be similar on all the frames.
We cut lengths long enough to get a top and a side out of each strip. This is key to not having any gaps, I will explain in a minute.
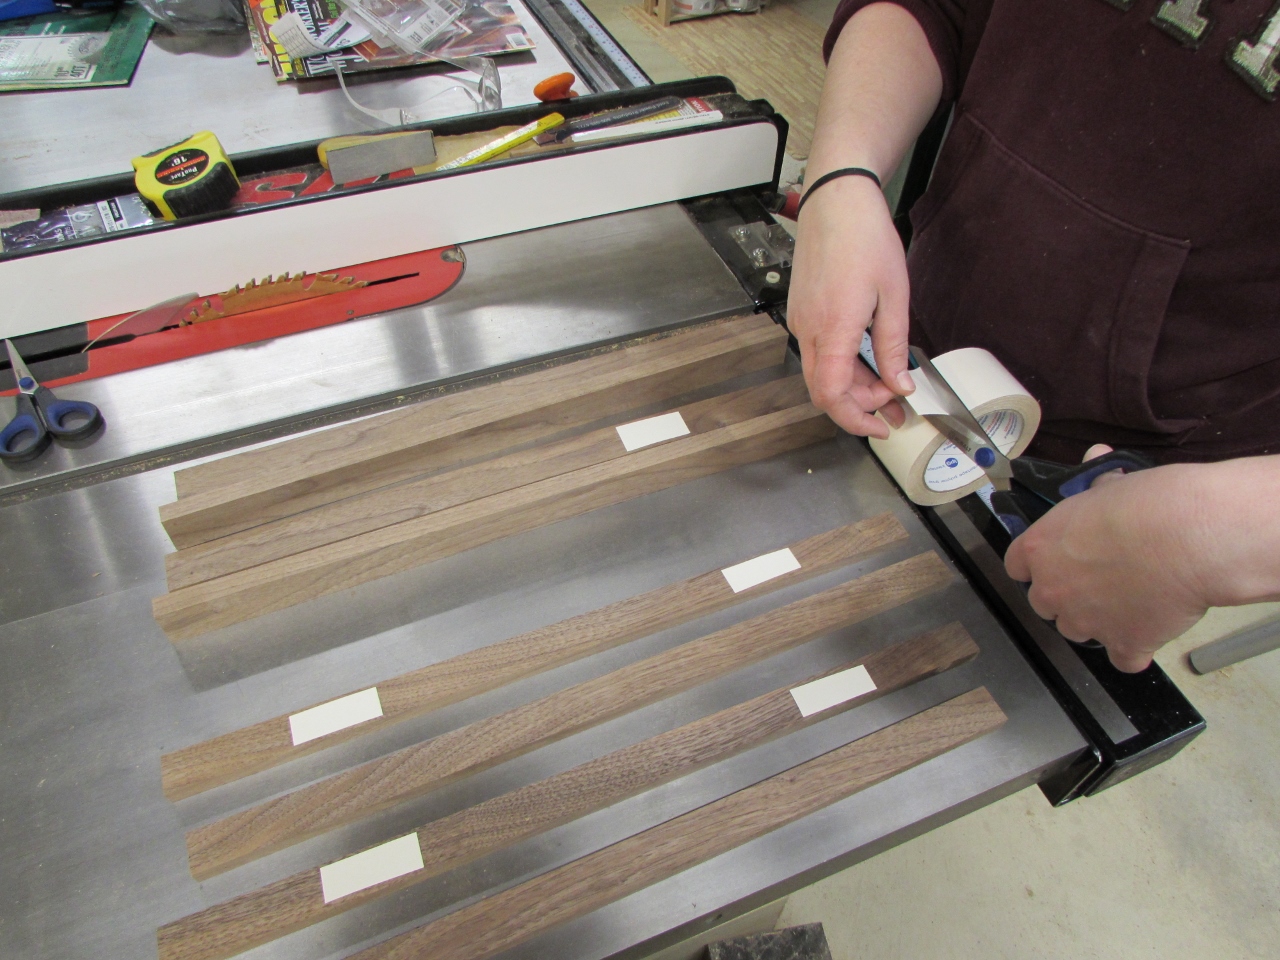
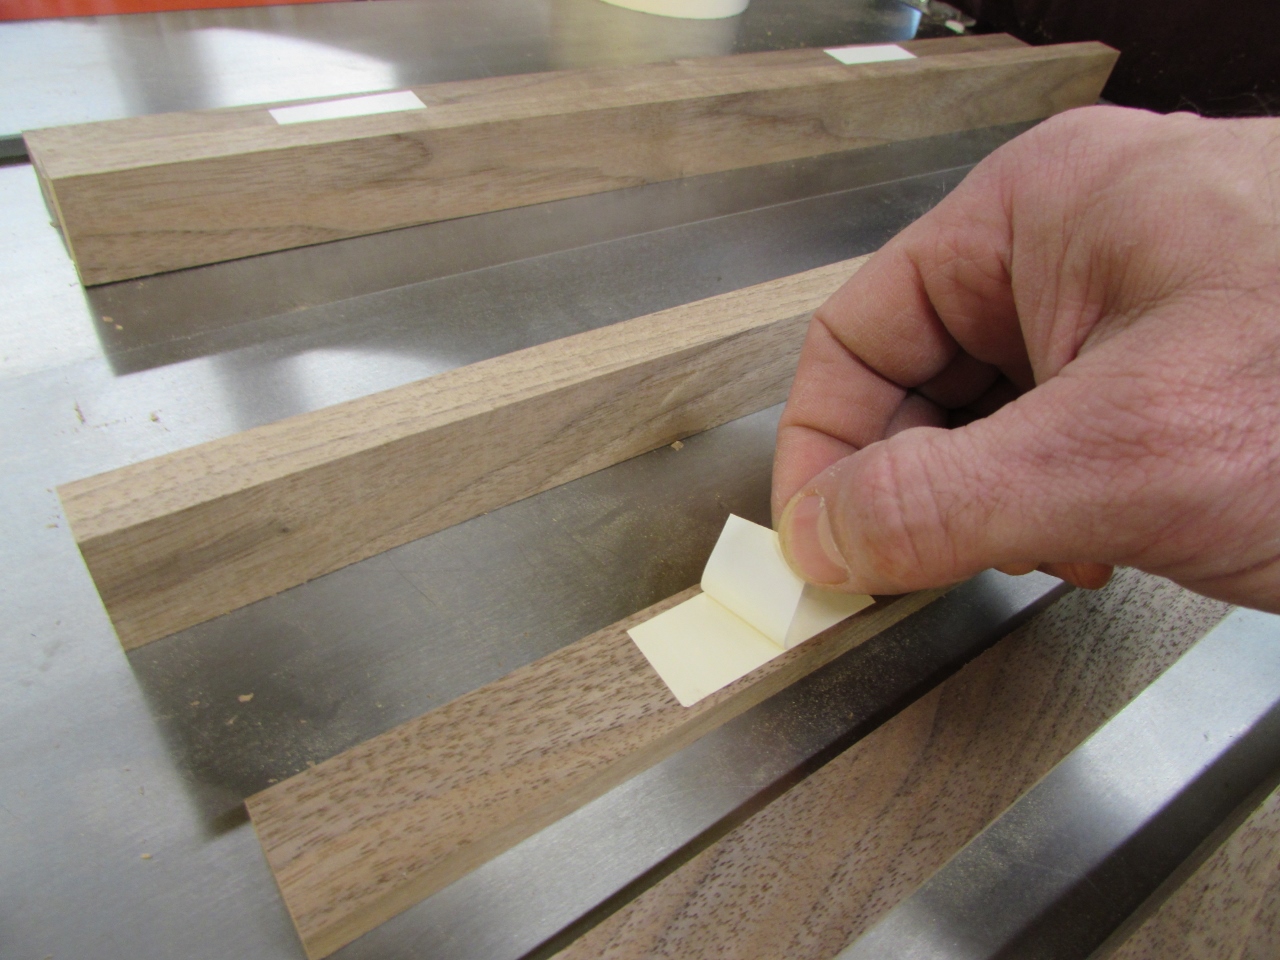
The plan is to do four frames total so Erin cut eight blanks. Using double-sided tape, we paired up two strips at a time. Each doubled up set will be one picture frame. This will insure that all my lengths are exactly the same.
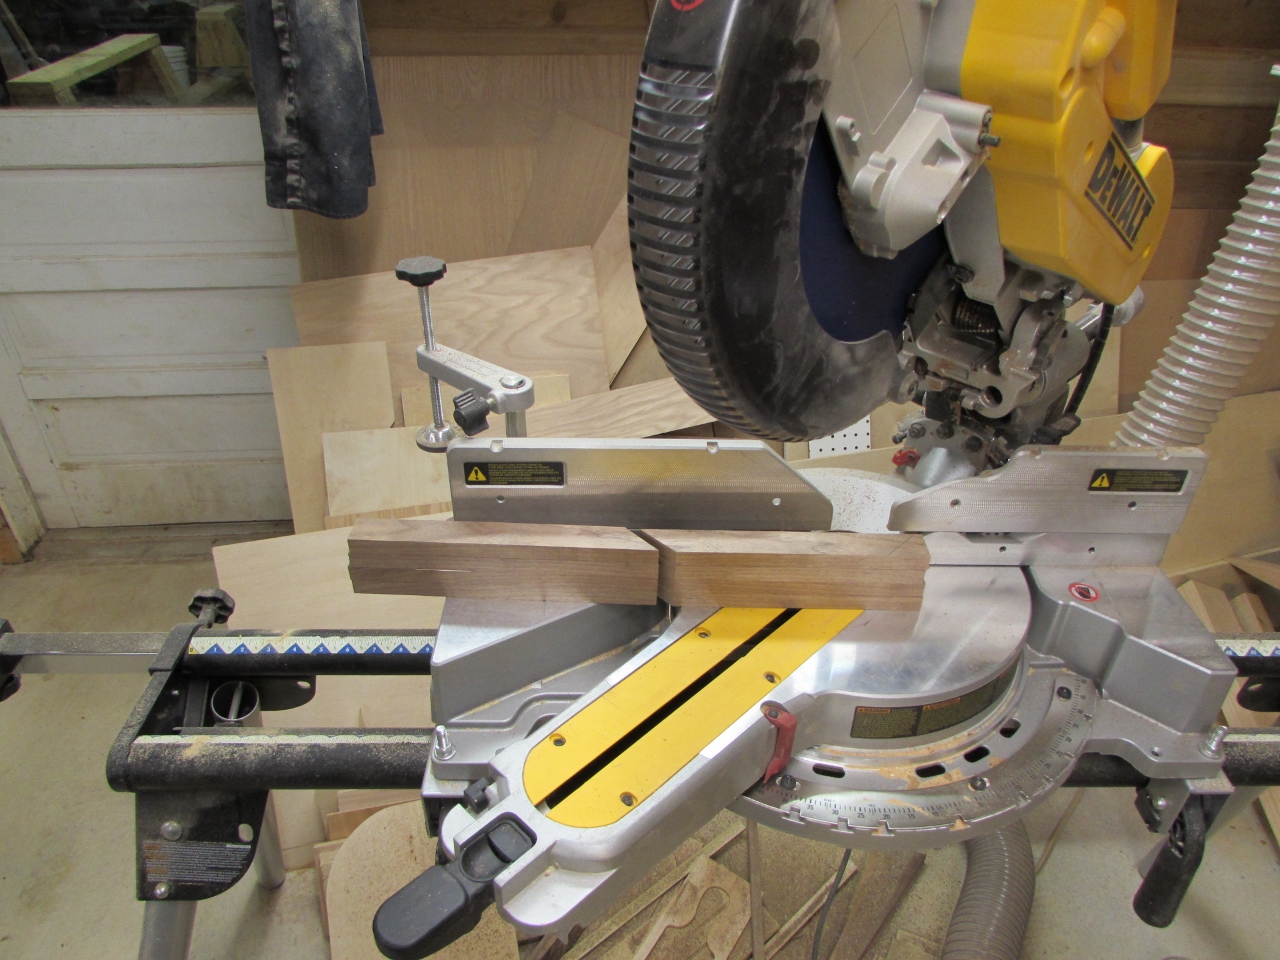
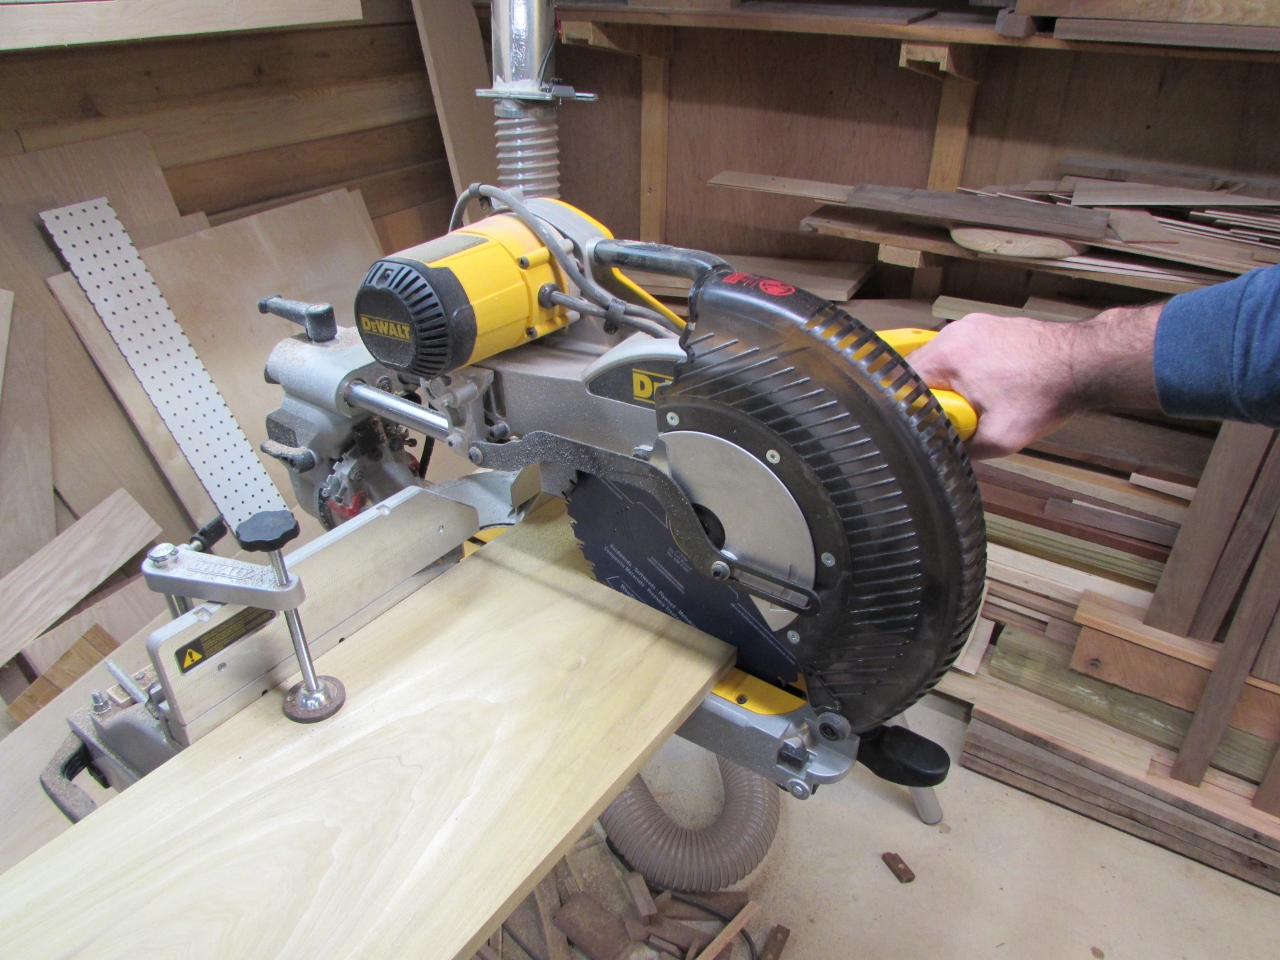
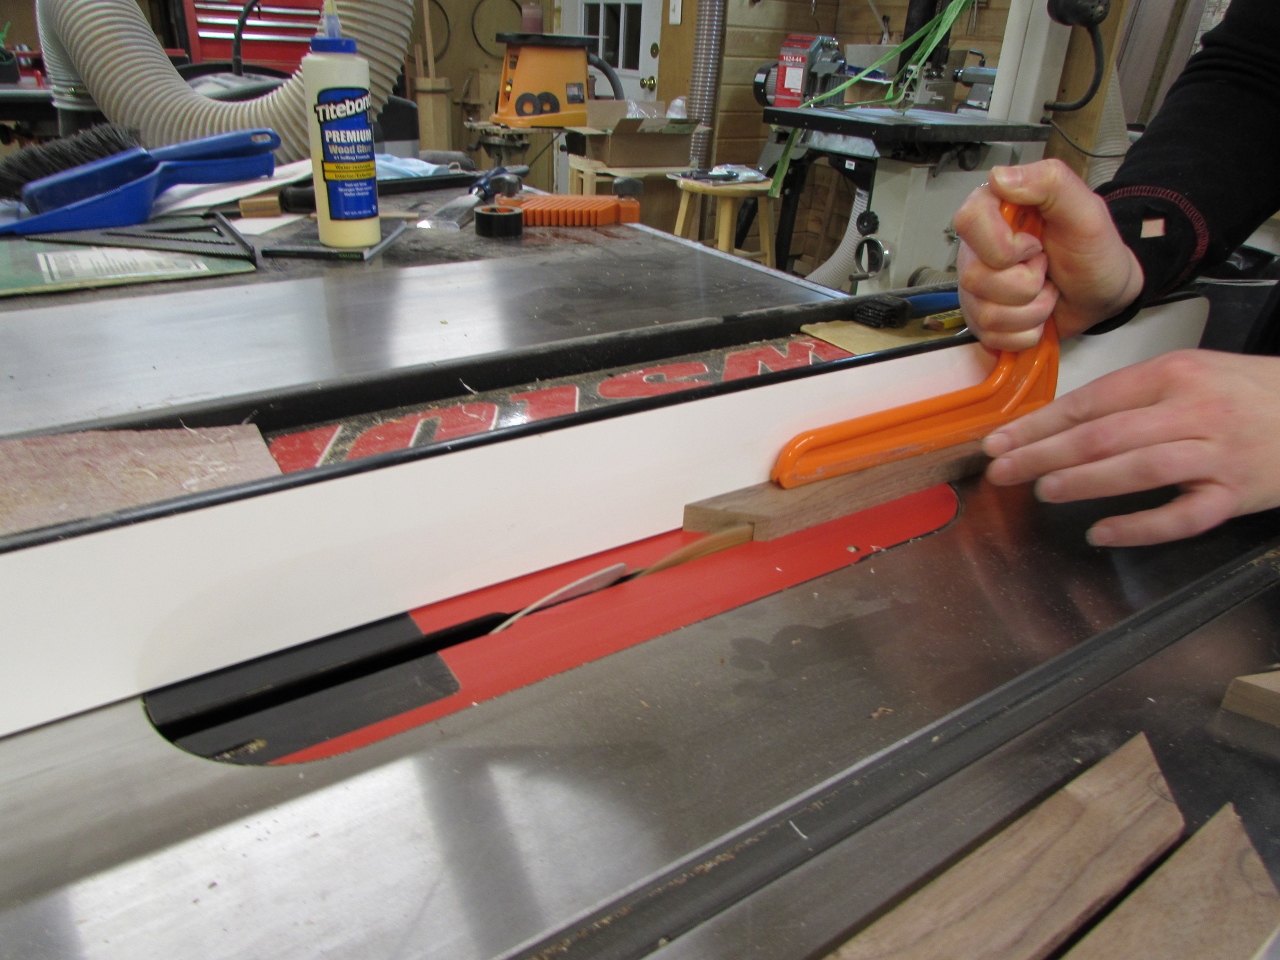
Now I will try to explain how to get the miters perfect. I have made several picture frames, in the past, and I have always struggled to get the miters perfect. After looking at several different tutorials and videos, I still didn’t have a good, foolproof way to do it. I recently was cleaning in the shop and stumbled across a jig, that I bought years ago, for installing crown molding. I remembered a trick explained in the tutorial on its use, that explained how to cut perfect miters, even with an imperfect chop saw. The key was not to change the angle of the chop saw. If you flip the saw angle back and forth, you are bound to be off slightly, even a quarter of a degree will leave a gap when multiplied across all four corners.
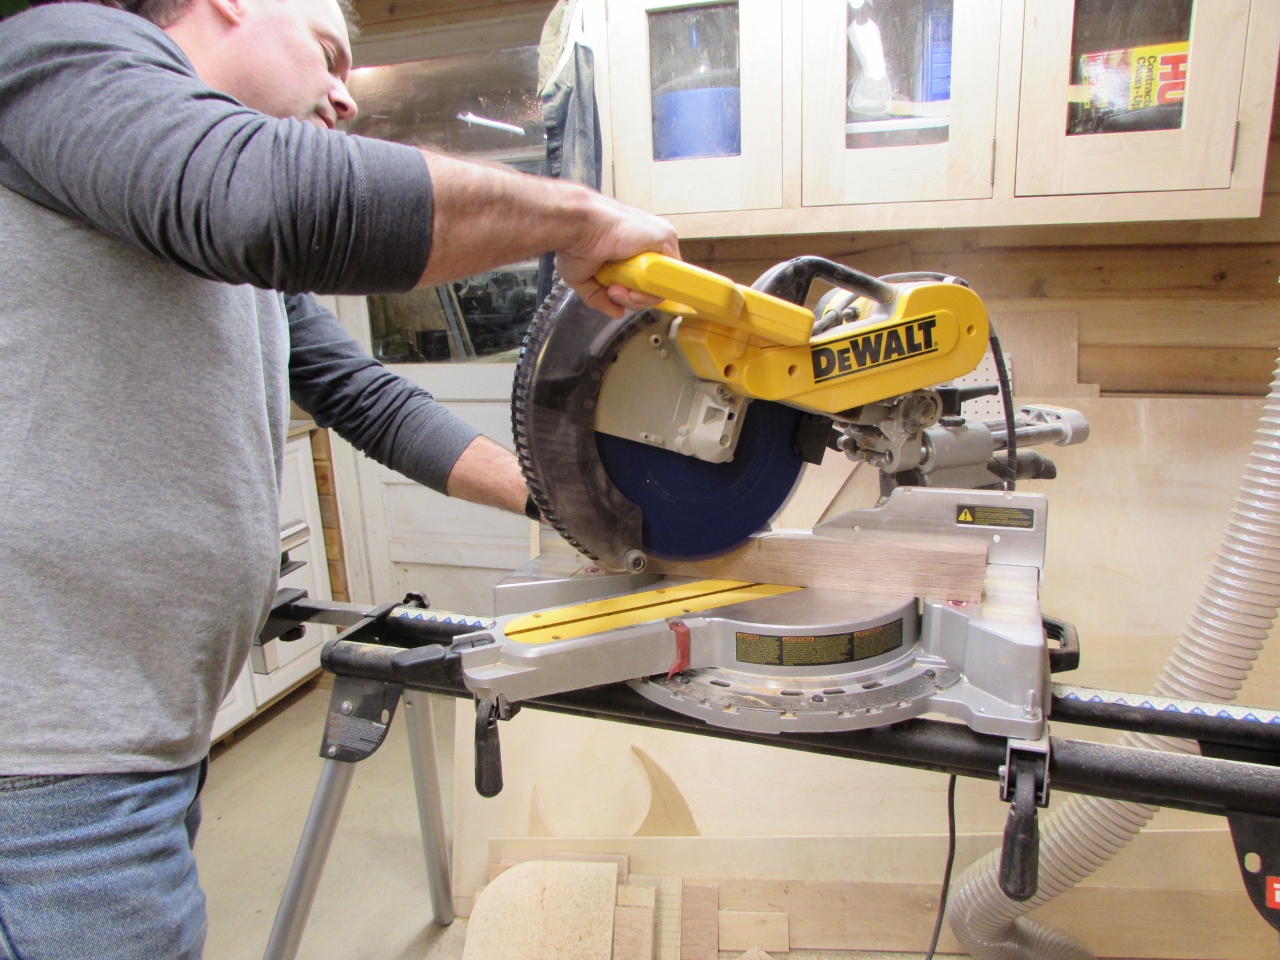
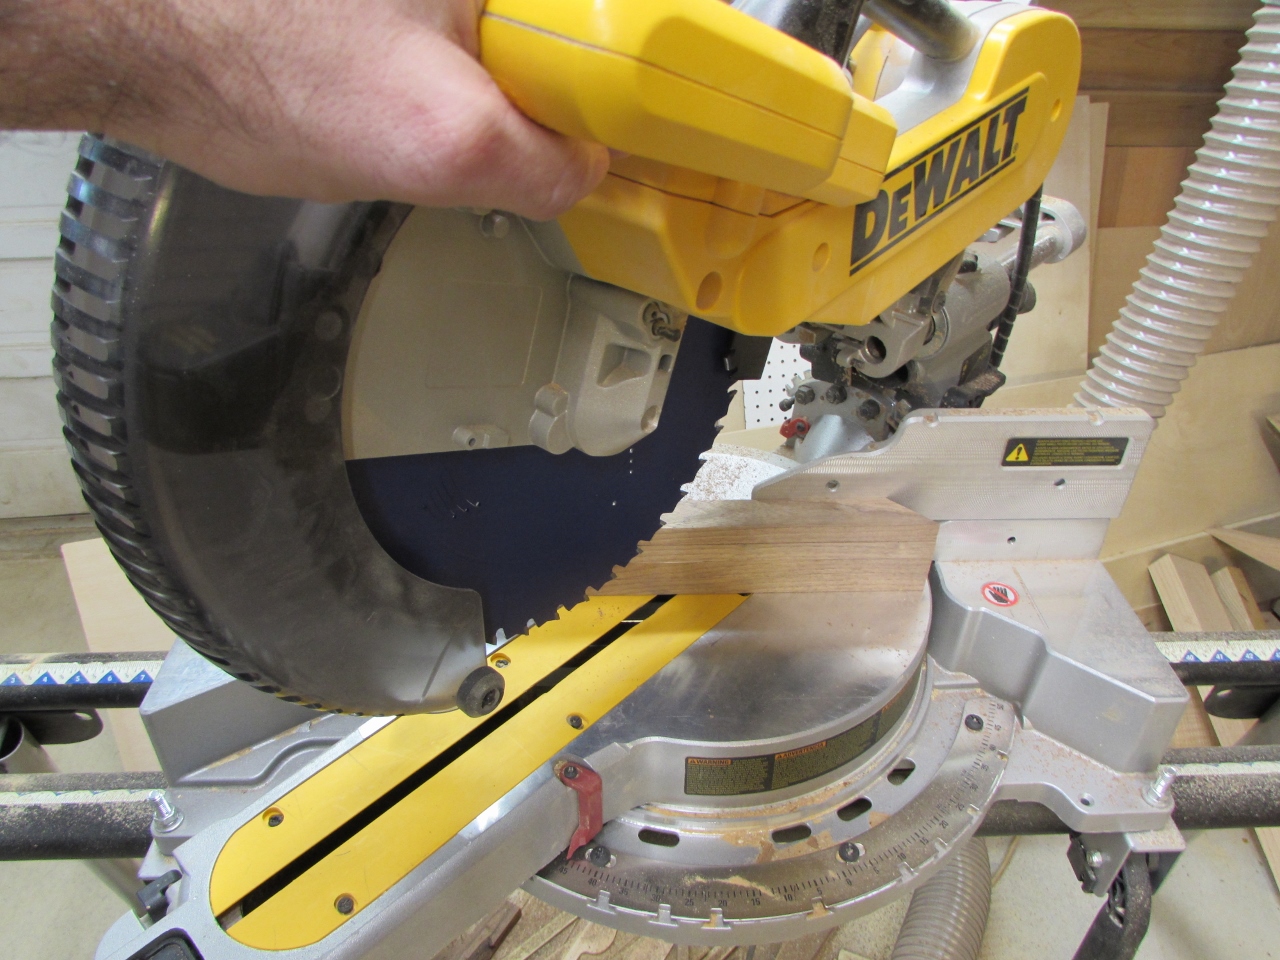
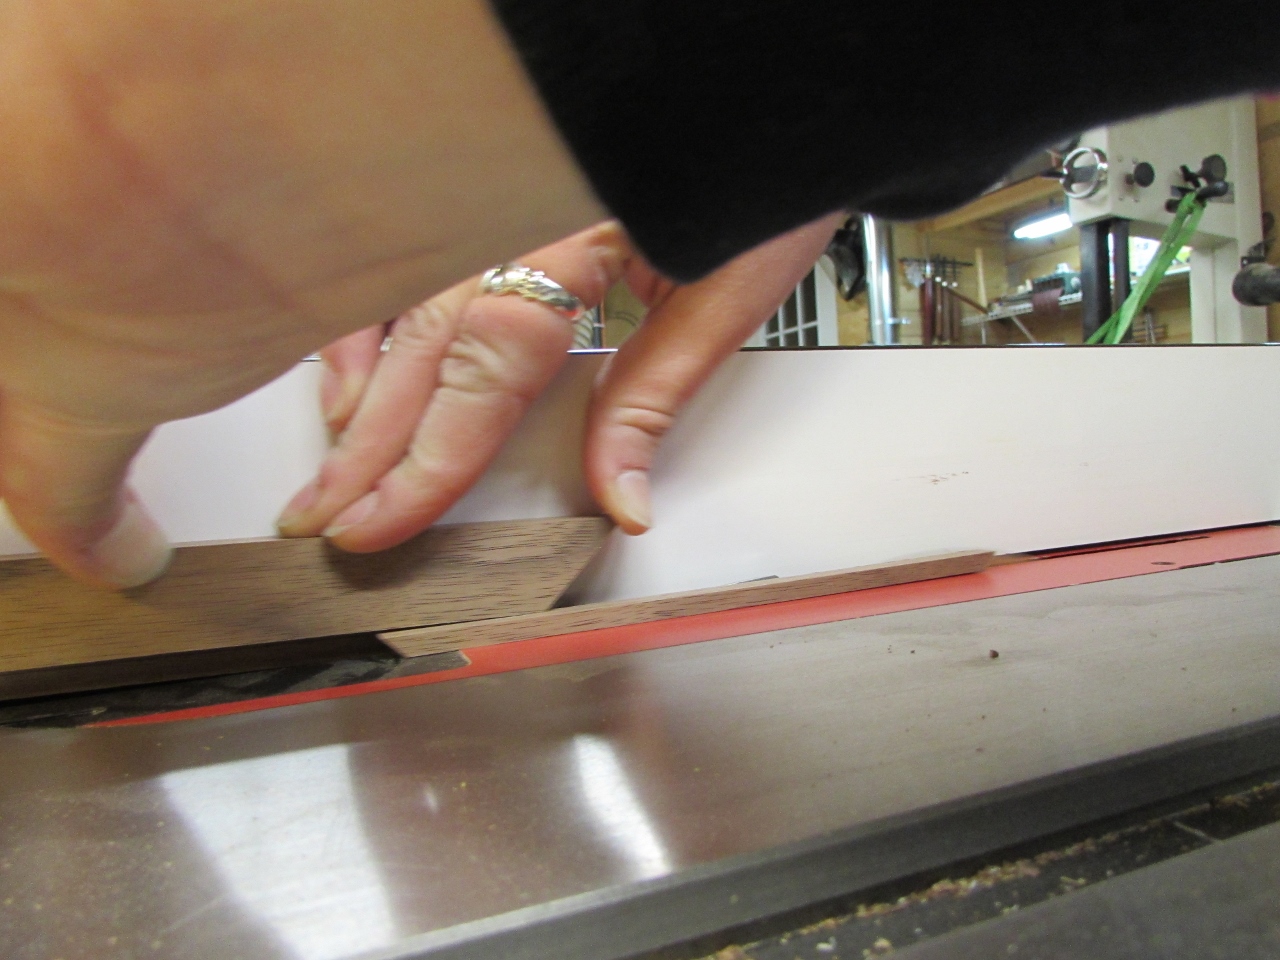
If you cut your blanks long enough, you can make the cut in the middle first, then flip the blanks over (from left to right) and get the two end cuts.
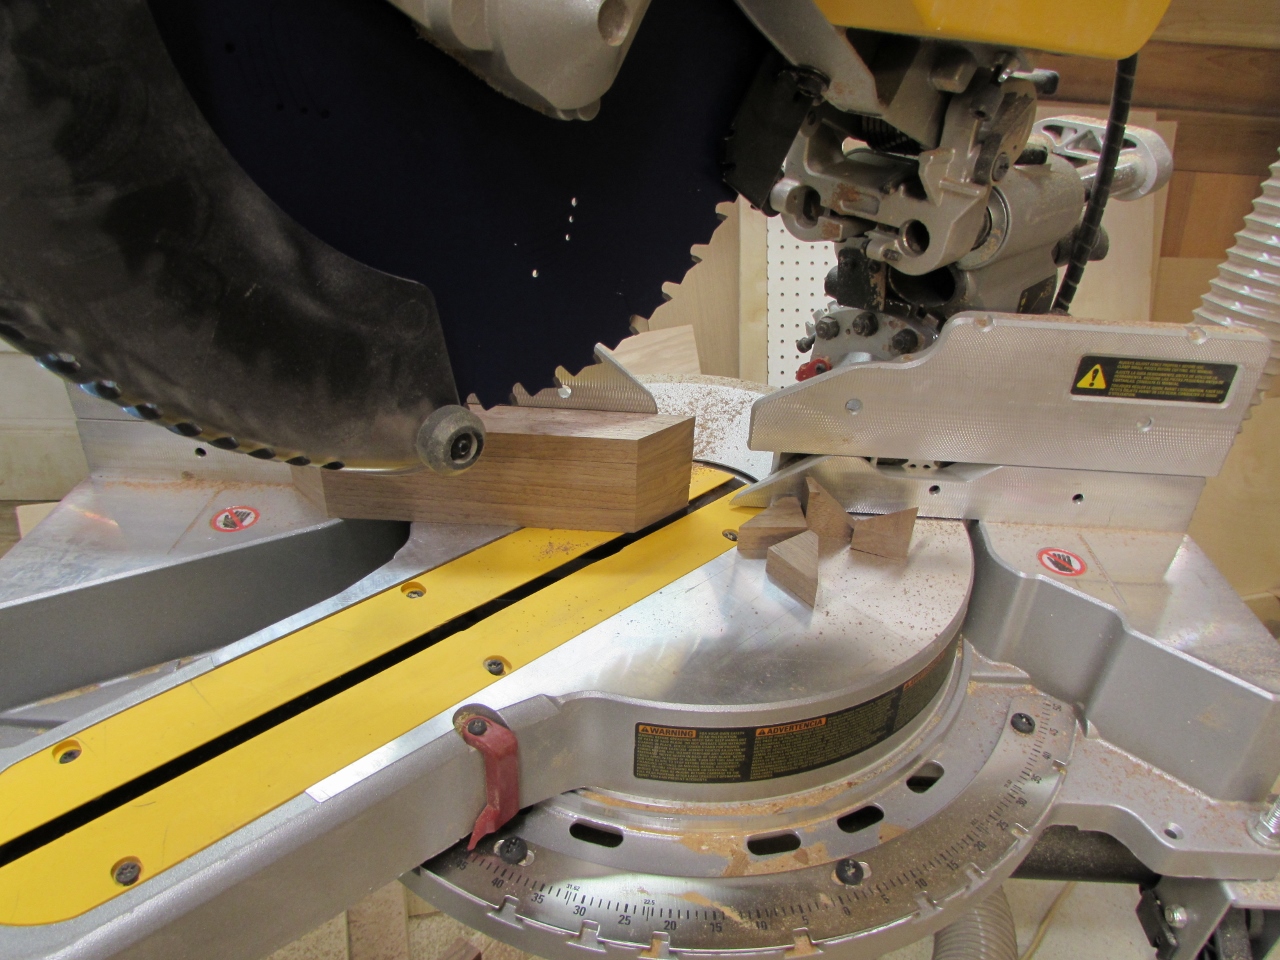
Even if your saw is not at a perfect 45 degrees, the angles cut are still complimentary, totaling 90 degrees (check it out, a practical use for geometry…). The notion made perfect sense so we tried it.

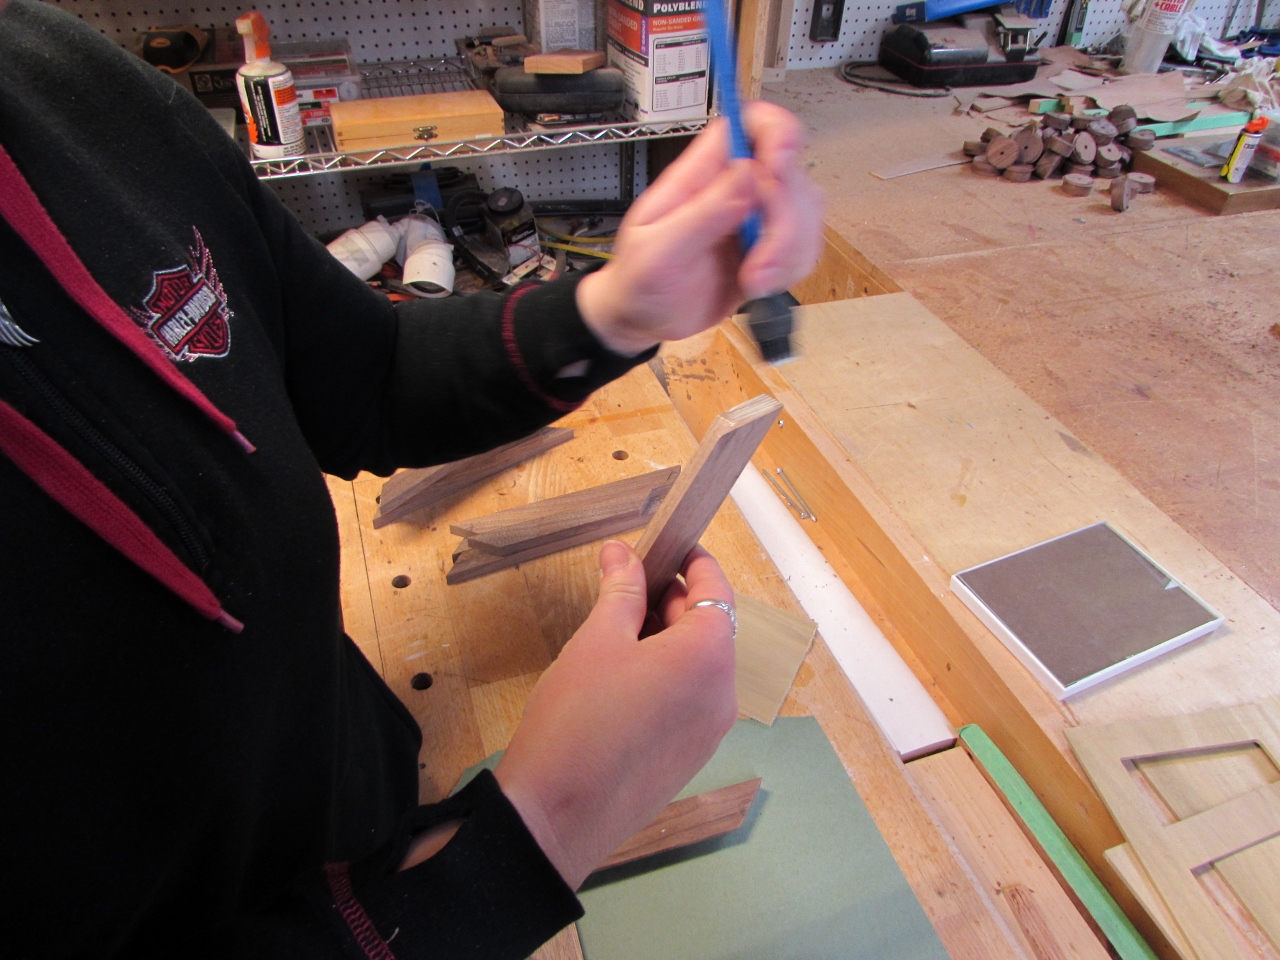
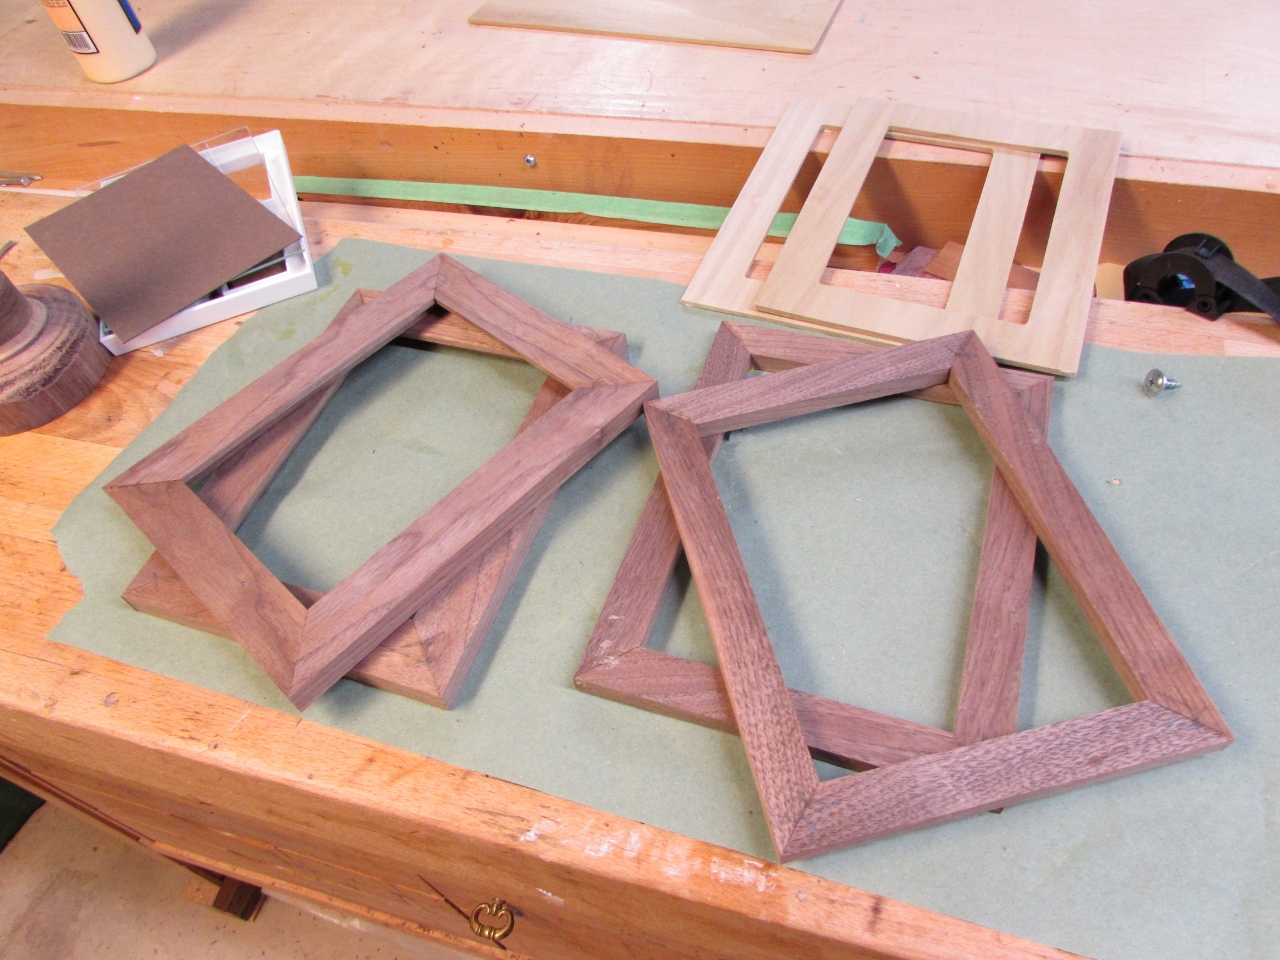
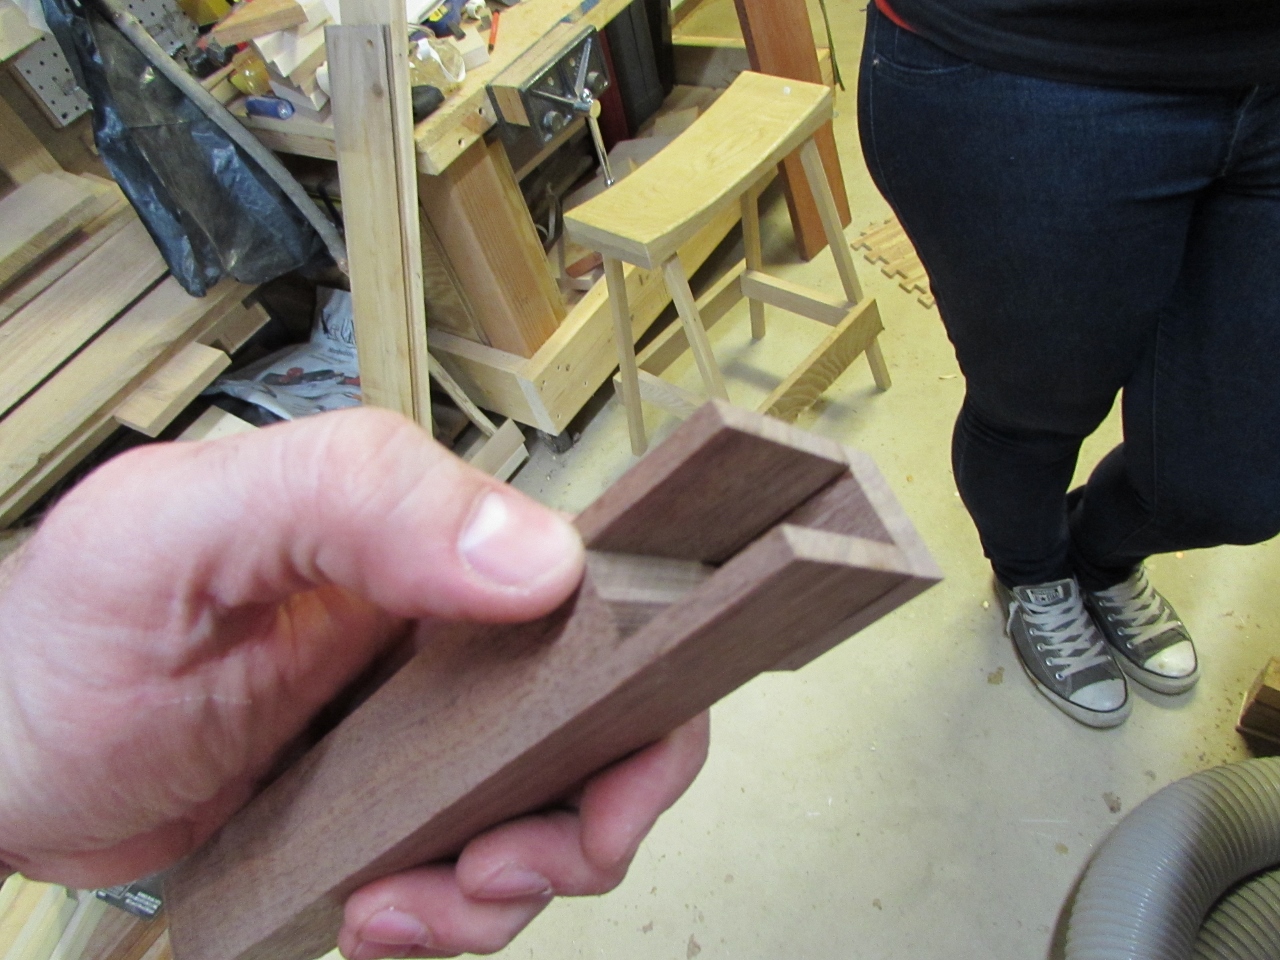
All four frames came out perfect. We made sure to mark which pieces went to which by drawing unique shapes across each miter.
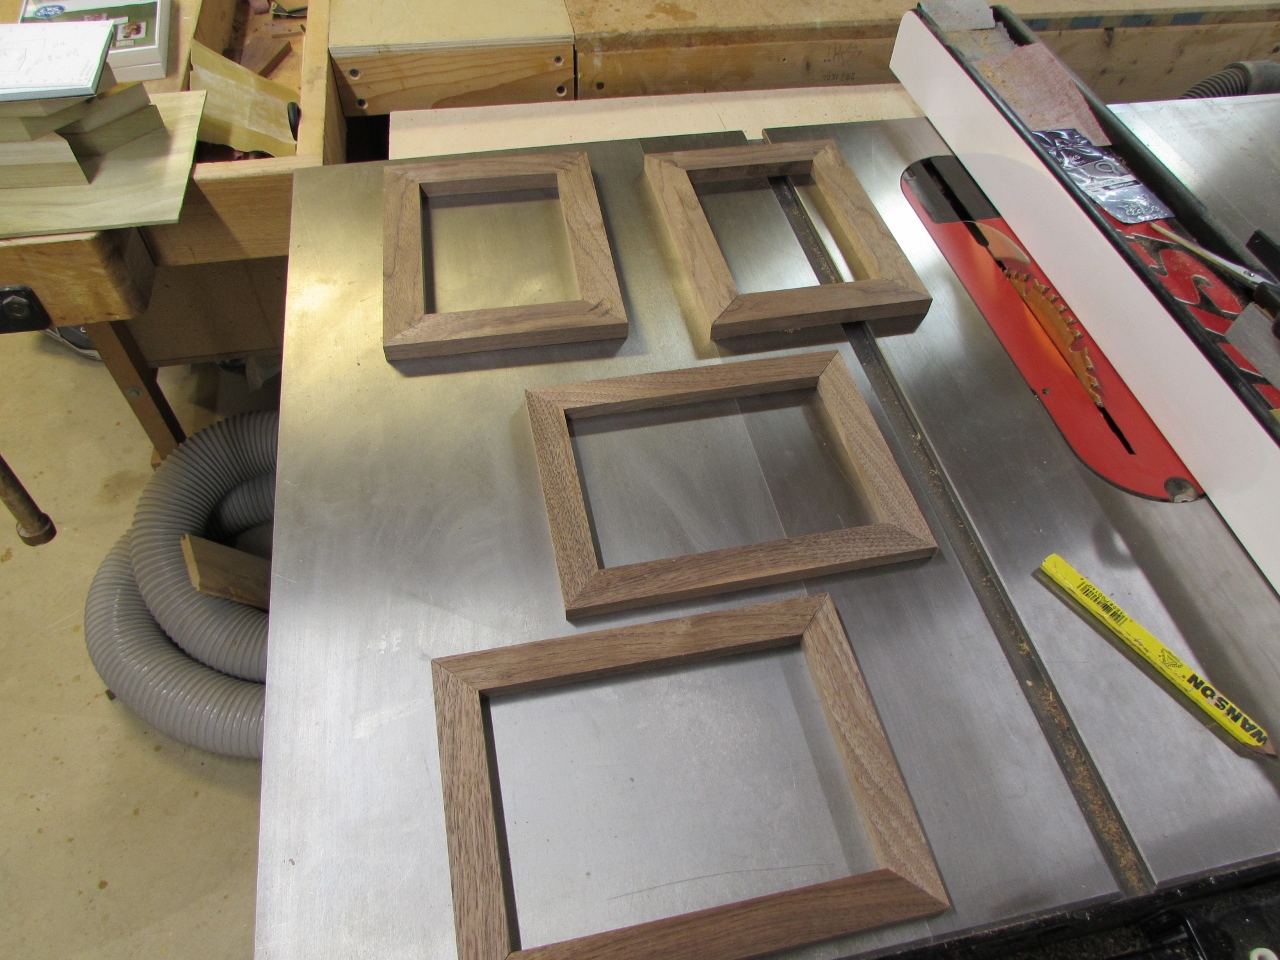
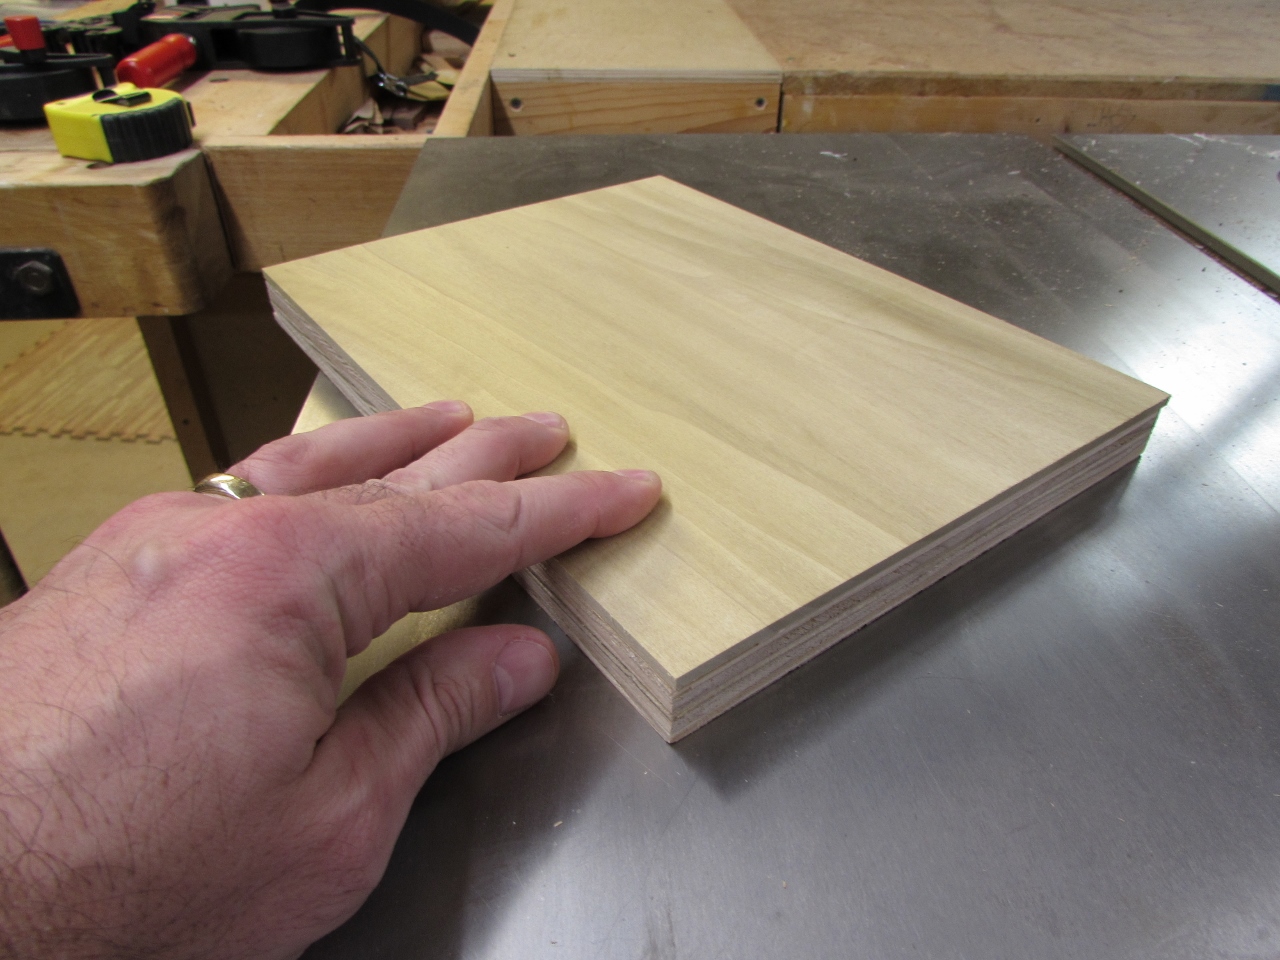
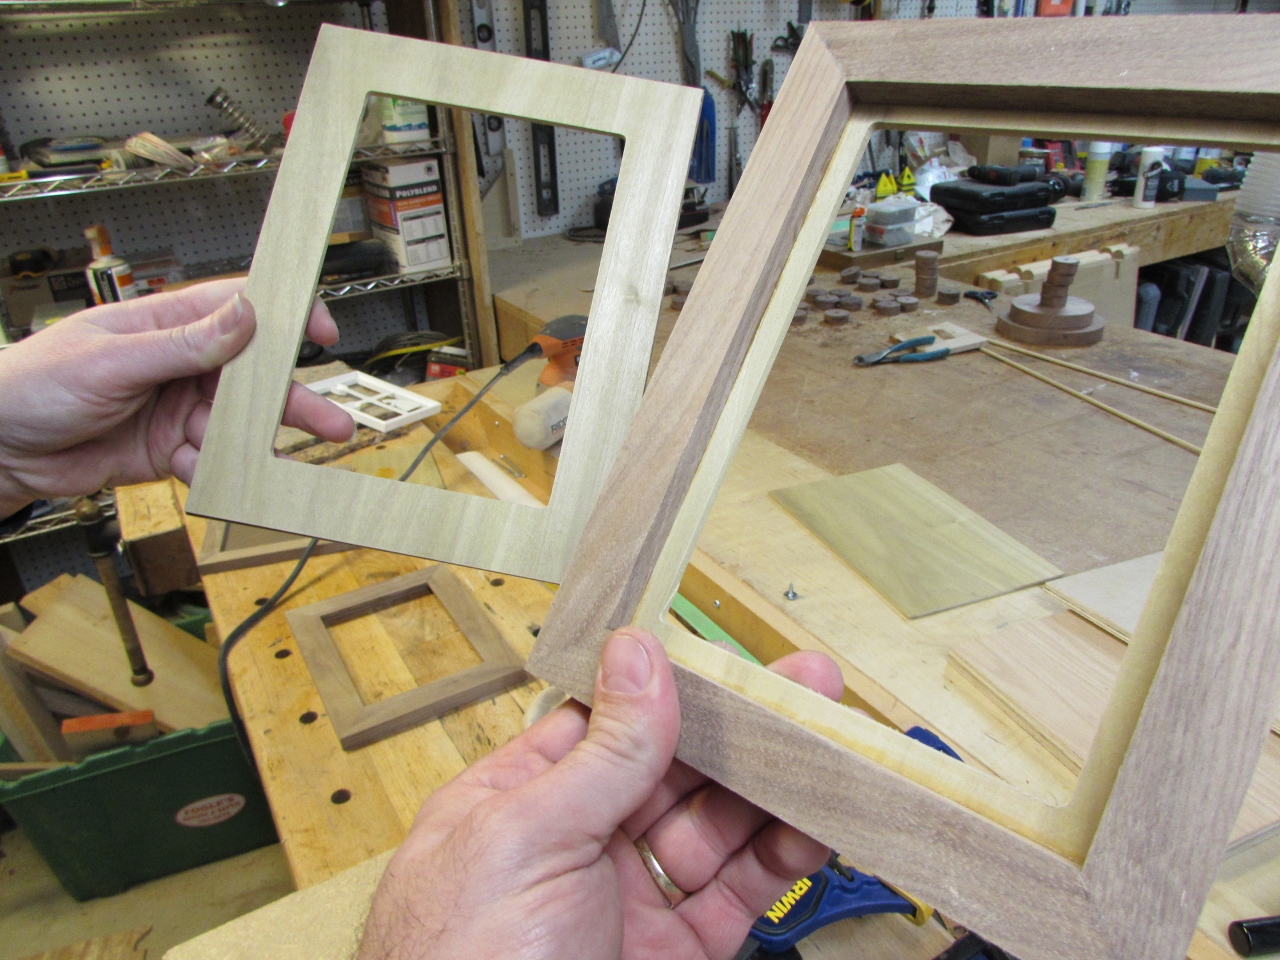
You may not be able to see it, but two of the frames are 5/8″ thick, and the other two are only 1/2″ thick. That is because we intend to laminate 1/8″ of poplar to the face of two of the frames, to match the plaque.
We started with a large chunk of poplar and cut it down to a little larger than a frame.
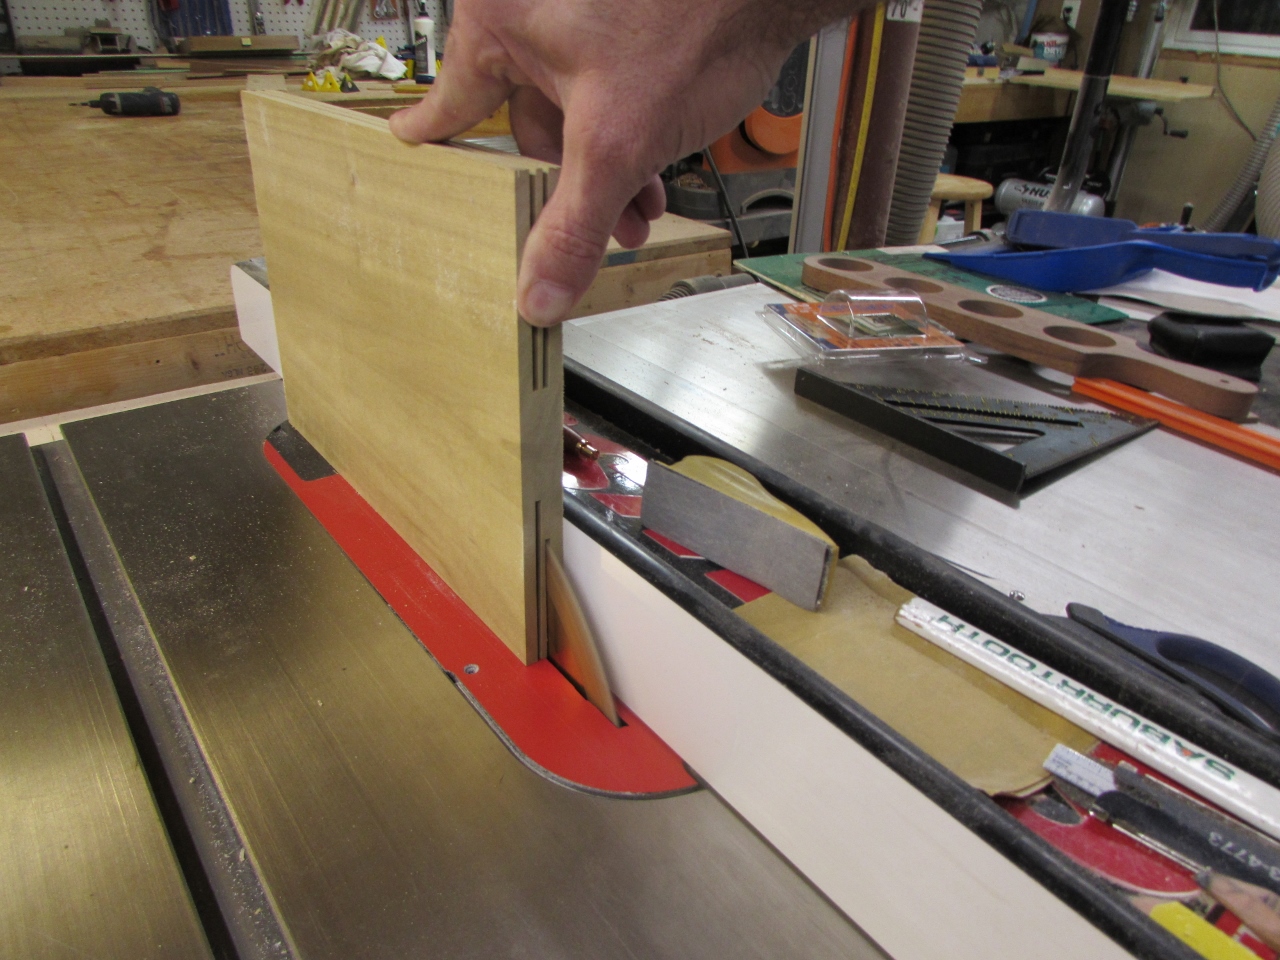
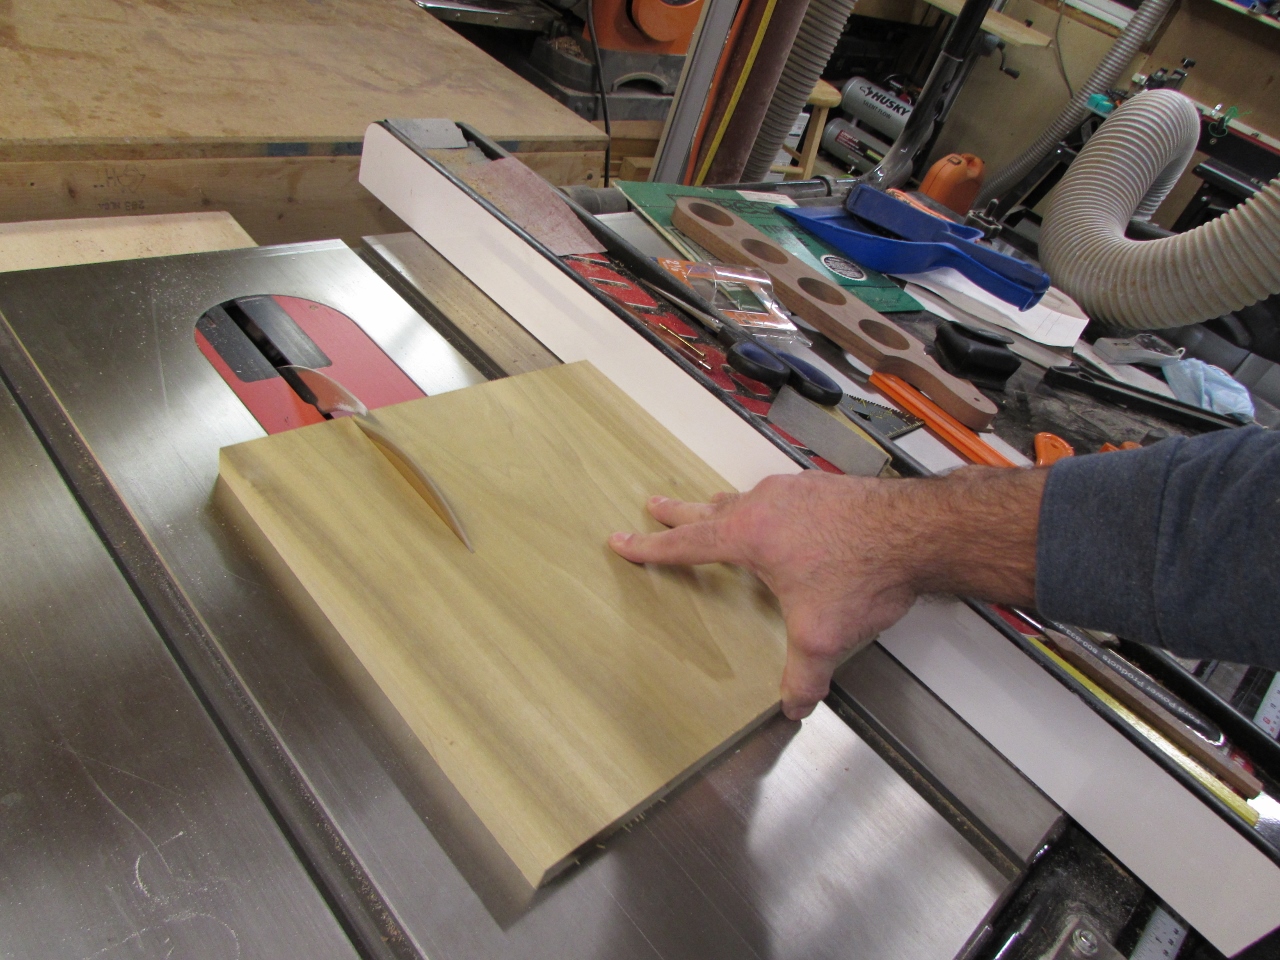
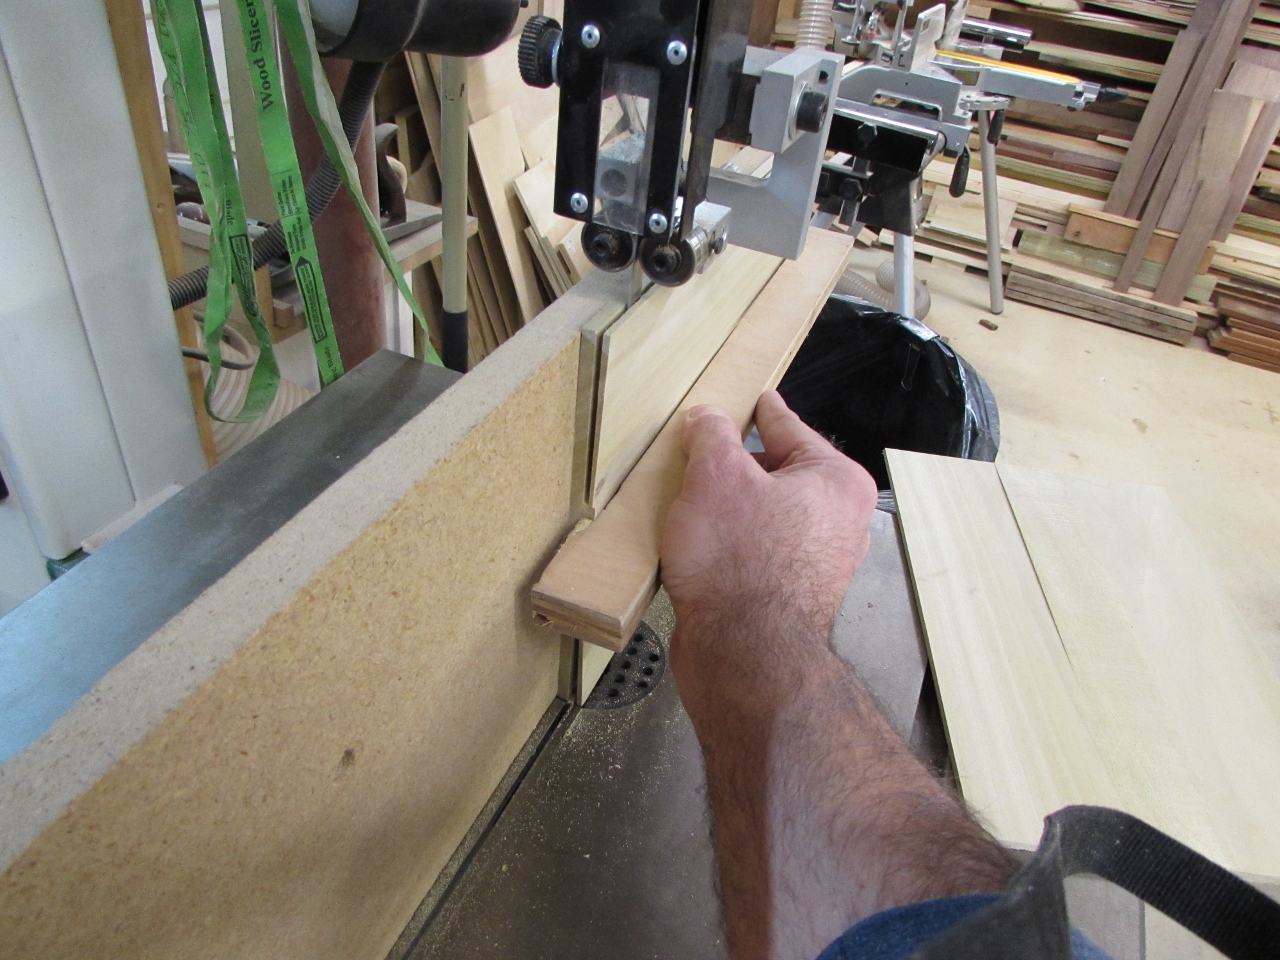
Next we did a little re-sawing, first on the table saw, then finished the cuts up on the bandsaw.
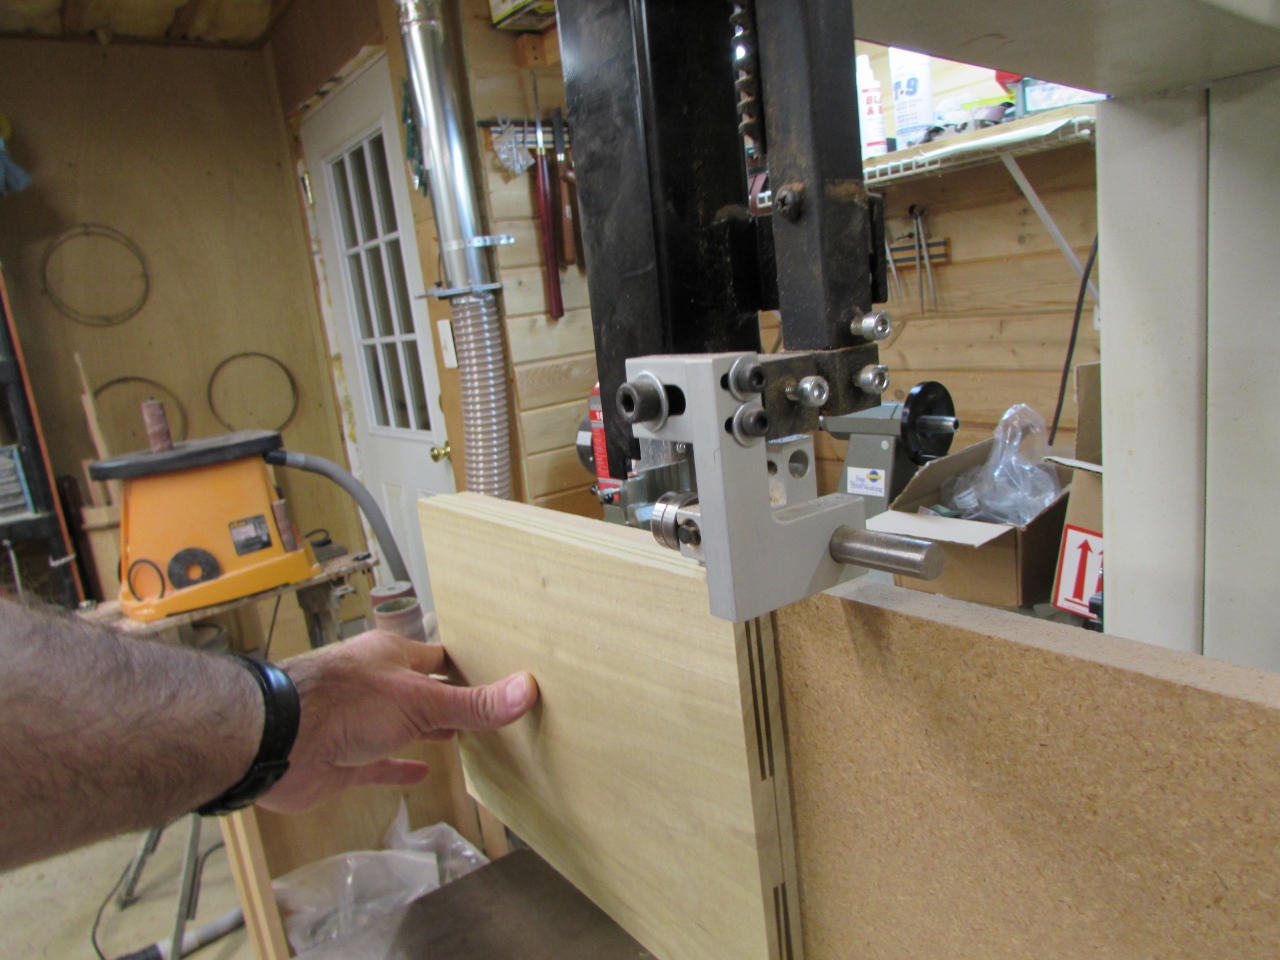
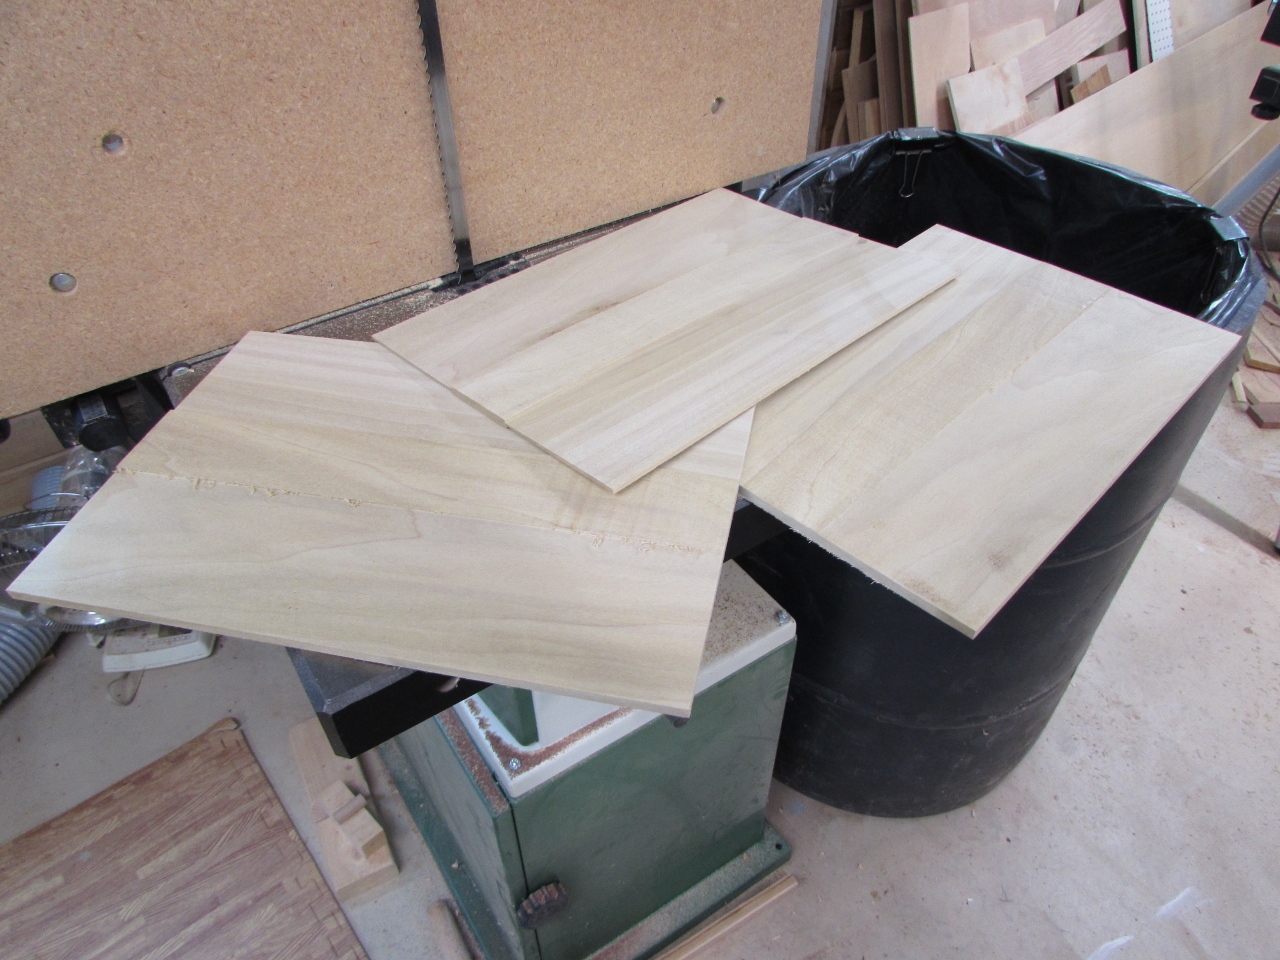
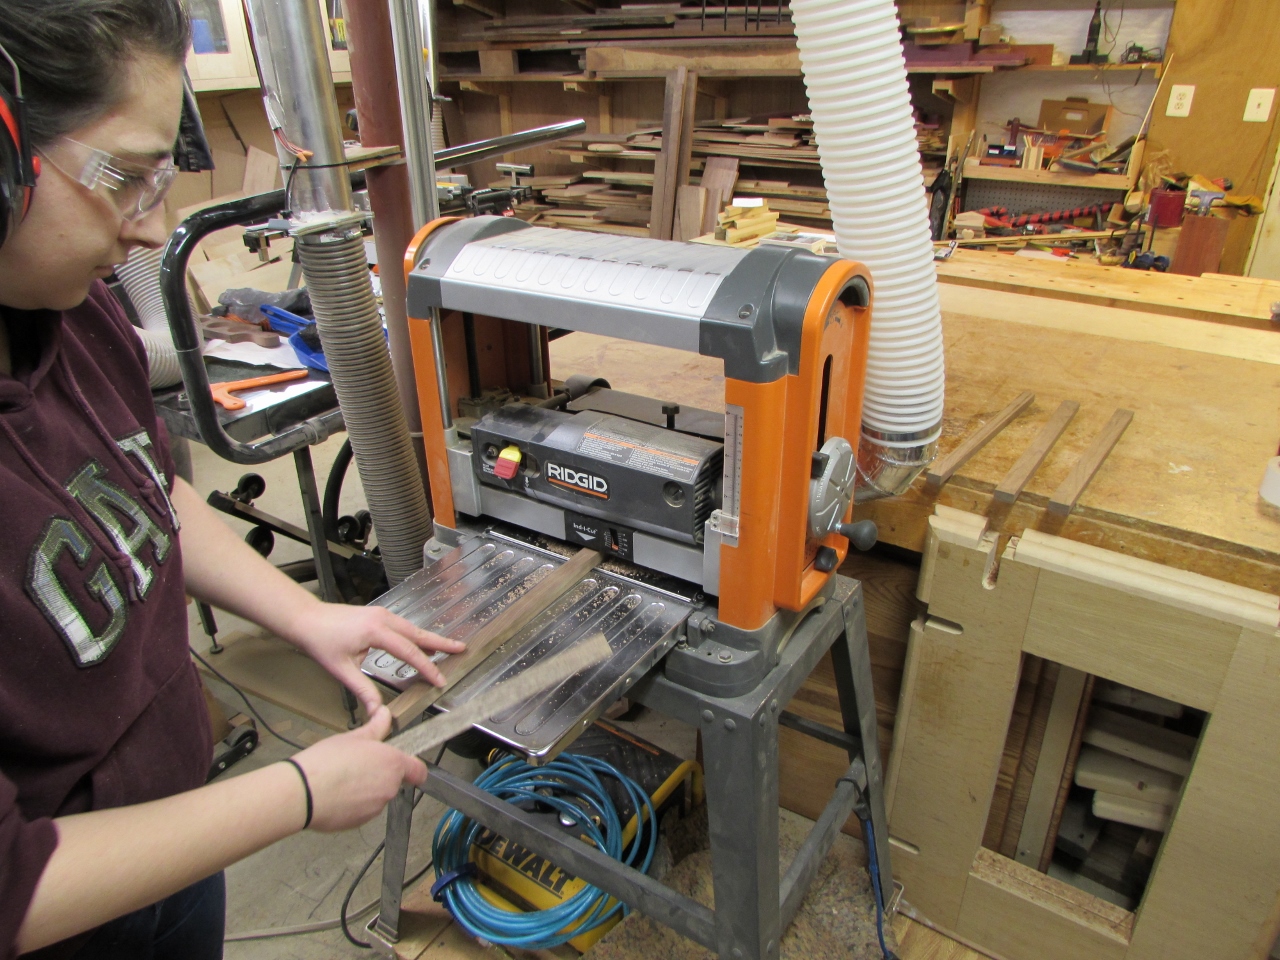
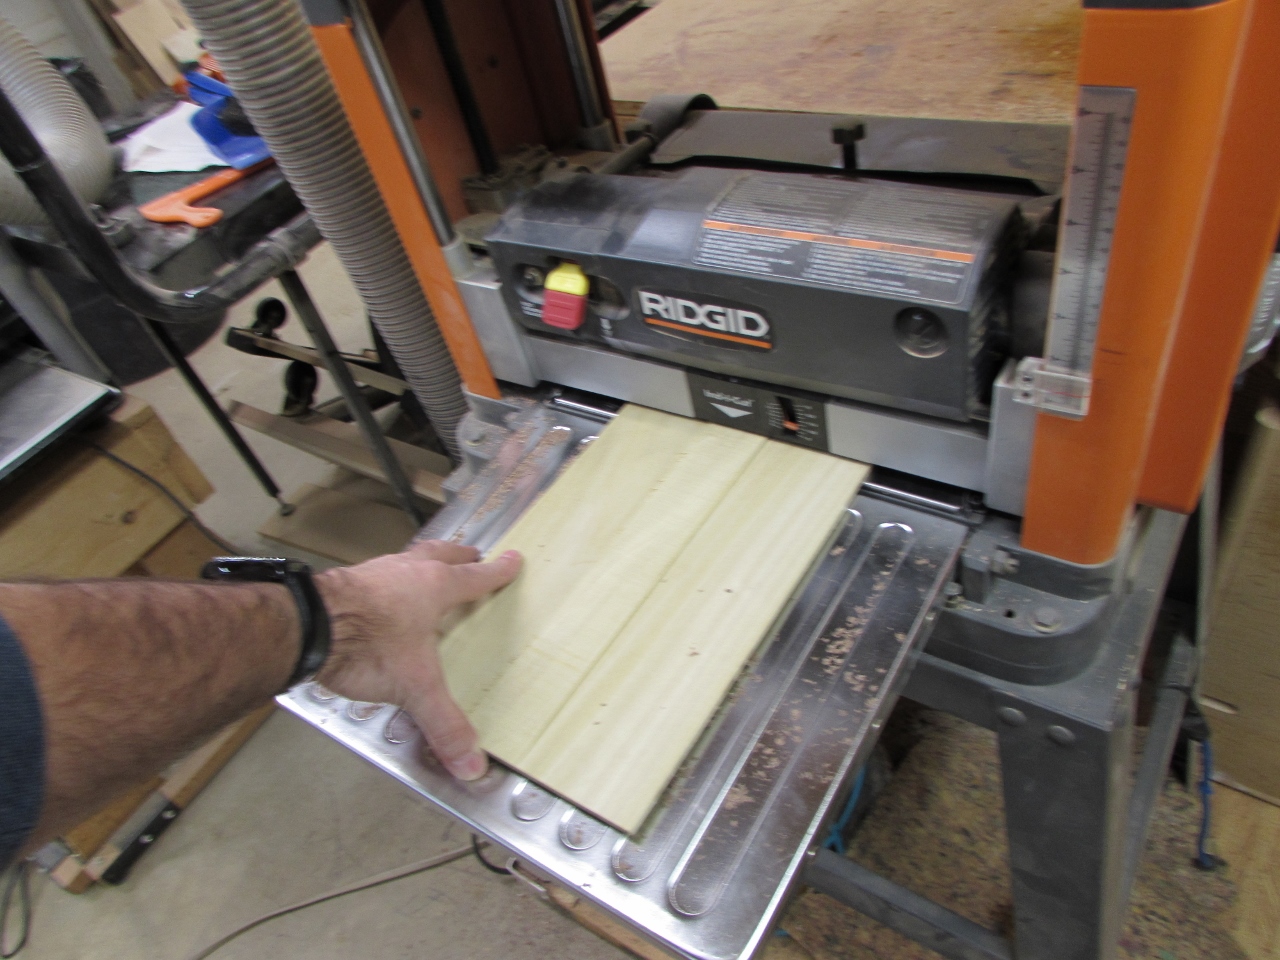
After a little planing, we had two 1/8″ thick sheets.
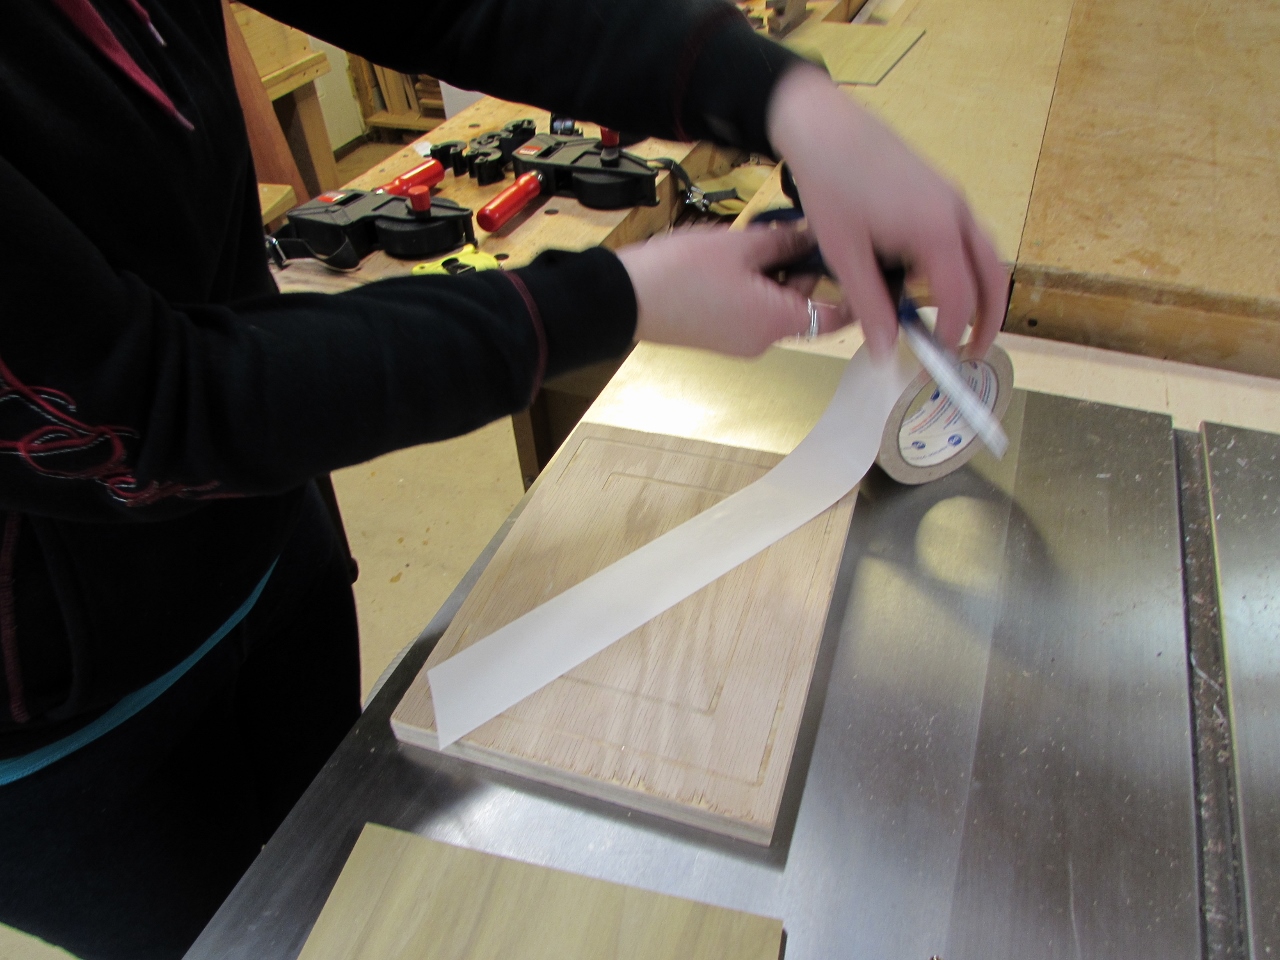
I cut a blank of plywood and Erin attached the poplar to it with some double-sided tape.
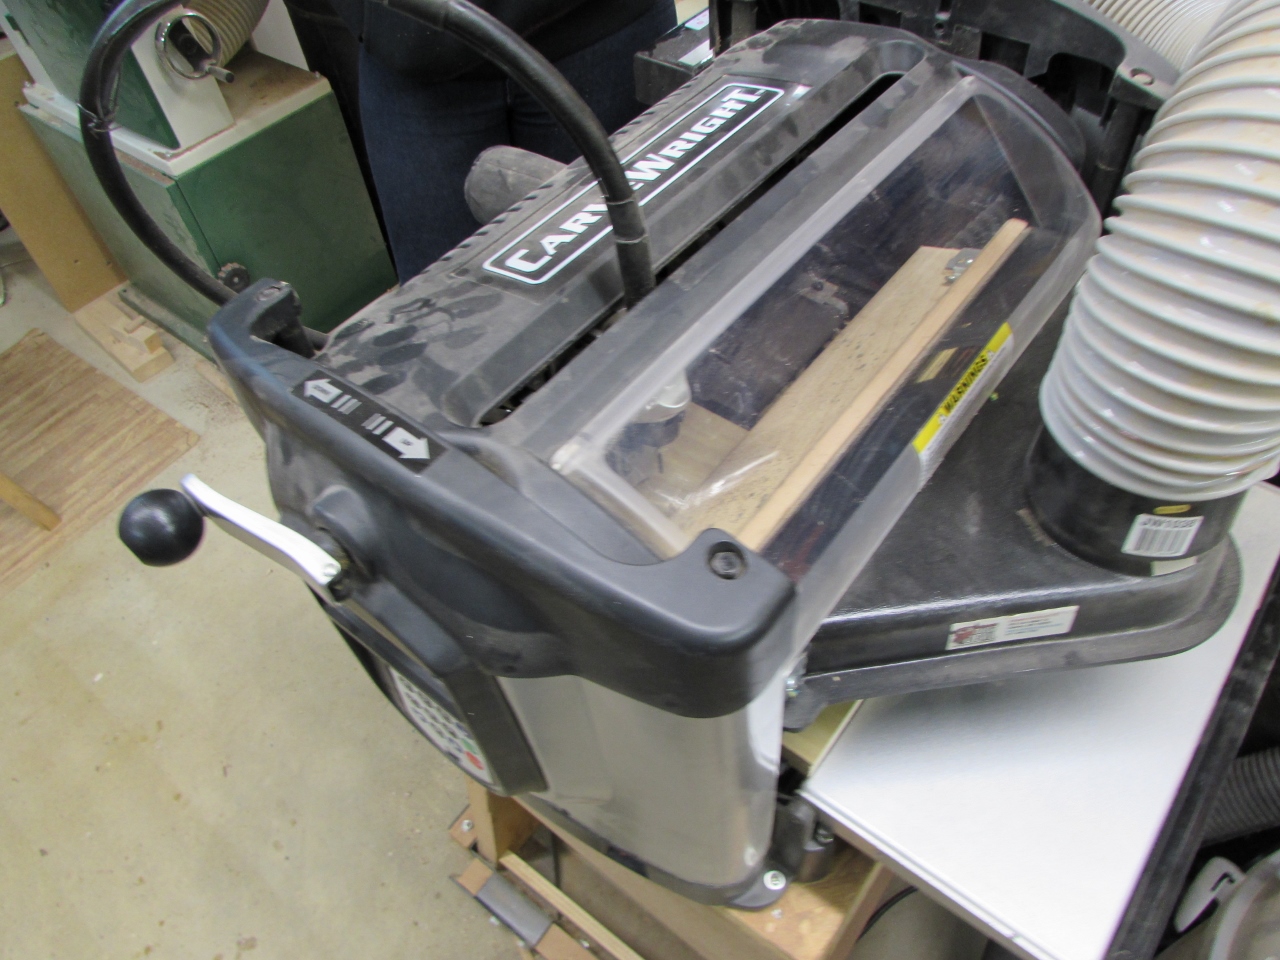
Five minutes in the CNC and the frame shape was perfectly cut out.
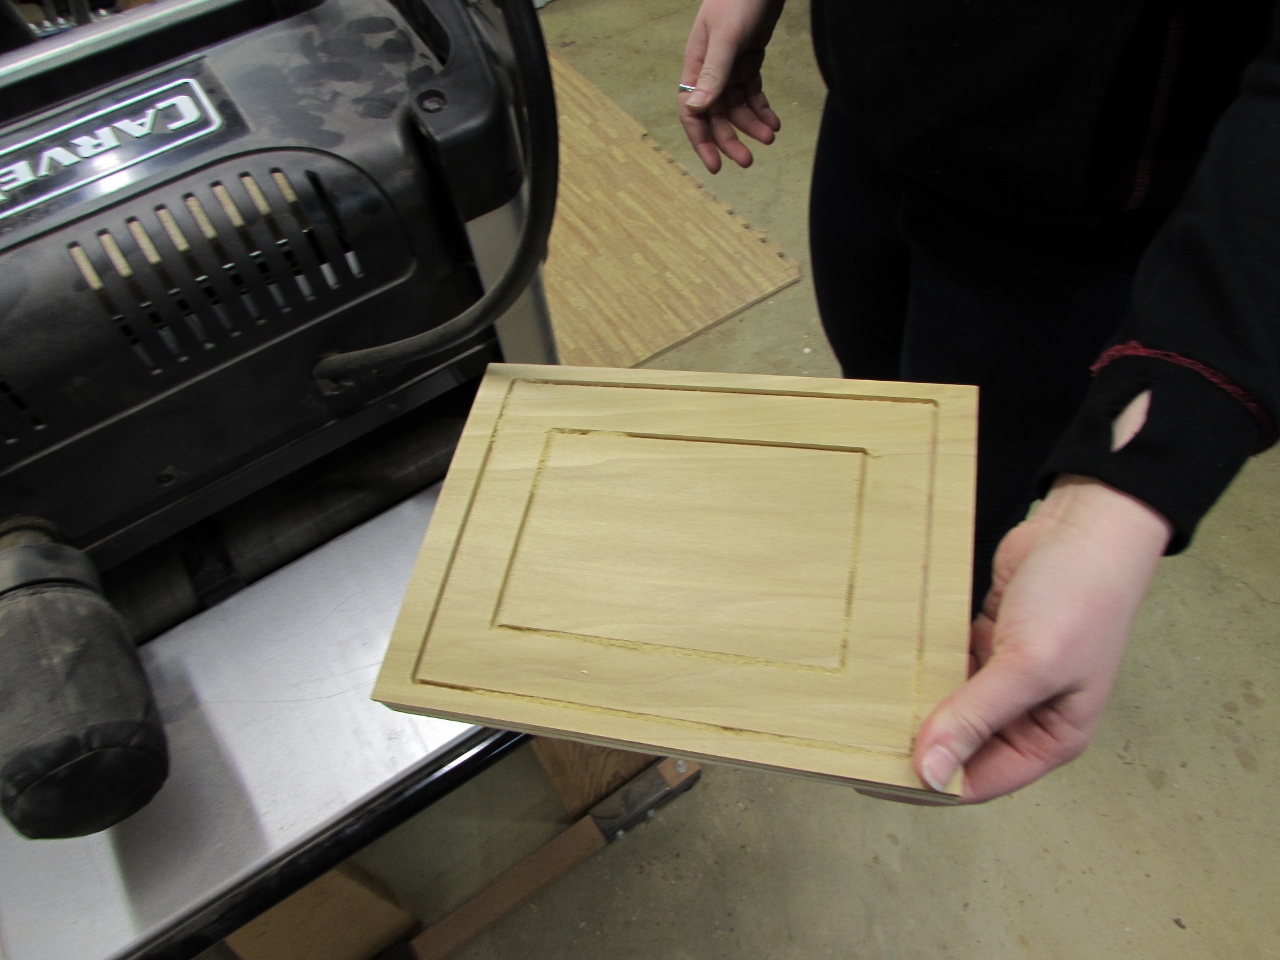
We gently pried it off the plywood and repeated the process on the second. Please note that the veneer could have been attached to the blanks before cutting the miters, but I was going for a look that better matched the plaque.
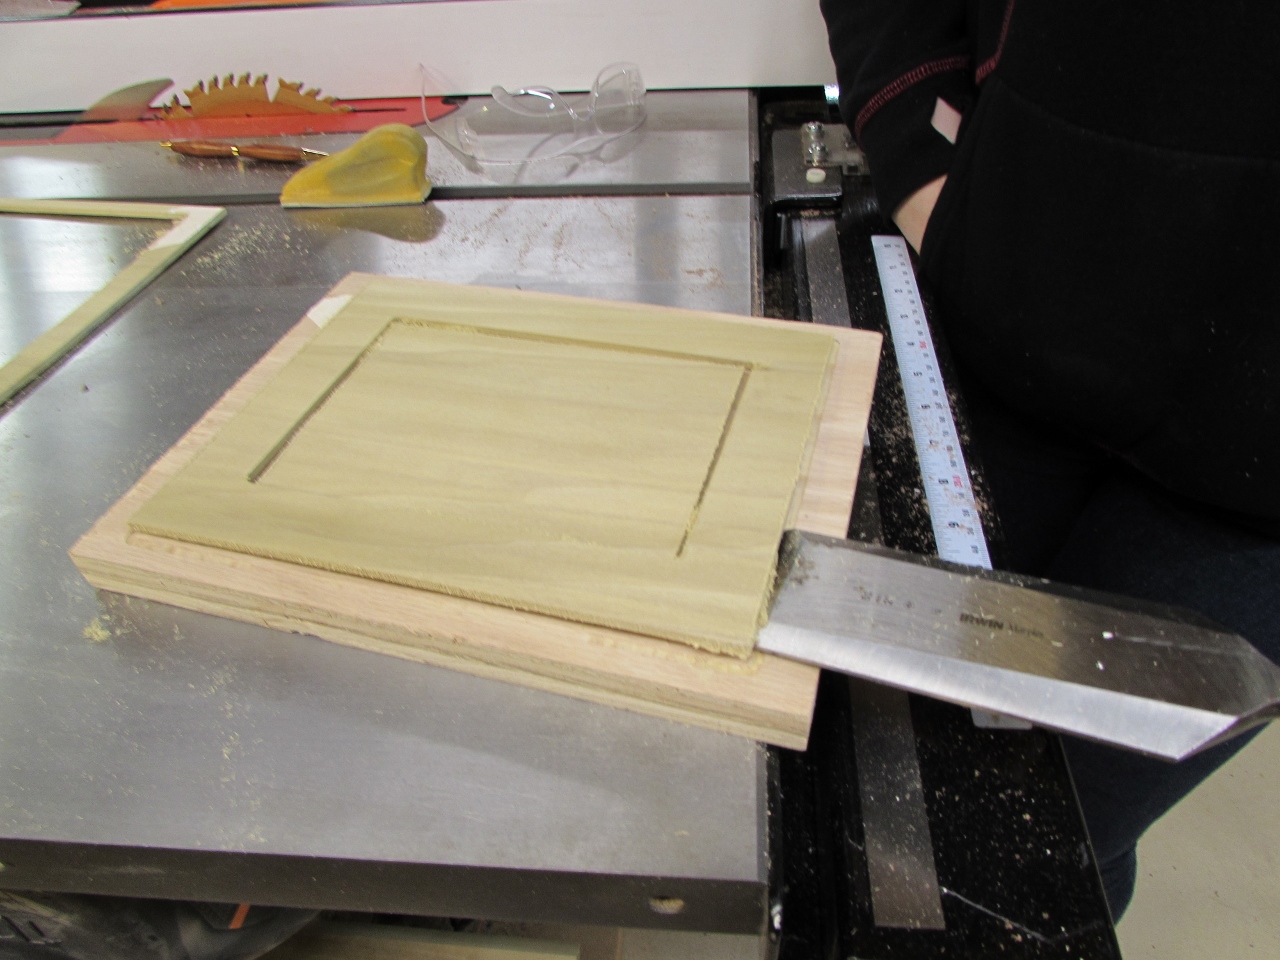
While that was running, Erin cut out the rabbet in the frames where the glass and cardboard will sit.
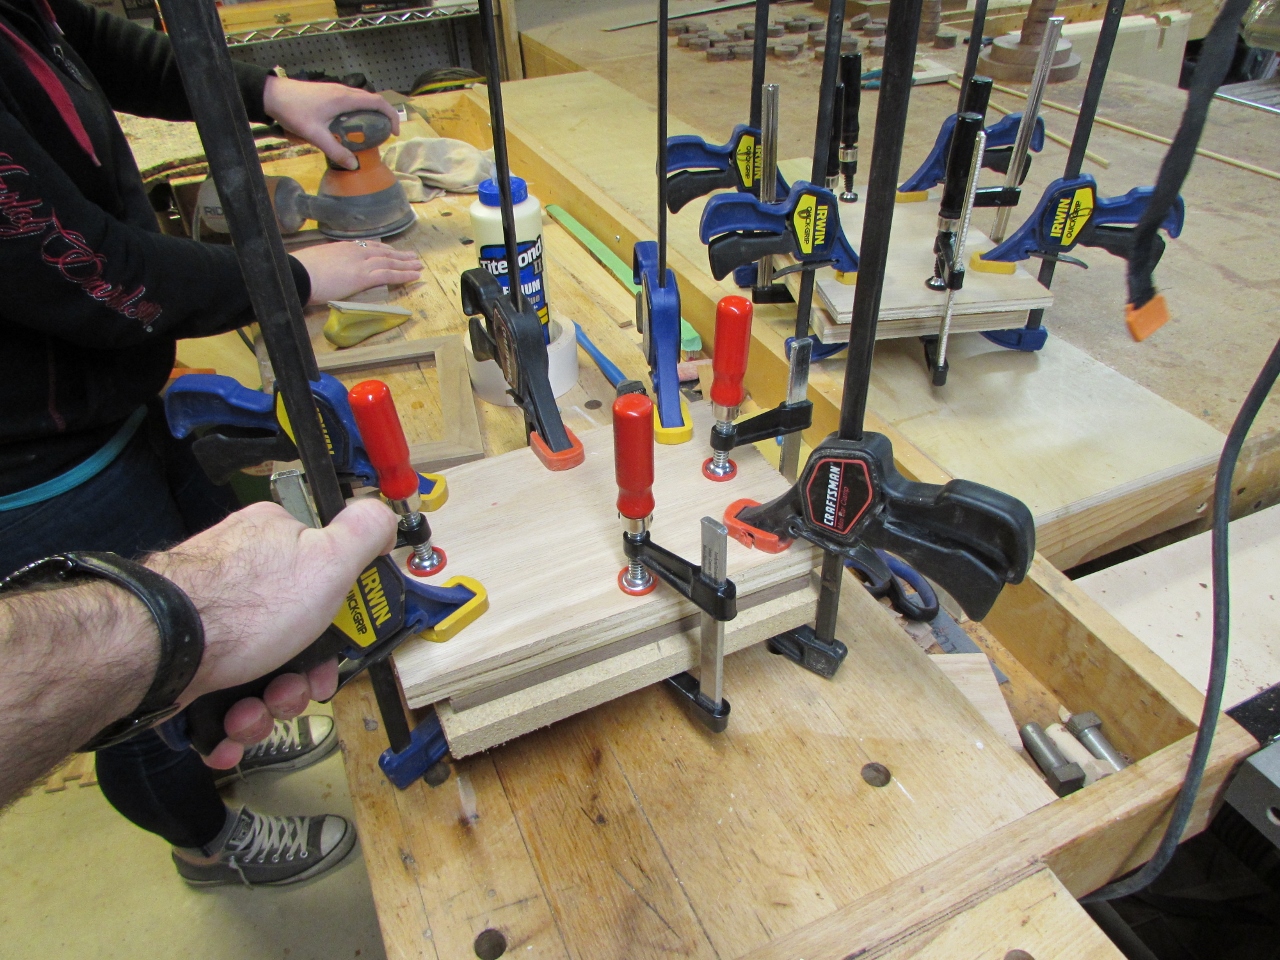
Erin applied glue to the miters while I tried to come up with a good way to clamp up all four sides at once.
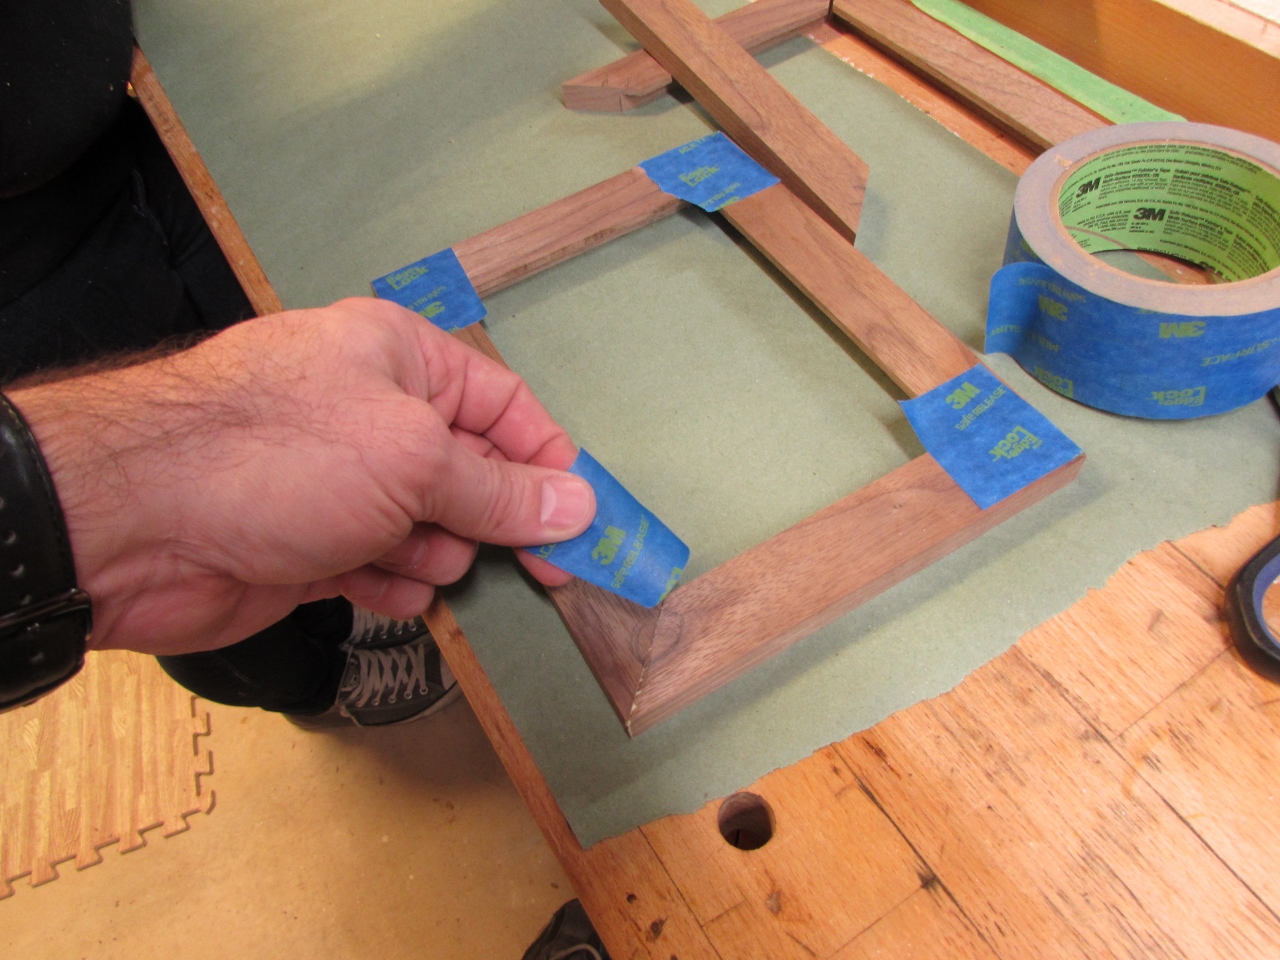
I remembered that I had two band clamps with corner blocks, so I thought we would give that a try. The corner blocks were too tall, so I put tape across the glue joints and stacked a second frame on top of the first and attached the strap.
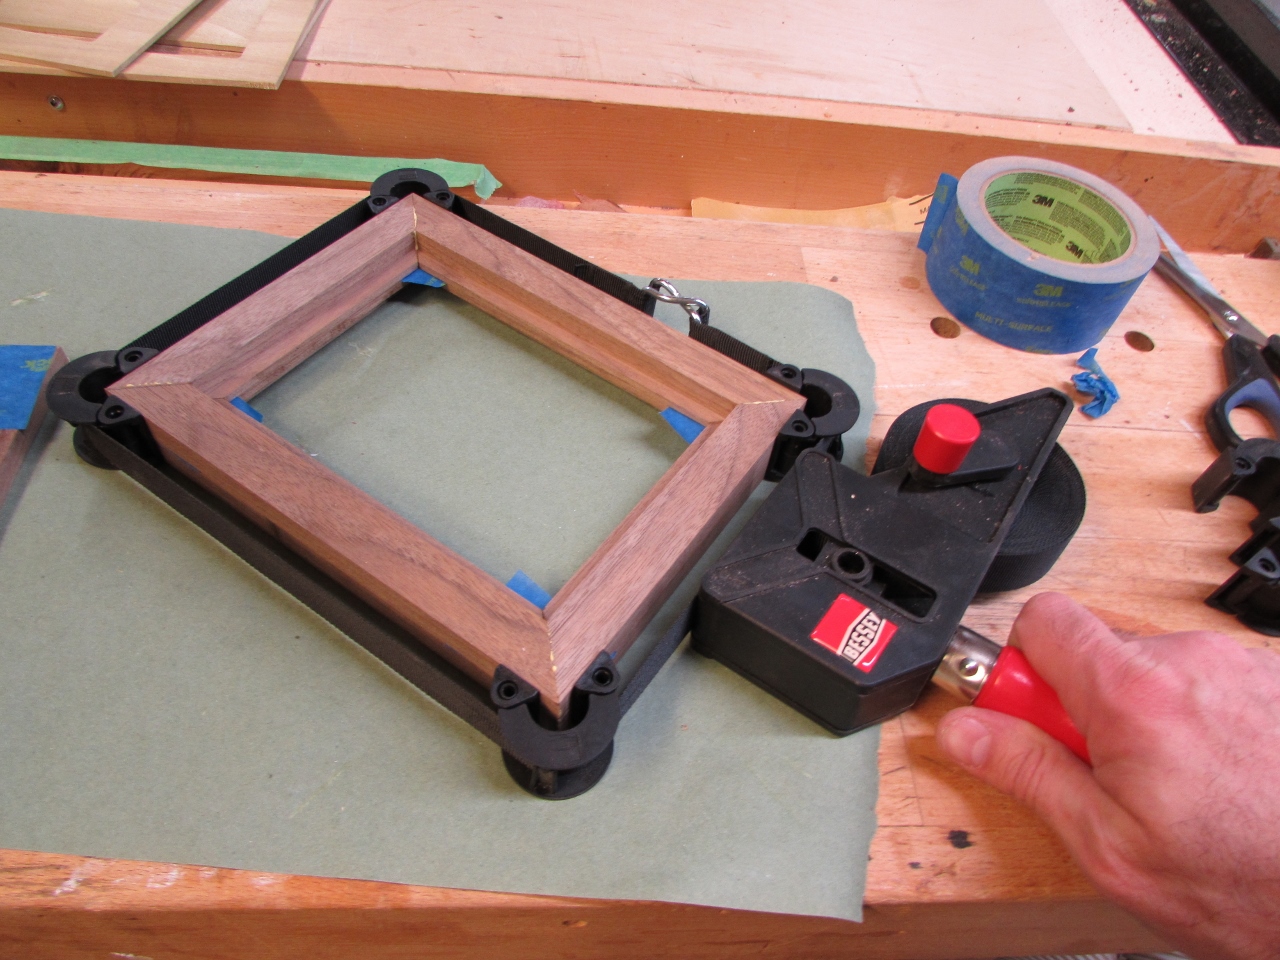

This worked out well since I only had two straps. When they were dry enough to continue, We pulled the clamps and separated the frames.

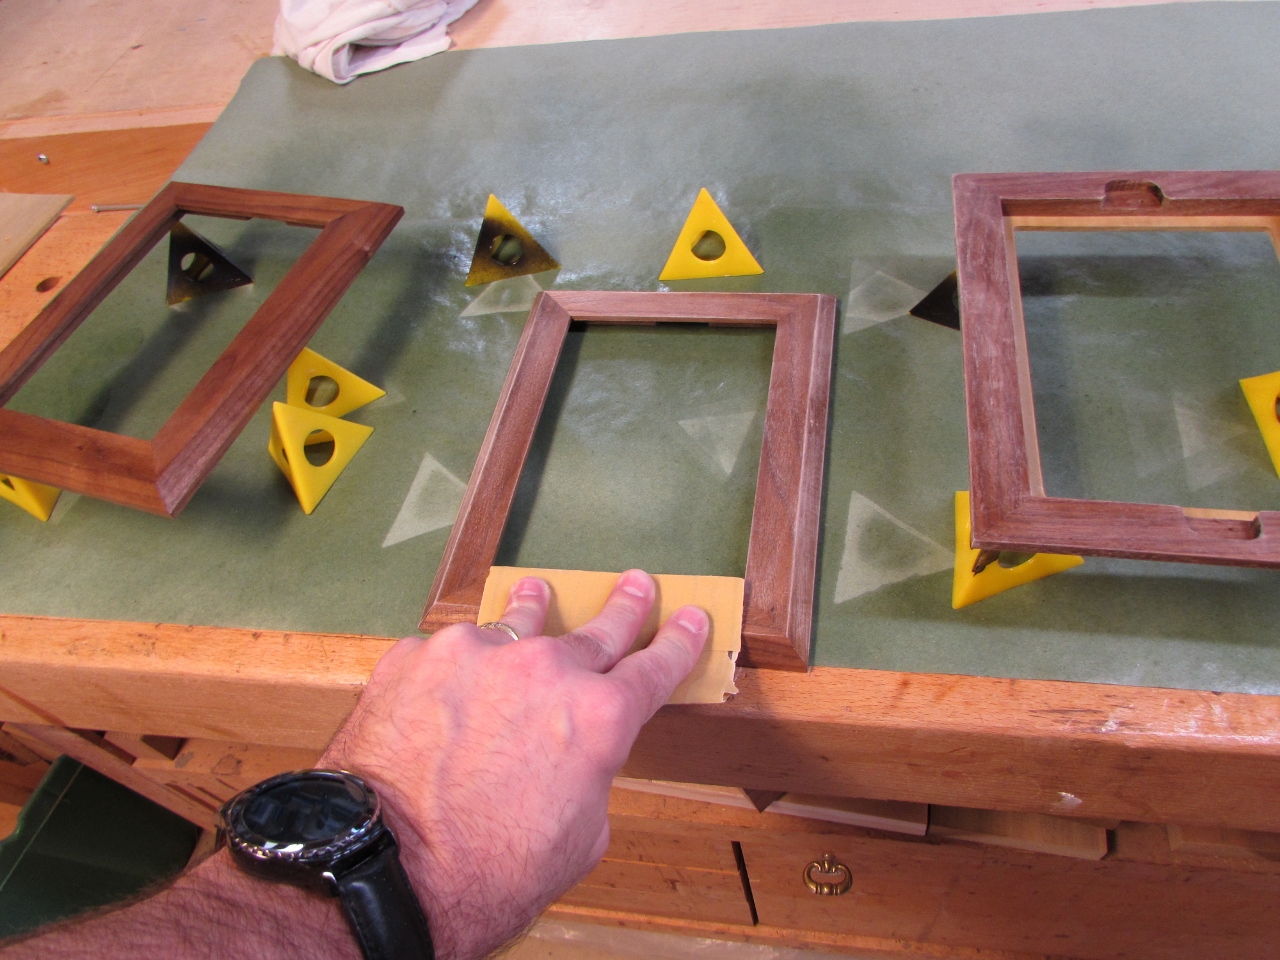
Erin sanded down any glue squeeze-out on the frames, then I applied glue to the thinner ones.
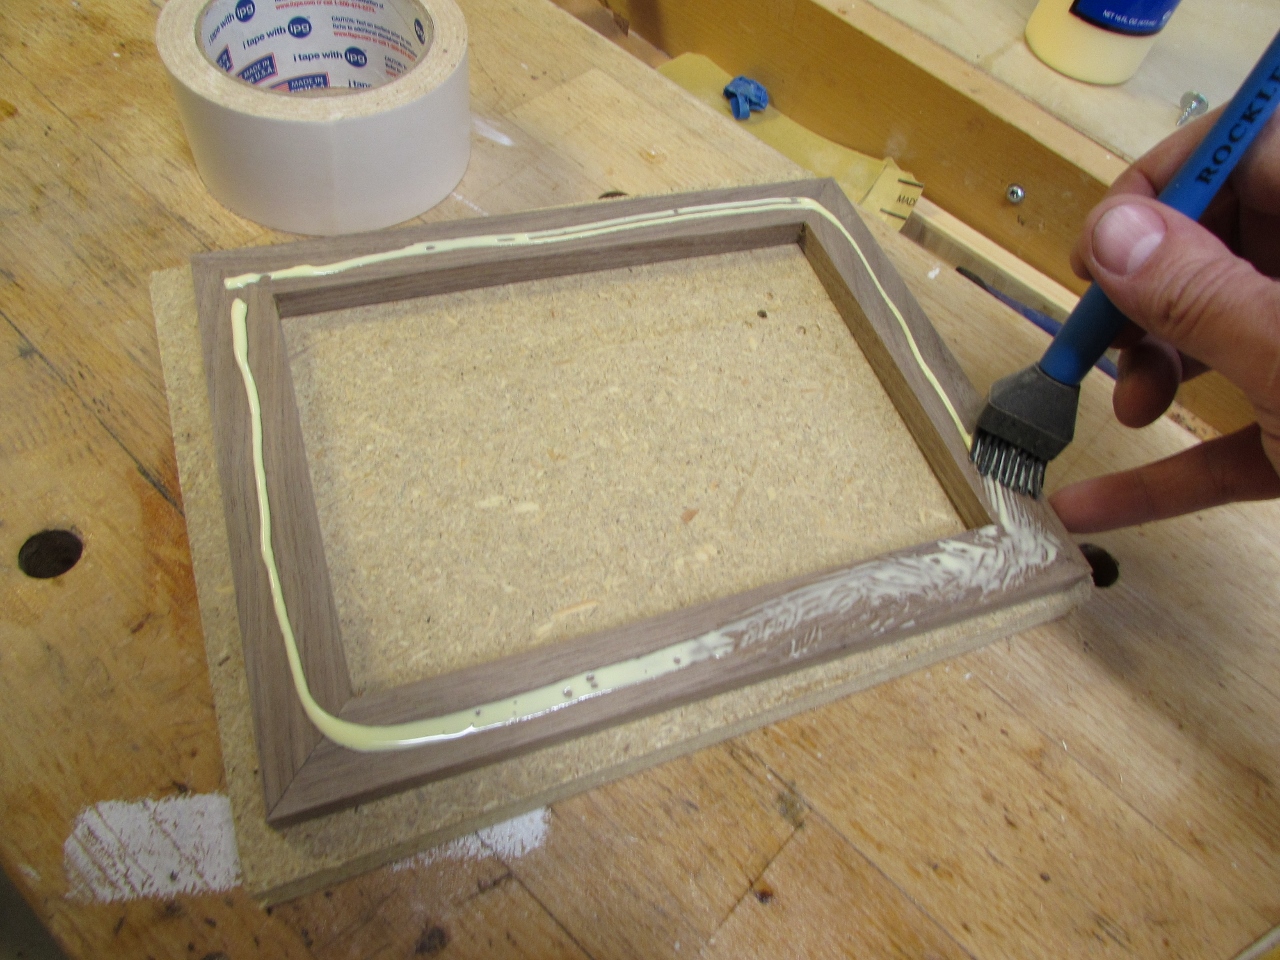
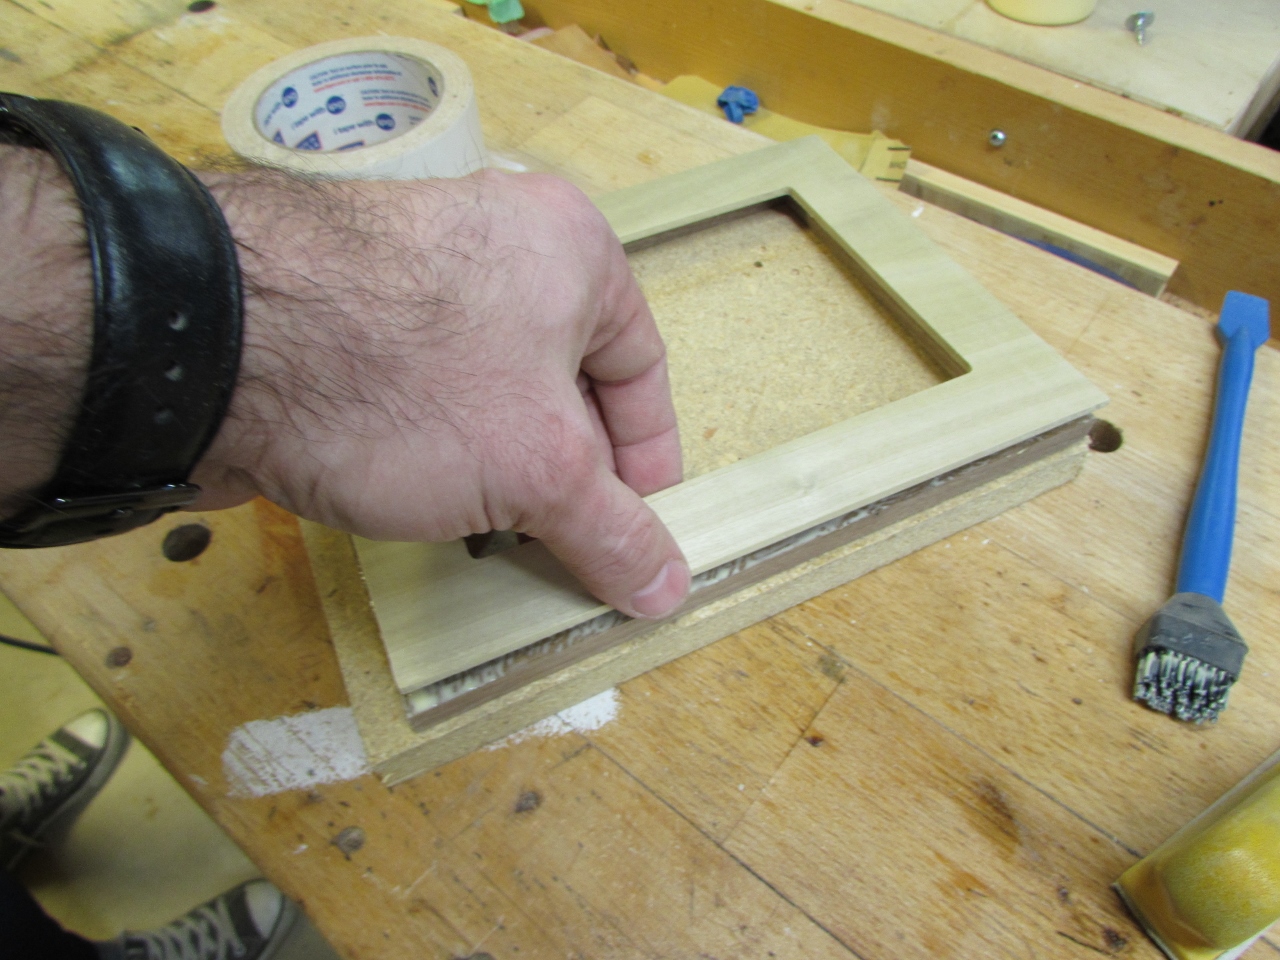
We attached the poplar veneers and clamped them in place.
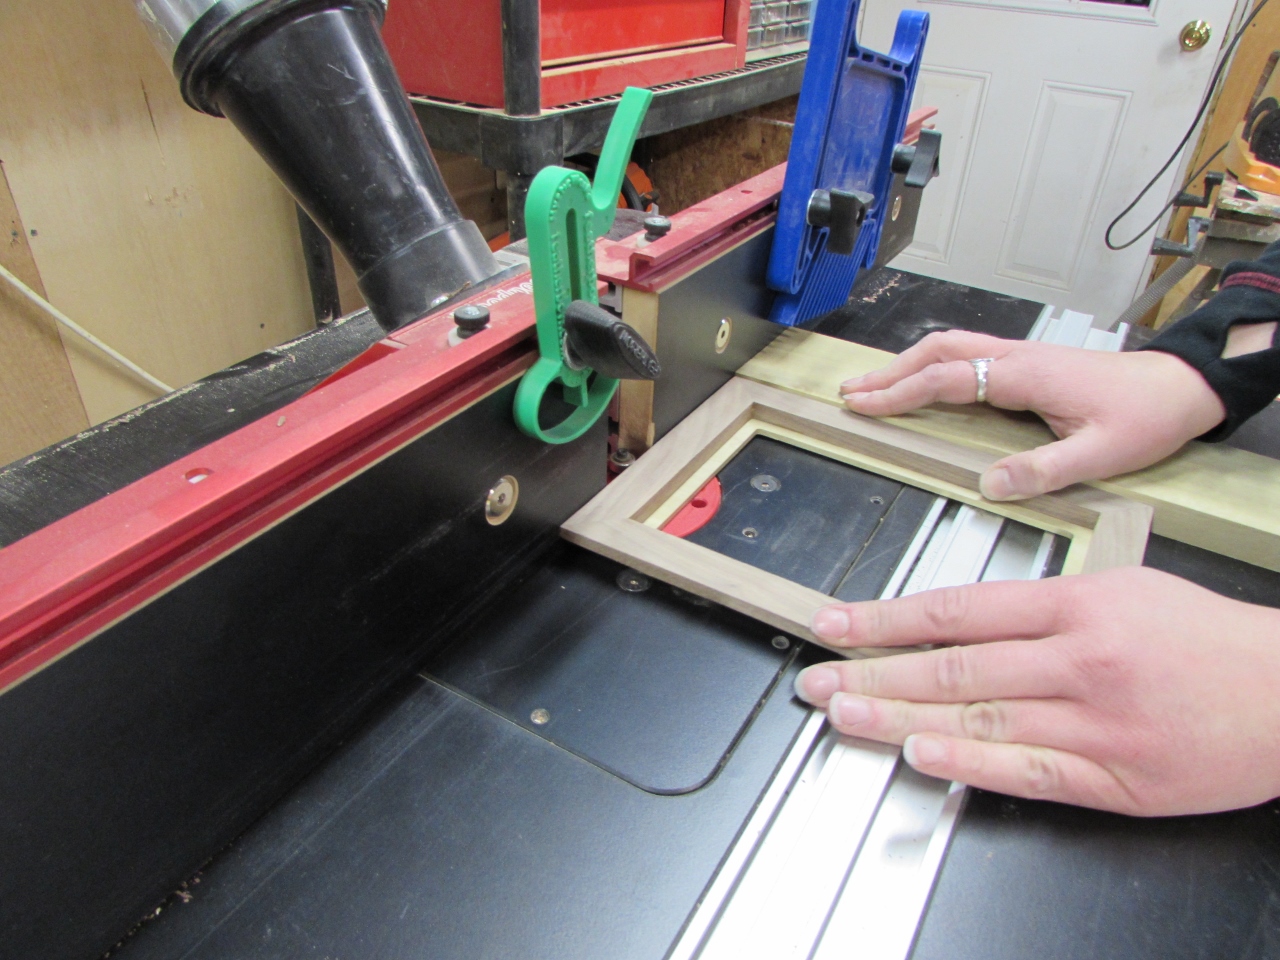
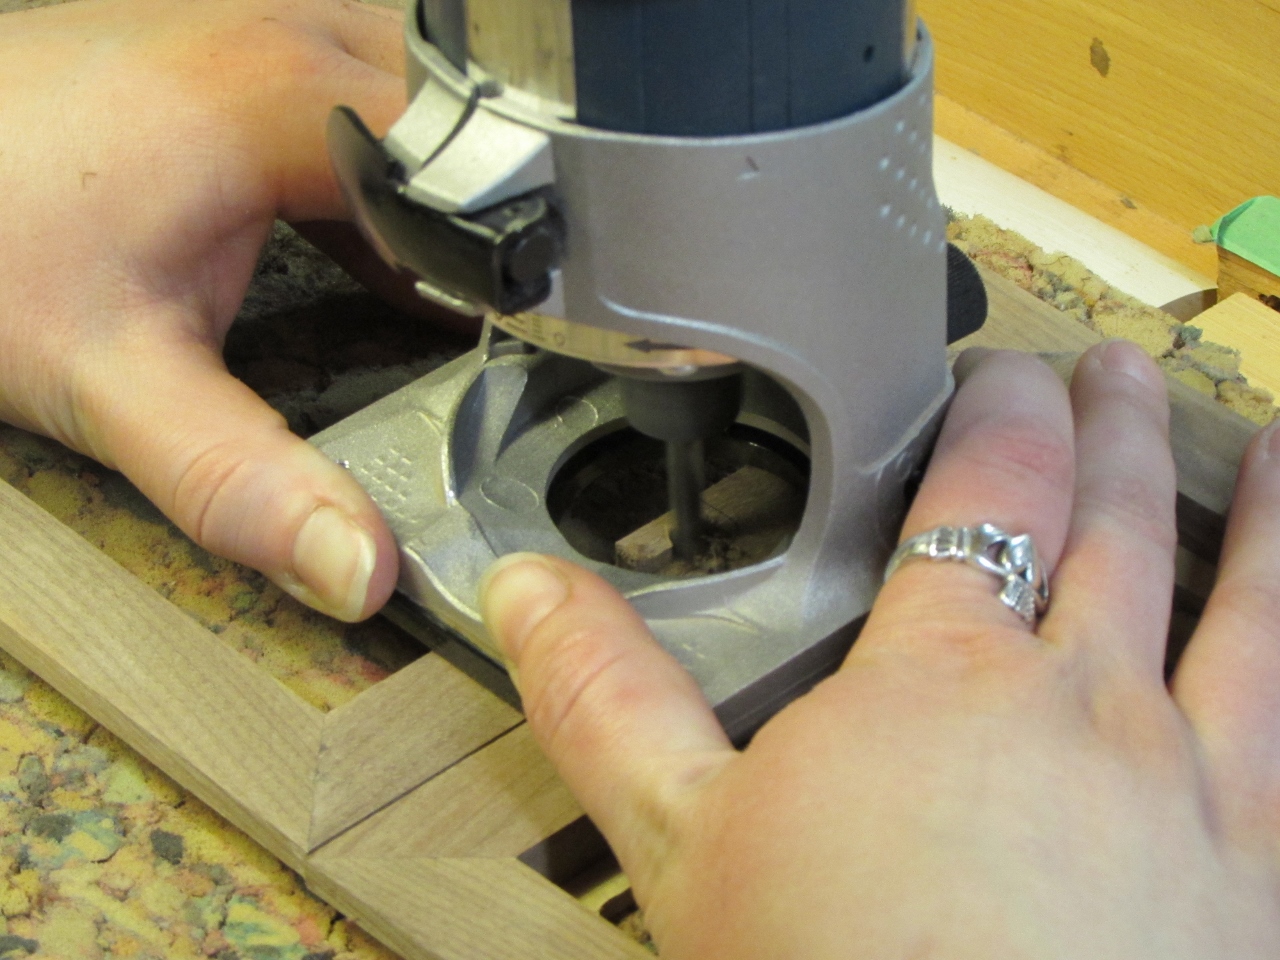
When they were dry, Erin ran them across the 45 degree trim bit on the router table, using a backer board to prevent any tear-out at the corners.
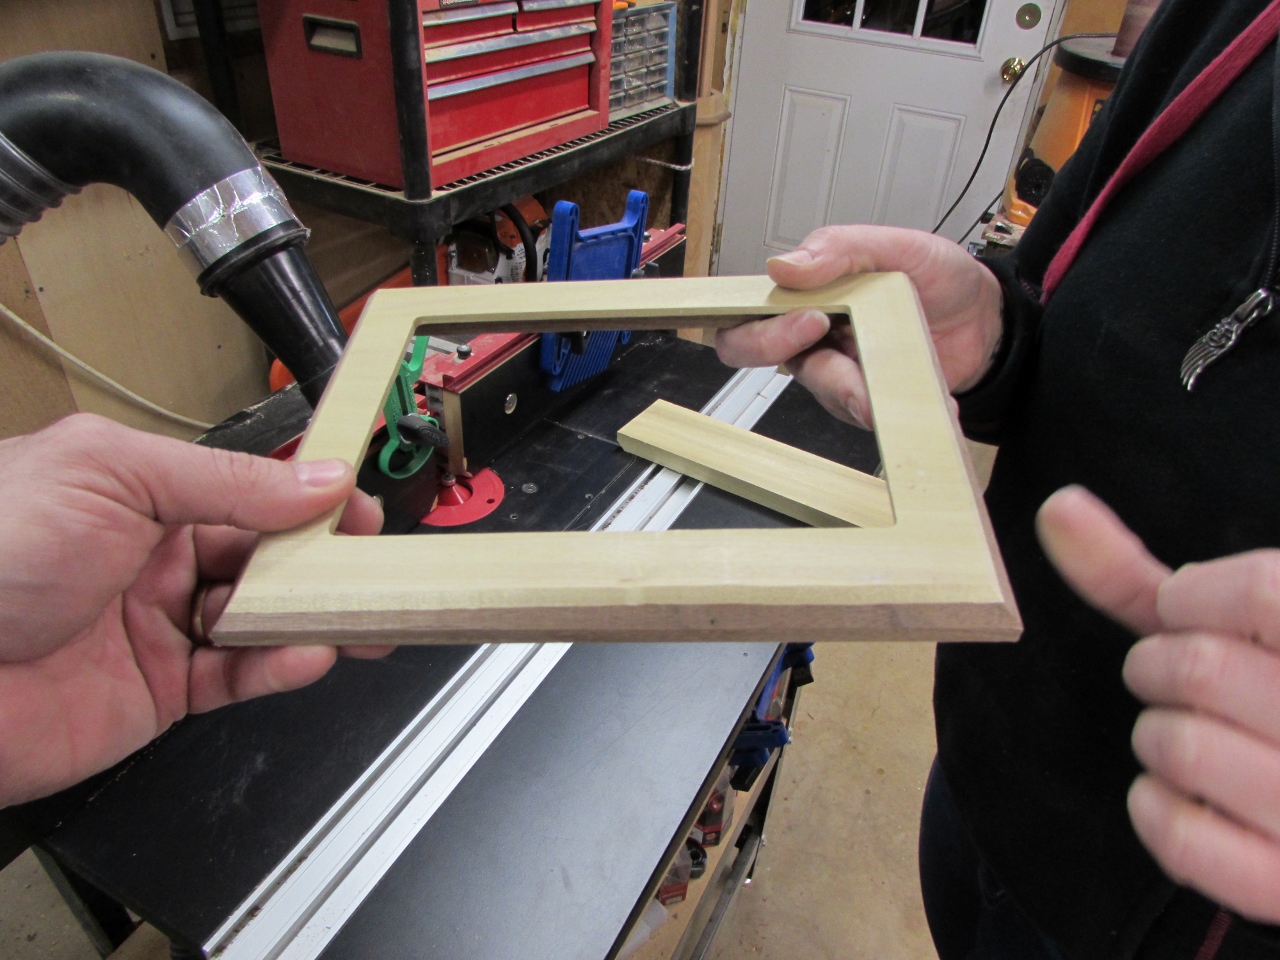
First one done and it looks great so she ran the other three as well.

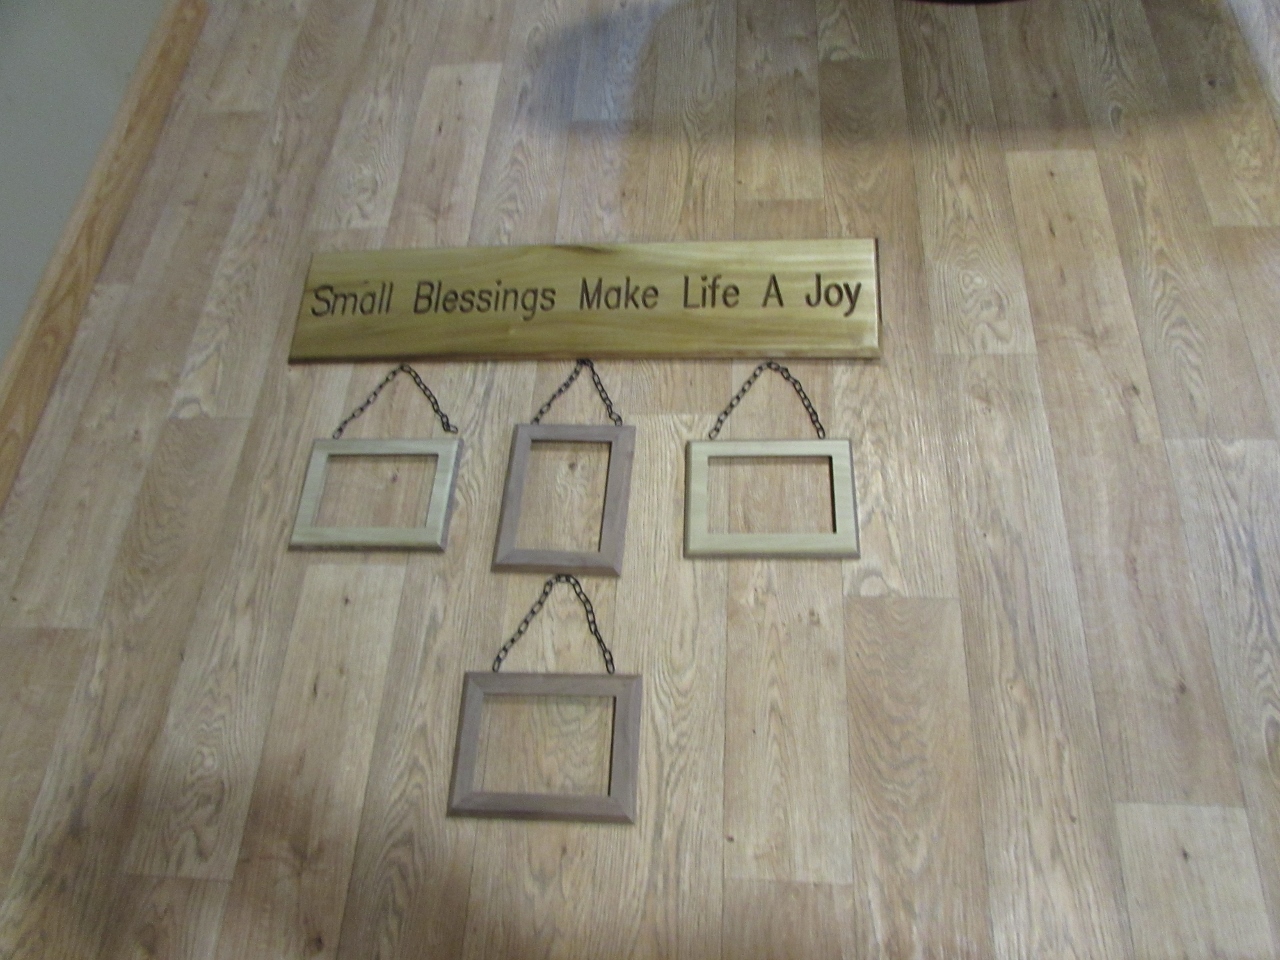
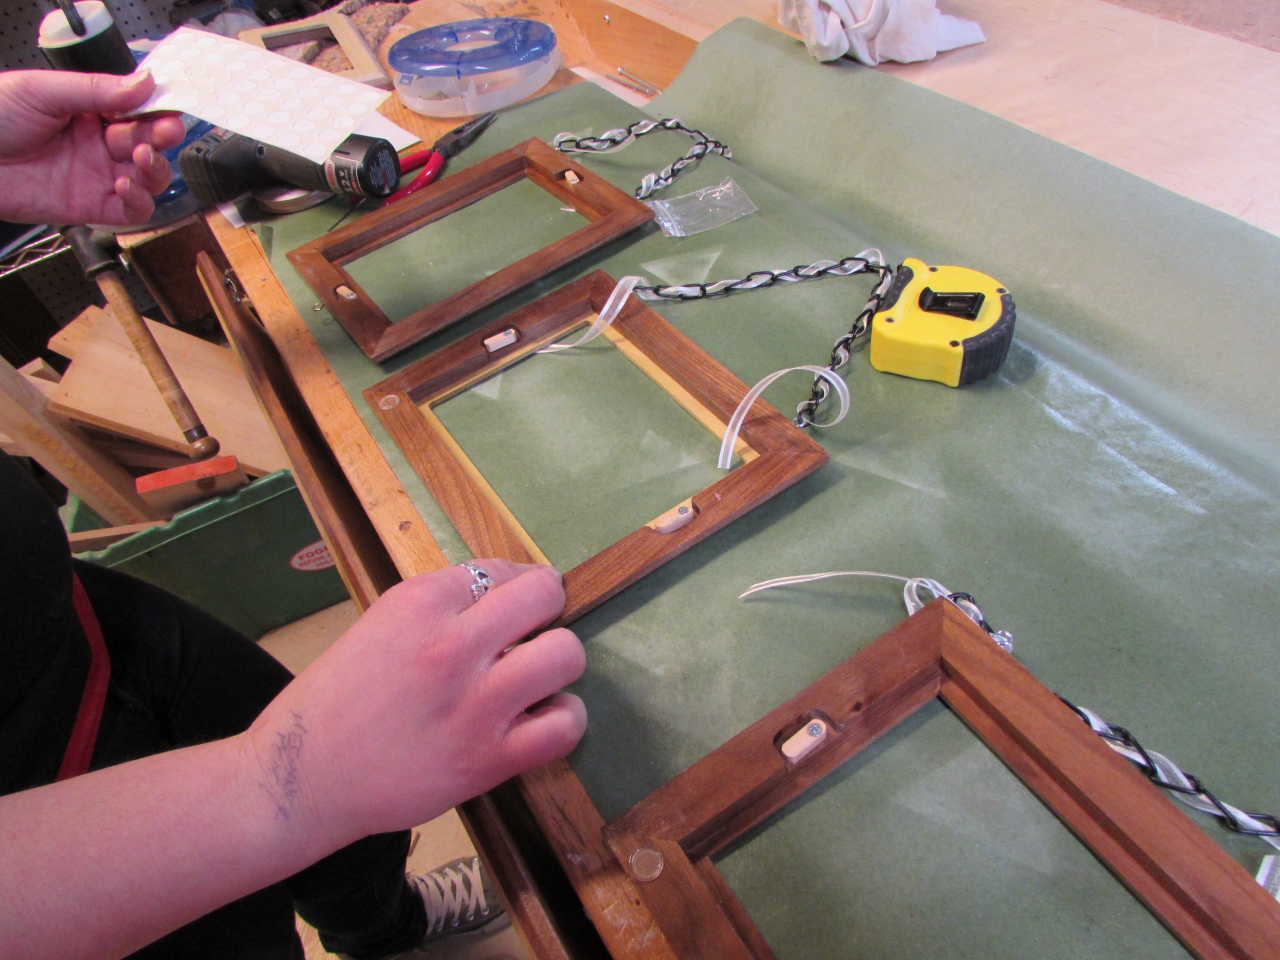
Then it was a matter of determining the layout. She picked up some black chain, to hang the frames with, so we cut some to length and experimented with layouts.
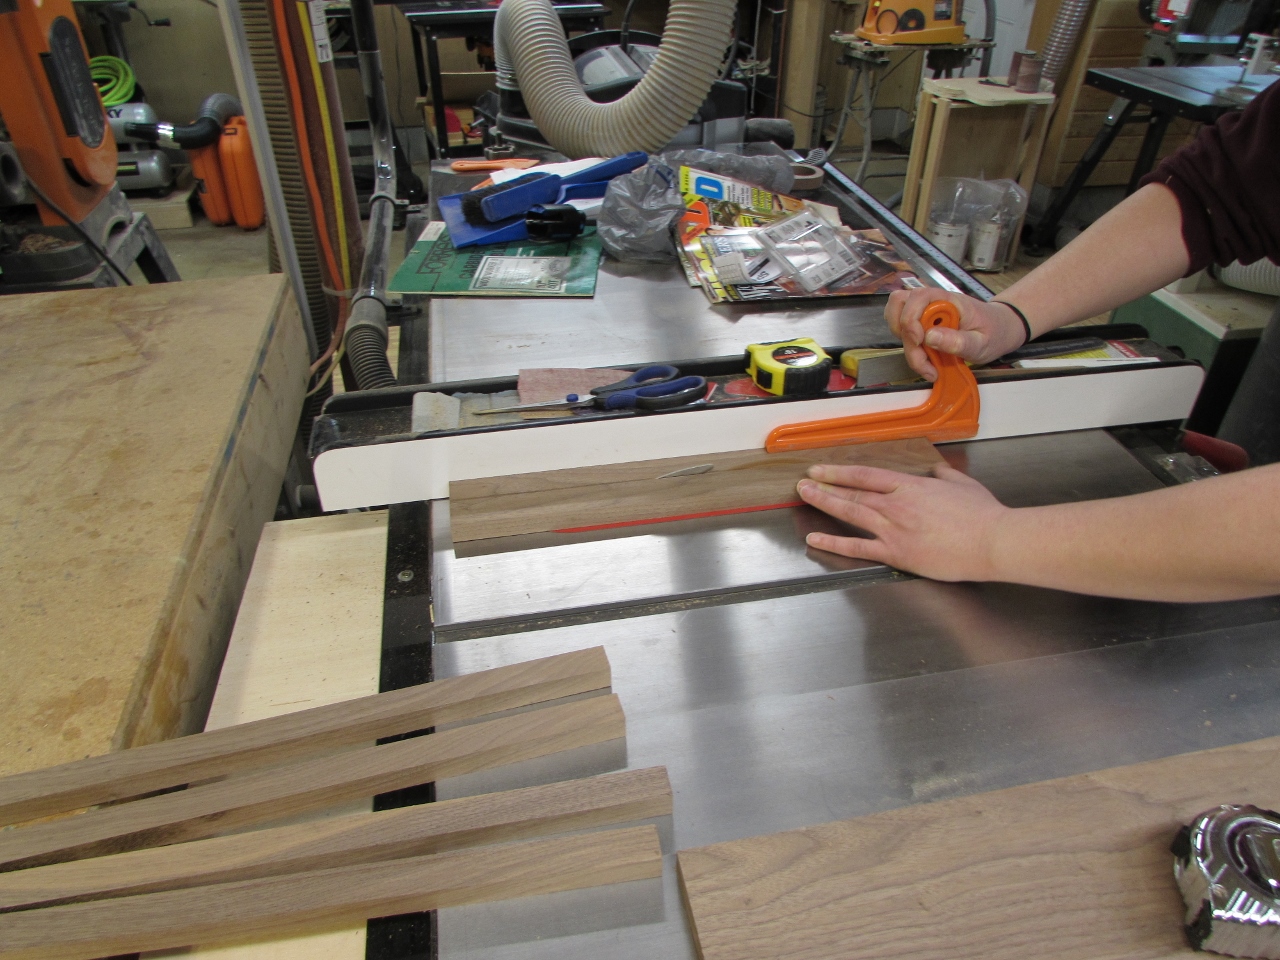
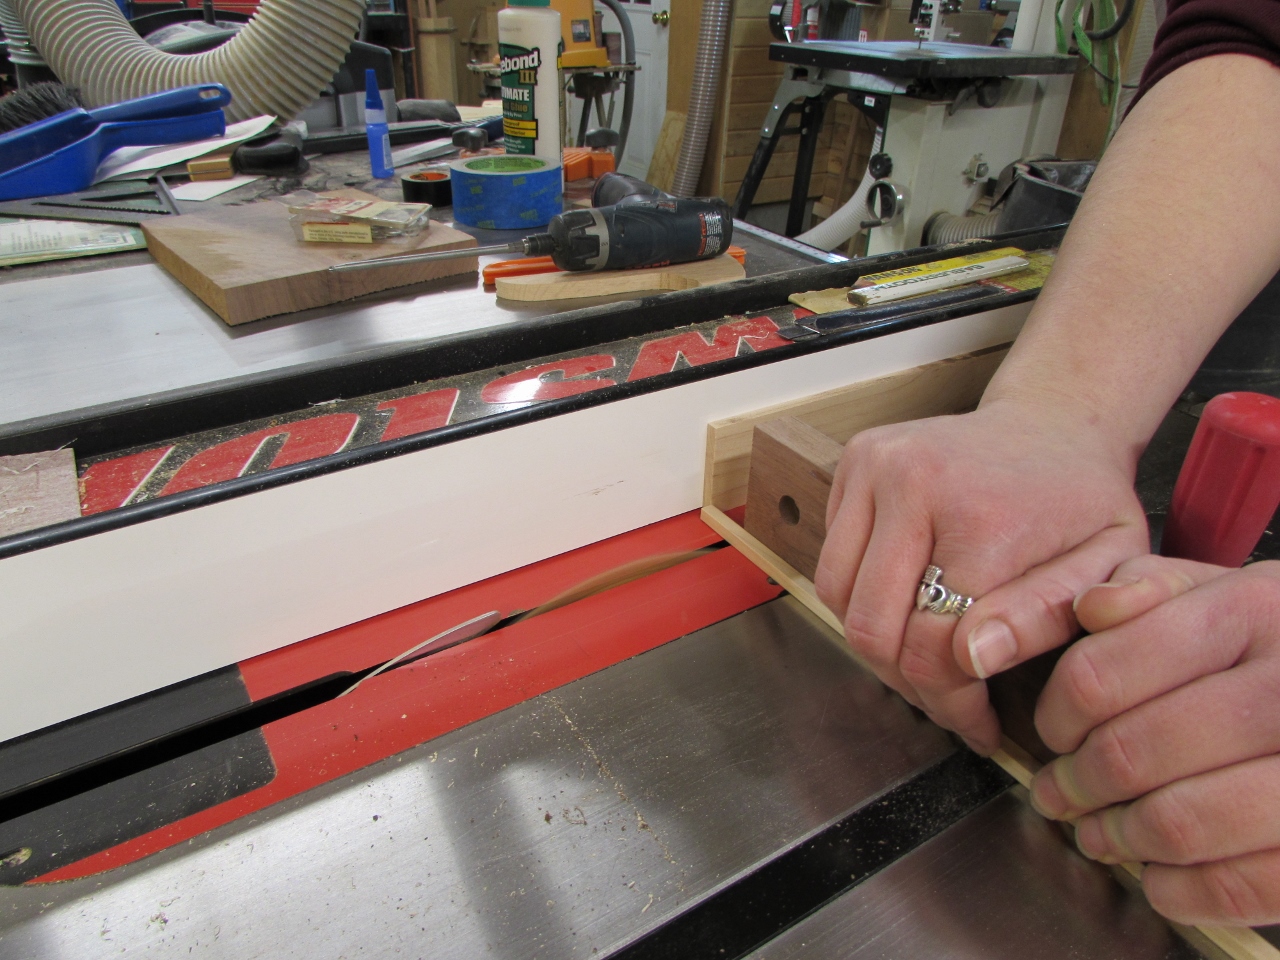
One last item remains before we can finish, and that is how to retain the glass and pictures. In the past I have used gussets recessed and screwed into the corners. It works well, but you need to unscrew them to replace the picture. We decided to try making little arms that would swing out to retain the glass. To make them, we are using some scrap maple. The strips we need will be really thin, so I had Erin make a wooden push stick so we could run the stick into the blade if necessary and not worry about messing up my plastic ones.
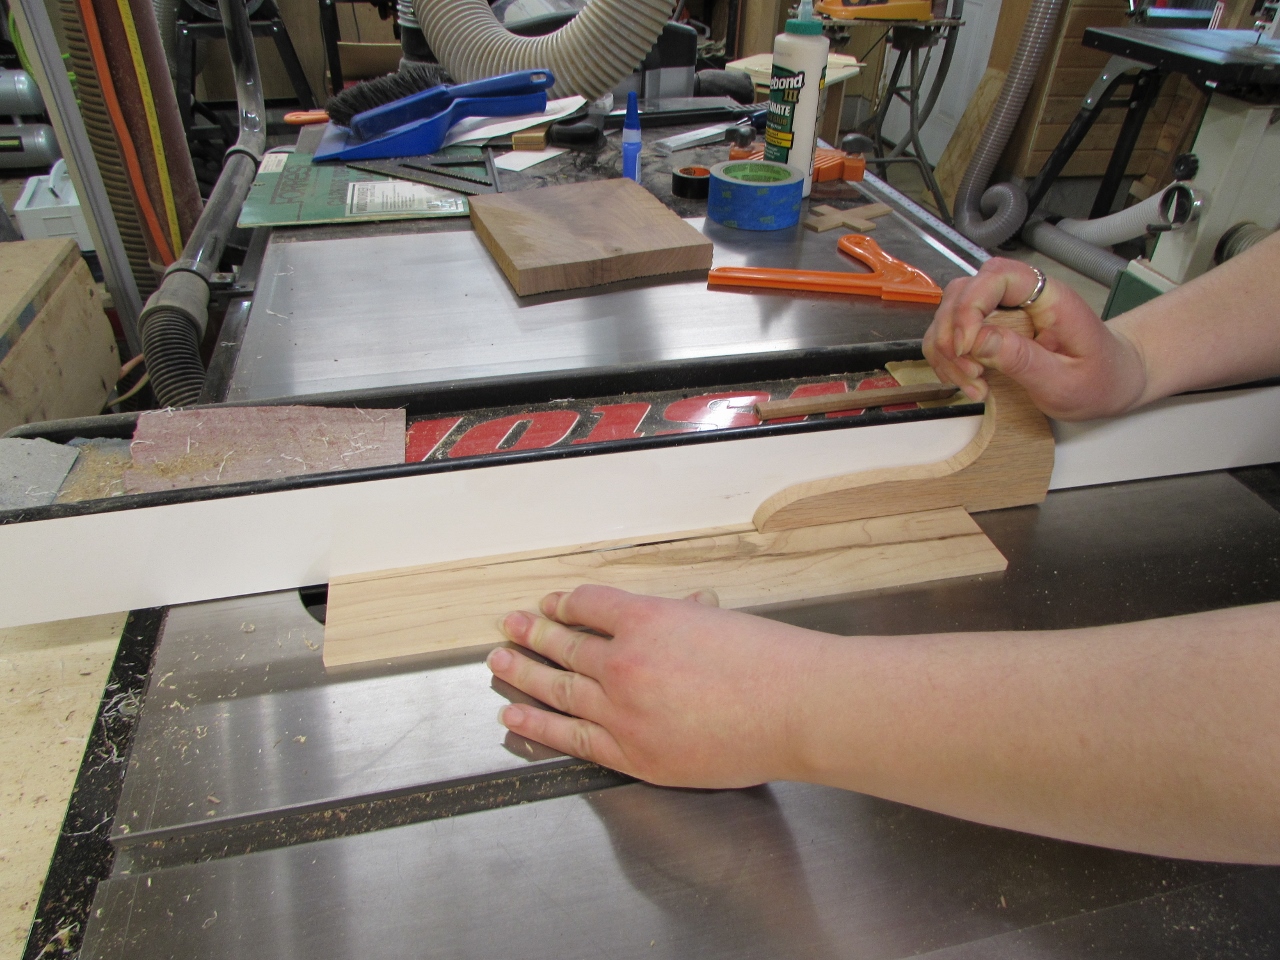
It was nice having a wider push stick cutting the 3/16″ wide strips, the blade cut right into the bottom of the sacrificial push stick. Completely covering the blade actually offers added protection to fingers near by.
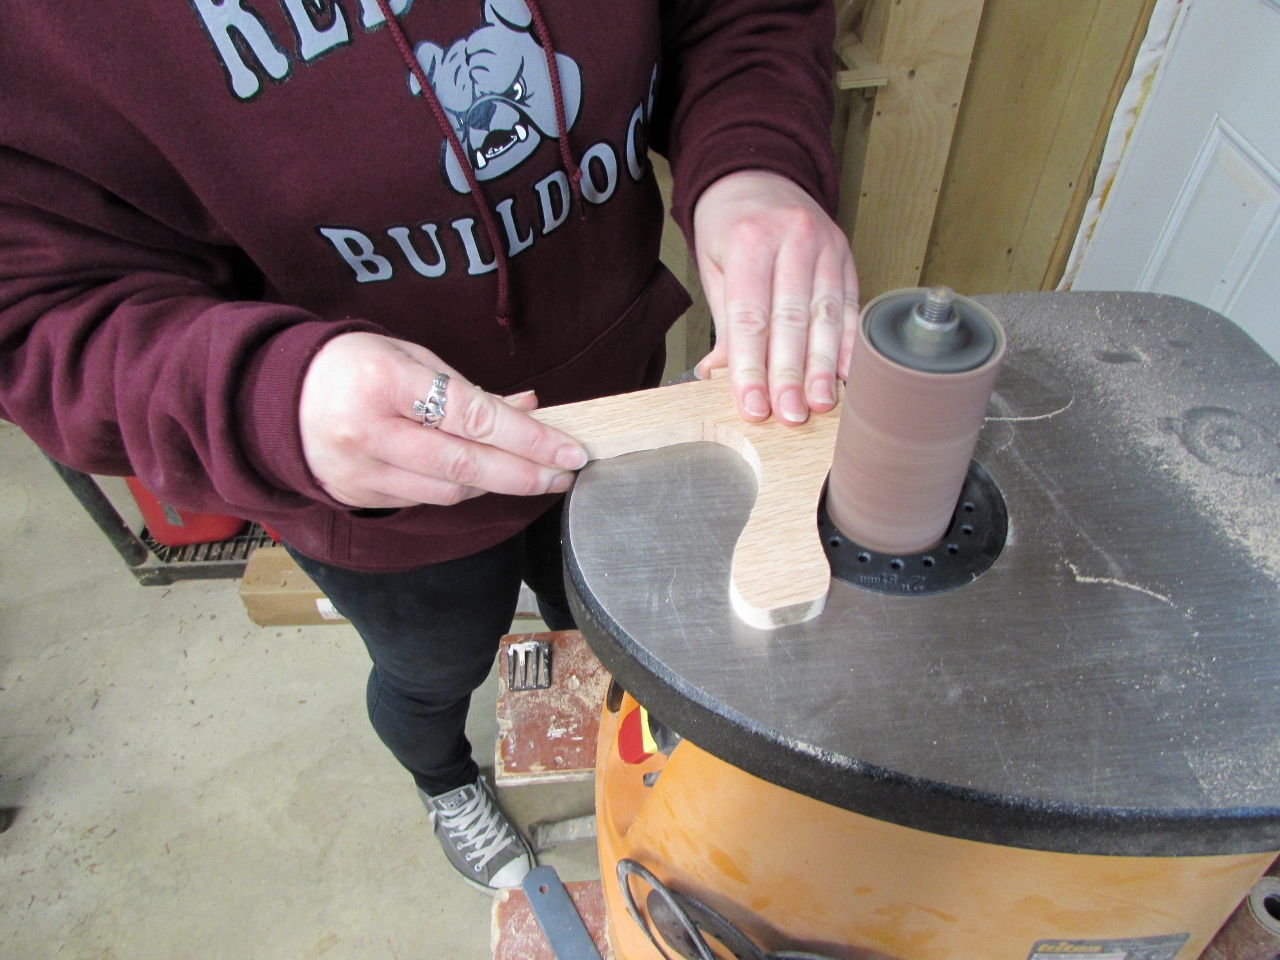
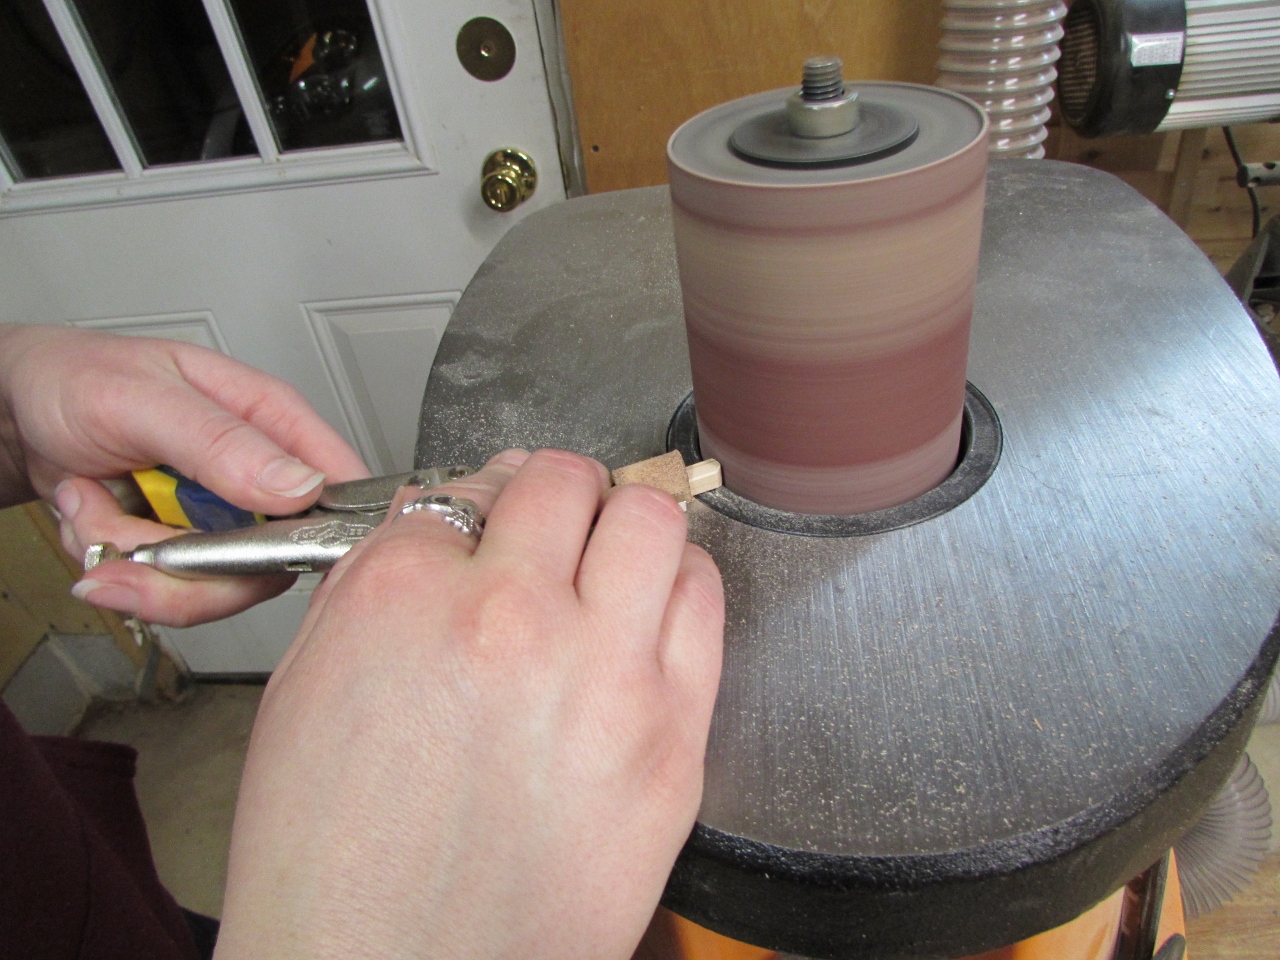
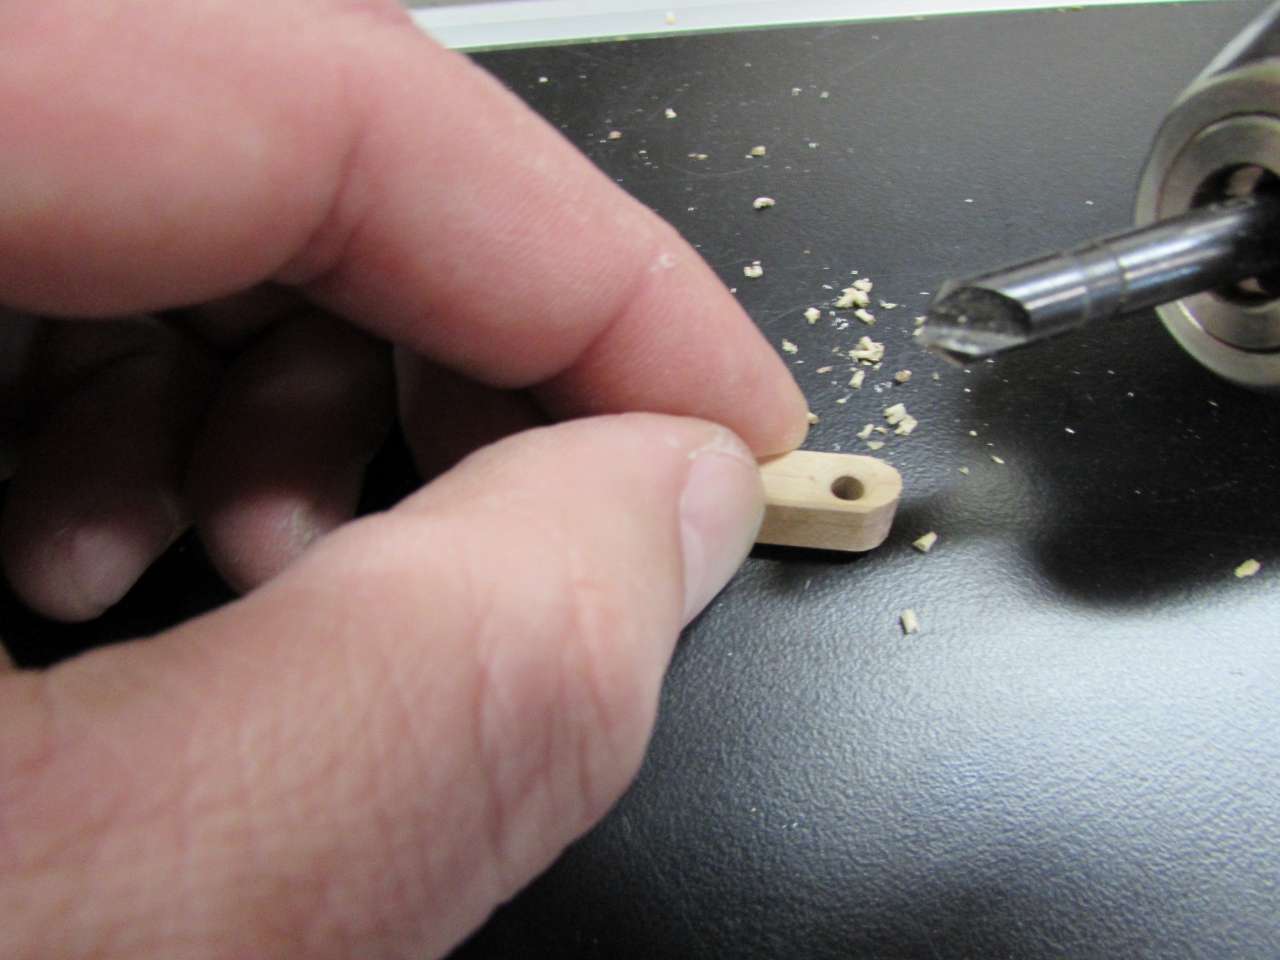
We used the miter gauge, on the table saw to cut off some 5/8″ long pieces, then held them with a pair of pliers to sand rounded edges onto them.
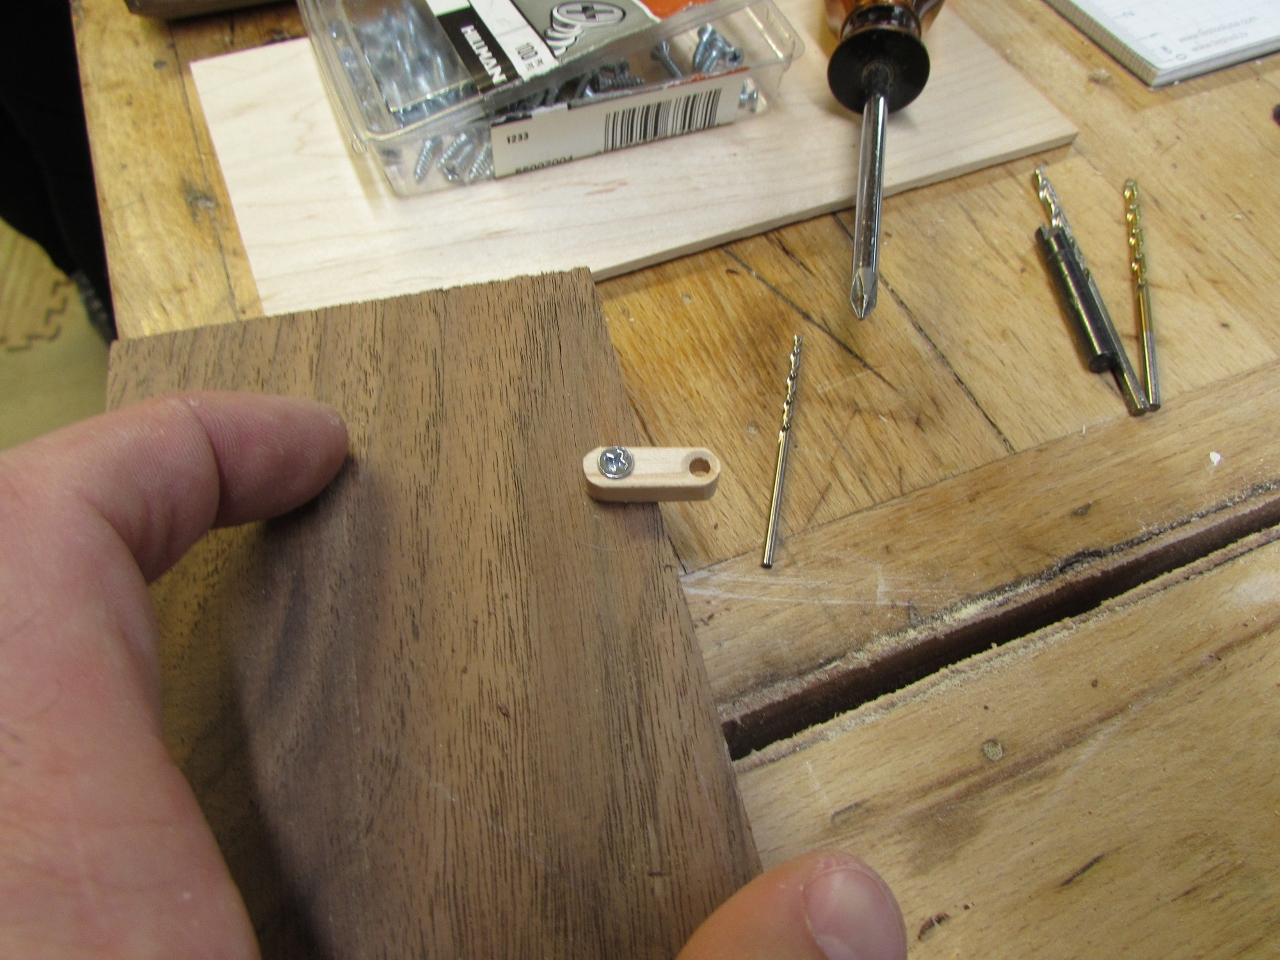
We pre-drilled and counter-sunk some holes for the screws, and created a nice little retainer.
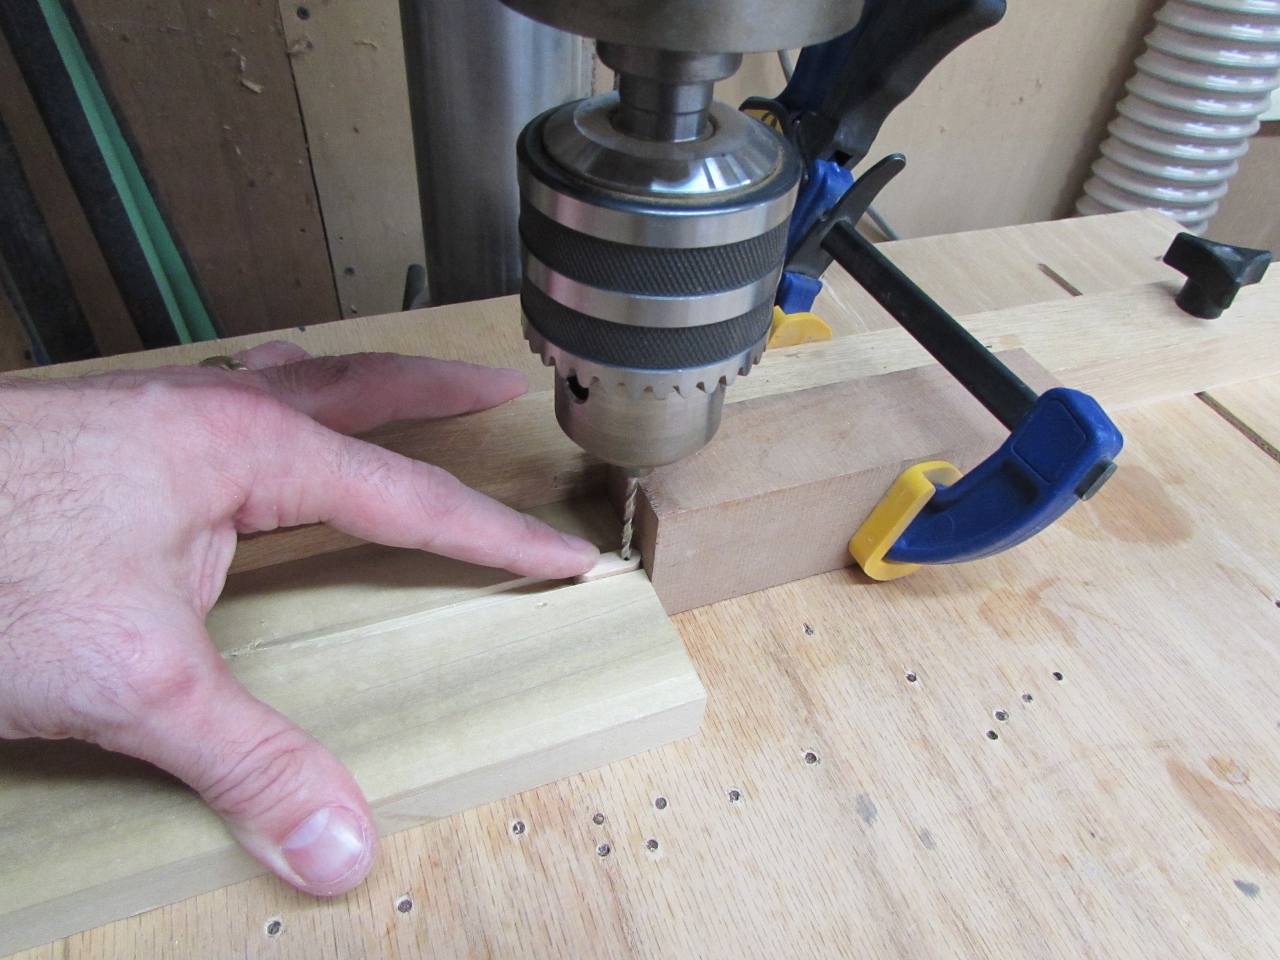
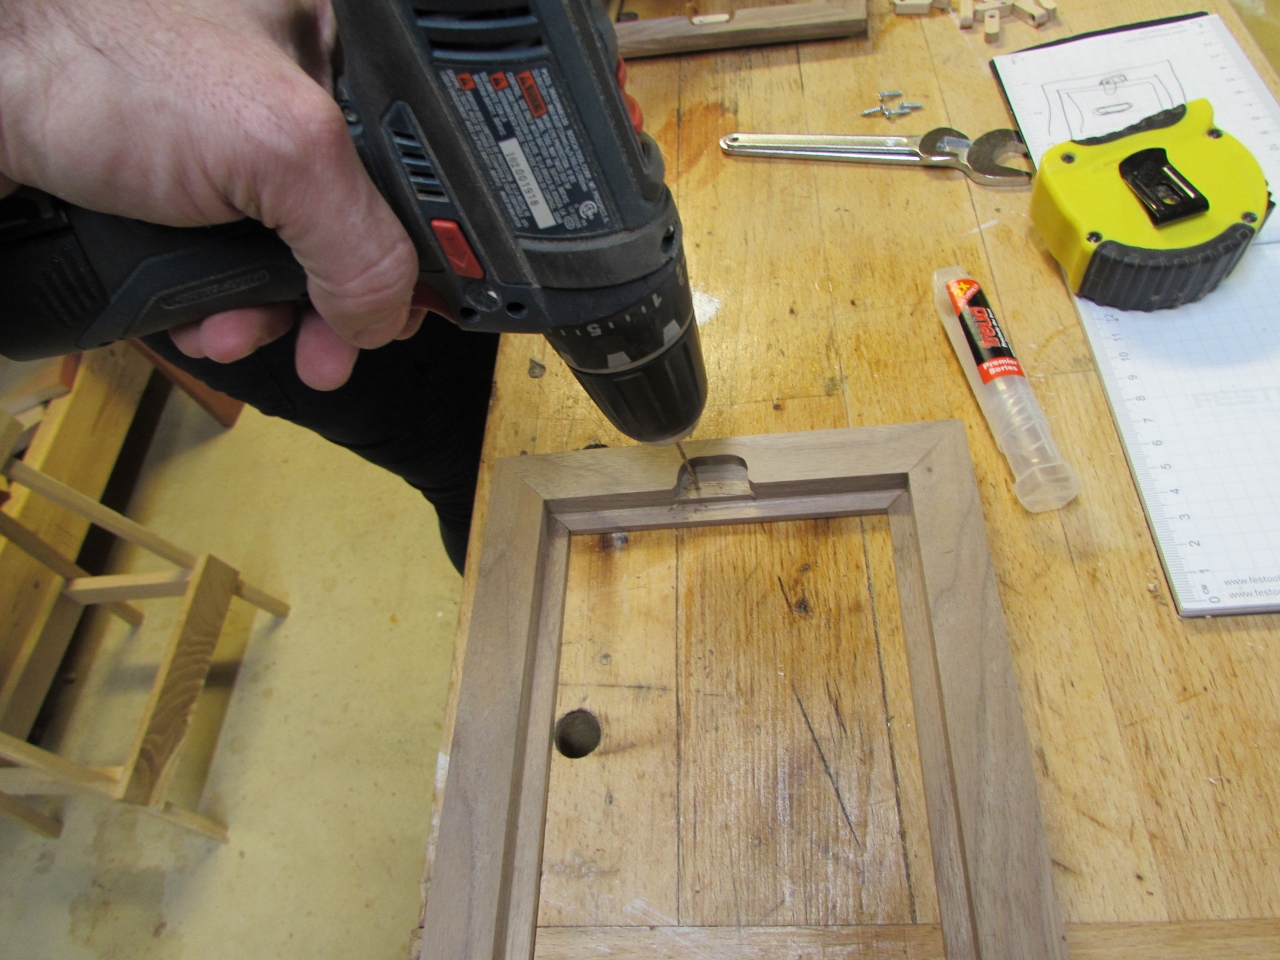
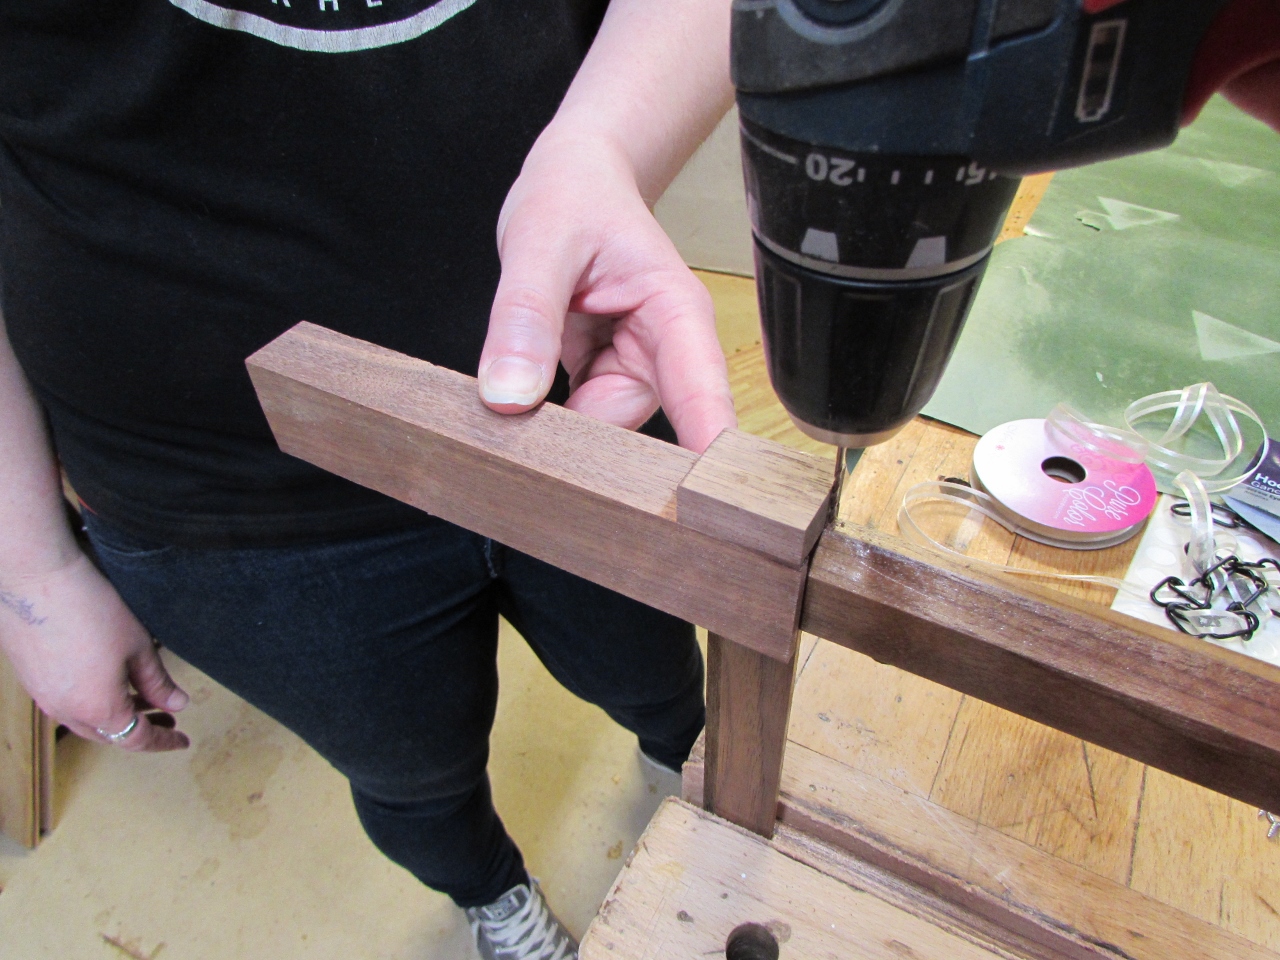
Erin cut a notch for the retainers onto each side of the picture frames, and I drilled a pilot hole for each screw.
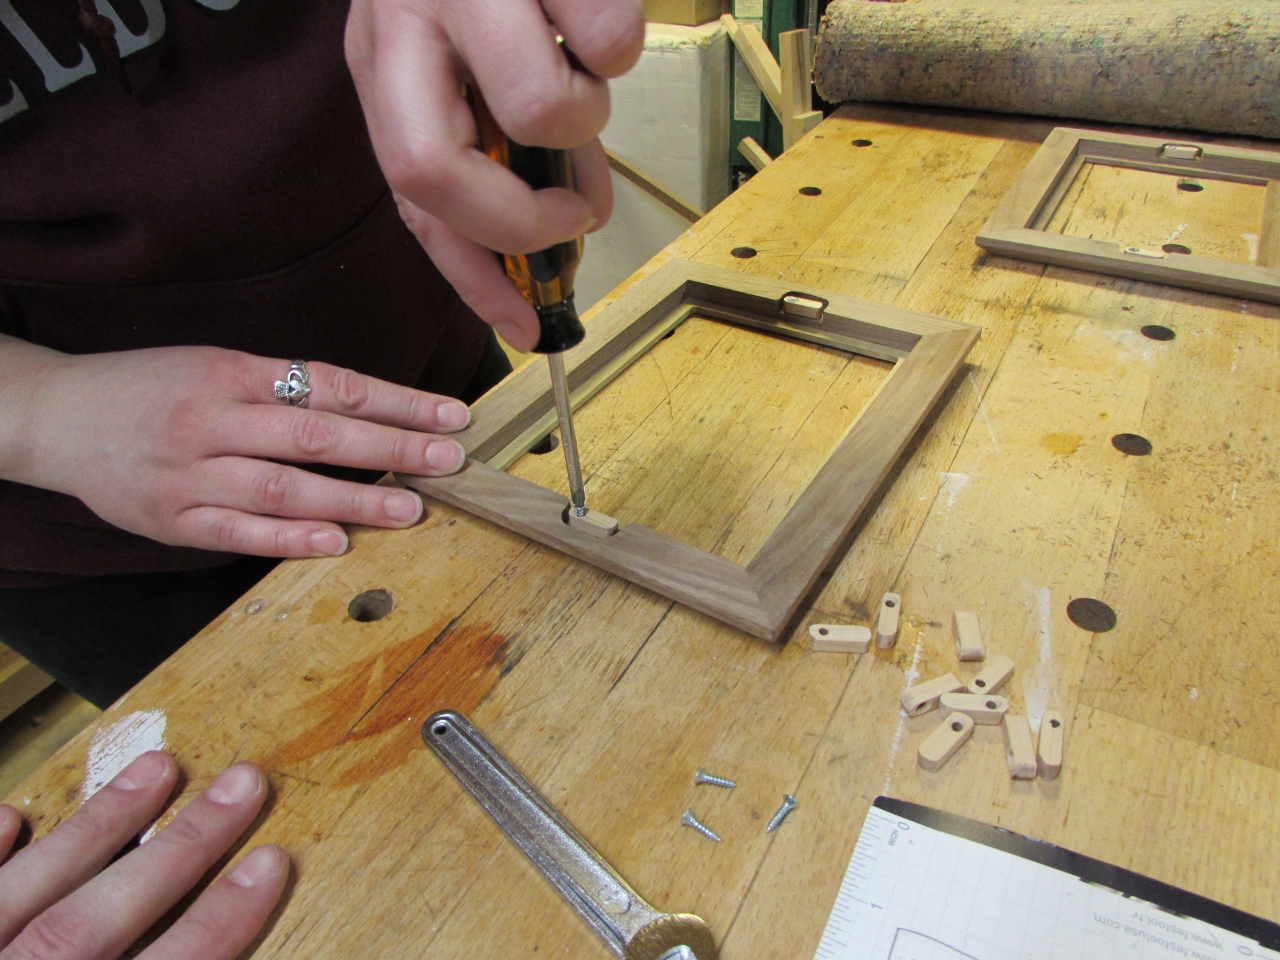
Erin screwed them in place and tested them out.
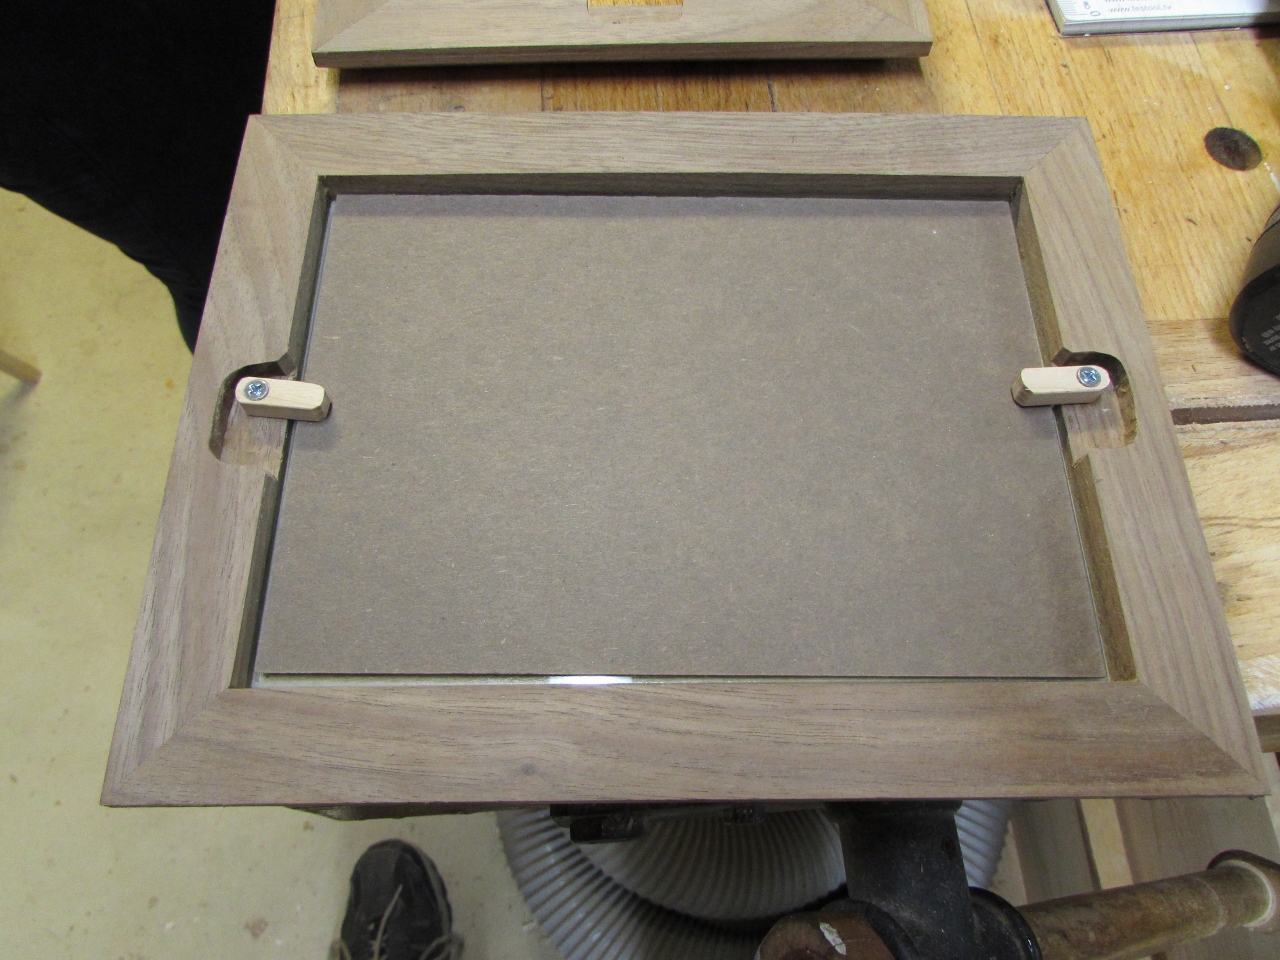
And Viola! four functional frames.
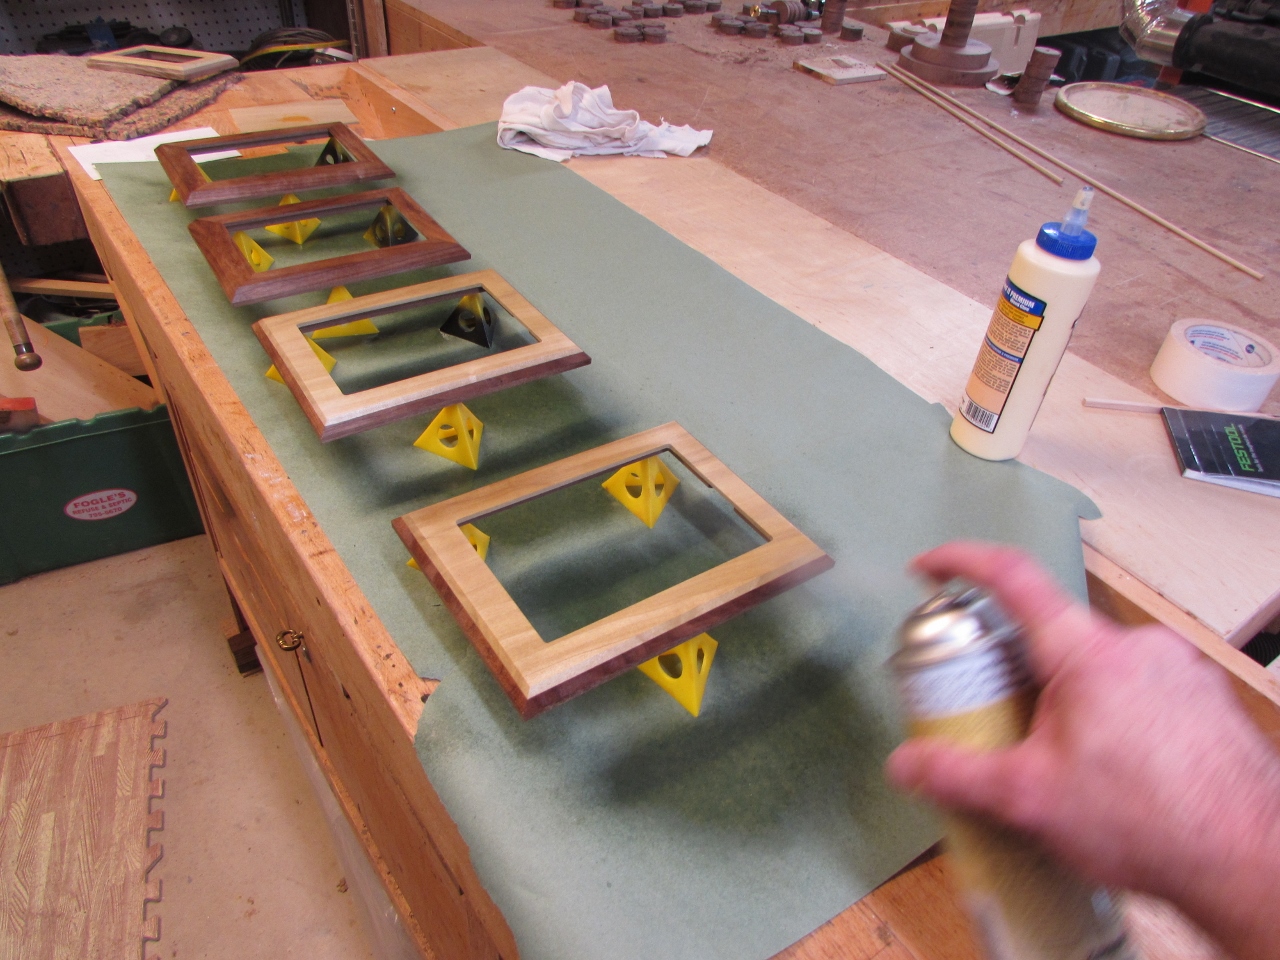
We are using spray shellac for these frames to match the plaque. It only takes 20 minutes or so to dry between coats and we sanded with 400 grit paper after each coat but the last.
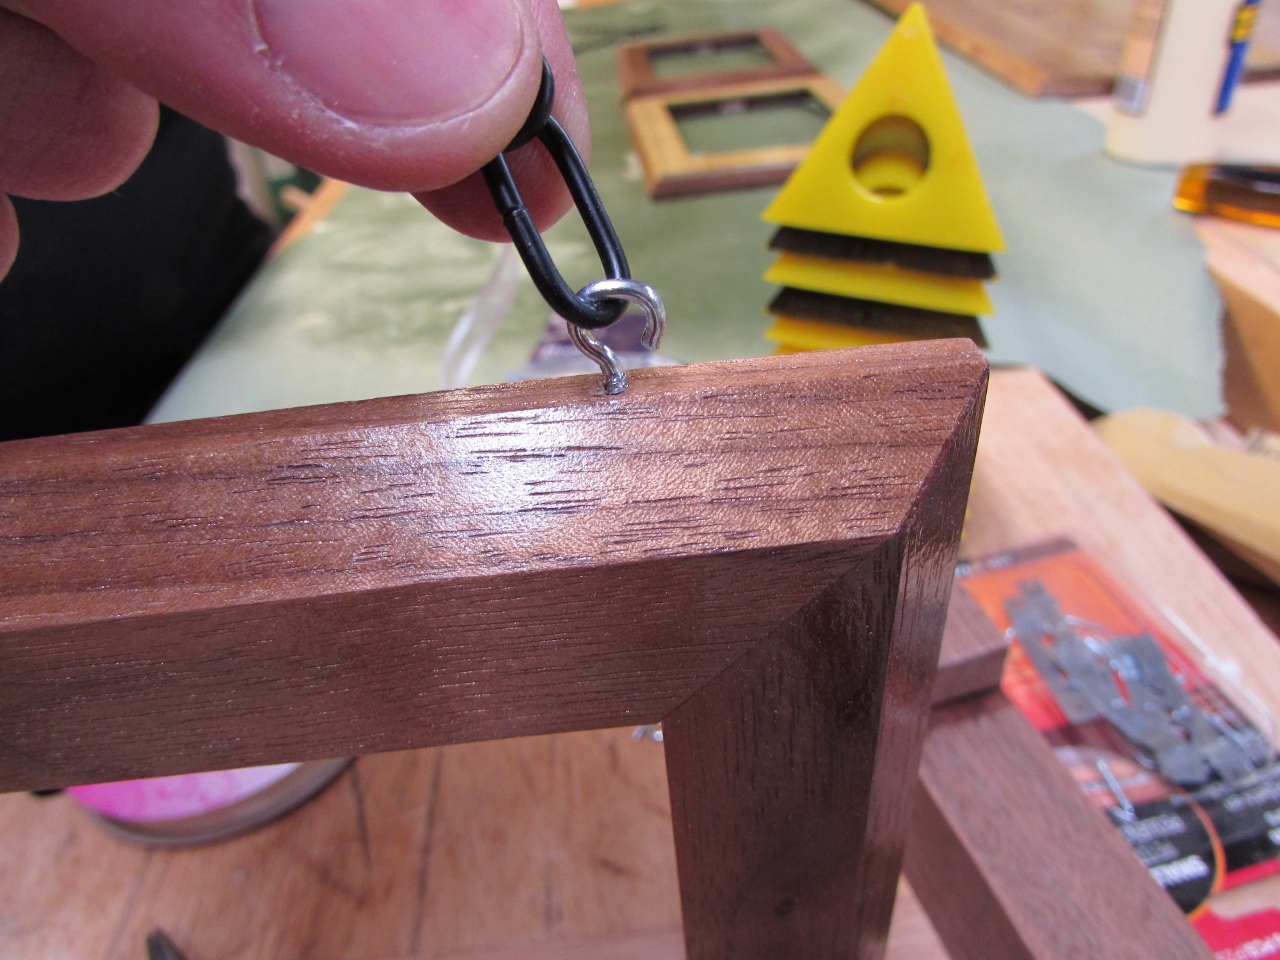
We are going to use tiny hook eyes to hang the chain from so I made up a quick jig to get a repeatable location in from each edge.
We held the jig in place and drilled up against it, about 1/8″ deep with my 1/16″ bit.

After installing the hook eyes, we spread them open far enough to slip in the chain.
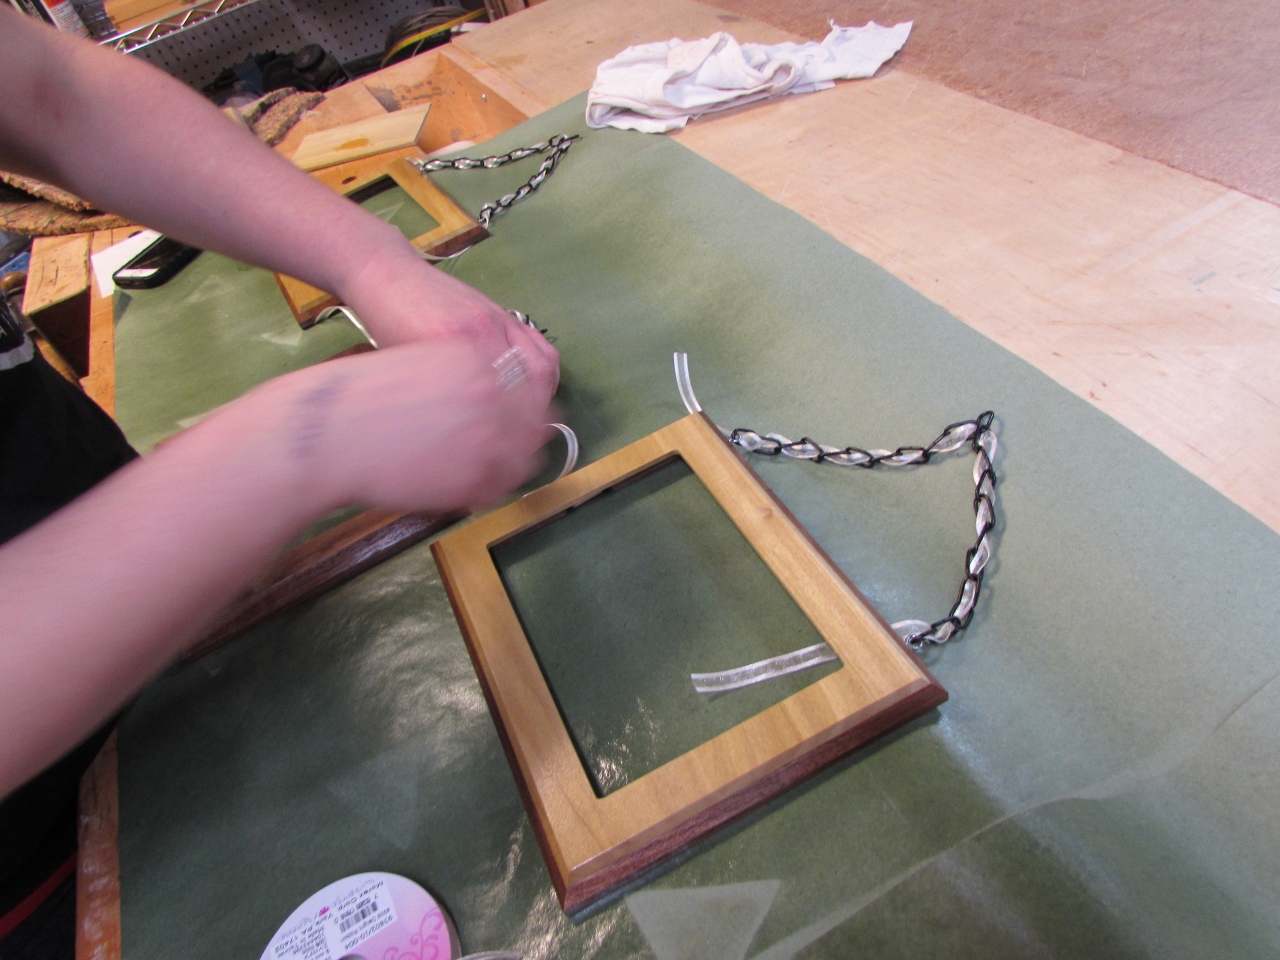
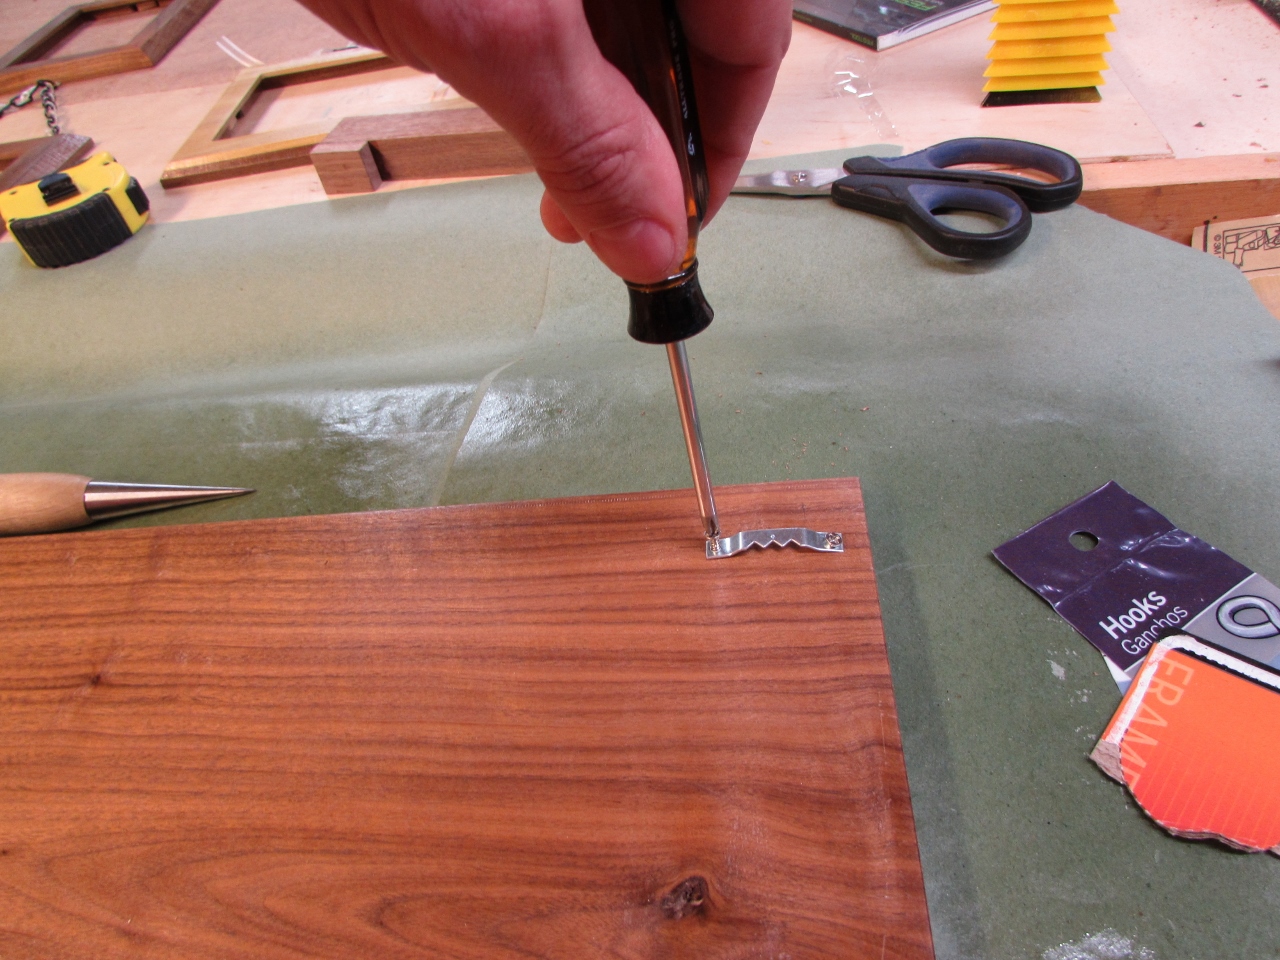
While Erin was experimenting with lacing ribbon through the chain, I installed some hangers on the back of the plaque.

They needed to be set really close to the edge to match up with hooks already on the wall, so I had to pre-drill, and angle in, to avoid the chamfered edge.
I placed a couple of hooks on my workbench to test and make sure everything hangs even.
Final touch was to place a couple of clear nylon bumpers at the bottom of each frame to avoid scratching the wall if the pictures get bumped.
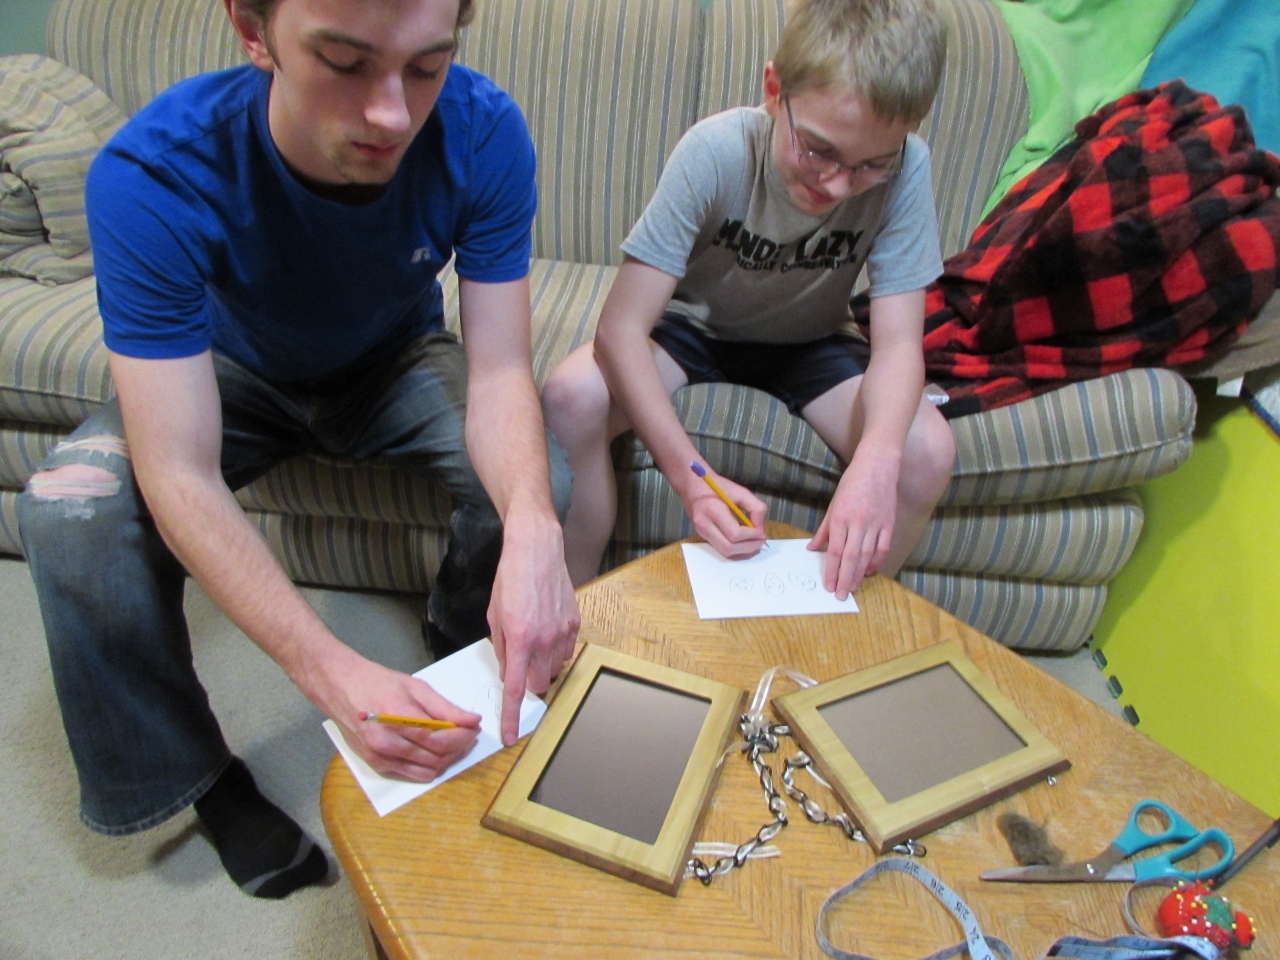
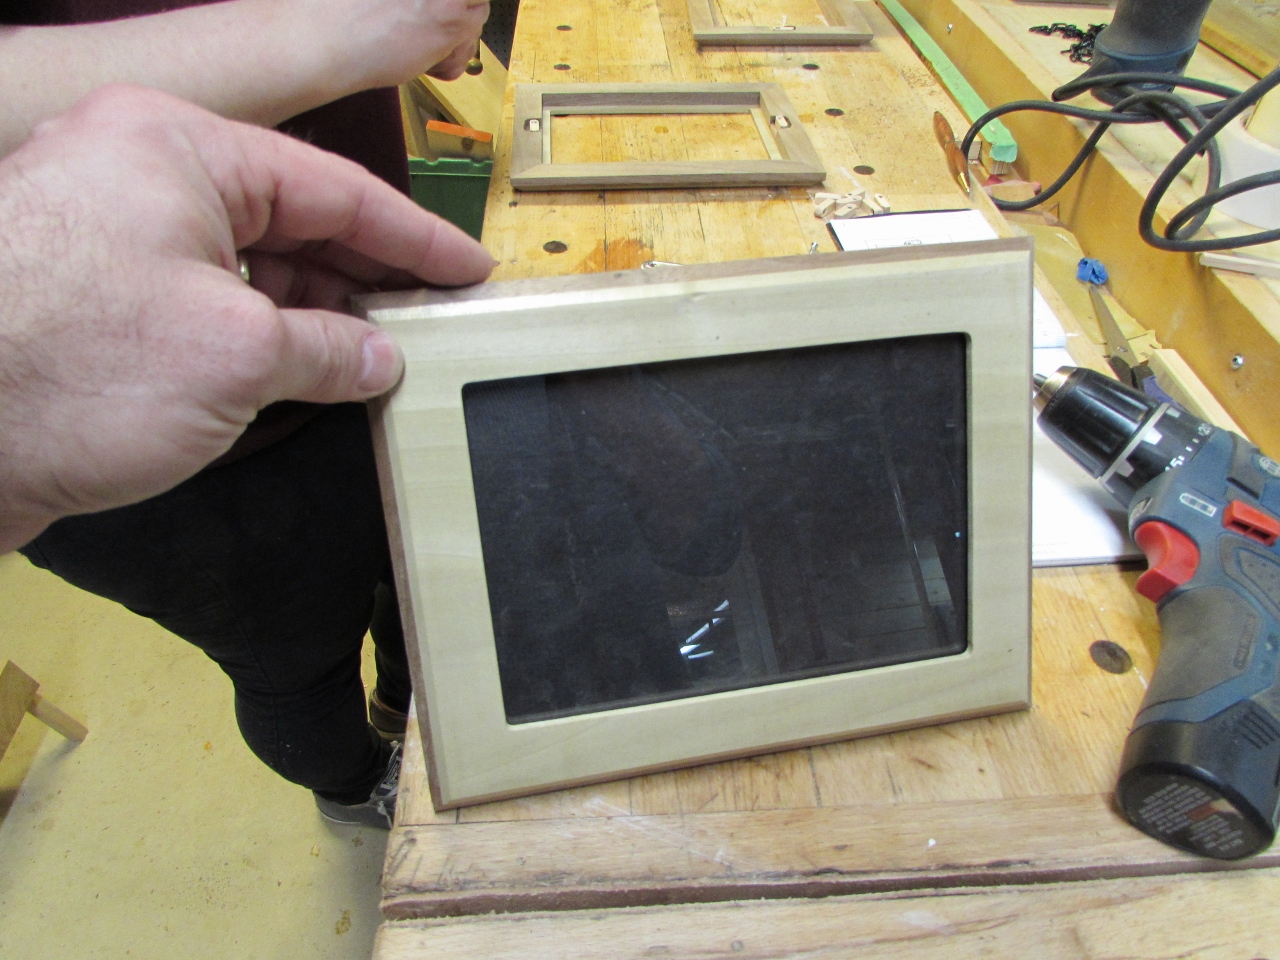
I had my boys create some temporary artwork to fill the frames until the new owner has pictures to fill it with.
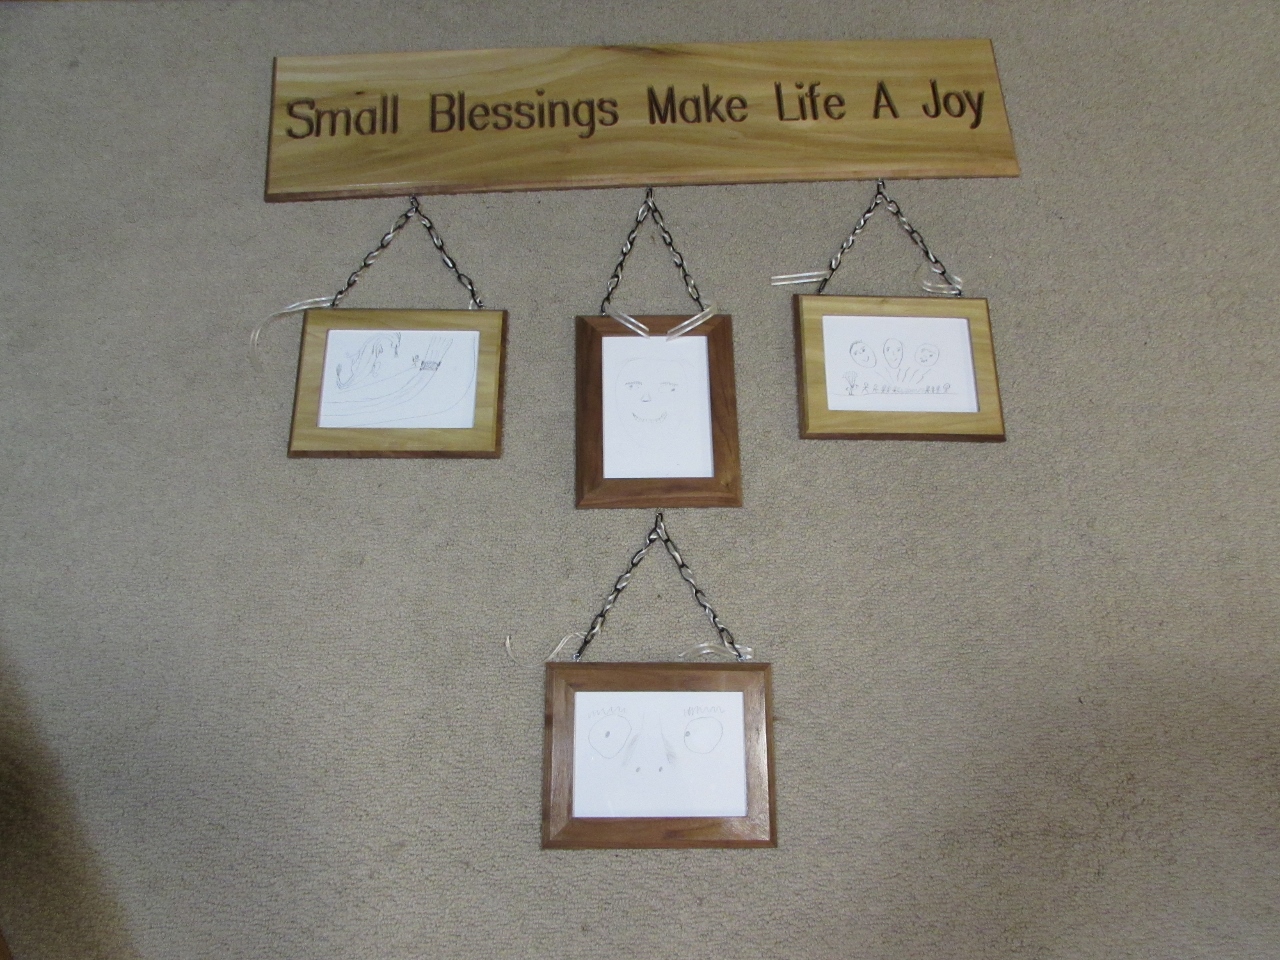
All in all the frames turned out pretty nice. I like the new technique, it worked very well.
