
Mini church furniture – Baptismal font
I was tasked with building some mini church furniture back in August. I was recently asked to add another piece to the collection, a Baptismal font. A fairly heavy glass bowl was acquired for the font and I needed to make a stand for it, that would resist getting knocked over by eager 3-5 year olds…

I started with a very detailed design and a due date (note the sketch above). I wanted four thin arms to cradle the bowl. Strong enough to hold, but thin enough that the bowl was mostly visible.
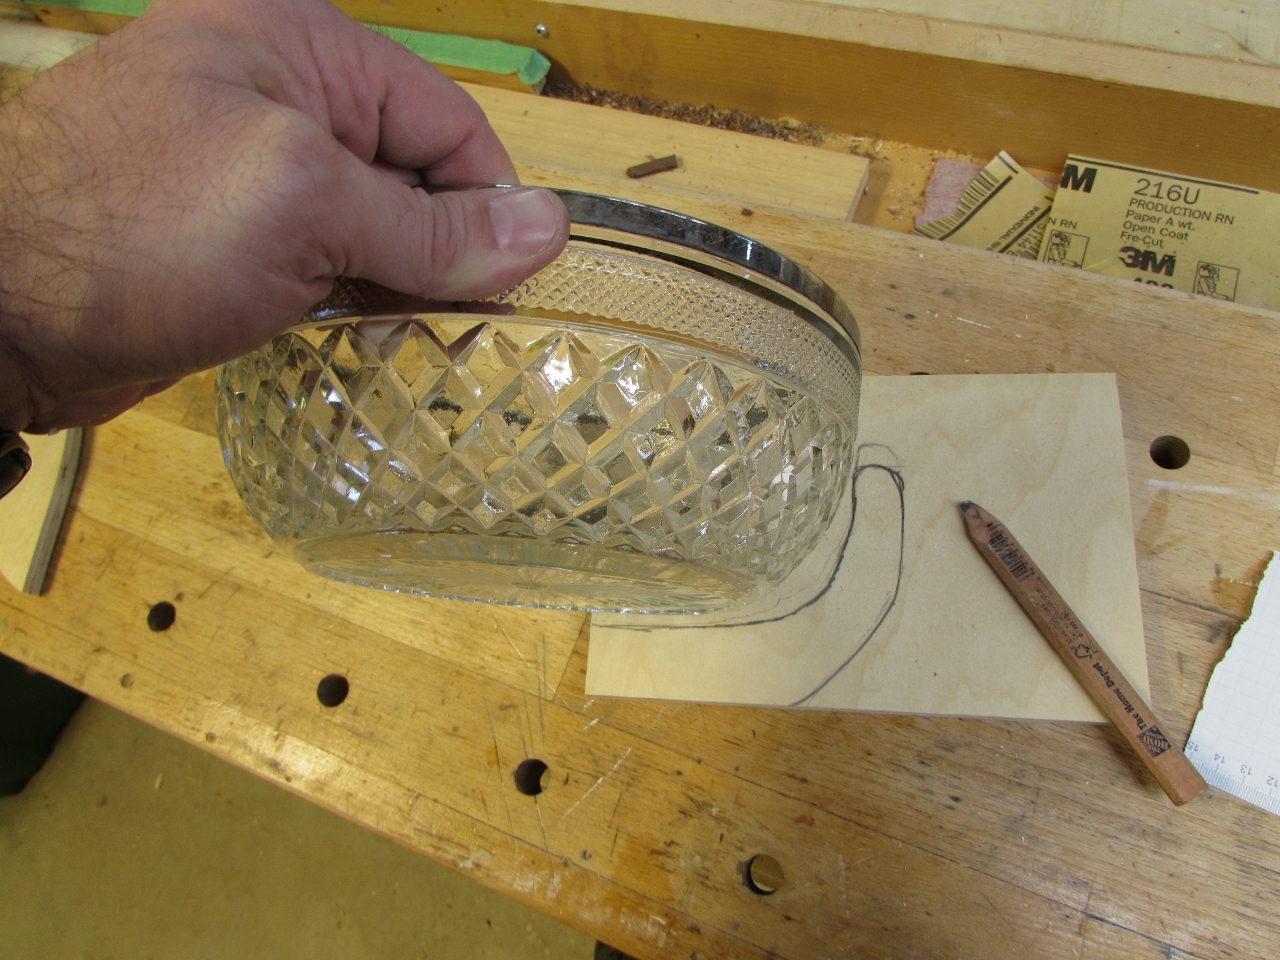
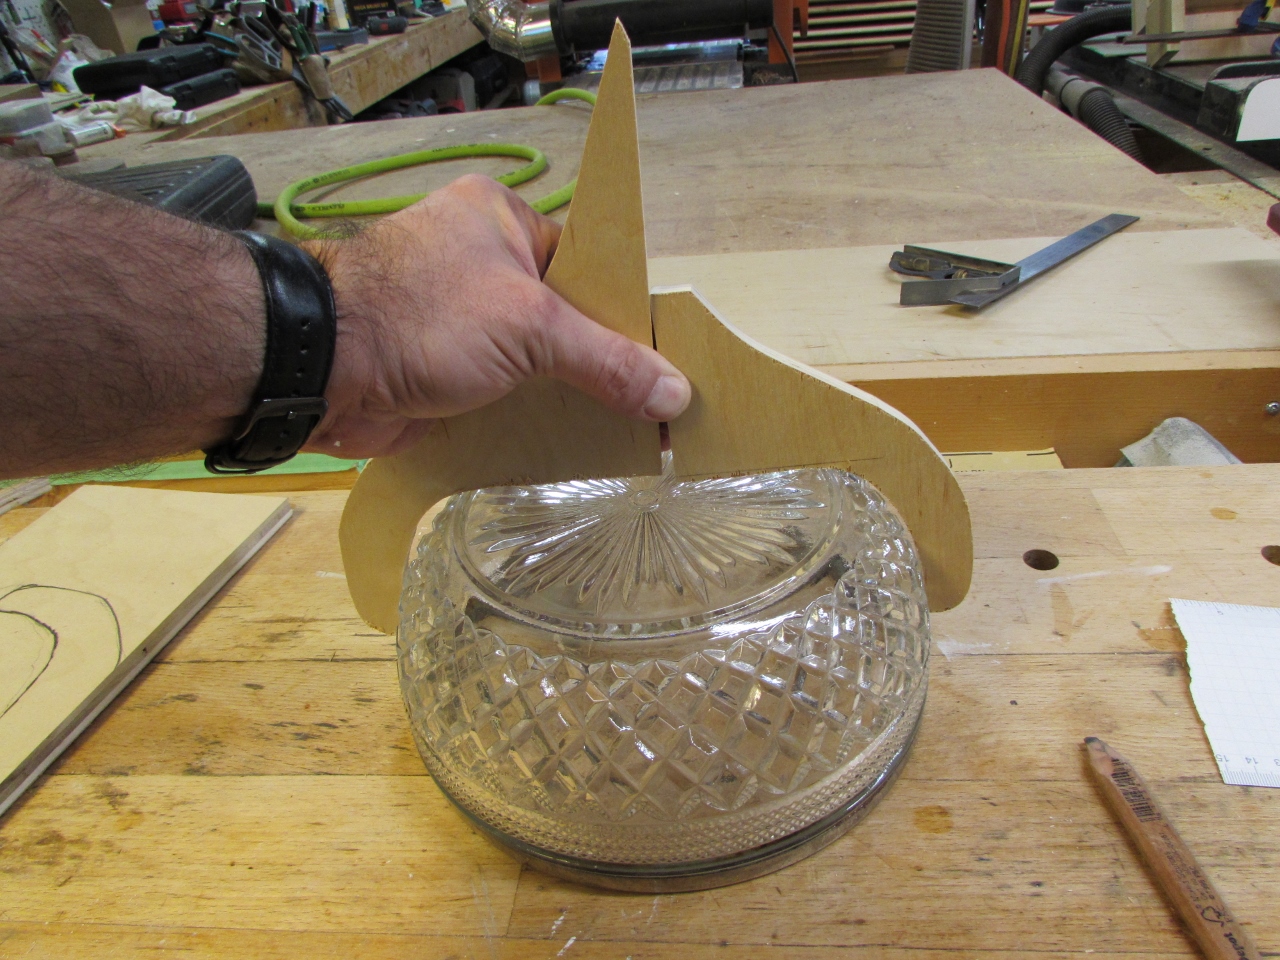
I started by sketching the bowl profile onto a piece of plywood, then cutting out a few test pieces to get the size and shape just right.
For the center post, I found a glued up 2″x2″ piece in my scrap pile. I laid out the locations and decided on recessing them into the post about 1/2″.

The 1/2″ plywood seemed to be the right size, so I cleaned it up and shaped it a bit more, then used it as a pattern to mark out 4 of them on some 3/4 thick red oak I had.


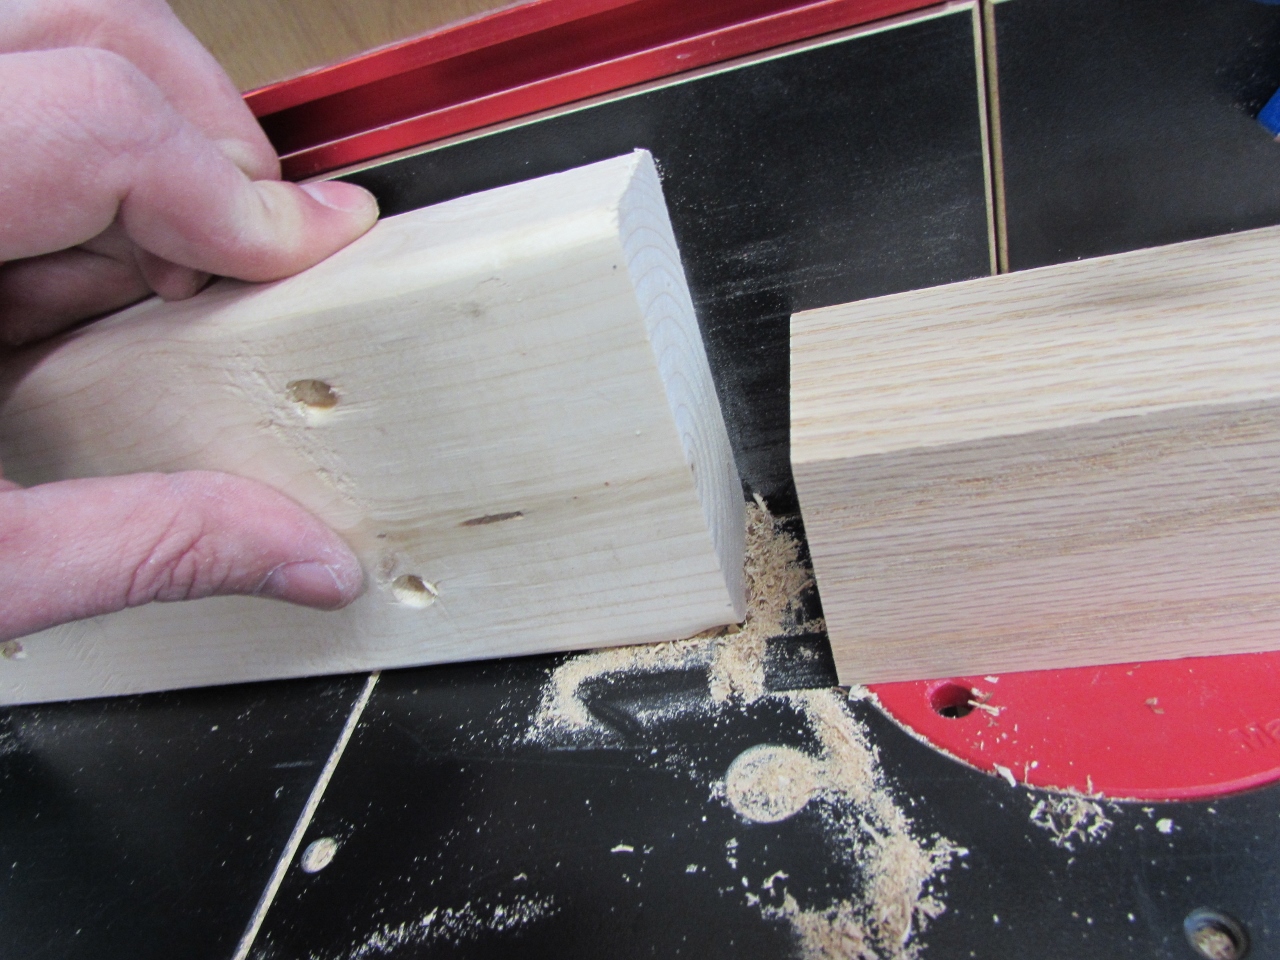
I needed to experiment with the dado a bit, so I cut off a 4″ piece of scrap to do my setup. I have a 3/4″ spiral cutter bit that should do nicely for cutting it.
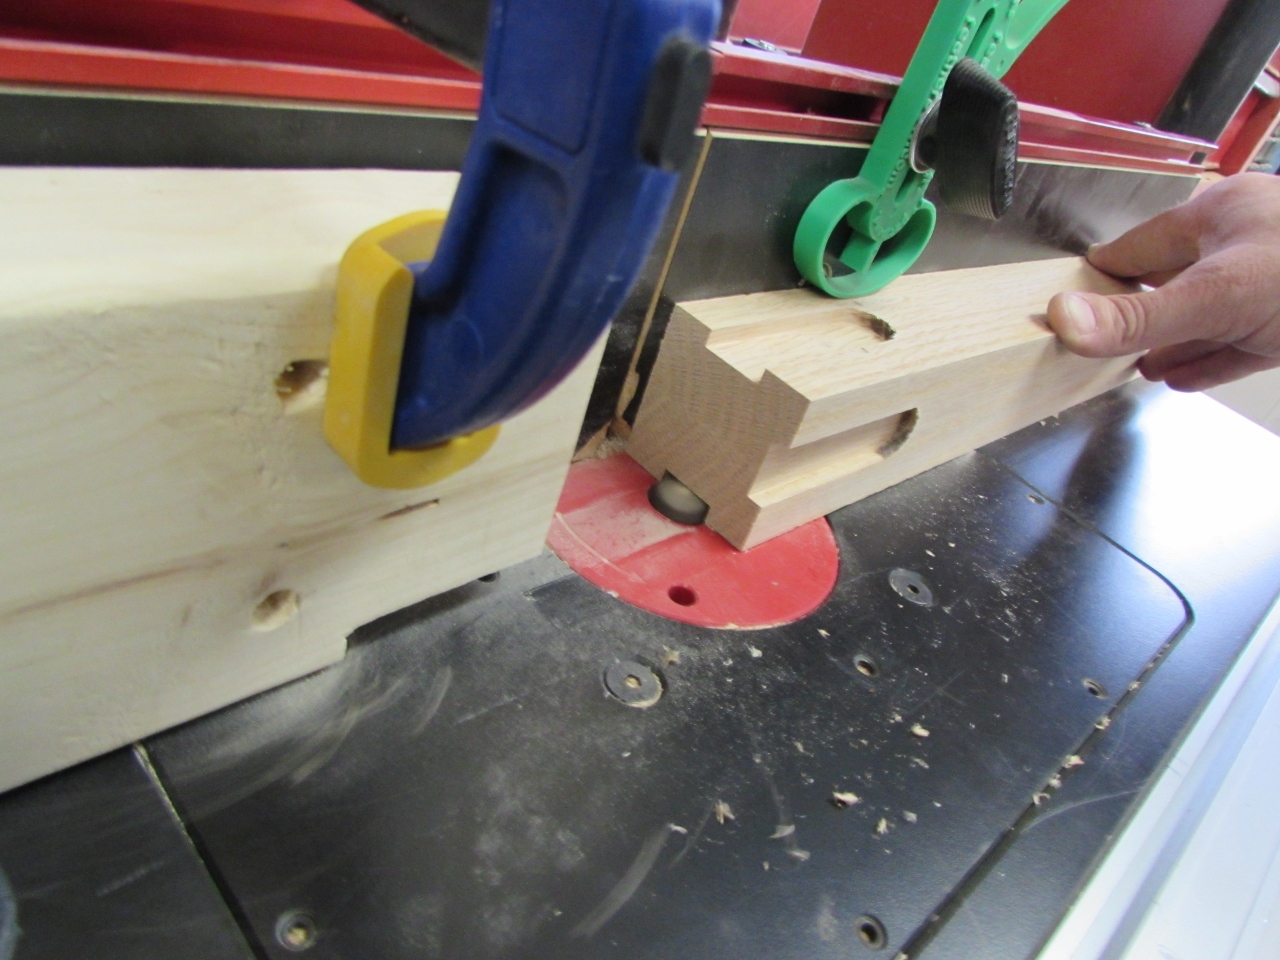
I used my pattern to gauge the length of my stopped dado, then clamped a stop block in place.

I set the bit about 3/16″ high to do a first pass, and that worked well, so I will do several passes to achieve the depth I want.
A lot of sawdust built up in the gap, so I modified my stop block to allow it to pass below, out of my way.

This worked very well, no dust in the way this time.

After doing a test fit, I grabbed the center post and cut dados on all four sides.
After 3 passes, I reached full depth.

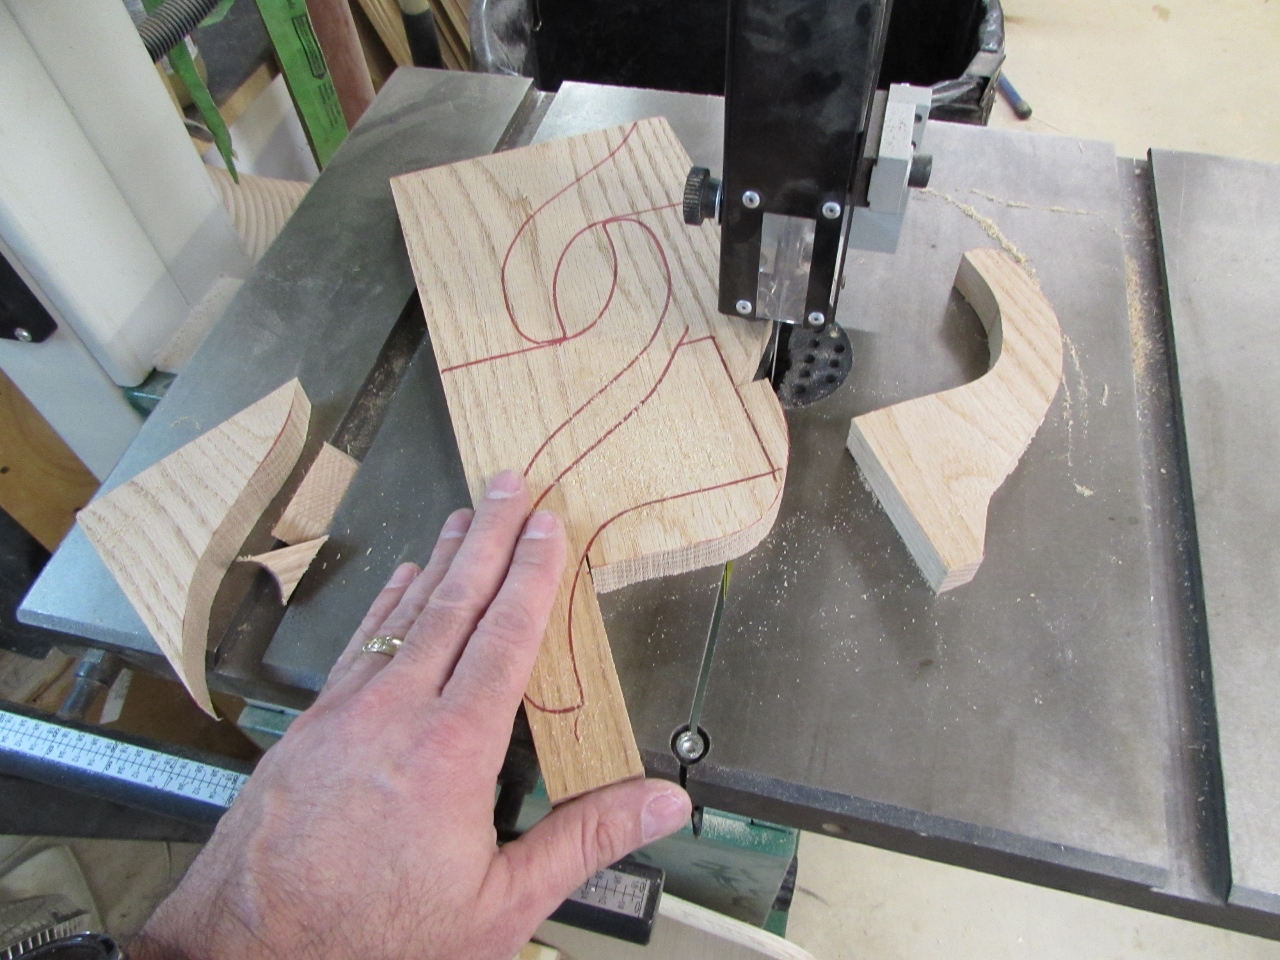
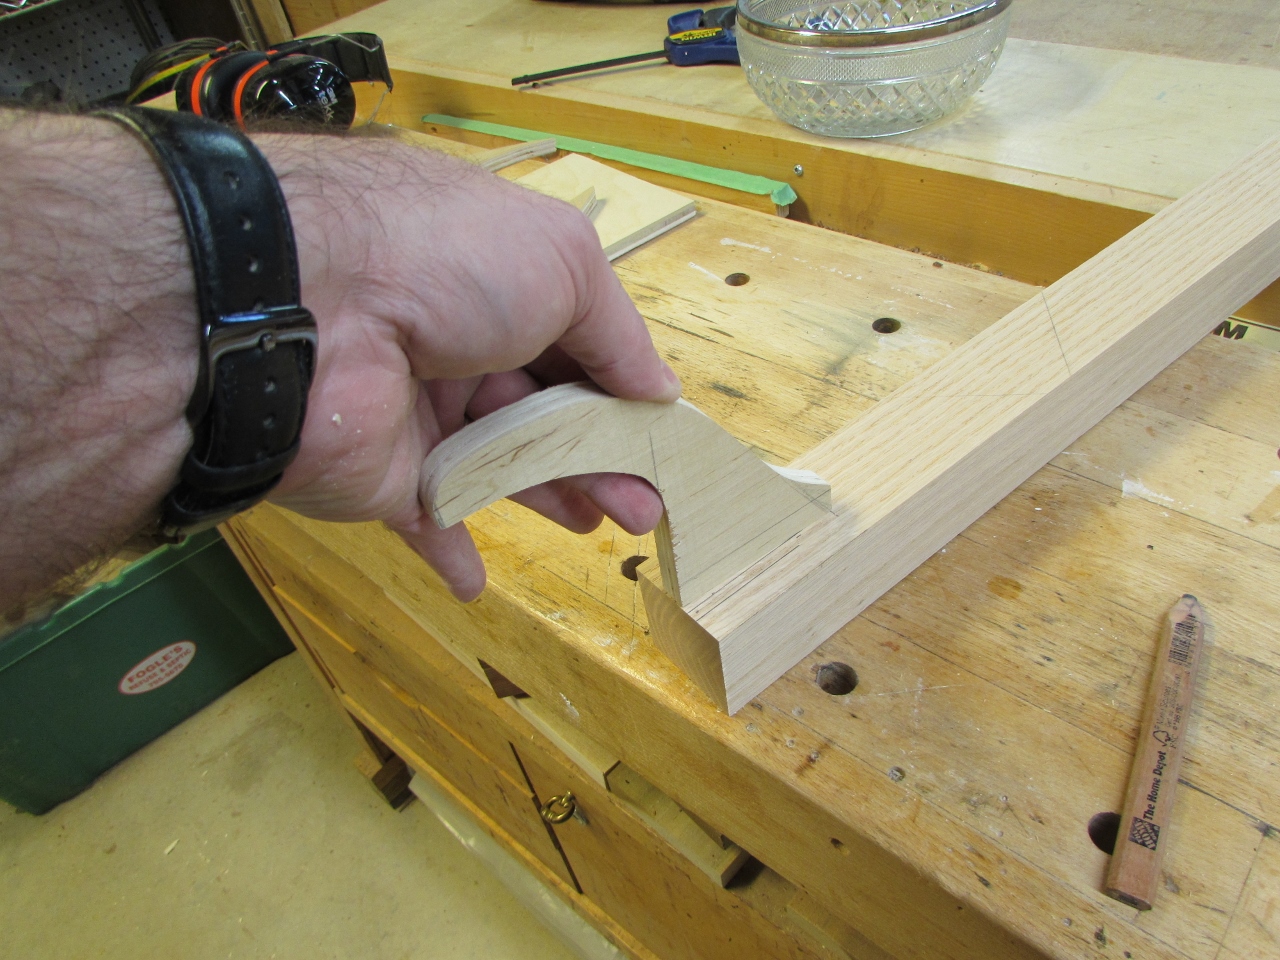
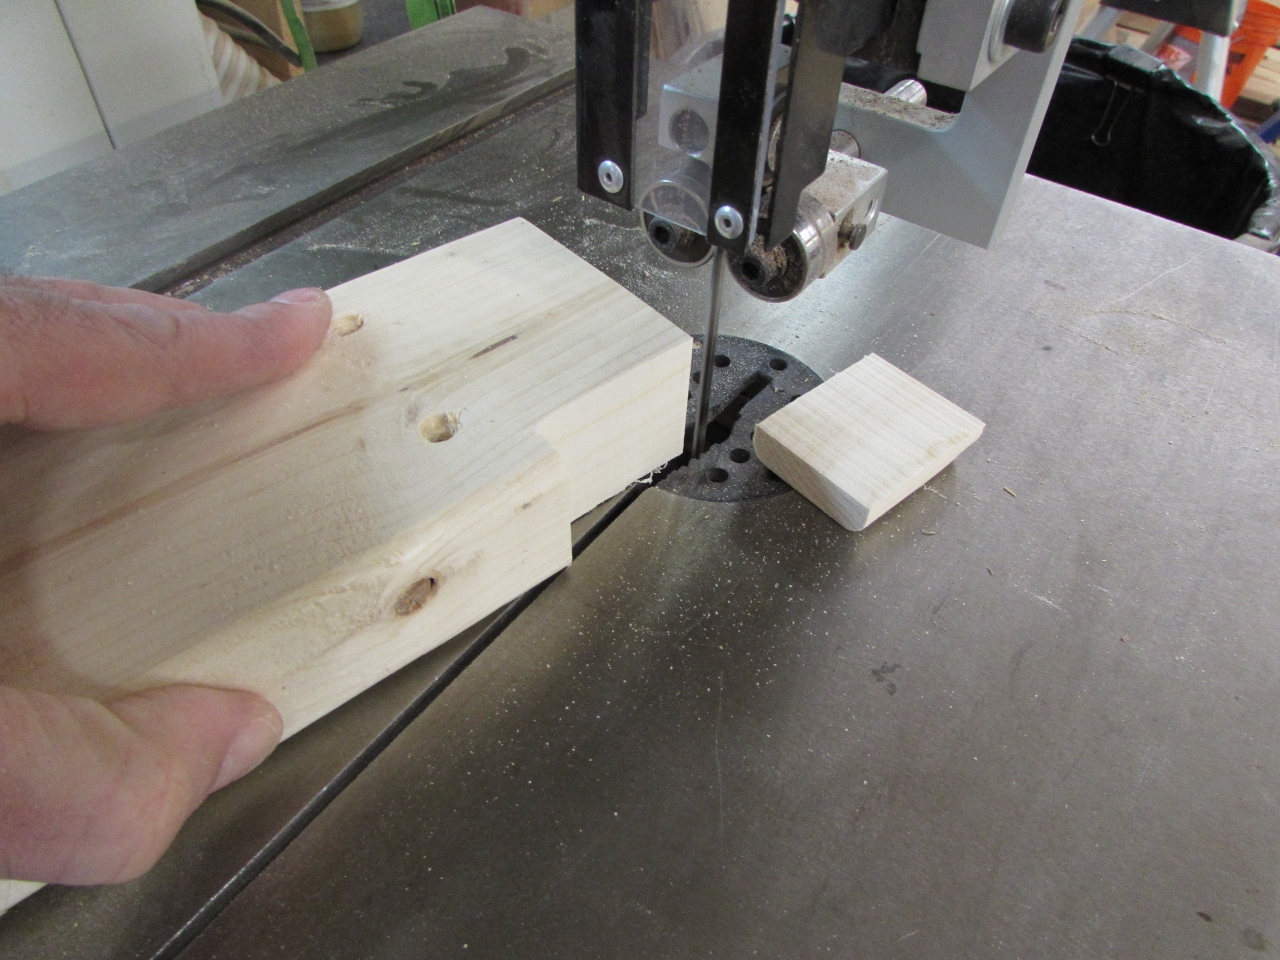
Before cutting away the corners, with a chisel, to square them up, I decided to cut out the arms on my bandsaw, and sand them down.


I wanted to test an idea, that might save me from having to chop out those corners.
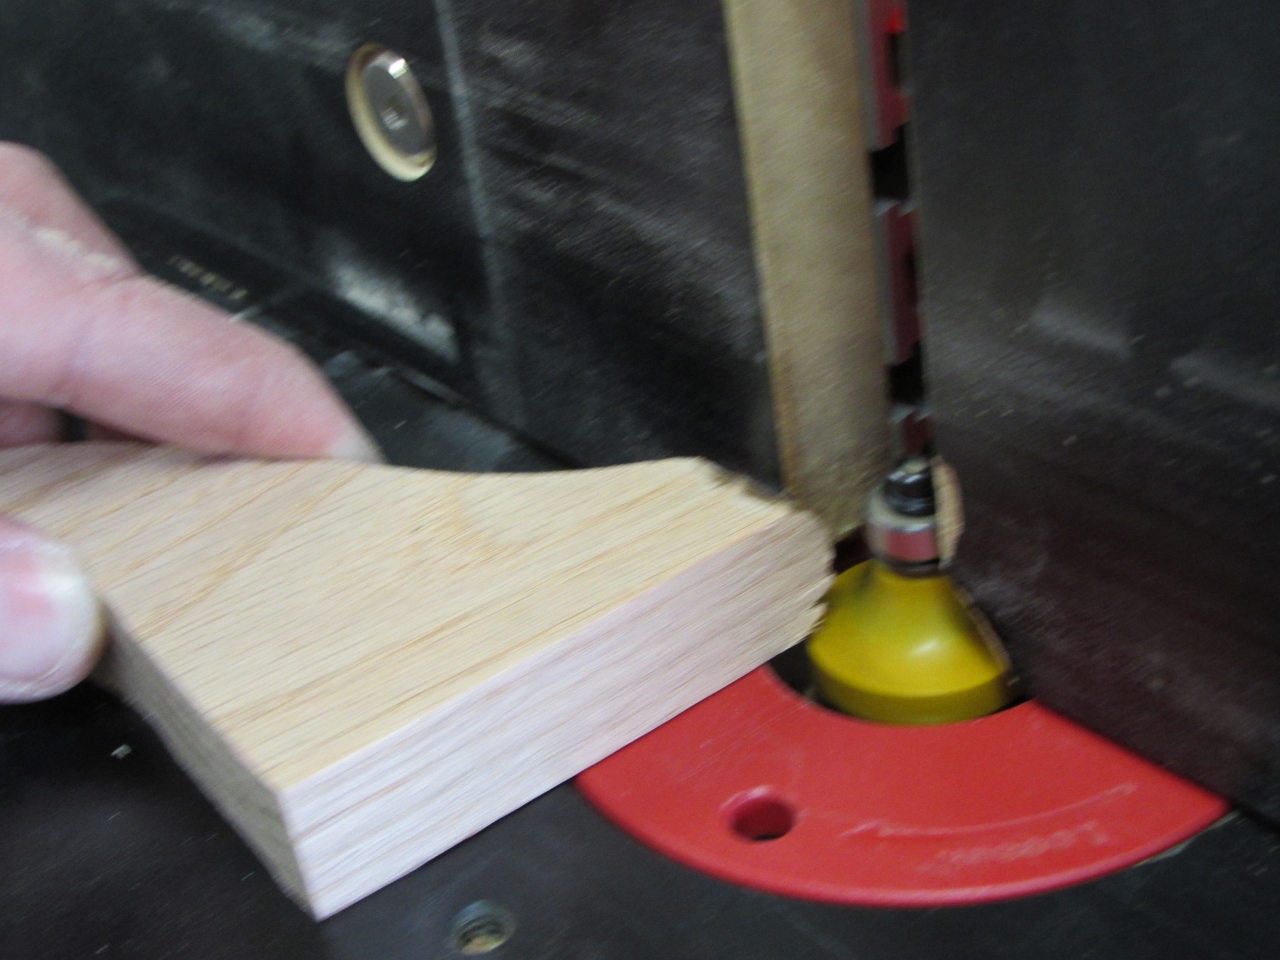
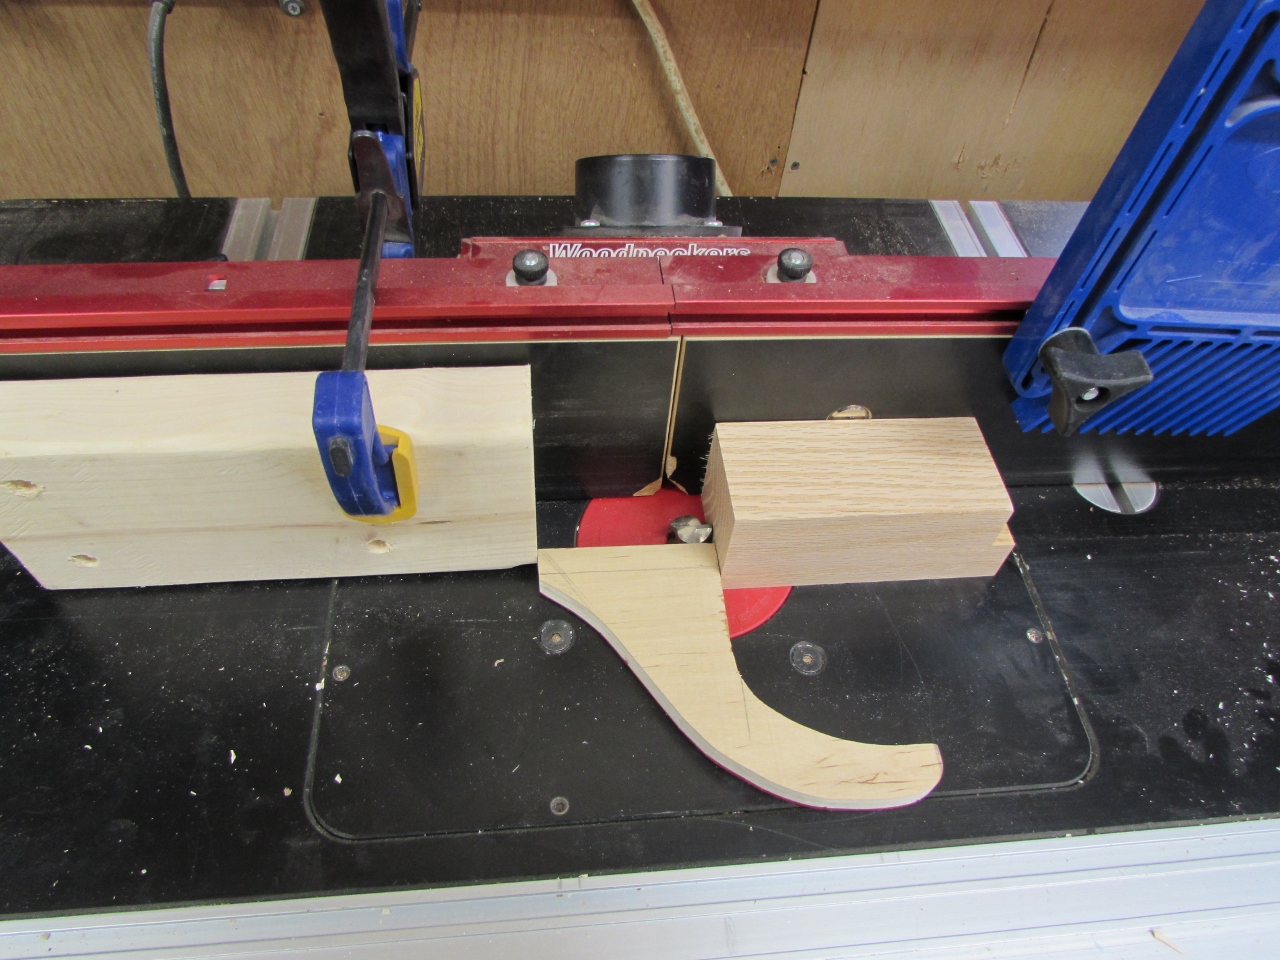
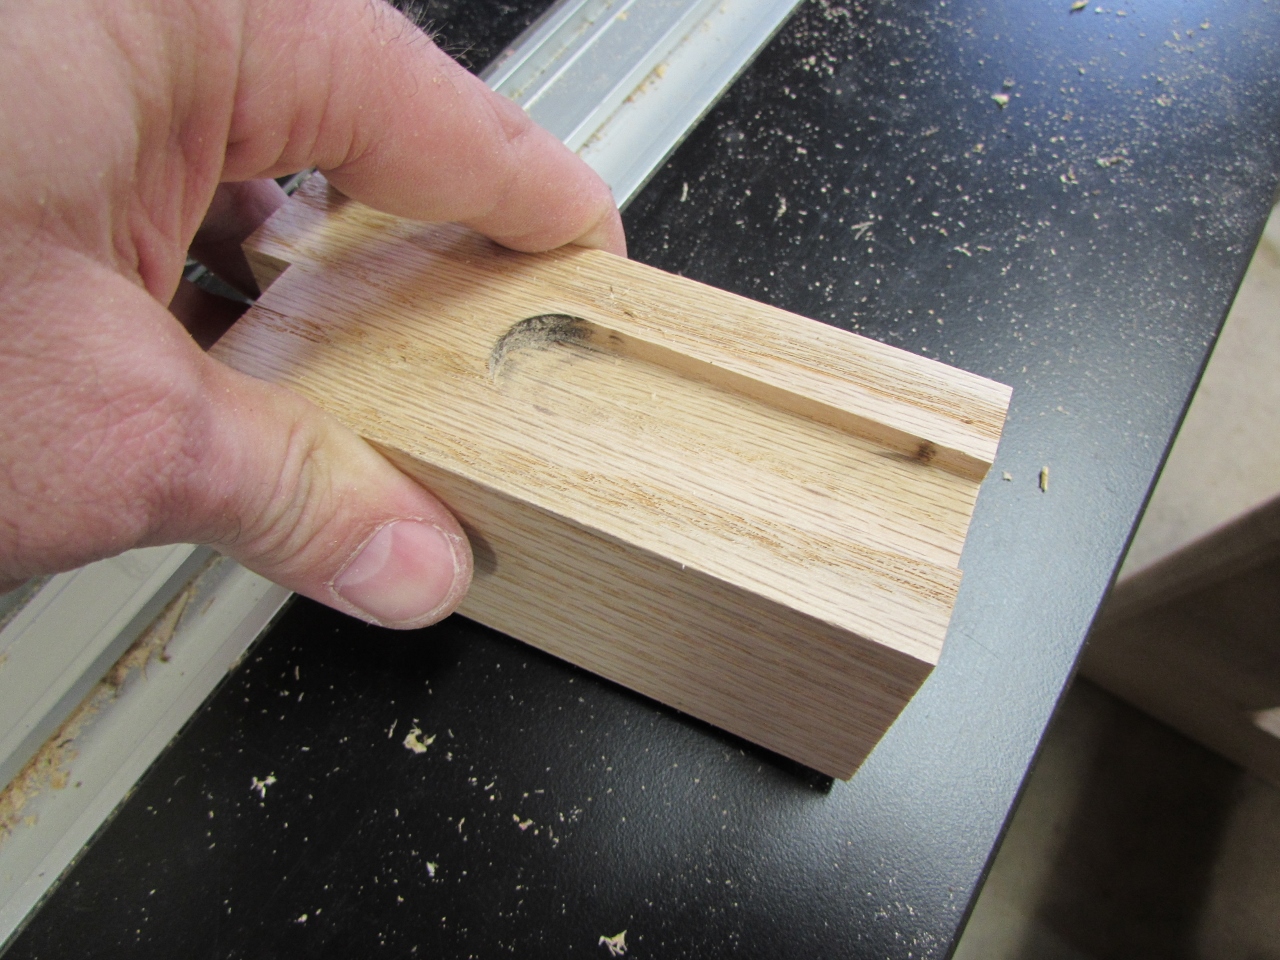
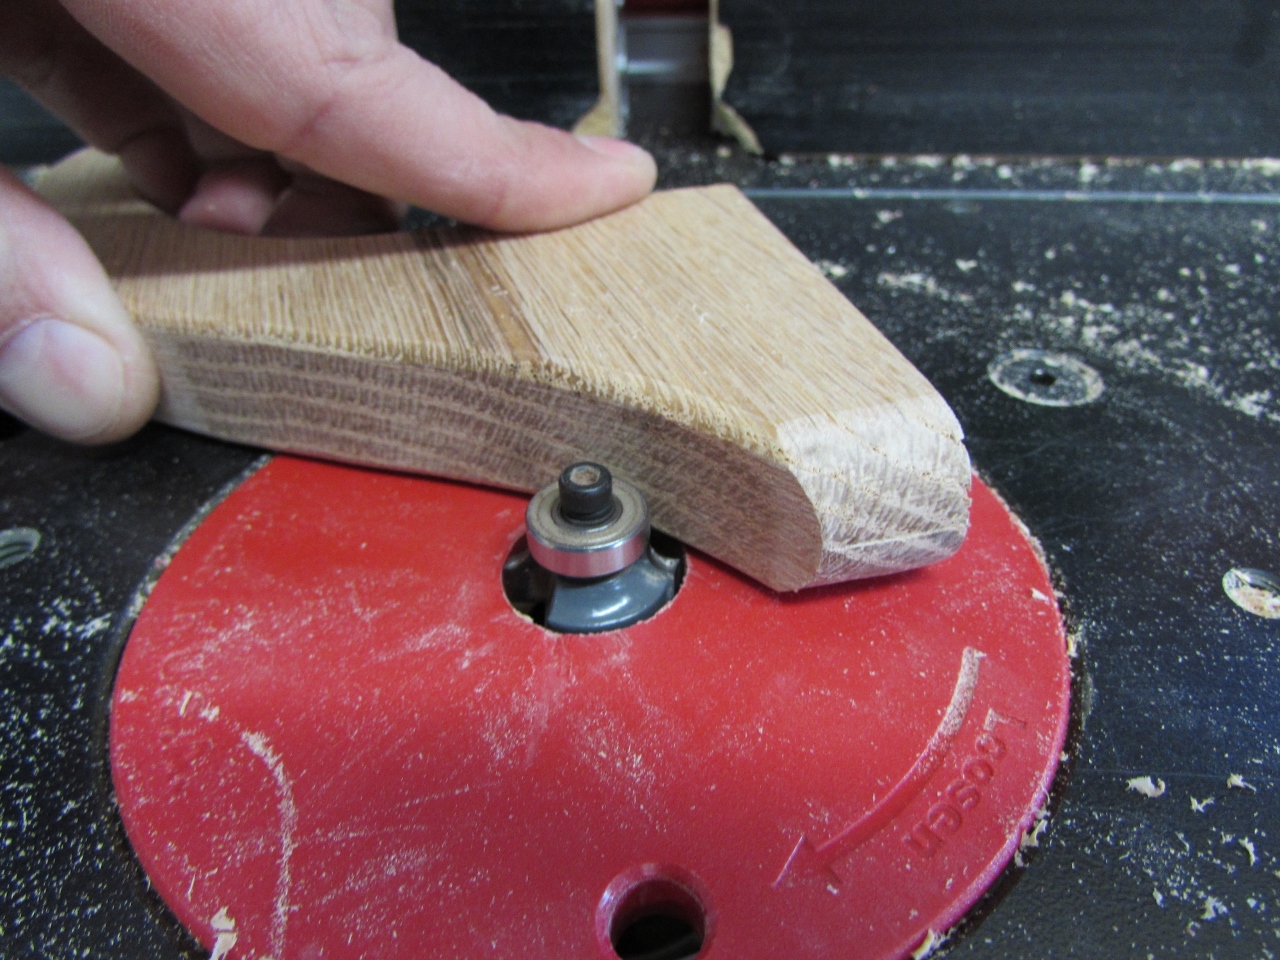
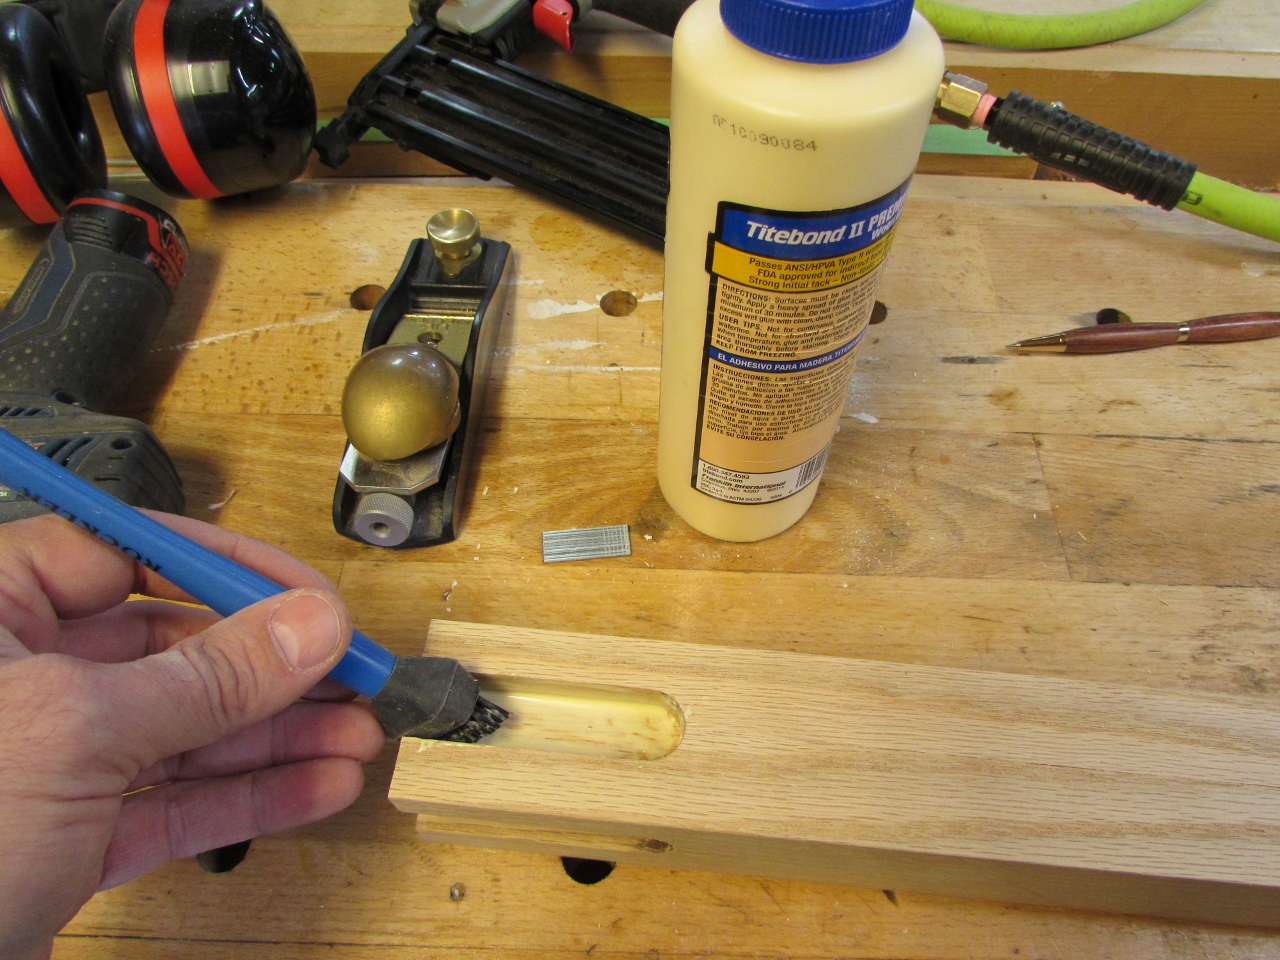
I put a 3/8″ round-over bit in my router and cut both sides of the bottom end of the arm. My hope was that it would fit nicely into the bottom of the stopped dado, and it did.
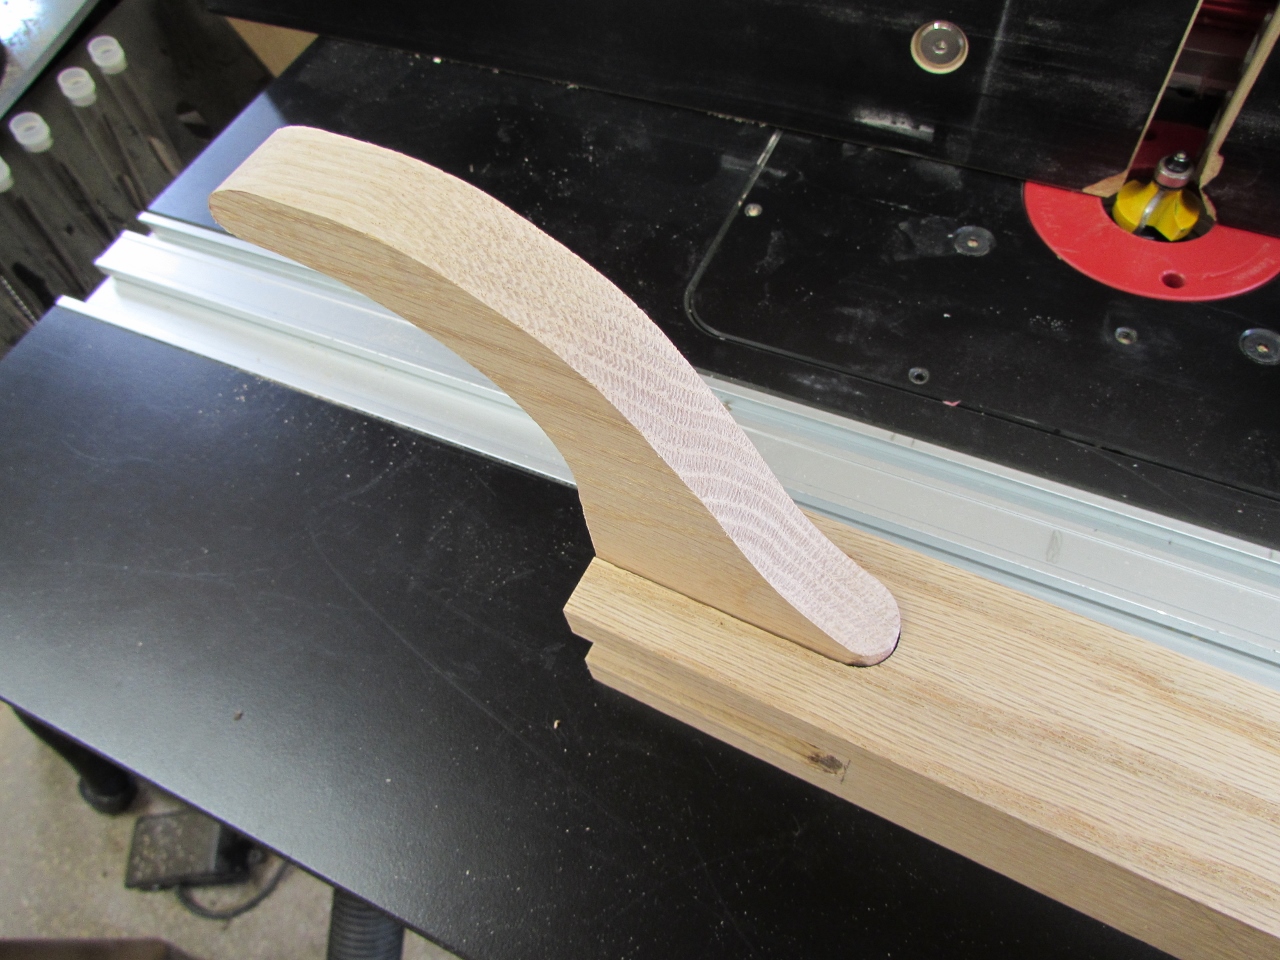
I also decided to use my 1/8″ round-over bit to take the sharp edge off of the rest of the exposed surfaces.
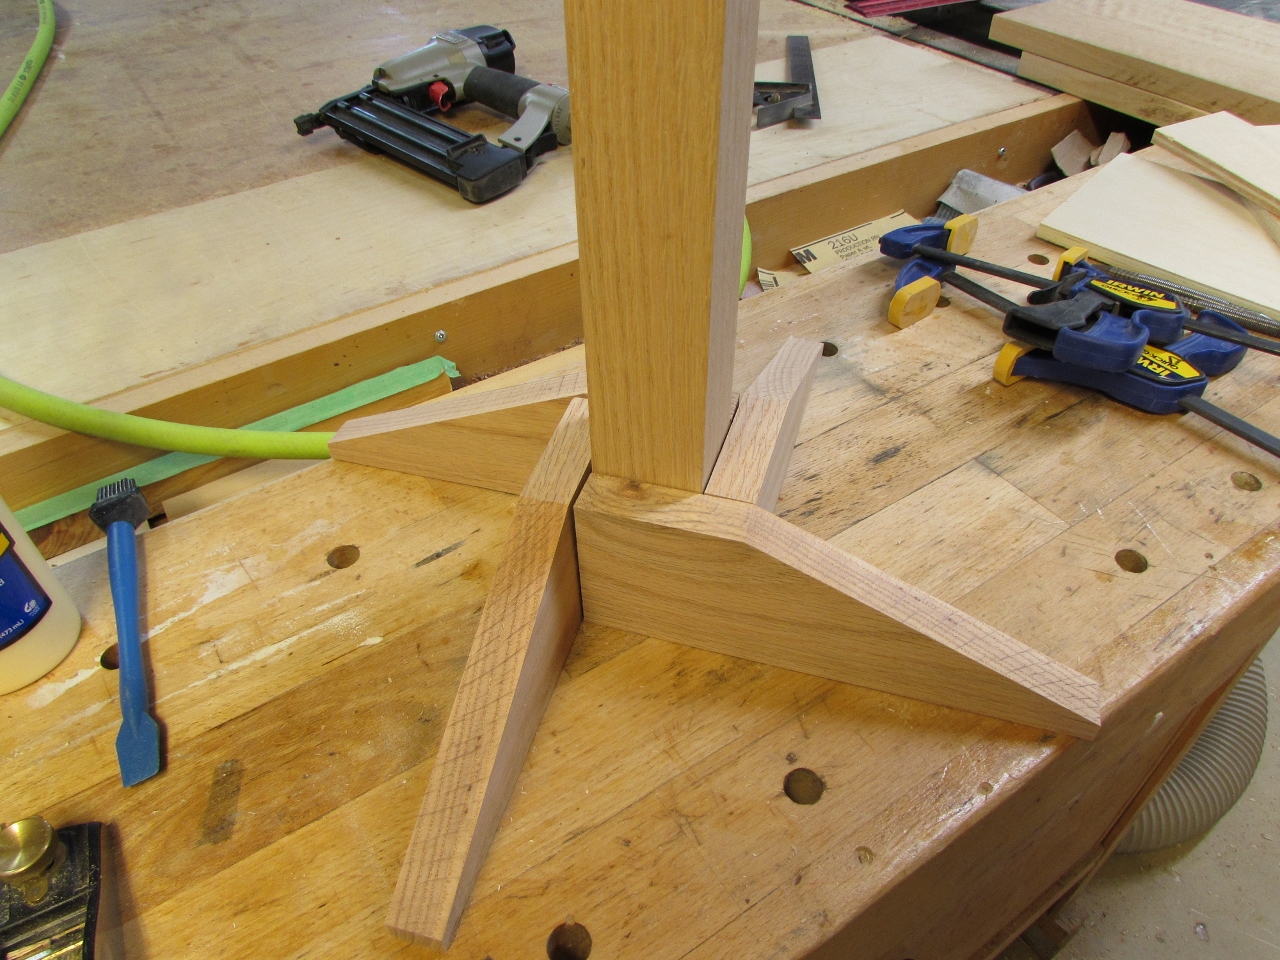
I added some glue to the dados and installed the first arm.

With the funky curved shape, I did not have a good clamping surface to work with, so I used my 18 ga. brad nailer to hold the arms in place. I will fill the nail holes in later with saw dust and CA glue to hide them,

After a little sanding, I had a perfect fit for the bowl.

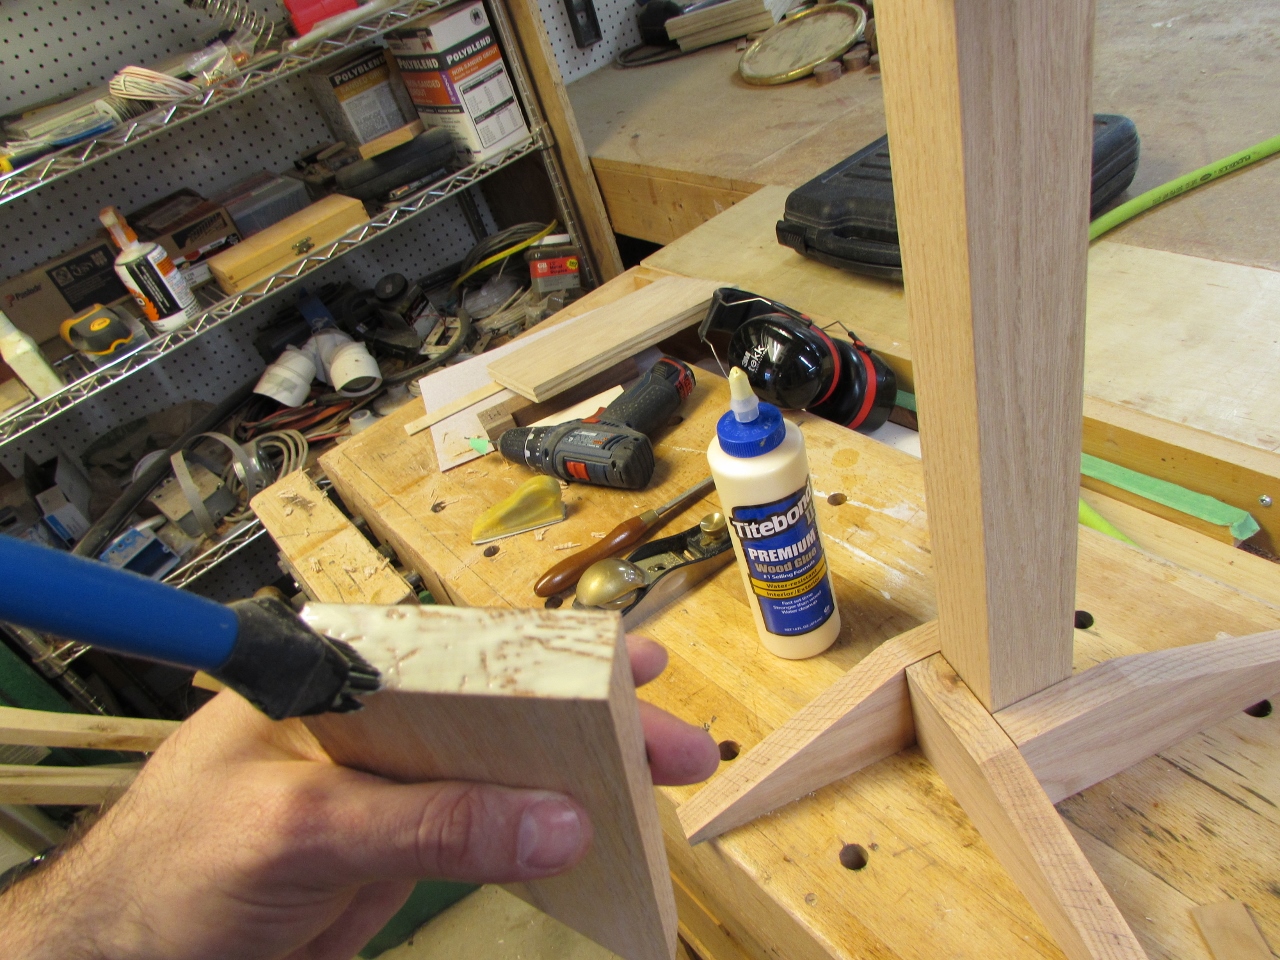
On my original design (small sketch on a scrap of paper, see first photo), I was planning on an enclosed base, thinking I would need to add a lot of additional weight to avoid children tipping over the font. But, after experimenting with some scrap plywood and a few clamps, I determined that I did not need the weight so much as the wider base. I will make the new design so that it can be removed and replaced if it proves insufficient.

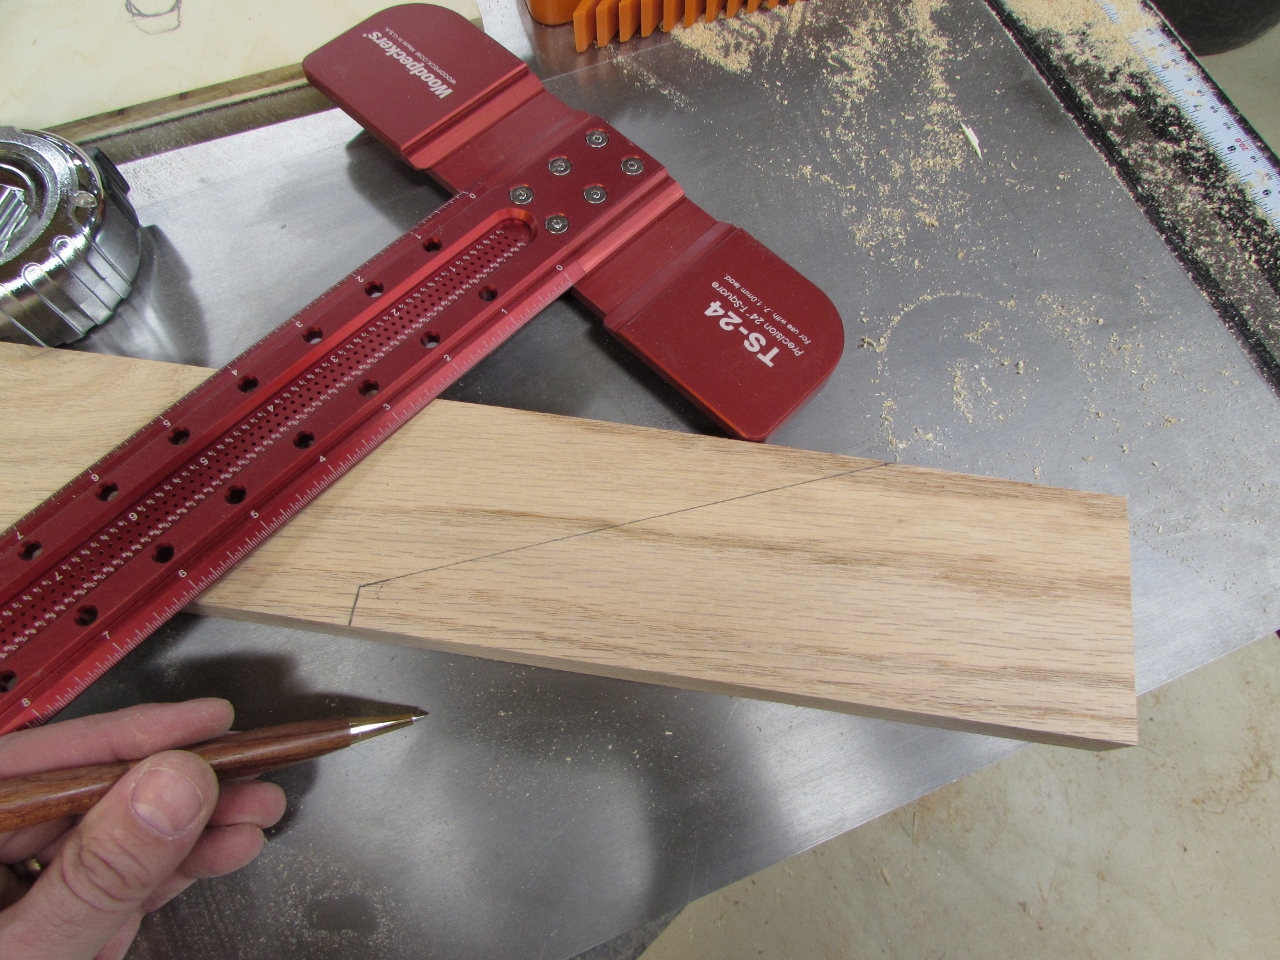
I started with a 3″ tall strip of 3/4″ red oak, and laid out my first foot.
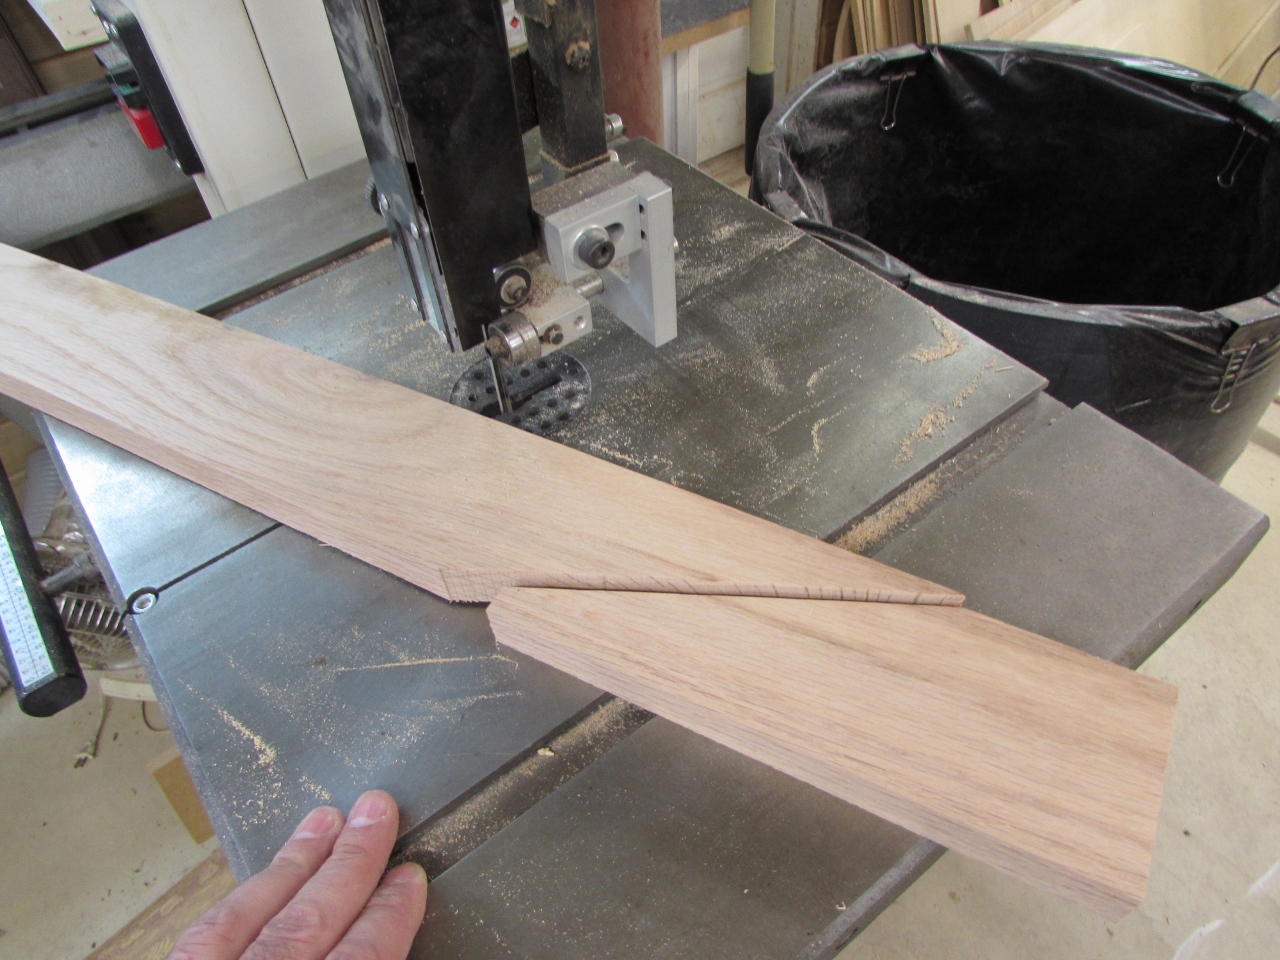
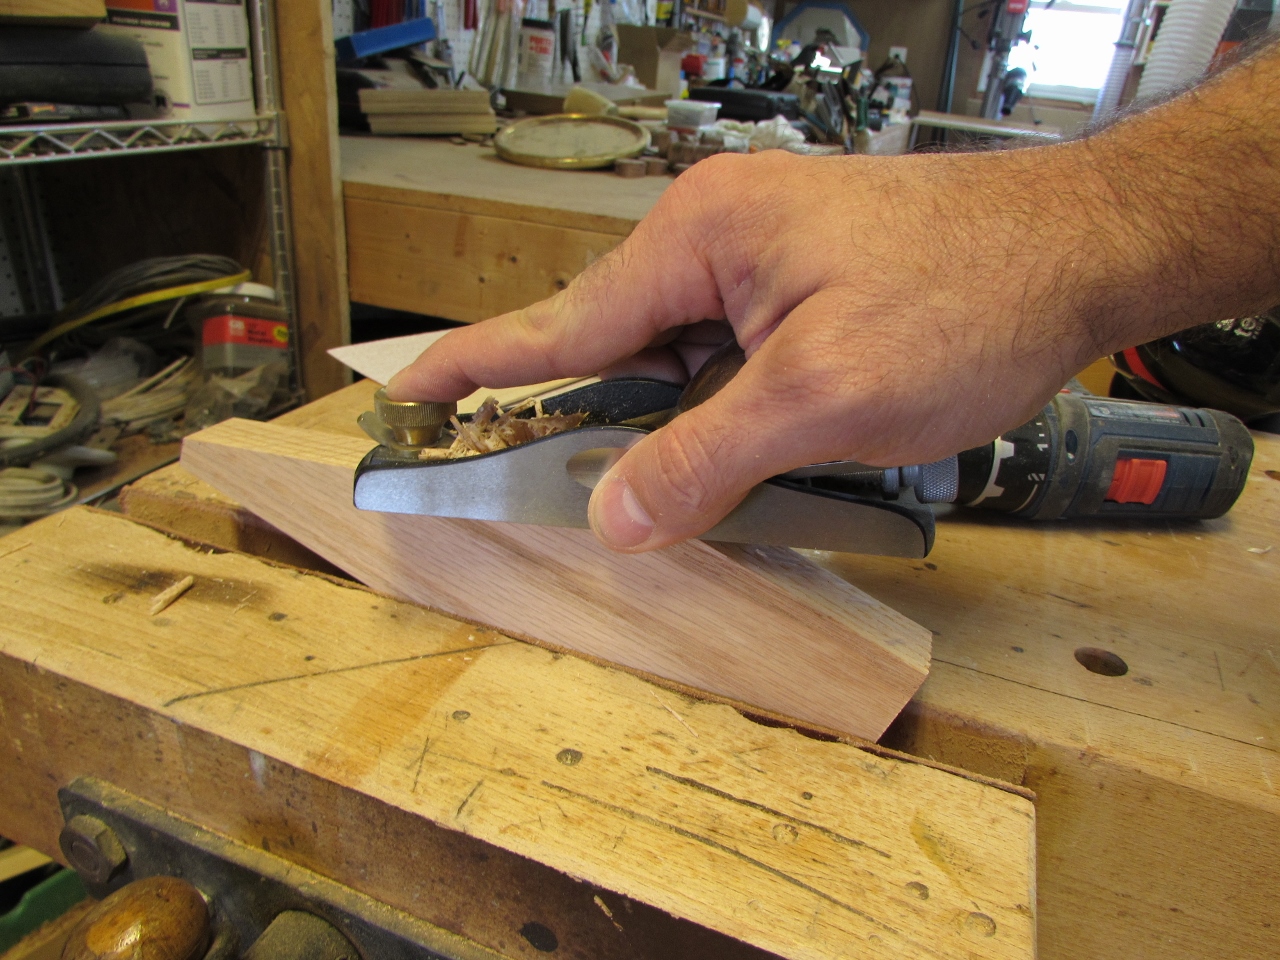
After cutting the shape out on the band saw, I used my block plane to smooth out the saw marks.

Next, I used the first one as a pattern for the next three, and repeated the process.
My first thought was to glue just the end and nail it together with the brad nails.
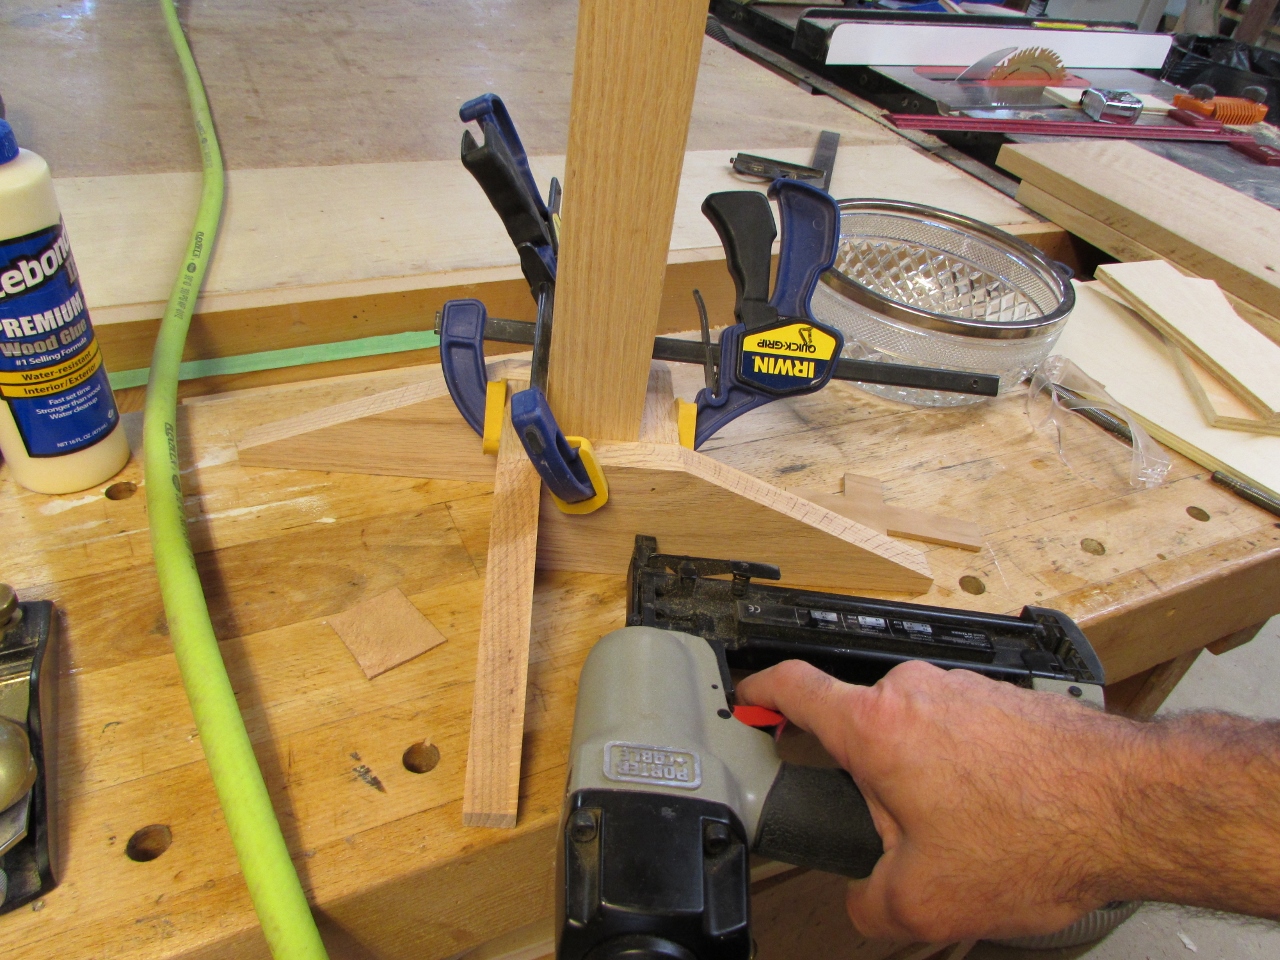
But, since I want it removable, I can’t get a good glue joint to the face of the post. End grain glue-ups are not always reliable, so I decided to add a 2″ screw through each piece, and one through to the post to hold it on.


This worked out really well and it was very stable, so next was on to the sanding.
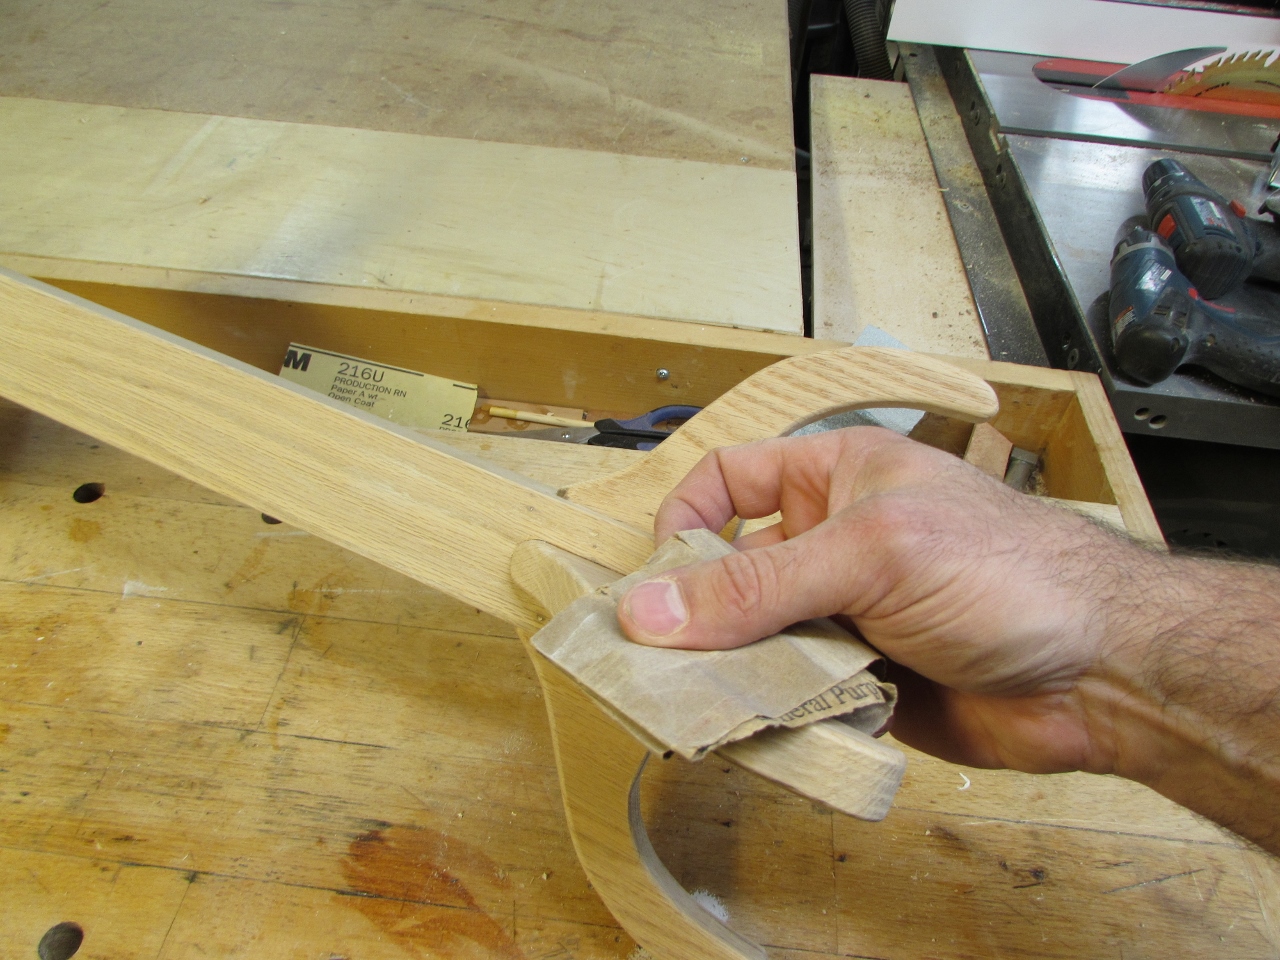
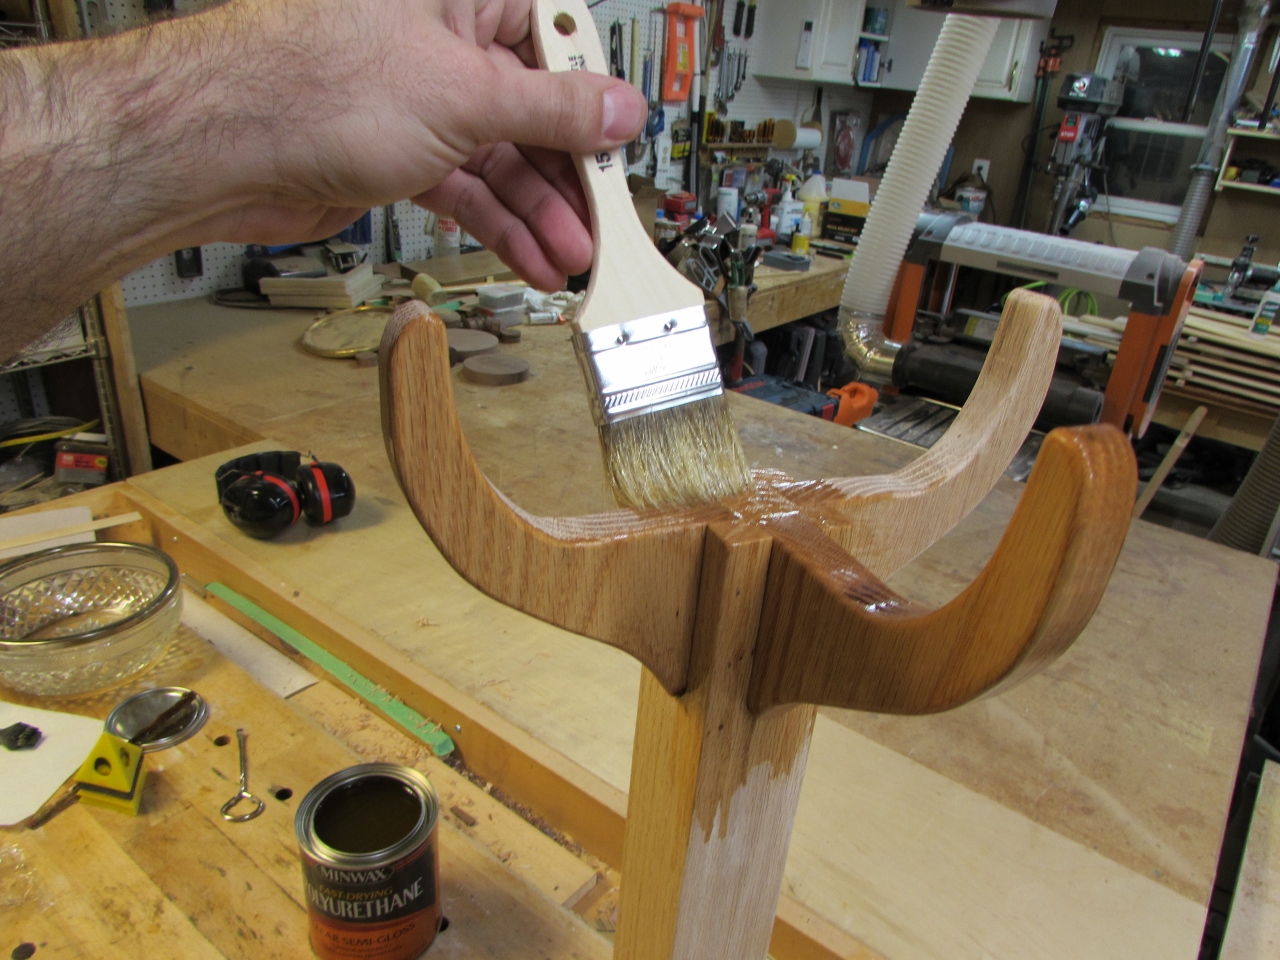
I am using two coats of semi-gloss polyurethane as my finish.


After the first coat had cured, I sanded it all down with 400 grit paper and applied the second coat, making sure to take my time and not have any runs.


The next day, I gave it a quick buff out with a piece of crumpled brown paper and the project was finished.

