
Lithophane light box
I had a wedding shower to go to today, for Erin’s sister Diana, and I wanted to make something special to bring as a gift. When I first got my Carvewright CNC, I remembered reading an article, on their website about making a Lithophane. The CNC carves a photo into a translucent material, like corian or cast acrylic. If you shine a light through it, you get an amazing black and white representation of the photo.
I started on this project about two weeks ago, but ran into several problems. I looked for a source for 1/4″ thick corian (the recommended media), but I could only find one person selling offcuts, $3/piece, and $10 shipping. So I started looking for cast acrylic instead. Home Depot and Lowes, both sell clear acrylic, but not white, so I bought some to test it out.

My first test carve did not go well. The acrylic was only .093″ thick, and I carved through it in places. Also, it did not look very good.

Next, I tried glueing 3 pieces of it together with spray adhesive. It worked much better, but still did not look good. I found a scrap piece of white nylon lying around, so I gave that a try. It may have worked, but I couldn’t tell. It wouldn’t release any of the cut media. Don’t know why, but it came out looking like a carpet…

I finally found some white cast acrylic sheets on Amazon, so I ordered one. Of course, it did not arrive until yesterday, and I needed to have it done today. So I stayed up late…
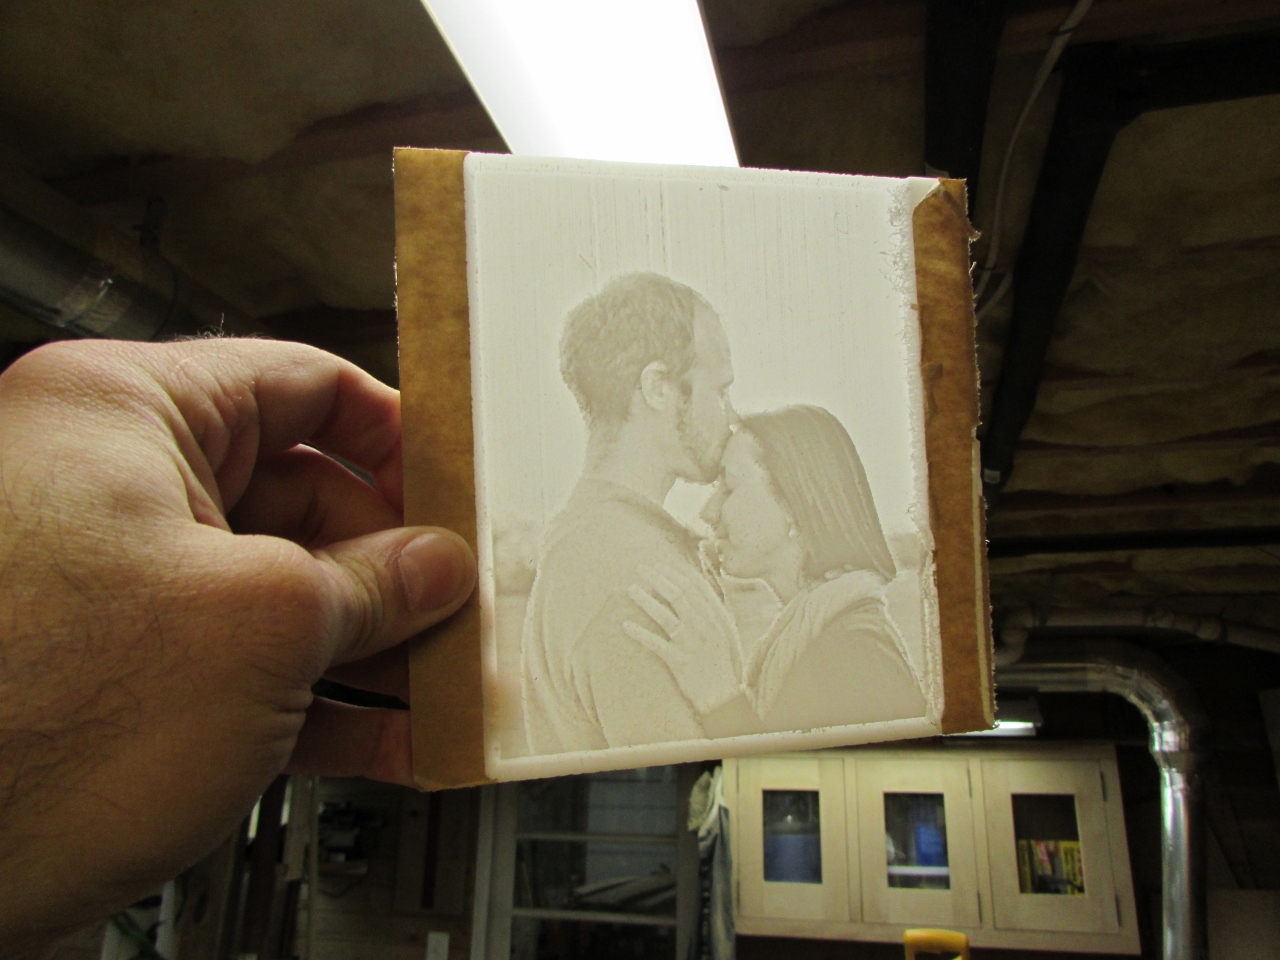
After looking closer to the photos that I had carved in clear, I realized they were too busy. There were too many trees and there were shadows everywhere. I needed a photo with more of a light background with fewer shadows. The mother of Diana’s Fiancé, Ryan, is a photographer, and she sent me this wonderful picture.

I ran a quick rough draft carve in the new acrylic, when I got home from work. It turned out awesome, so I got to work.

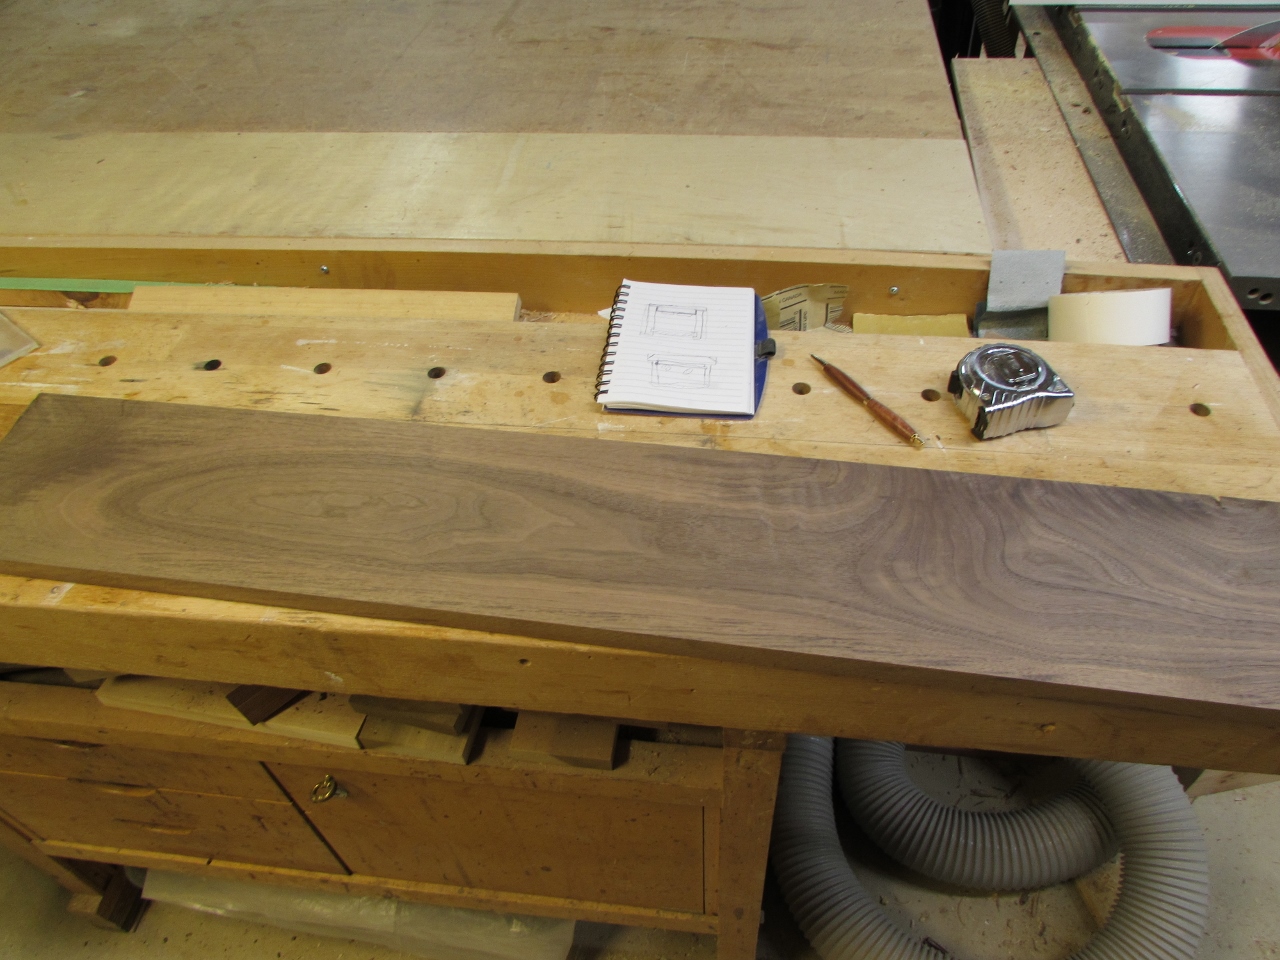
I started working up a sketch of what I wanted to build so I could get a size for the carve. I cut a new piece of acrylic, attached it to a piece of plywood, and loaded up the carver. This one was a bit larger than the test carve and was run at the highest resolution, with the 1/32″ carving bit.

That carve was going to take nearly two hours, so I found a nice piece of walnut and got working on the box.
I was not sure what kind of LED lights I would want to use, so I bought a couple. I really wanted to create a lamp that could be easily turned on and off, but most of the small LED lights just plugged straight in. I found two options: The one on the left is a long string of tiny LED lights that have a more amber glow. I liked the color, behind the carving, but it was controlled with a remote, and I would have to devise some way to string the lights back and forth evenly across the box. The lights on the right are called “puck lights”. They have a power cord and a switch. You can plug in one, two, or all three lights.

I went with the puck lights, mainly because they had an actual switch.


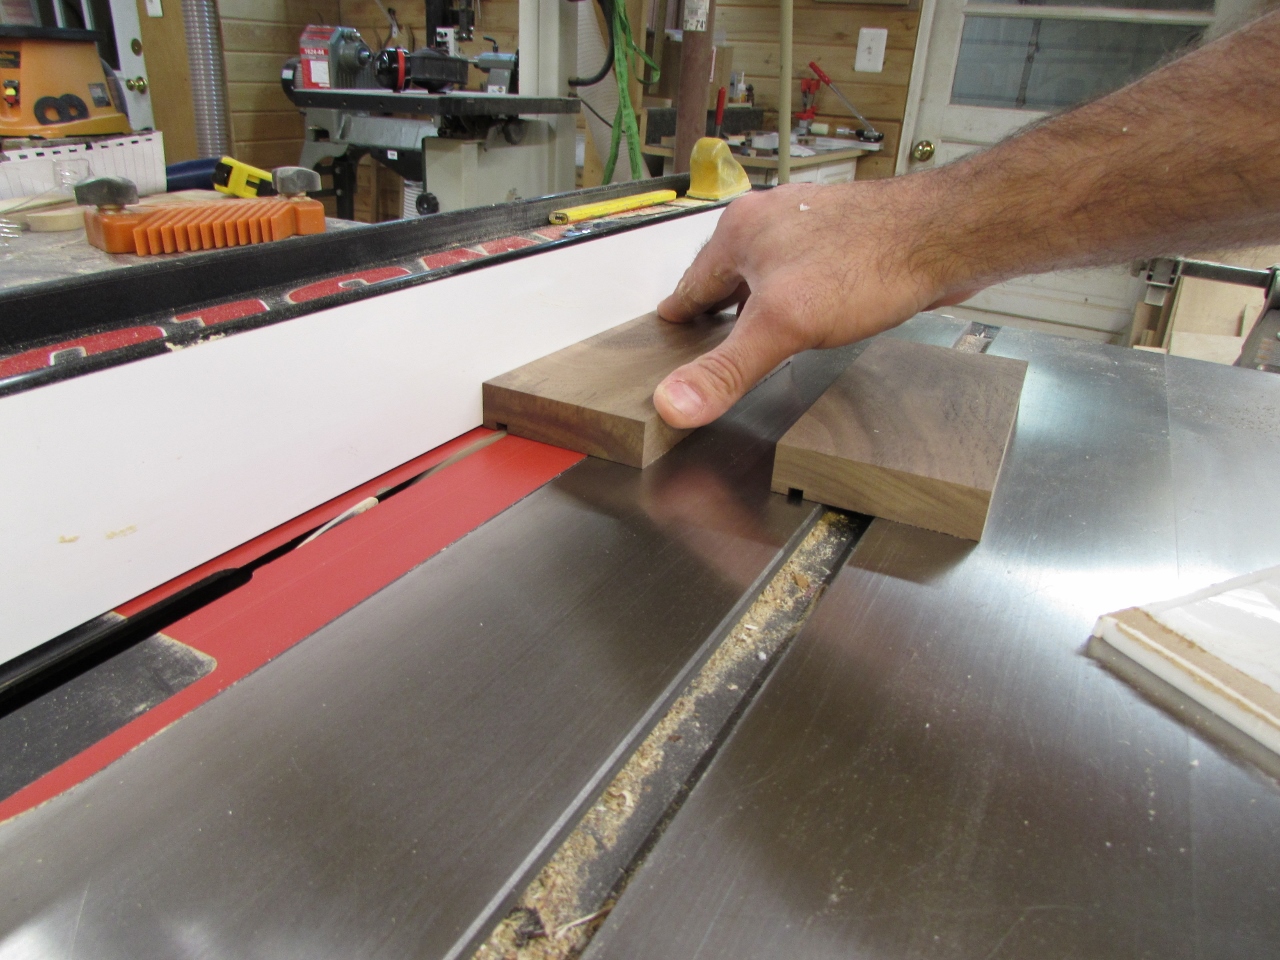
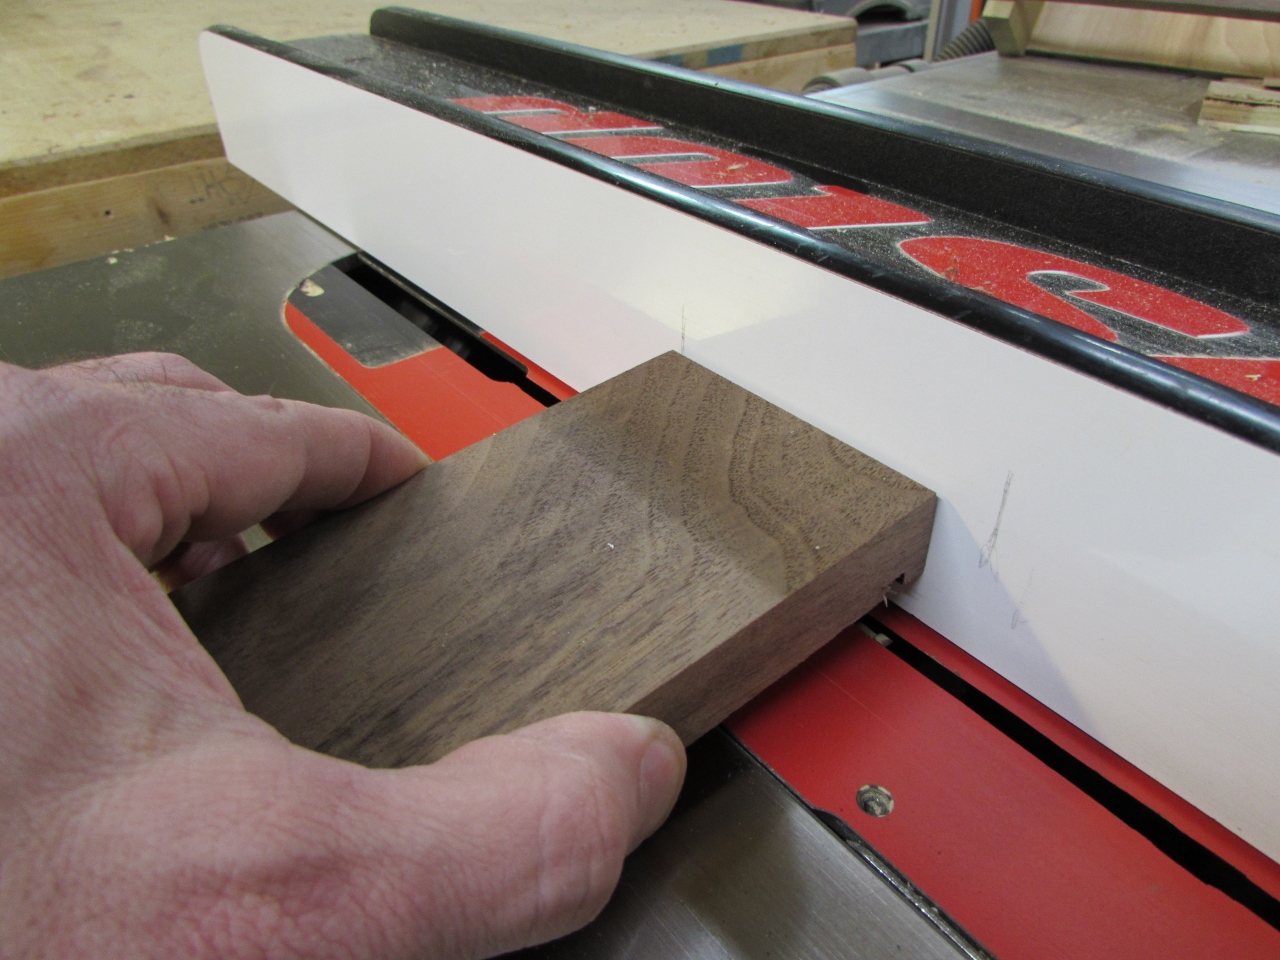
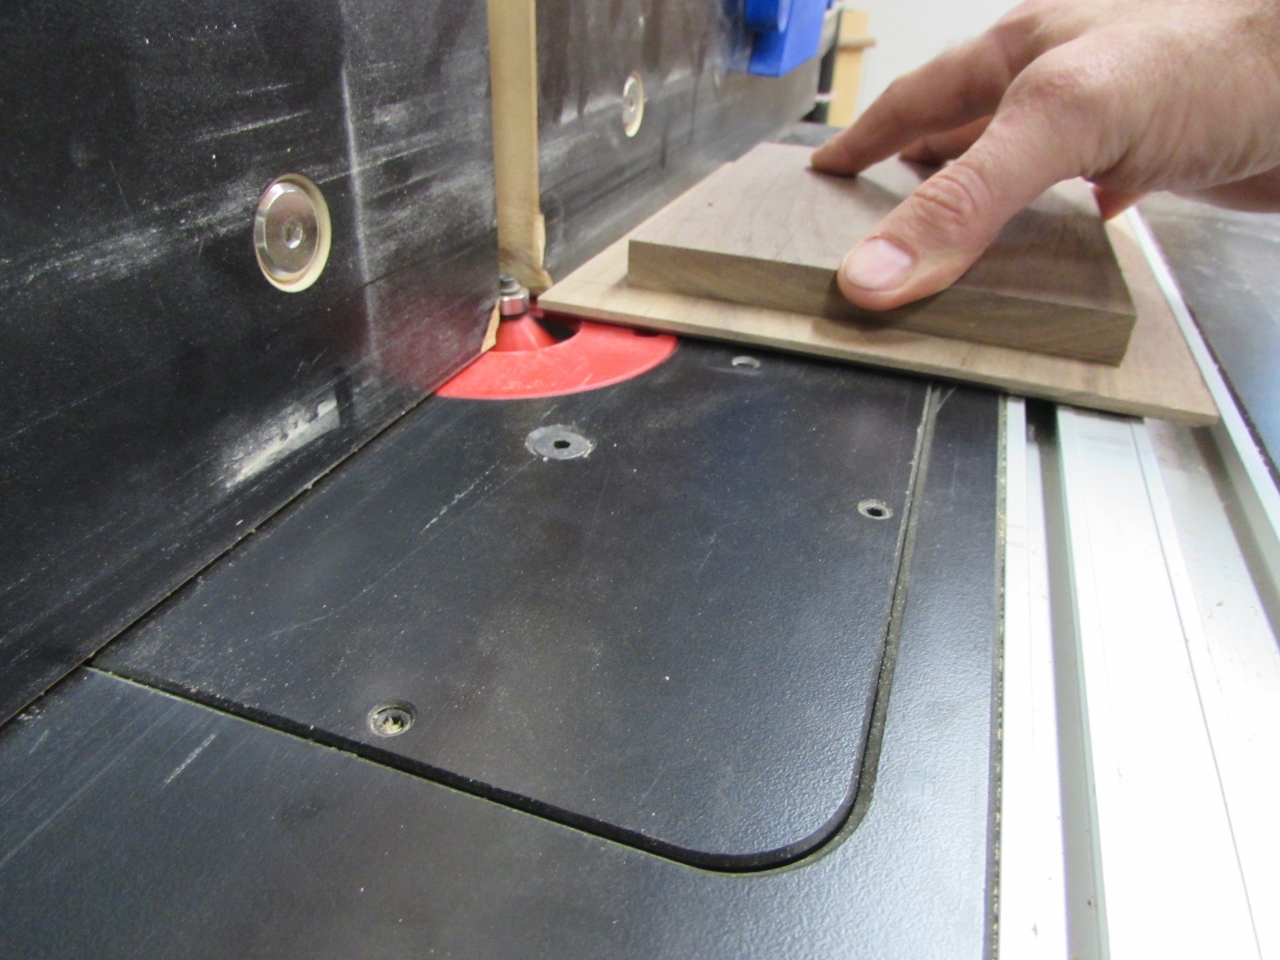
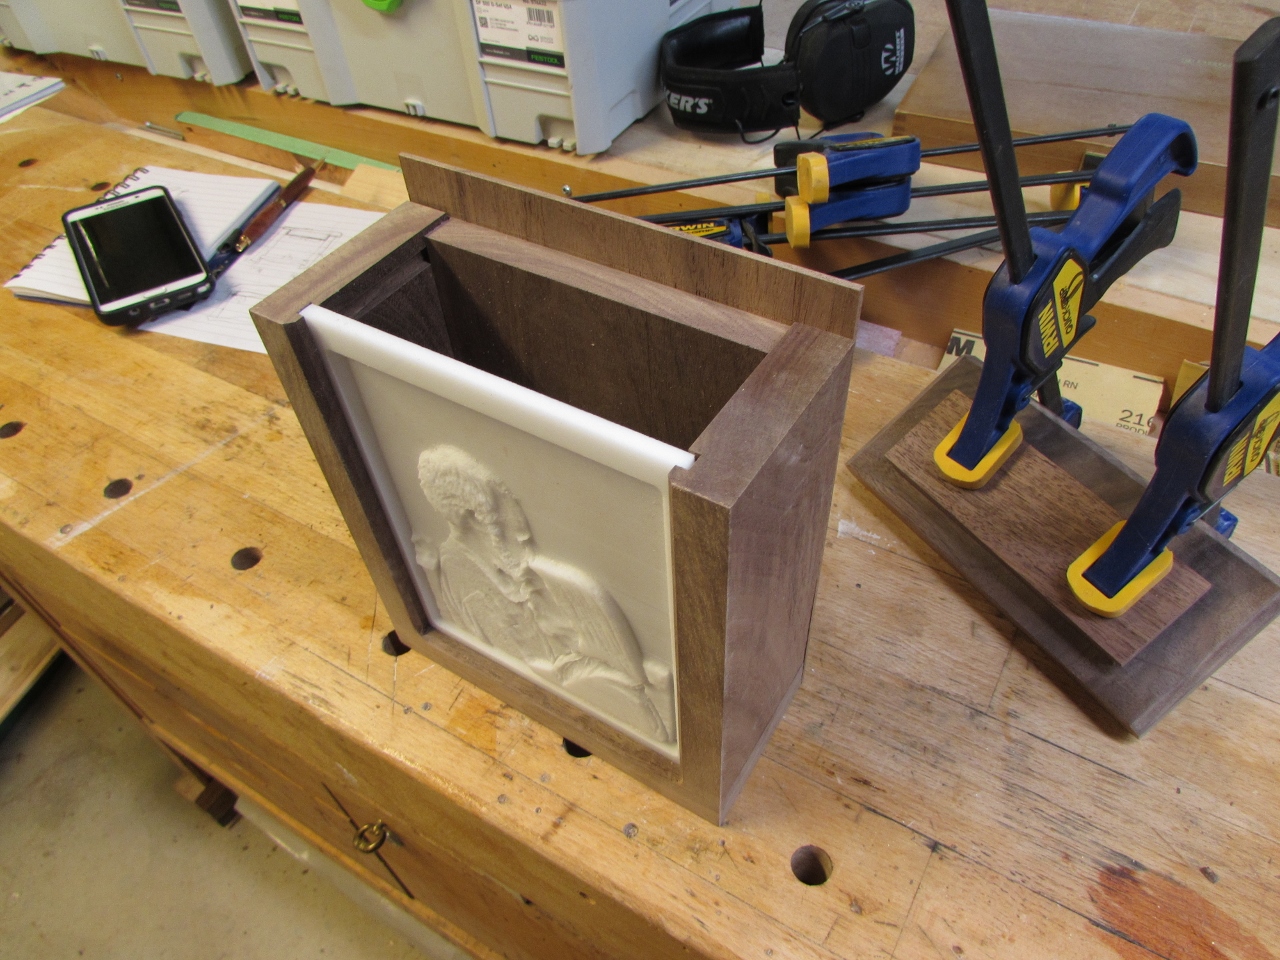
I got started by cutting down the sides.
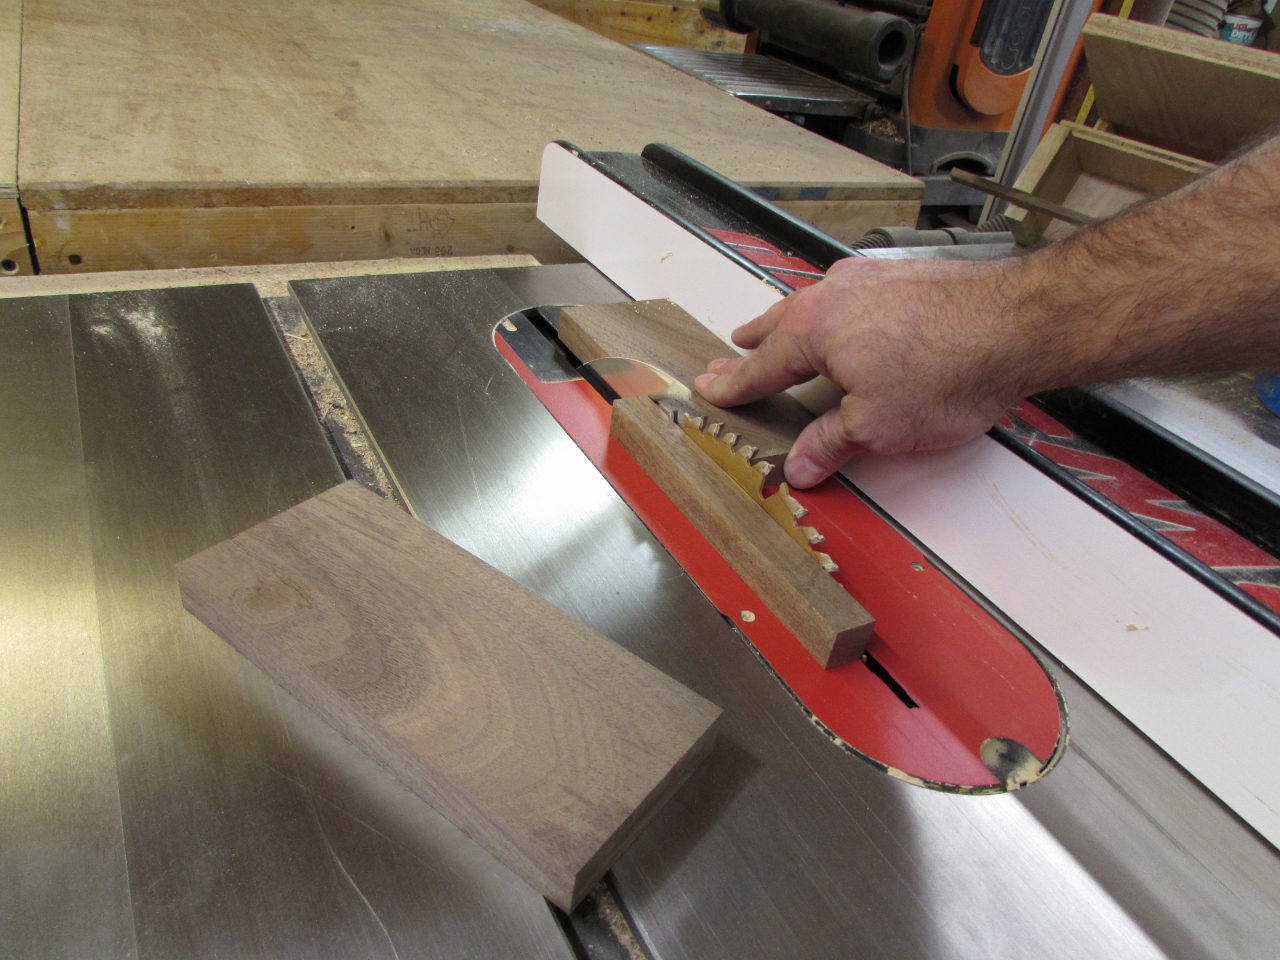
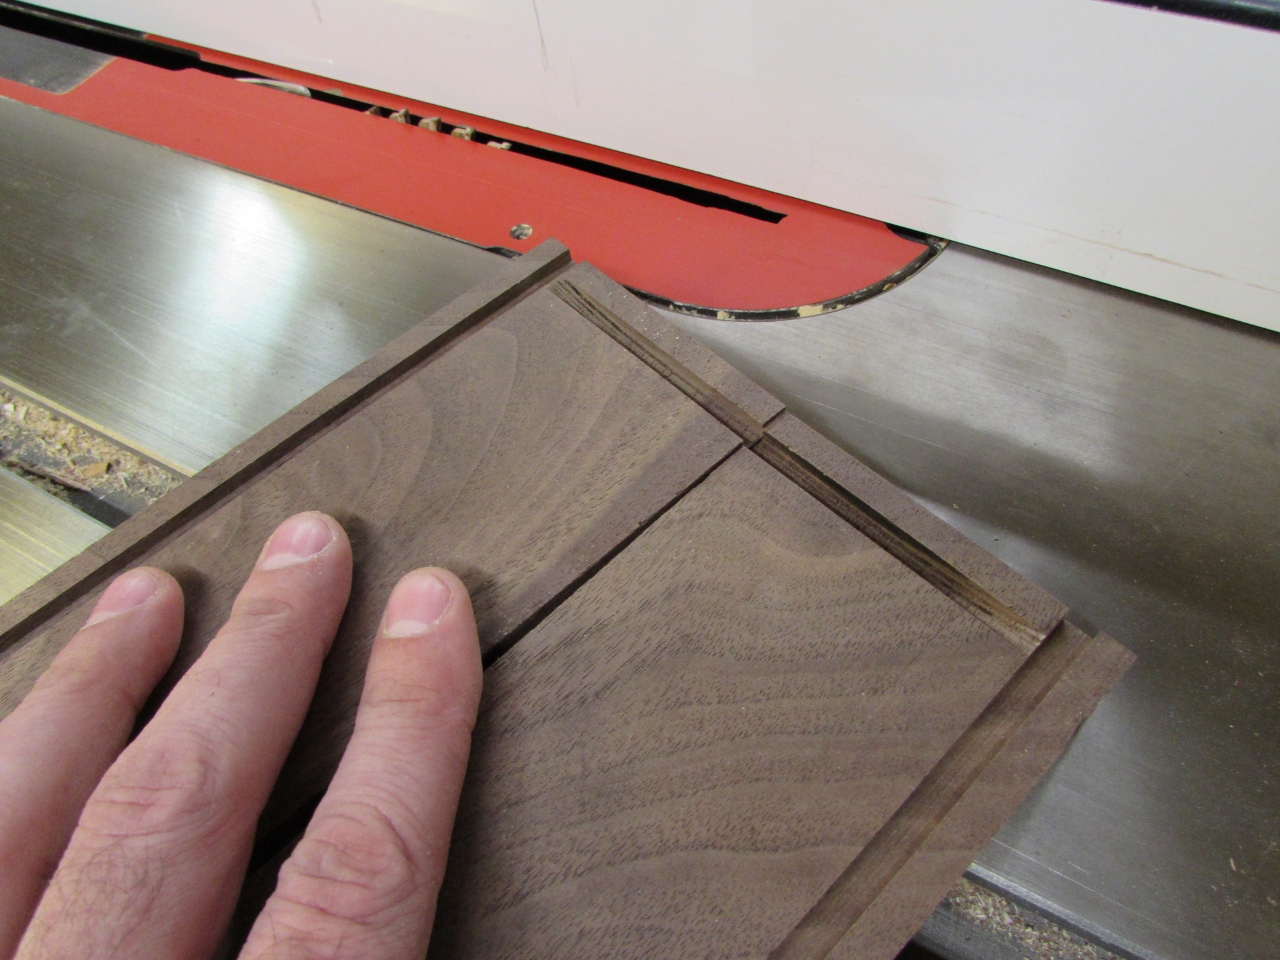
Making three passes over the blade, I cut a 1/4″ wide channel on each side piece.
These grooves will be used to hold the acrylic.

I cut the wavy piece of walnut down to be the top.


I cut rabbets all around the back piece, so that it would recess into the box.

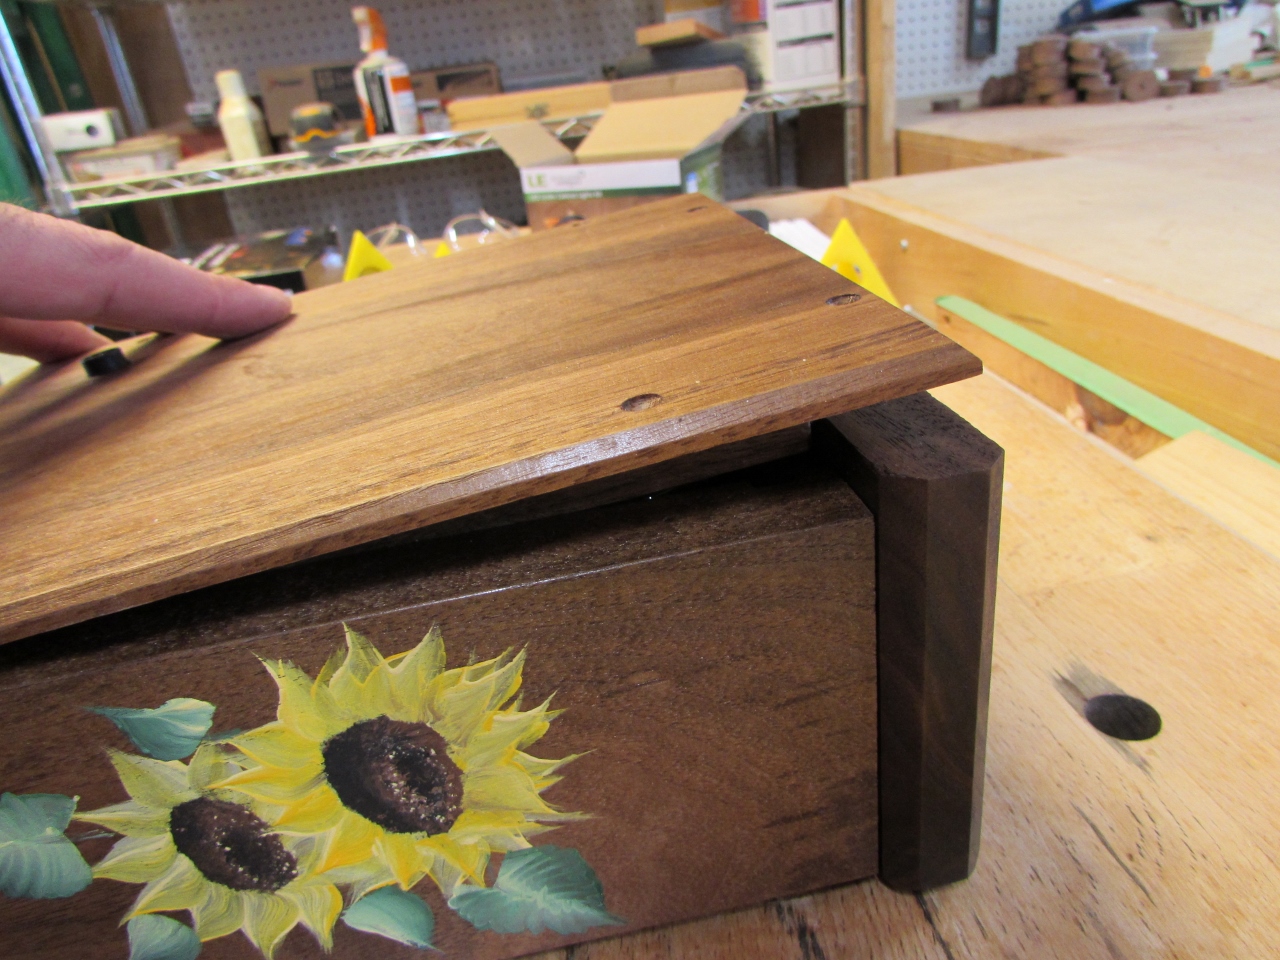
I decided to make the acrylic removable. That means the top also has to be removable.
To do this, I cut some stopped dados into the top of the sides, then finished cleaning them up with my 6mm chisel. Interesting note about those chisels. My wife ordered them for me, from Highland Woodworking, they are in Georgia (USA). Ironically, they only sell them in metric. I notice that Lee Valley , a Canadian company, also sells them, but only in English units. Just a little irony. I actually find the metric ones never quite fit just right…

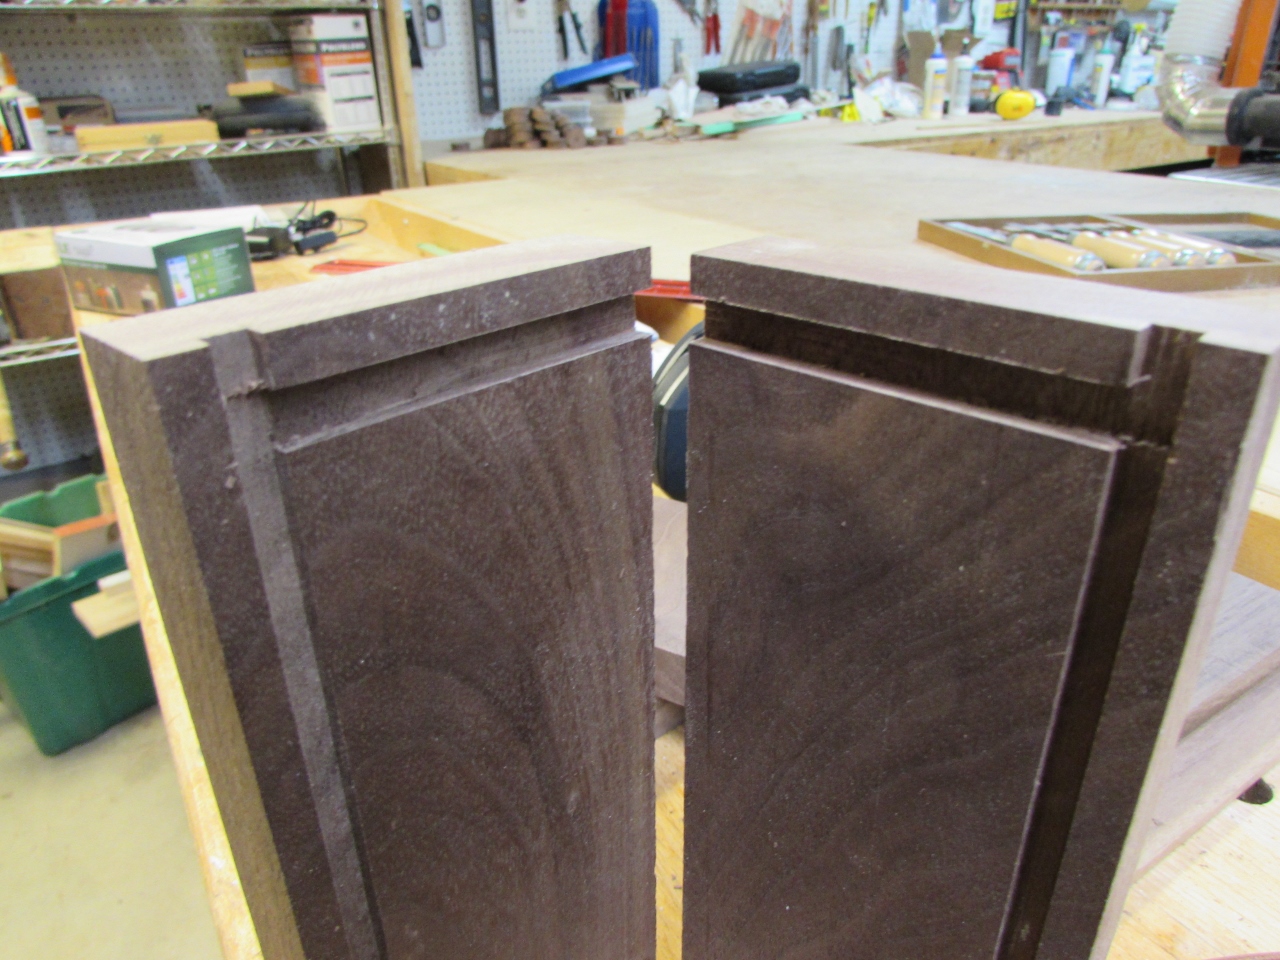
Anyway, while I was cutting those dados, the carver finished running.
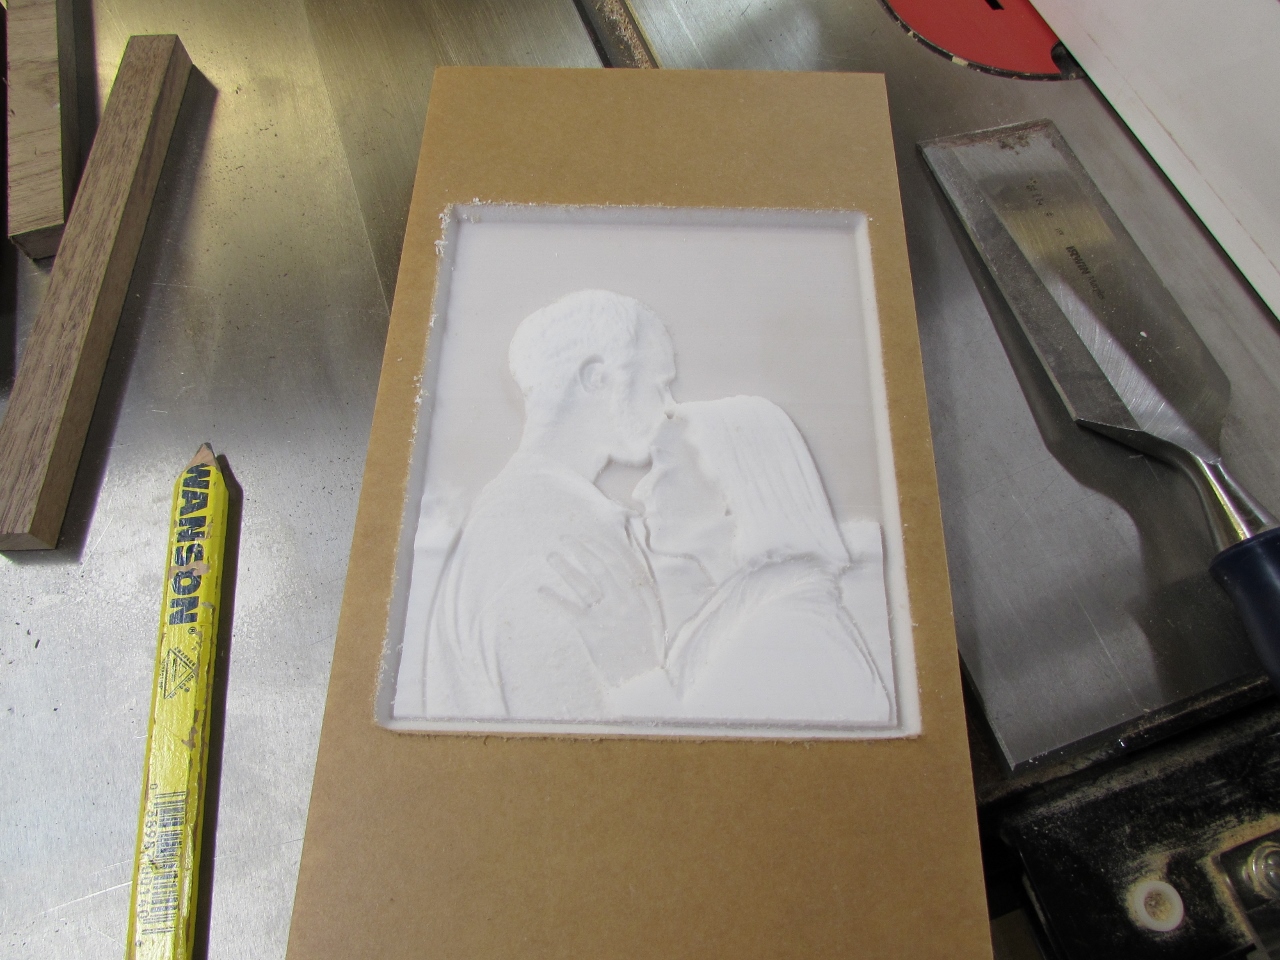
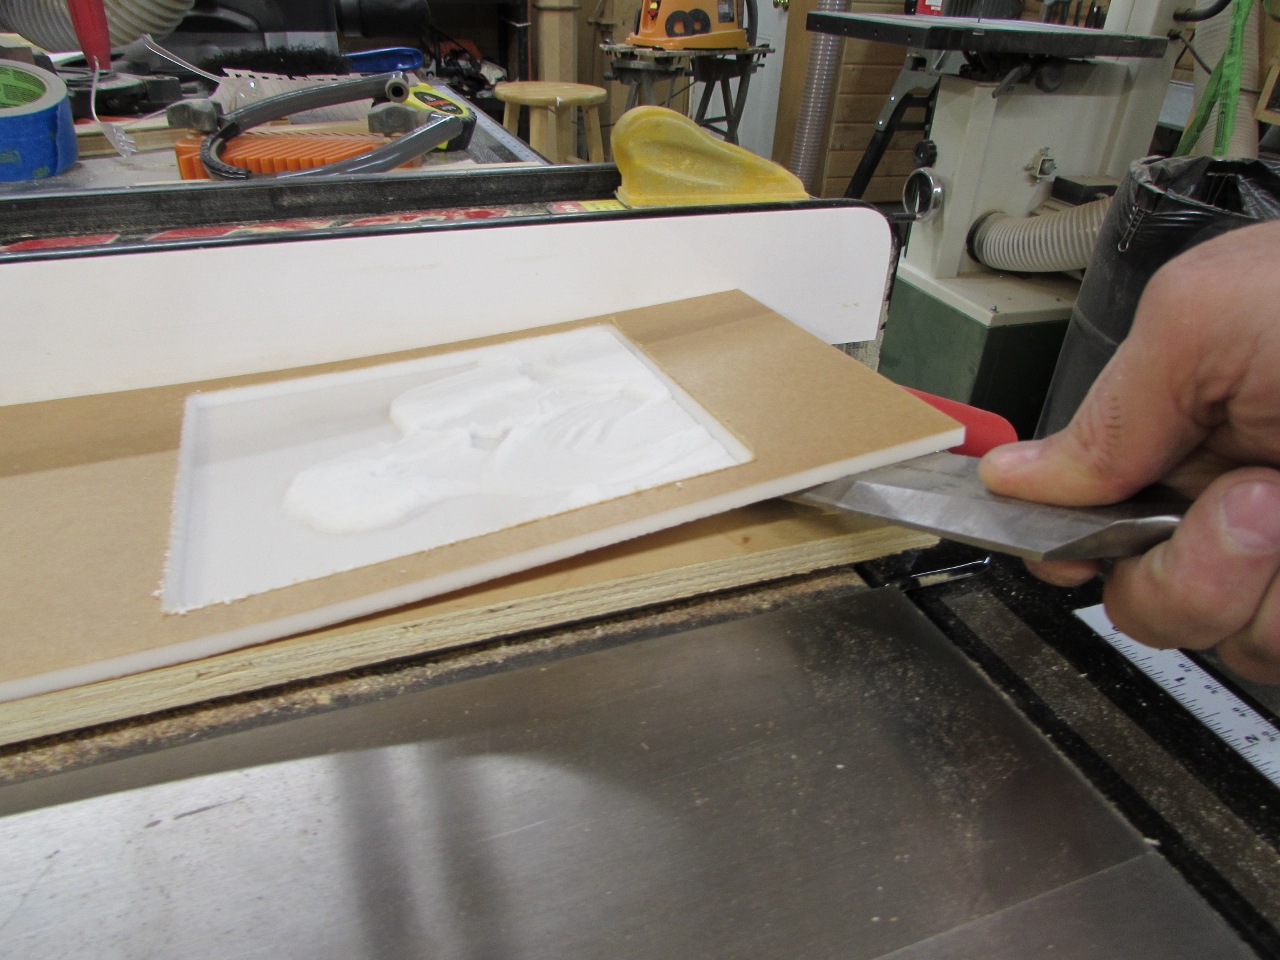
I pried the latest carve away from the double-sided tape, and held it up to a light.

Perfect!

I cut it down and did a test fit.

With the acrylic in place, I cut out the slider piece for the top.

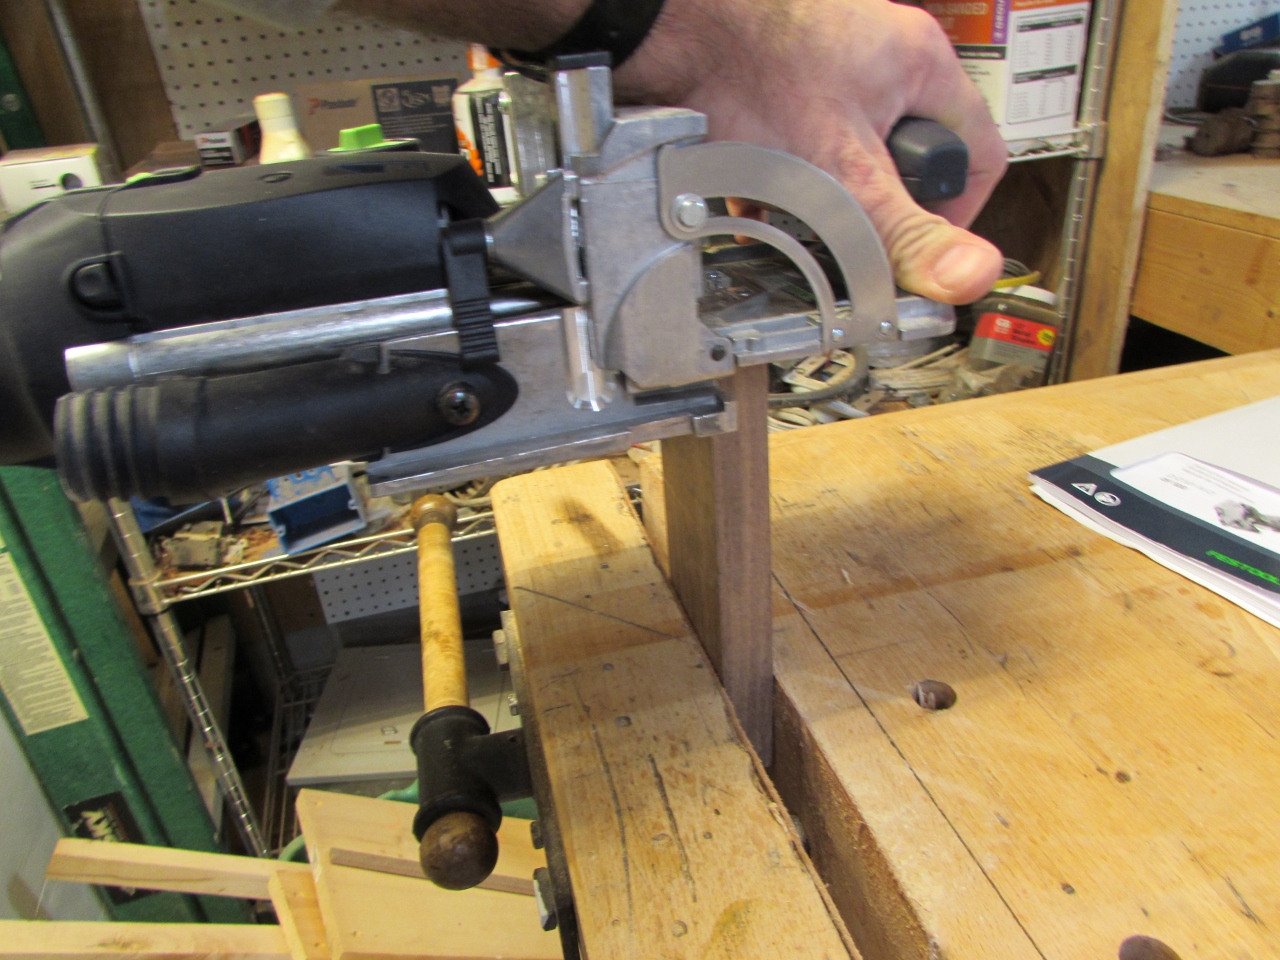
I needed the sides assembled before I could get too much farther, so I broke out the Domino Jointer.

Since I needed to do an end-grain glue up, I wanted to add a couple of tenons to make sure the sides stayed attached.
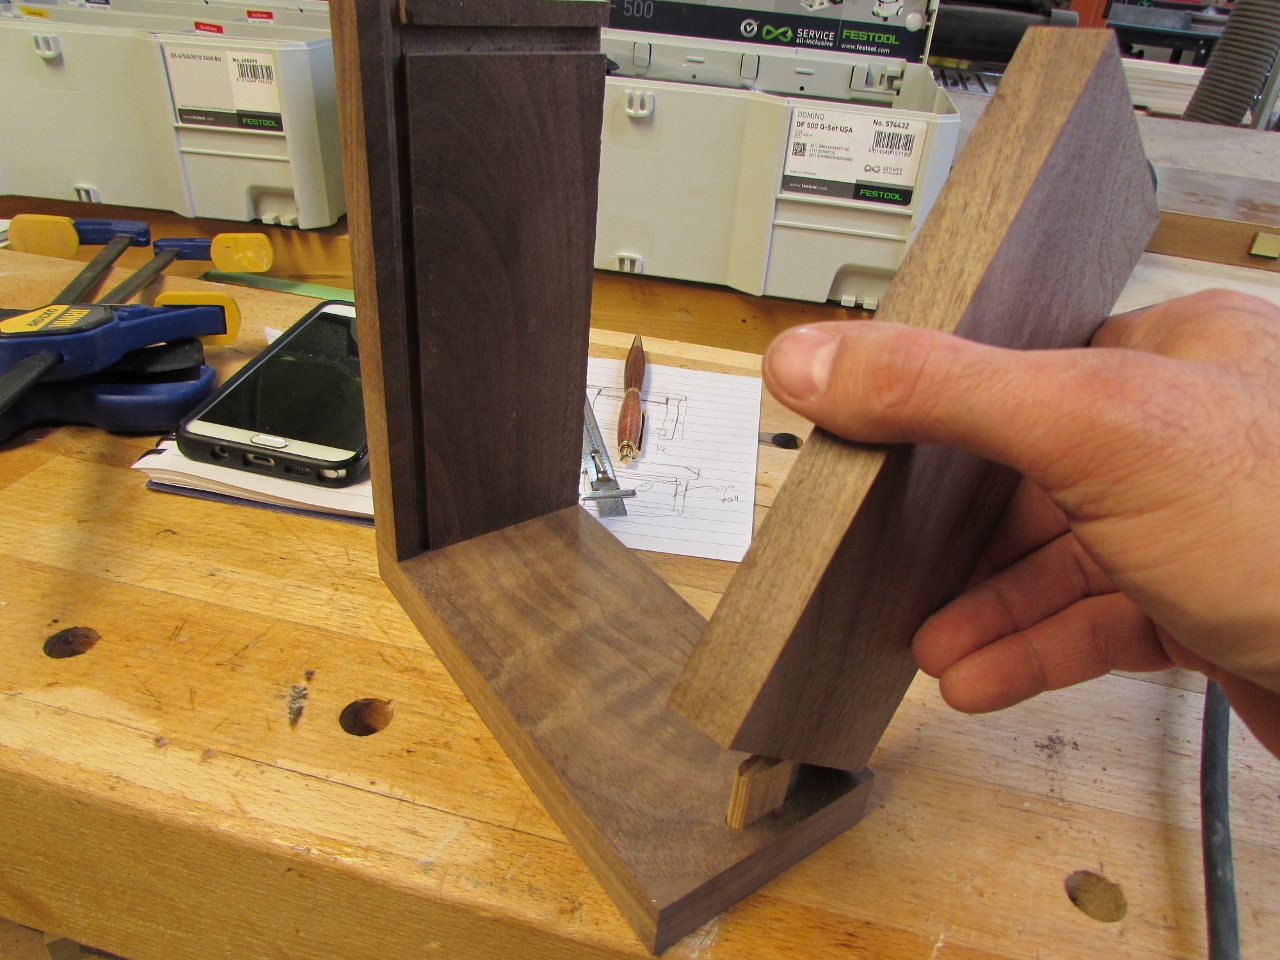
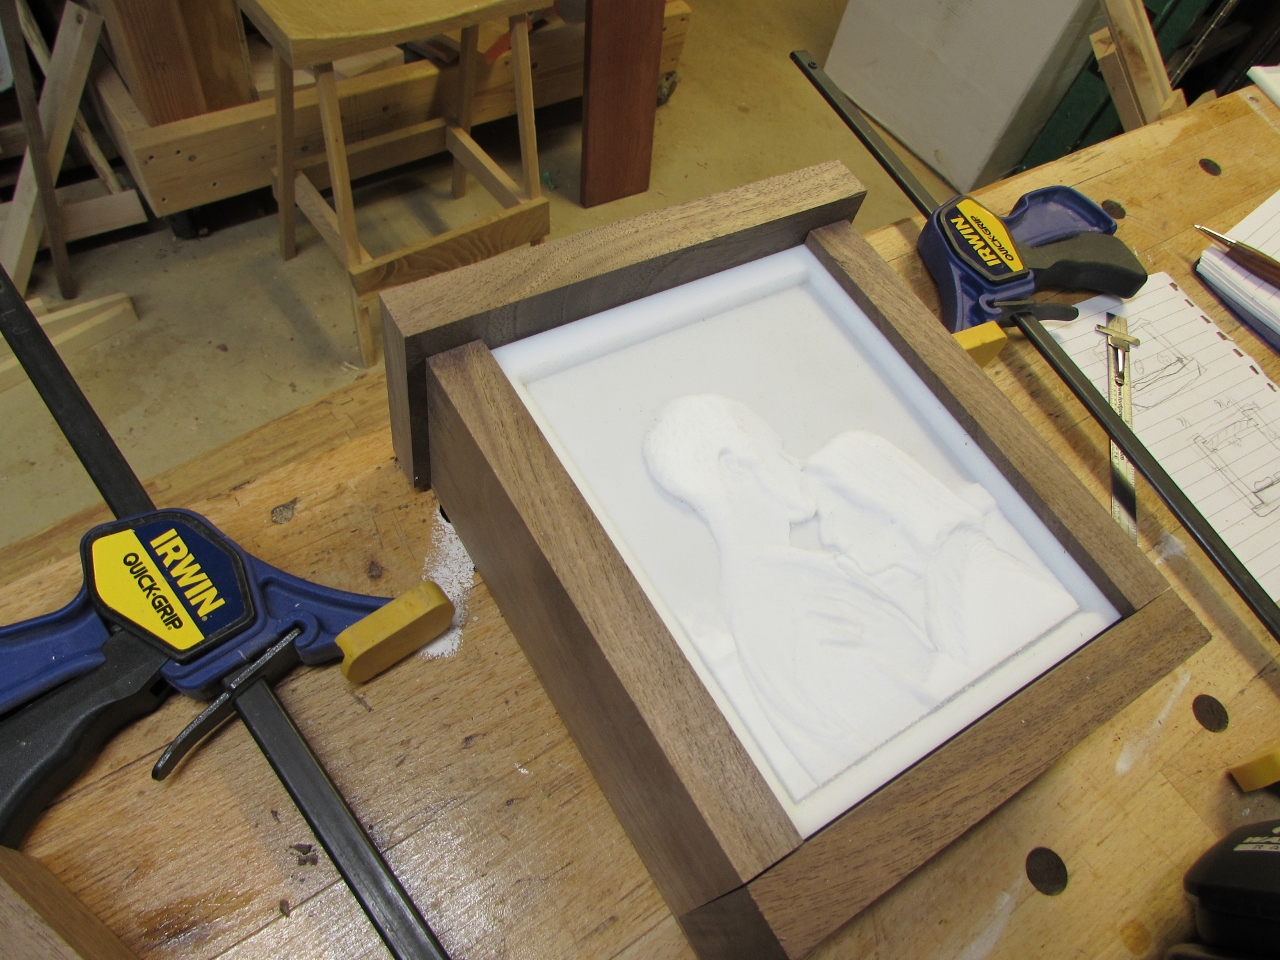
I did a dry-fit and was happy with the fit.


I added a bit of glue and clamped it all up.

I added a small 1/8″ chamfer to the back piece, all the way around.

Next, I added a 1/4″ chamfer to three sides of the top and bottom of the lid. Unfortunately, I tore out a bit of that wavy grain.
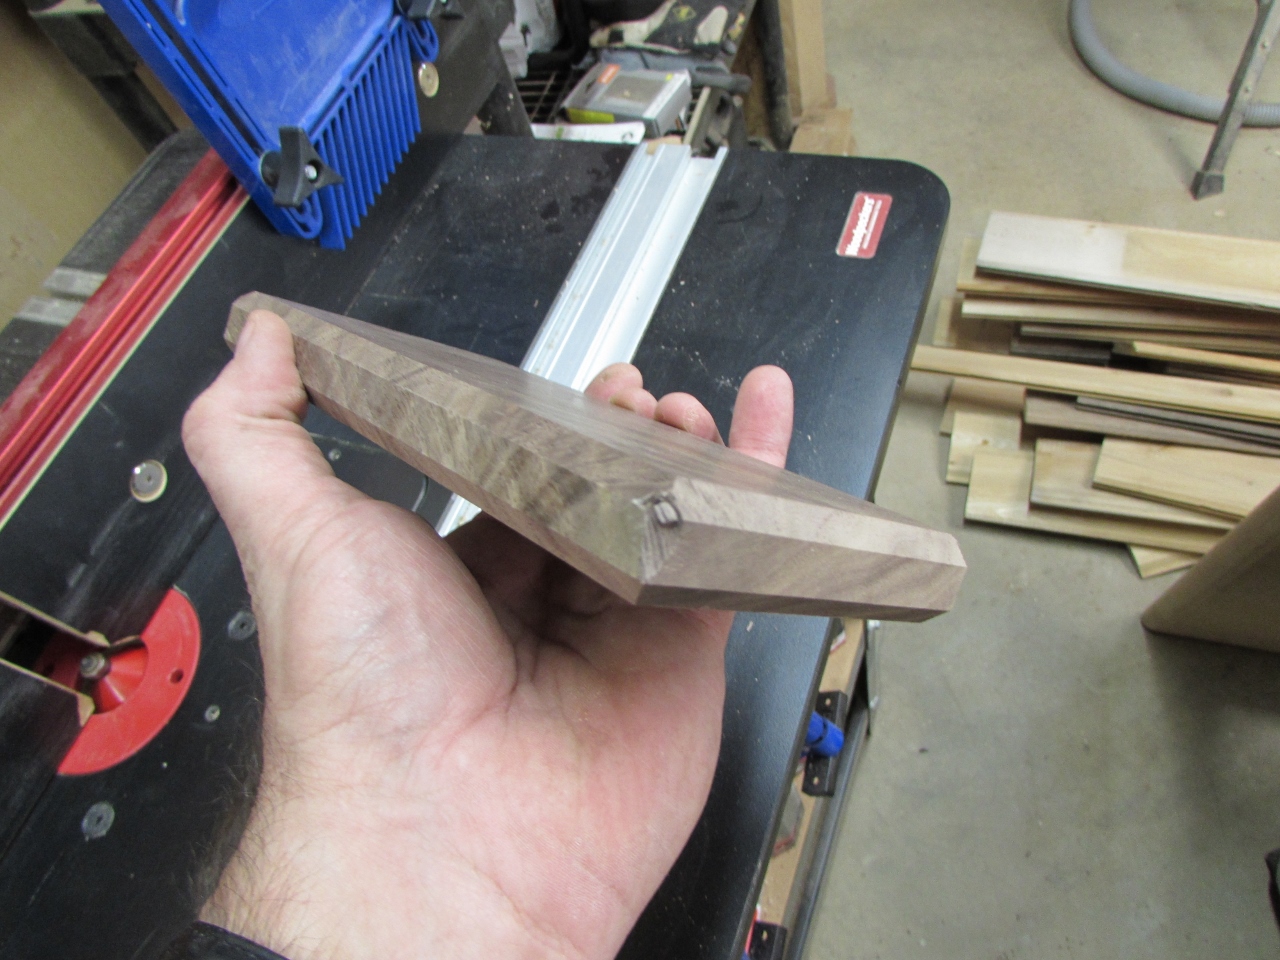
Instead of cutting a new piece, I decided to try chamfering those tiny edges as well. No more tear-out and it looked pretty good, so I decided to keep it.


I centered the lid, in place, on the back. Then I put glue on the slider and clamped it in place.


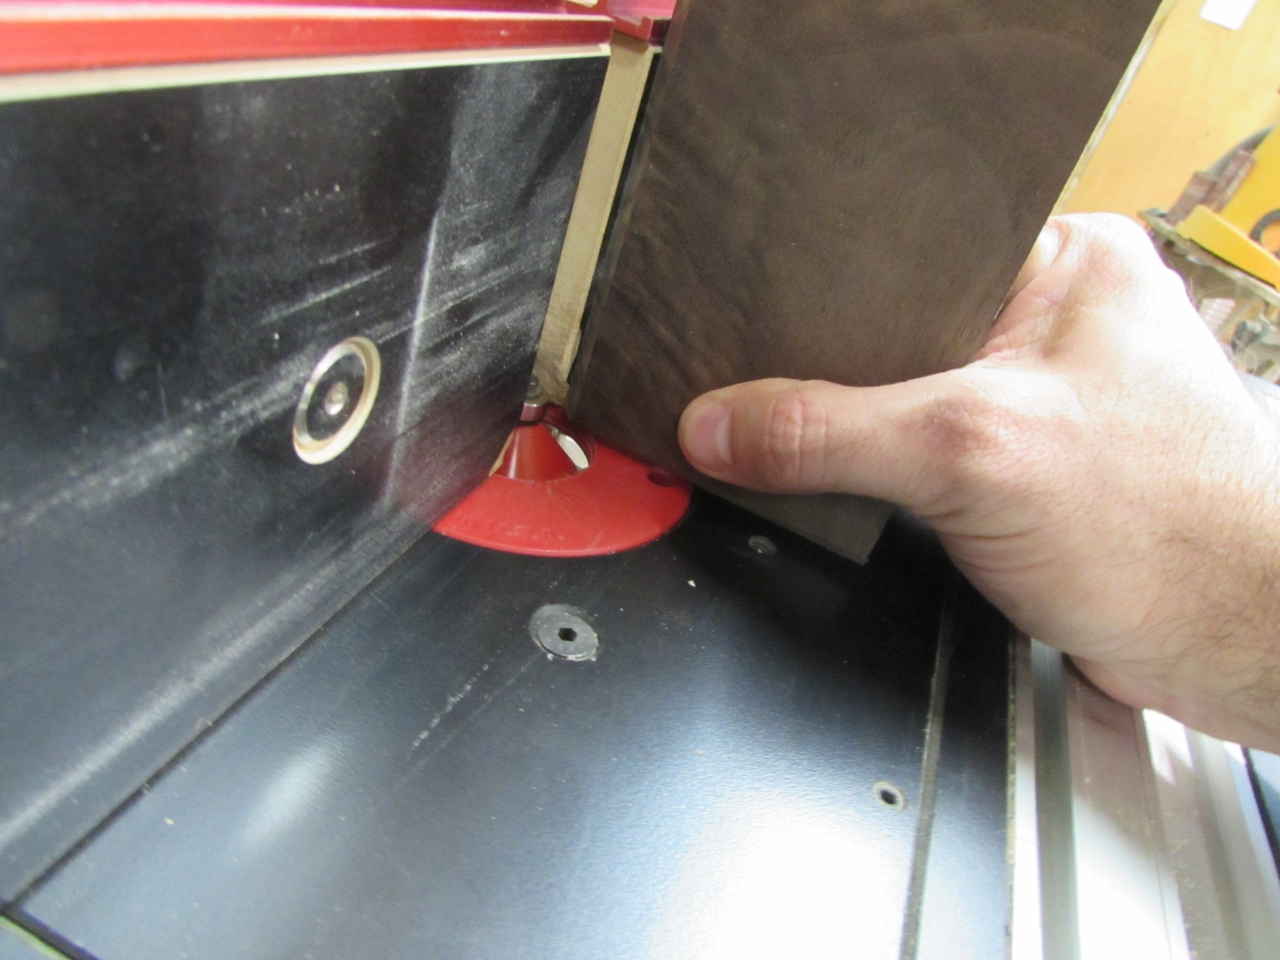
When the sides were dry enough to unclamp, I ran a small chamfer around the front.
It softens the edge a little and transitions nicely, to the bevel on the frame of the carve as well.

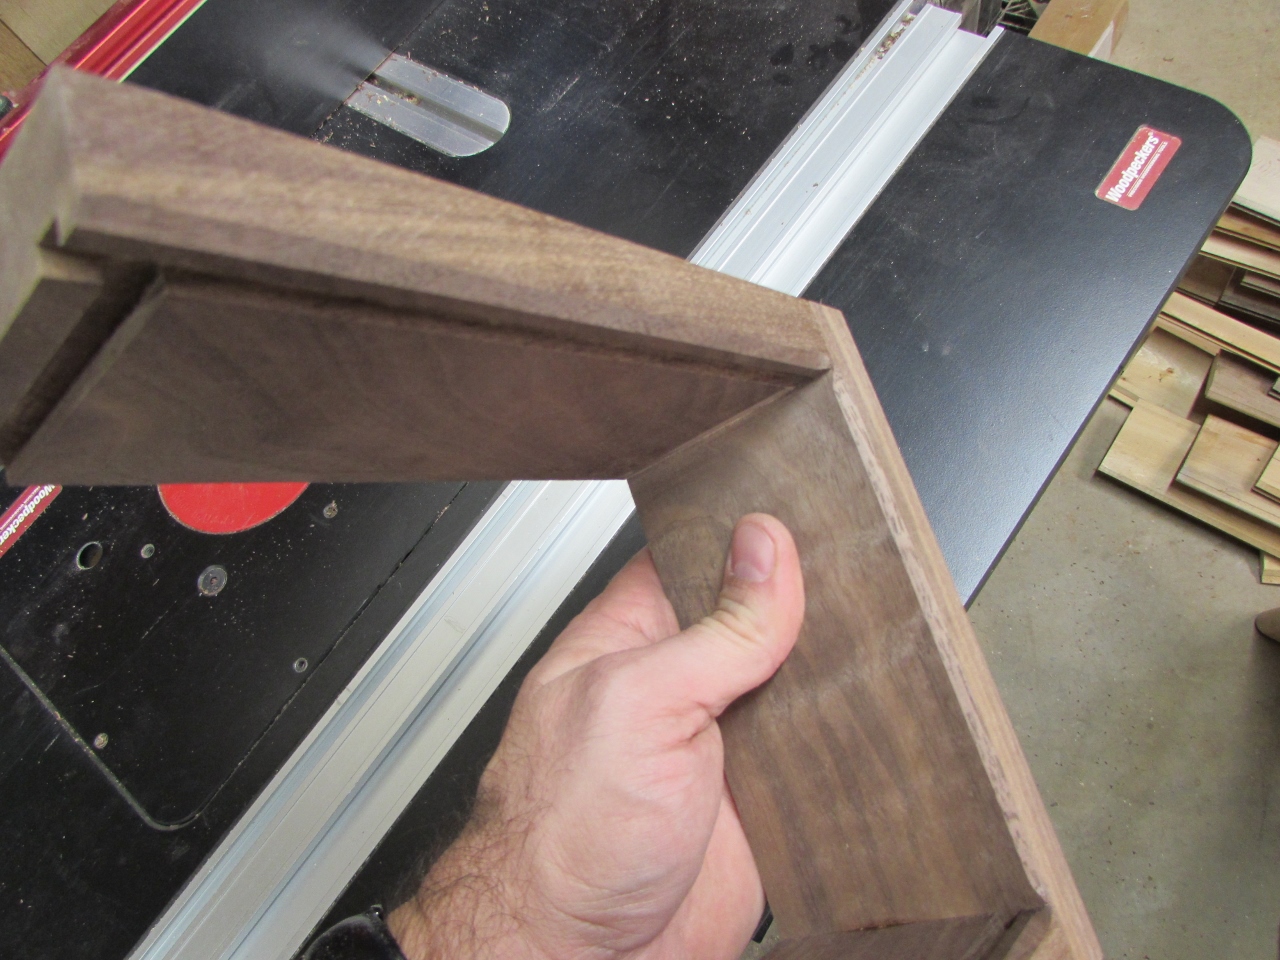
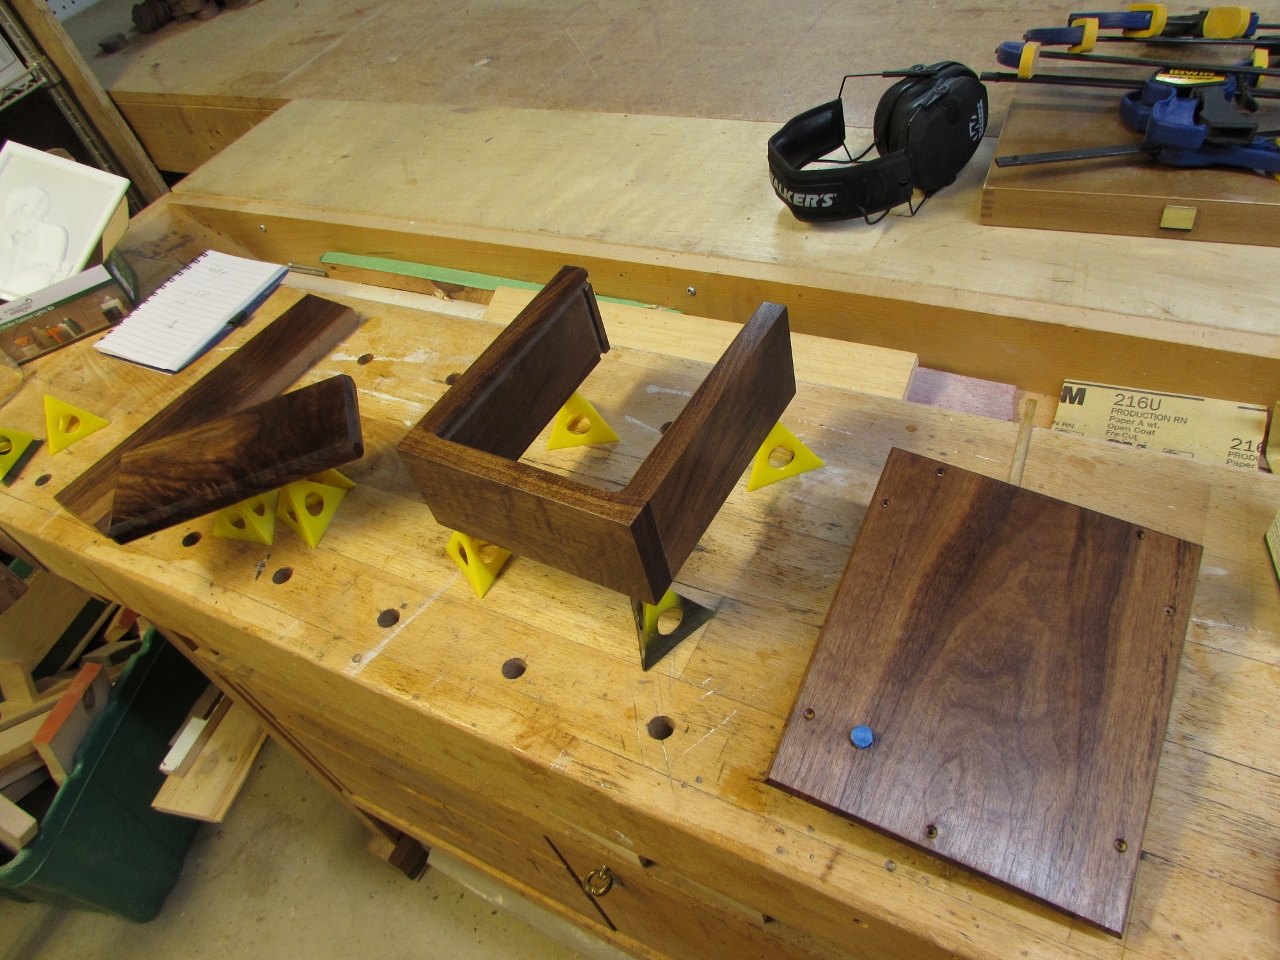
The lid was set up after 20 minutes or so, so I pulled the clamps and did a test fit.
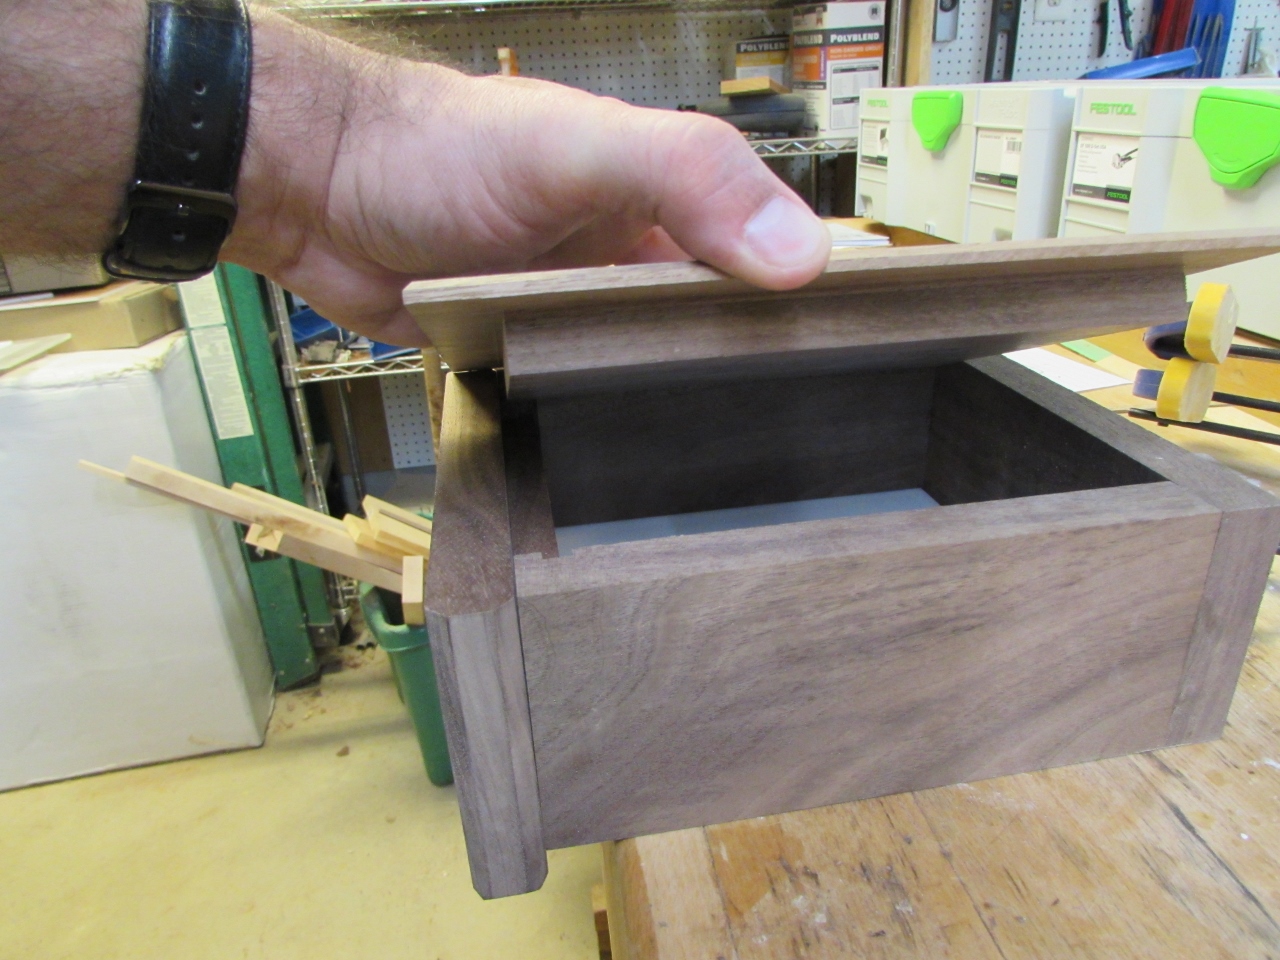
Starting to look pretty good.

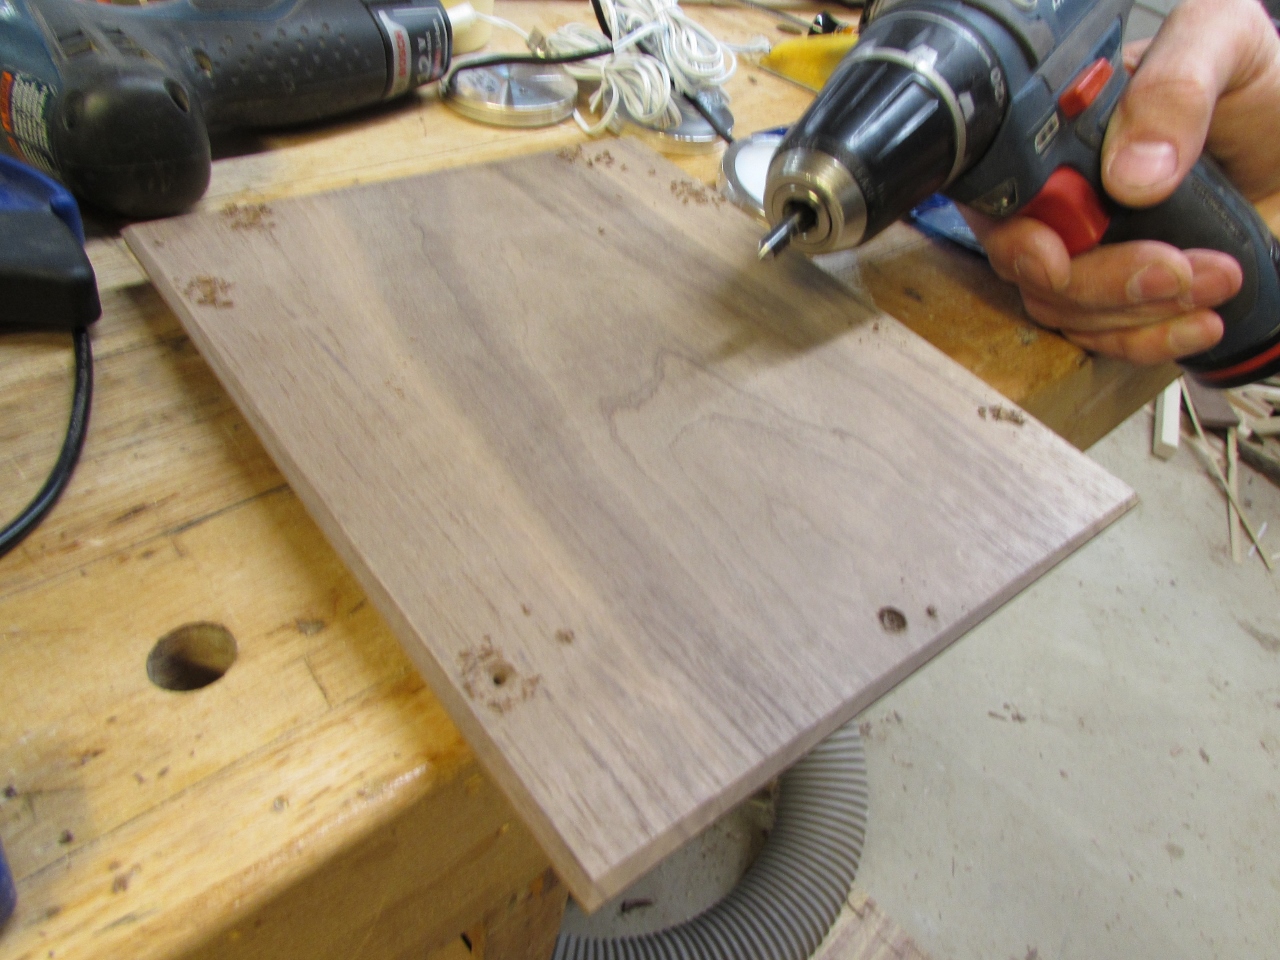
I clamped the back on and drilled some pilot holes for attachment.

Removing the panel, I drilled larger, through holes, then counter-sunk them.

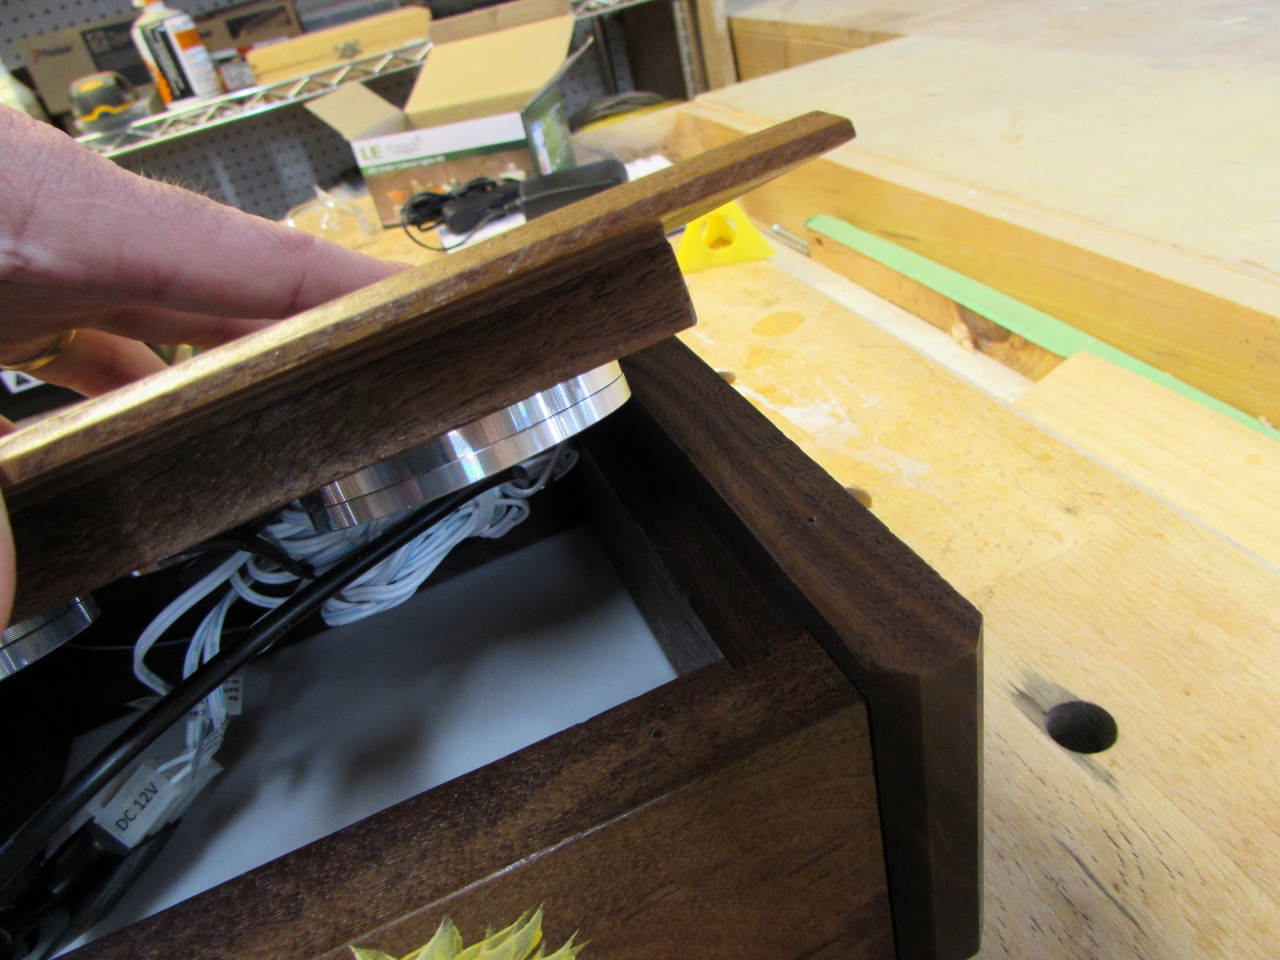
I laid out the lights and attached them. I also drilled out a hole for the power cord.


When I hooked it all up, I could tell that cable management was going to be interesting.

I installed two screws and left the wires bundled. I slipped the wire loops over the screws and zip-tied them tightly together. I ran my power cord through them and held it tightly to the pucks.

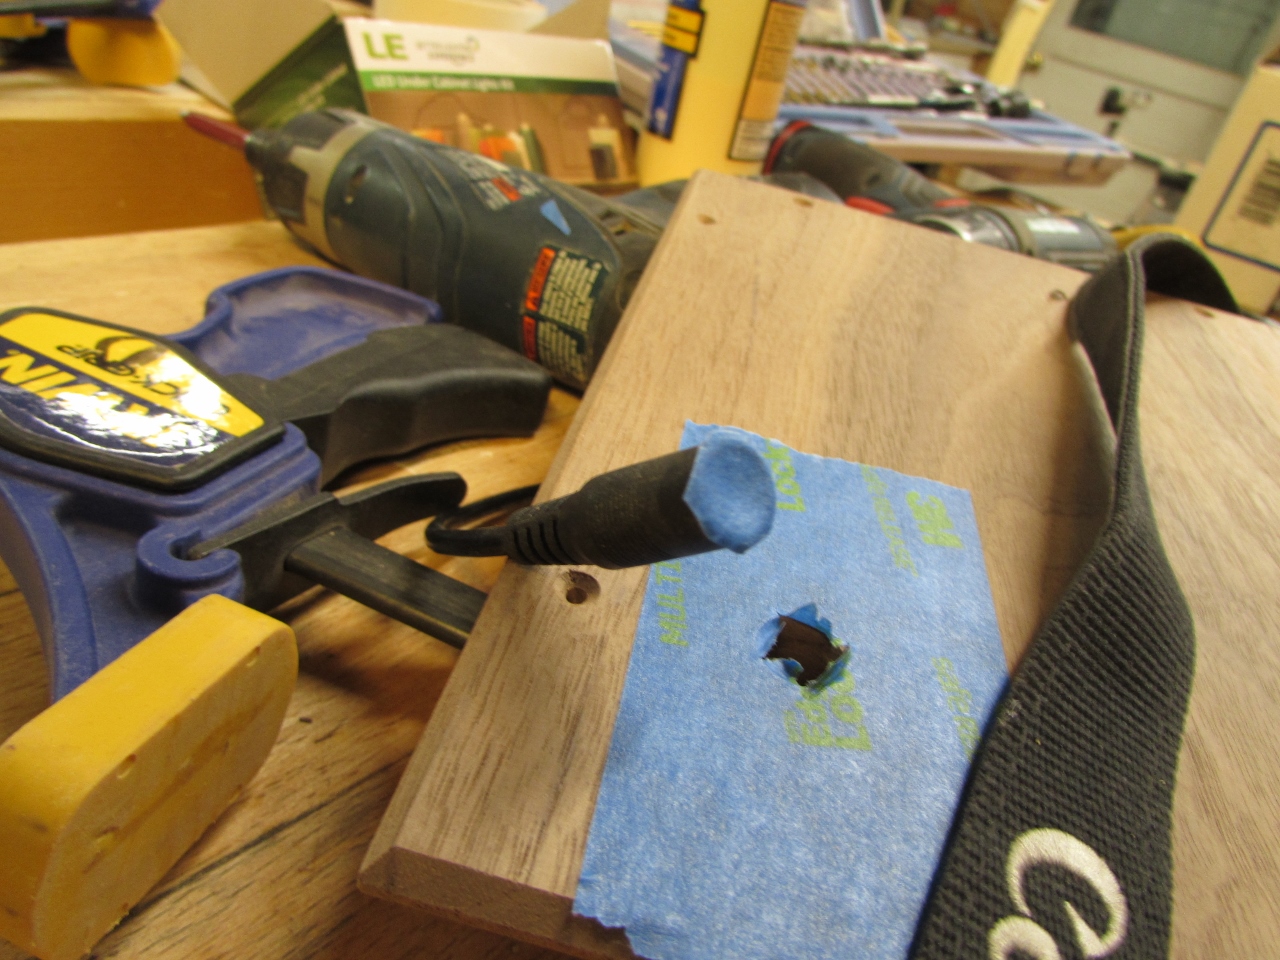
I masked off the power jack and its hole, then mixed up some two-part epoxy to hold it all together.

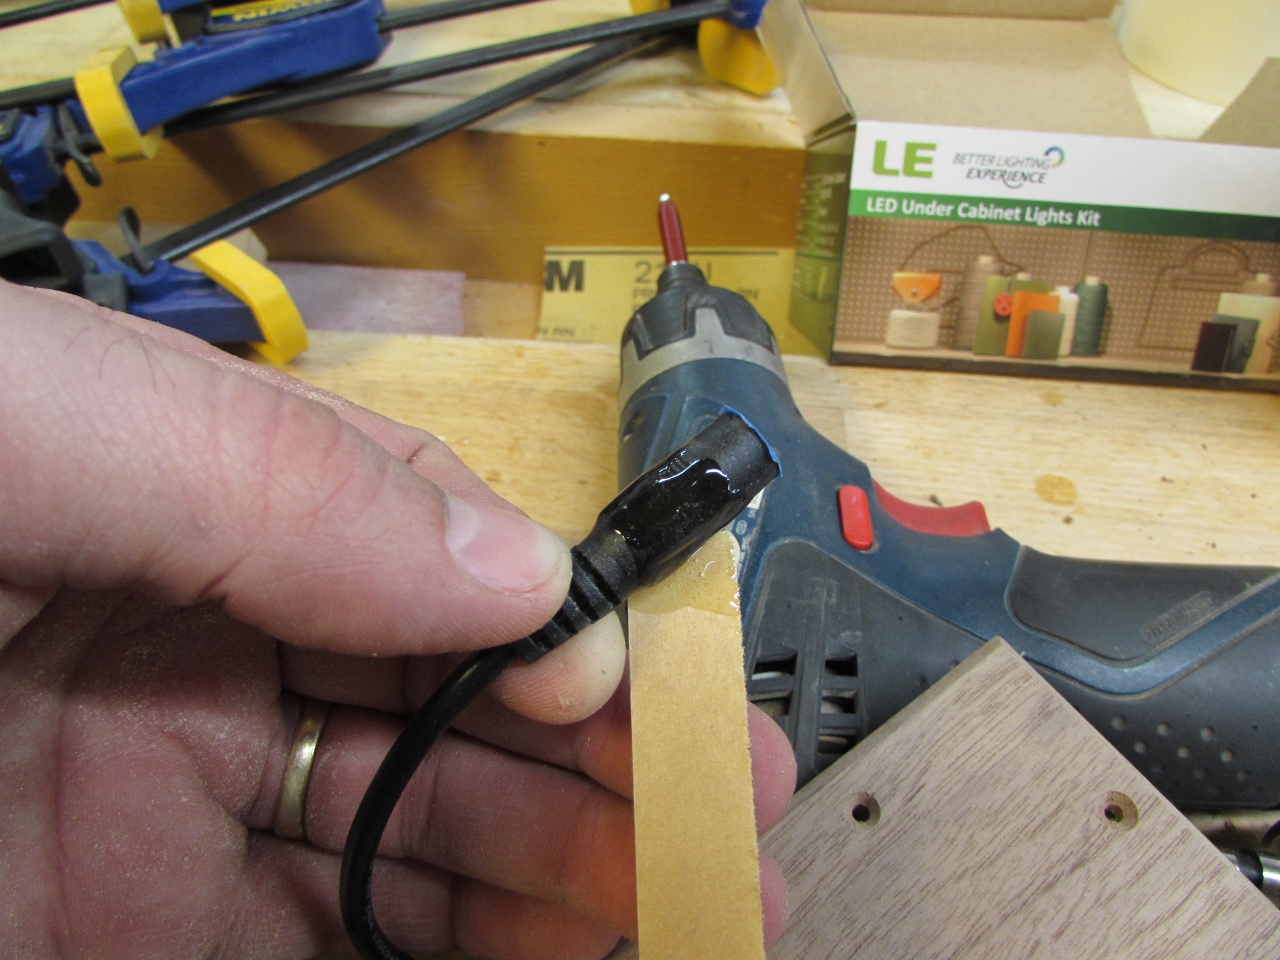
I also epoxied the power connector box in place too.


While the epoxy was setting up, I started the final sanding.

I applied Tung oil finish to the parts that weren’t clamped up.
After about 1/2 hours, I sanded everything down with 400 grit paper, then applied a second coat. Remember, I started this project around 6:00pm and the second coat just got applied around midnight. Not bad, but boy was I tired.

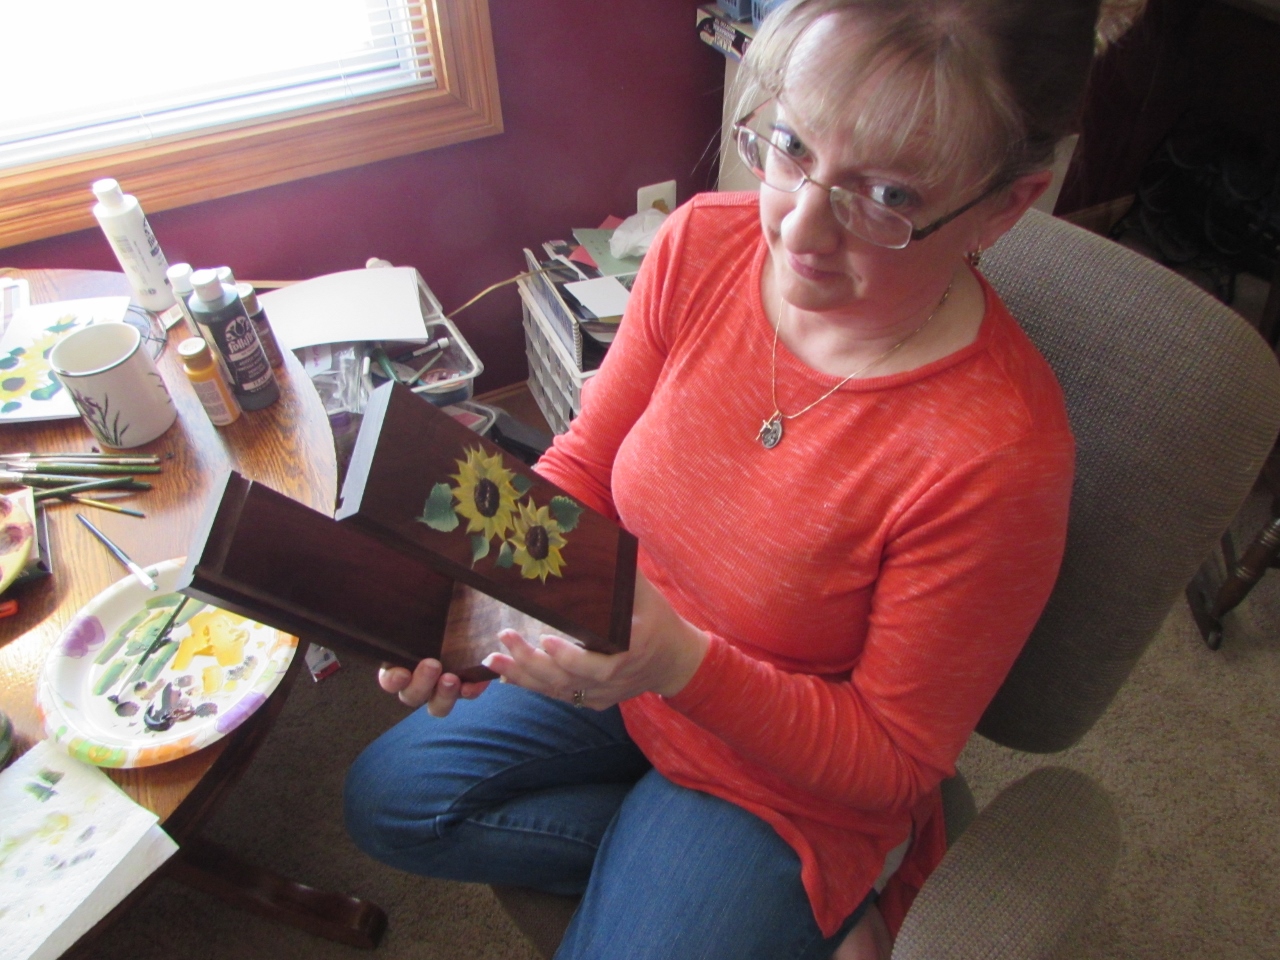
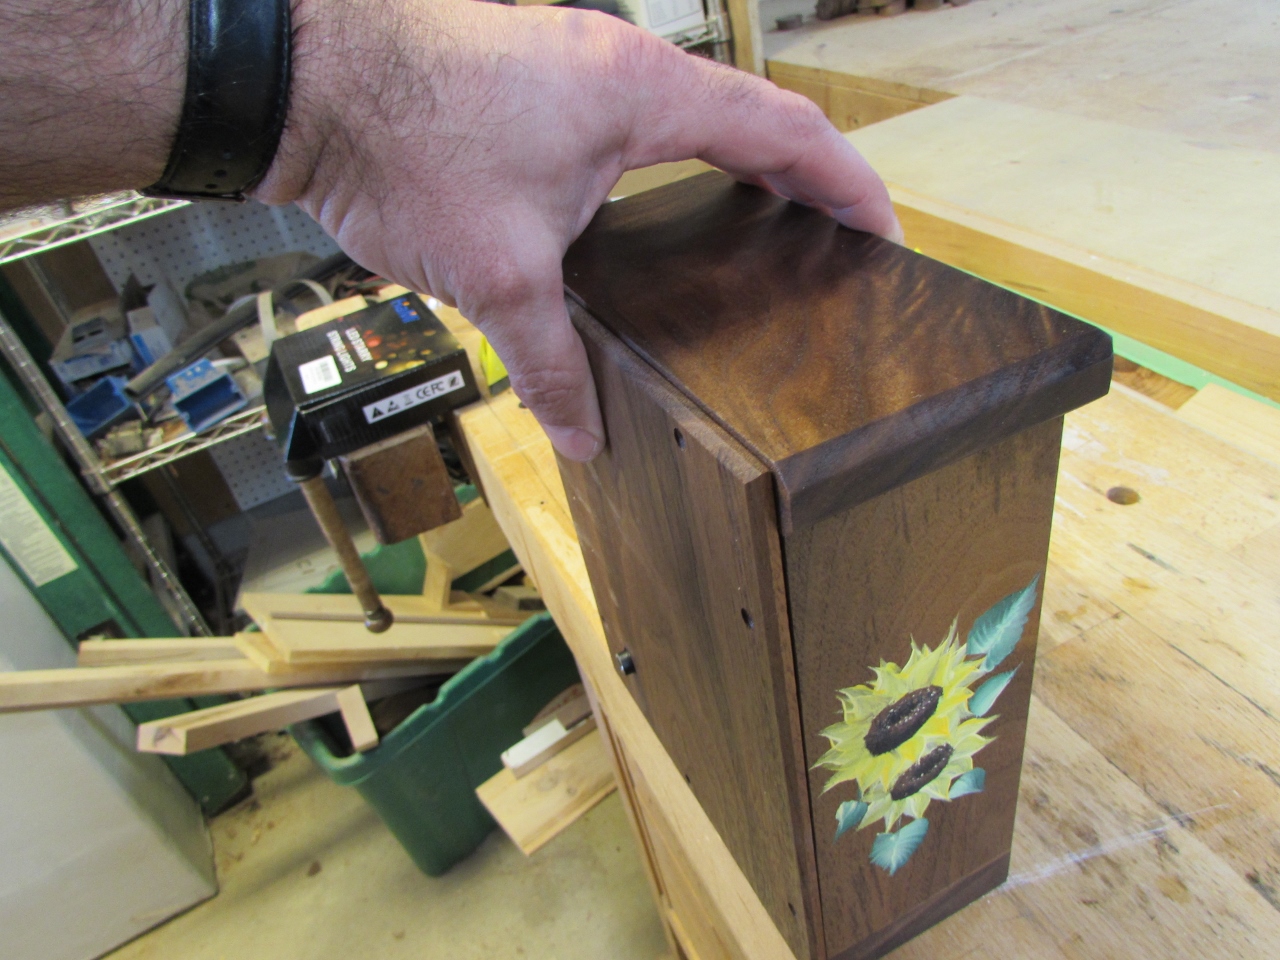
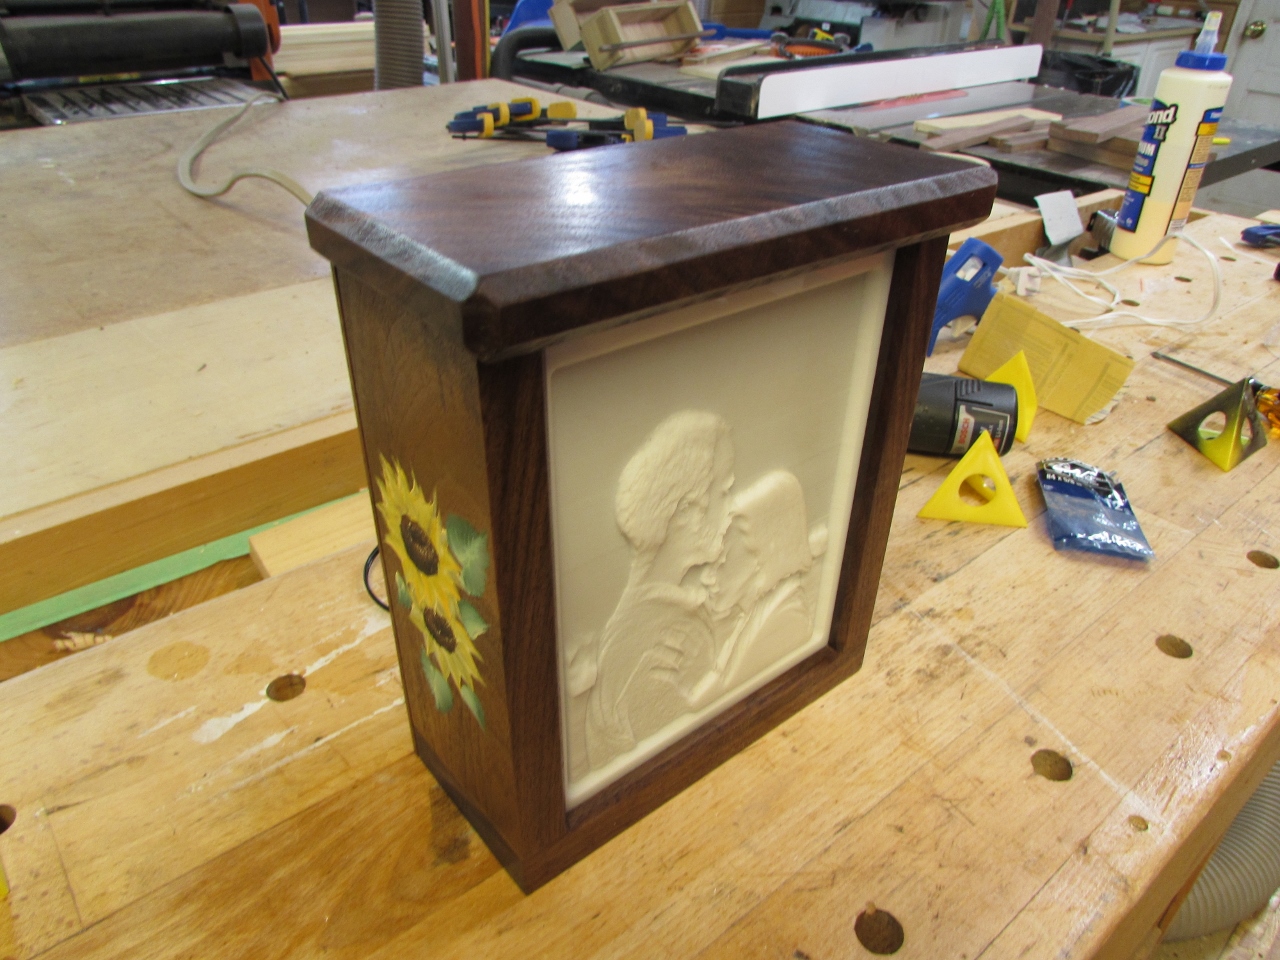
The plan was for my wife to paint some sunflowers on each side of the lamp. We weren’t sure there would be time. I actually went to bed around 1:00am, while my wife was working a 12-hour night shift. She got home around 7:00am and went to bed, and I got up to go put on a third coat of Tung oil.

Bless her exhausted little heart. She woke up around 11:00 am to get the painting done, and did a wonderful job. The Tung oil had just barely had enough time to dry. I hit the acrylic paint with a hair dryer and took the box back down to the shop to do the final assembly.

I actually hadn’t had time to do a full test-fit yet.

When I assembled the back, I found the top light hit the slider, on the top piece.
Uggh! time for a quick fix.

I left enough wood so the back would hold the lid in place, but cut away enough wood for the light to clear it.


Yeah, it fits…
I attached all the screws and was ready to fire it up.


It worked…
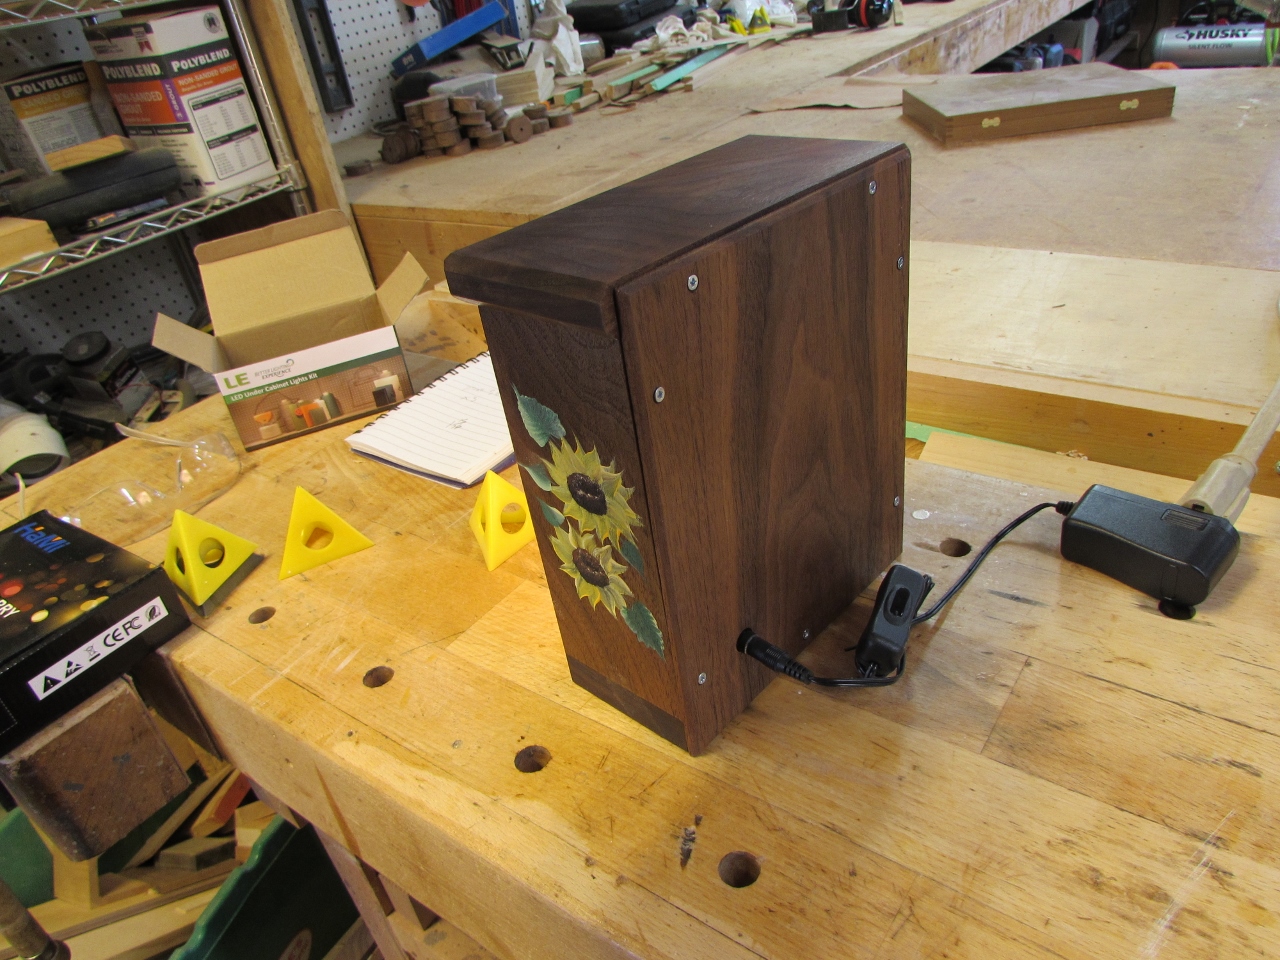
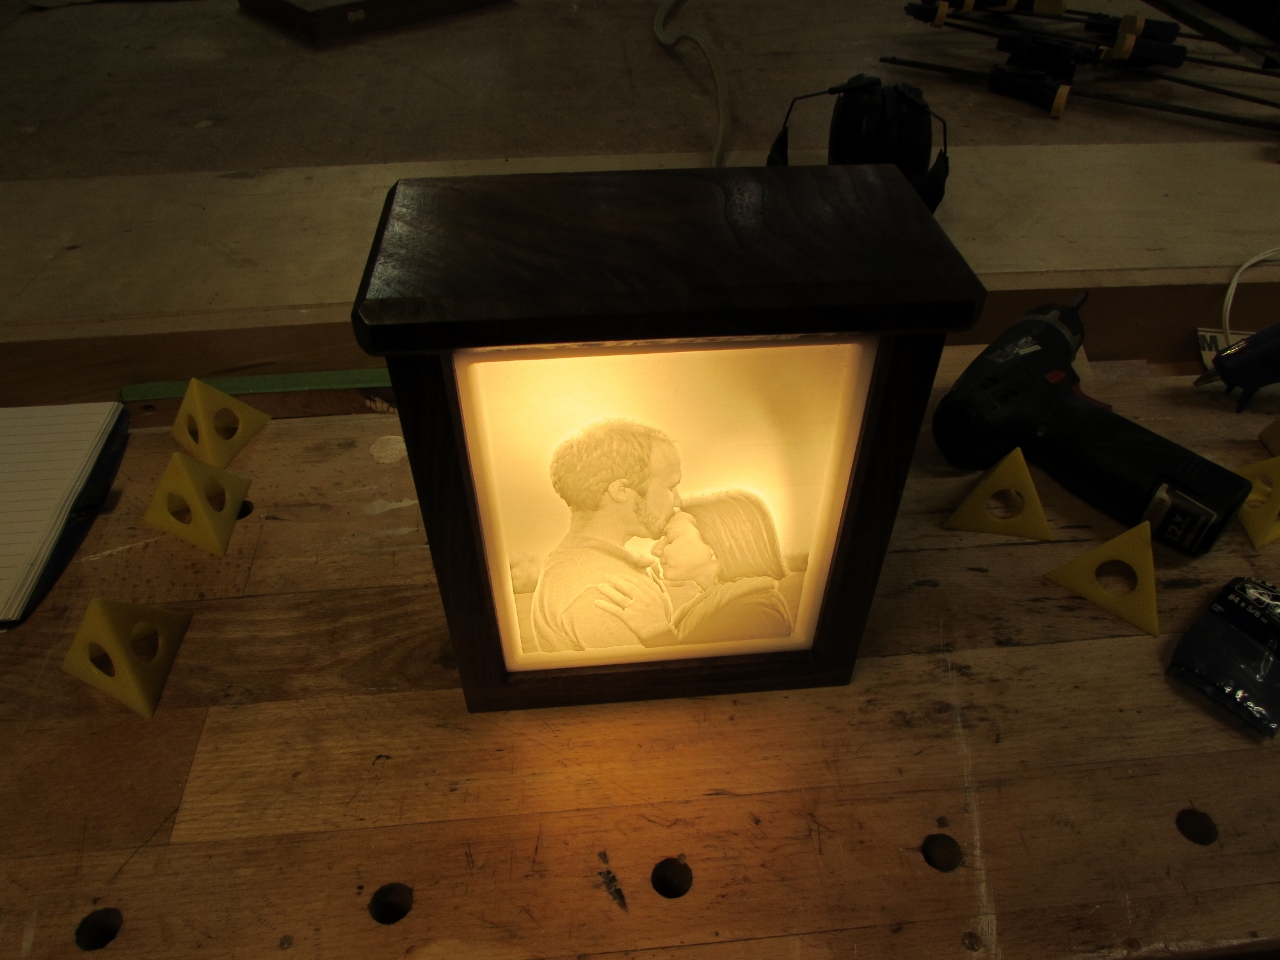
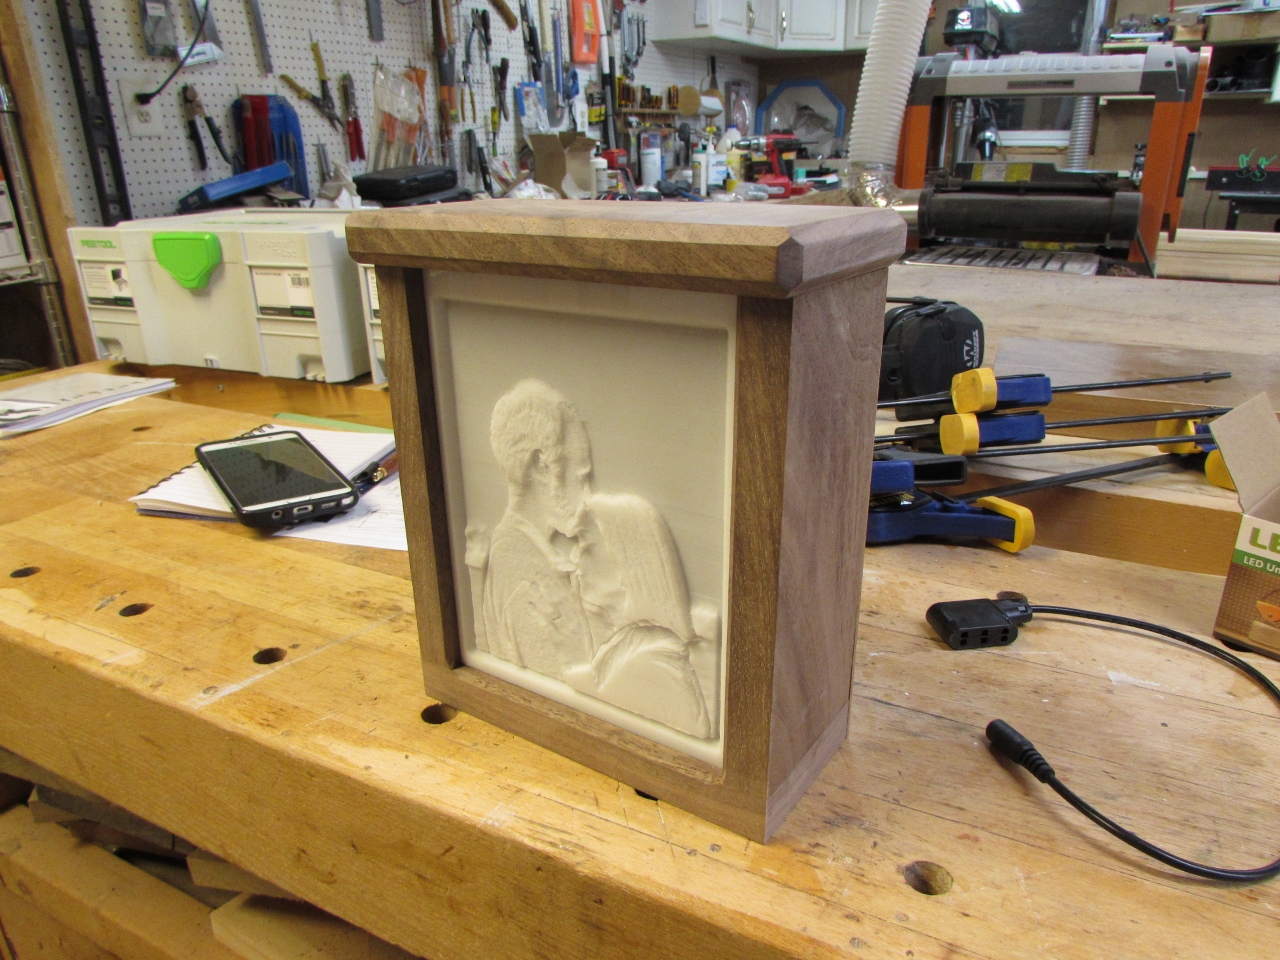
I have no idea how to get a good picture of the box, with the lights out, so here is one with the lights out and a couple more of the completed box.

I started 6:00 pm yesterday and was gift wrapping it up by noon today. That is pretty good. Diana and Ryan loved it, so it was worth it.

So very clever, very unusual