
Celtic knot pen
I recently saw an article on making a turned Celtic knot and I have been experimenting with it a bit for another project. Since my wife has been coming down to the shop to learn how to use my lathe, I thought I would try making a pen blank for her to turn.
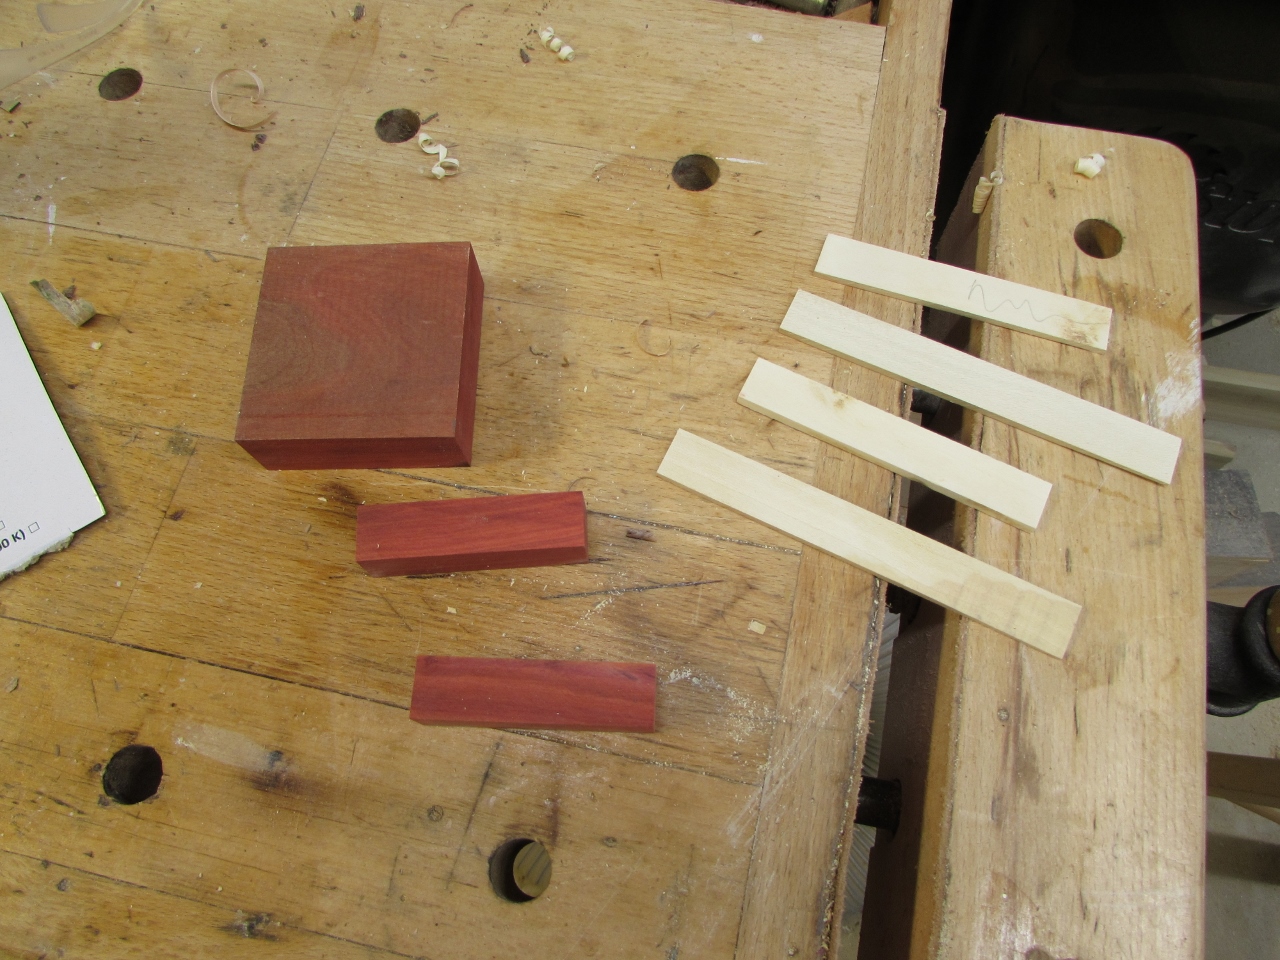
I dug around my scrap bin for something a little different. I came up with a piece of redheart and some holly. I bought the piece of redheart a while back, just because it was different. I don’t play with exotic wood much, but I wanted to see what it was like. The holly came from a tree, that I cut down, a few years back, at my in-law’s. I wanted to make something out of it, for them, but it wouldn’t dry flat. Instead, I have a pile of twisted boards. I figured I would start cutting them down to small pieces and strips. My wife can make pens and other small things, on the lathe, with it. I cut two 5/8″ blanks from the redheart, and a couple of thin strips of the holly.

I attached a temporary backer fence to my miter saw, and lined up the center of the blank with the center of the blade. I then marked the left side so I would always start in the same place, as I add the strips of holly.

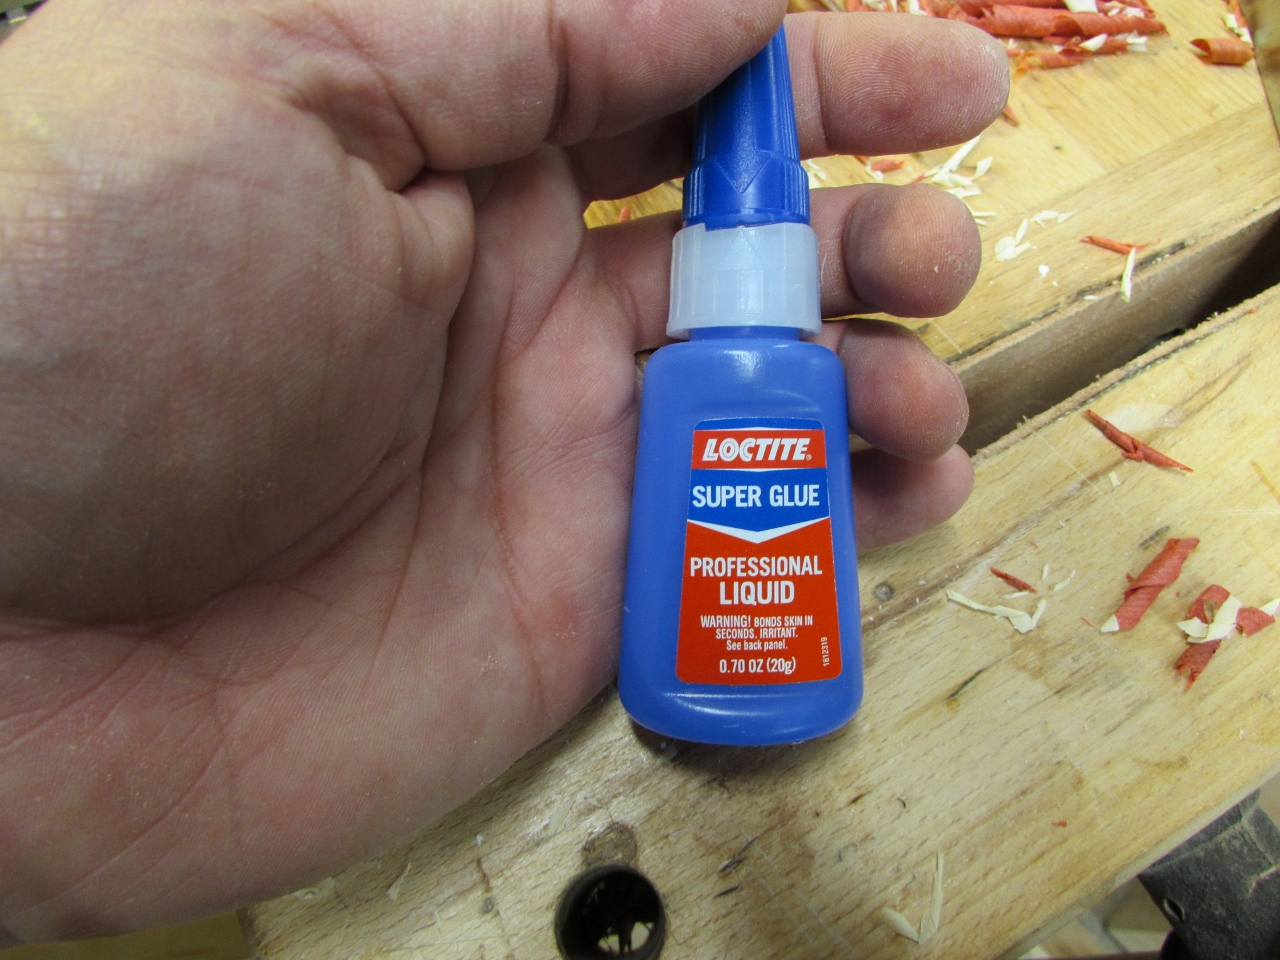
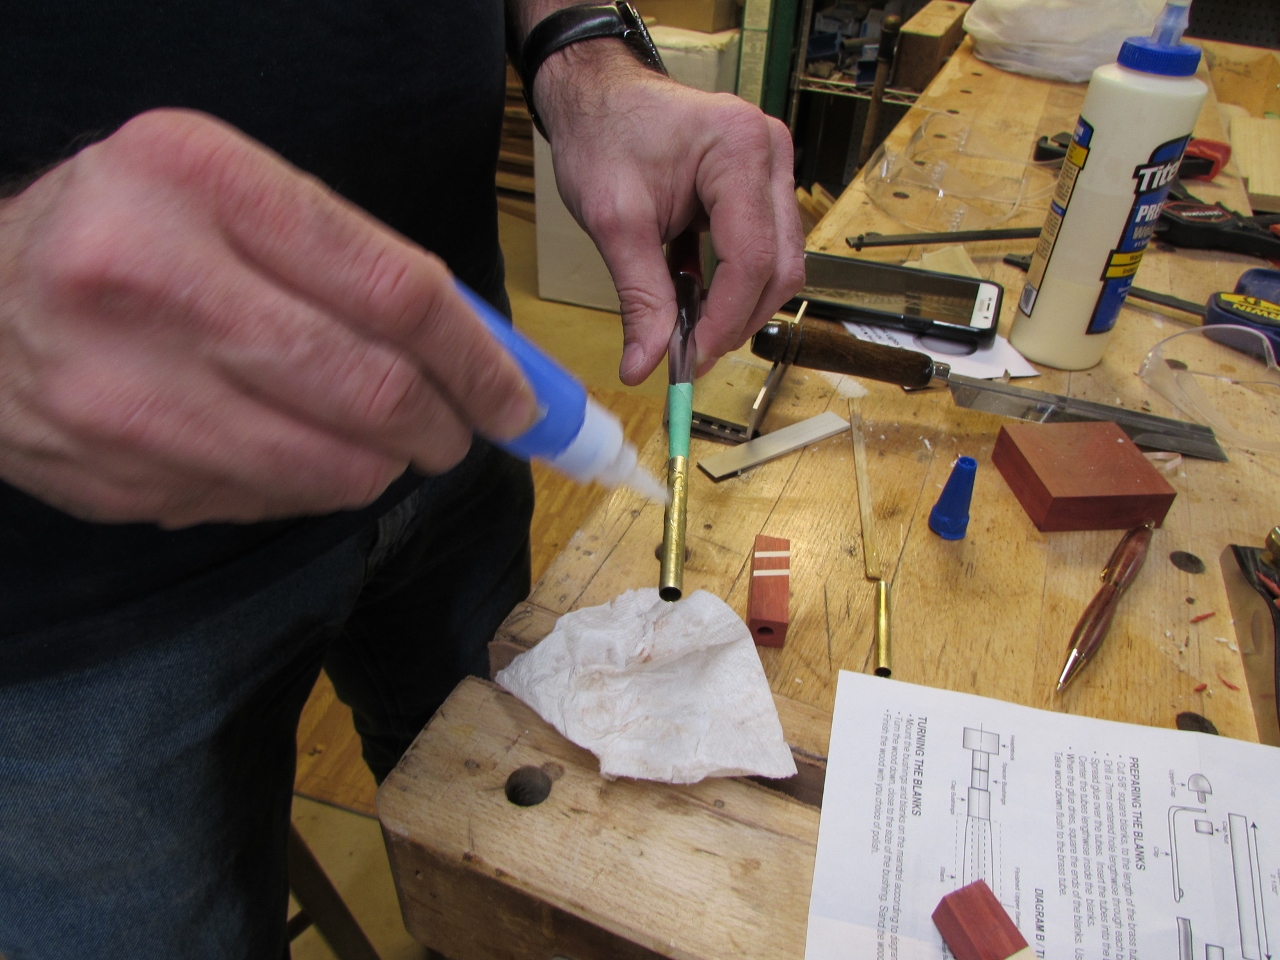
So for a quick and dirty pen blank, I am using a CA glue that I found. It sets in seconds and five minutes later, I can be turning it on the lathe without any accelerators to harden the glue.

This is my third attempt at the knot, and I will go through a bit more about what not to do, in another post. They are not too hard to make, but I haven’t quite nailed down the best way to make them yet.

You start by cutting an angle through the center of the blank. I am using a 45 degree angle, to keep it simple. The next step is to glue a strip of wood onto the angled cut.

Careful, the CA glue bonds to skin instantly.
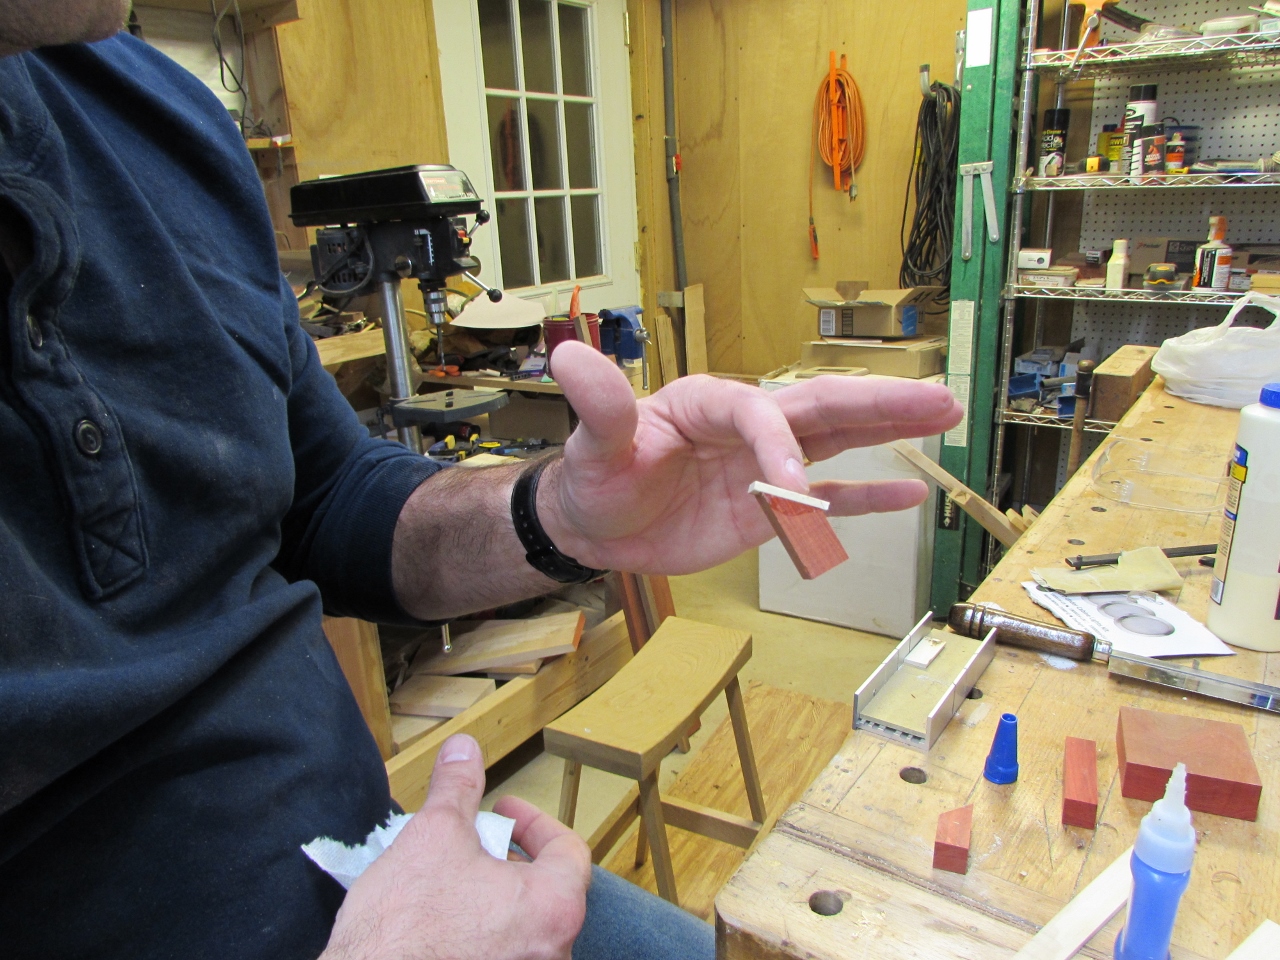
Just 10 seconds of holding the blanks back together and I was ready to move on.
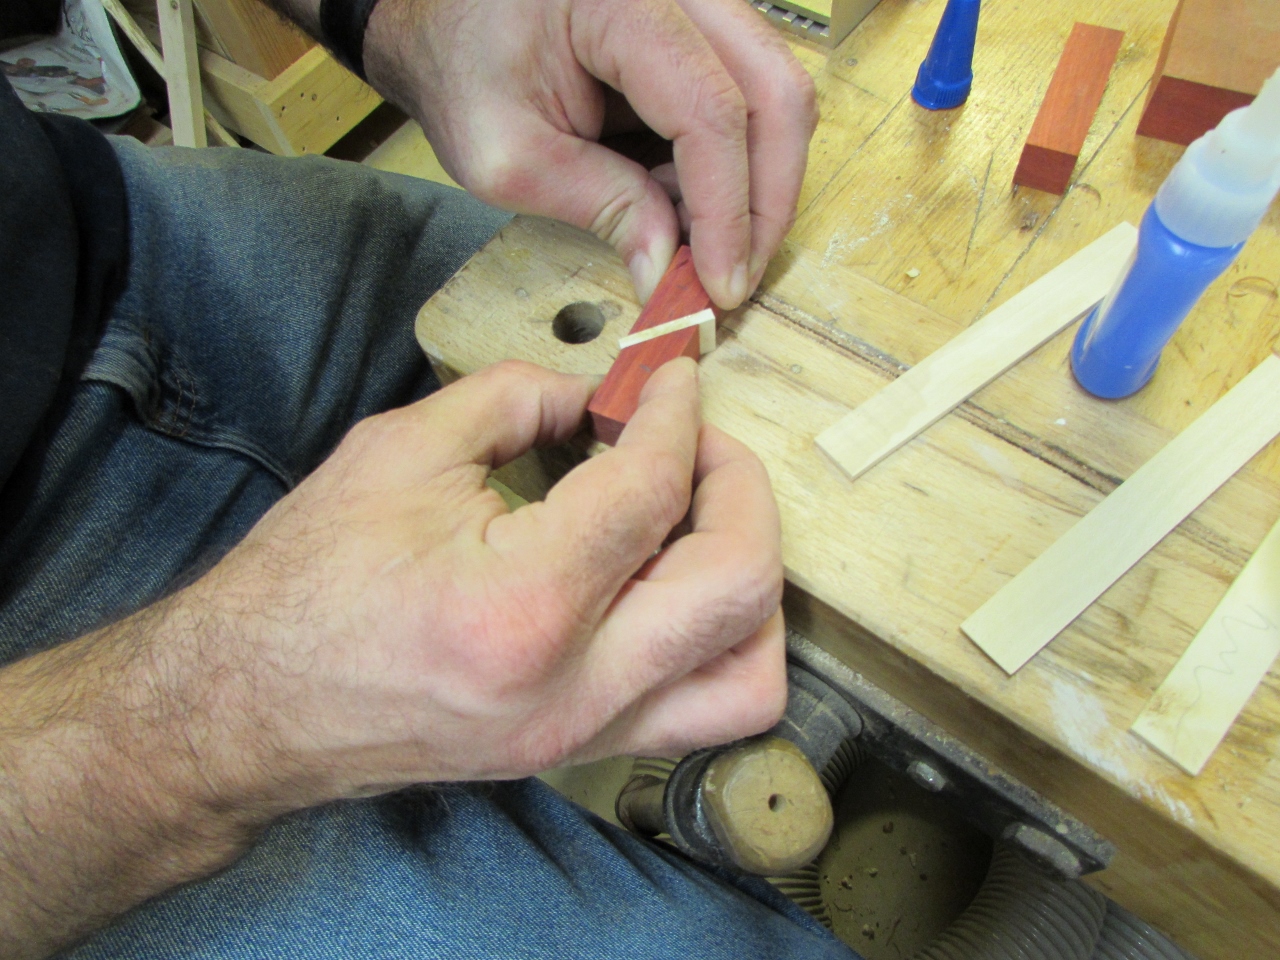

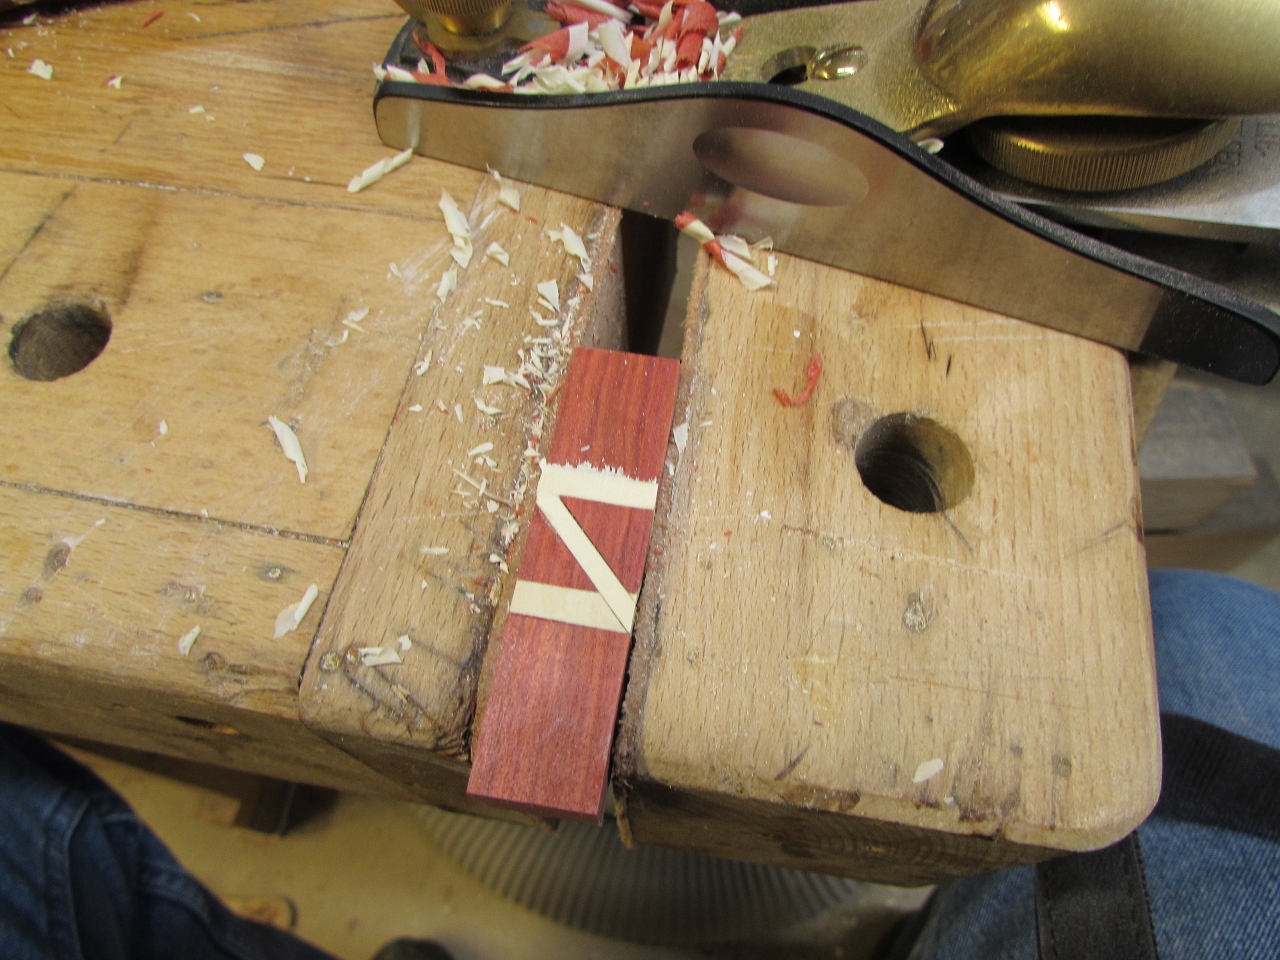
To continue, I need to remove the excess pieces of holly. I think the easiest way is to use my block plane.
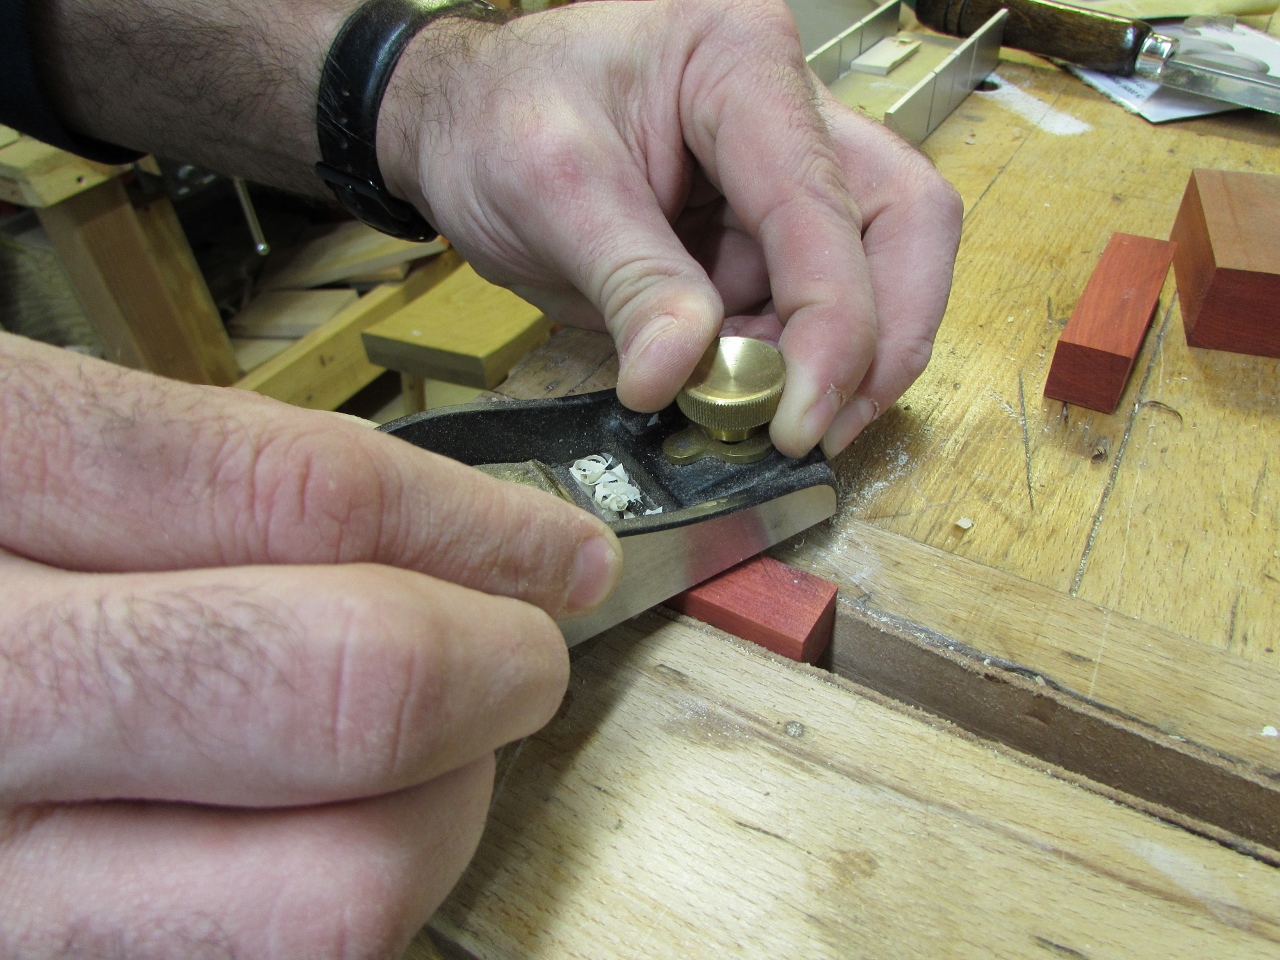

A few swipes later (ok maybe more than a few) I was ready to move to the second step.

Basically, you rotate the blank 90 degrees and repeat the process. I mark the sides so that I don’t get confused and cut in the wrong direction. I mark each side of each face with a different number, and put a little arrow pointing to the left. This way, I always hold the same side to the mark. In my early attempts, my strip was wider and every time I cut, the glue joints shifted more out of line. That was because my strip was wider than my saw kerf. I decided to use strips the same width as the blade to try to avoid this problem.

I bought my wife this cool little miter box, for cutting off pen blanks. I thought it would be safer than cutting them on the 12″ miter saw. Boy was I wrong. This thing is a piece of crap. I will have to find her a safer alternative. This thing does nothing but bind up and it is too short for lining up the cut, in the miter slots, with a pen blank in it. There is no room to clamp the piece in place, so it moves with each cut, and binds. Also the razor thin blade keeps jumping out of the slot, and can do some damage to a finger. Back to the miter saw…

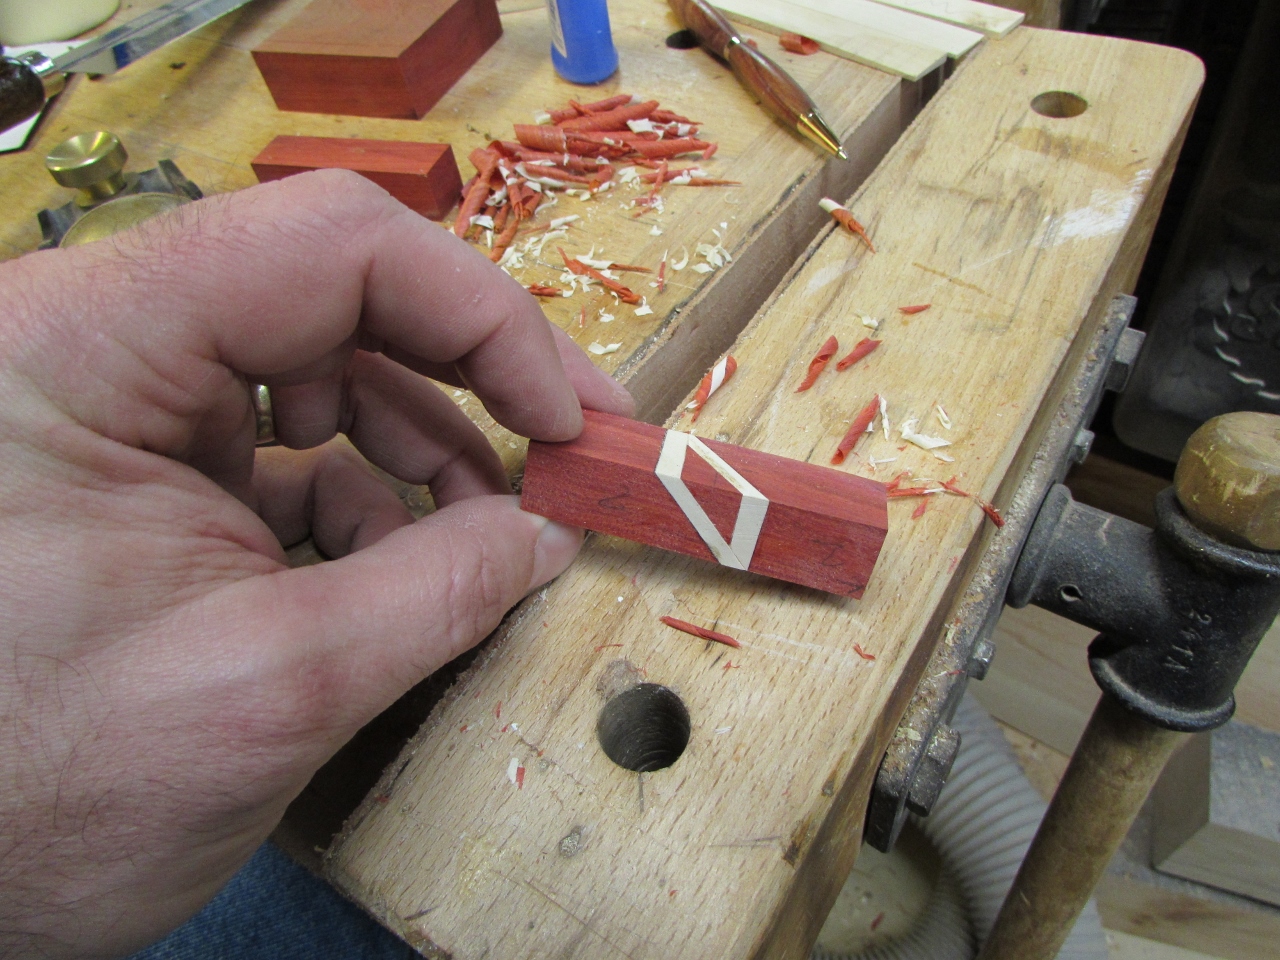
Saving you a bit of repetition, these are shots of rotating, cutting, and inserting the strip three more times. You may be able to see that it is slightly misaligned. I think I need to pre-cut the strips so that they are just slightly smaller than the pen blank. this will allow me to keep the sides dead parallel. As it is, I was glueing them up by eye…


For the other half of the pen, I decided to add a couple of stripes, for accent.


I handed off the blanks to my dear wife and let her start playing. Please note, this has all taken less than half an hour. Some of the CA glue has only been set for about a minute or two, and it is already cured enough that she can start machining it.
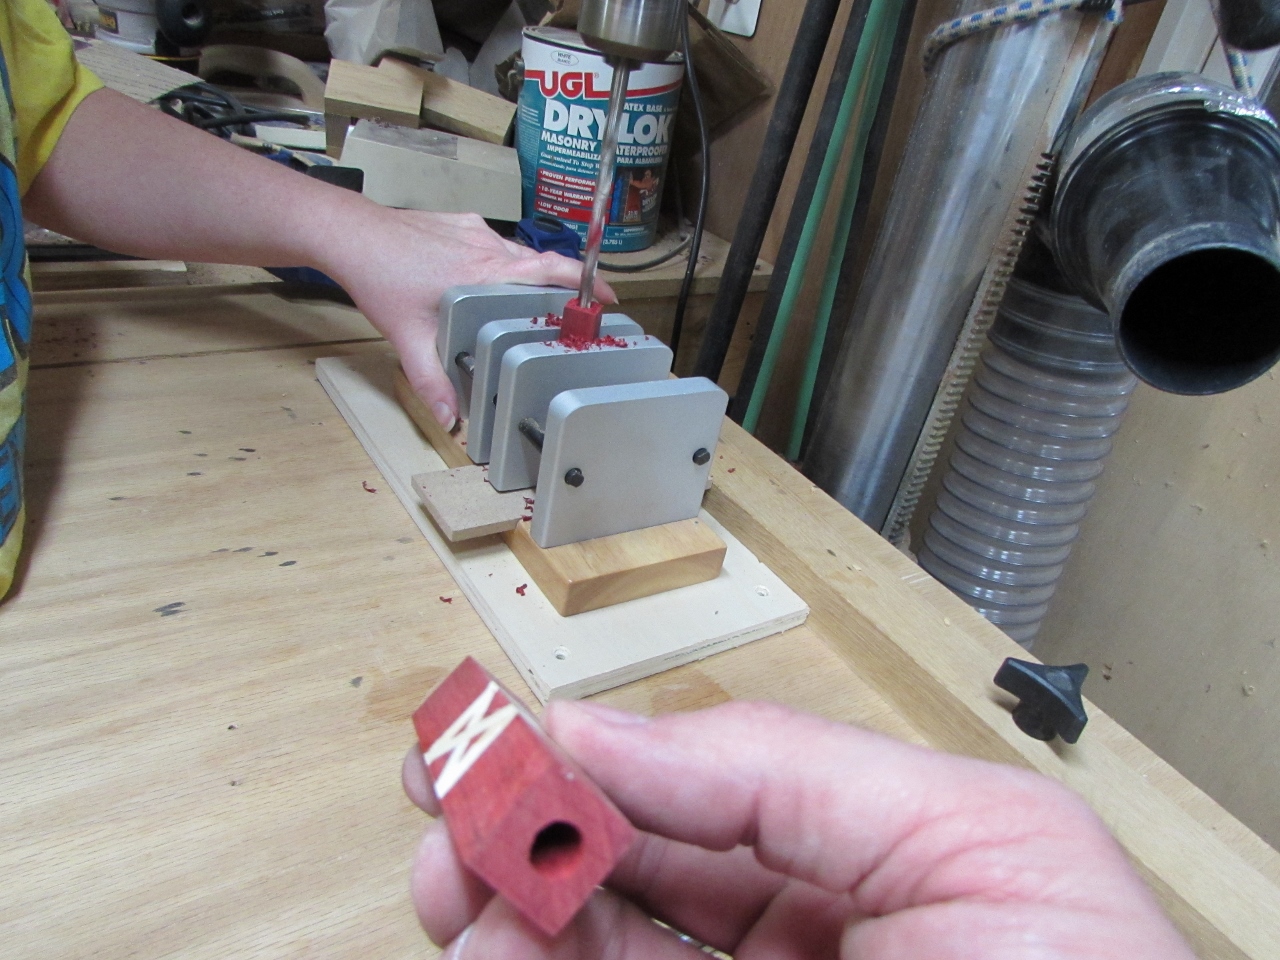
My wife, Tracie, set the blanks in the centering vice, and drilled out their centers.
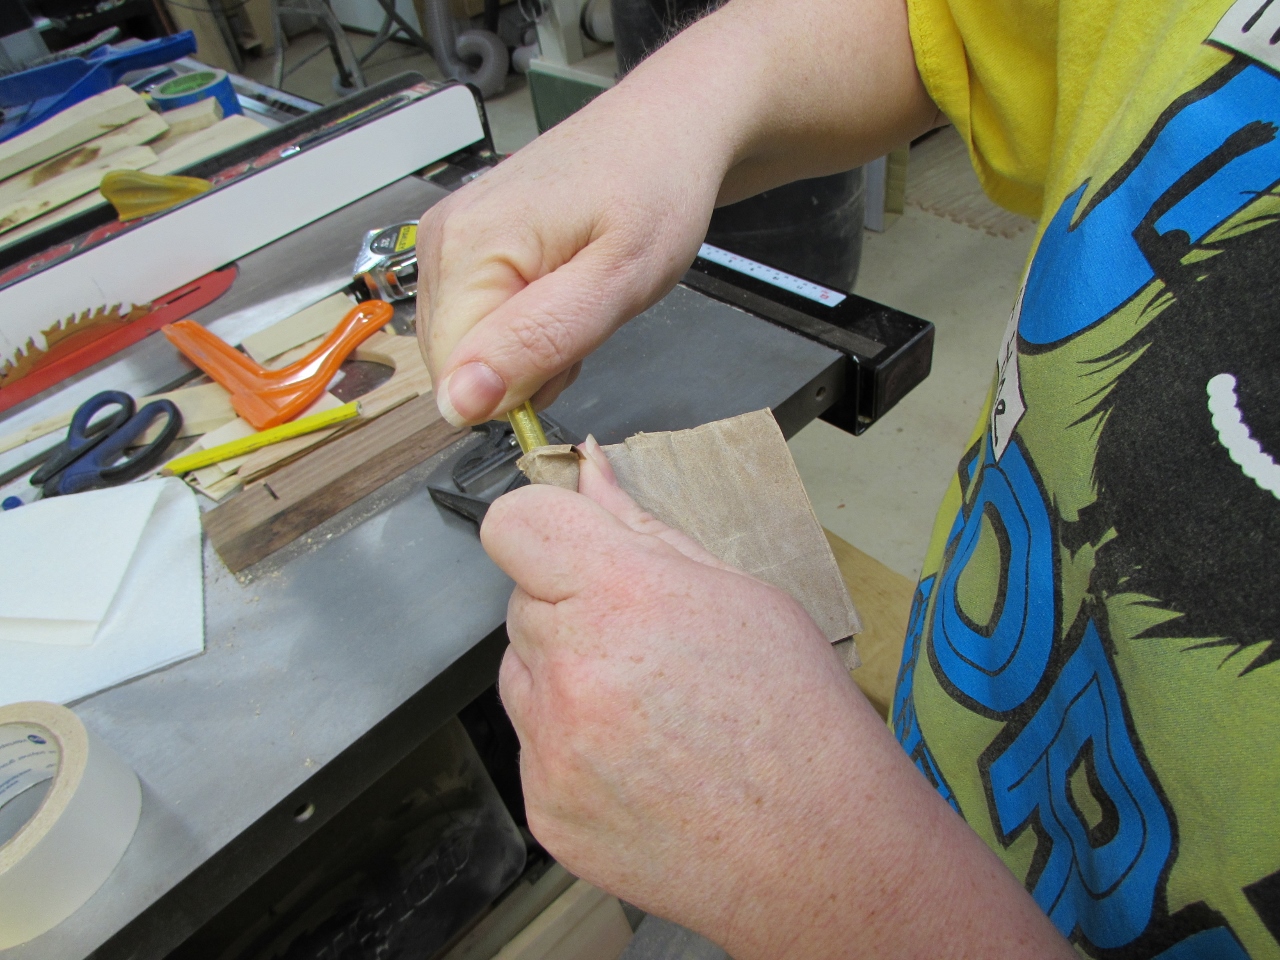
Next she roughed up the pen tubes that will line the holes in the blanks and I applied some more CA glue.

After inserting them and letting them dry for a minute, she held them in a clamp and faced off the ends, on the drill press. The clamp gives her a lot more places to hold the blank with both hands, and keeps her hand away from the spinning barrel trimmer.


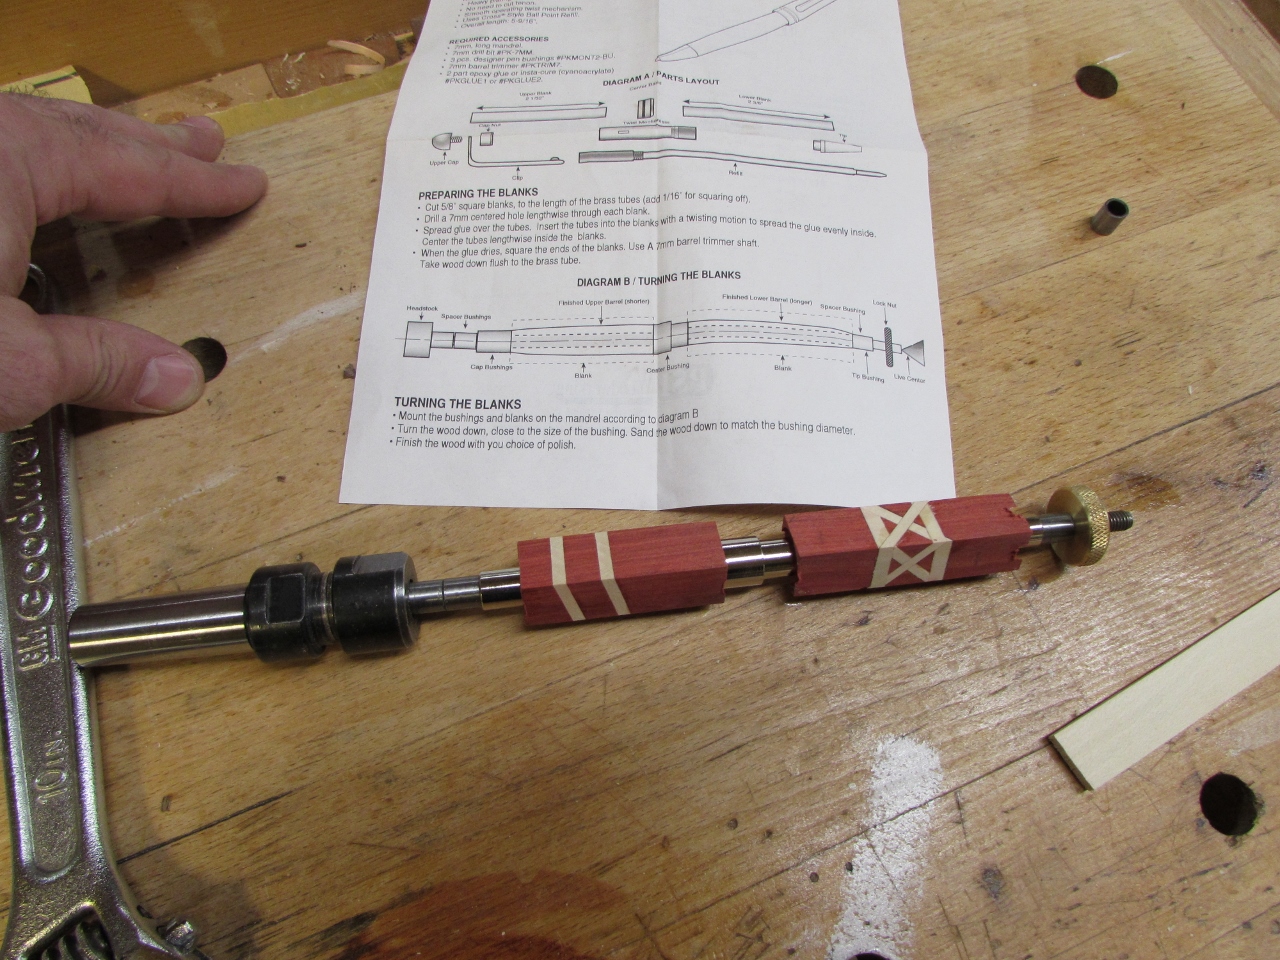
Once the blanks are faced, leaving a flat face, perfectly perpendicular to the center of the tube, she chucked it up on the pen mandrill. Hmm, maybe since we have to use the barrel trimmer anyway, I will have her use the band saw to trim her blanks in the future. That is way safer.

Tracie got all dressed up and fired up the lathe.

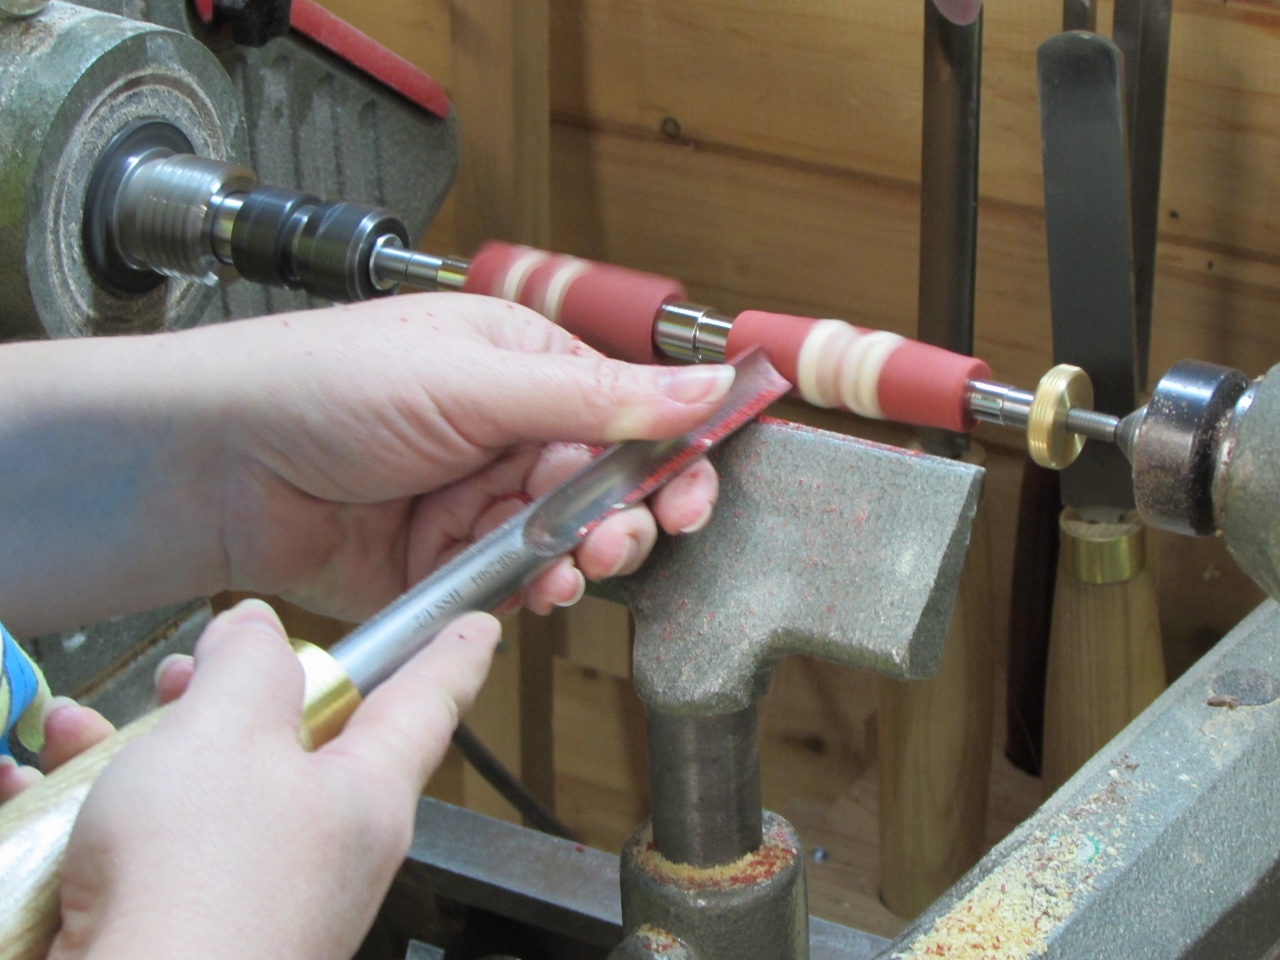
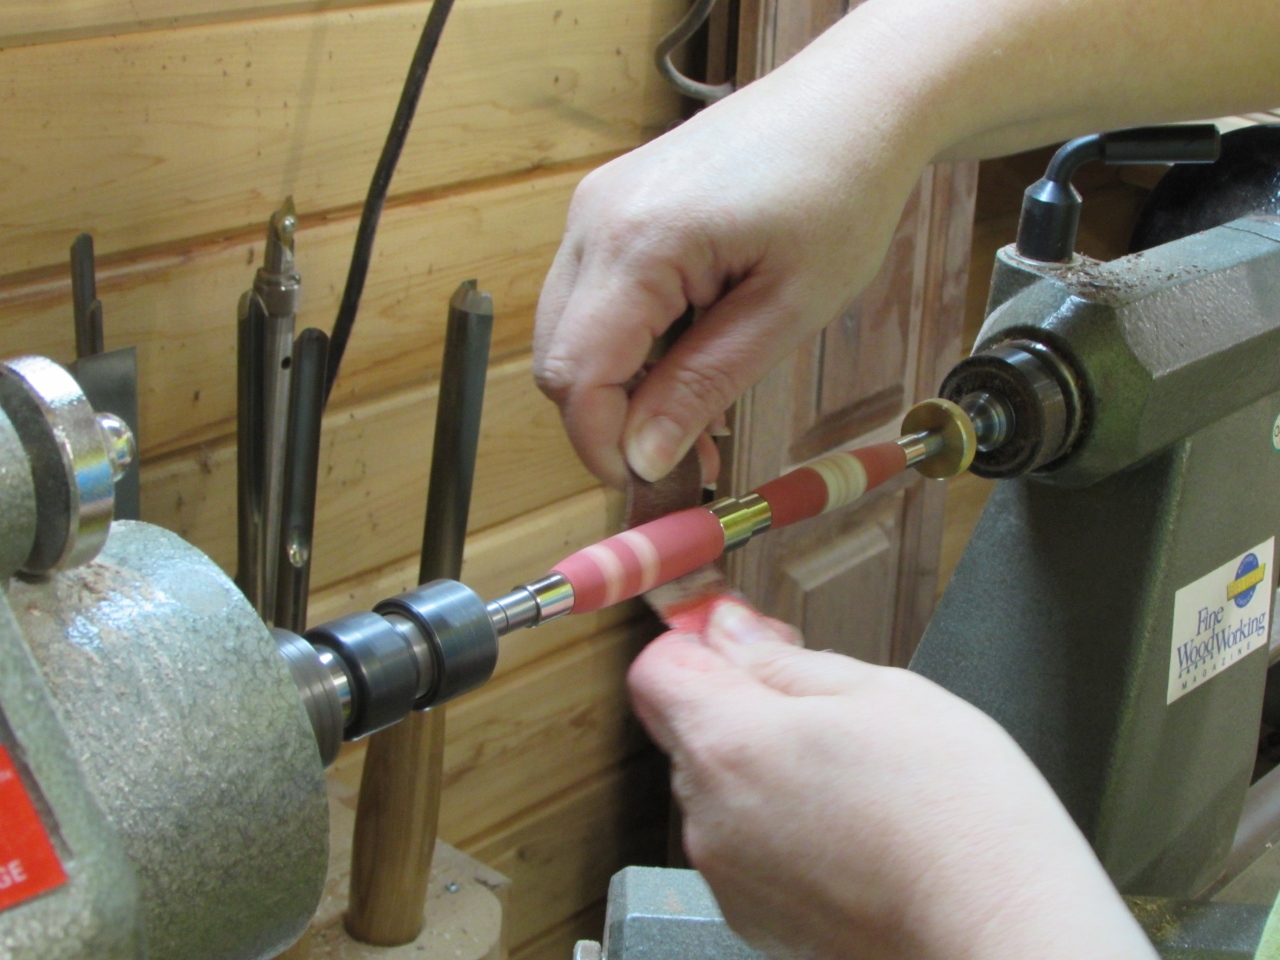
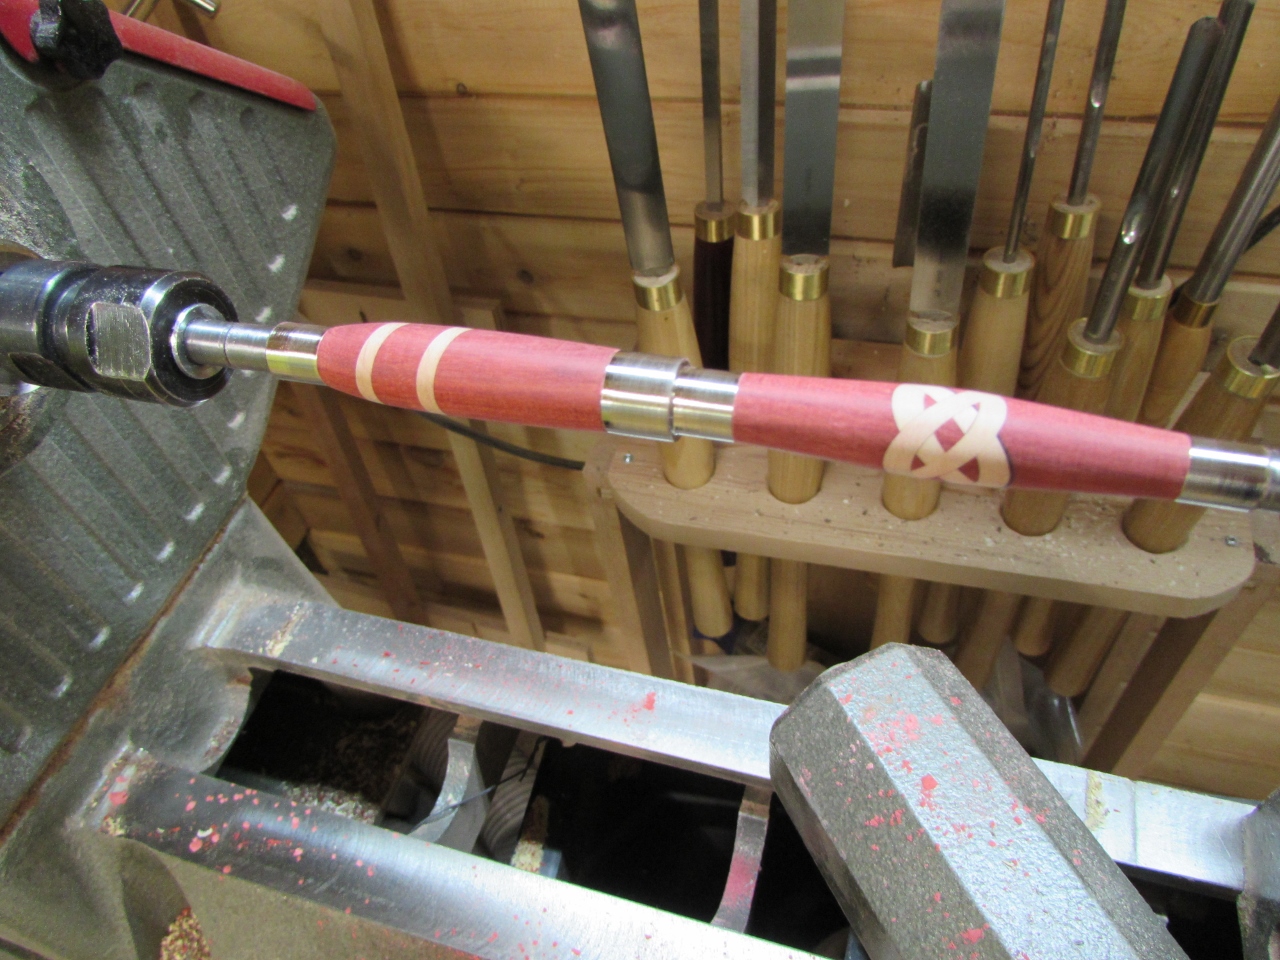
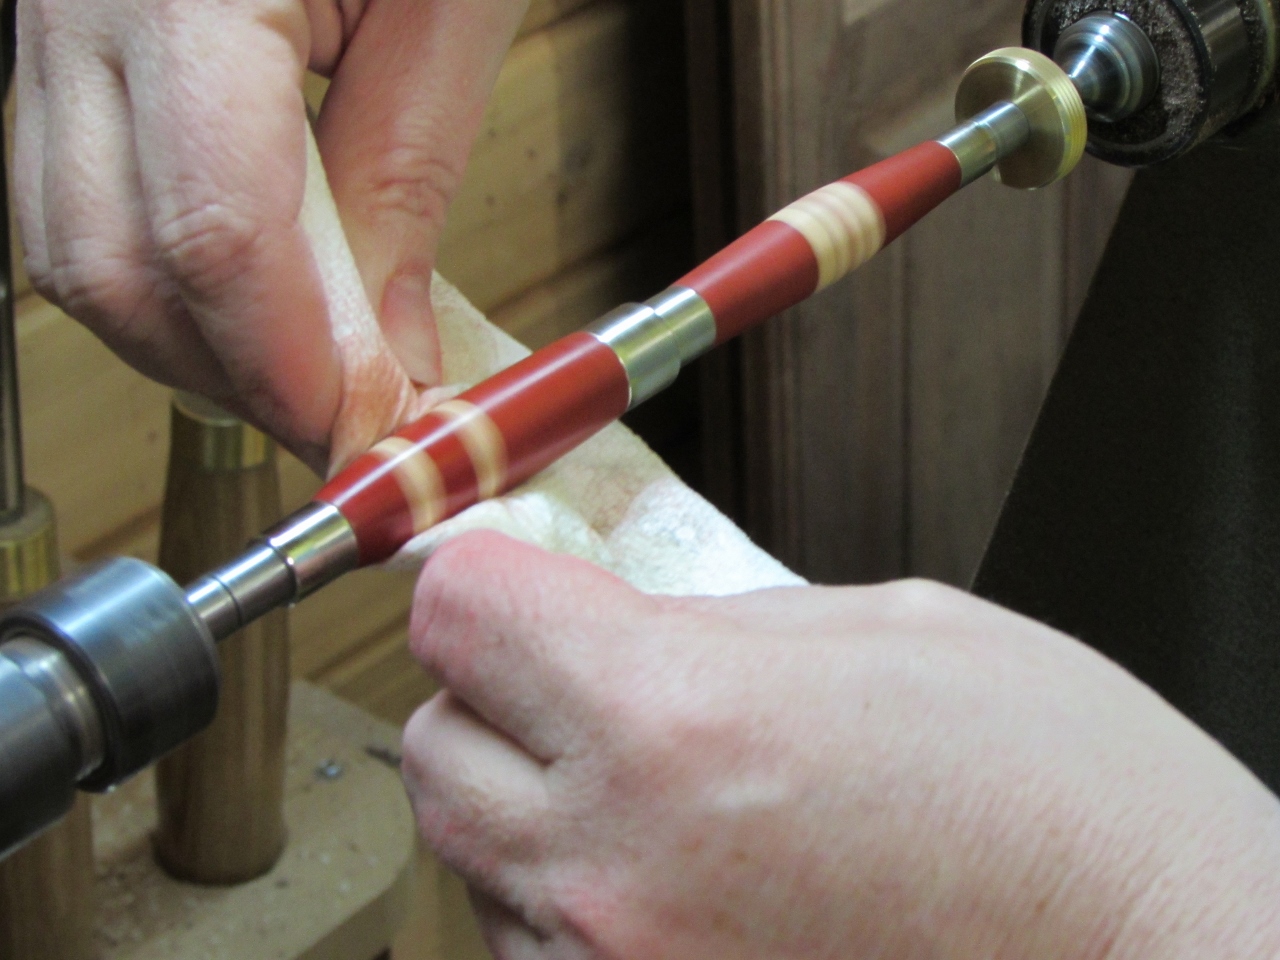
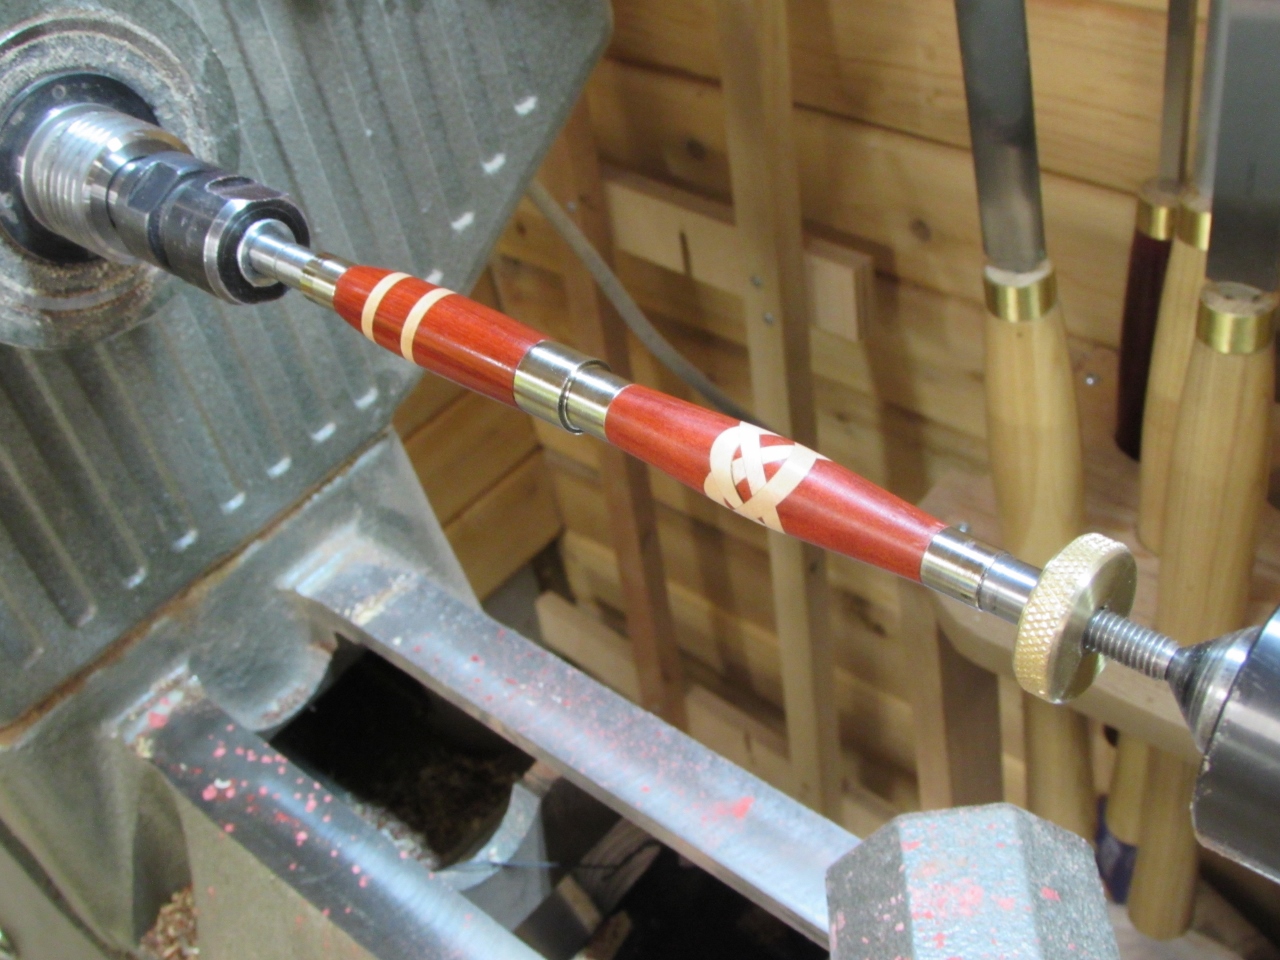
This is what the knot looks like after she turned the blank round with a roughing gouge. It is starting to look a lot closer to what we want. I think the holly is a bit thick for this diameter, but I am still experimenting.

After a little more shaping, things were looking good.


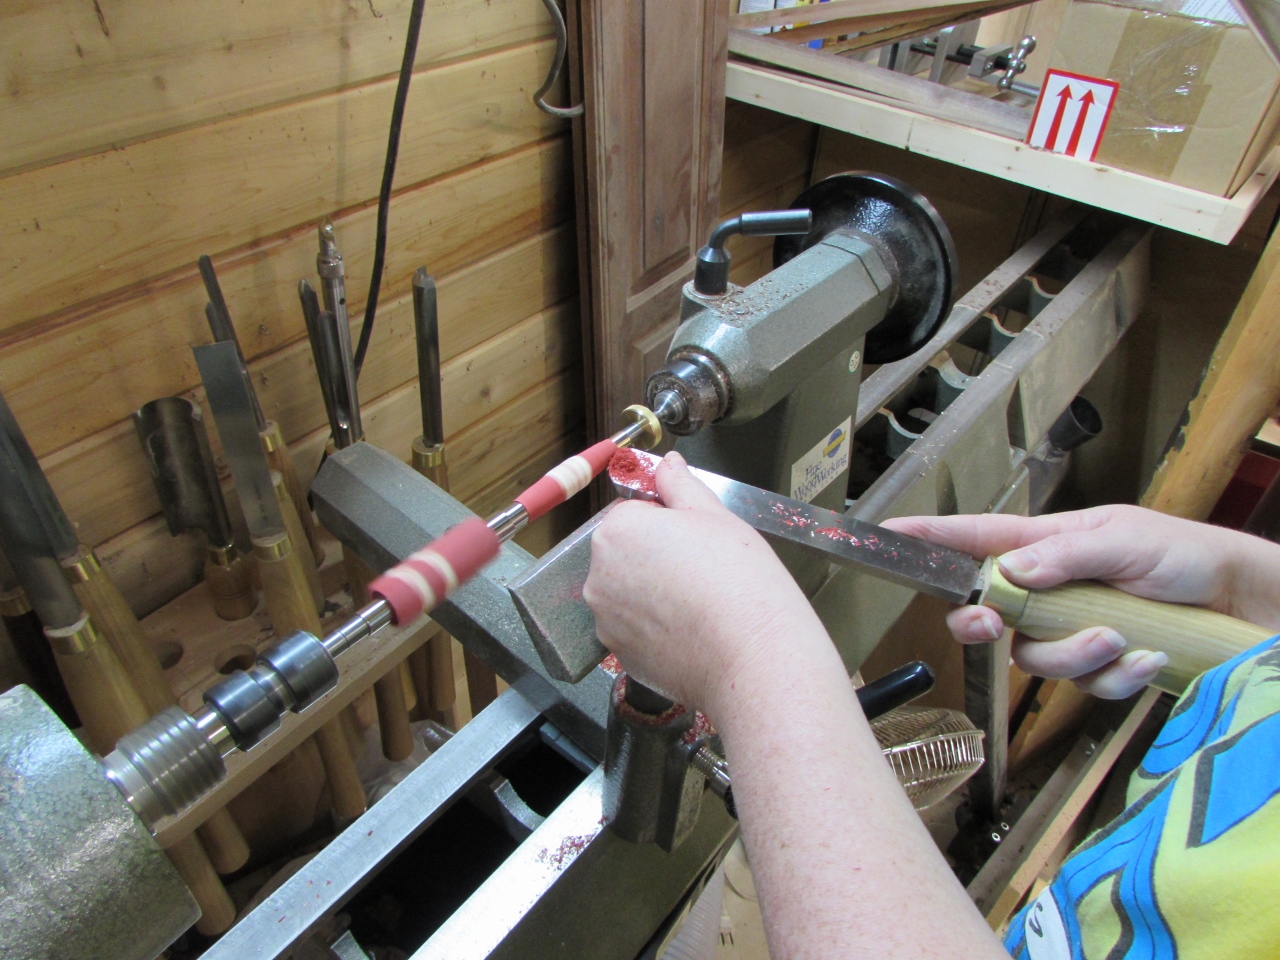
After some scraping and sanding, she was ready for finish.
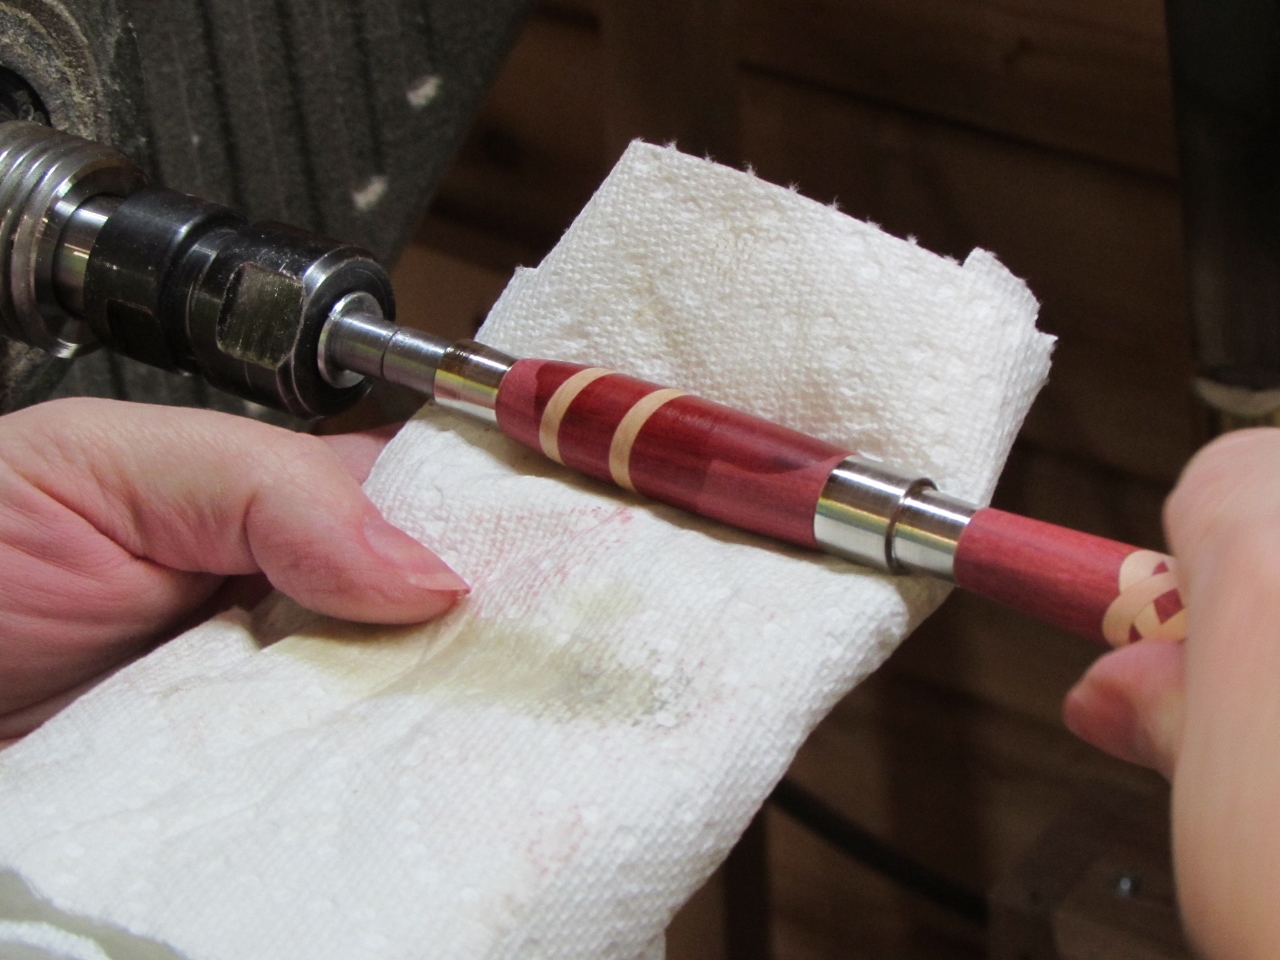
She applied a friction finish that is a combination of shellac and wax. The brand we are using is Shellawax. It is really easy to apply and dries quickly, with just a little buffing. I am not sure how strong a finish it is, but it is a great for beginners.
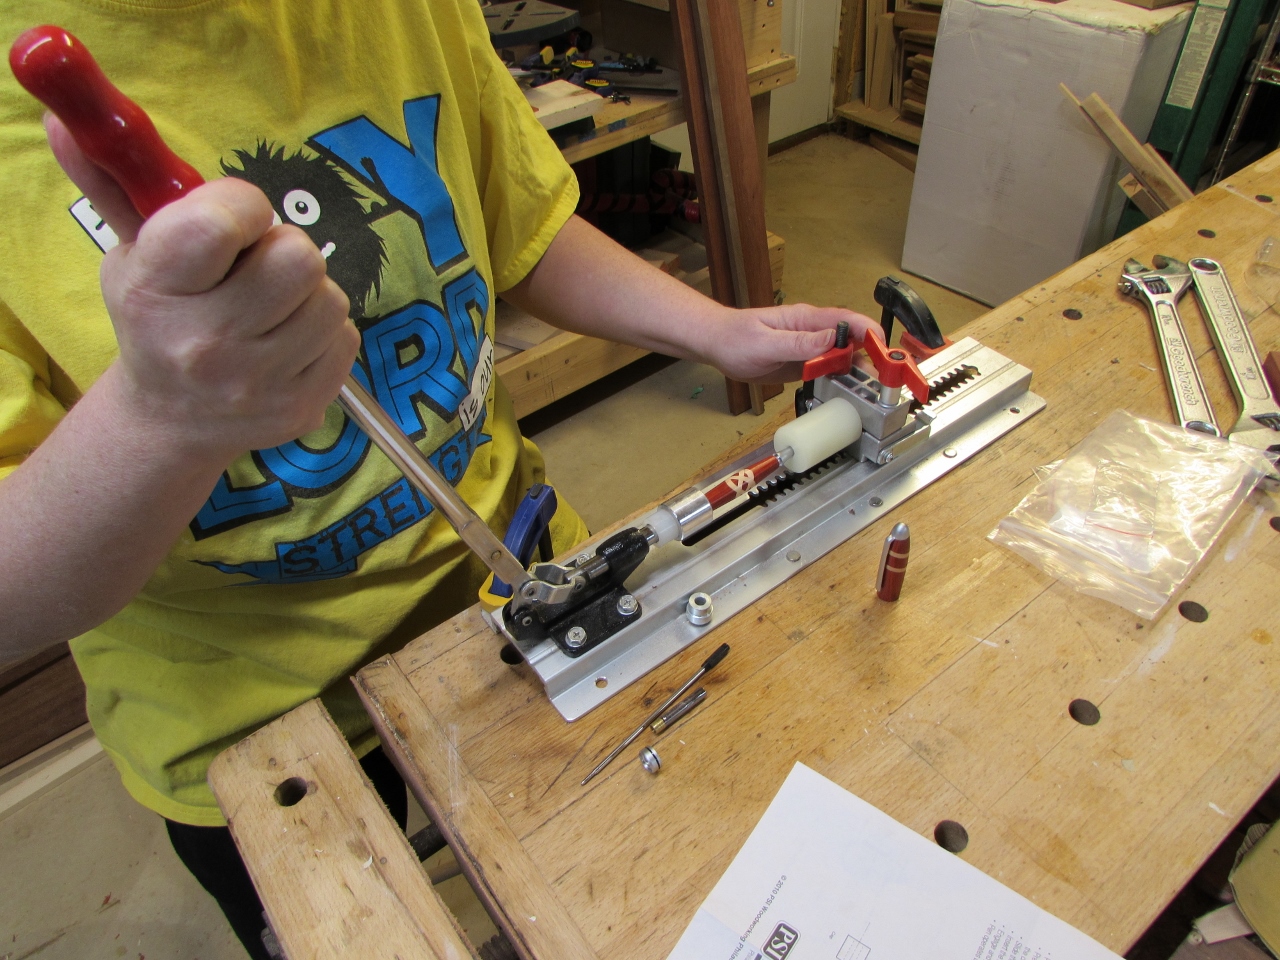
The blanks are done so Tracie pulled them off and started putting the pen together on her pen press.
And here is the final product.

It is not my favorite one that she has turned, but it is definitely the most complicated one to make so far…
The redheart was an interesting wood to work with. It wasn’t as hard and splintery as most of the exotics that I have worked with. The shavings come off as almost a powder, Especially on my miter saw. It looks like it is covered in red baby powder. It was not particularly difficult to work, pretty nice, in fact. I would definitely recommend wearing a dust mask or respirator though with all the fine red dust floating in the air.
