Diana’s Cake stand
For the last several years, my lathe has sat in the corner, and been a the perfect place to stack and store stuff. Kind of like the weight bench and elliptical, upstairs in my bedroom. Lately, my wife and my friend Diana have been asking to work on projects, on the lathe. So that means that I have had to spend a lot of time on YouTube, giving myself a crash course in using a lathe. I have only had a few projects that required a lathe, but that is now starting to change. This will be a rather long post for such a simple project because I am experimenting with a few techniques, that I wanted to explore a little.
Diana is getting married next month and wanted to make the cake stand for her wedding cake. Should be a simple project, but I have never even turned a plate before. This should be interesting…

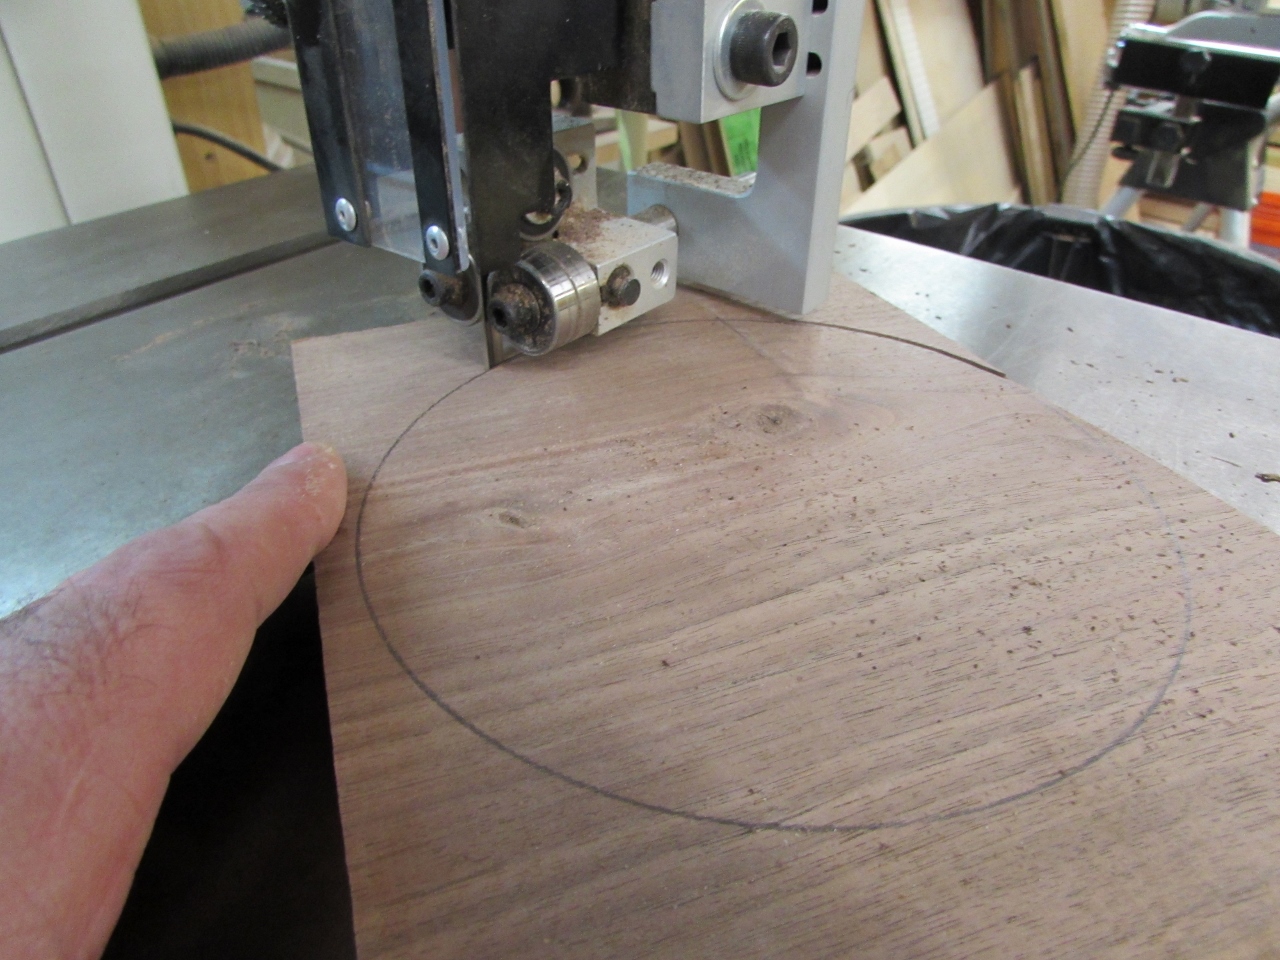
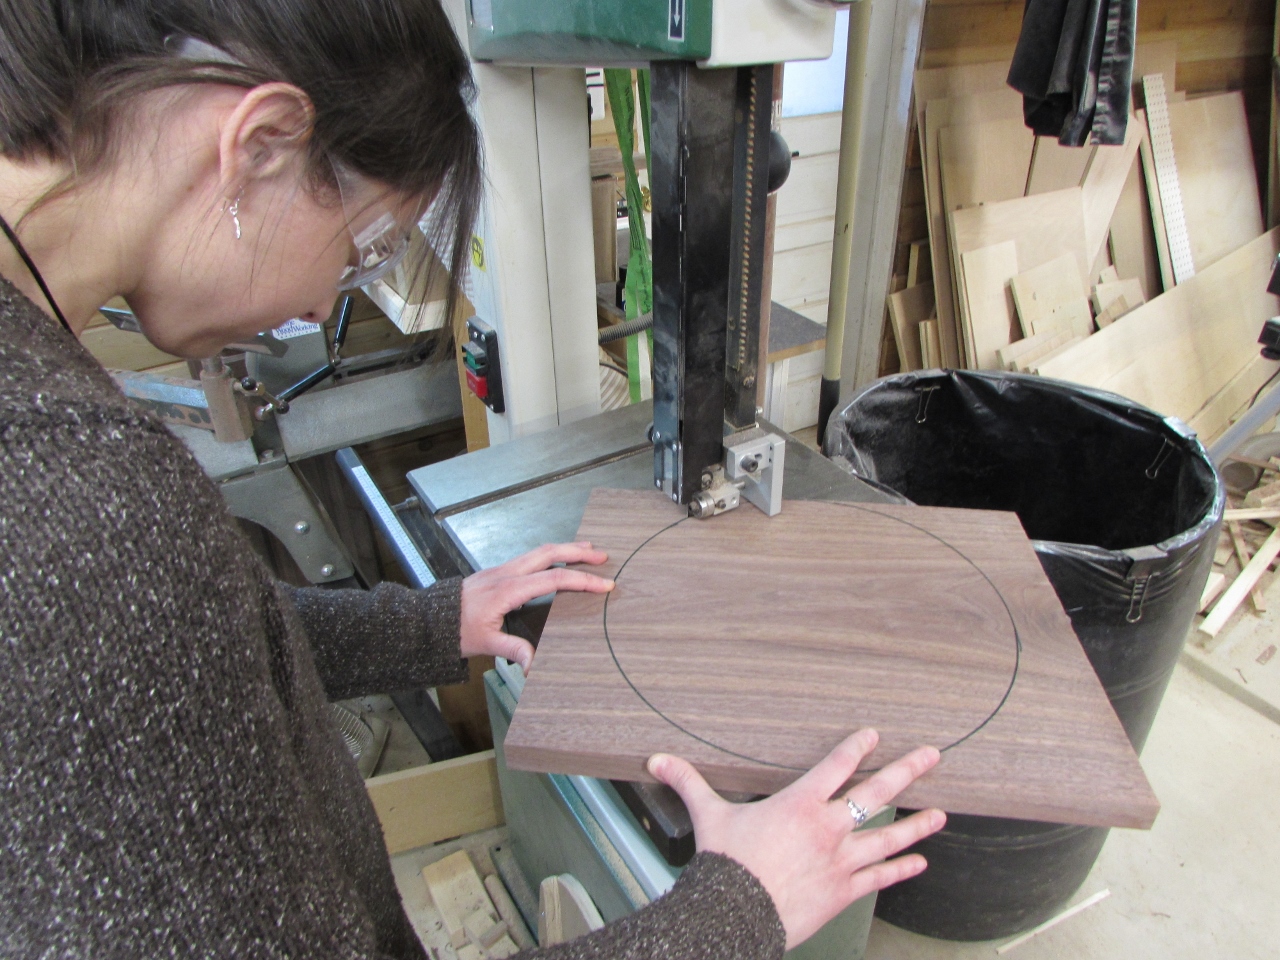
We are starting with the base of the stand. This will be holding a multi-layer wedding cake, so I am making a heavy base. The diameter of the main plate will be 12-1/2″ so I am making the widest part of the base about 7-1/2″ so it will be nice and stable. We start by laying out a couple of circles on a 1″ thick piece of walnut that I pulled from the scrap pile.
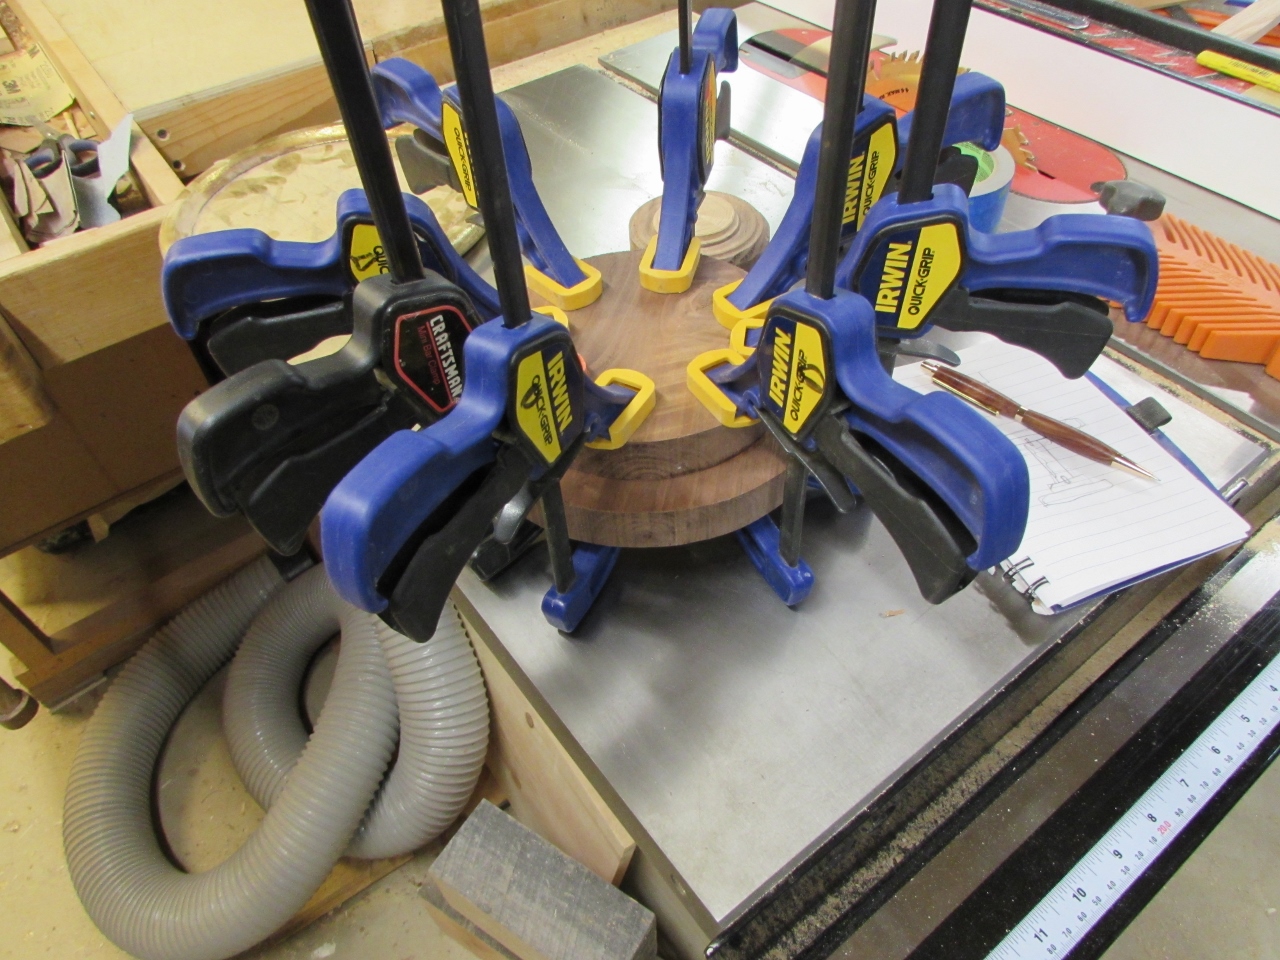
After roughly cutting them out on the band saw, I glued them together with wood glue and a bunch of clamps.
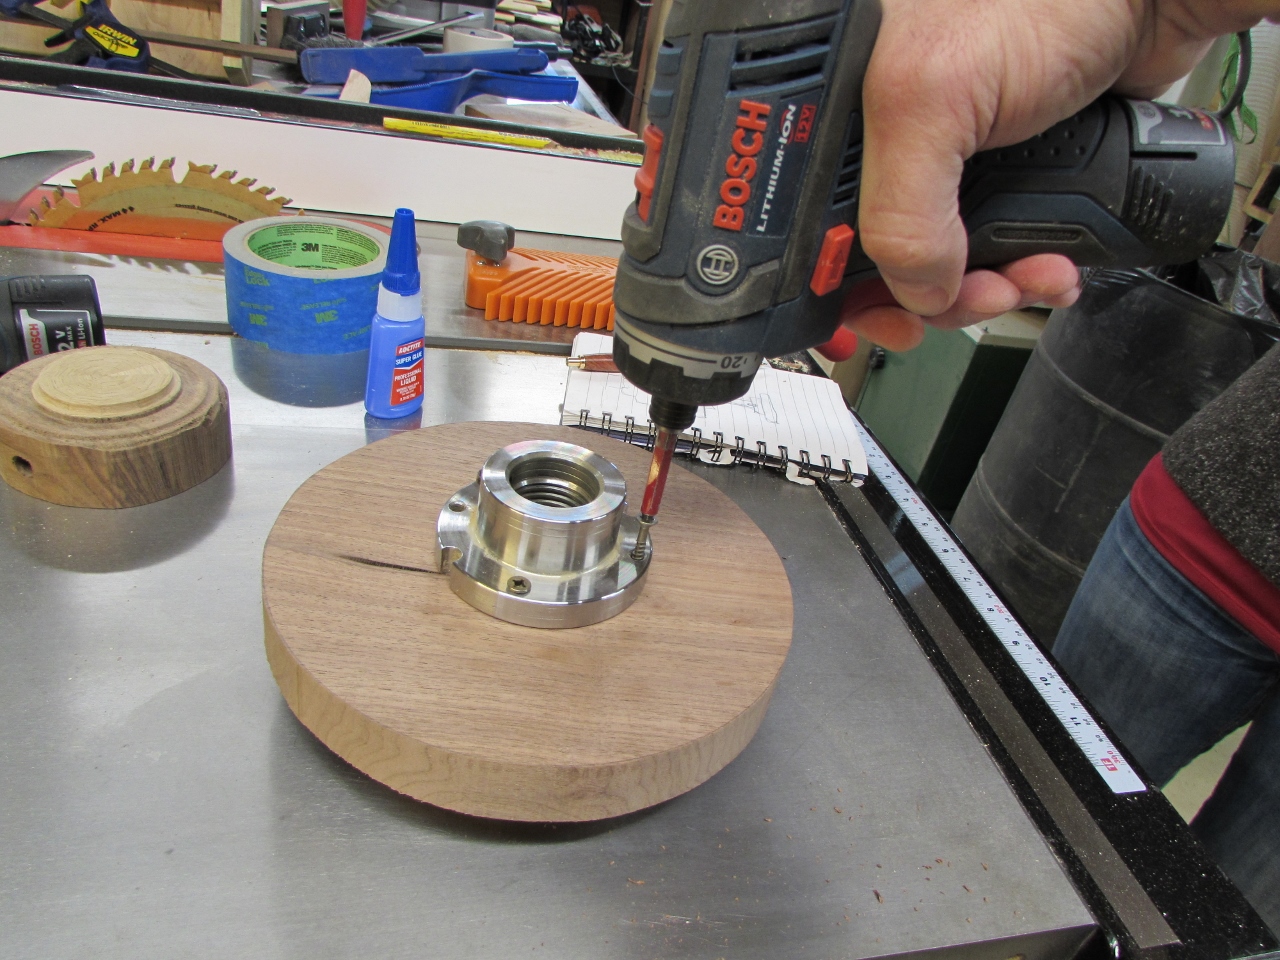
When the glue had dried, I attached a face plate to the bottom with four 3/4″ wood screws, and Diana threaded it onto the lathe.

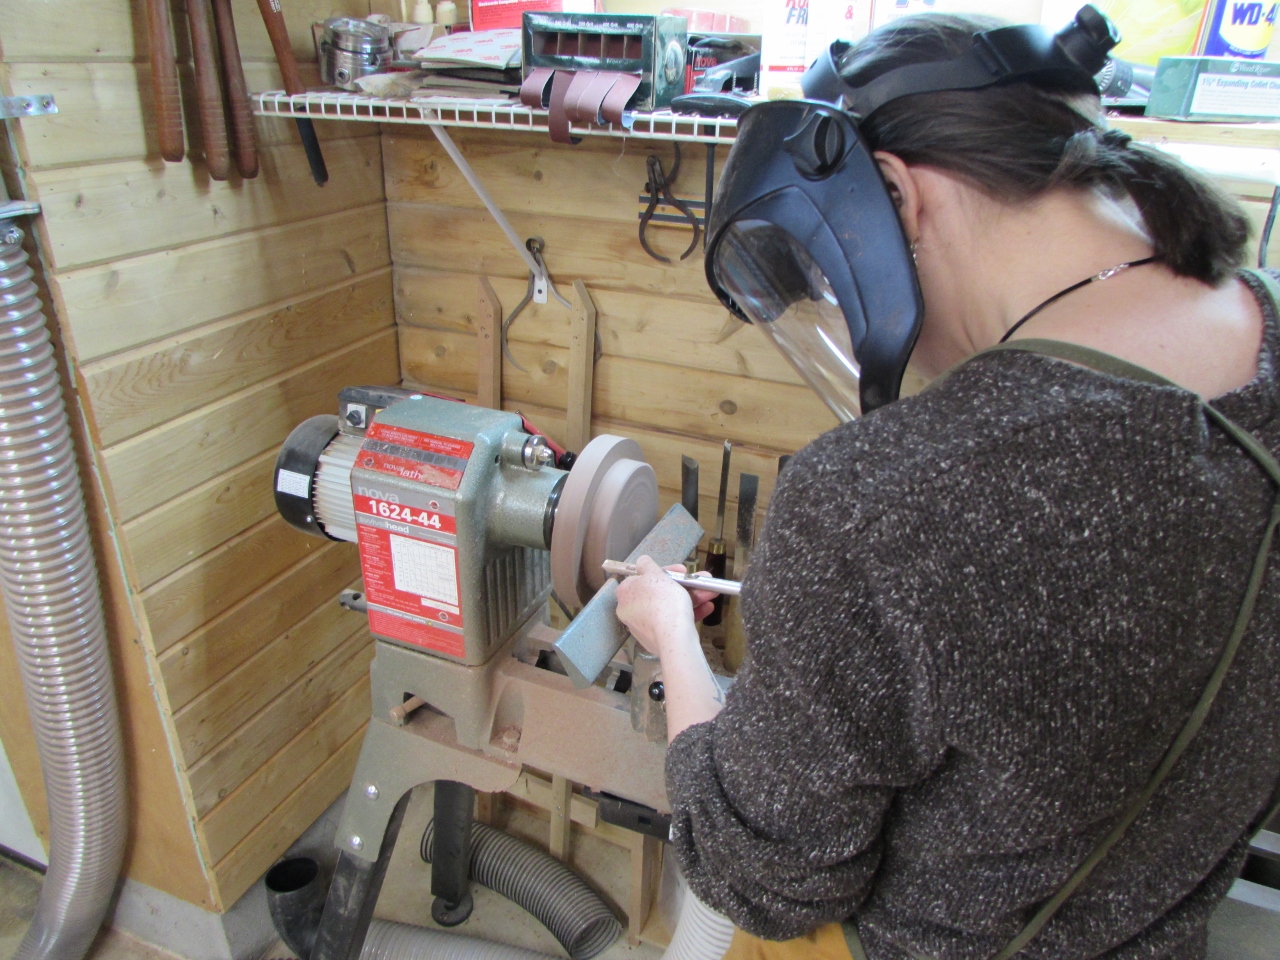
I let her experiment with some of the different tools and create the shape she wanted.
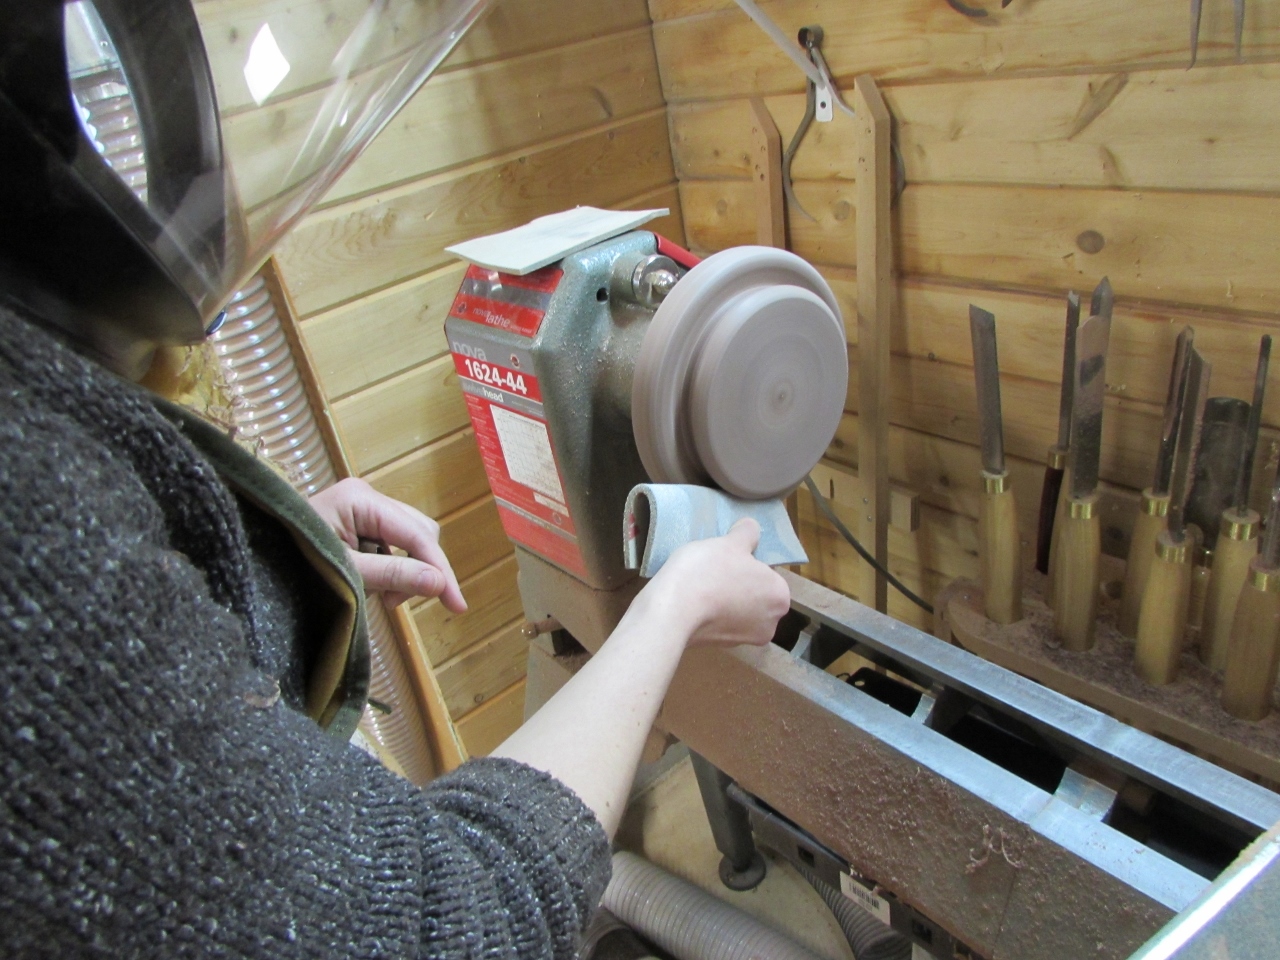
When she was happy with the shape, she sanded it down and I cleaned it with naphtha to show her what it would look like.

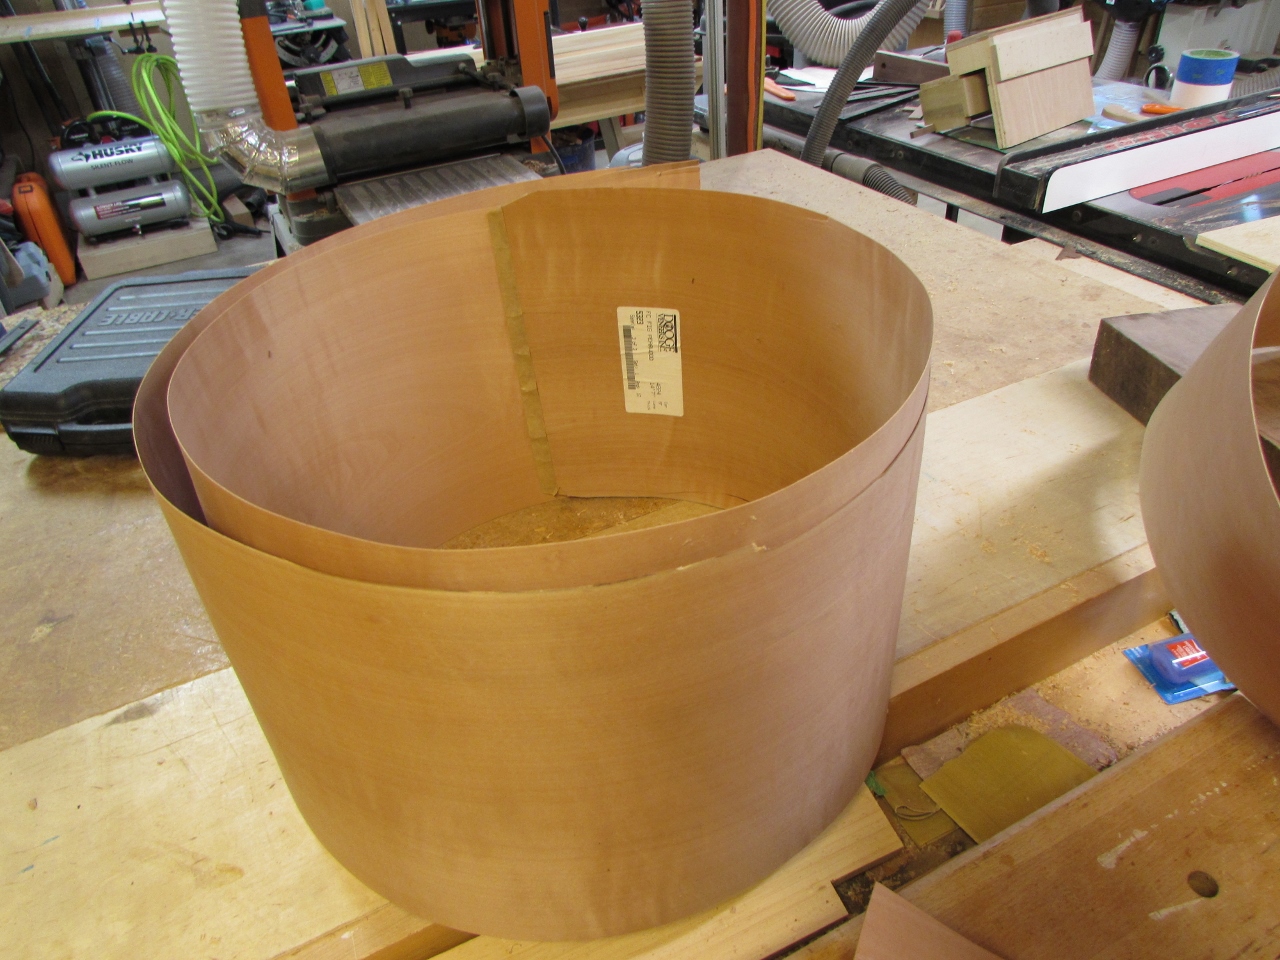
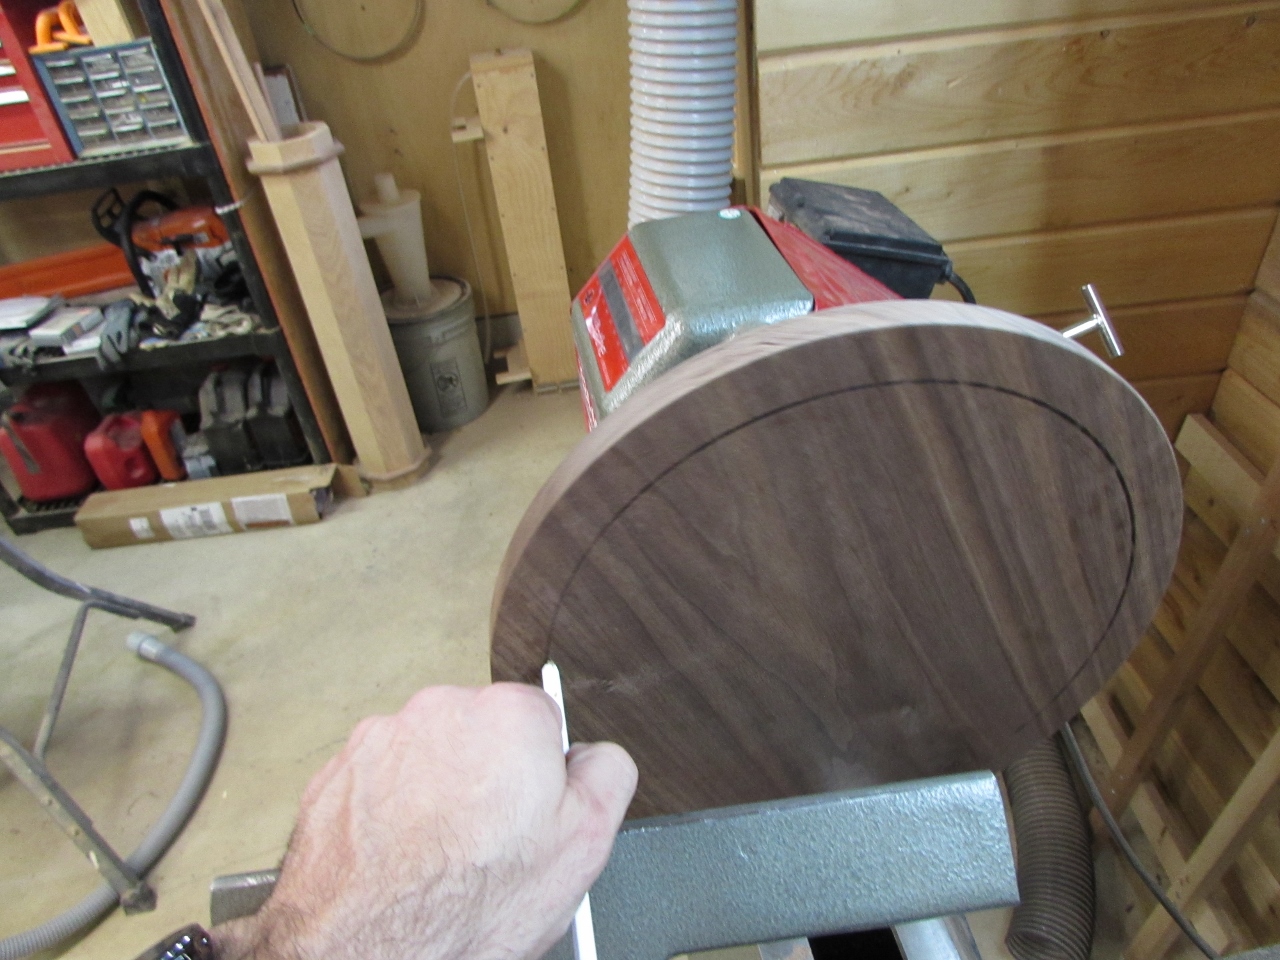
Then we set the base aside and cut out the circle for the main plate.
Diana is a busy girl with work and a wedding to prepare for, so when she went home, I started experimenting with creating something a little more interesting for the center support. I had recently seen an article on turning a Celtic knot. It looked pretty cool, so I thought I would try to make one. Being impatient, I just glanced at the pictures to get the gist and off I went. No, I don’t like to read directions. You can’t learn from your mistakes if you read all the directions…
Spoiler alert! This one did not turn out perfectly. I make one the correct way later on in the post (without instructions…).
I started by creating a layered veneer strip from a couple of pieces of maple and a strip of purple heart.

I cut a 45 degree angle through the center of my block of wood. I centered the block, reasoning that, that was the best way to keep everything lined up (wrong).

The basic gist is that you add a piece of veneer, then rotate the block forward 90 degrees and repeat the process three more times.

I created a complicated jig to hold everything straight, while the glue dried.

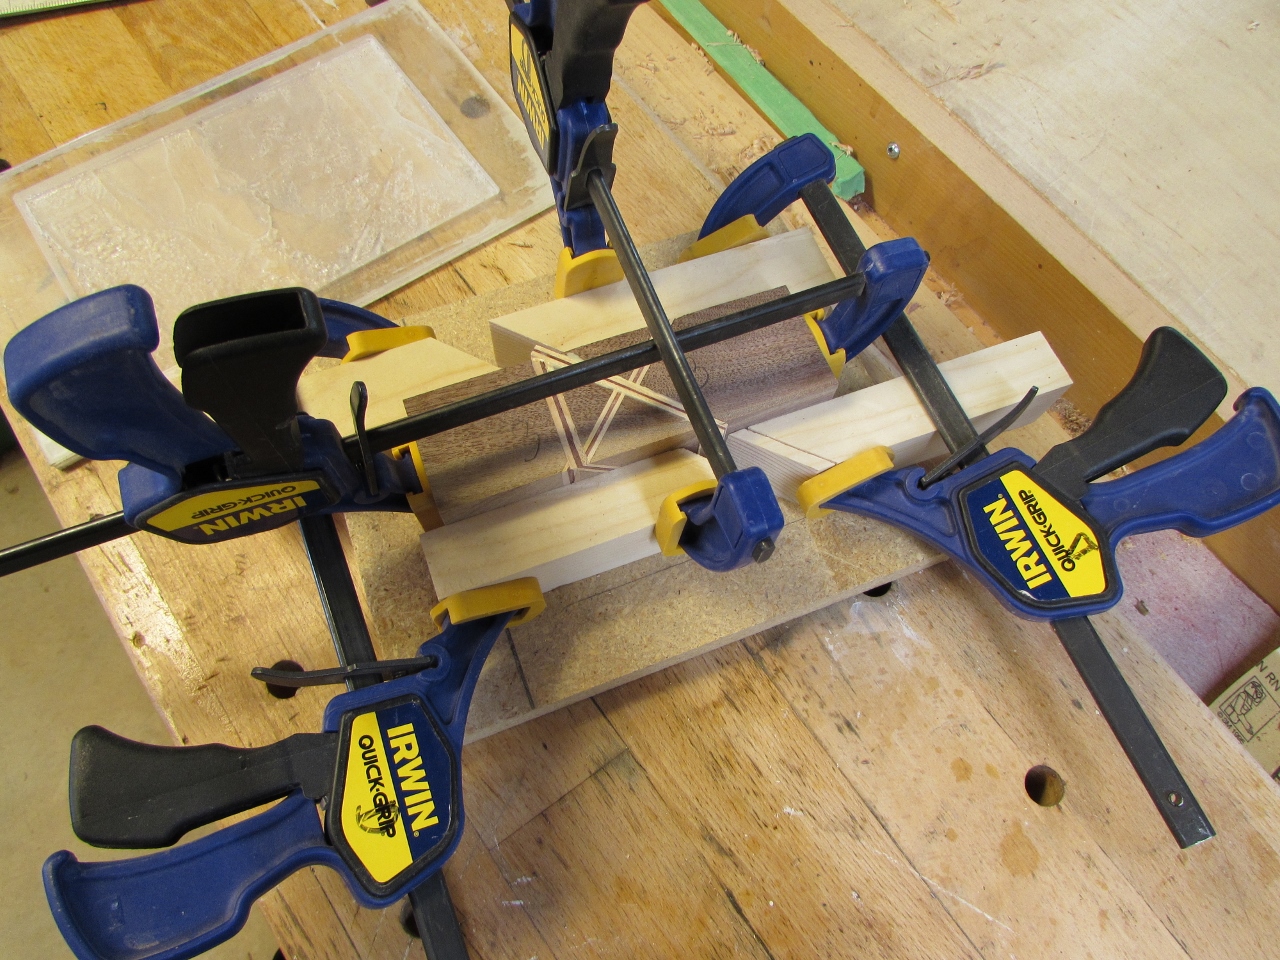
It kind of worked, but things still shifted around a bit, and the glue squeeze-out stuck to the jig as well.

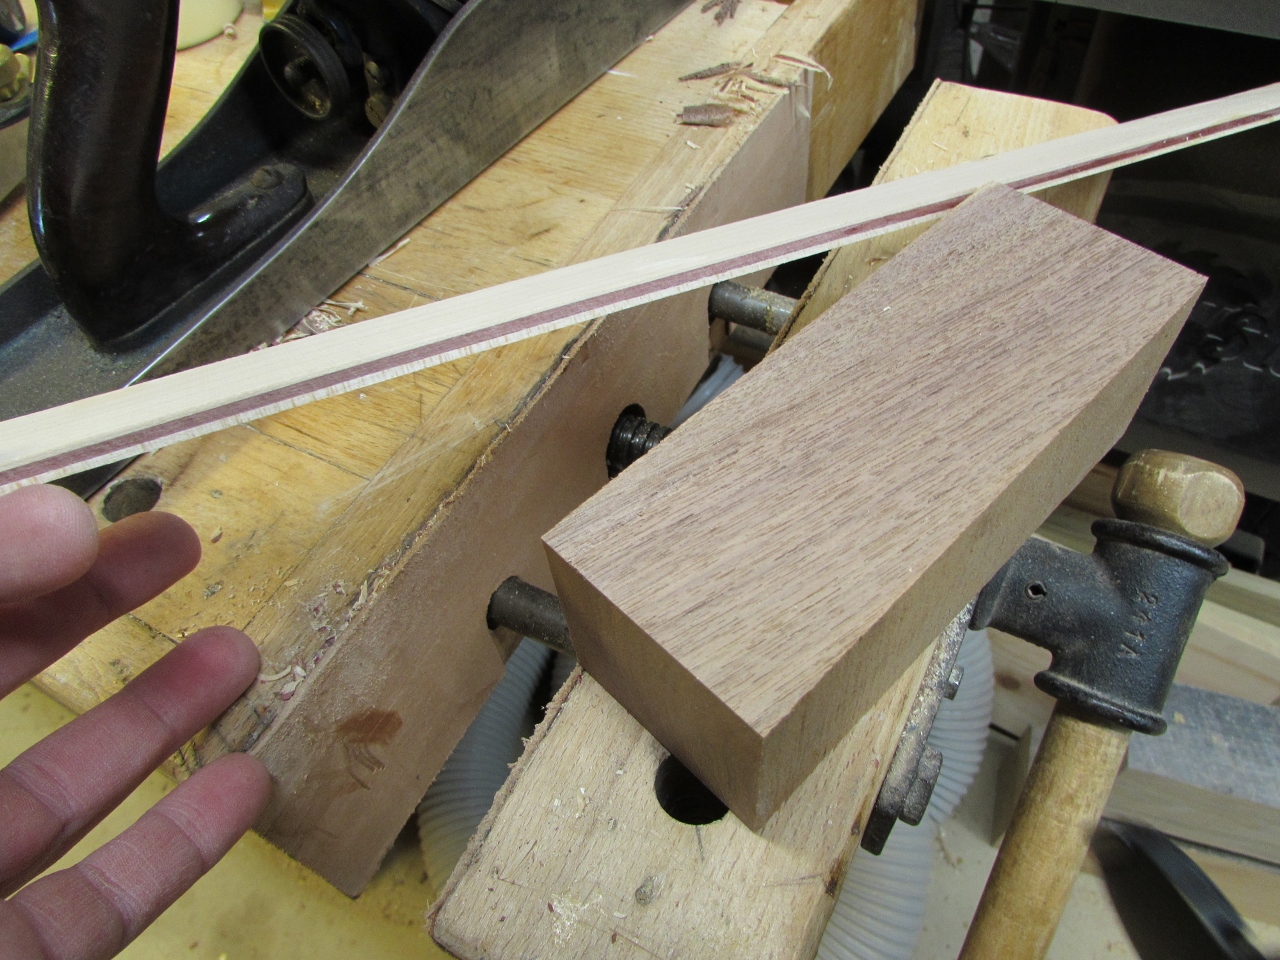
My veneer strips were over-sized so I needed to cut or plane them down.
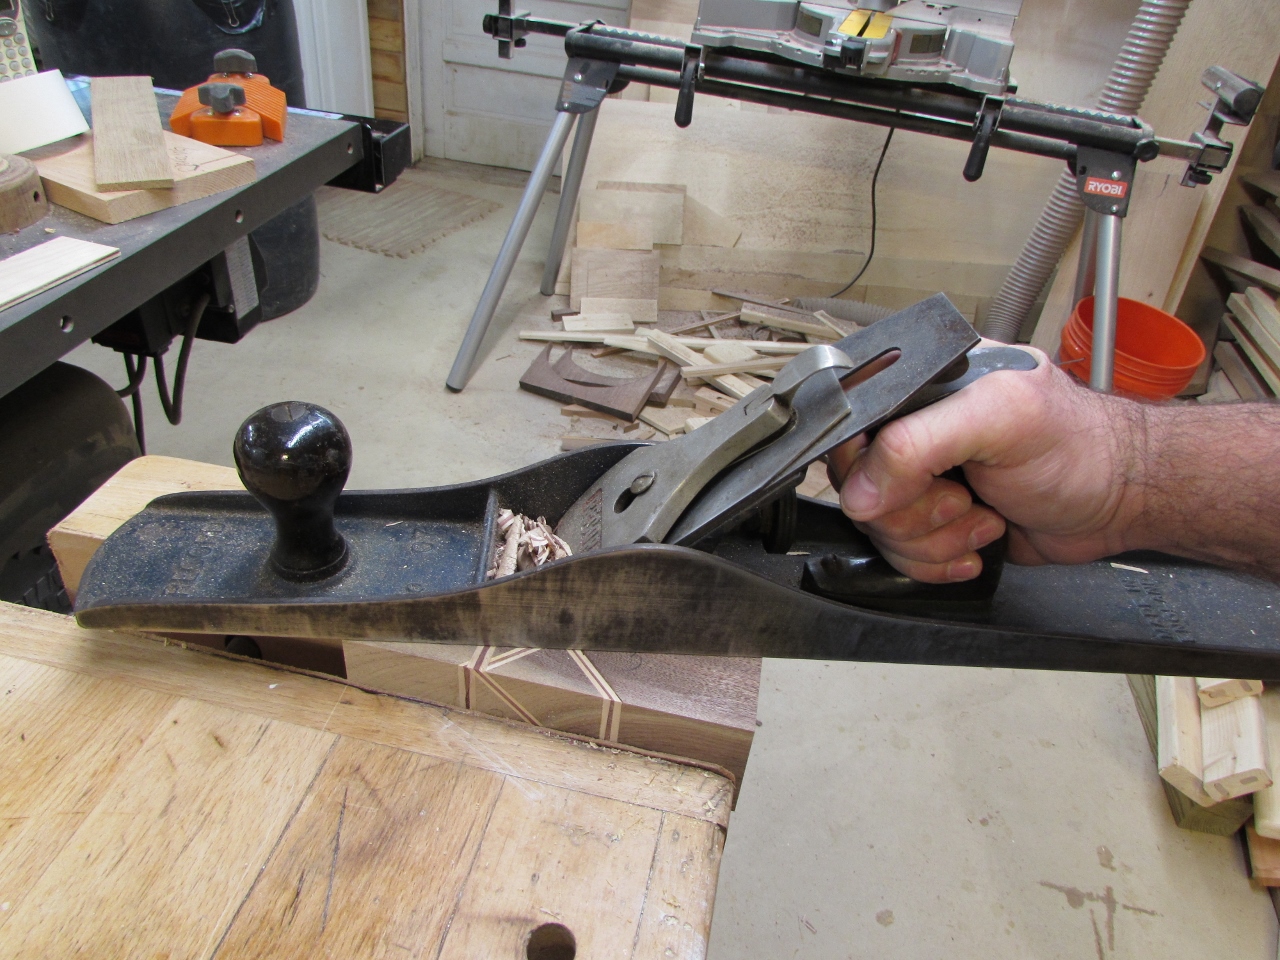
I just picked up this old Record #7 jointer plane, at a used tool auction, so I sharpened the blade and took it for a spin. Might be a bit overkill, but it did a great job smoothing down the sides.

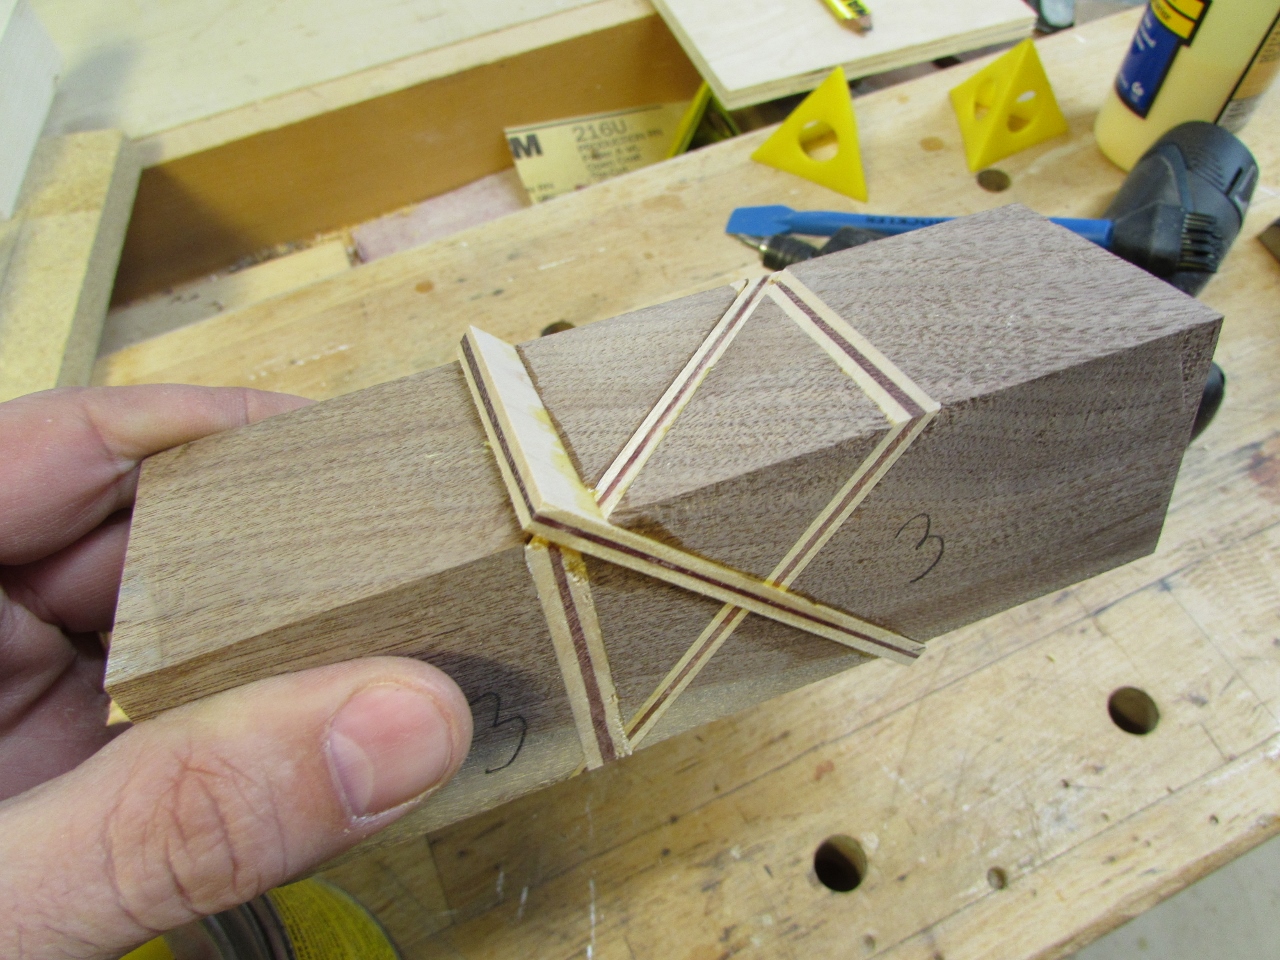
I started to notice that my veneers were not lining up. I think I should have set a stop block to one side, on the miter saw, instead of centering the block with each cut. Also, I realized that my veneer should be the same thickness as my saw blade, or the block would keep getting longer with each added veneer strip. These two mistakes could have been avoided by reading directions, but it makes more sense to have the reason why, sitting in my hand…


I was also determined to find a faster way then having to wait an hour after every glue-up and several hours till I could turn the final part.

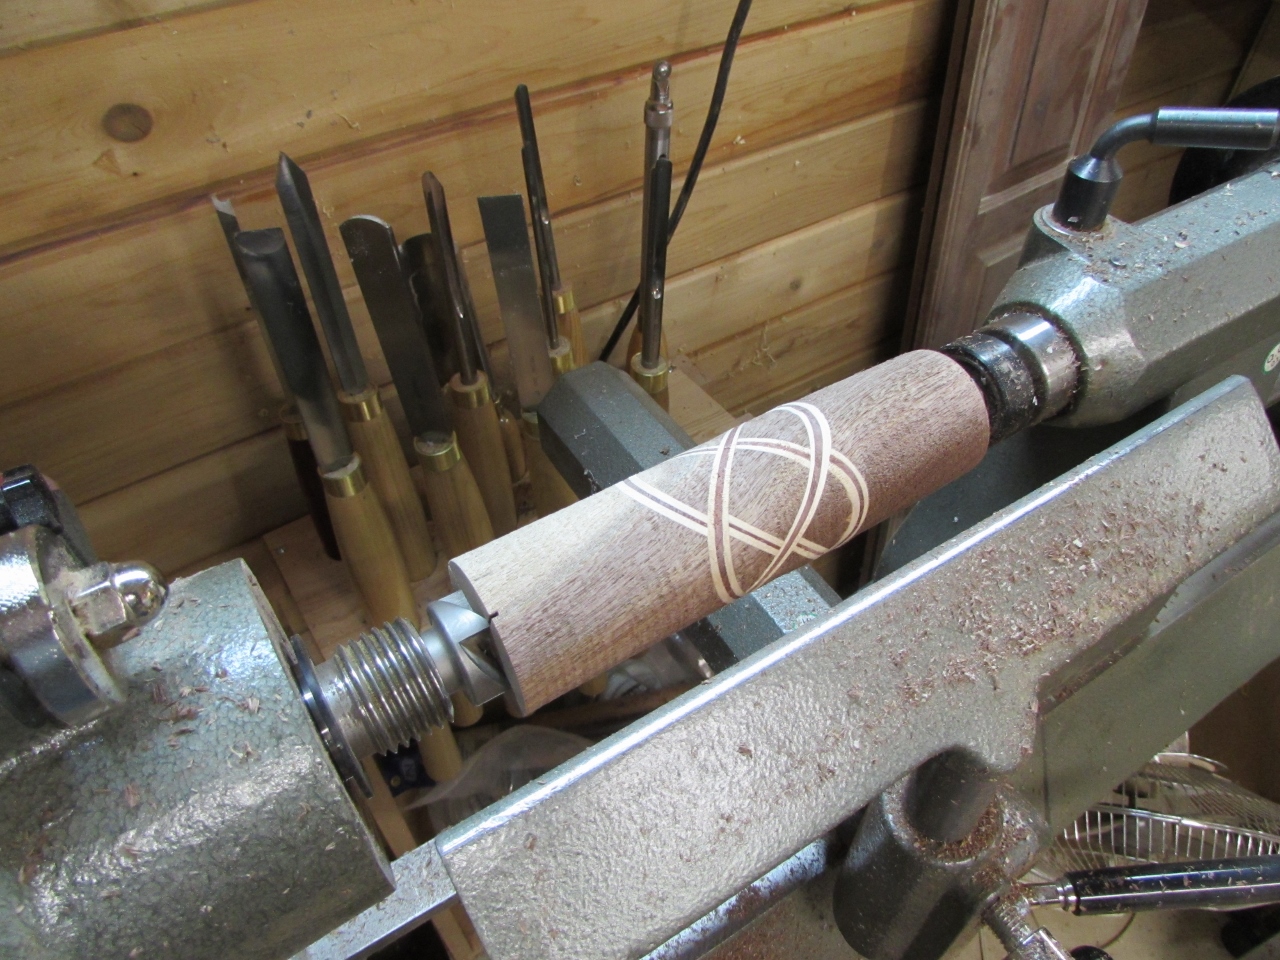
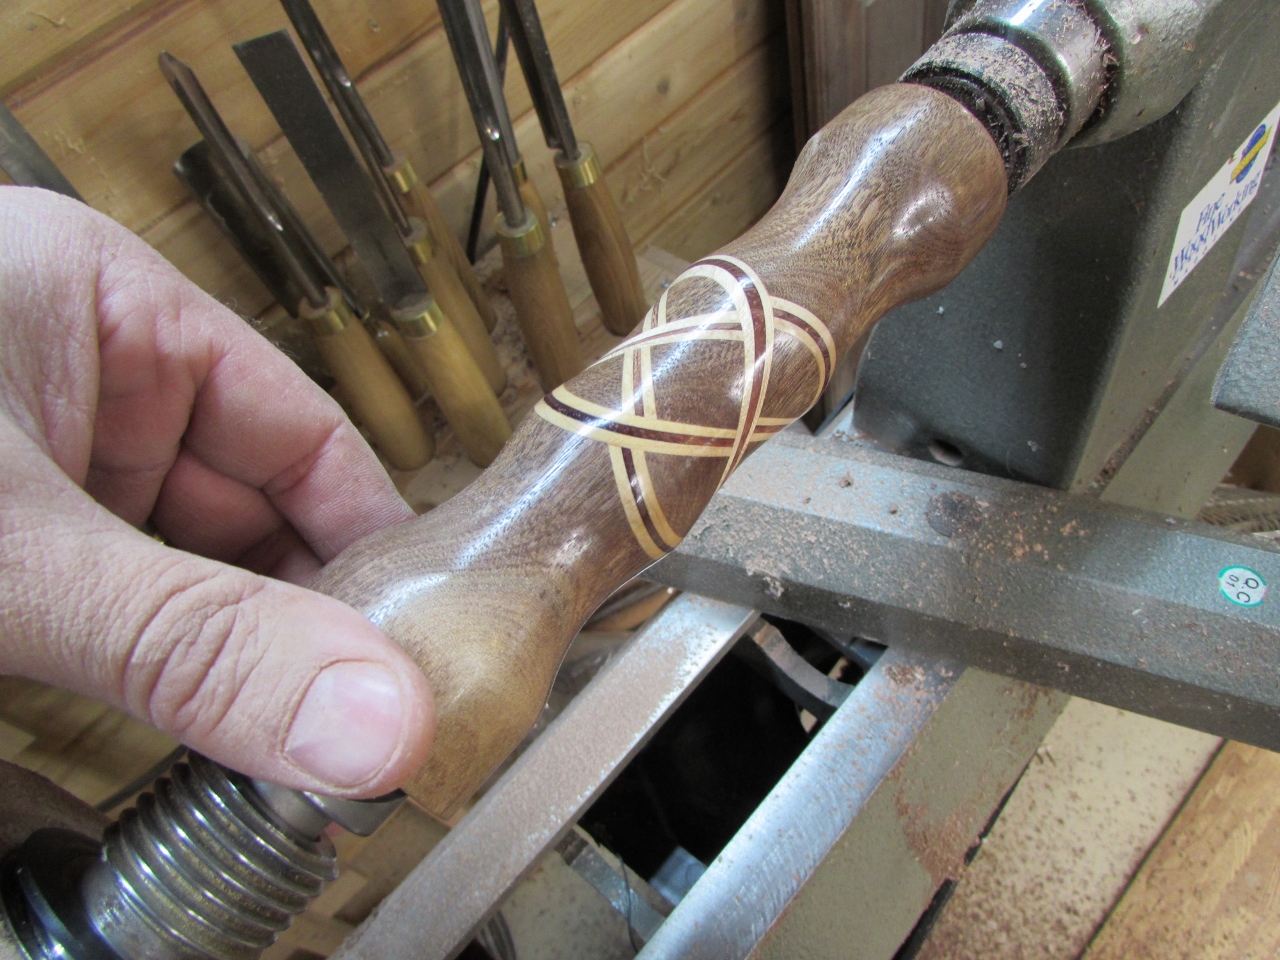
It looks a little wonky, but I am still going to turn it.

That looks cool.


I used a roughing gouge to create a cylinder.
Doesn’t look too bad, but still a little wonky, so I kept turning to see if changing the shape would make a difference.


A little sanding and a little finish.
Not bad, time to make a good one…
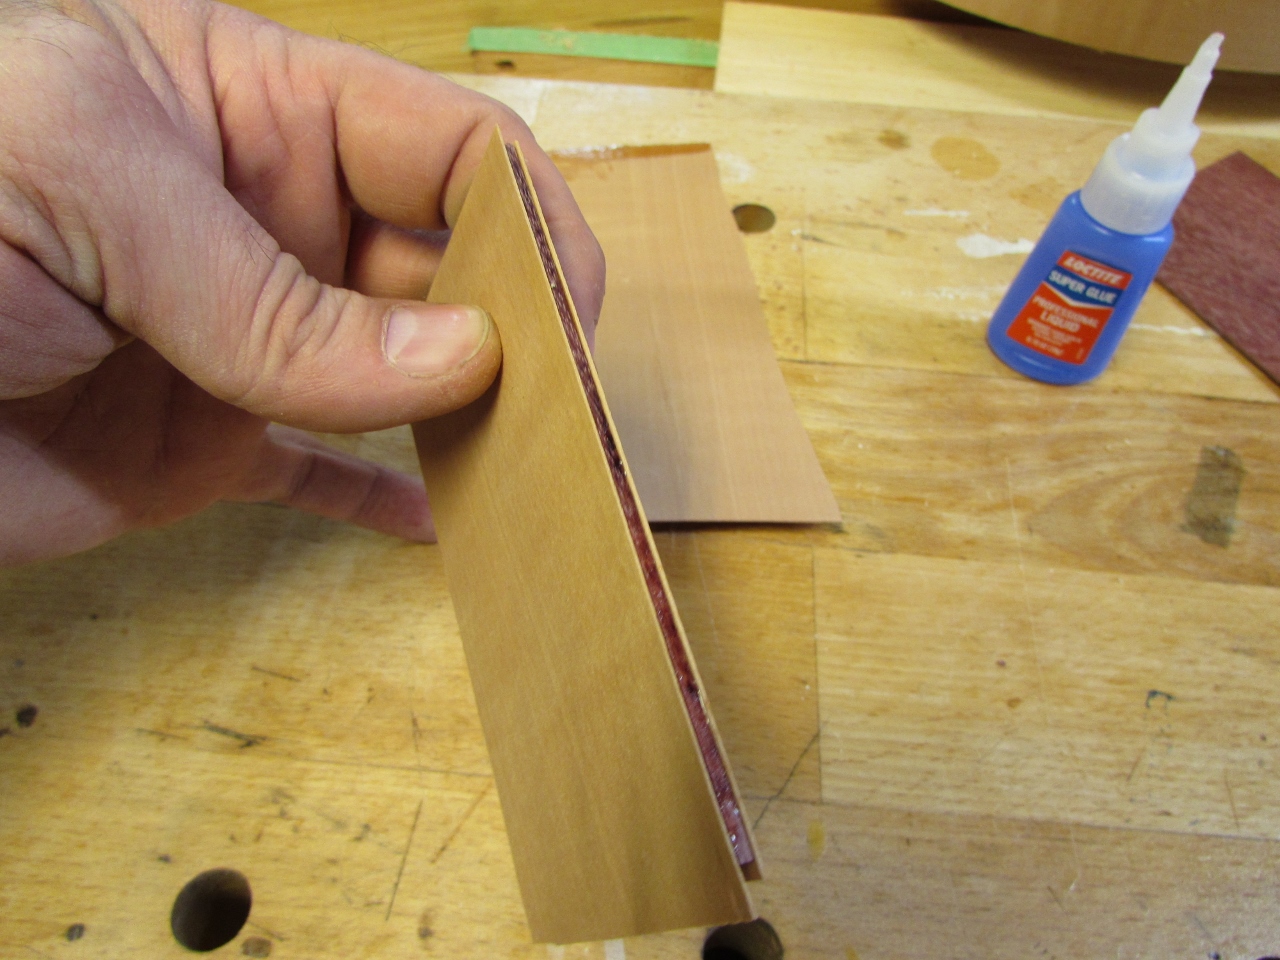
I had a roll of pear wood veneer, that my buddy Bryan gave me. It was thin enough that I could slap two pieces against a thin piece of purpleheart, to create a veneer strip the same width as my saw blade.

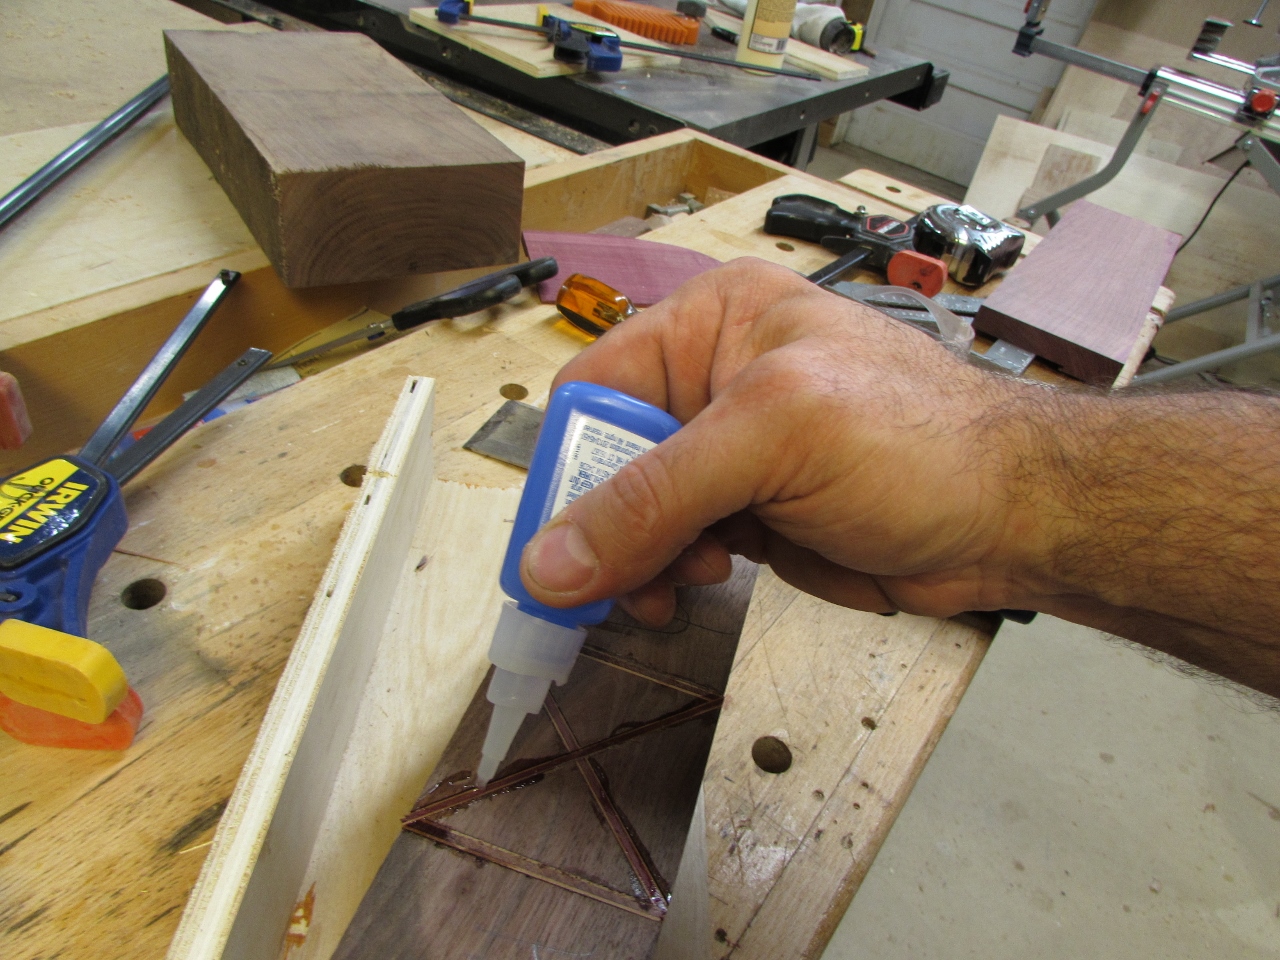
I cut the veneer into rectangles and glued them together. I did a bit of looking and found that Locktite makes a fast set CA glue. You hold it in place for 5-10 seconds and you are good to go.

I smeared some on the wood and used a scrap of veneer to spread it evenly.

And after just a few seconds under pressure, it was ready to use.
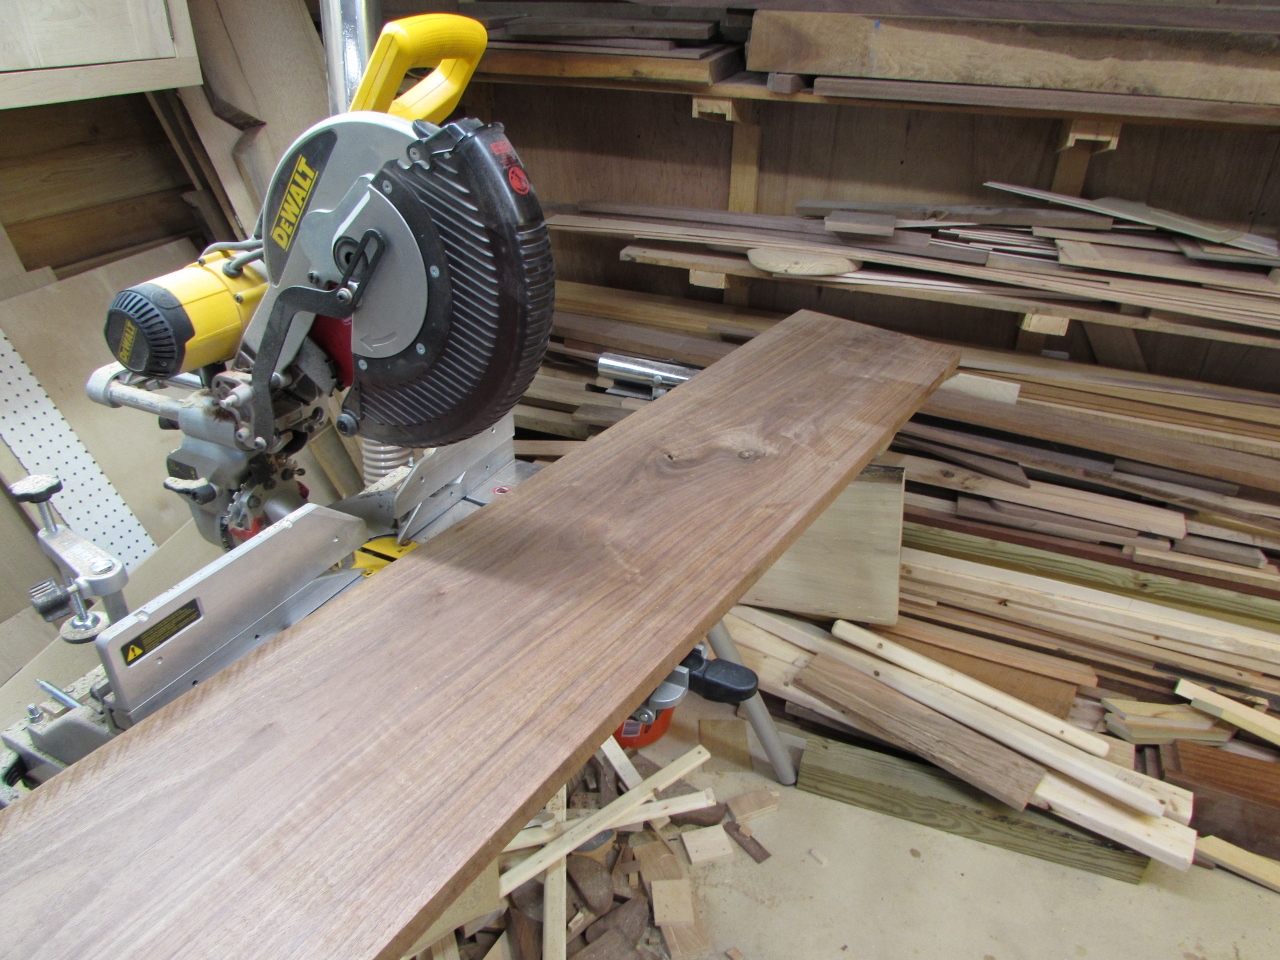
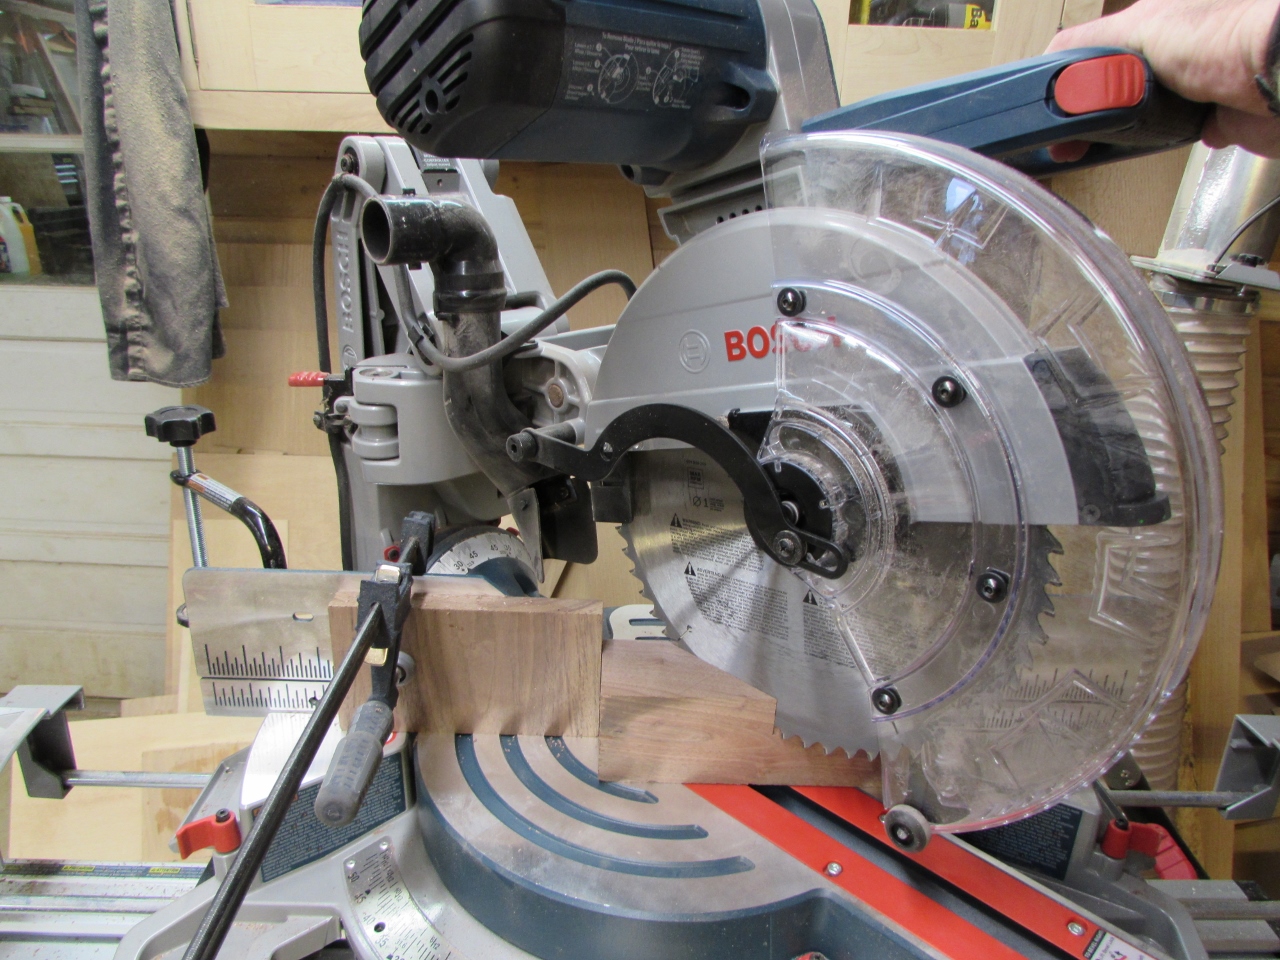
Let me take a moment to introduce you to my new, blue friend: The Bosch Glide 12″ sliding miter saw. I sold my DeWalt to a friend and bought this baby. It utilizes two hinges instead of the guide rails, so it frees up 12″ of space behind the saw and it has much better dust collection.
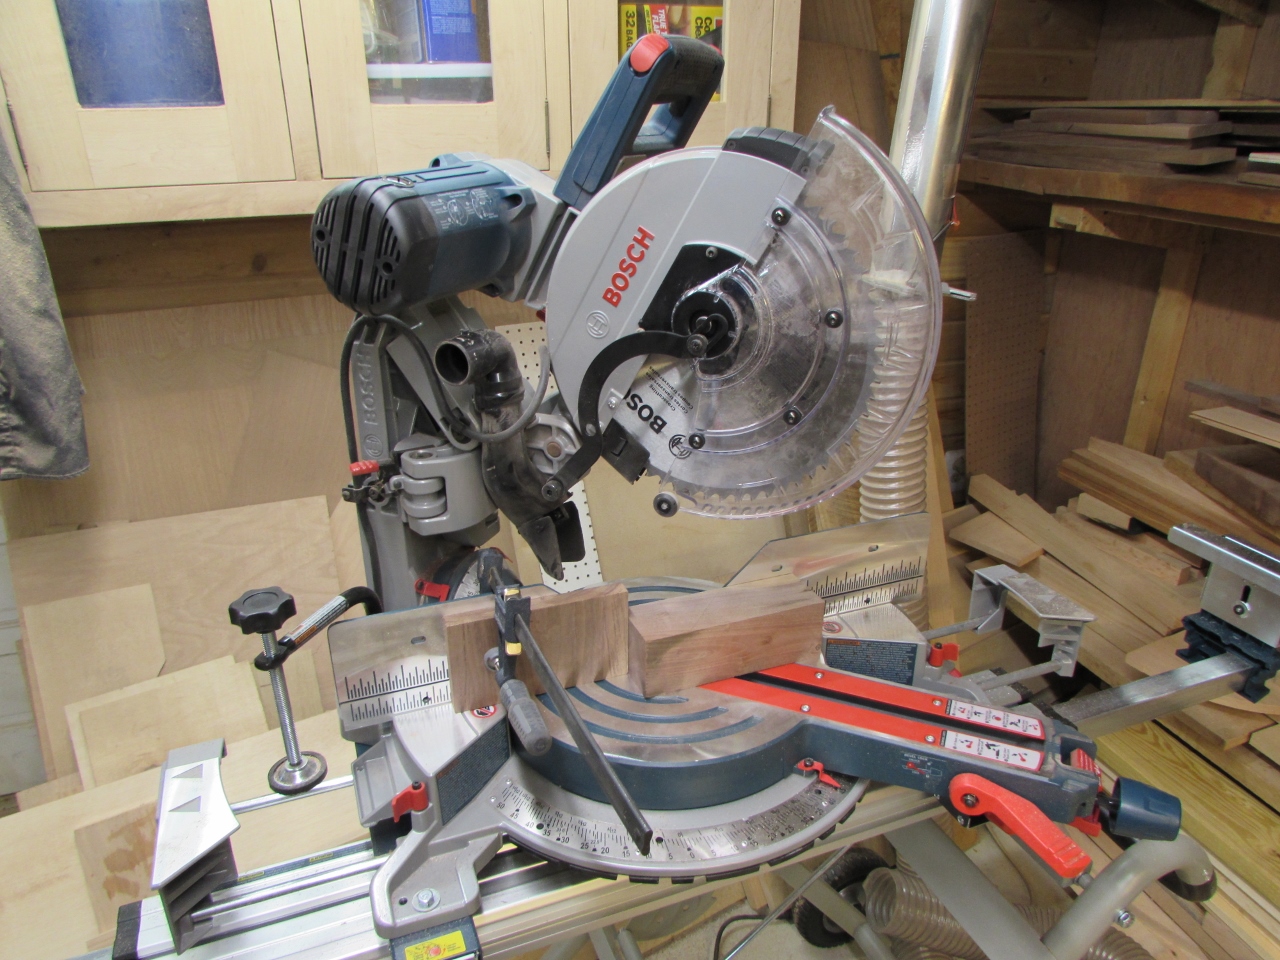
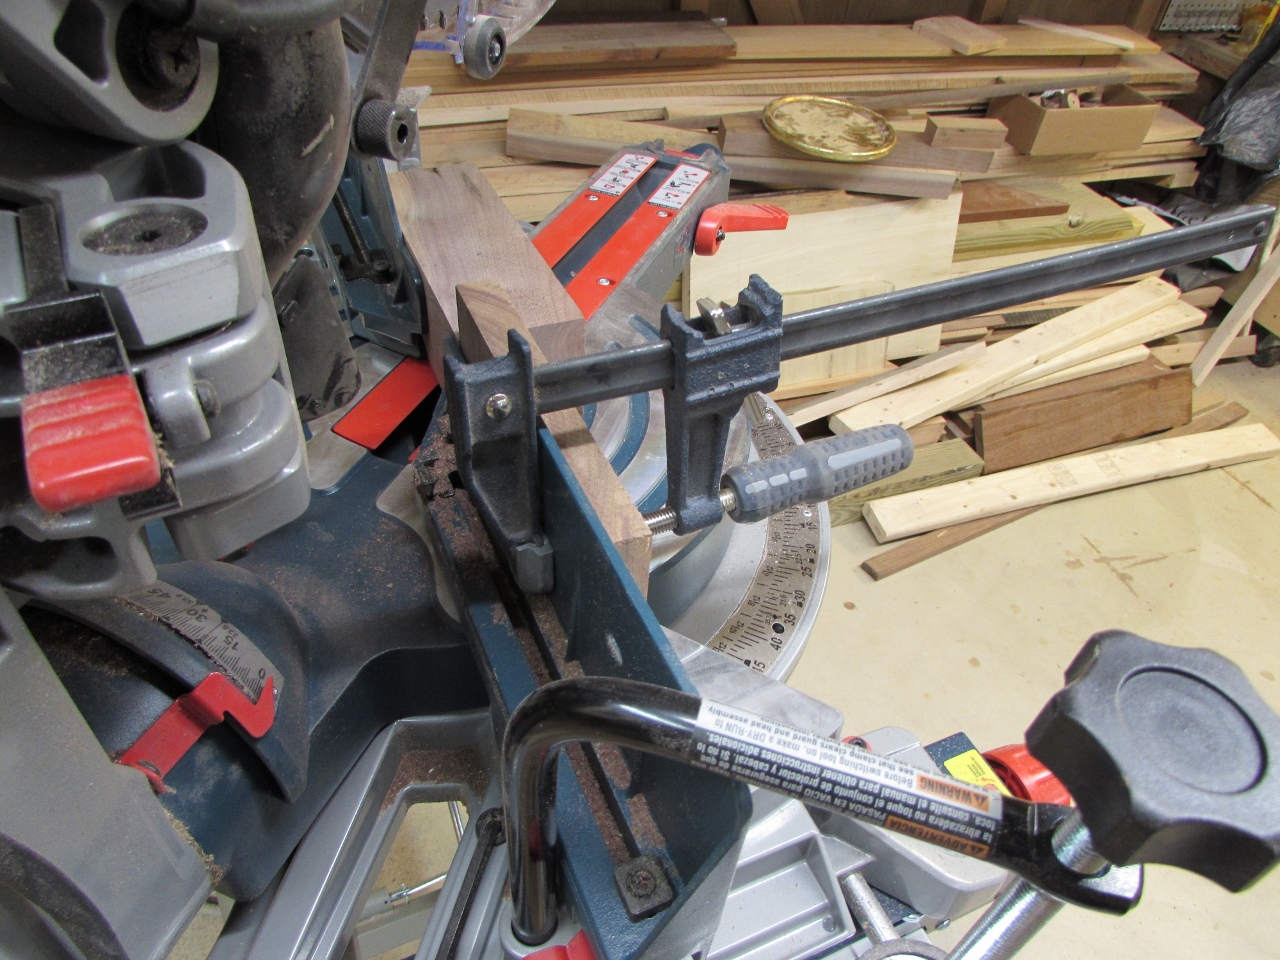
It also has parallel vertical faces on the fence so I can clamp to it. The DeWalt had tapered ones, in the back, and I had a spring clamp slide off once and shoot right under the descending blade. That destroyed a clamp and a blade, and scared the crap out of me. Parallel and vertical is better…

Anyway, back to work. I set a stop block in place, and clamped it tight.
This will allow me to always cut the same distance from the left side.

I spread more CA glue on both bevels of my block and clamped them up
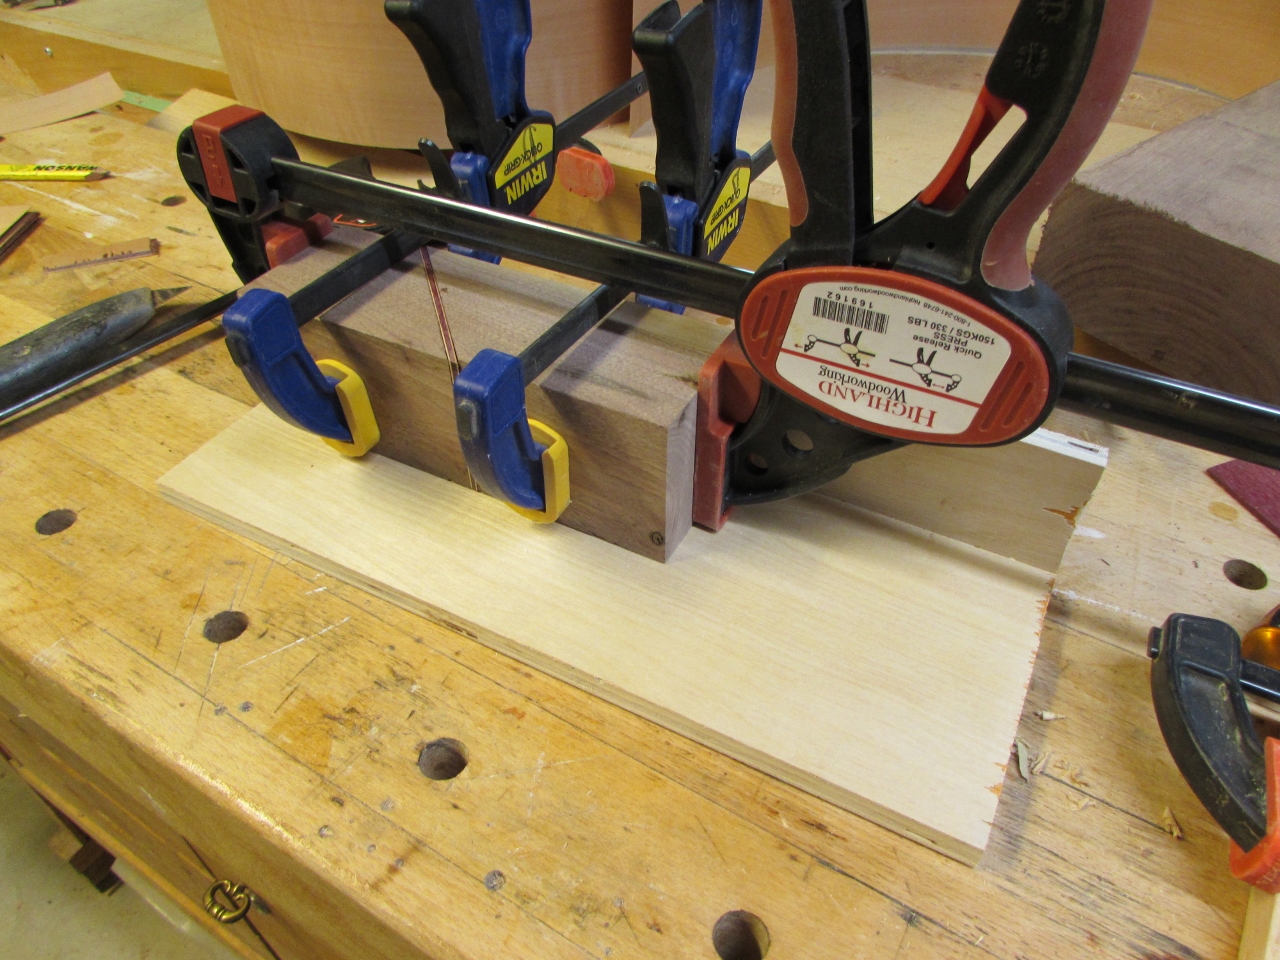
After the first clamp-up, I realized that I did not need to use the clamping jig, I just held the block together for 10 seconds or so, then planed off the excess veneer, and proceeded to the next side, until I had all four sides done.
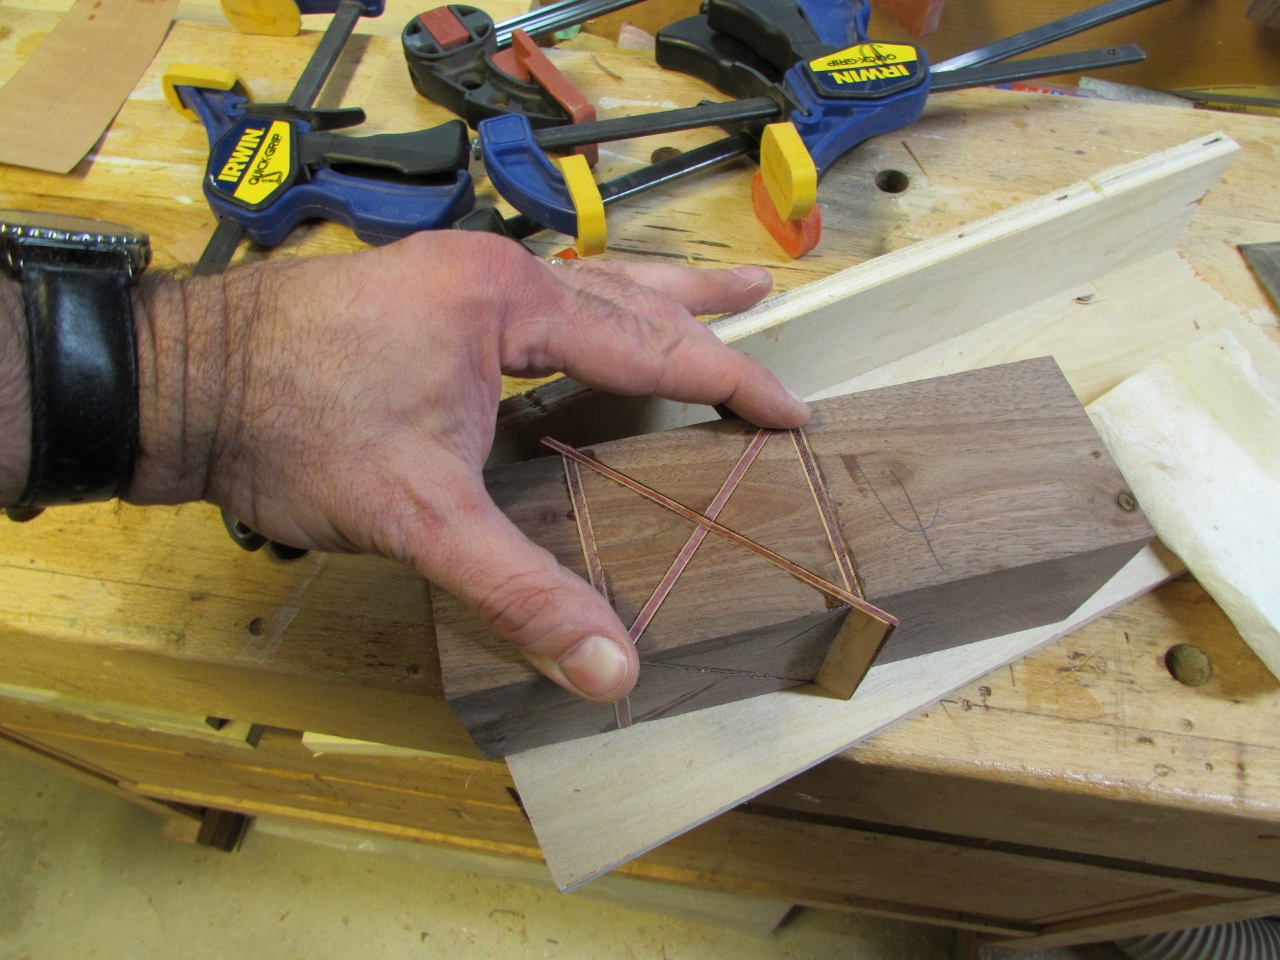
This attempt went a lot more quickly and all of the veneer strips lined up much better. I filled any gaps that I saw with a bit of glue, then set the block aside for Diana to turn down later.

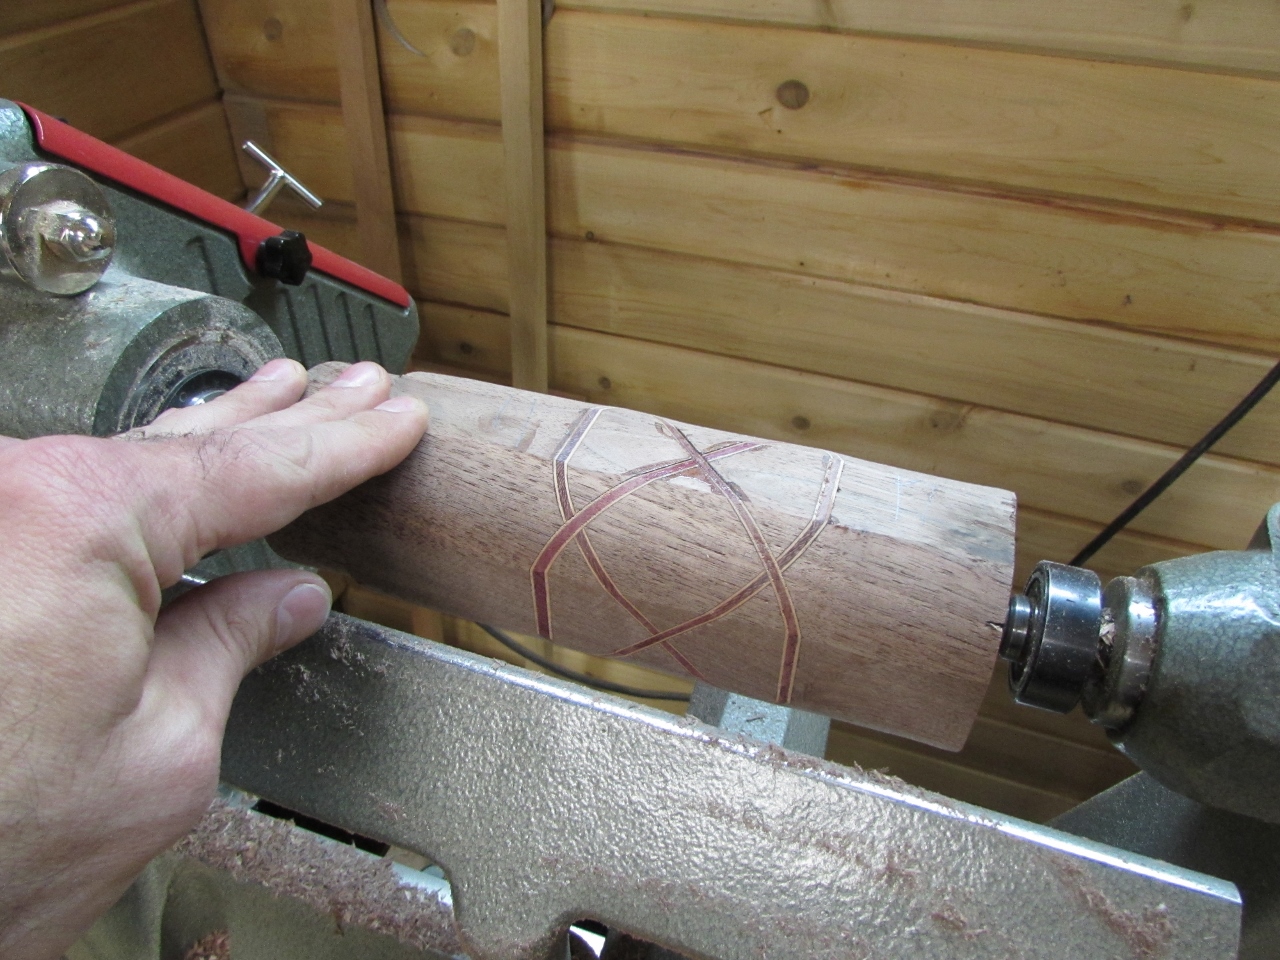
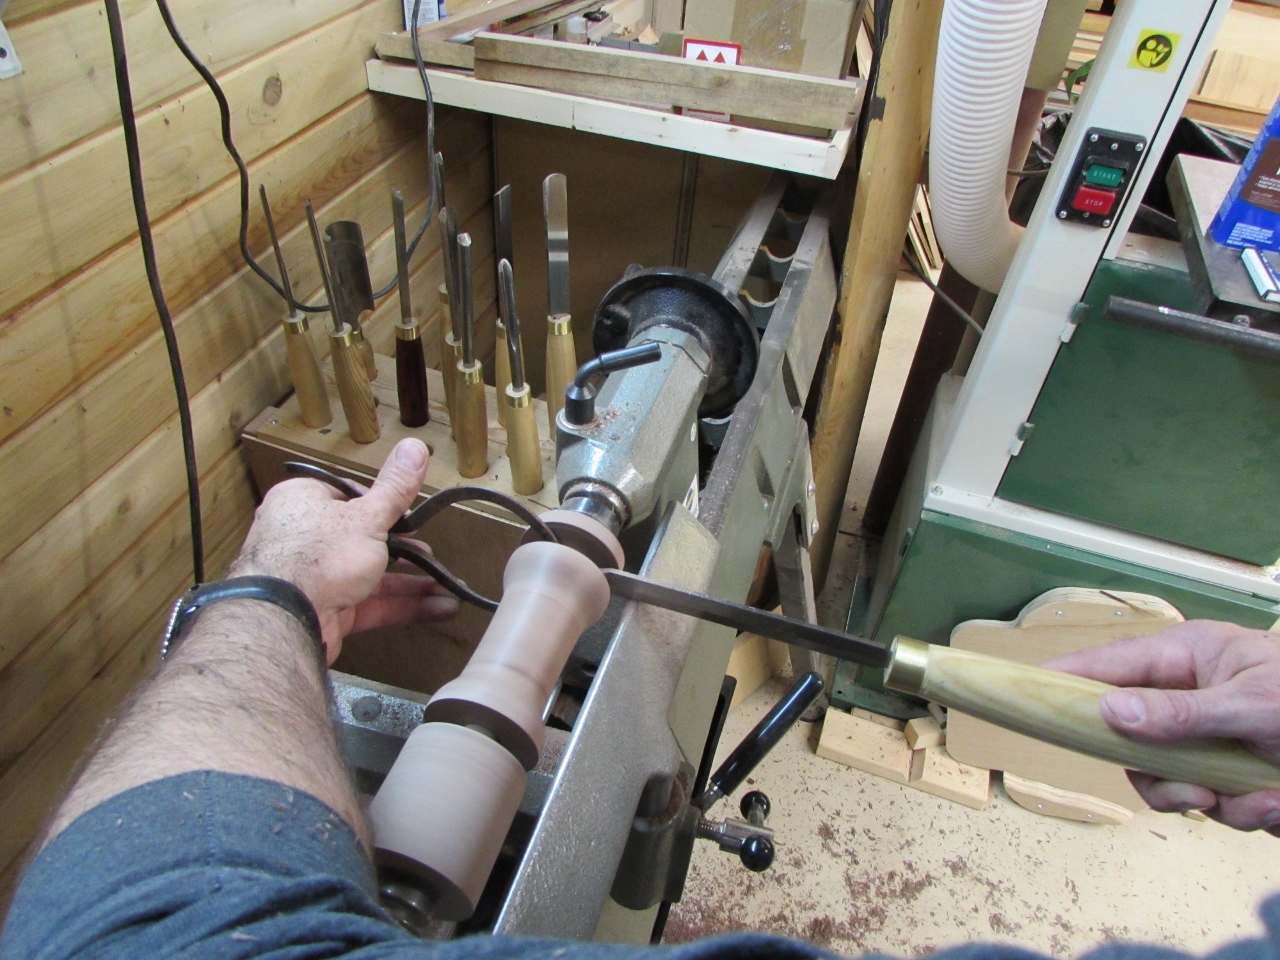
When Diana had time to work on the stand again, I loaded in the blank and spun it up.


After a little roughing, it was looking good, and the CA glue seems to hold up just as well as the wood glue.

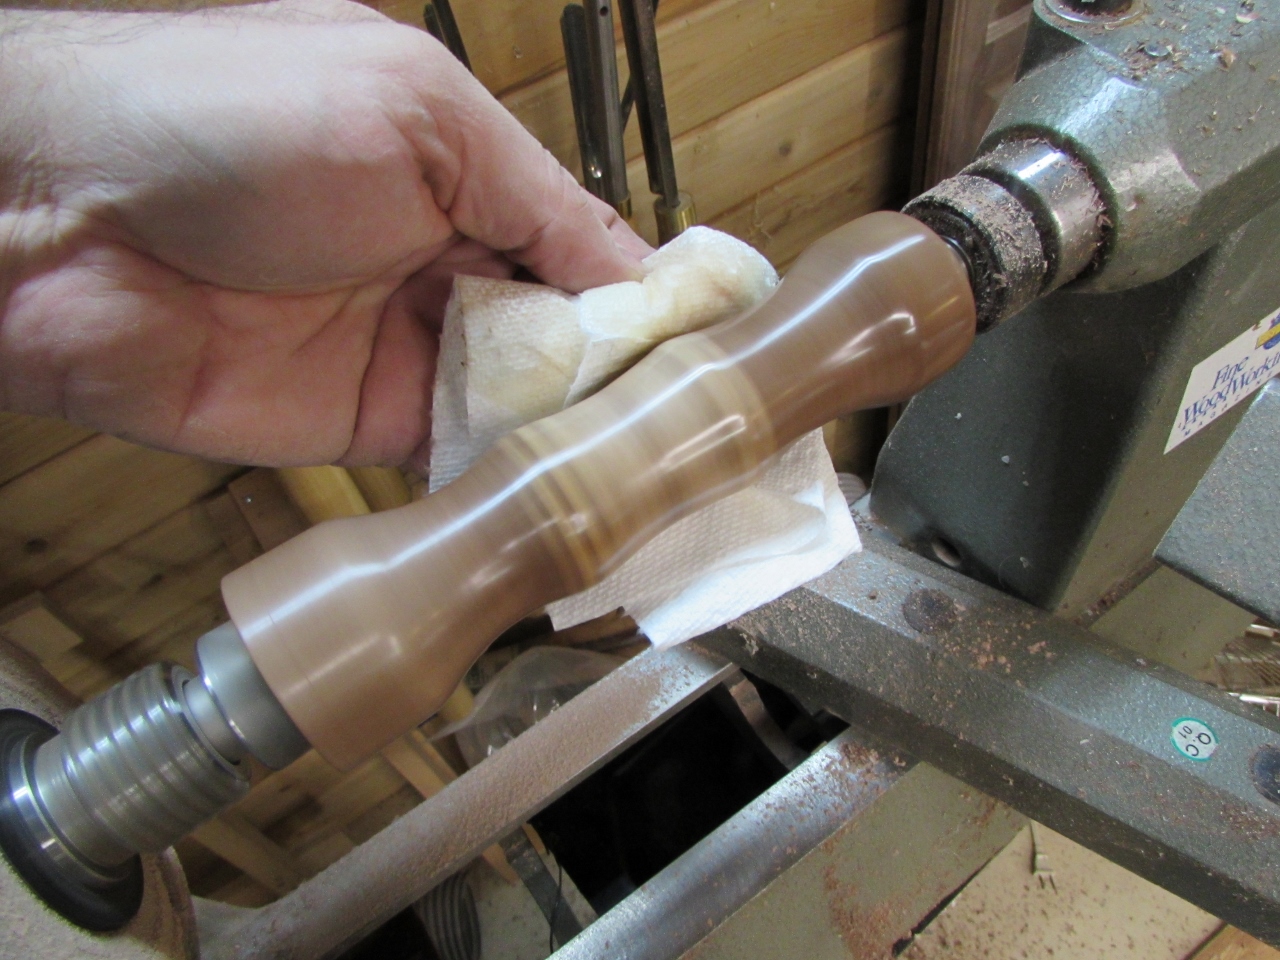
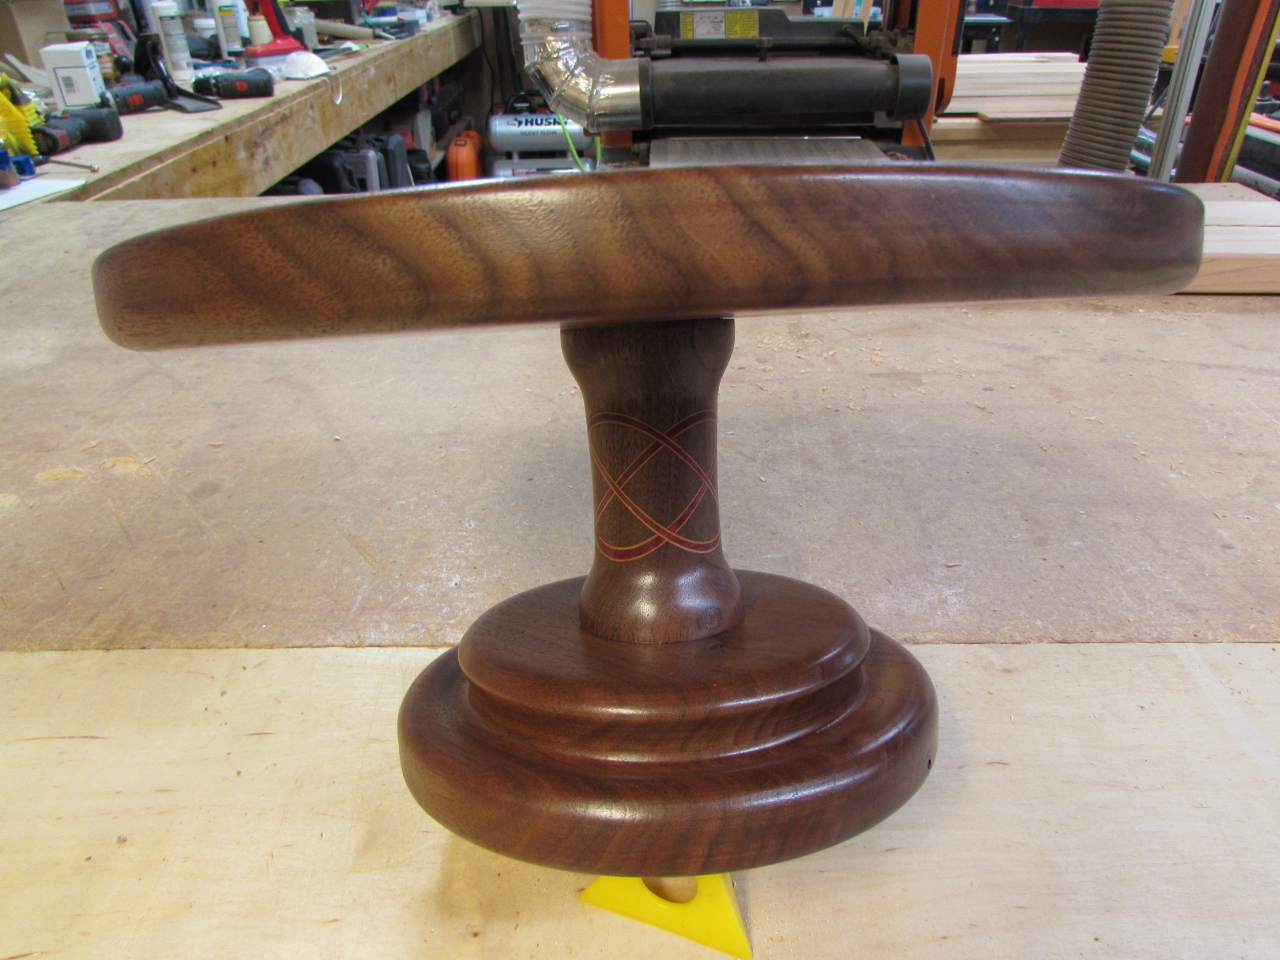
Diana started with an hour-glass figure, but didn’t like the look.
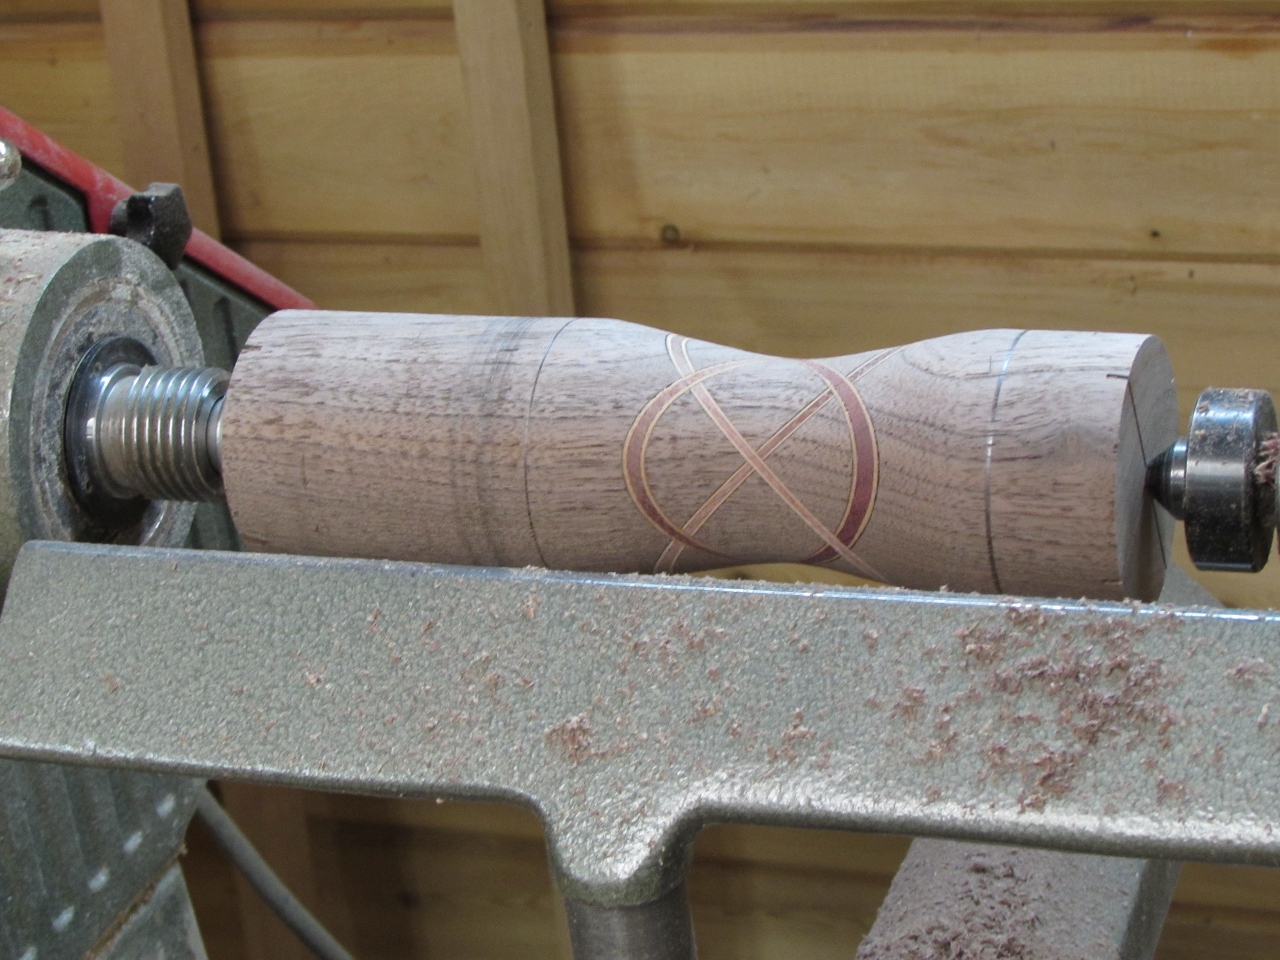
So she flattened out the center and curved the ends instead.
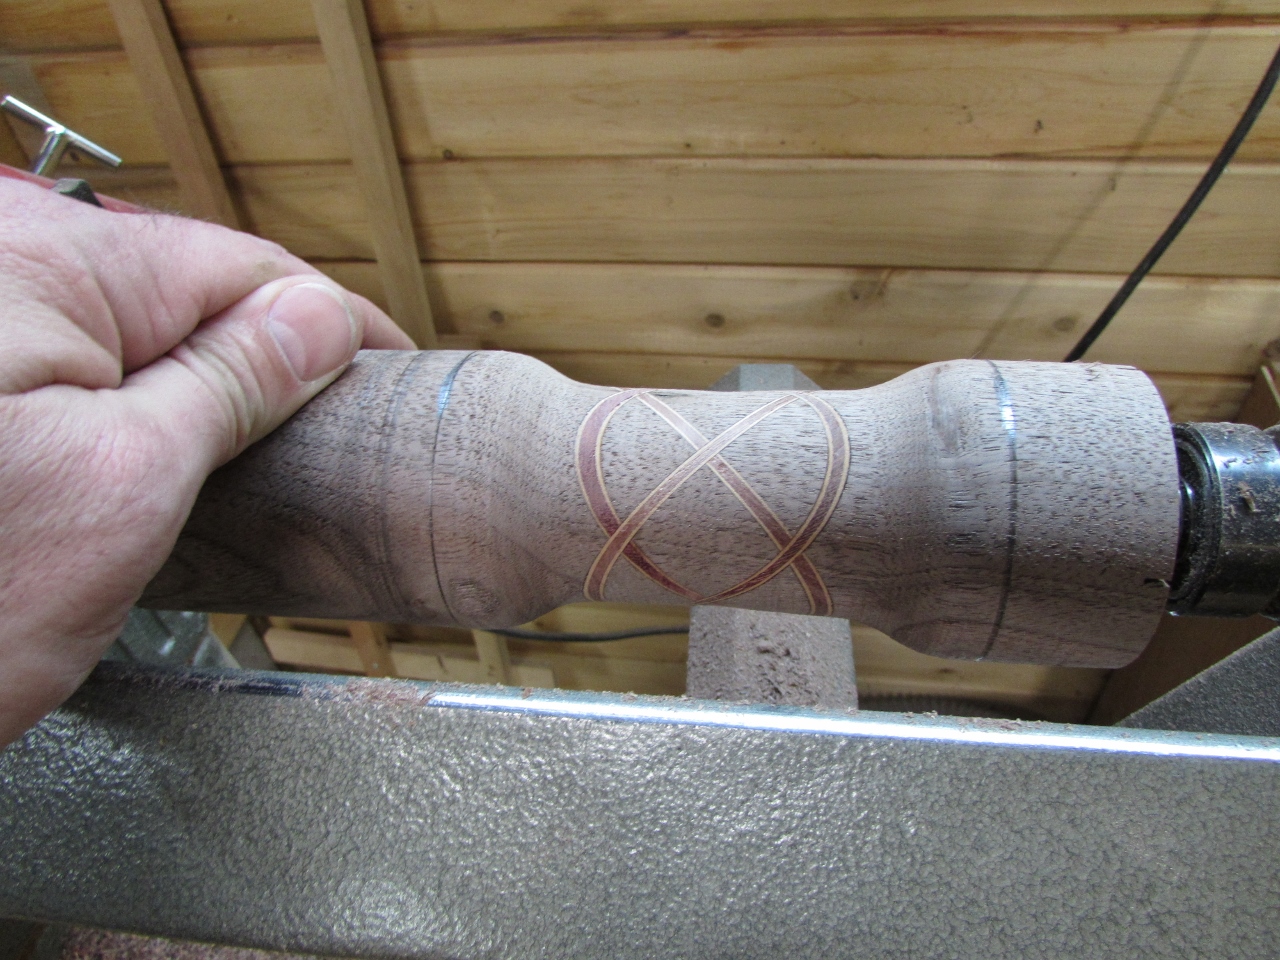
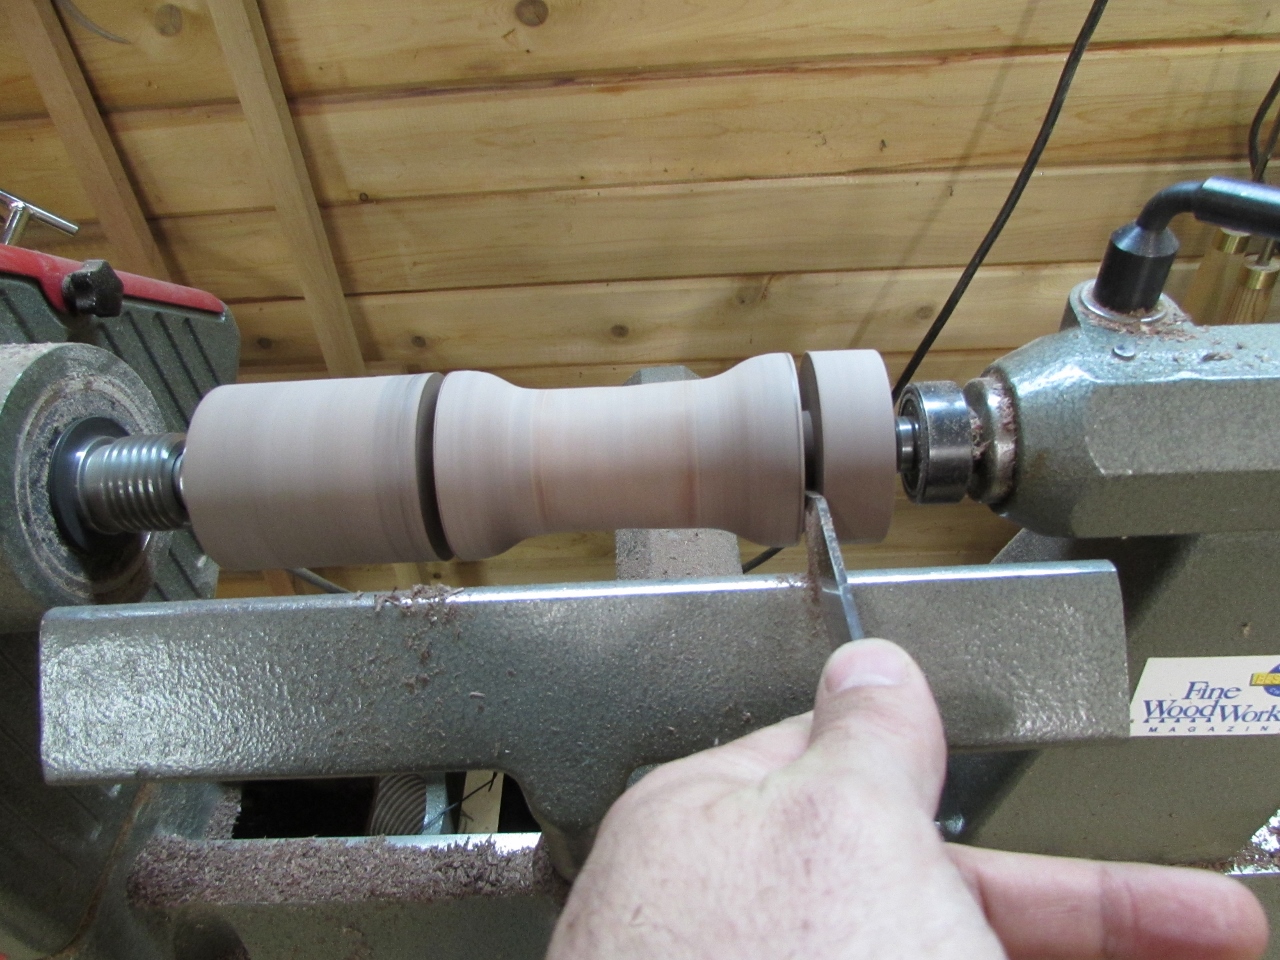
I used a parting tool to locate the top and bottom edges and she sanded the body down.

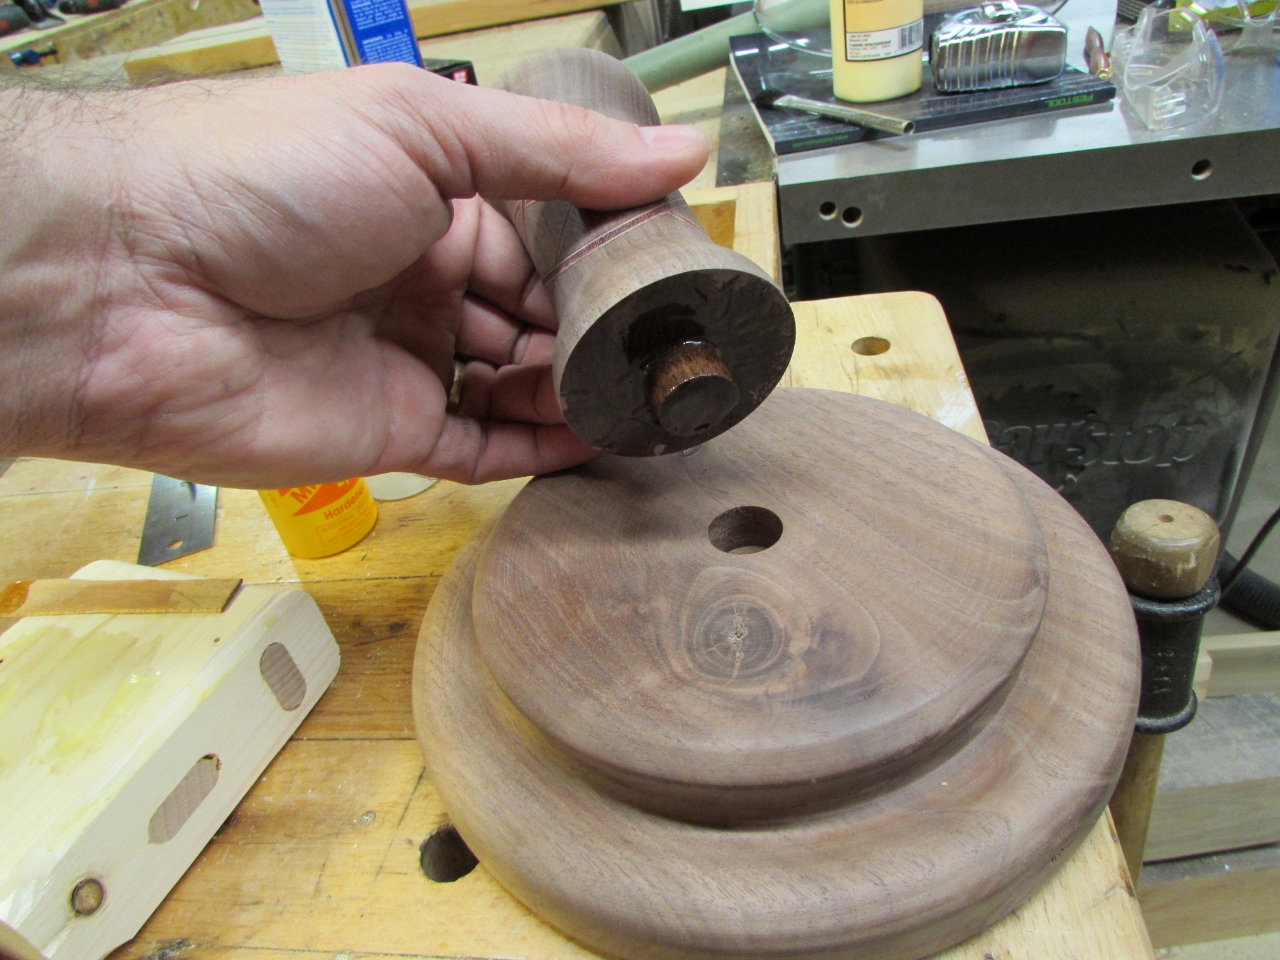
I set my calipers for 3/4″ and created a tenon at each end, to glue into the base and plate.
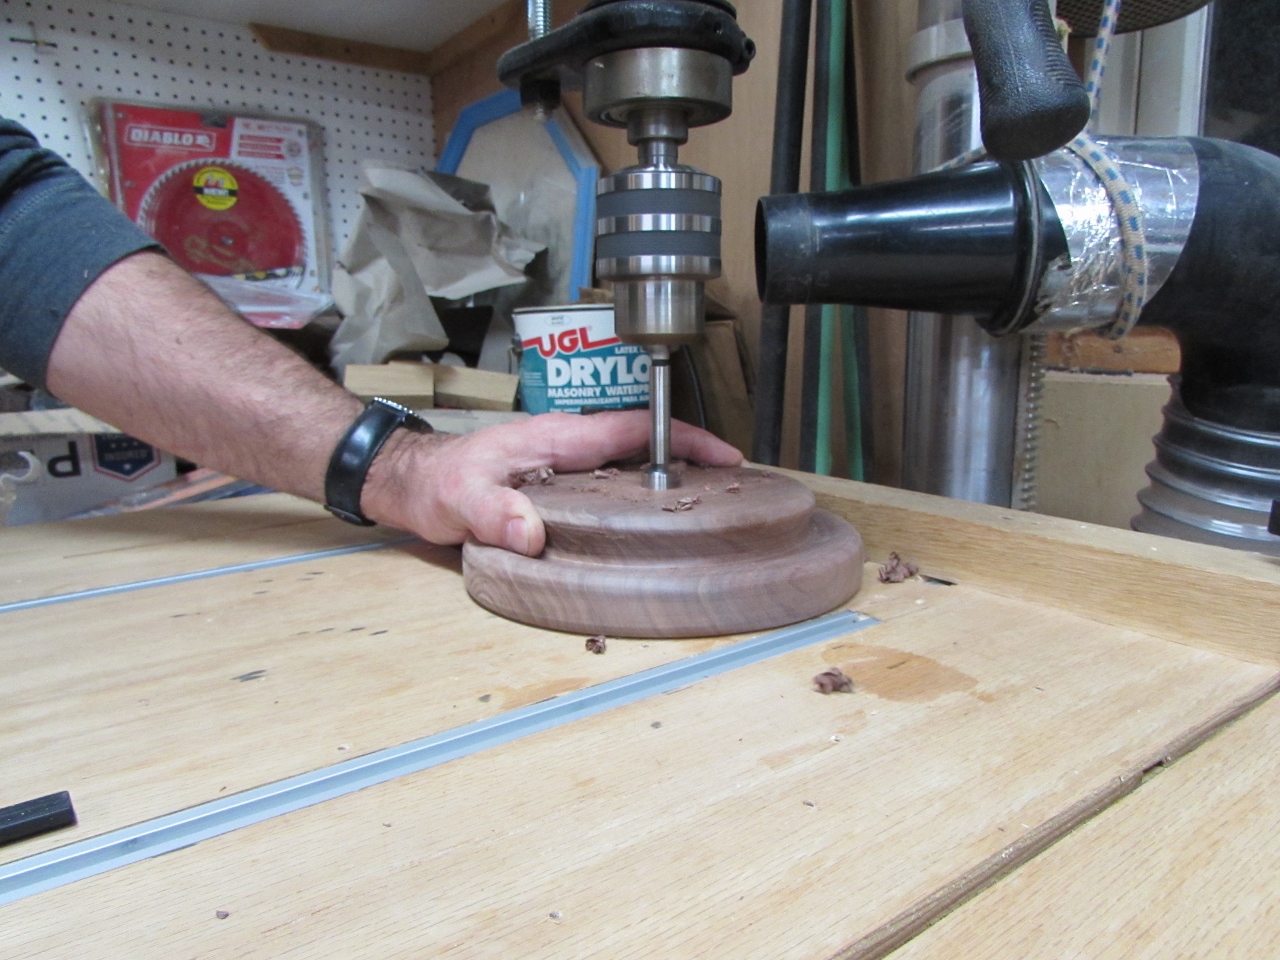
I used a 3/4″ forstener bit, in my drill press to drill a 1/2″ deep hole to receive the center post.
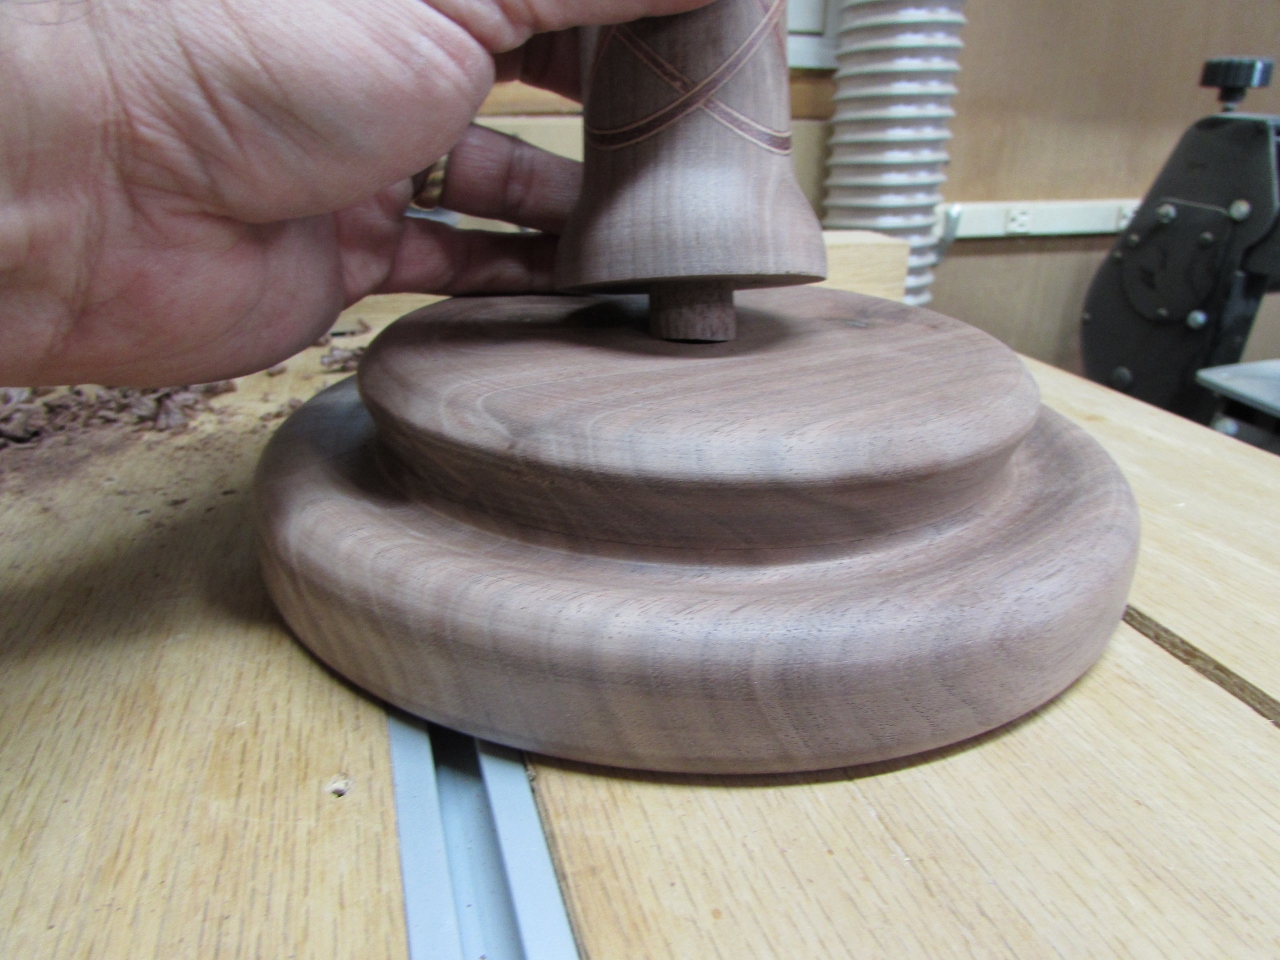
And, of course, one end was a little loose, and the other a little tight, but it looked good.

I sanded the tight end down until it was a good fit, but decided to epoxy in the looser end.

Epoxy is a good gap filler, much better than wood glue.

I pressed it nicely into place and looked around for a big clamp. Found one, I just cranked up my drill press table until the head was locked down tightly on the spindle.

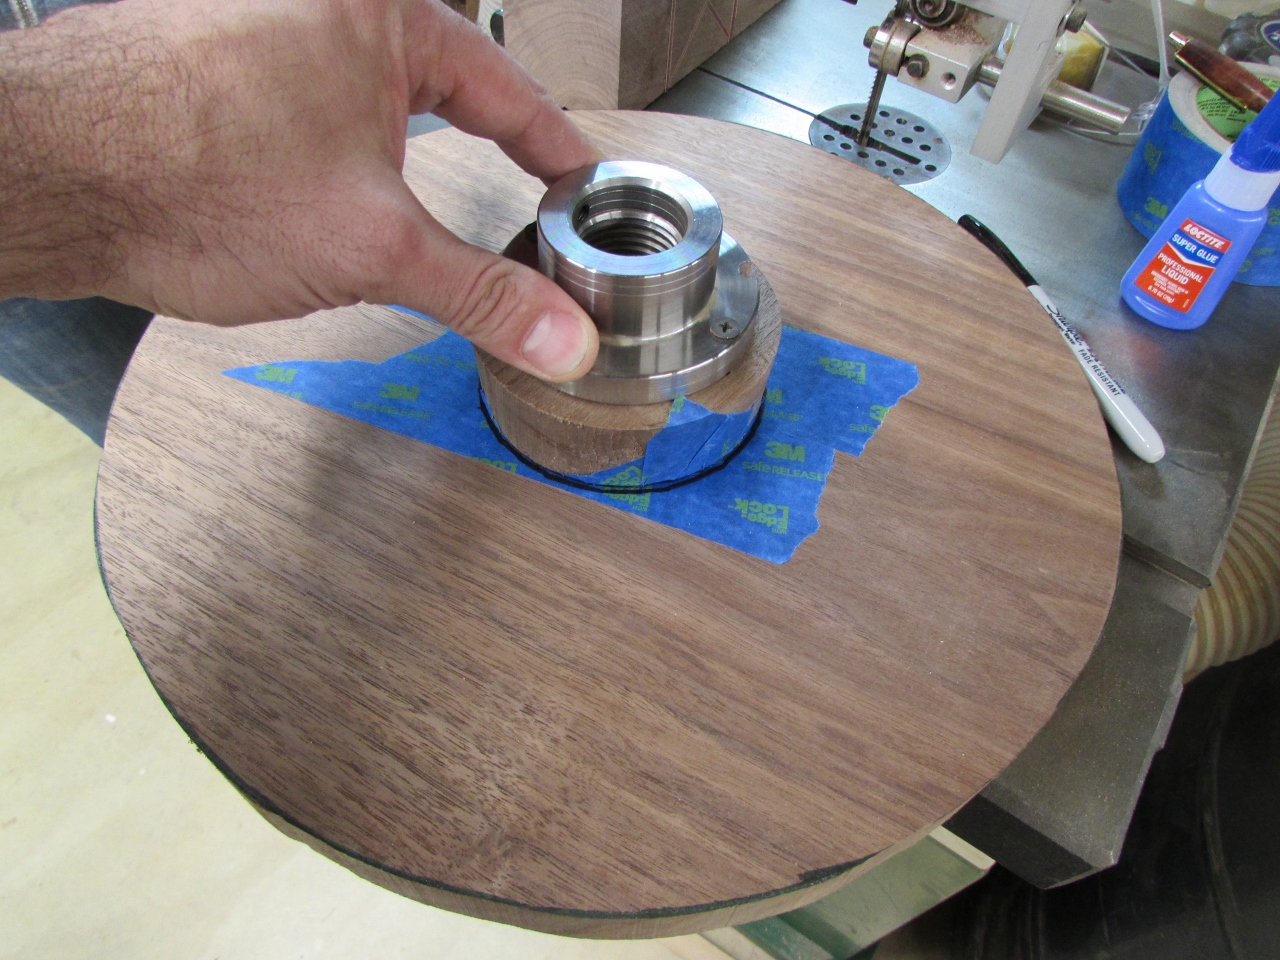
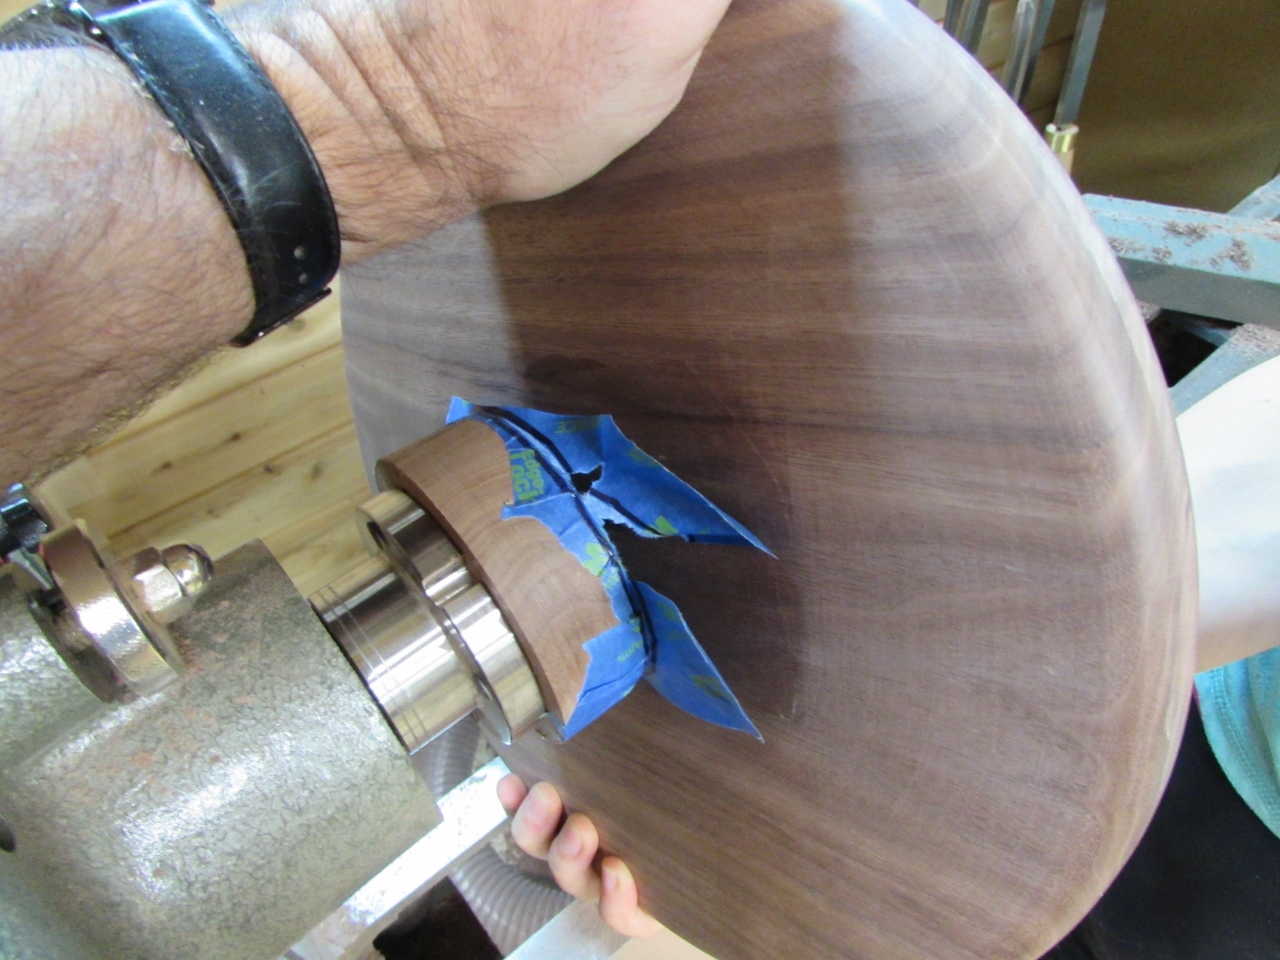
For the plate, I wanted to try another experiment. I did not like the four screw holes that the face-plate left in the base of the stand. I wanted a way to avoid that. Another technique, that I saw on the web is the tape and superglue trick. I mounted a block onto my face-plate and put tape across the block. Next, I put tape onto the back of the circular blank, that Diana cut out.

Then I marked the center location, and applied CA glue to one face.
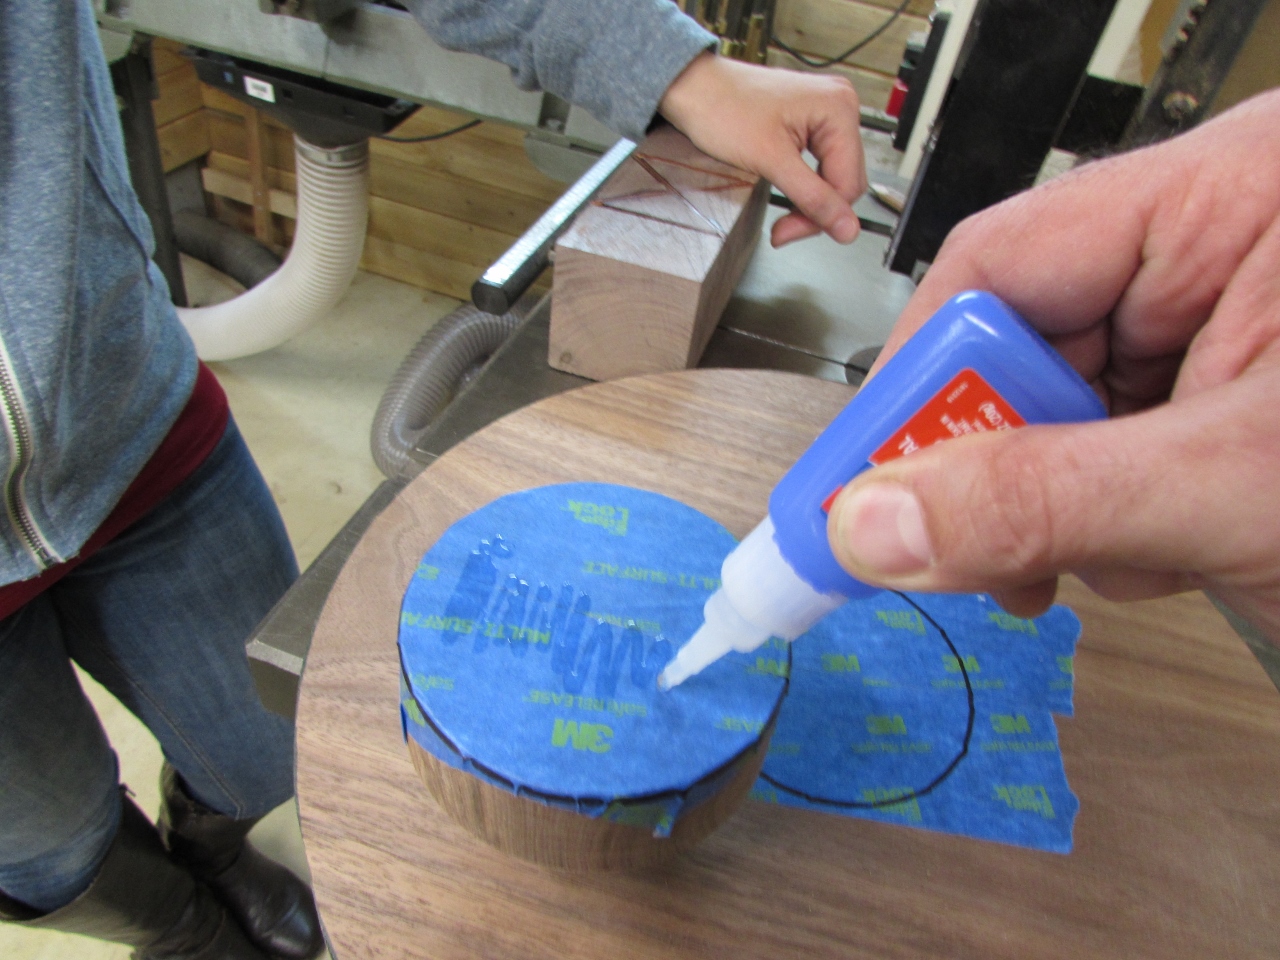
I held the two together for a few seconds and it was ready to go. (I did test another plate this way, before I handed this one to Diana to turn.)
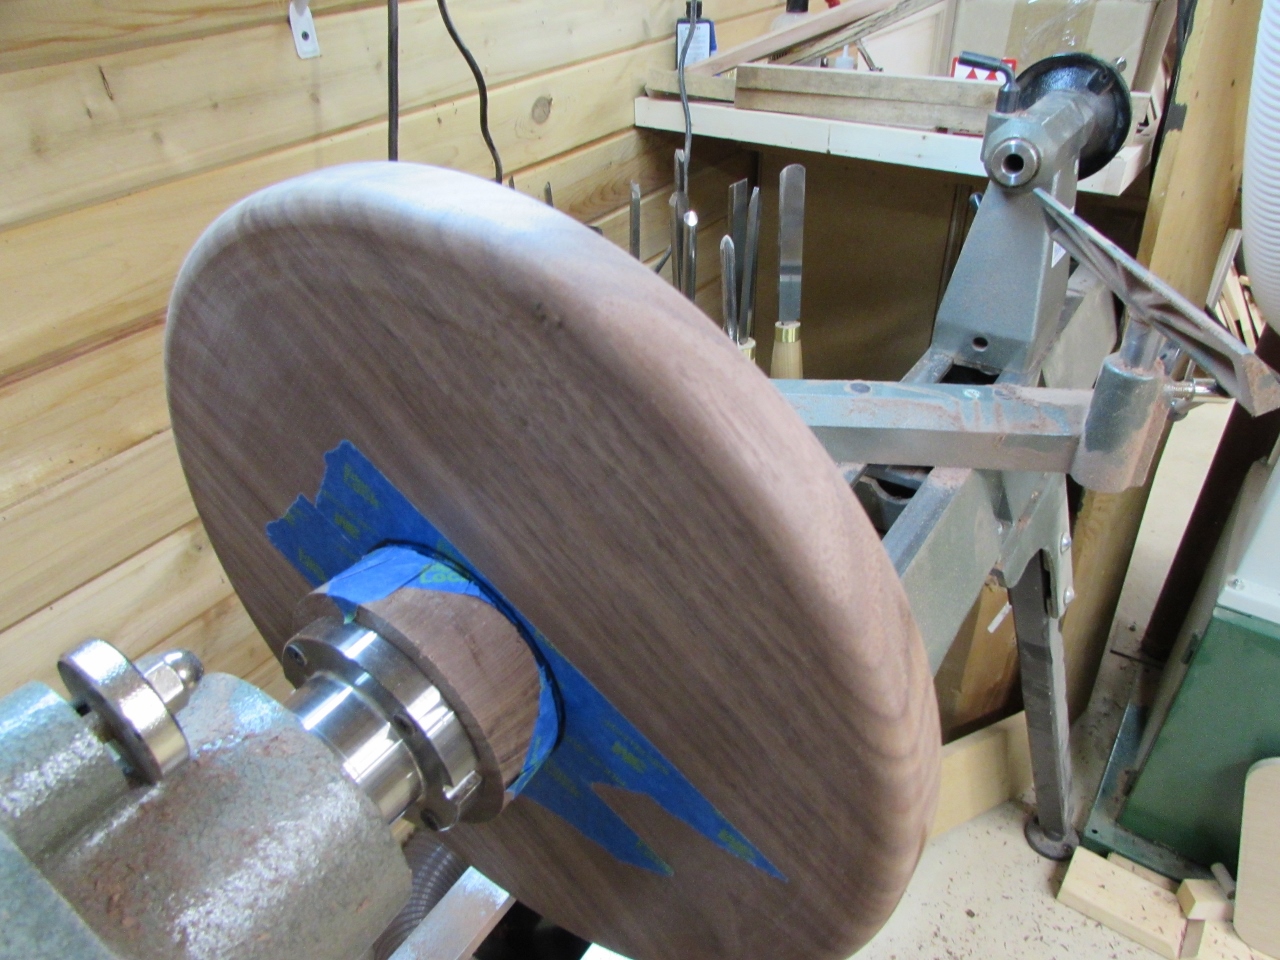
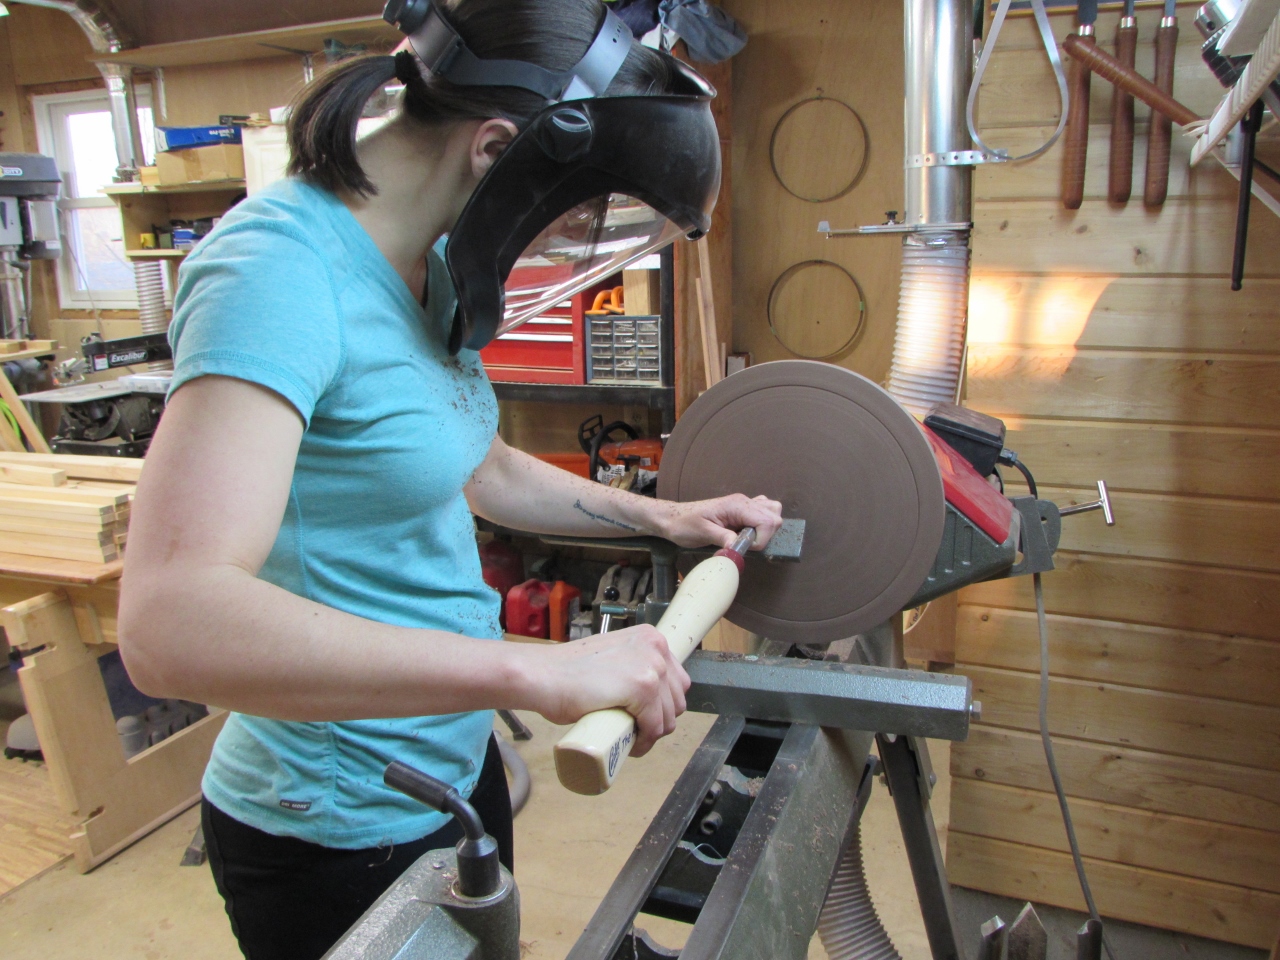
After I let it cure for about five minutes, I put it on the lathe and Diana turned the entire plate at about 1000 rpm, without a single problem.

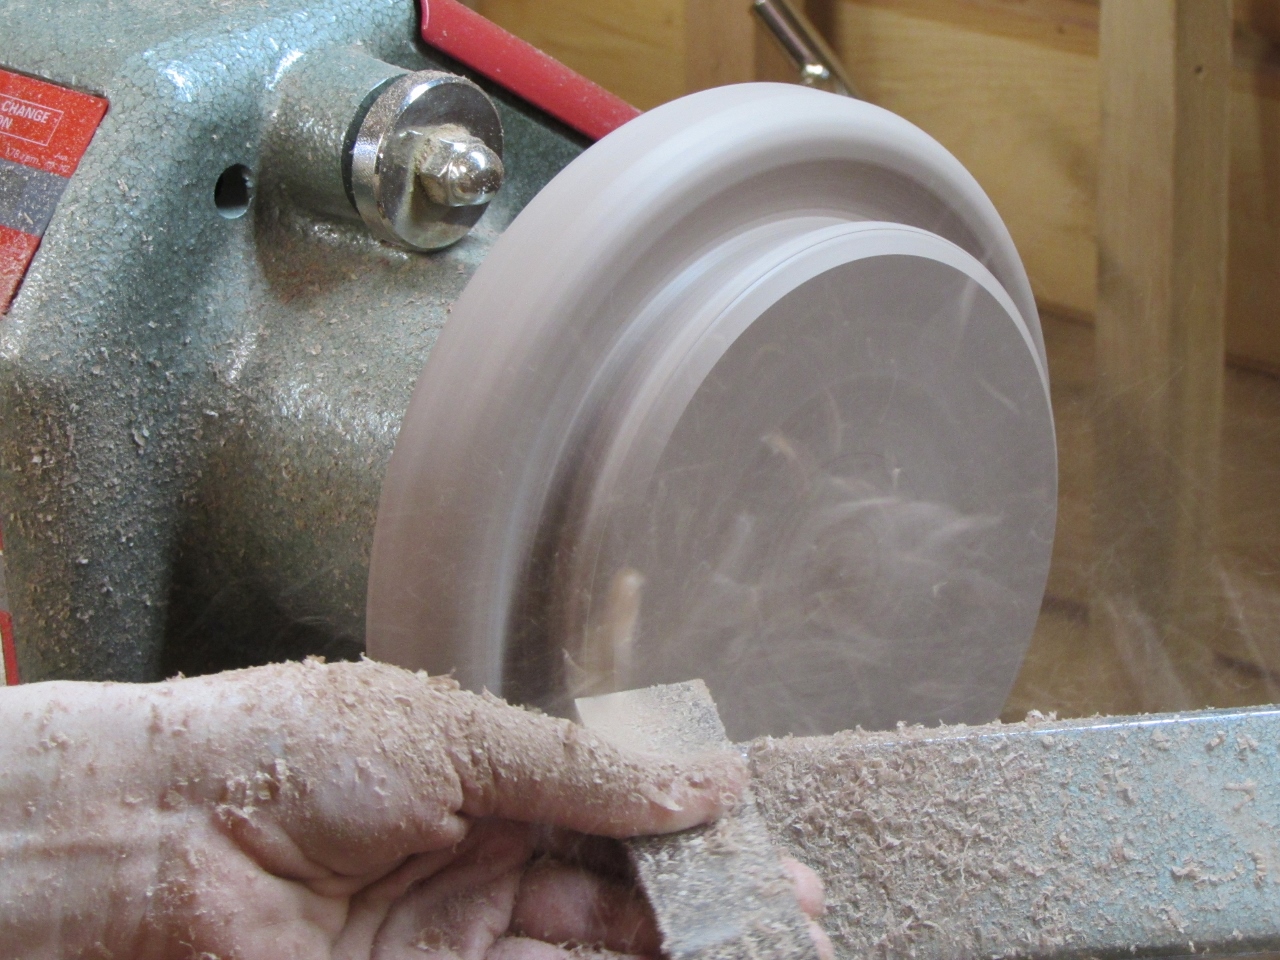
To make a simple curve on the edge, she used a scraper.

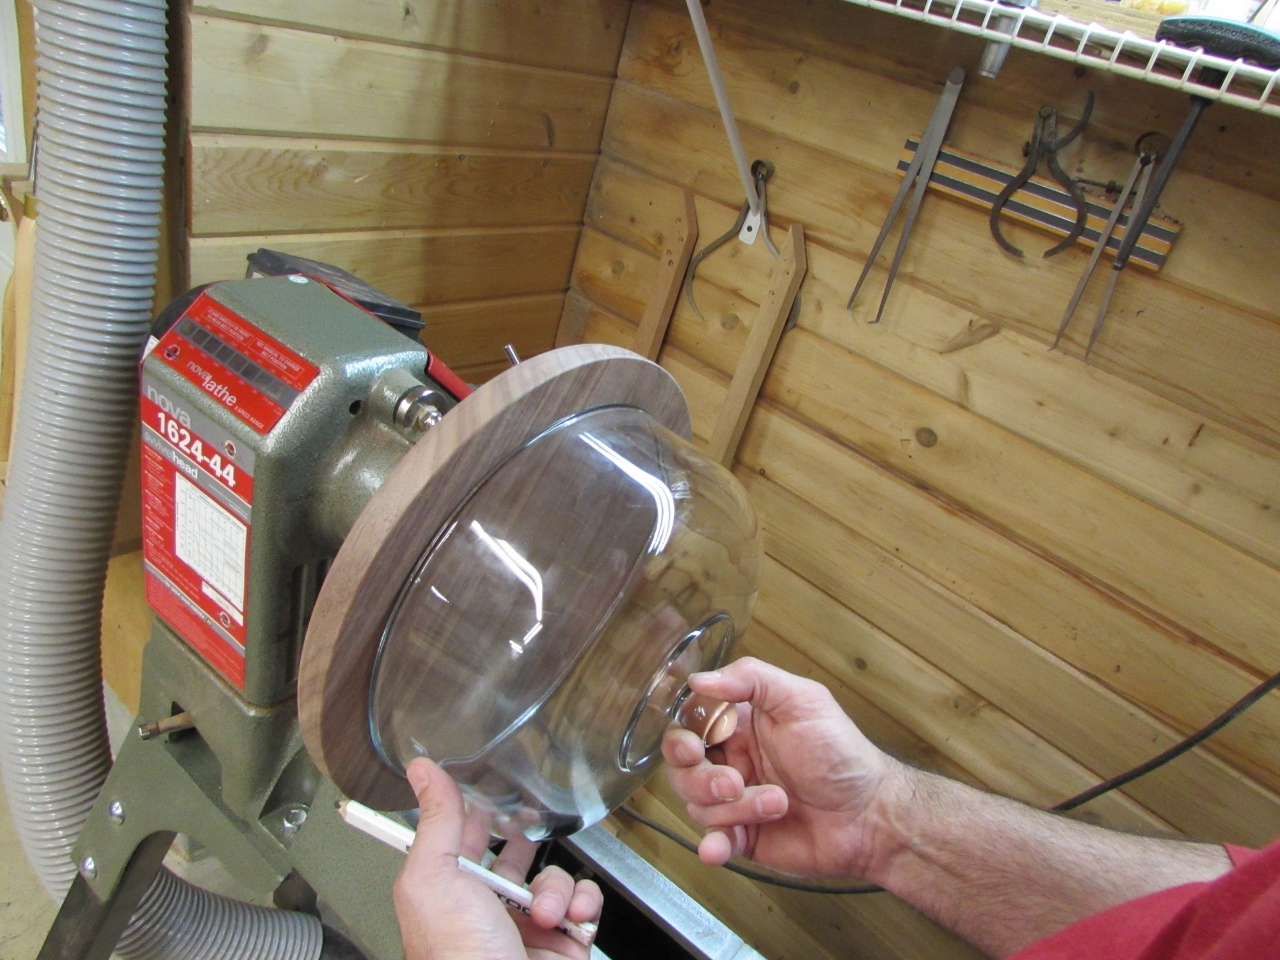
Diana wants to use this stand for her wedding cake, but she also wants it to be useful after her wedding, so she bought a glass dome for the top.
We held it approximately in the center and made a mark while the plate was spinning. We then took the plate off the lathe to verify the size of our circle.

After scoring the mark with a diamond point tool, Diana proceeded to flatten the face with a scraper.

She then cut the center section down, about 1/8″ deeper, to create a lip to retain the glass dome.

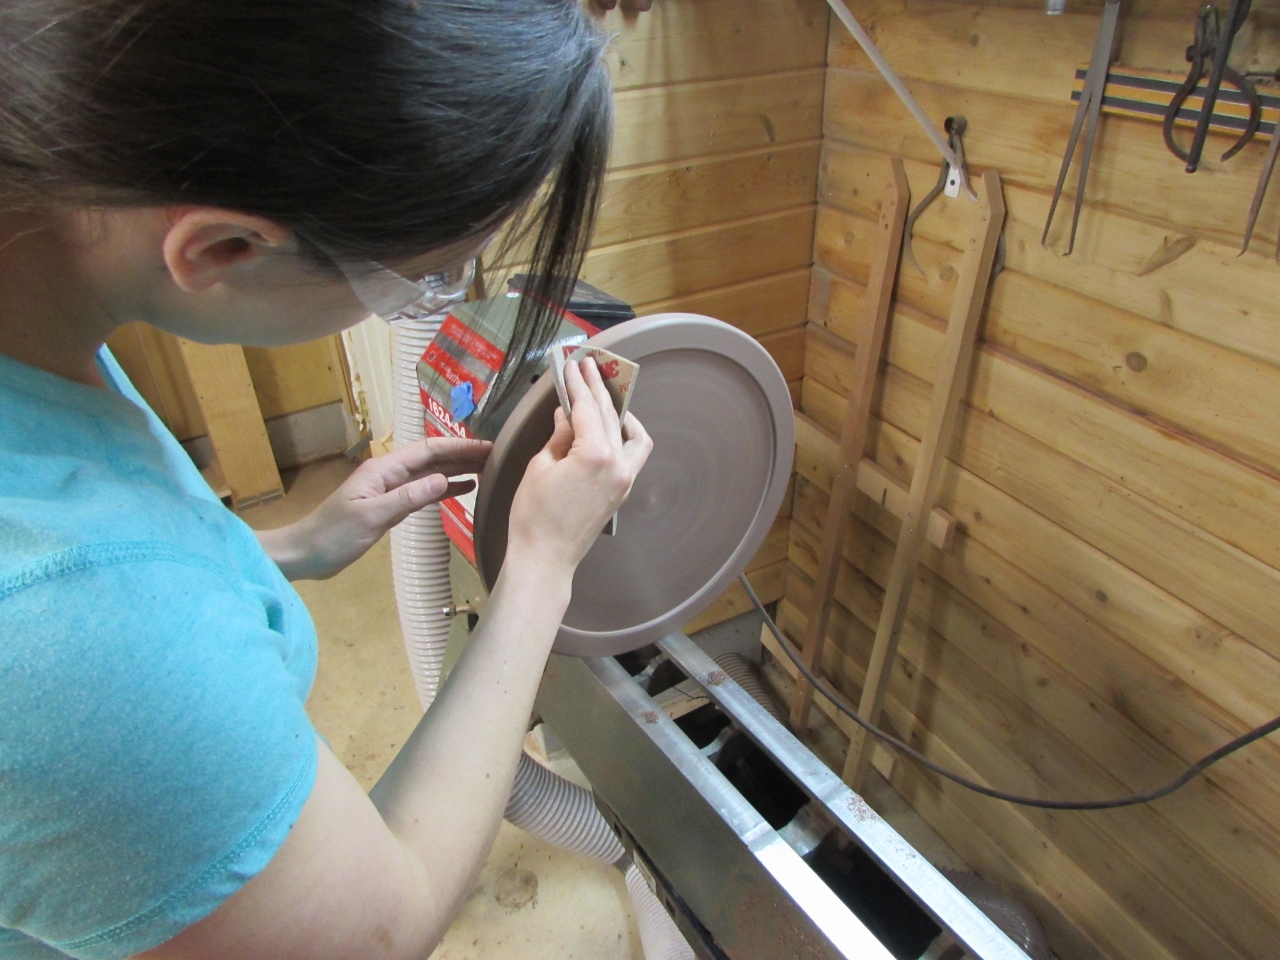
She added a small radius to the top edge, then sanded everything down from 150 to 600 grit.

Now for the coolest part. I just gave a little push and the tape parted from the plate.

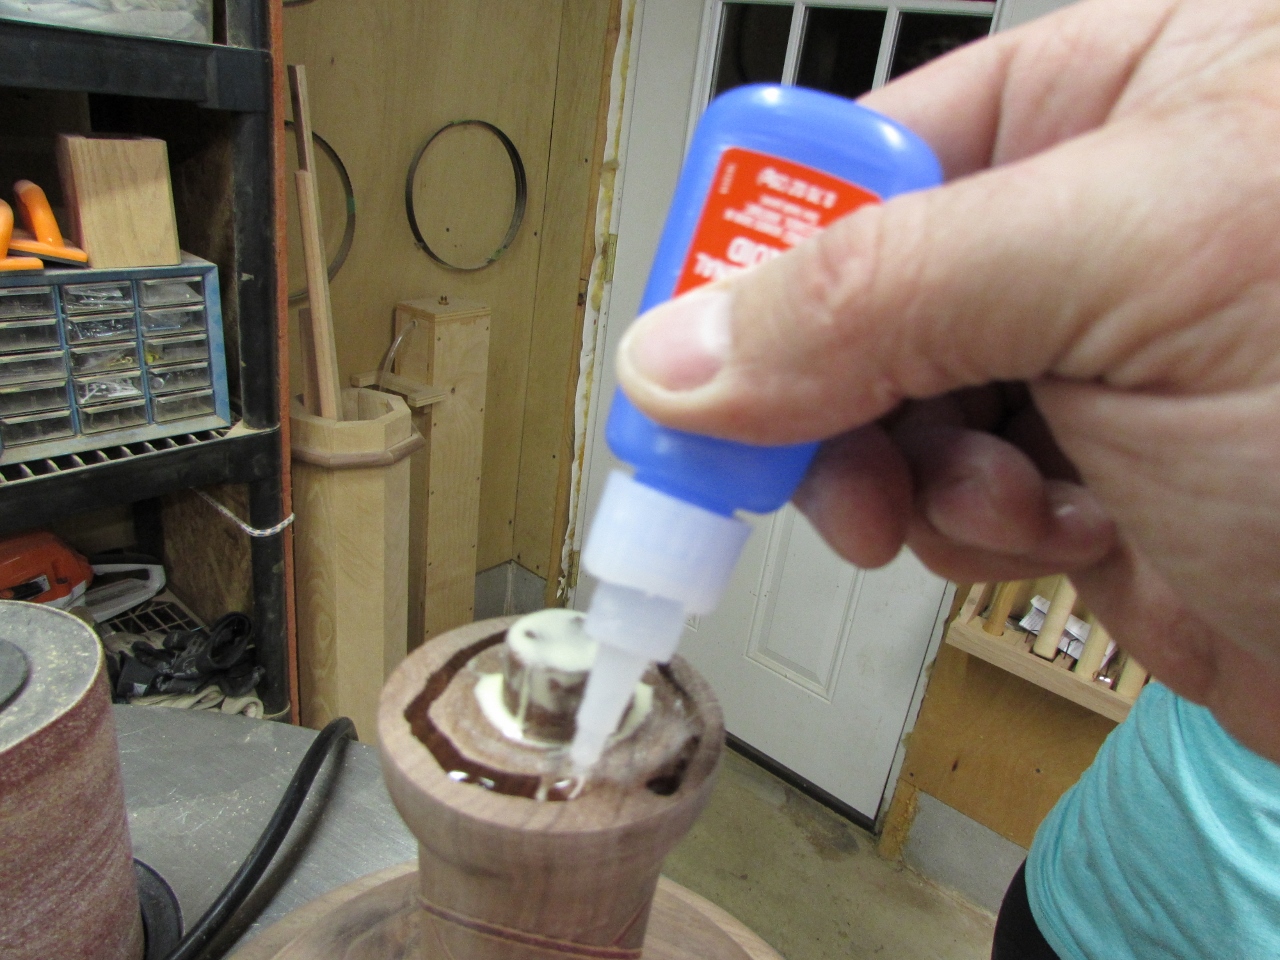
I drilled a 3/4″ hole into the plate, making sure not to break through to the other side. This side fits nice and snug, so I am just using regular wood glue, but we want to start finishing so I placed a ring of the fast-set CA glue around it as well. It will set much quicker than the wood glue and act as a clamp while the wood glue dries.
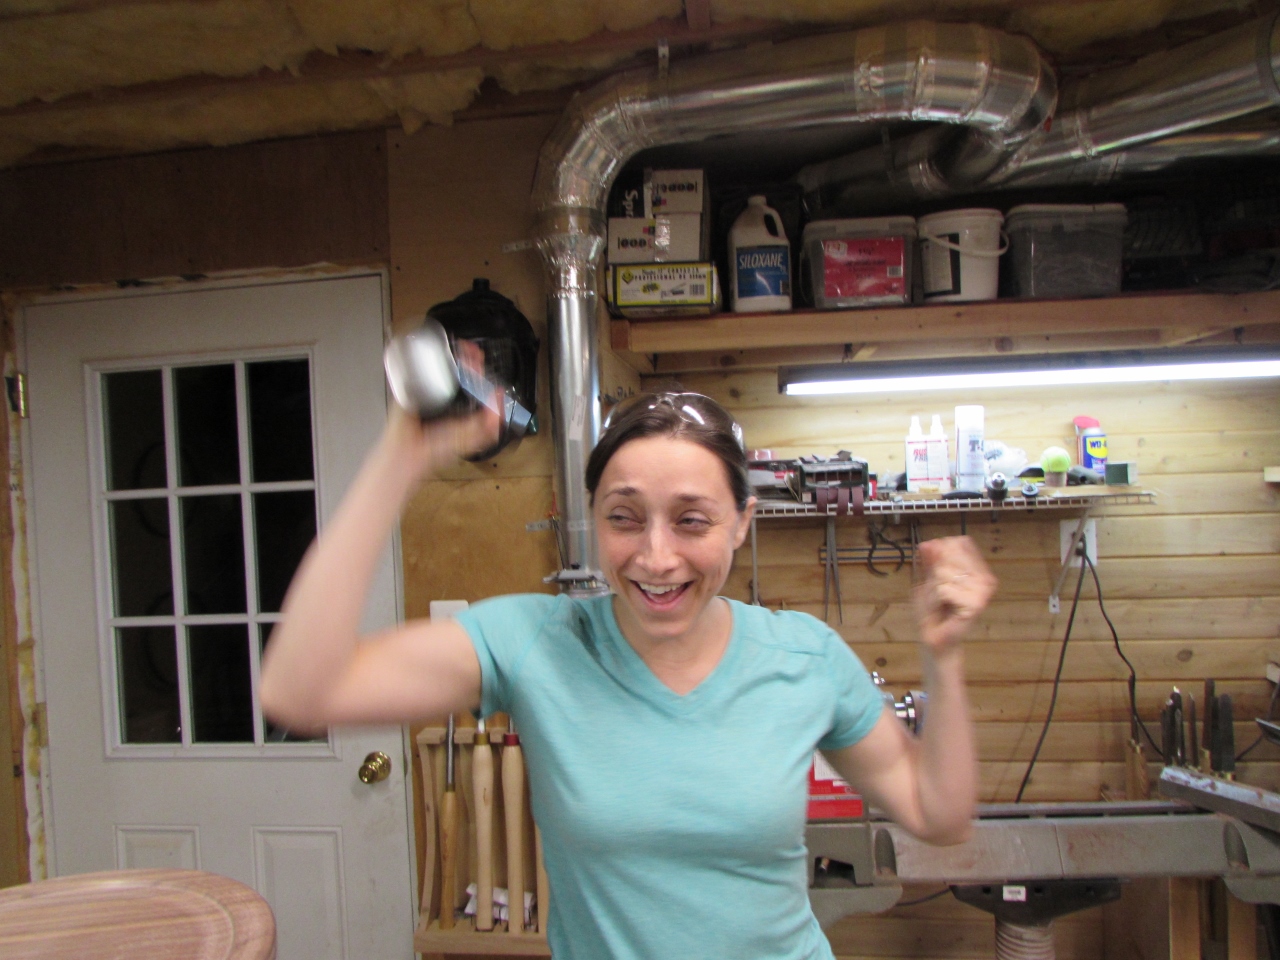
I gave Diana the can of spray lacquer to shake up and took the opportunity to take this wonderful photo of her doing so with joy…
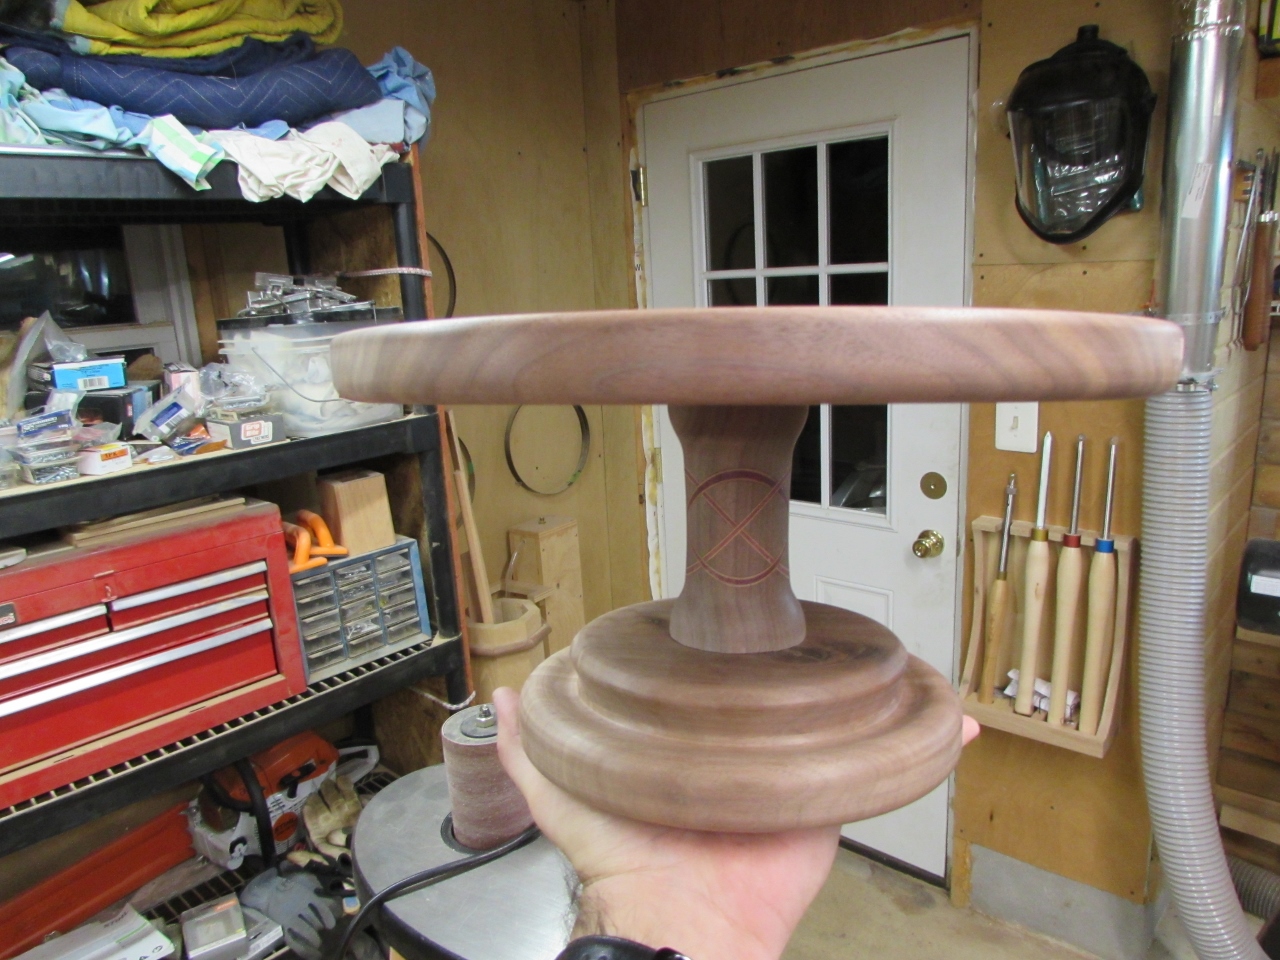
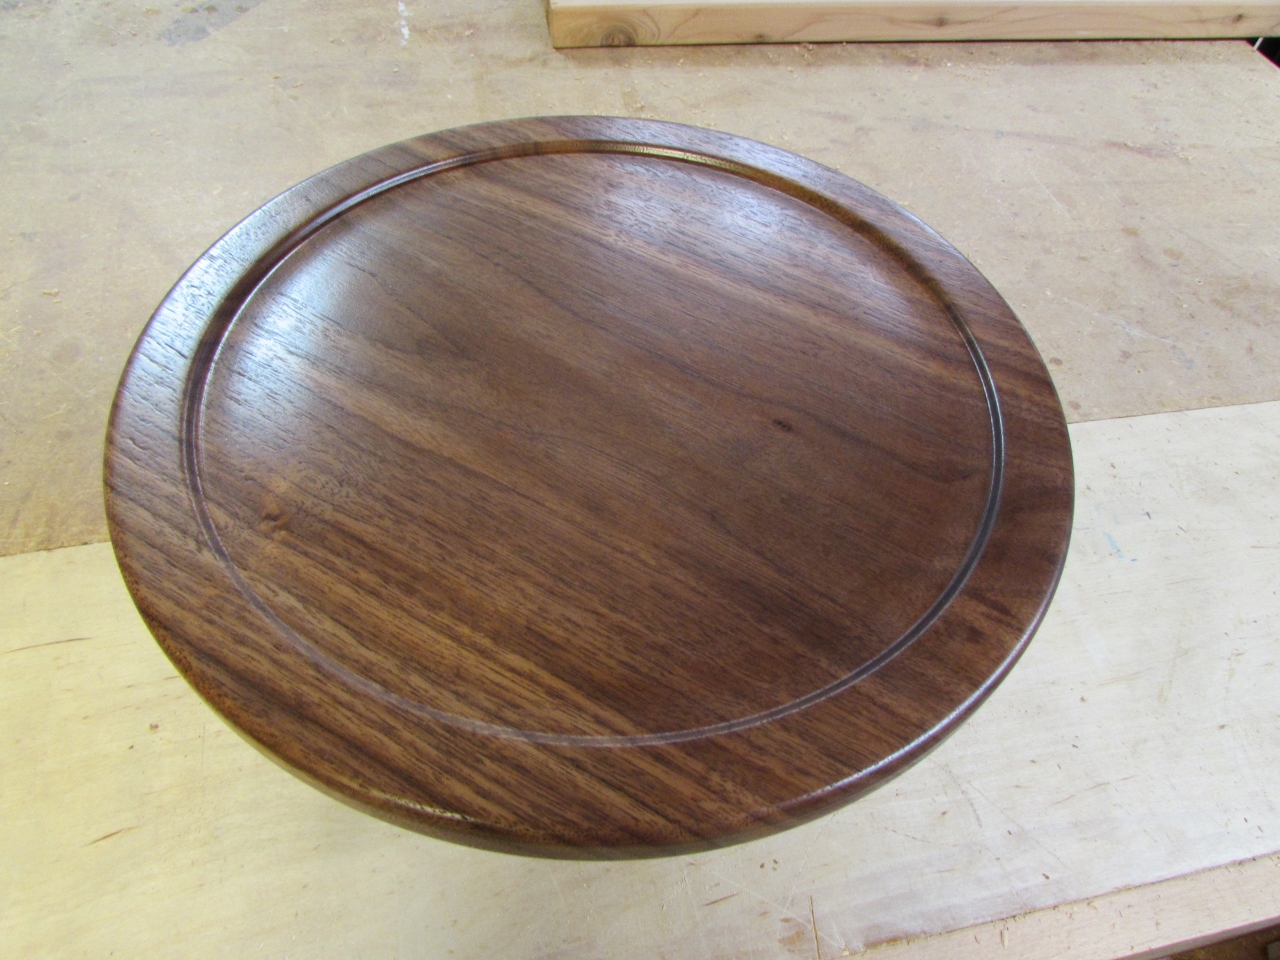
So here it is, the stand with the dome.

I am using lacquer as a finish for this project, mainly because I can get several coats applied, very quickly. I only have to wait about 20 minutes or so between coats.
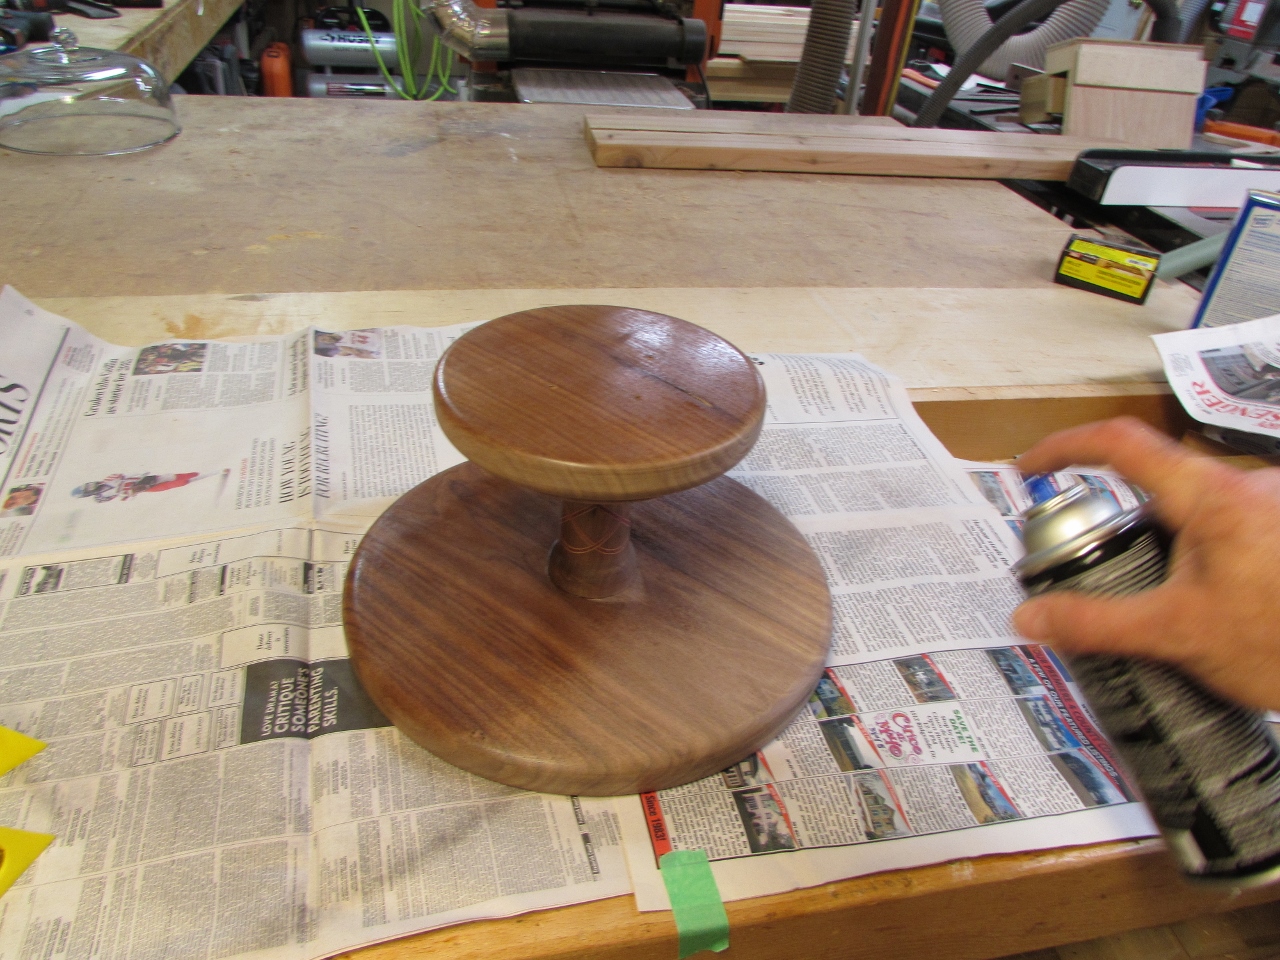
I started by spraying the underside first, then flipped it over onto some painter’s pyramids and finished spraying the rest.
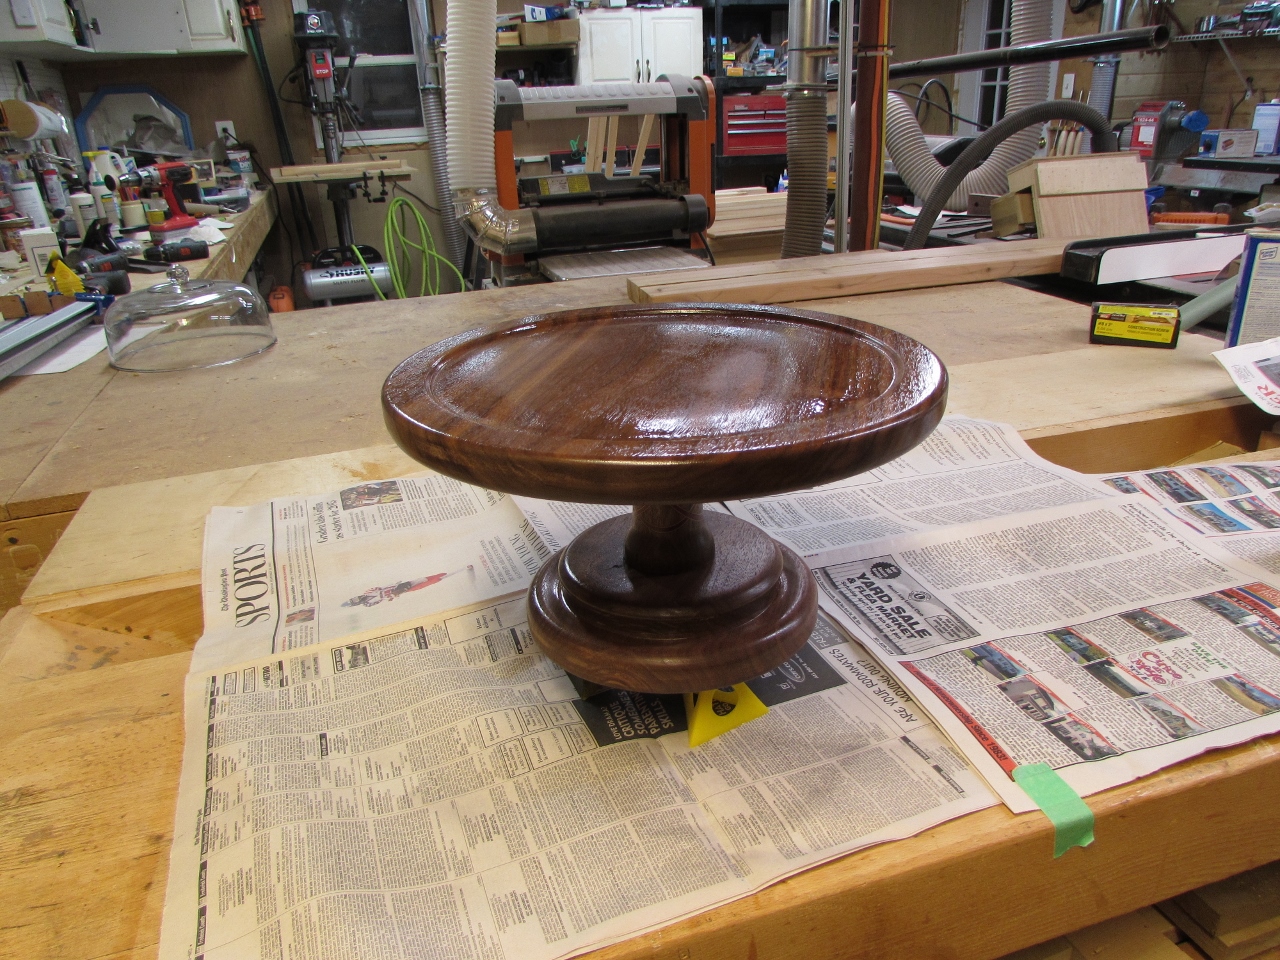

Every couple of coats, I sanded it down with 400 grit paper, just to keep it smooth and remove any dust.
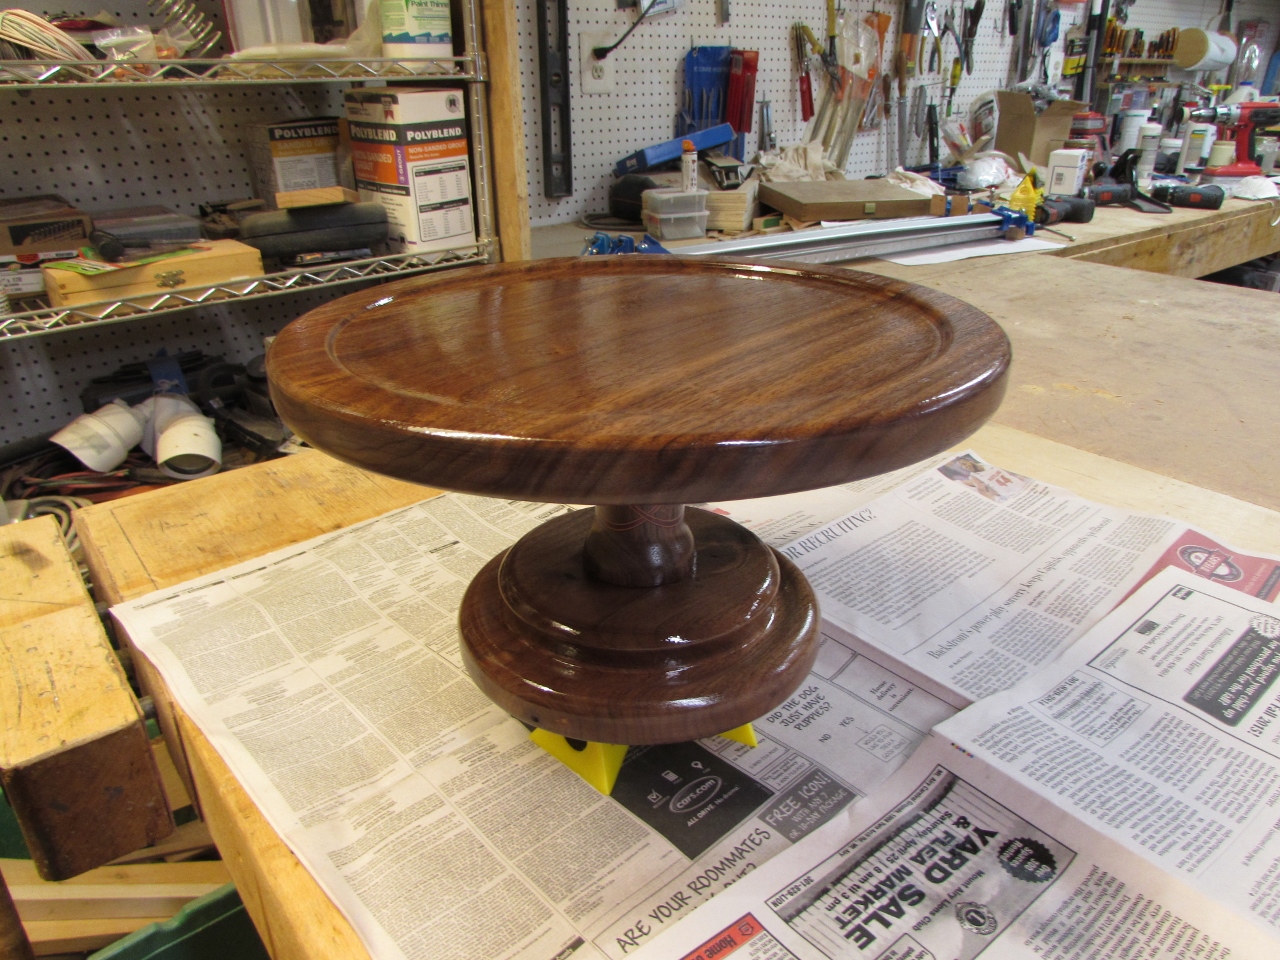
And here it is after four or five coats. My wife is not so very fond of the lacquer fumes flooding the house, so I think that is enough for now…