
Garden Trellis – day 1
Erin has a new project. She is building a garden bench with a trellis over it, as a wedding present for her sister Diana.
This is the basic design, that I came up with: garden seat.PDF
We bought some cedar for the main construction, but we are using my left-over cedar siding to make the bench slats as well as the lattice.
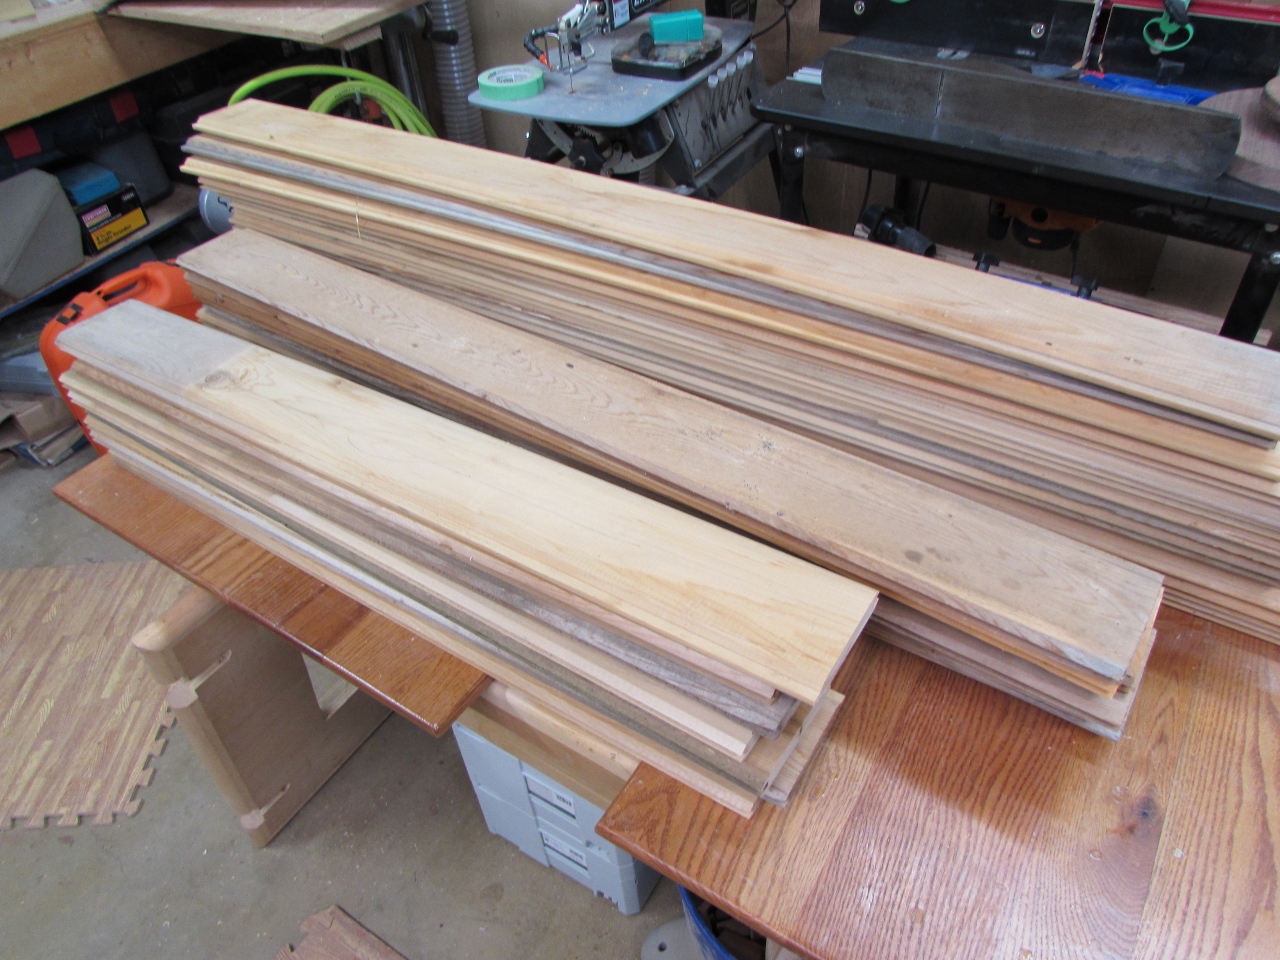
Since it has been stored outside, Erin is planing one pass off each side to clean it up.


Just removing 1/32″ really makes a difference. No more grey weathering or water staining. We rough cut the length, prior to planing, to account for a bit of snipe. After planing, she cut out two 1-1/2″ strips per board.

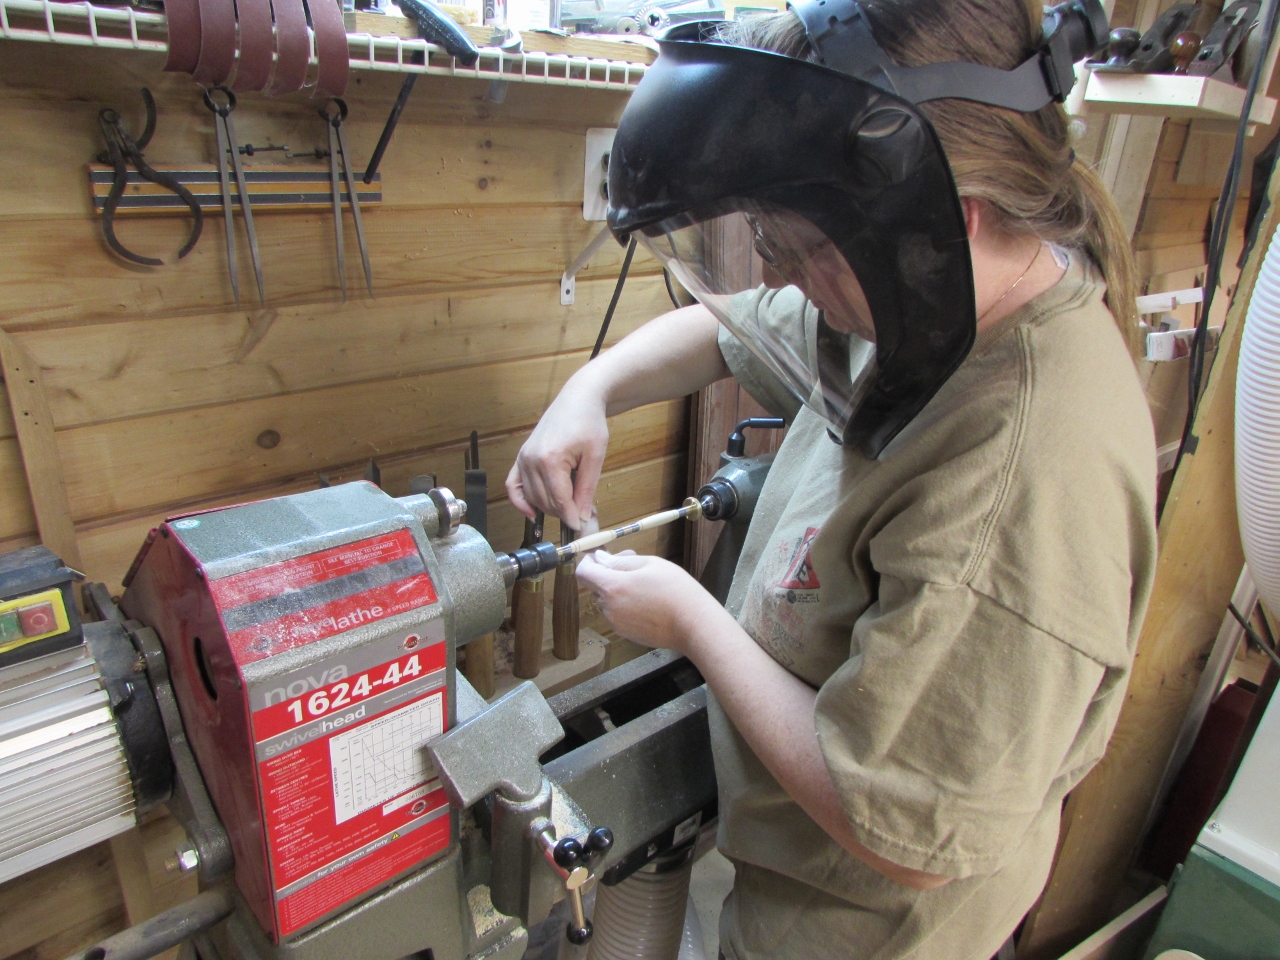
While we were working, my wife came down to play on the lathe.

After about an hour of planing and cutting, we had all the strips we needed for slats and lattice.

Erin moved on to cutting down all of out 2″x4″s and 2″x6″s to length, and I marked the ends so we could keep track.


To mount the lattice, we are notching the top and bottom piece, 1-1/2″ x 3/4″.


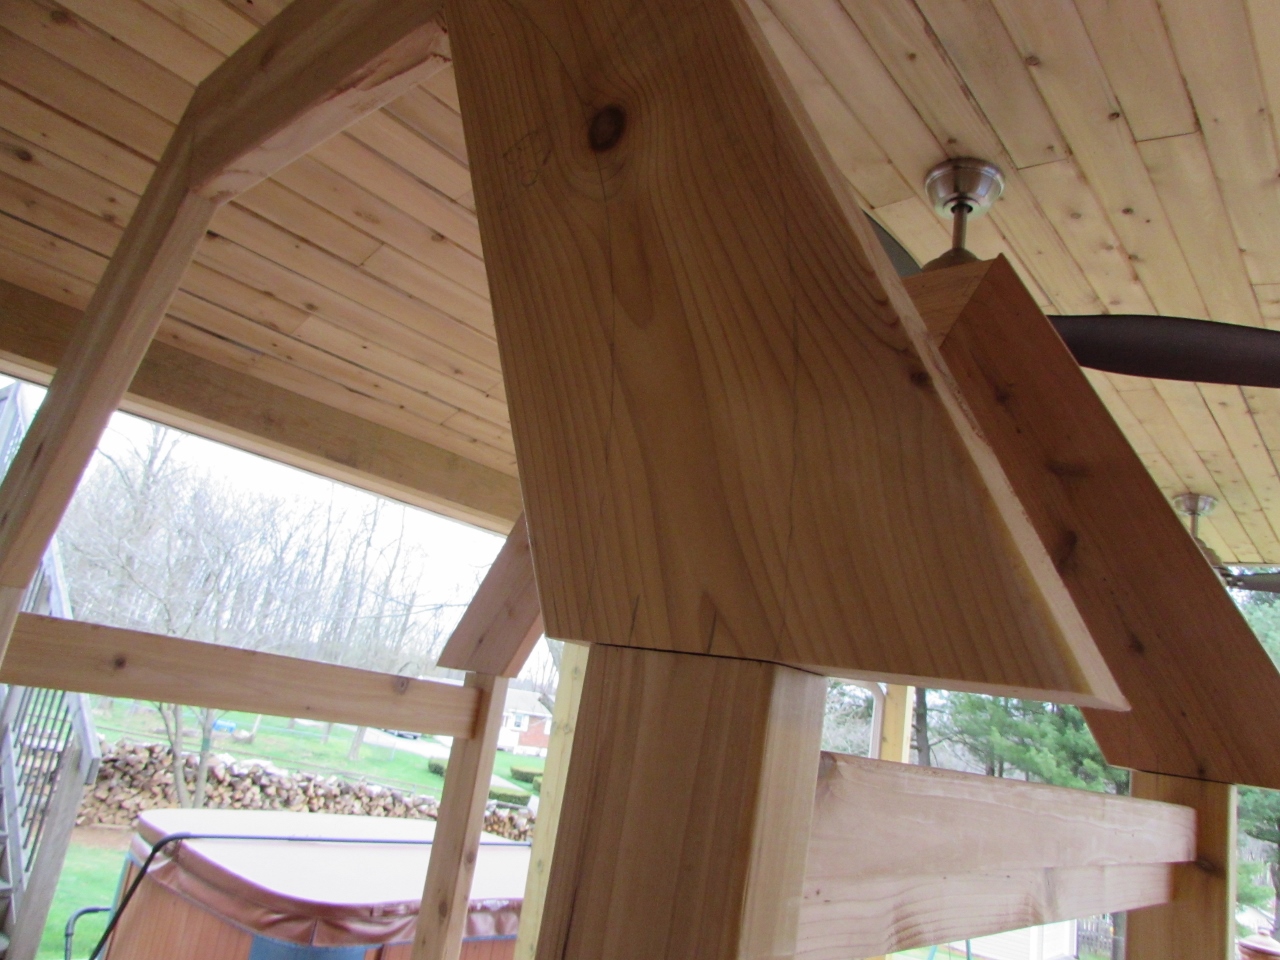
To create the arched top, we are using 2″x8″ material, mitered and joined together.
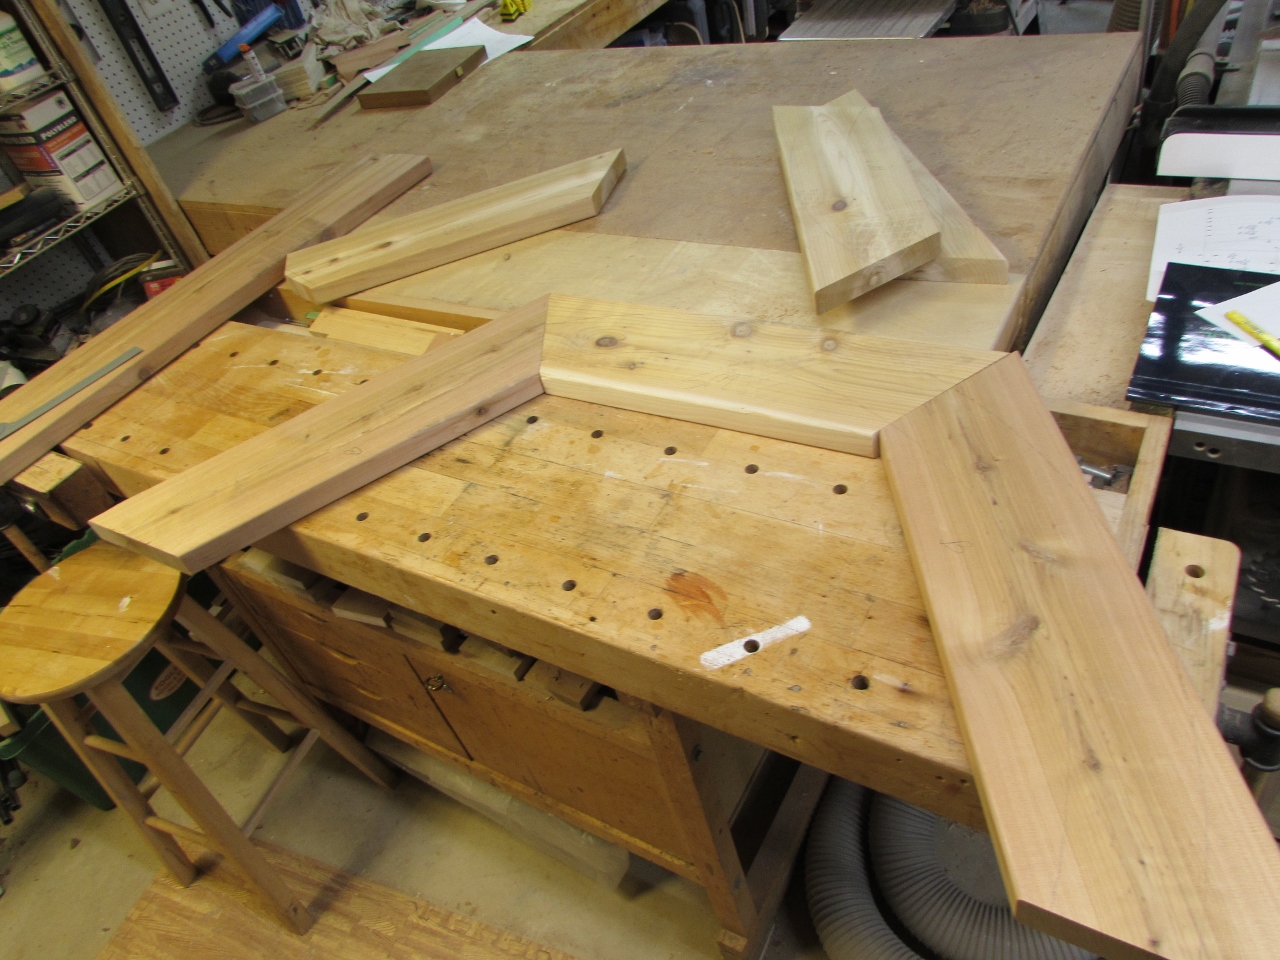

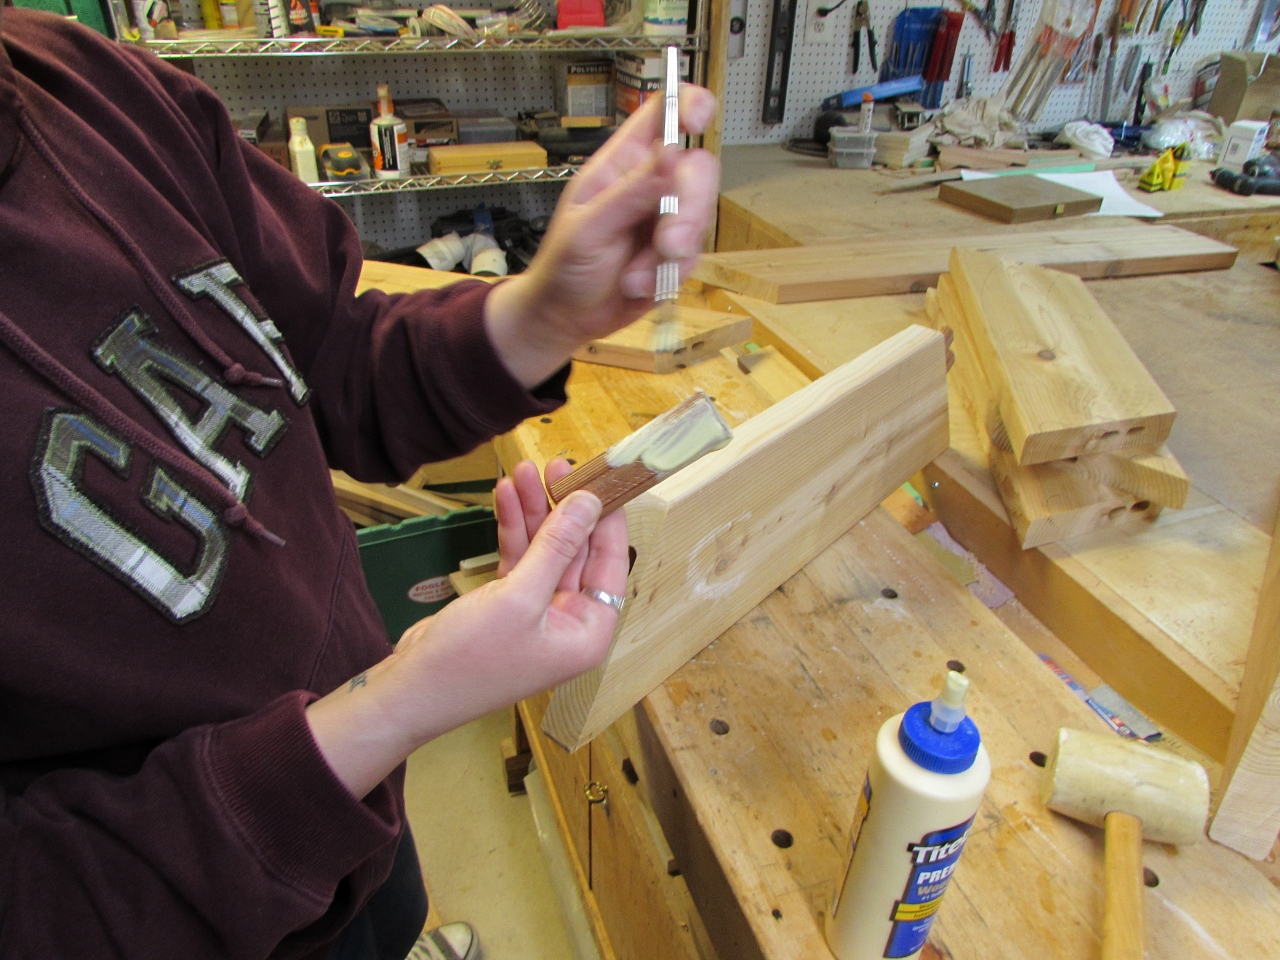
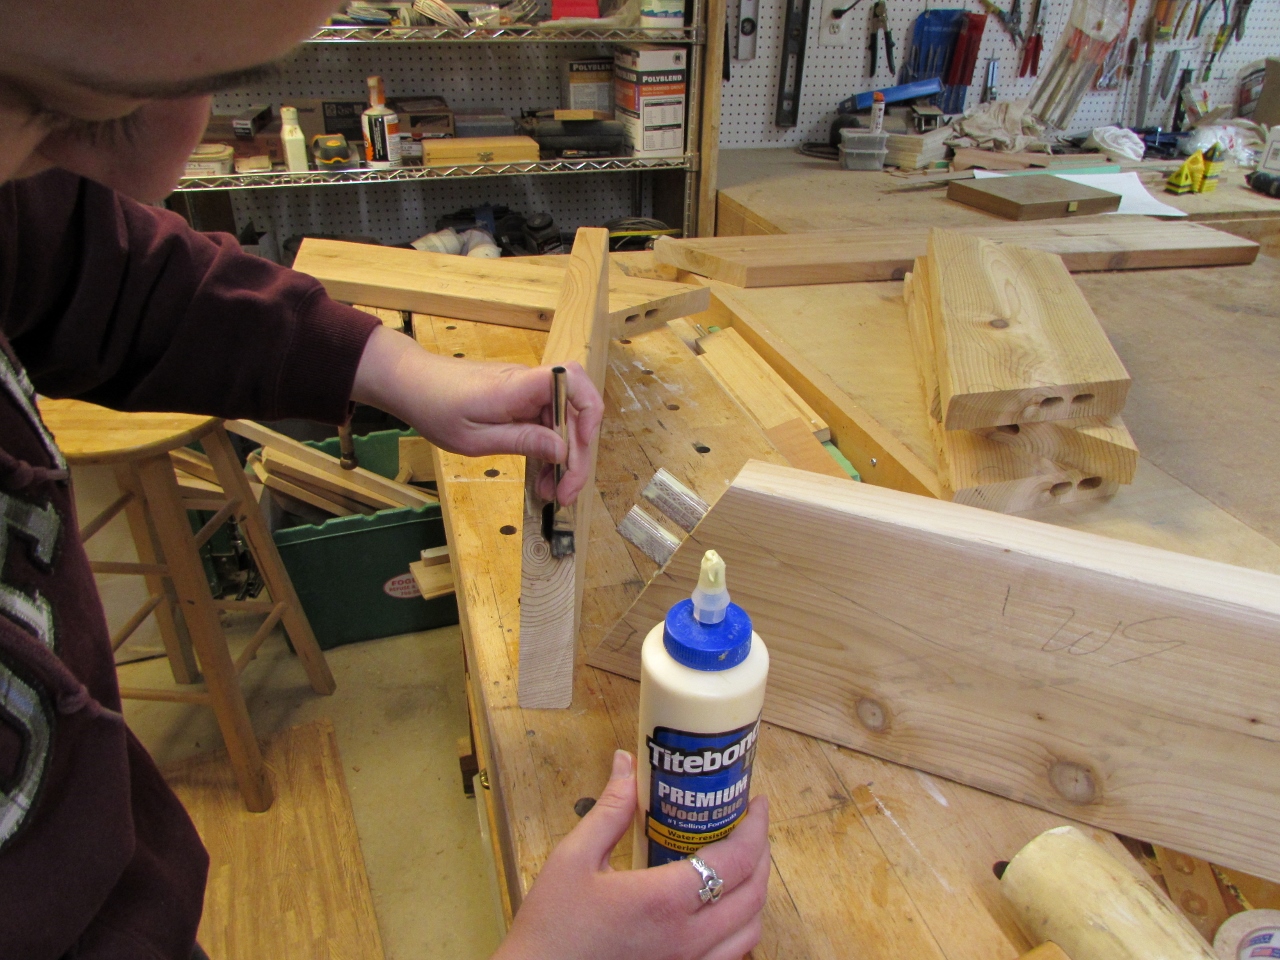
I borrowed my buddy Dave’s big Festool Domino for the joinery. By laying out the radius of the arch, I got a basic idea where the Dominos would fit. We are using two 40mm Dominos for each butt joint. These joints could alternatively have been done with dowels, or half laps, but this is faster, and really strong.
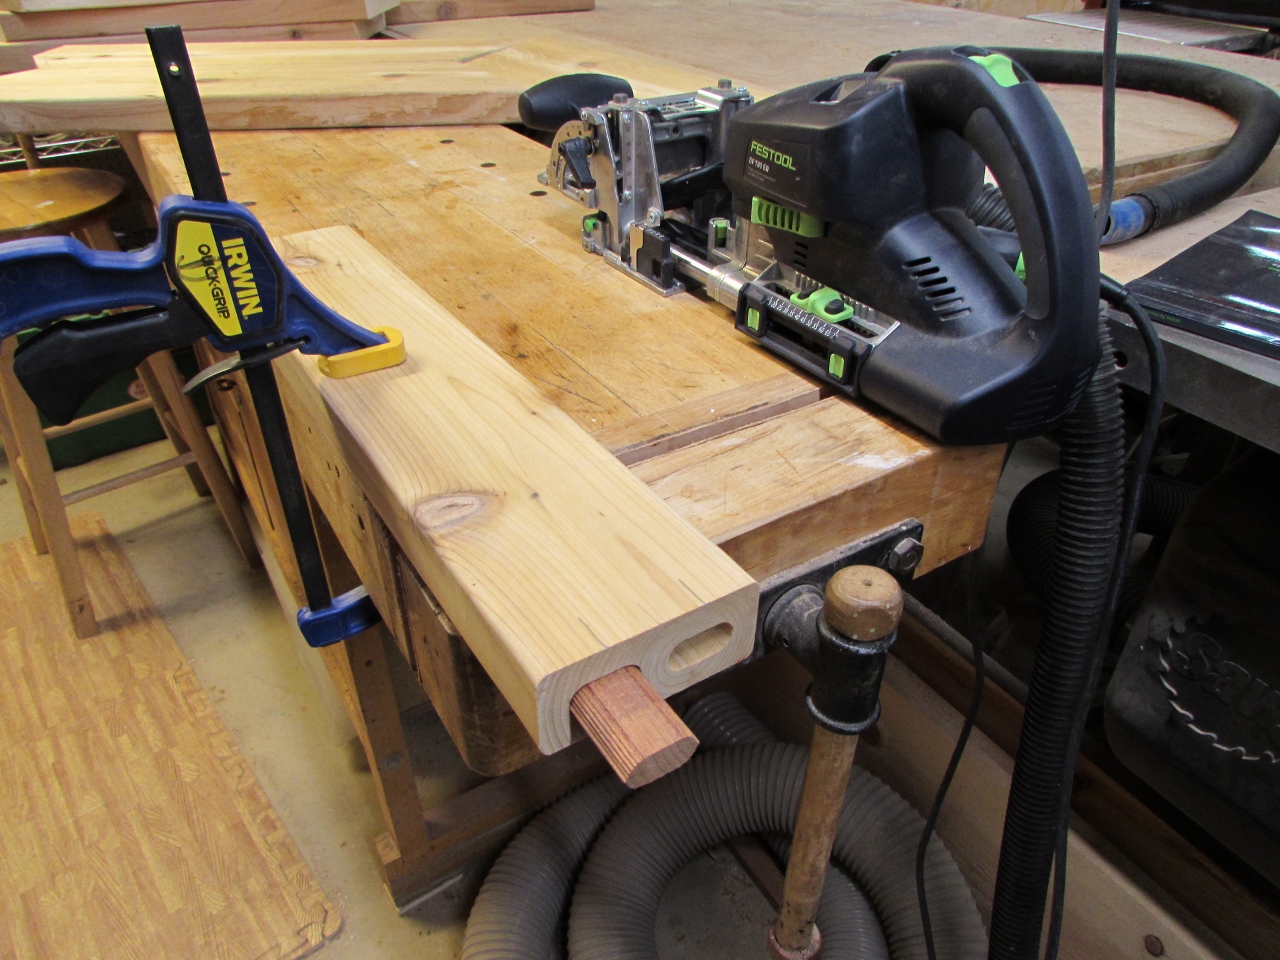
The Domino material that I have is rated for outdoors, so it will work perfectly in this application. I set up a stop block for Erin to pre-cut a bunch of them to the correct length.


Then we got to work, cutting the mortises and glueing in the tenons.

The reason for not cutting out the arch before joining was to leave a lot of waste material. We used the waste areas to screw some blocks to. This gave us a good way to clamp the joints tight.
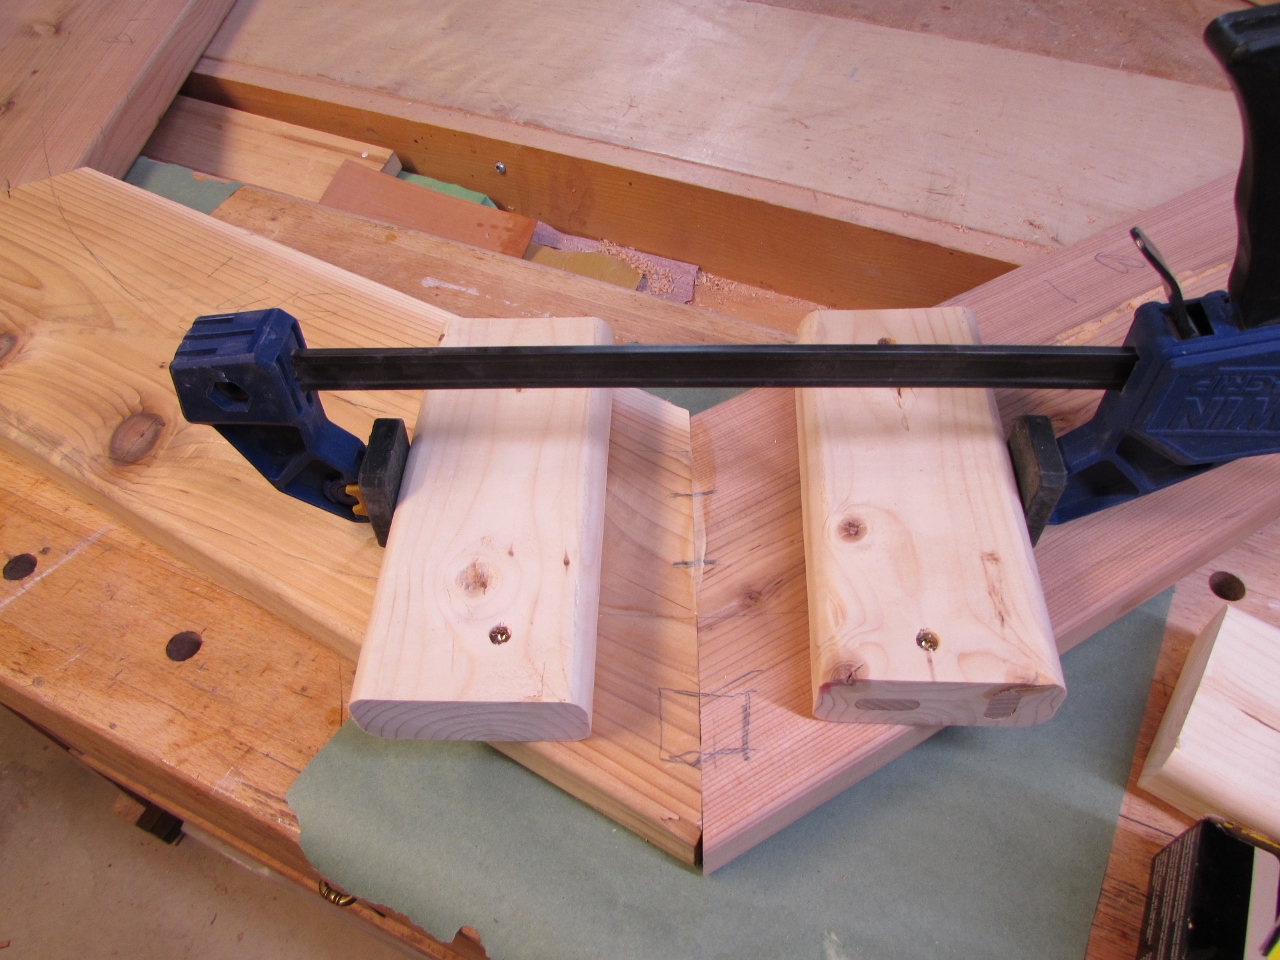
We put blocking on the front and the back so there would be even clamping pressure across the joint.
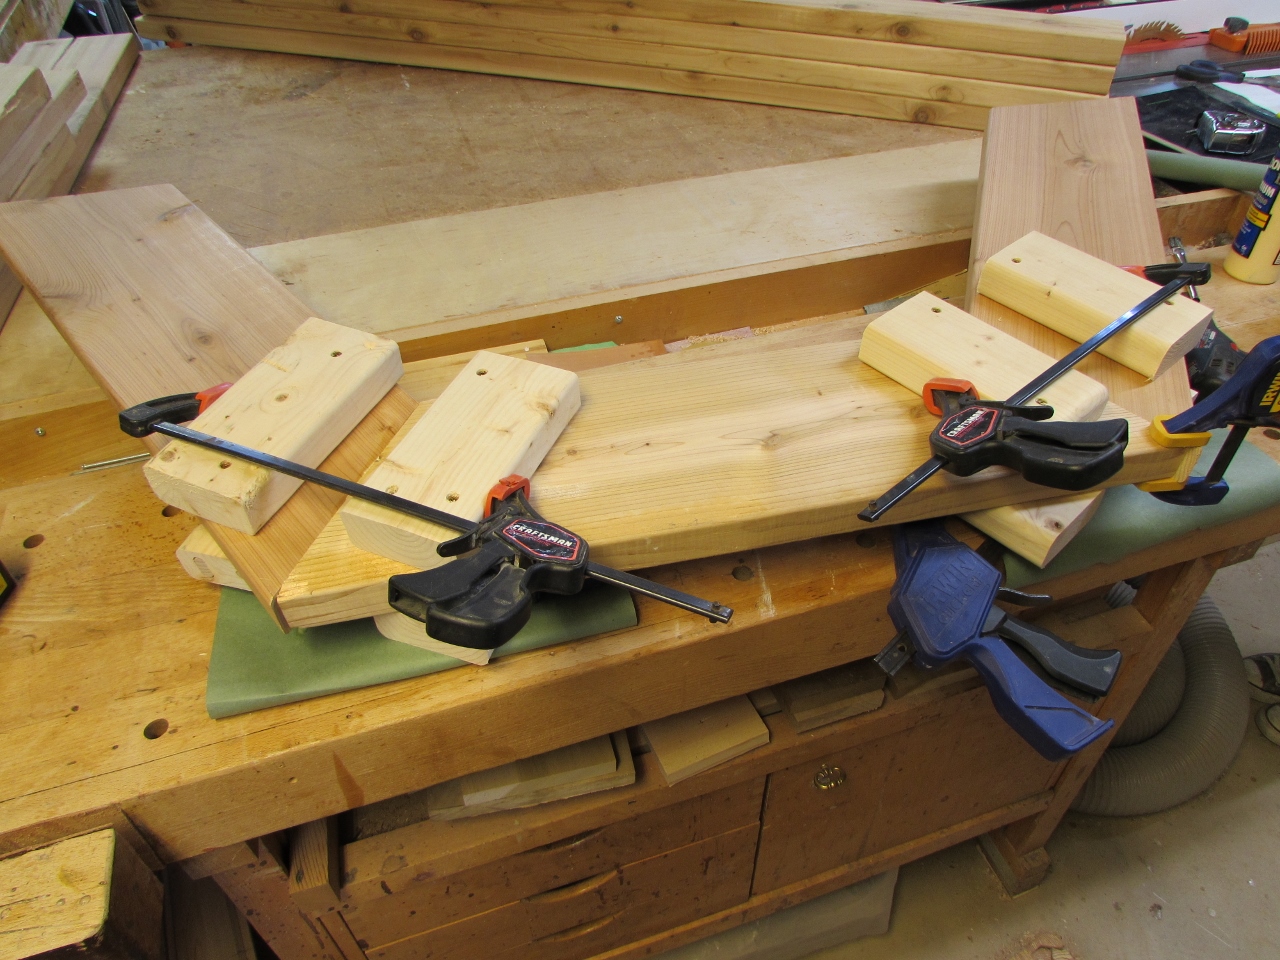


While that was drying, we located the cross pieces for the sides and cut the tenons for them as well.


A little glue and some clamps and both sides were framed up.


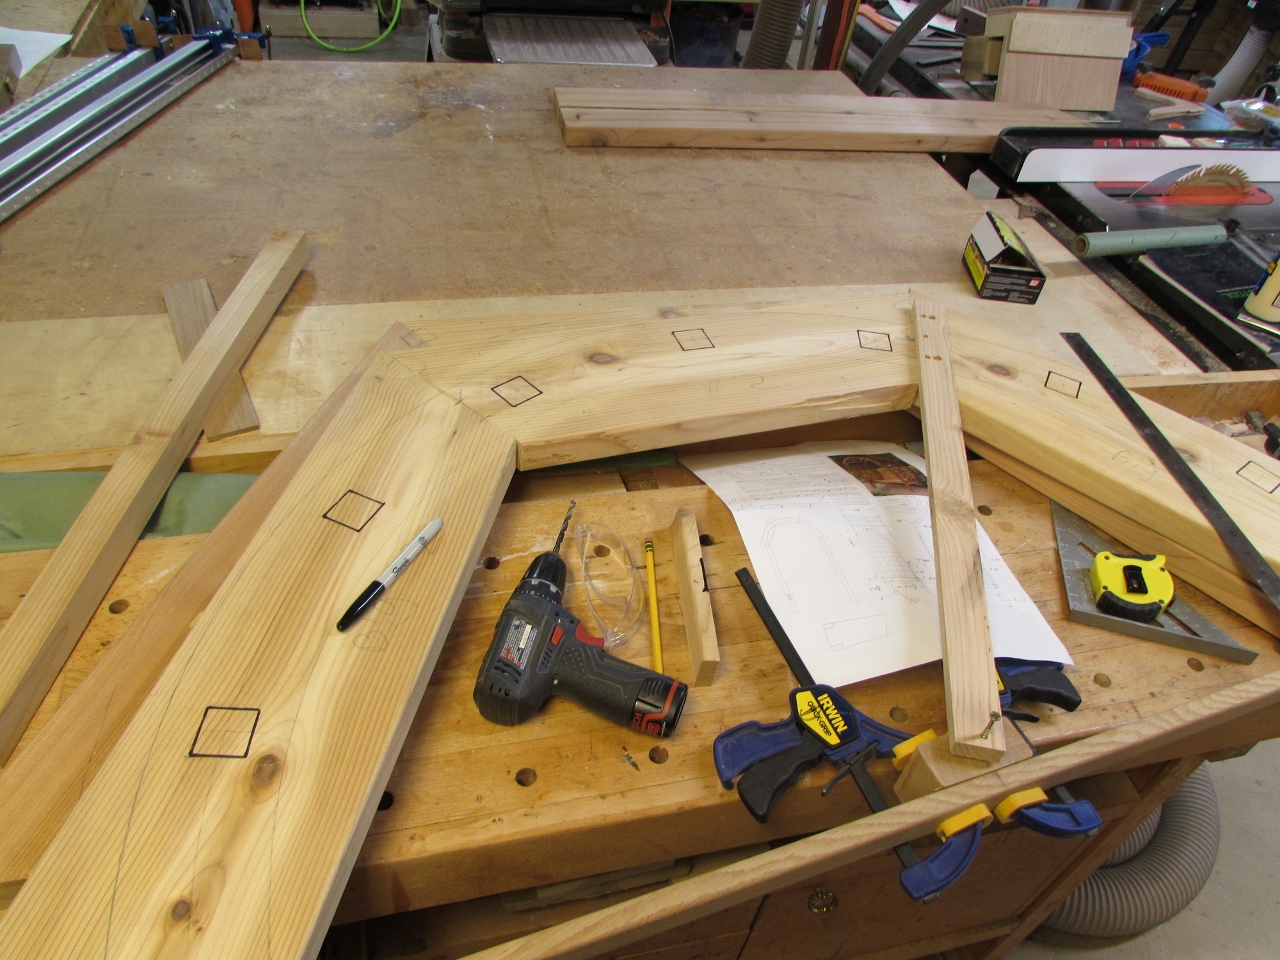
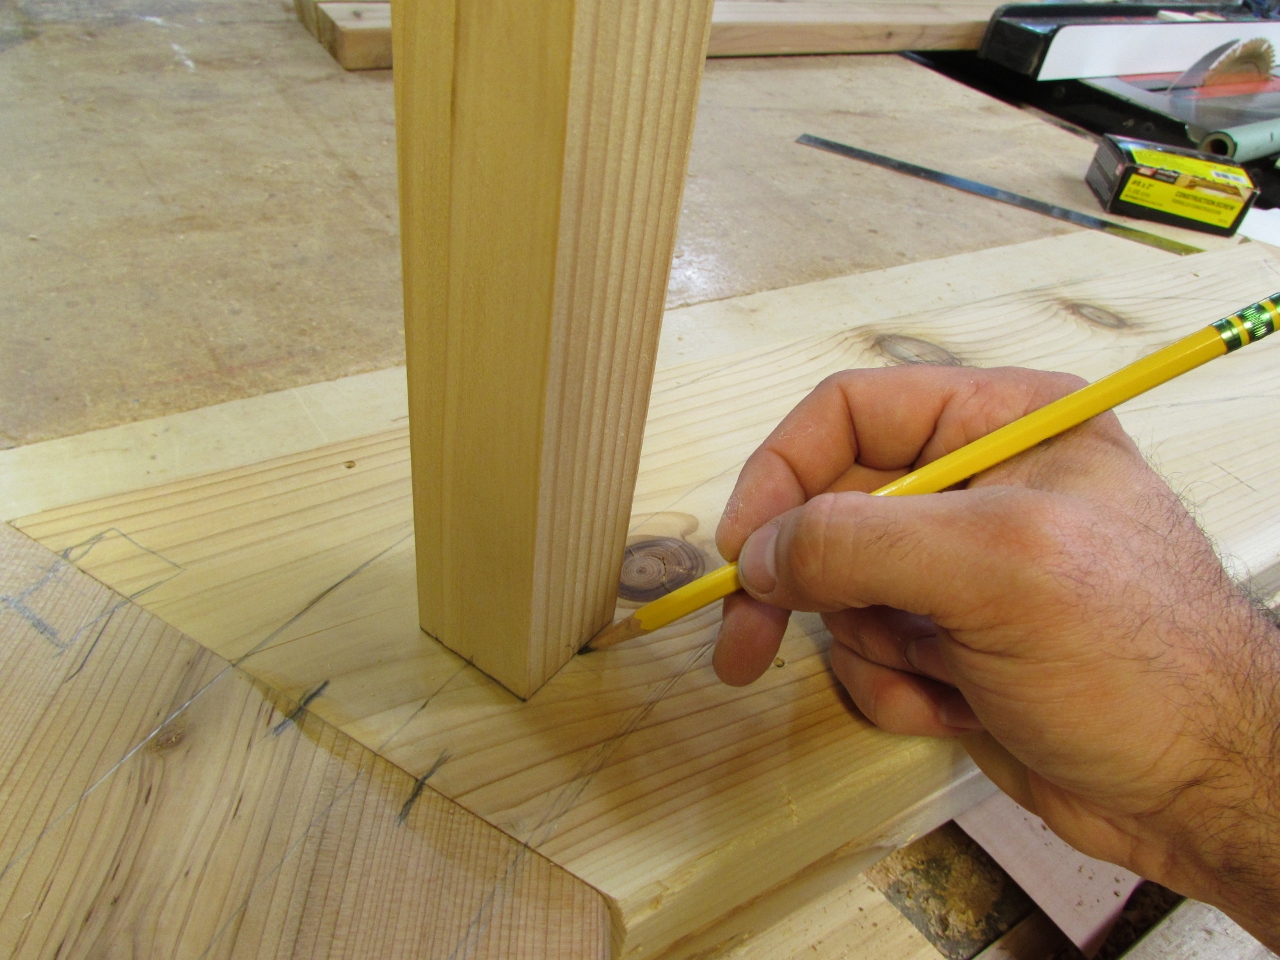
After the glue had set, we did a dry-fit of the frame. Everything fit nice and tight, so we pulled it apart and got back to work on the arches. Before disassembling, I marked the edge of the 2″x4″s, where they contacted the arches.

I attached a board to the bottom of the arch to create a center for a homemade beam compass. I found the center between my marks and swung an arch with the compass for the top, middle, and bottom of the arch.

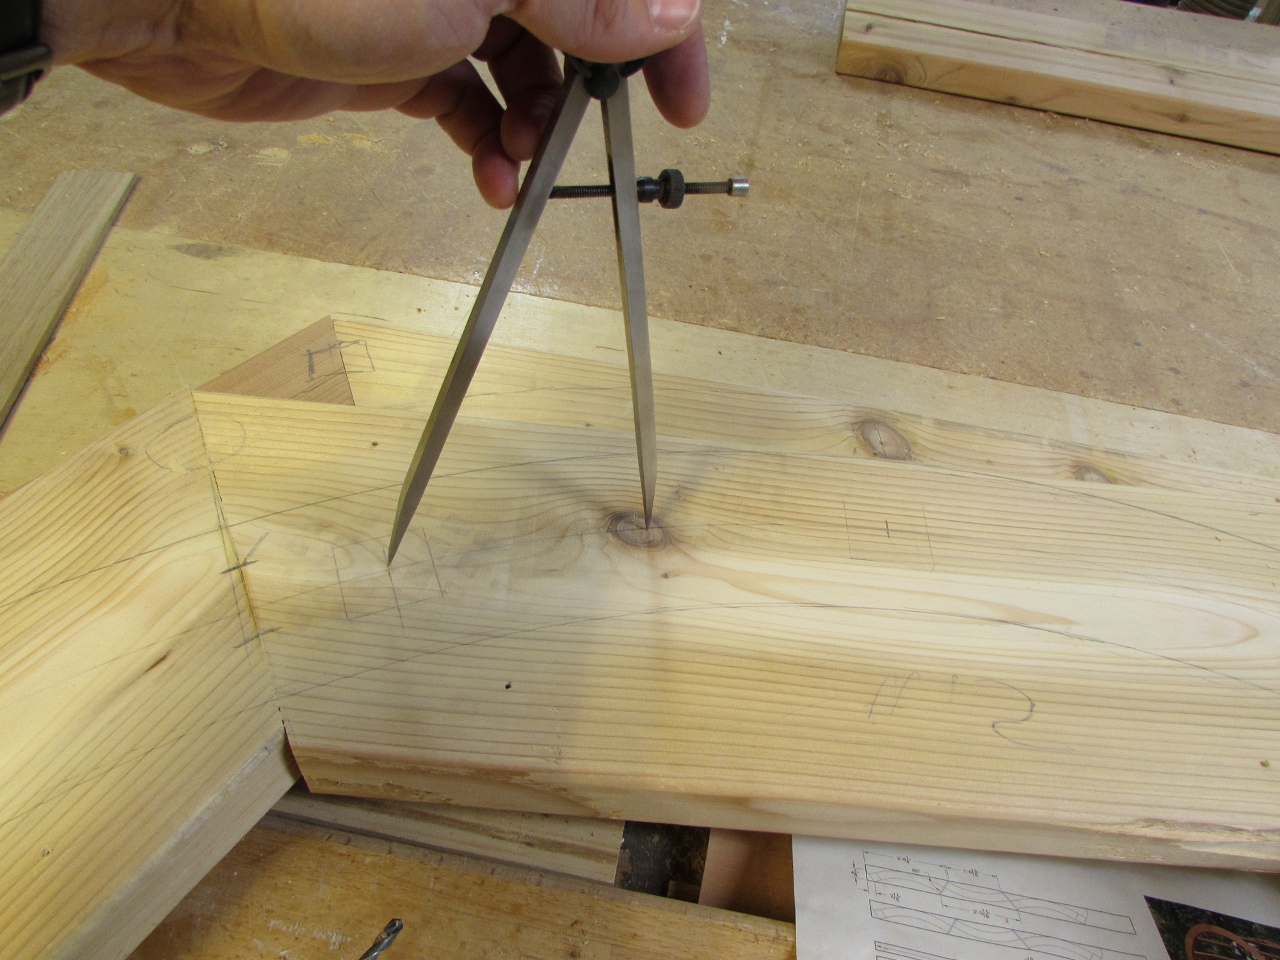
I used my dividers to lay out evenly spaced center points for my square cross-bars for the arch.
Setting one in place, facing the center point, I traced each location.
The next step will be to cut a 1/2″ deep recess at each of these locations to set the cross-bars in.
