
Garden Trellis – day 2

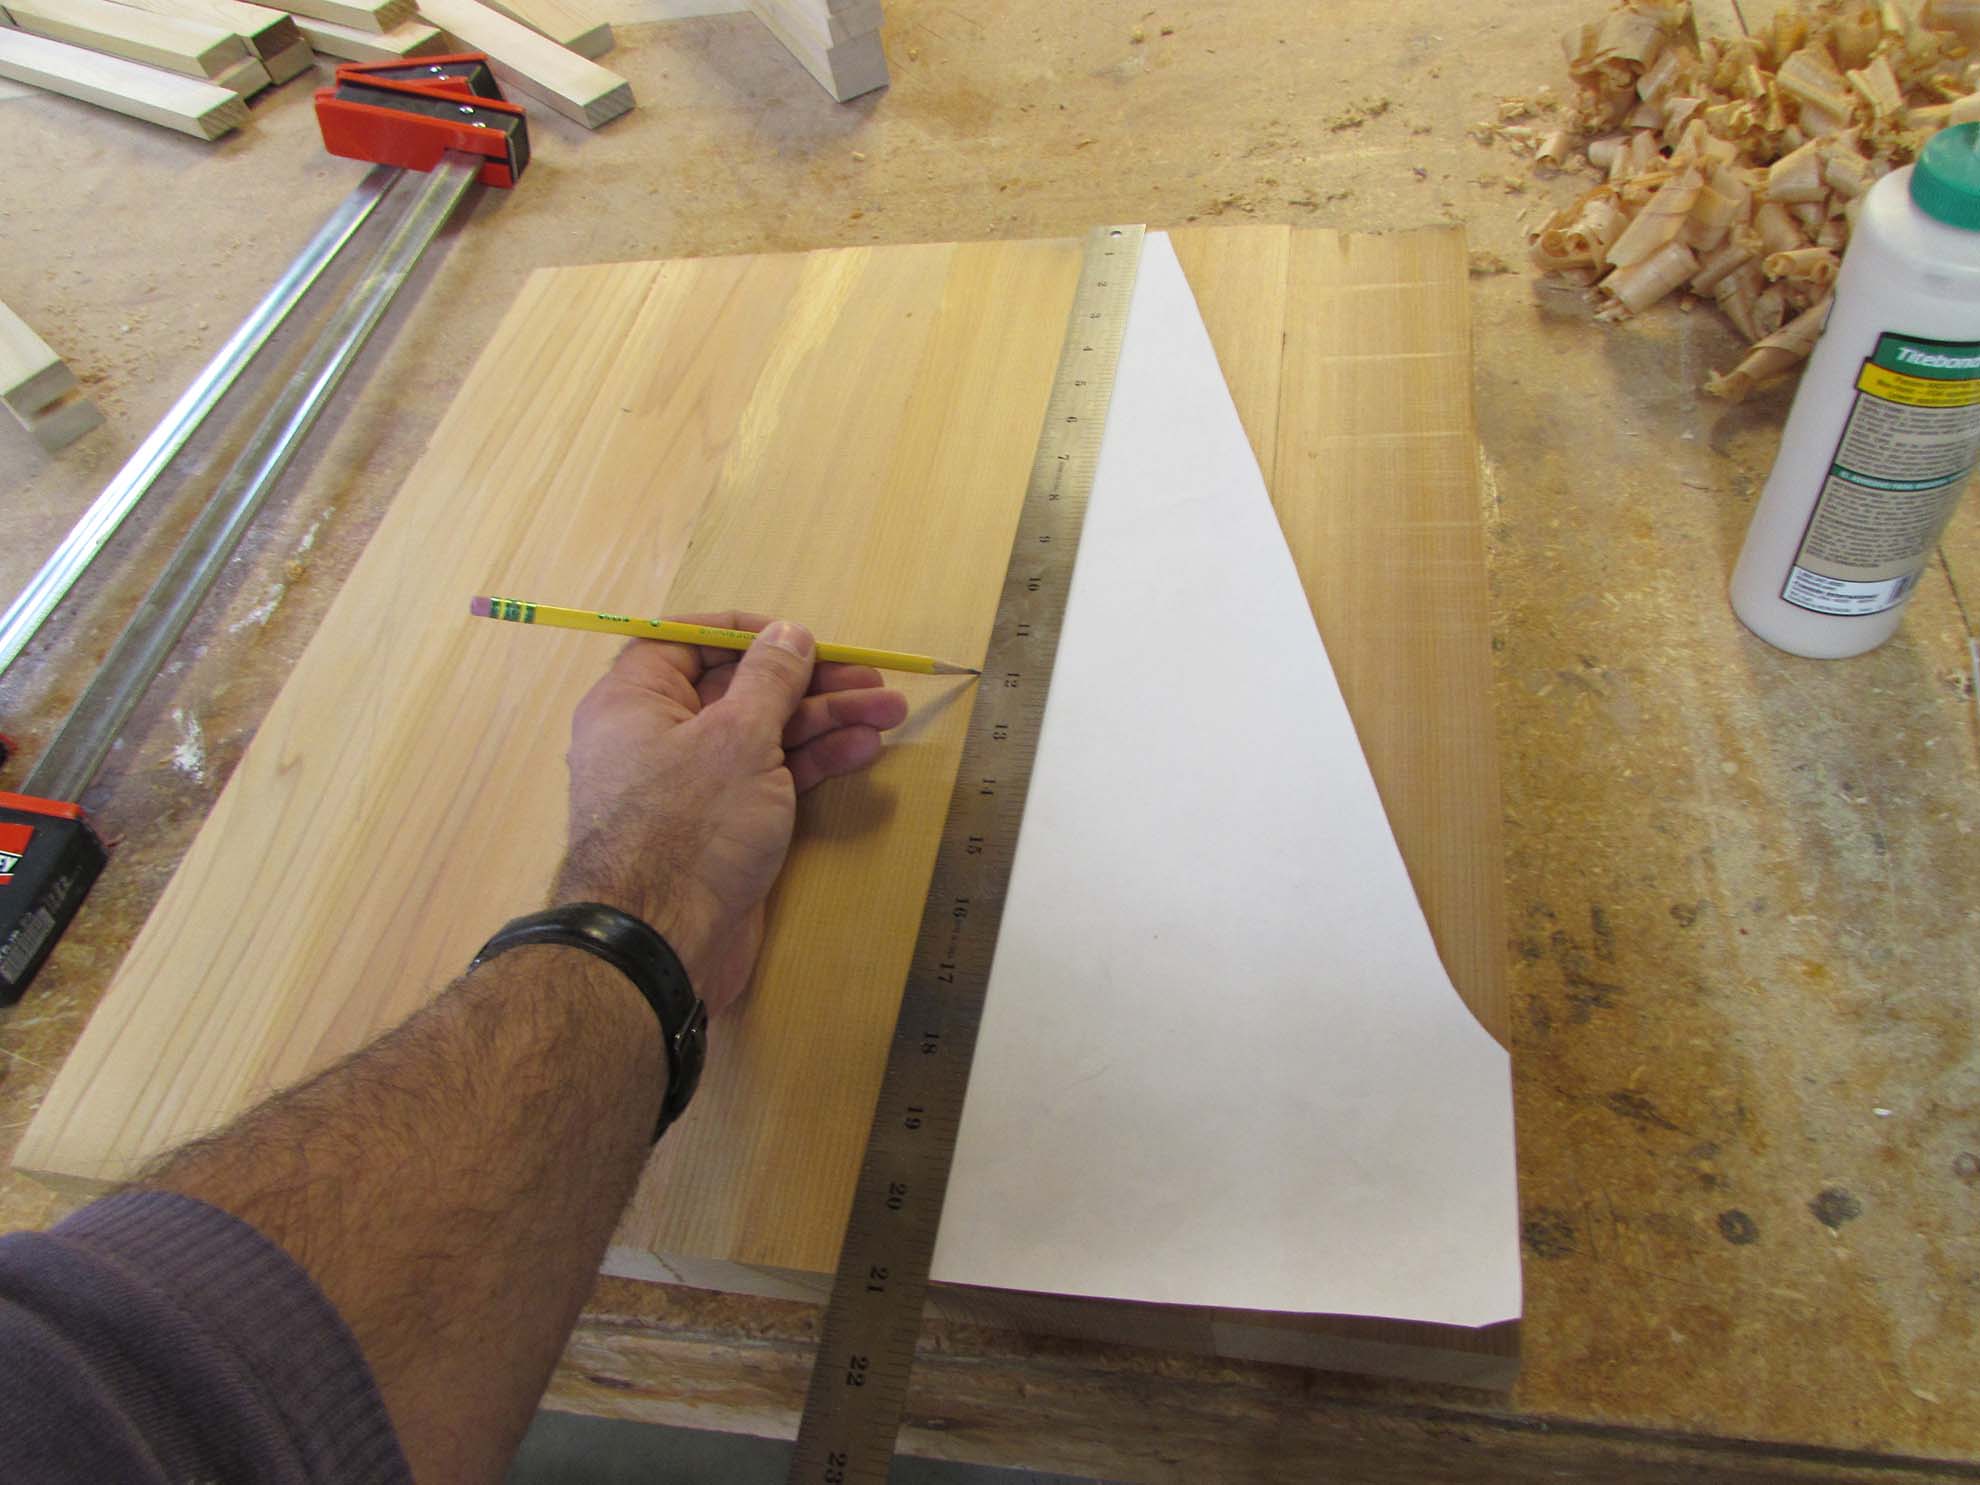
I had Erin work on cutting lattice strips to length while I started laying out the seat supports on a cedar panel that I glued up.
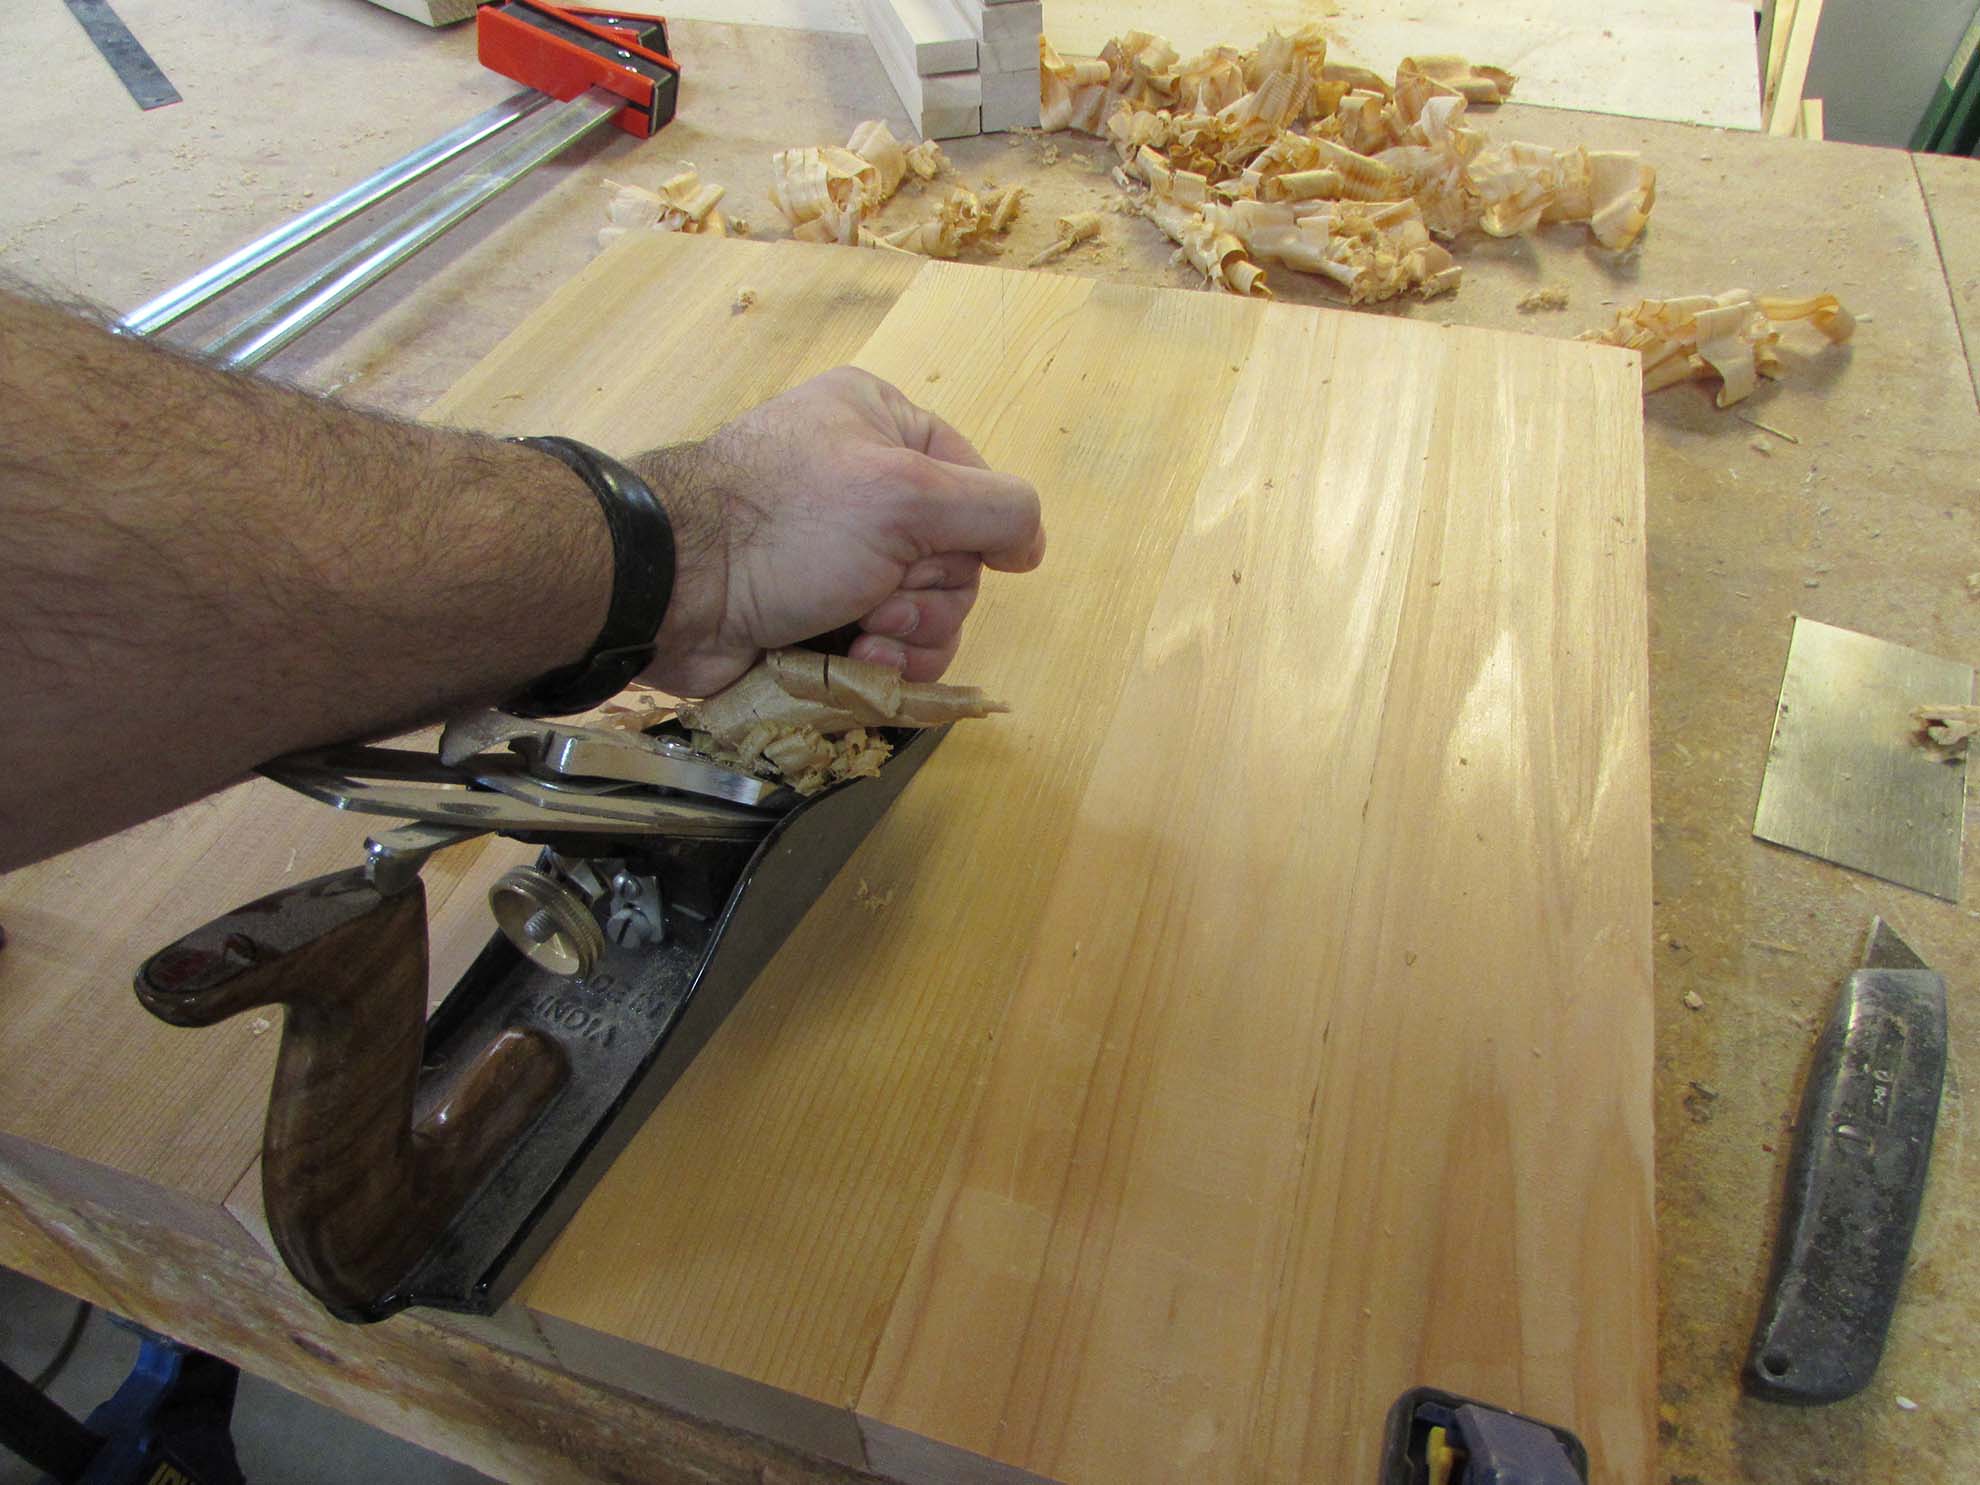
I printed out a pattern mainly to get the curved part just right, on all three supports.

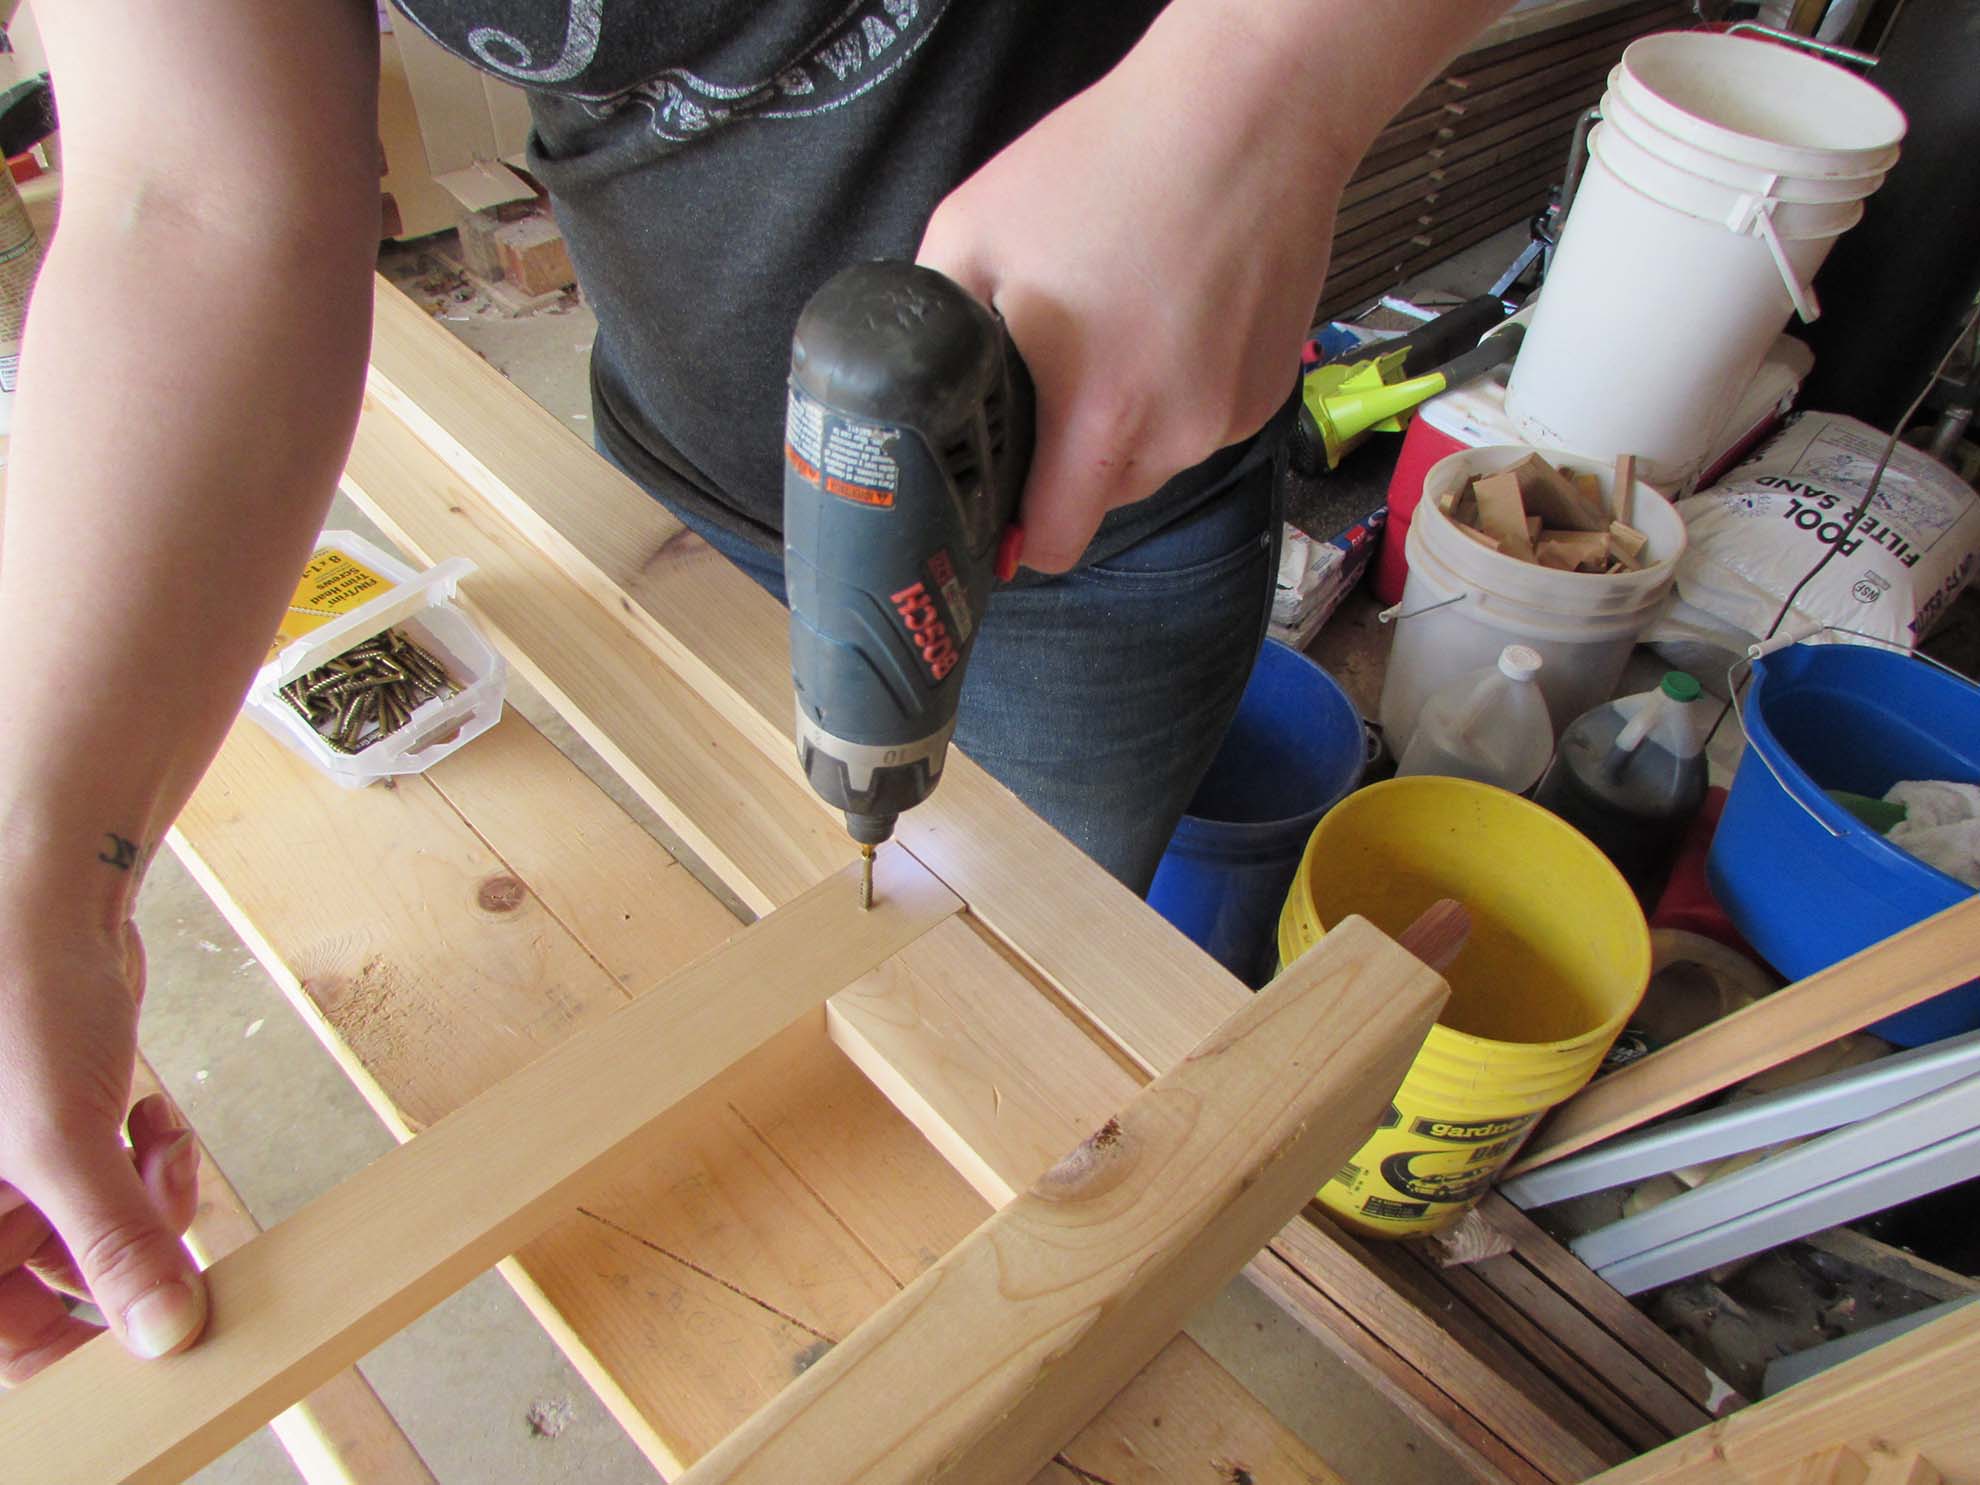
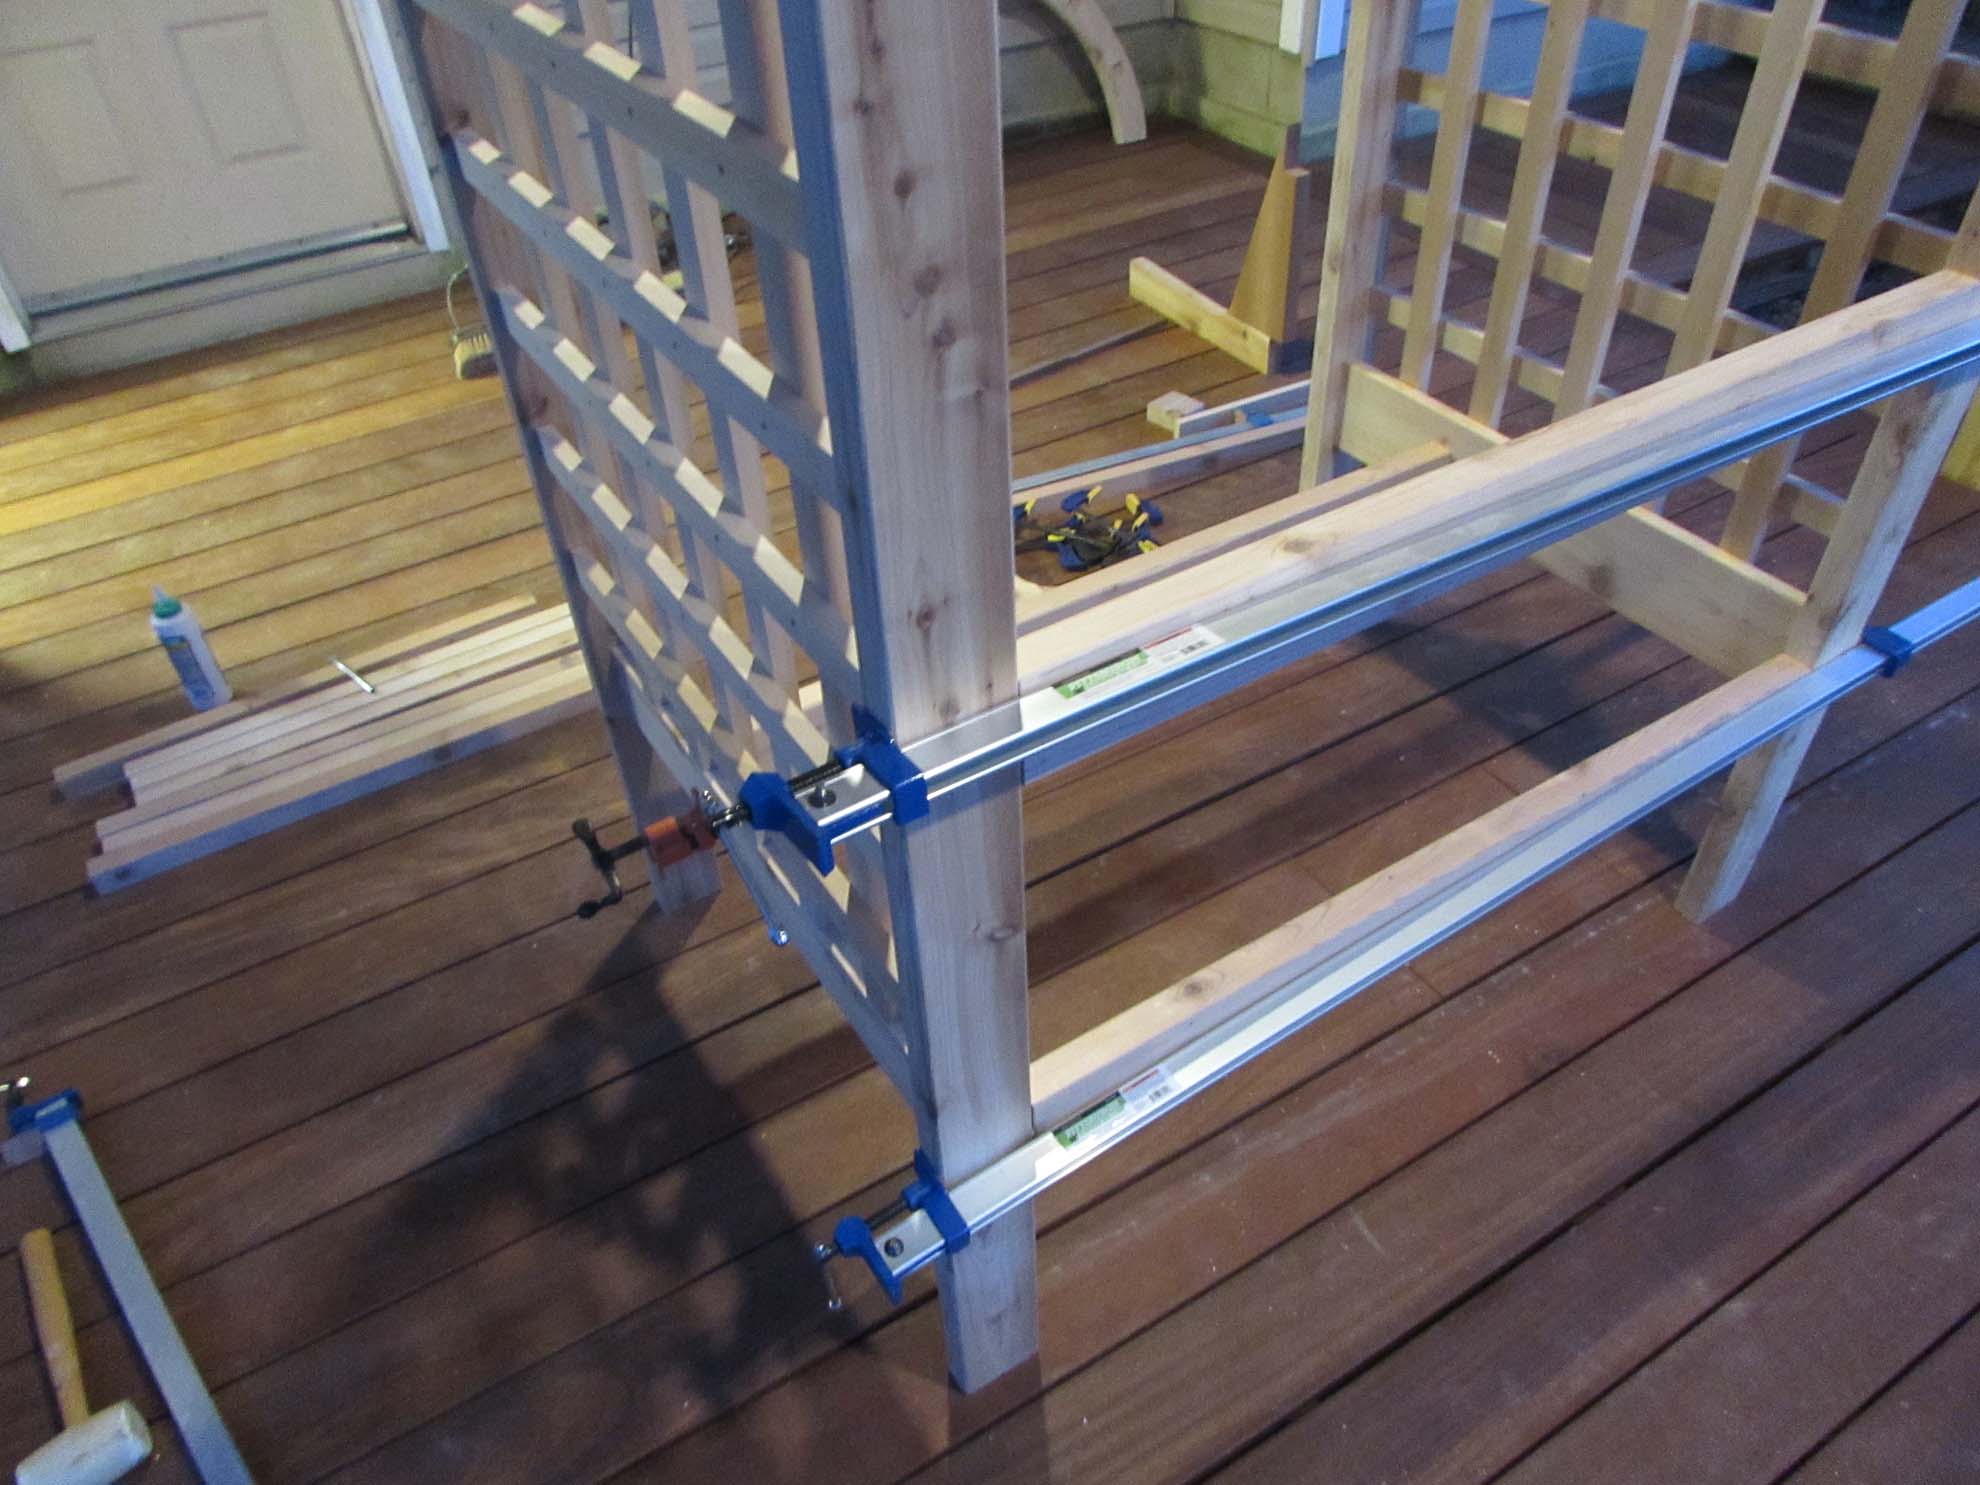
Erin and I did a little math and created some spacer blocks to evenly space the lattice strips.
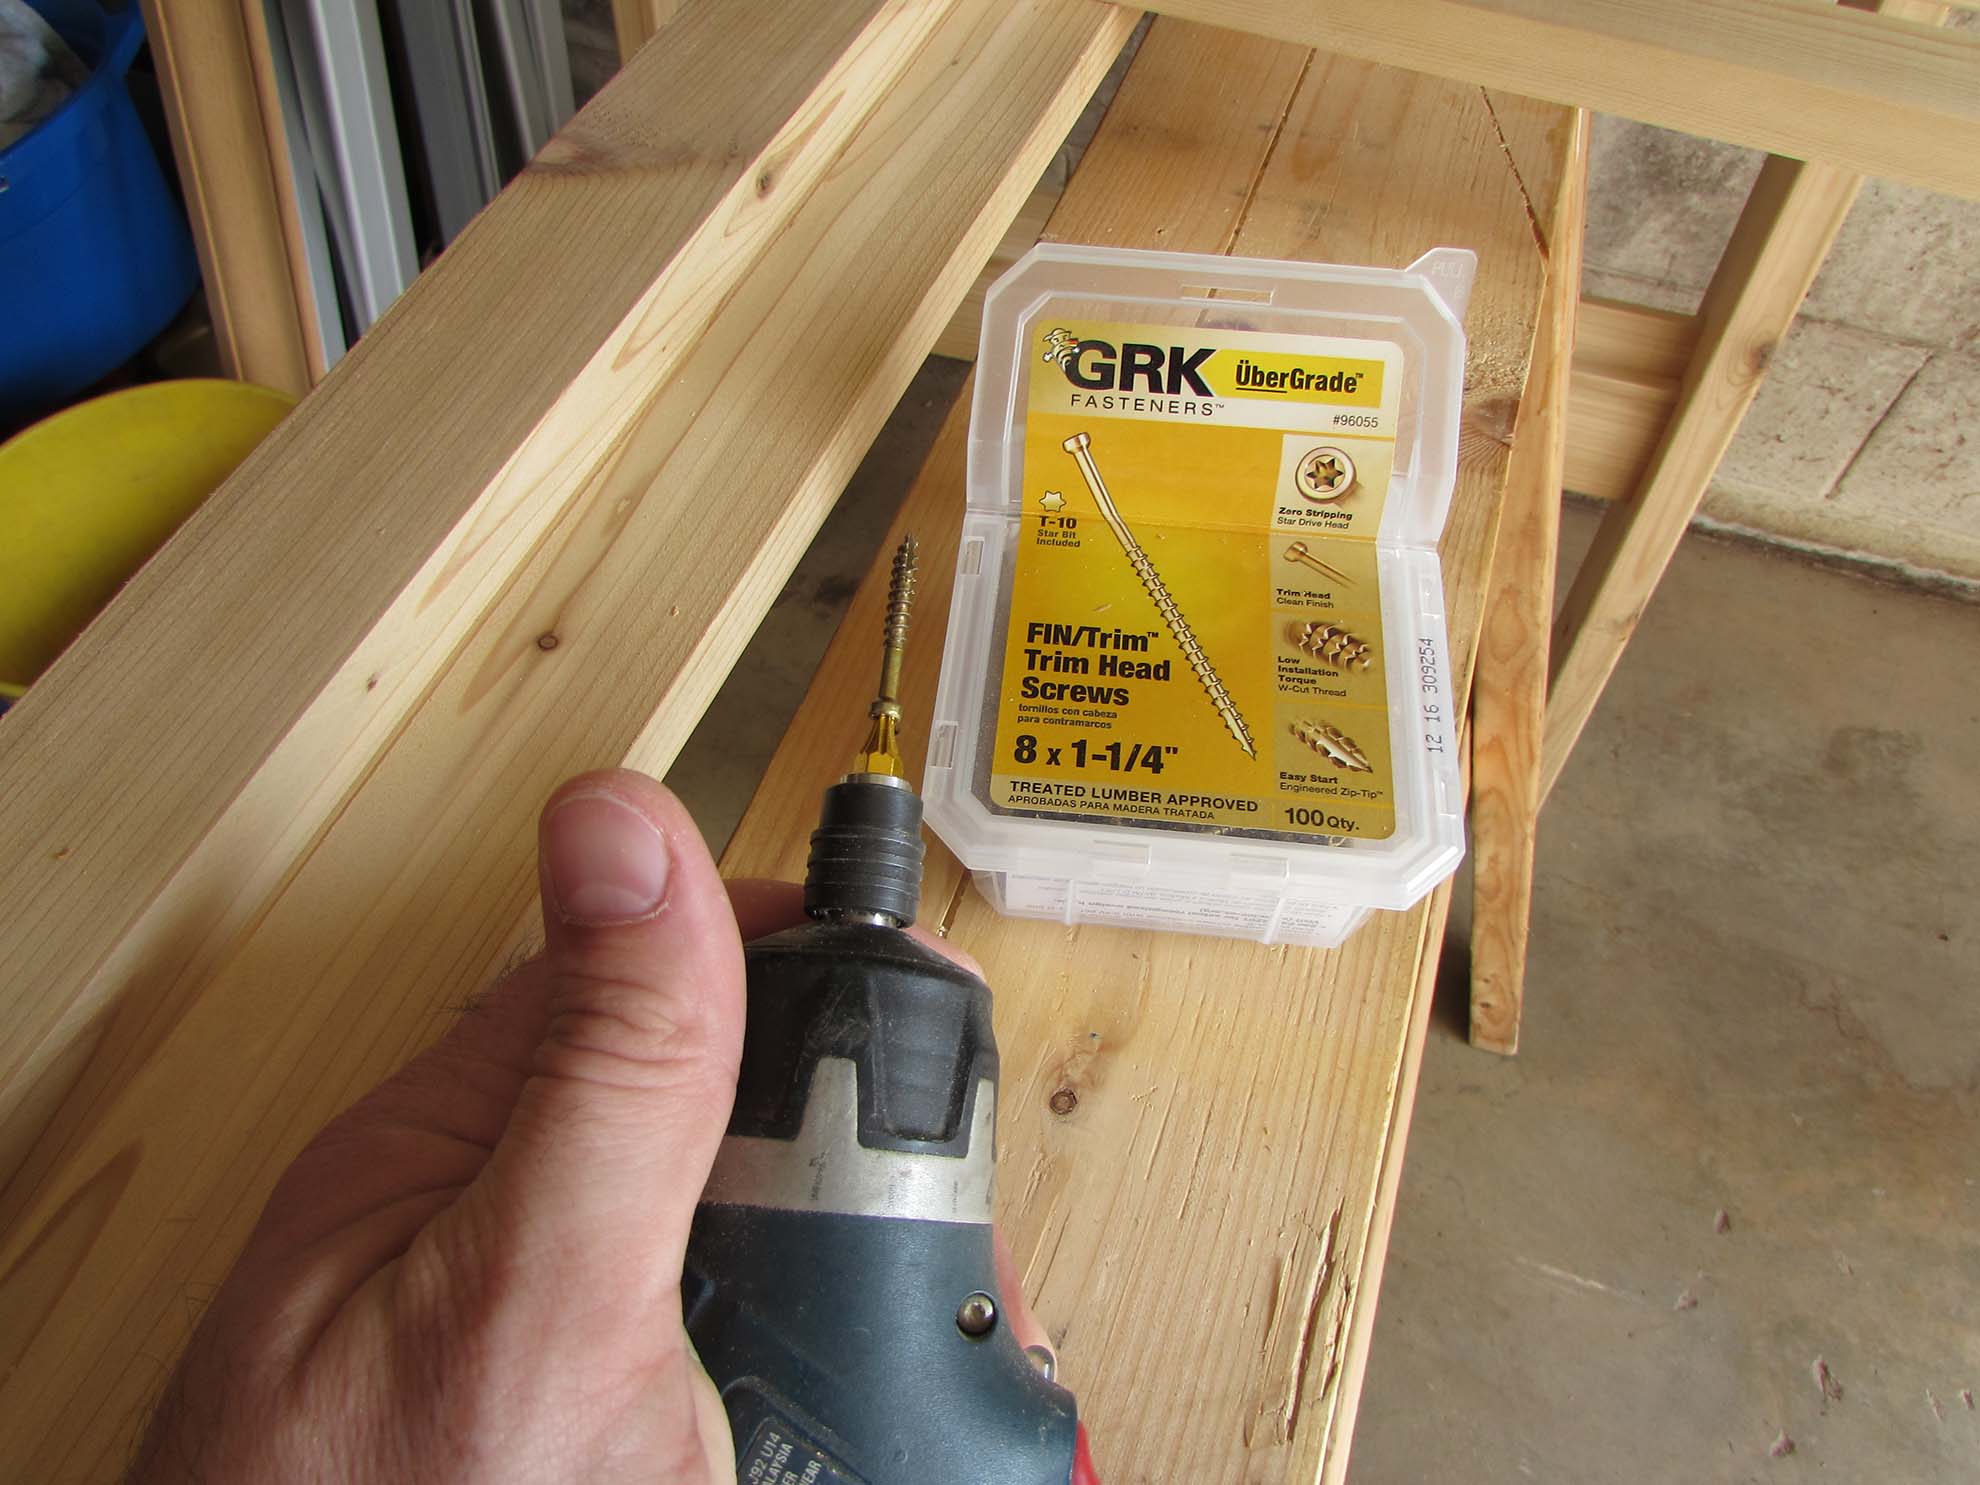
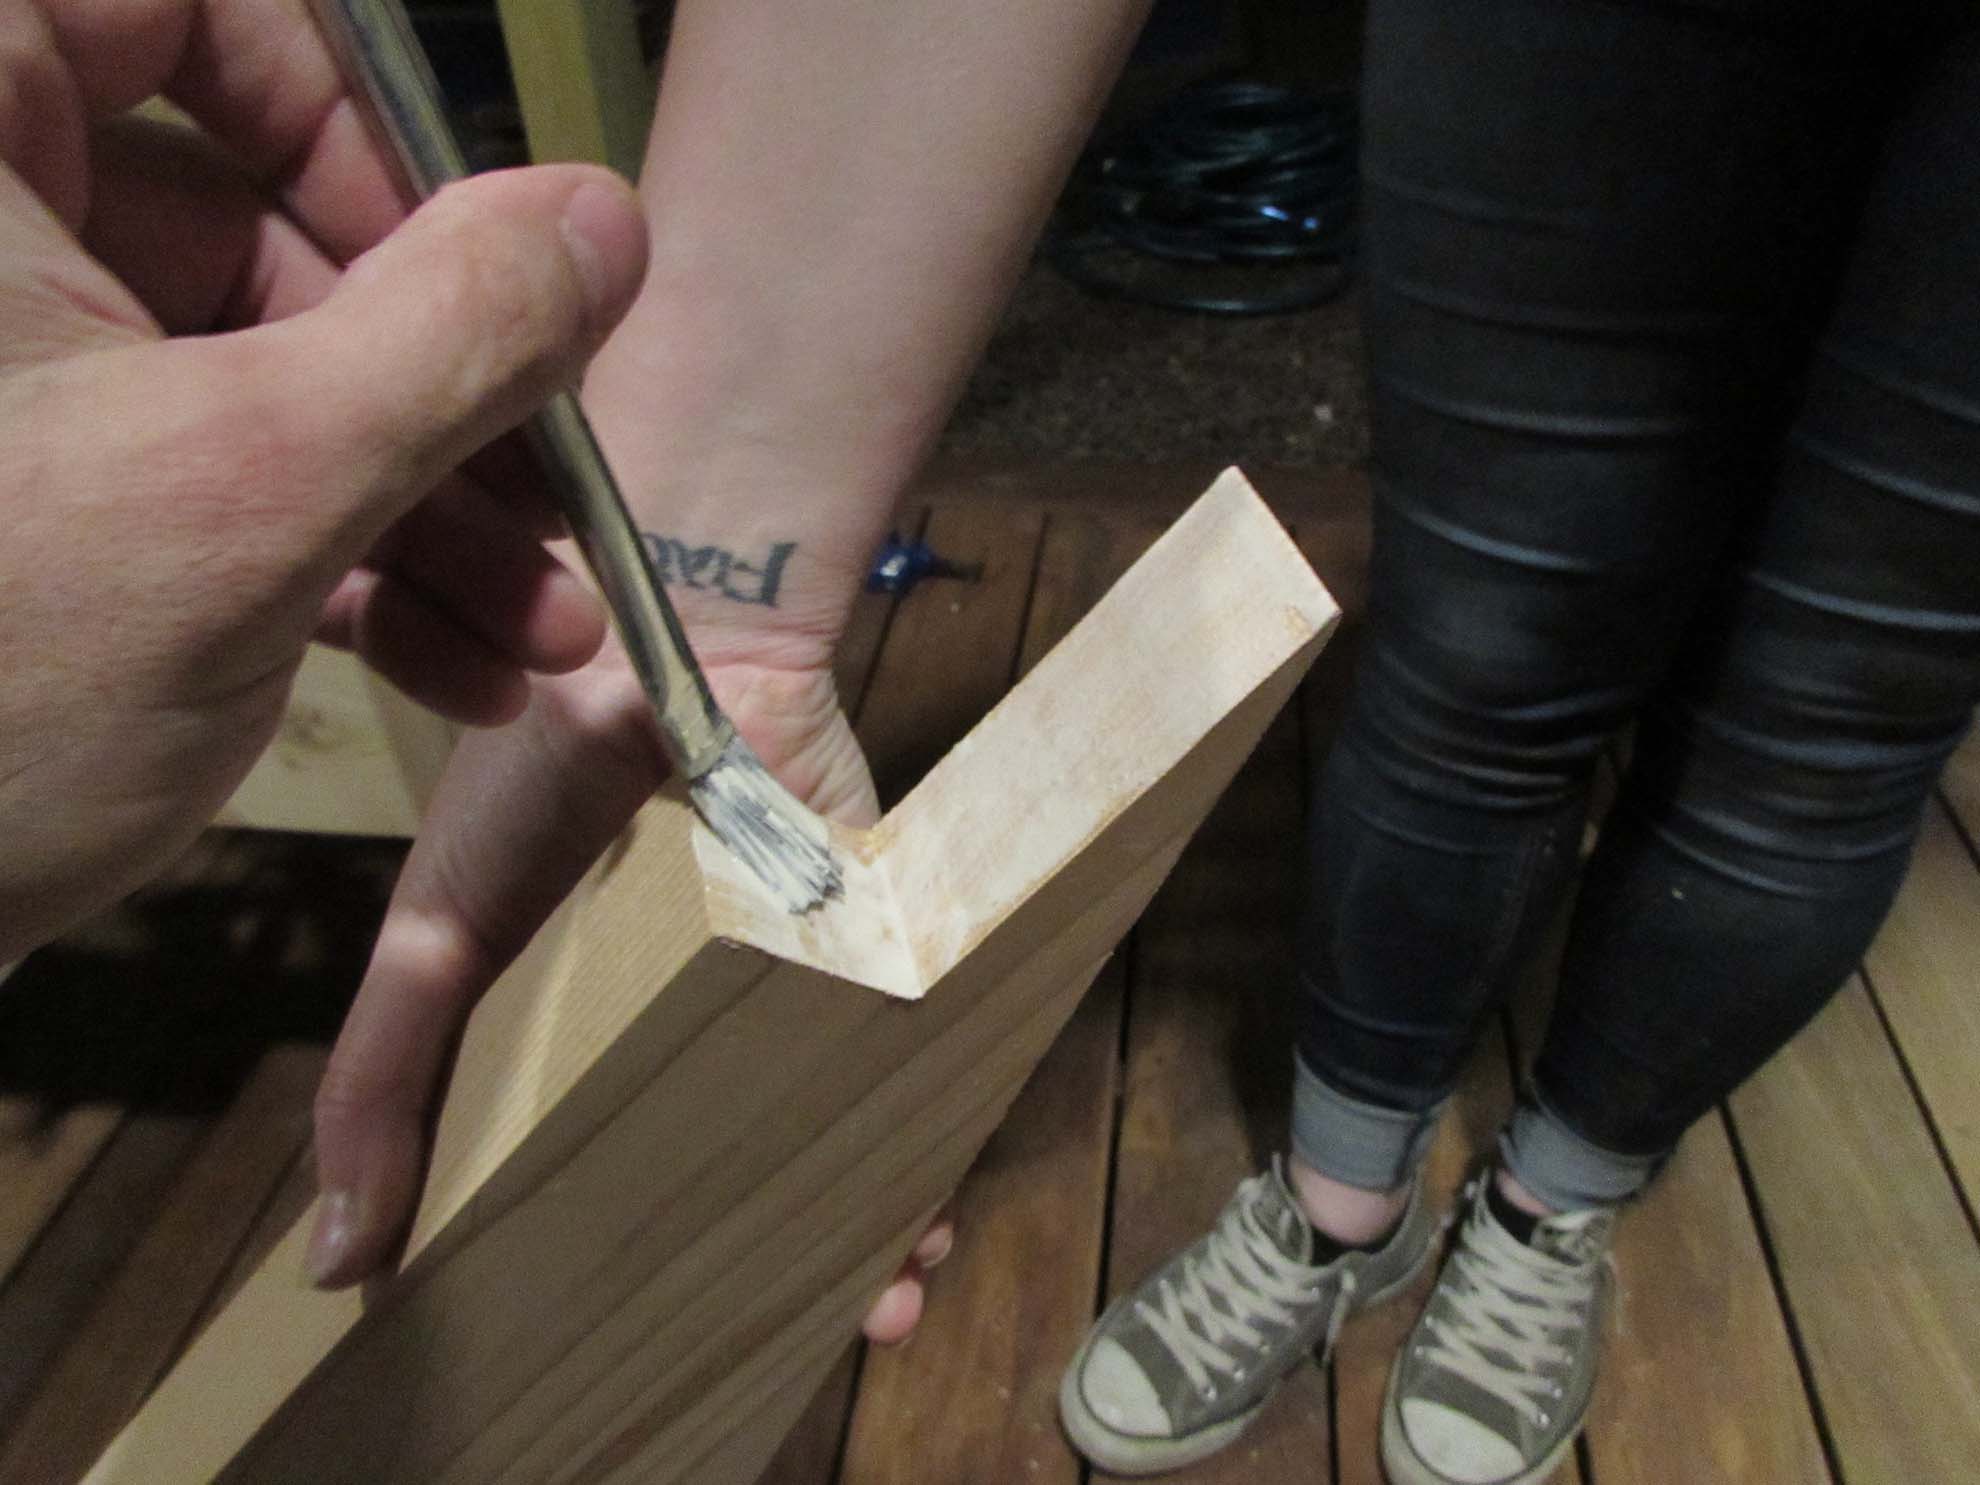
We are using outdoor rated trim screws, along with some Titebond 3 wood glue, to hold everything in place.

The trim screw leaves a small hole behind, so it doesn’t look too bad.

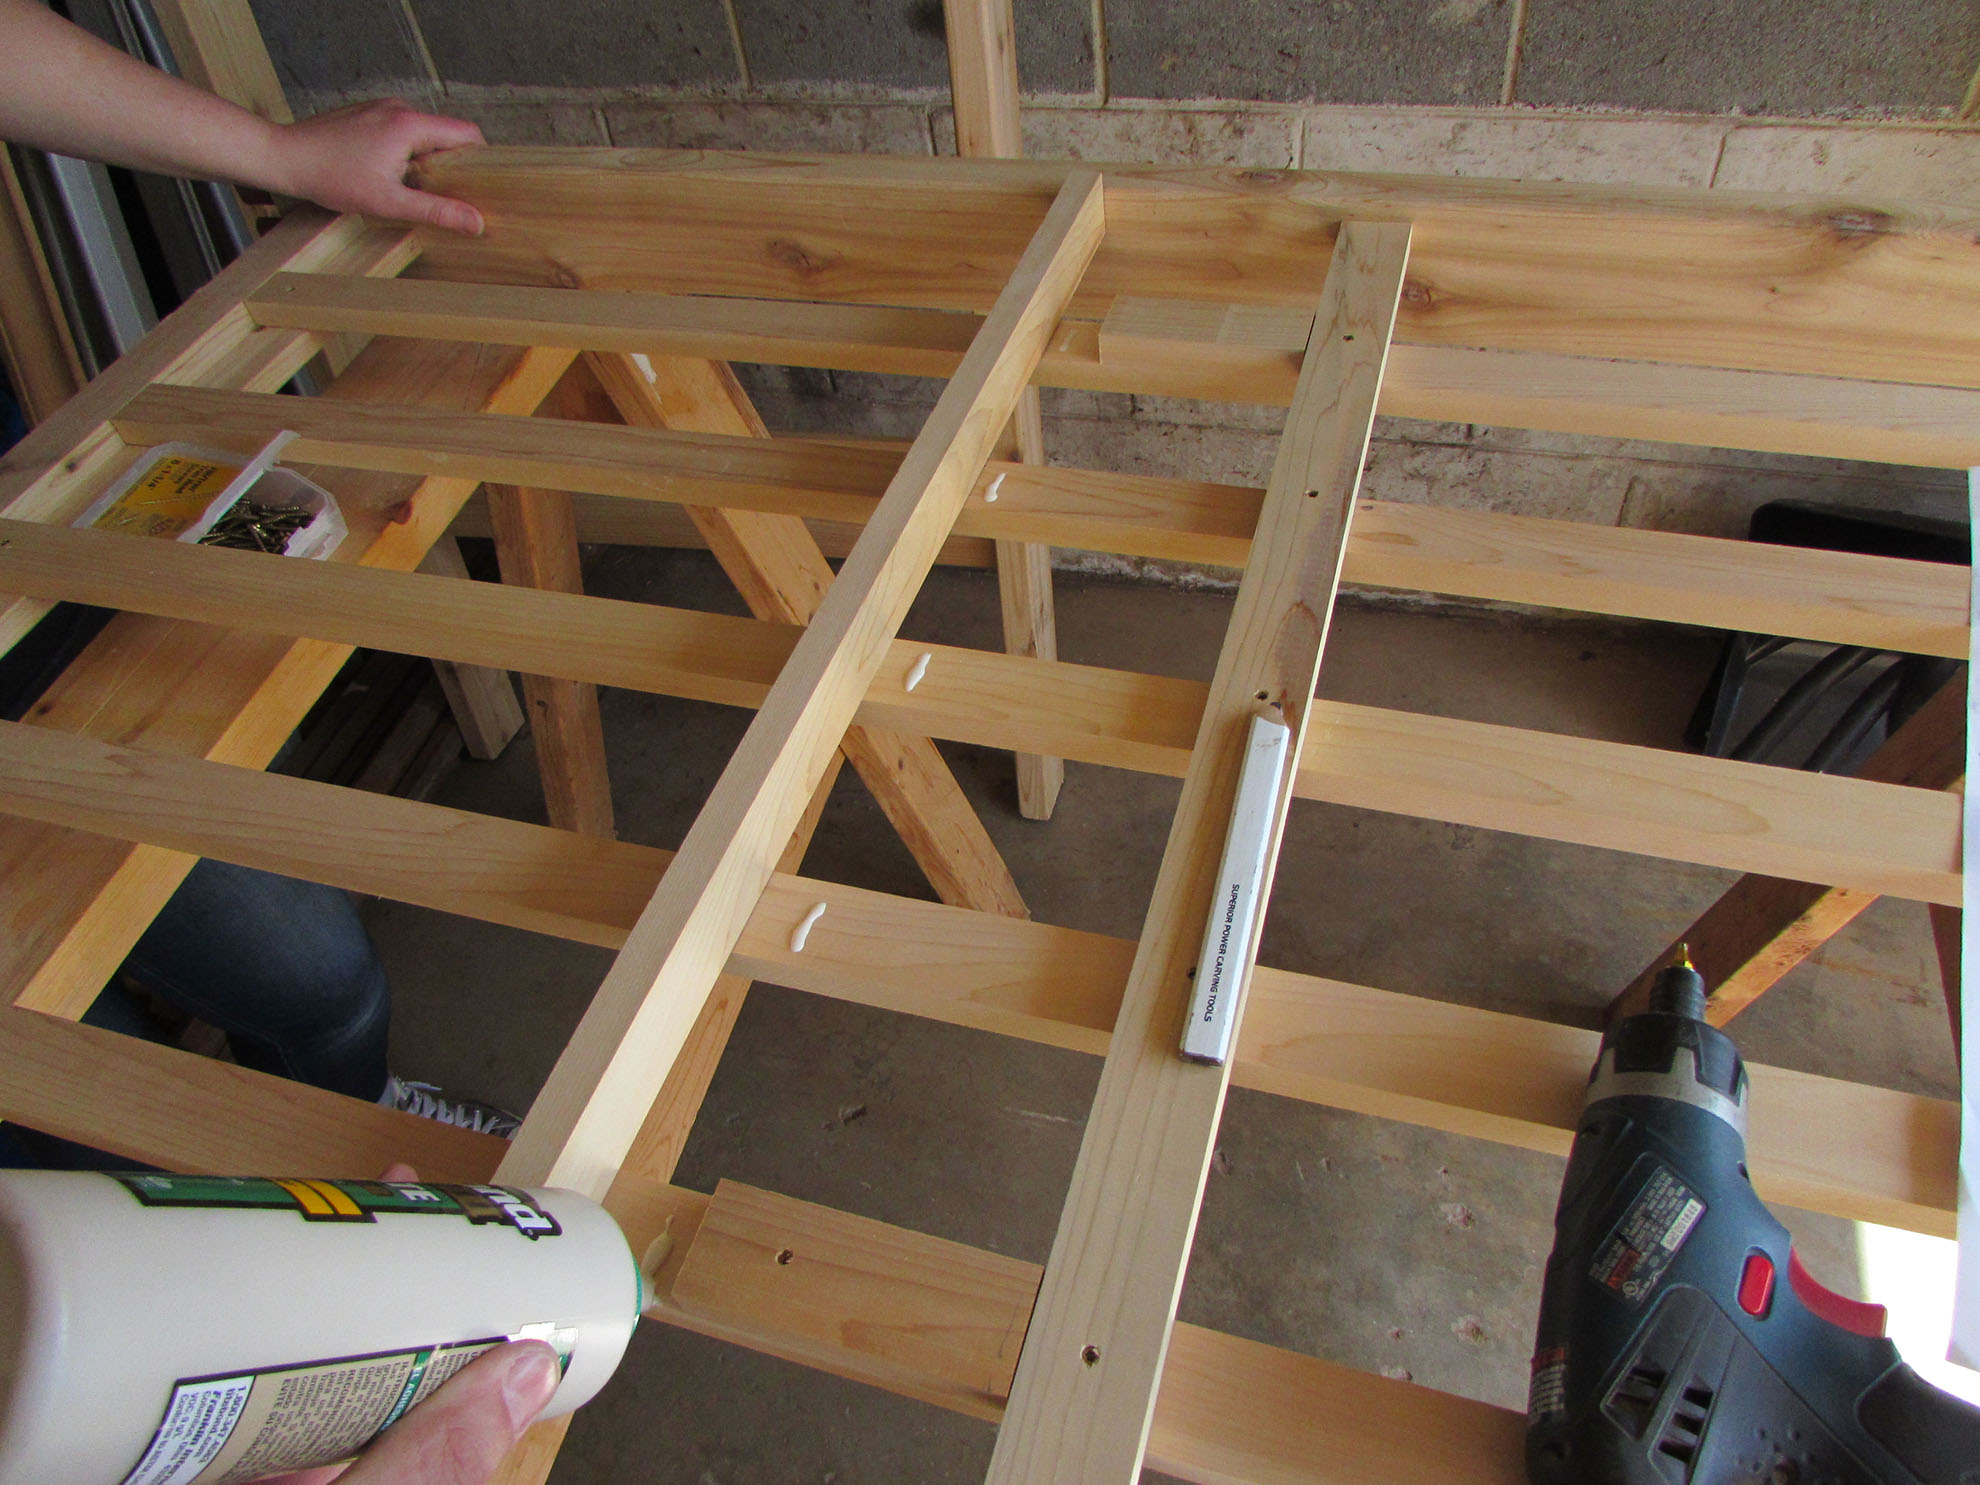
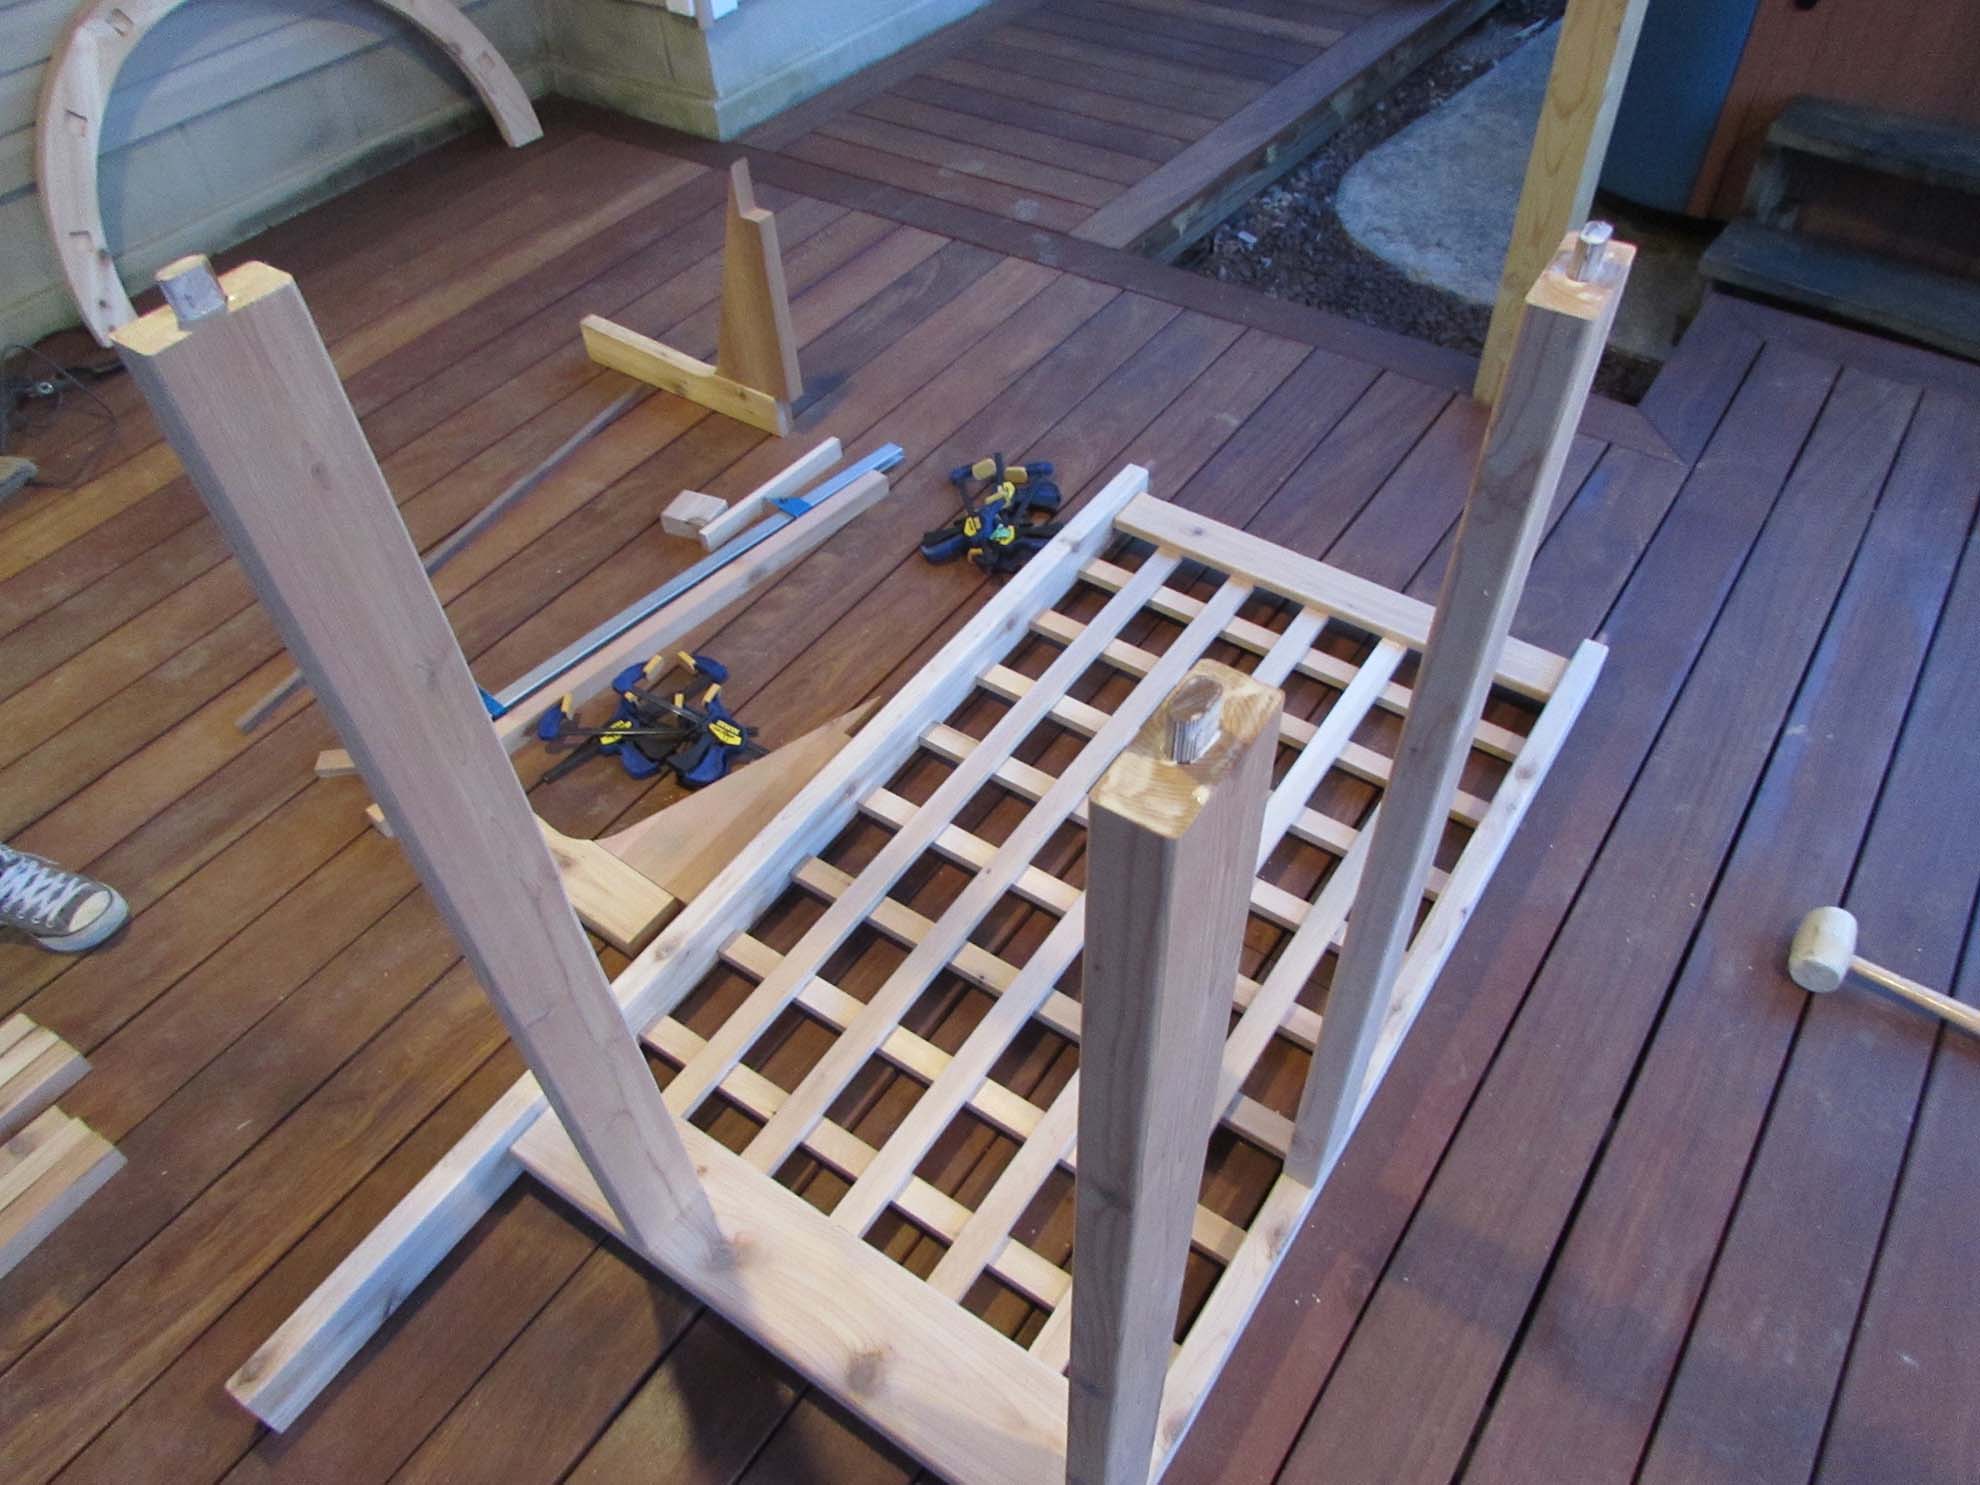
After the long vertical bars went in, we made new spacer blocks for the other direction, starting in the center.


In no time at all, side one was done and Erin moved on to side two.


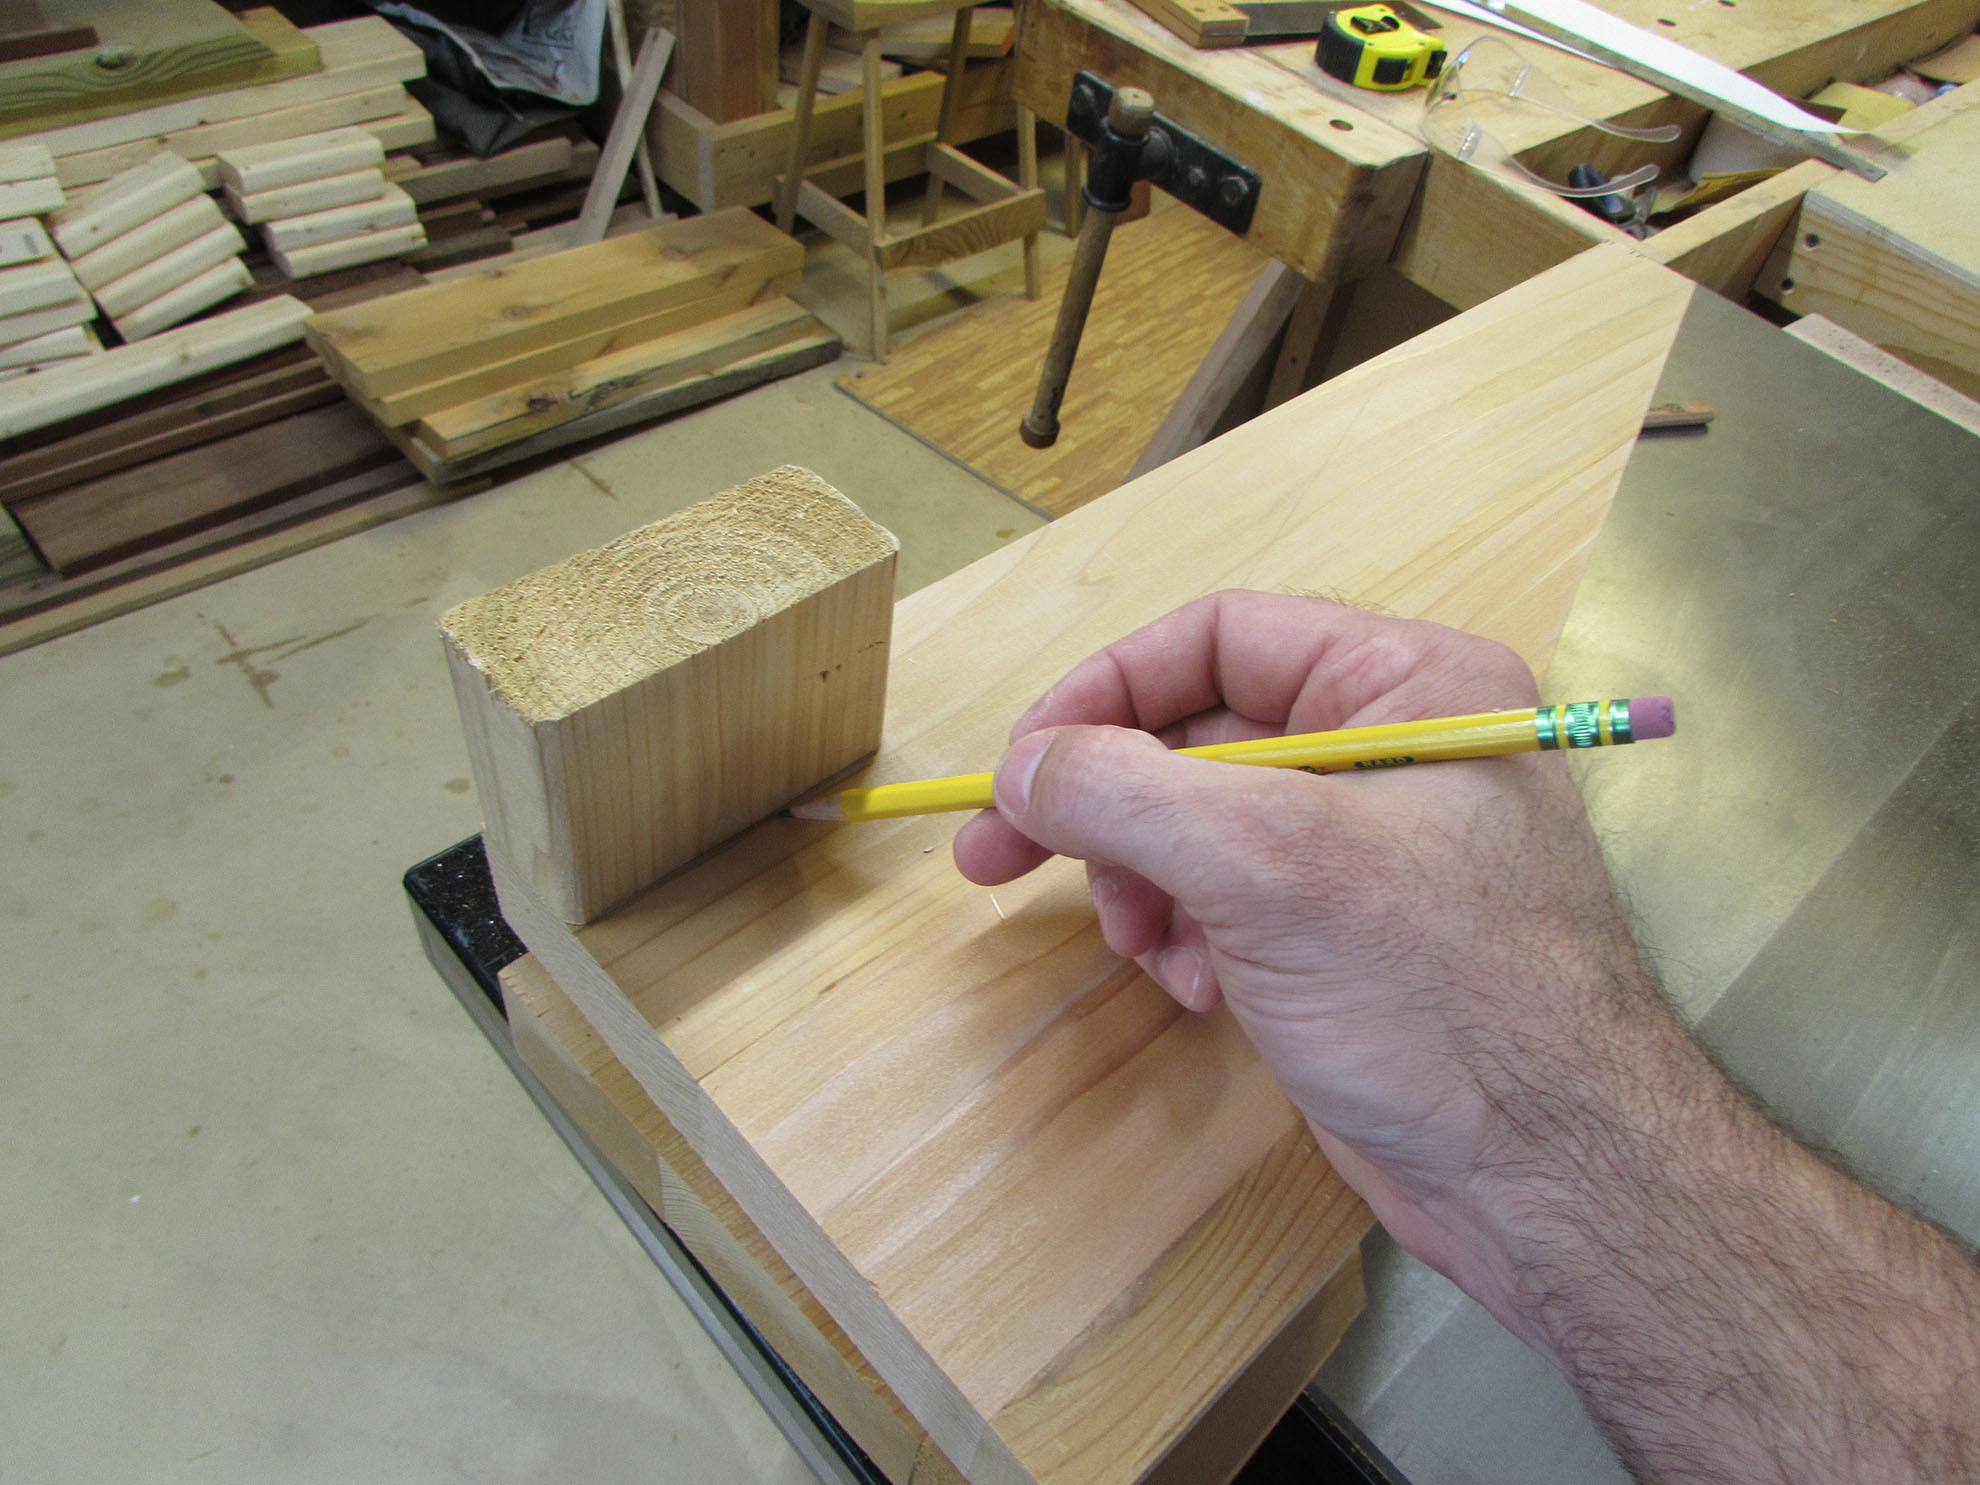
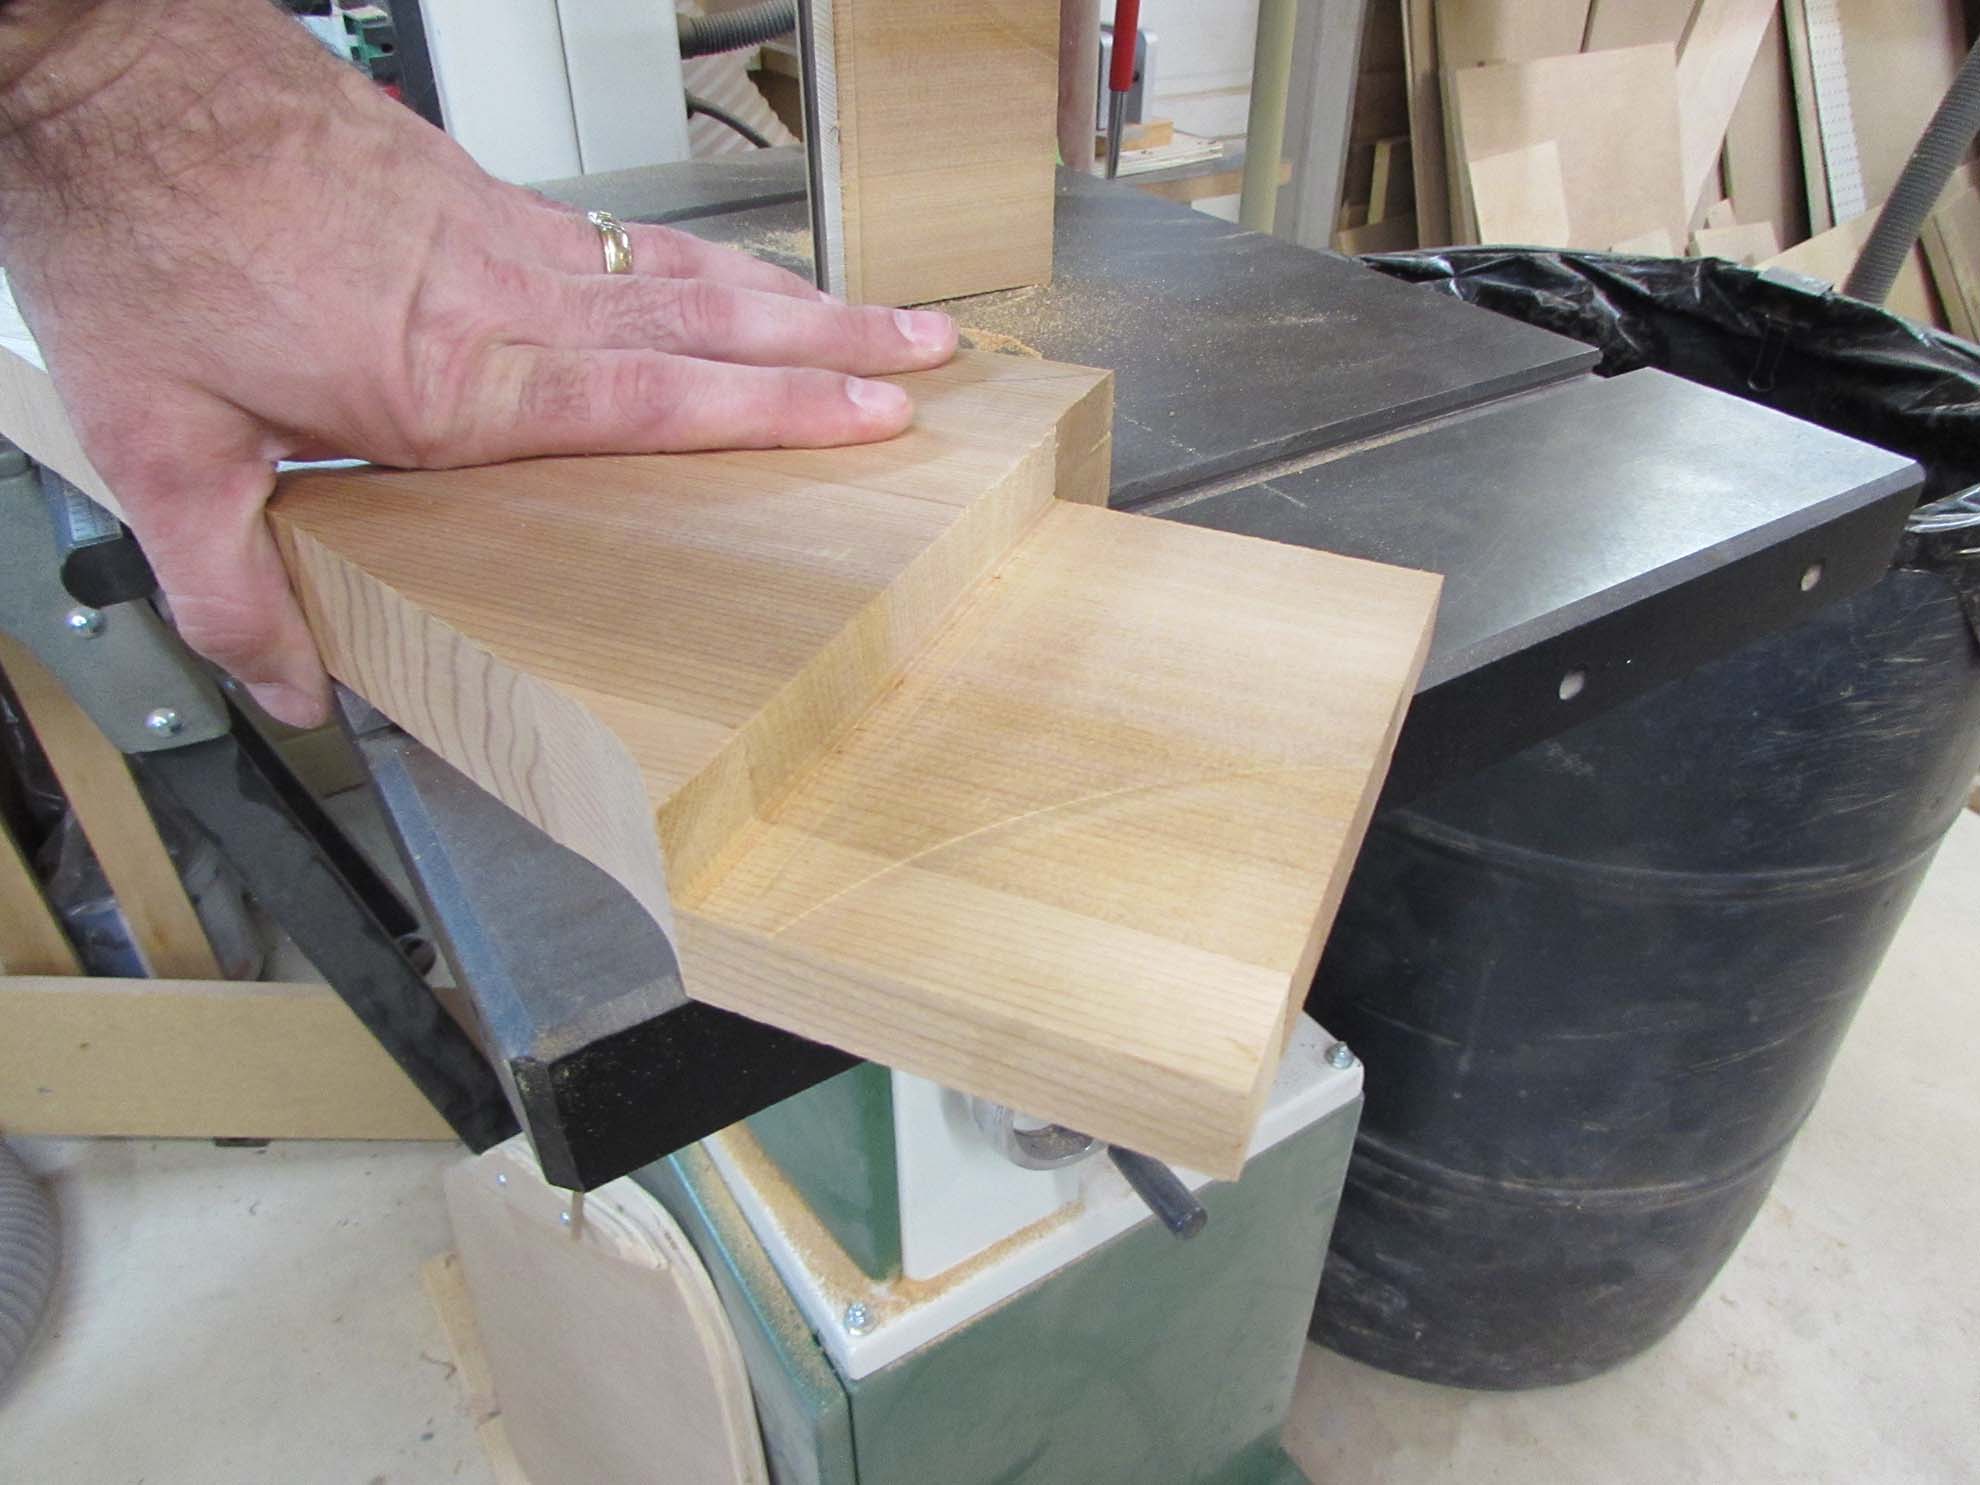
I cut and sanded the seat back supports, then laid out the notch locations with a chunk of 2″x4″.


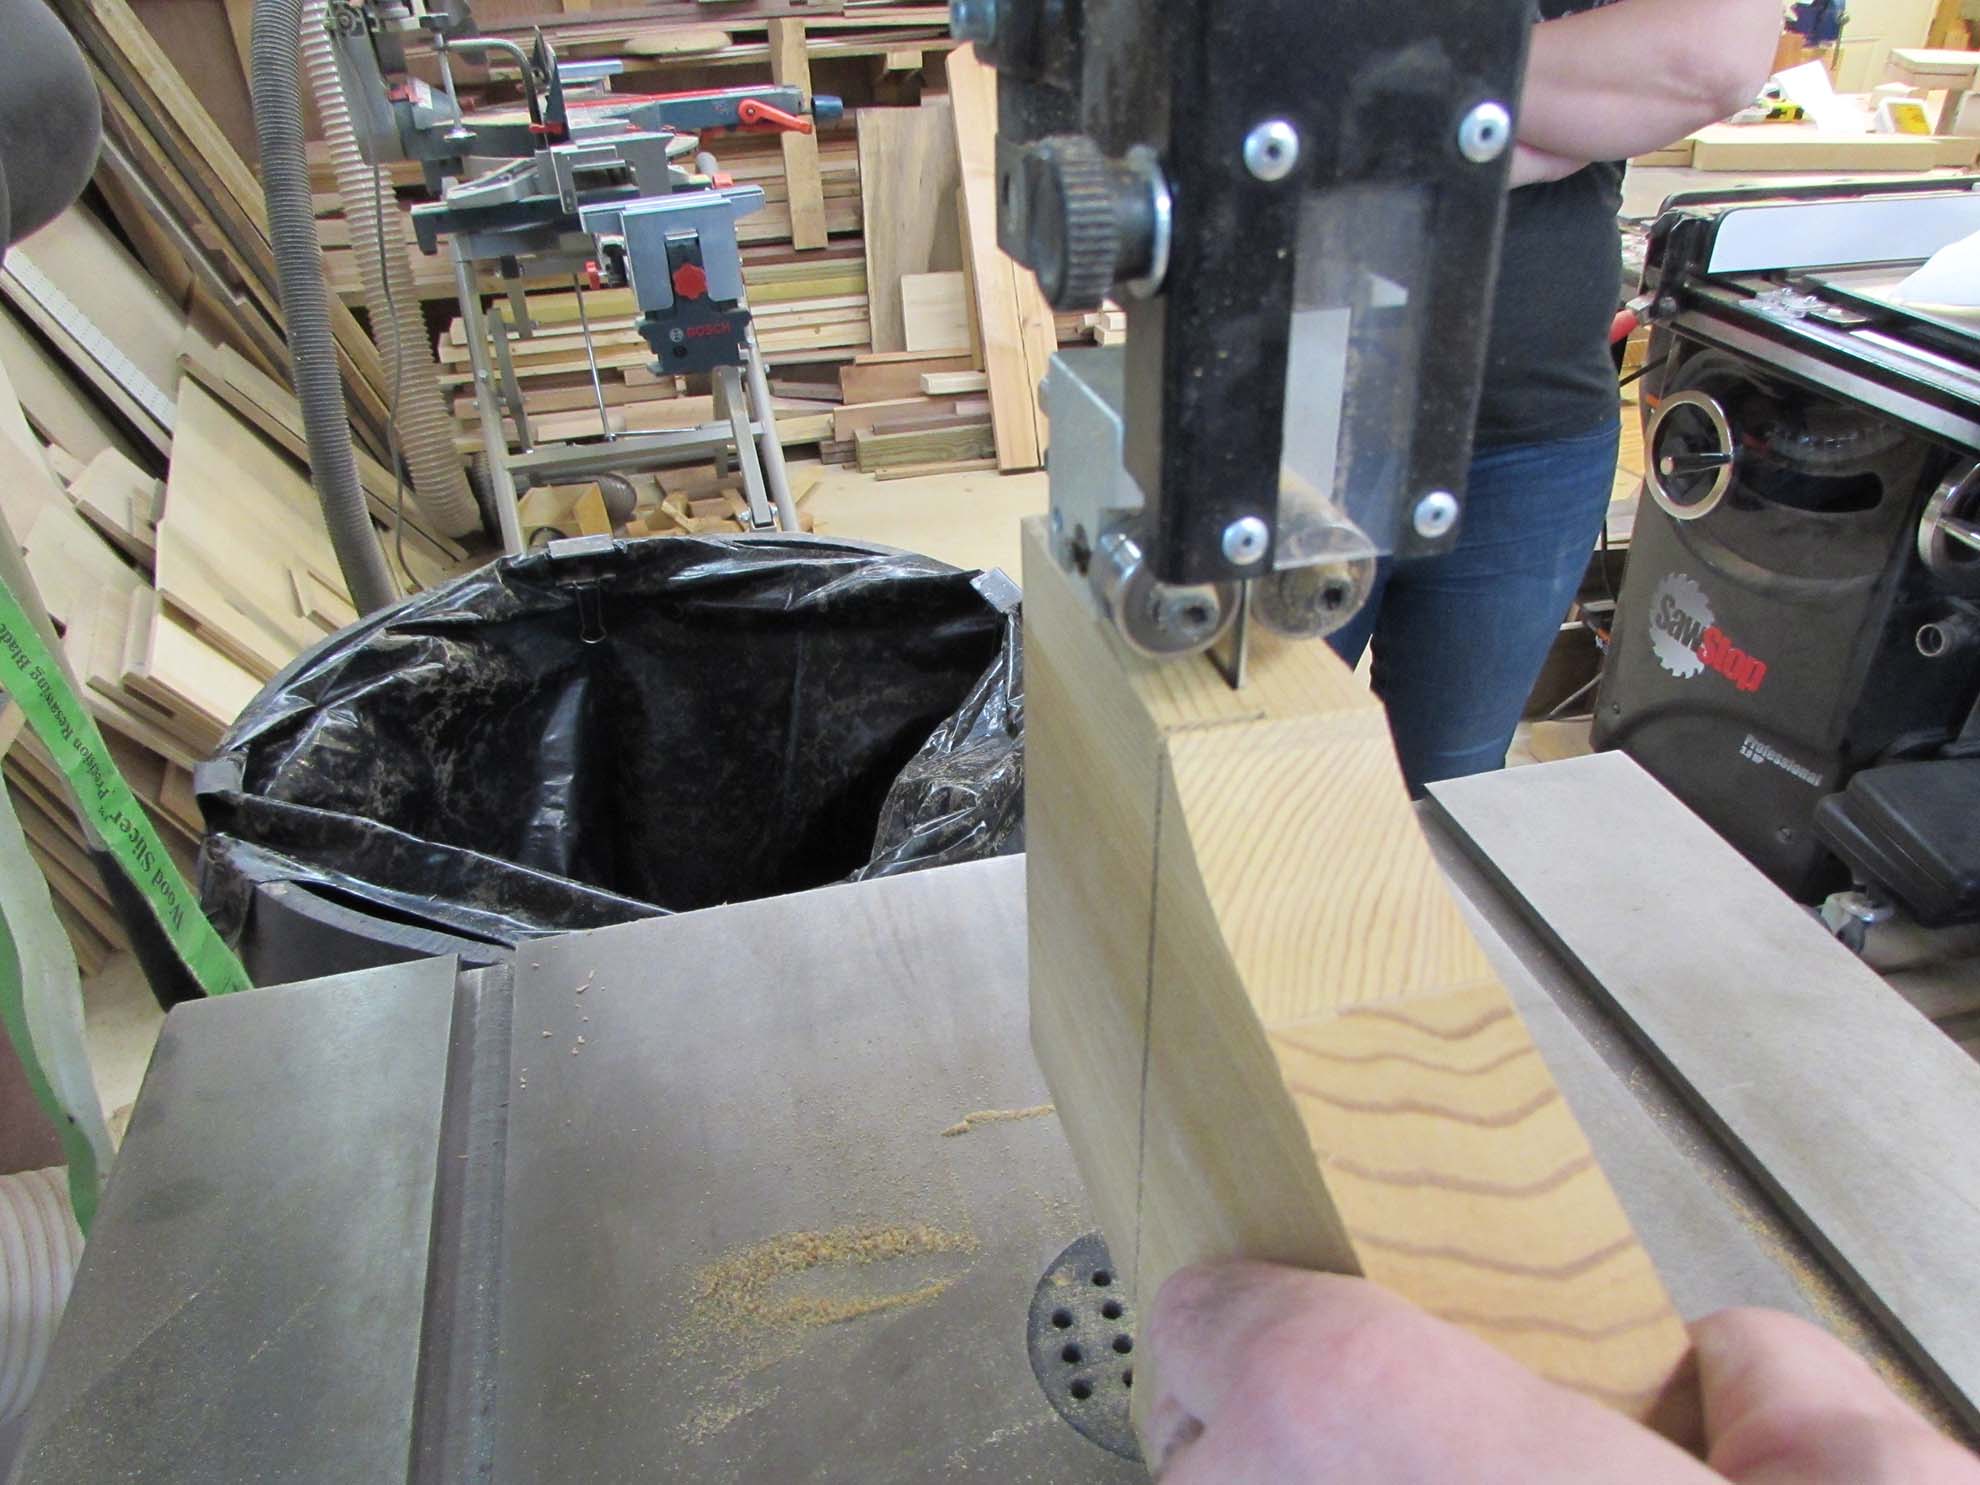
Erin cut out the notches, and I cut out the half lap joints.


What the table saw blade could not reach, the band saw finished up.

I repeated the process of the bottom seat supports on some 2″x4″ material.


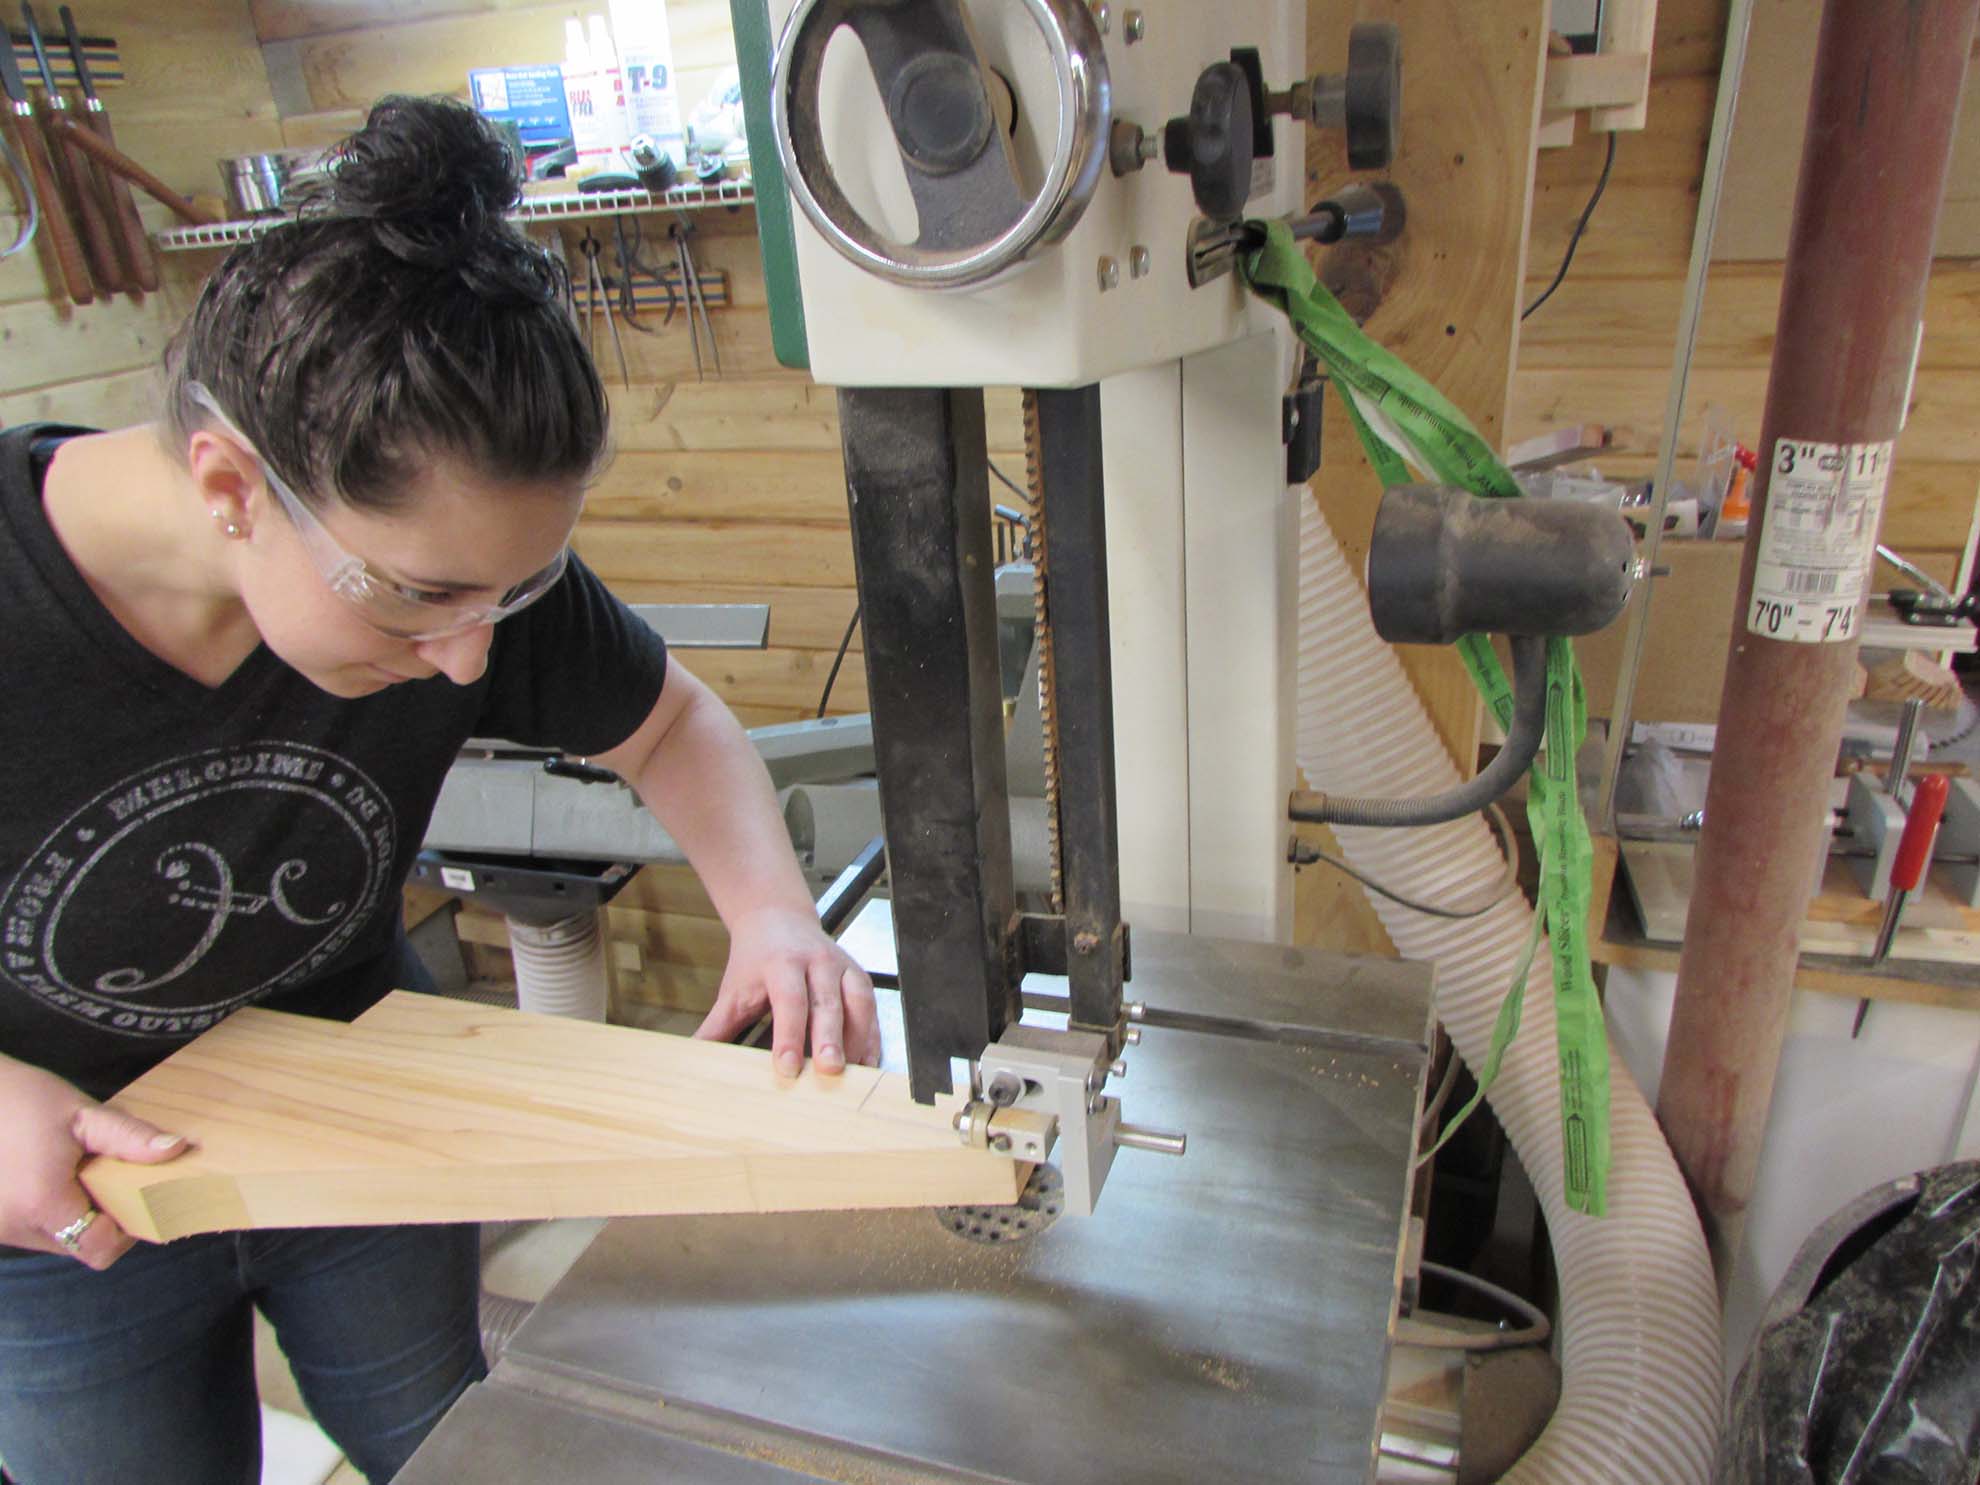
After test-fitting the lap joint, I laid out the curve on the seat bottoms and had Erin cut them out.

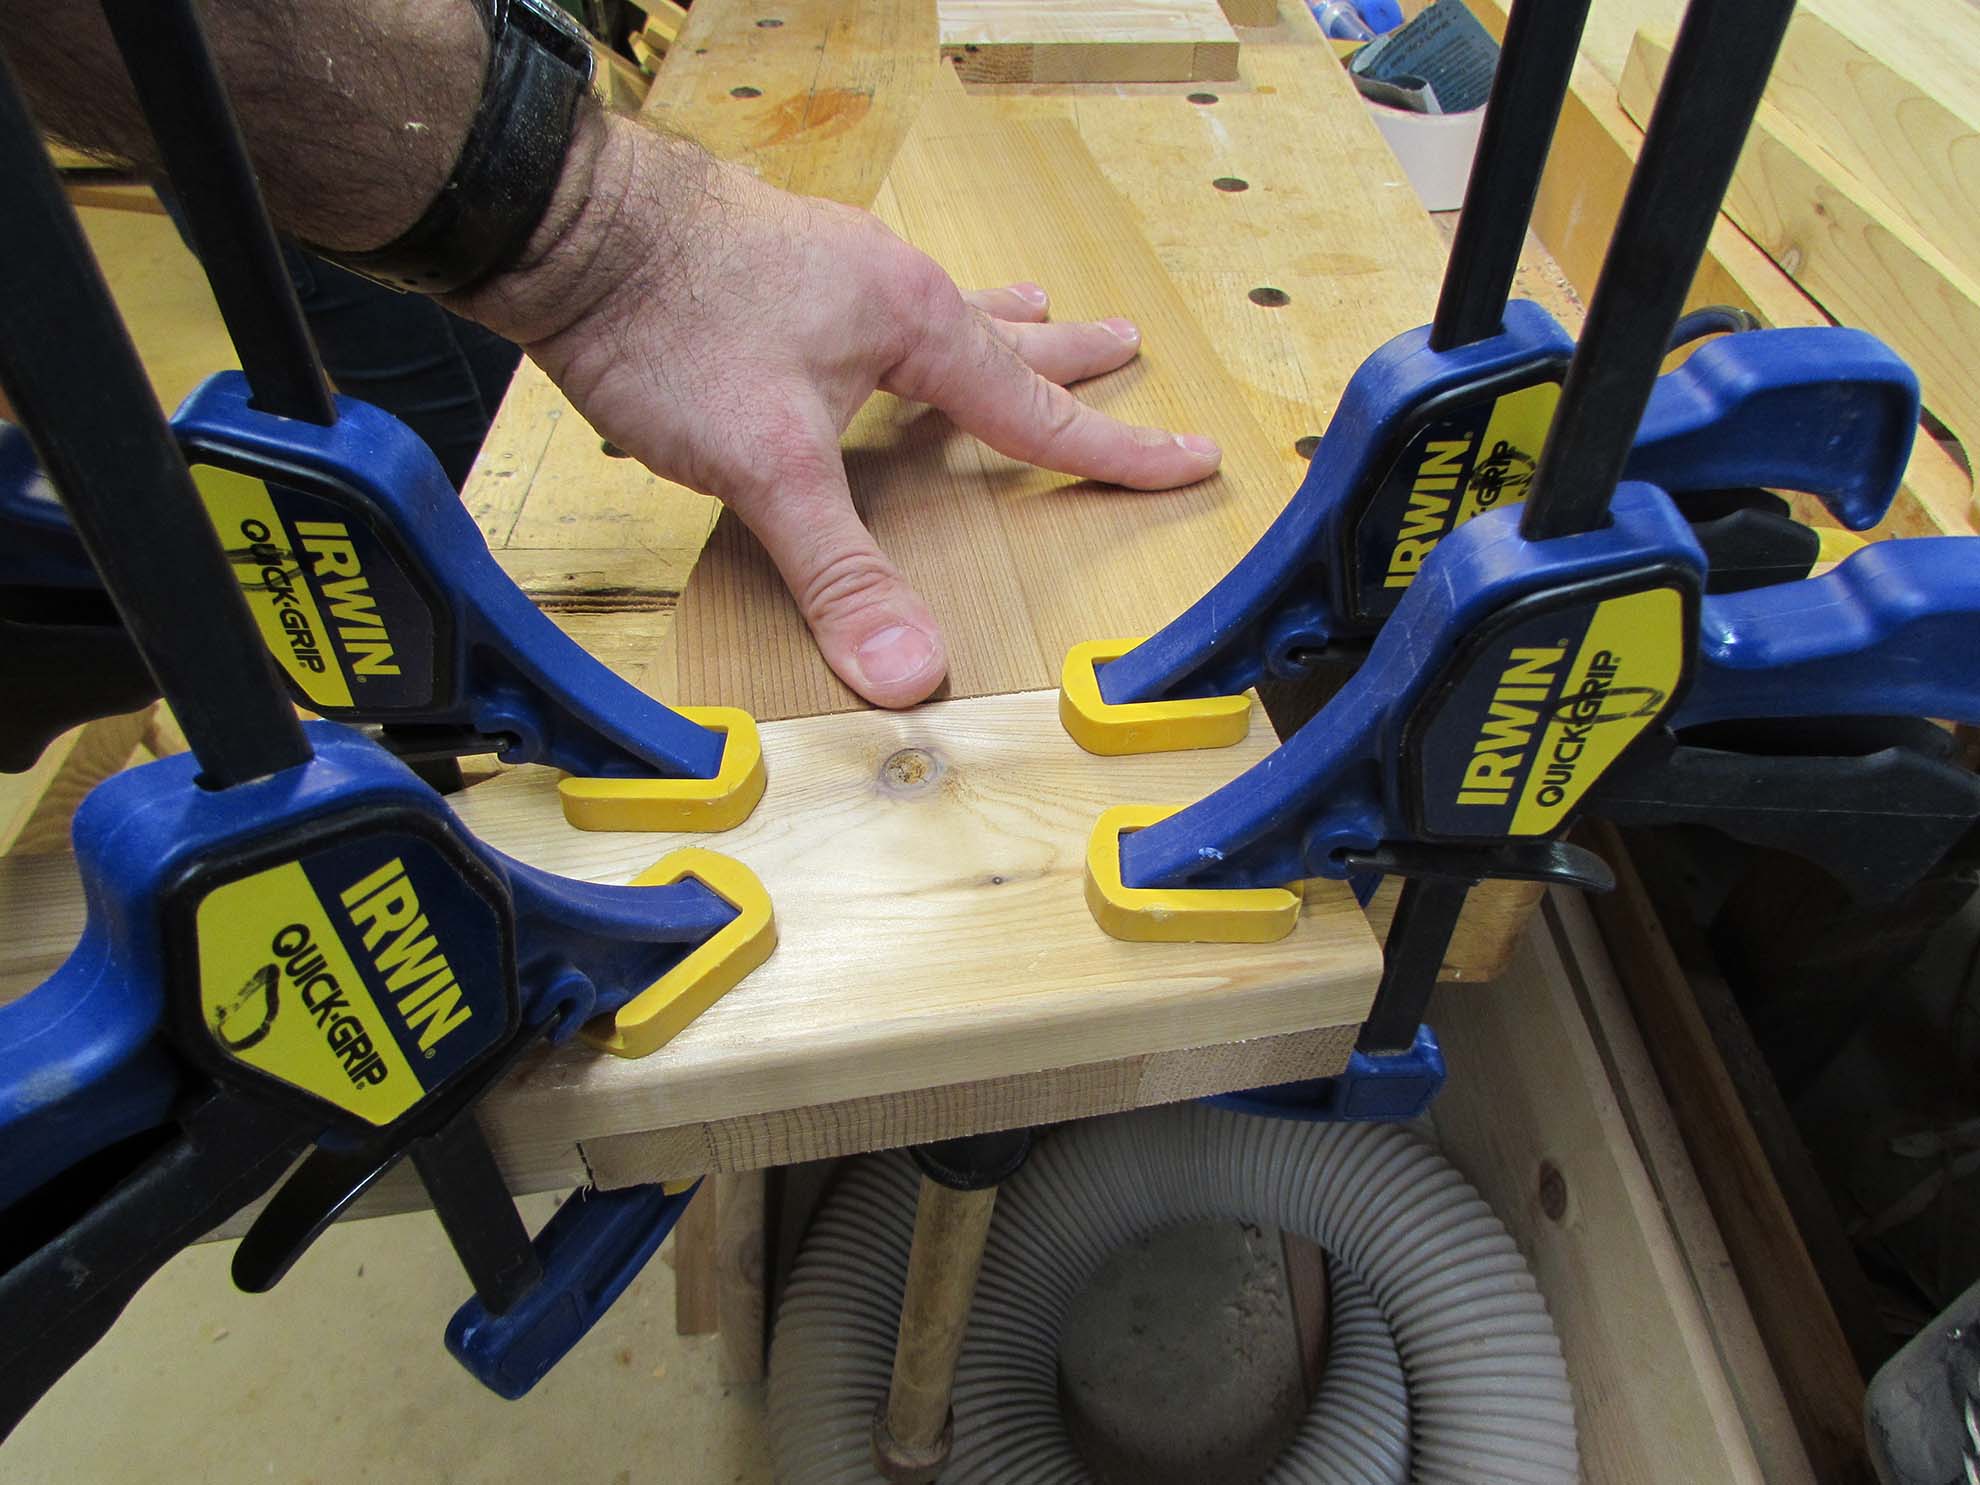
After they were sanded, we glued and clamped the supports.


Then we left all that to dry and moved back to the arches. Erin cut a 1/2″ deep mortise with the router, at all of the cross-bar locations.


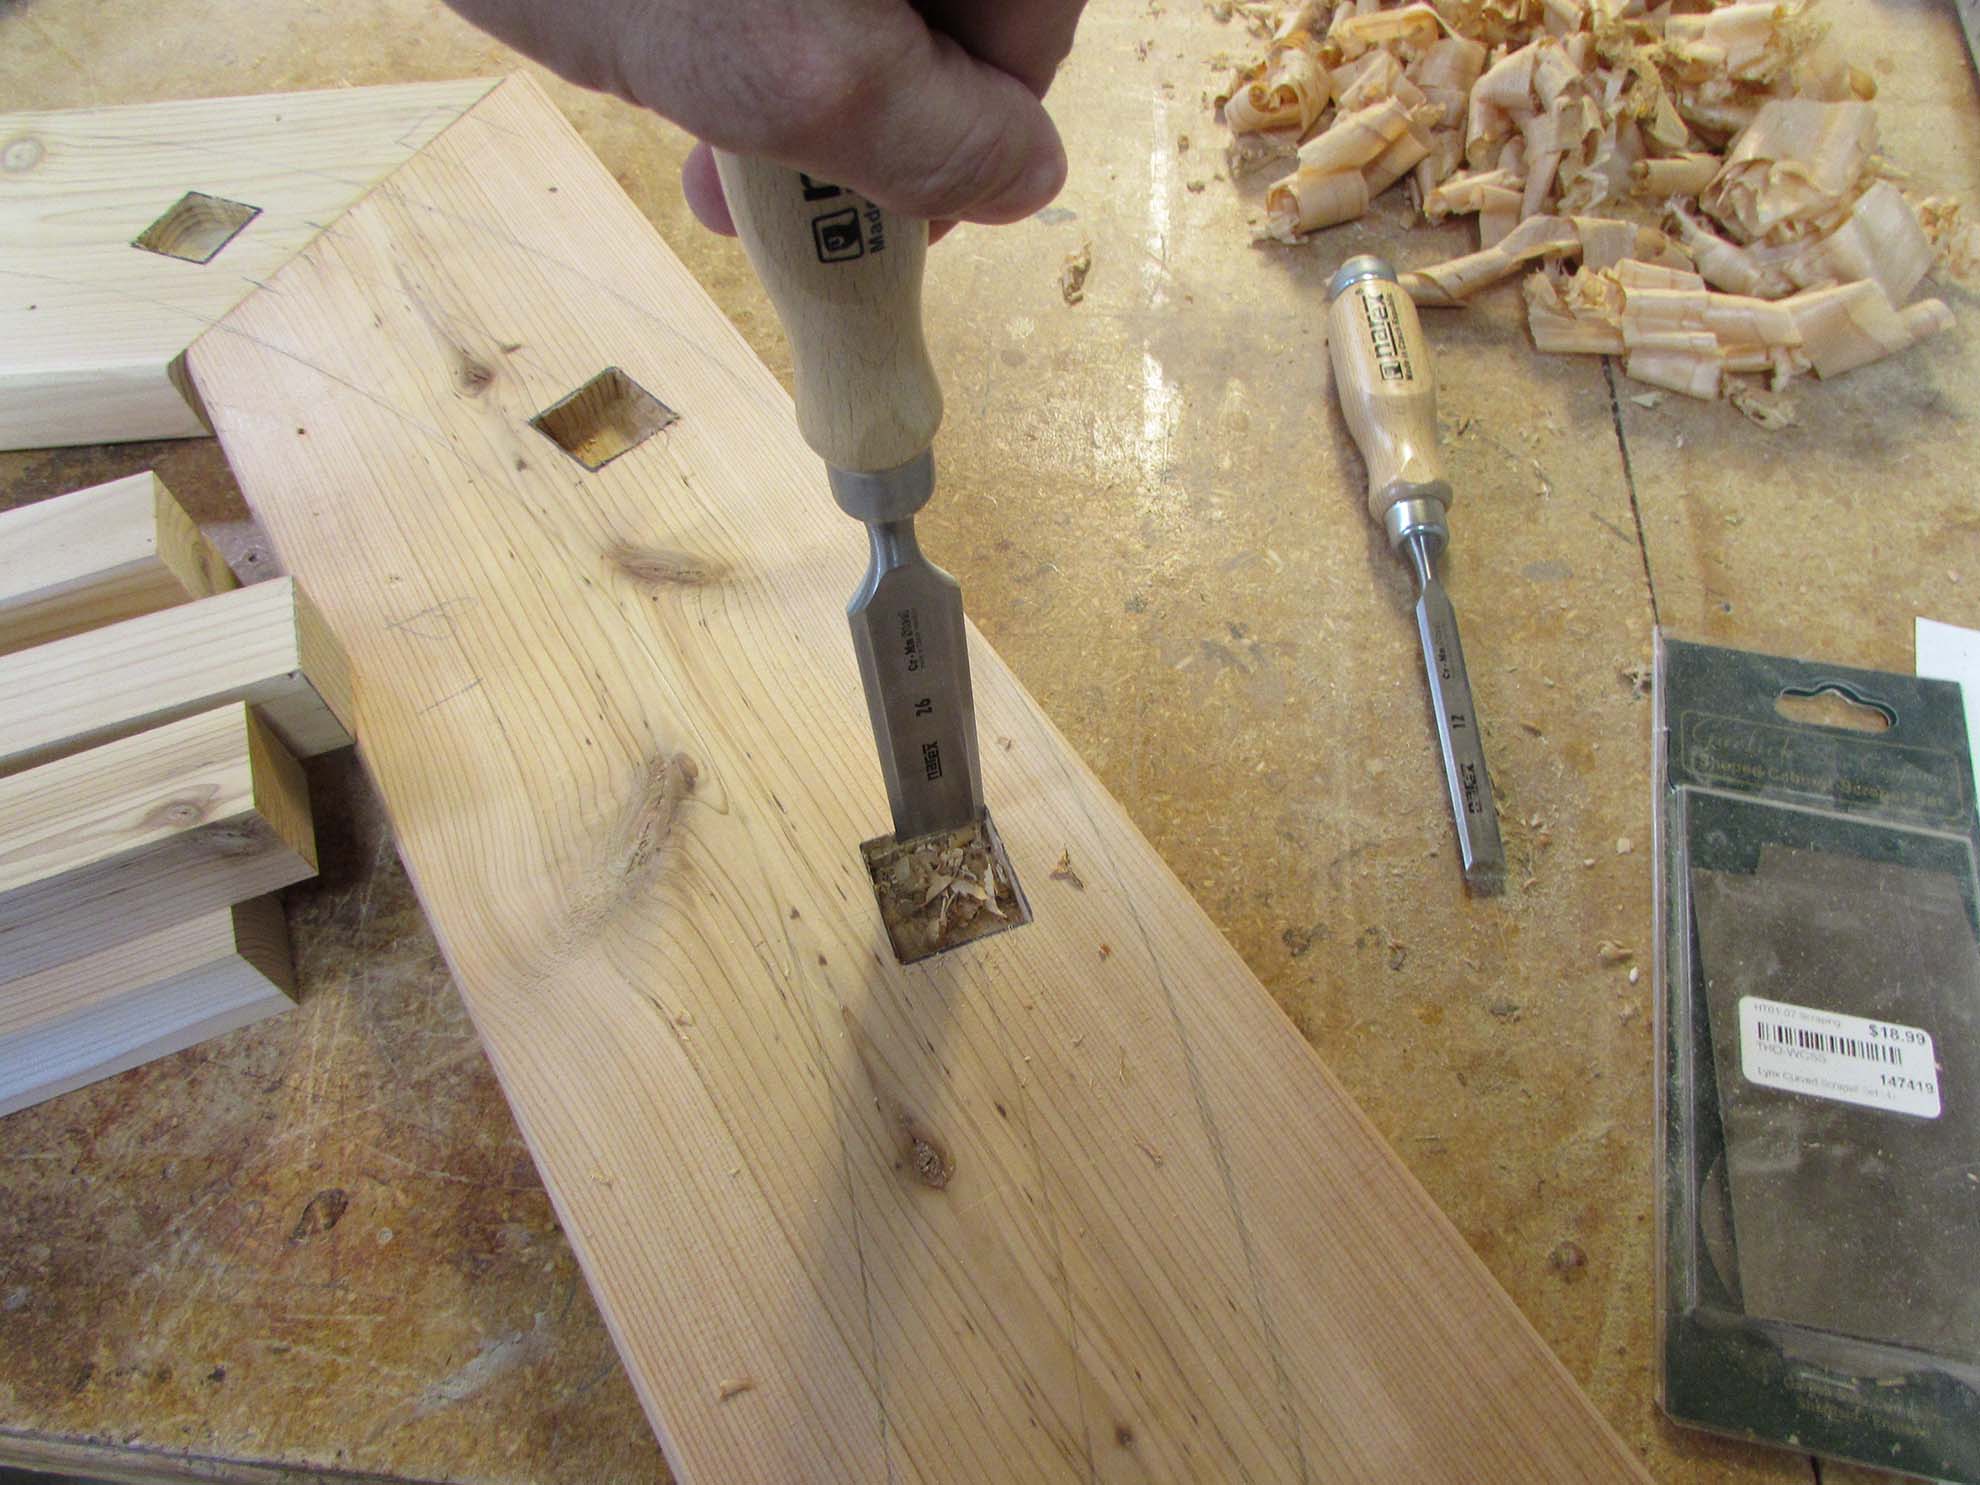
Then we broke out the chisels and cleaned up the holes and squared off the corners, getting a good, tight fit for each bar.


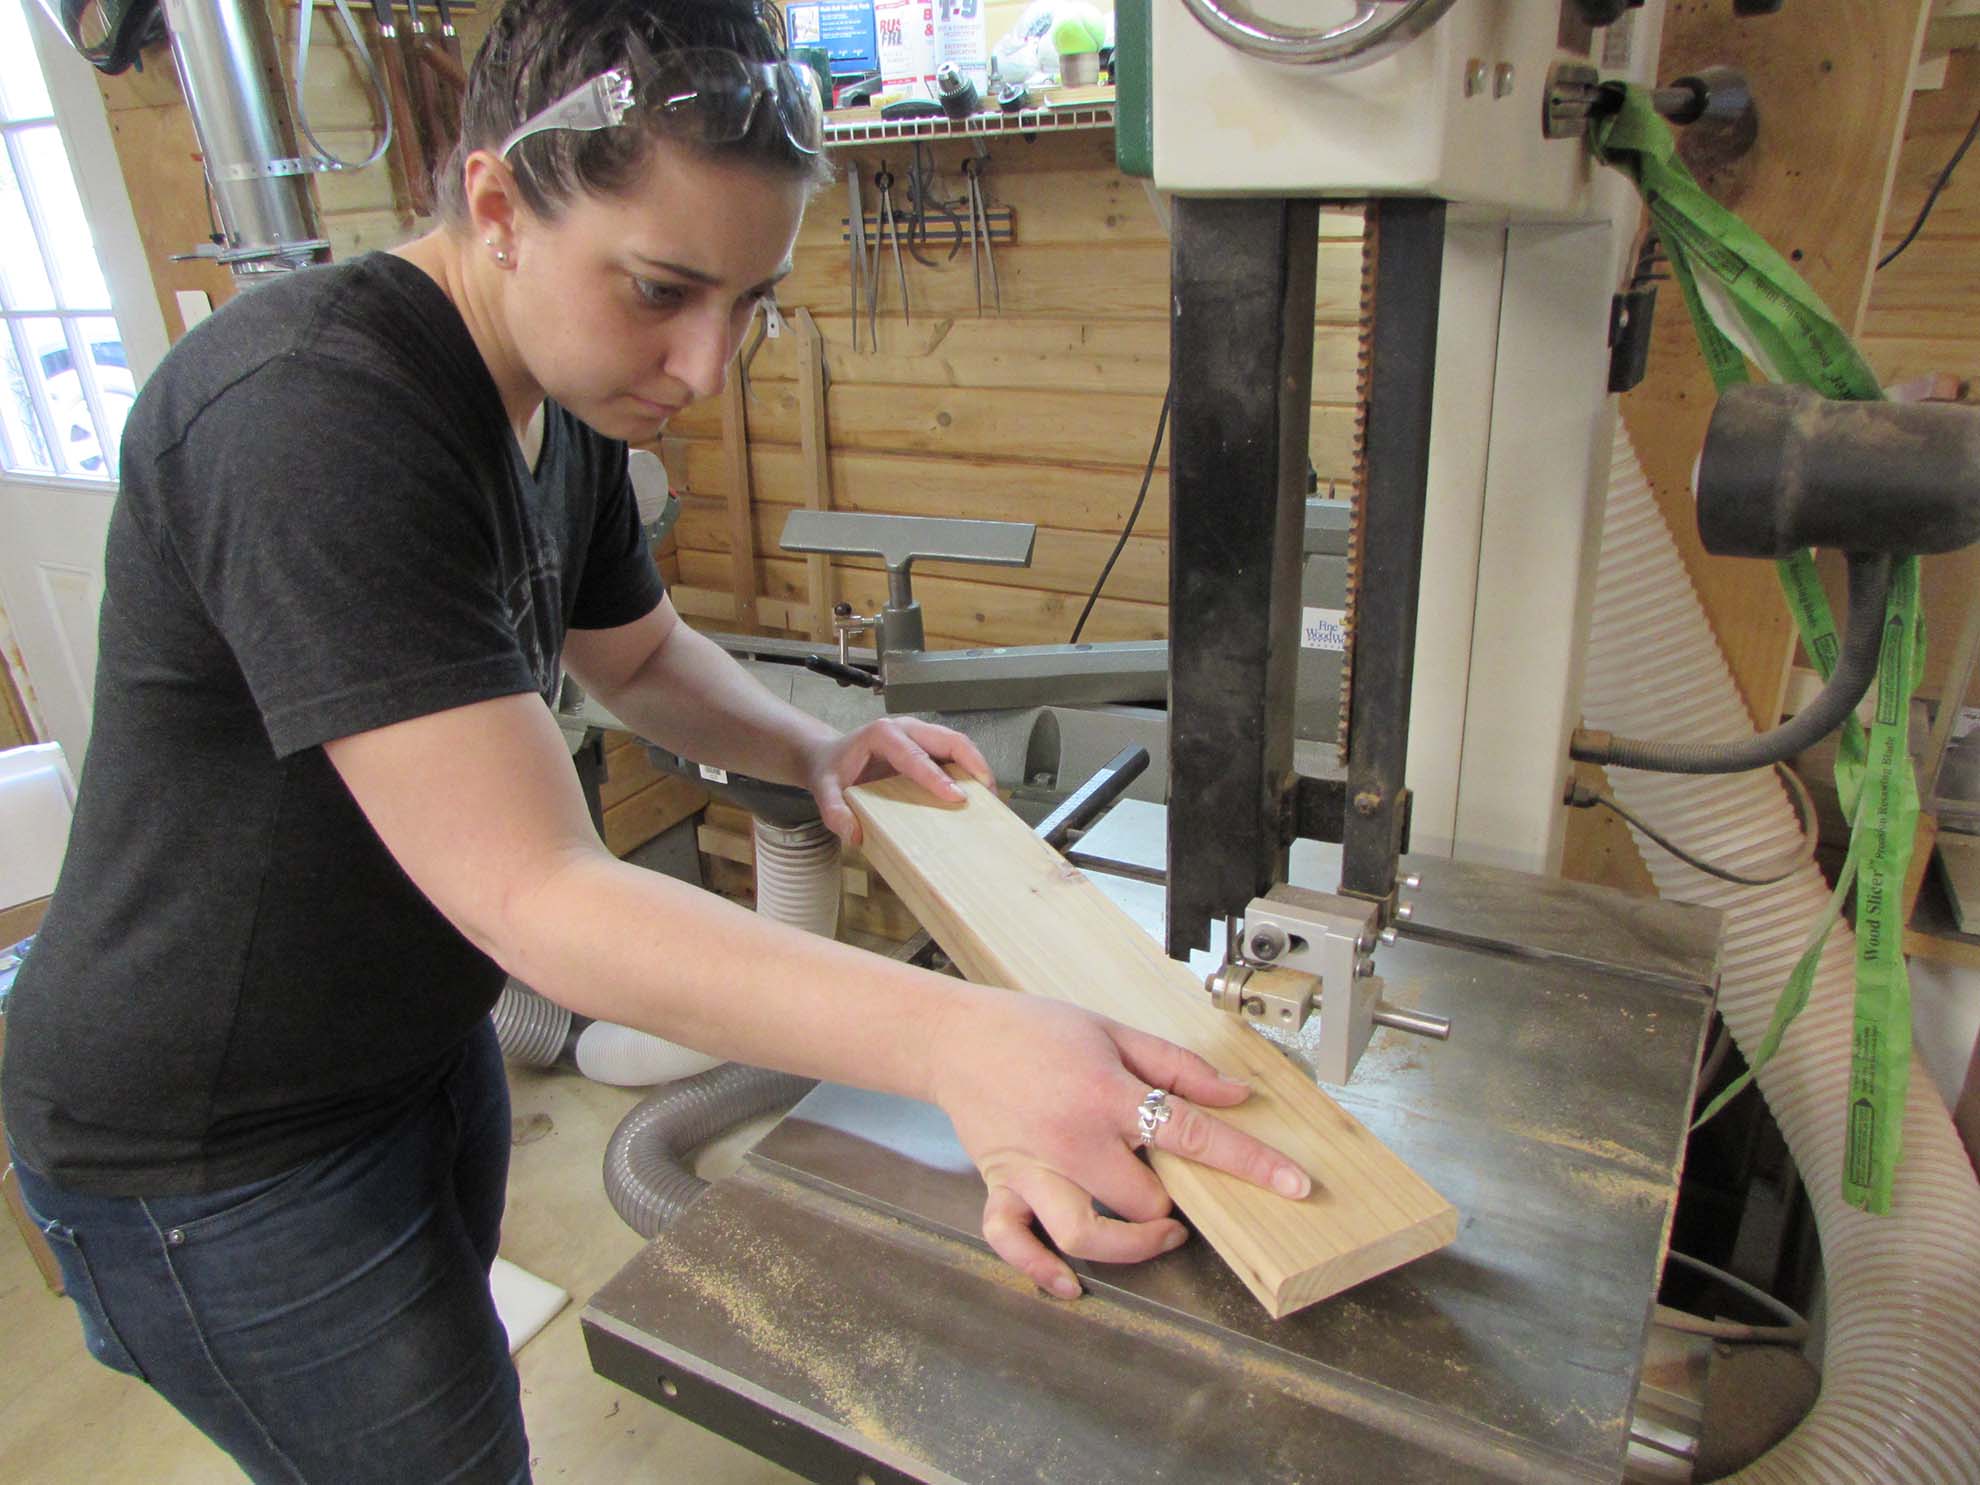
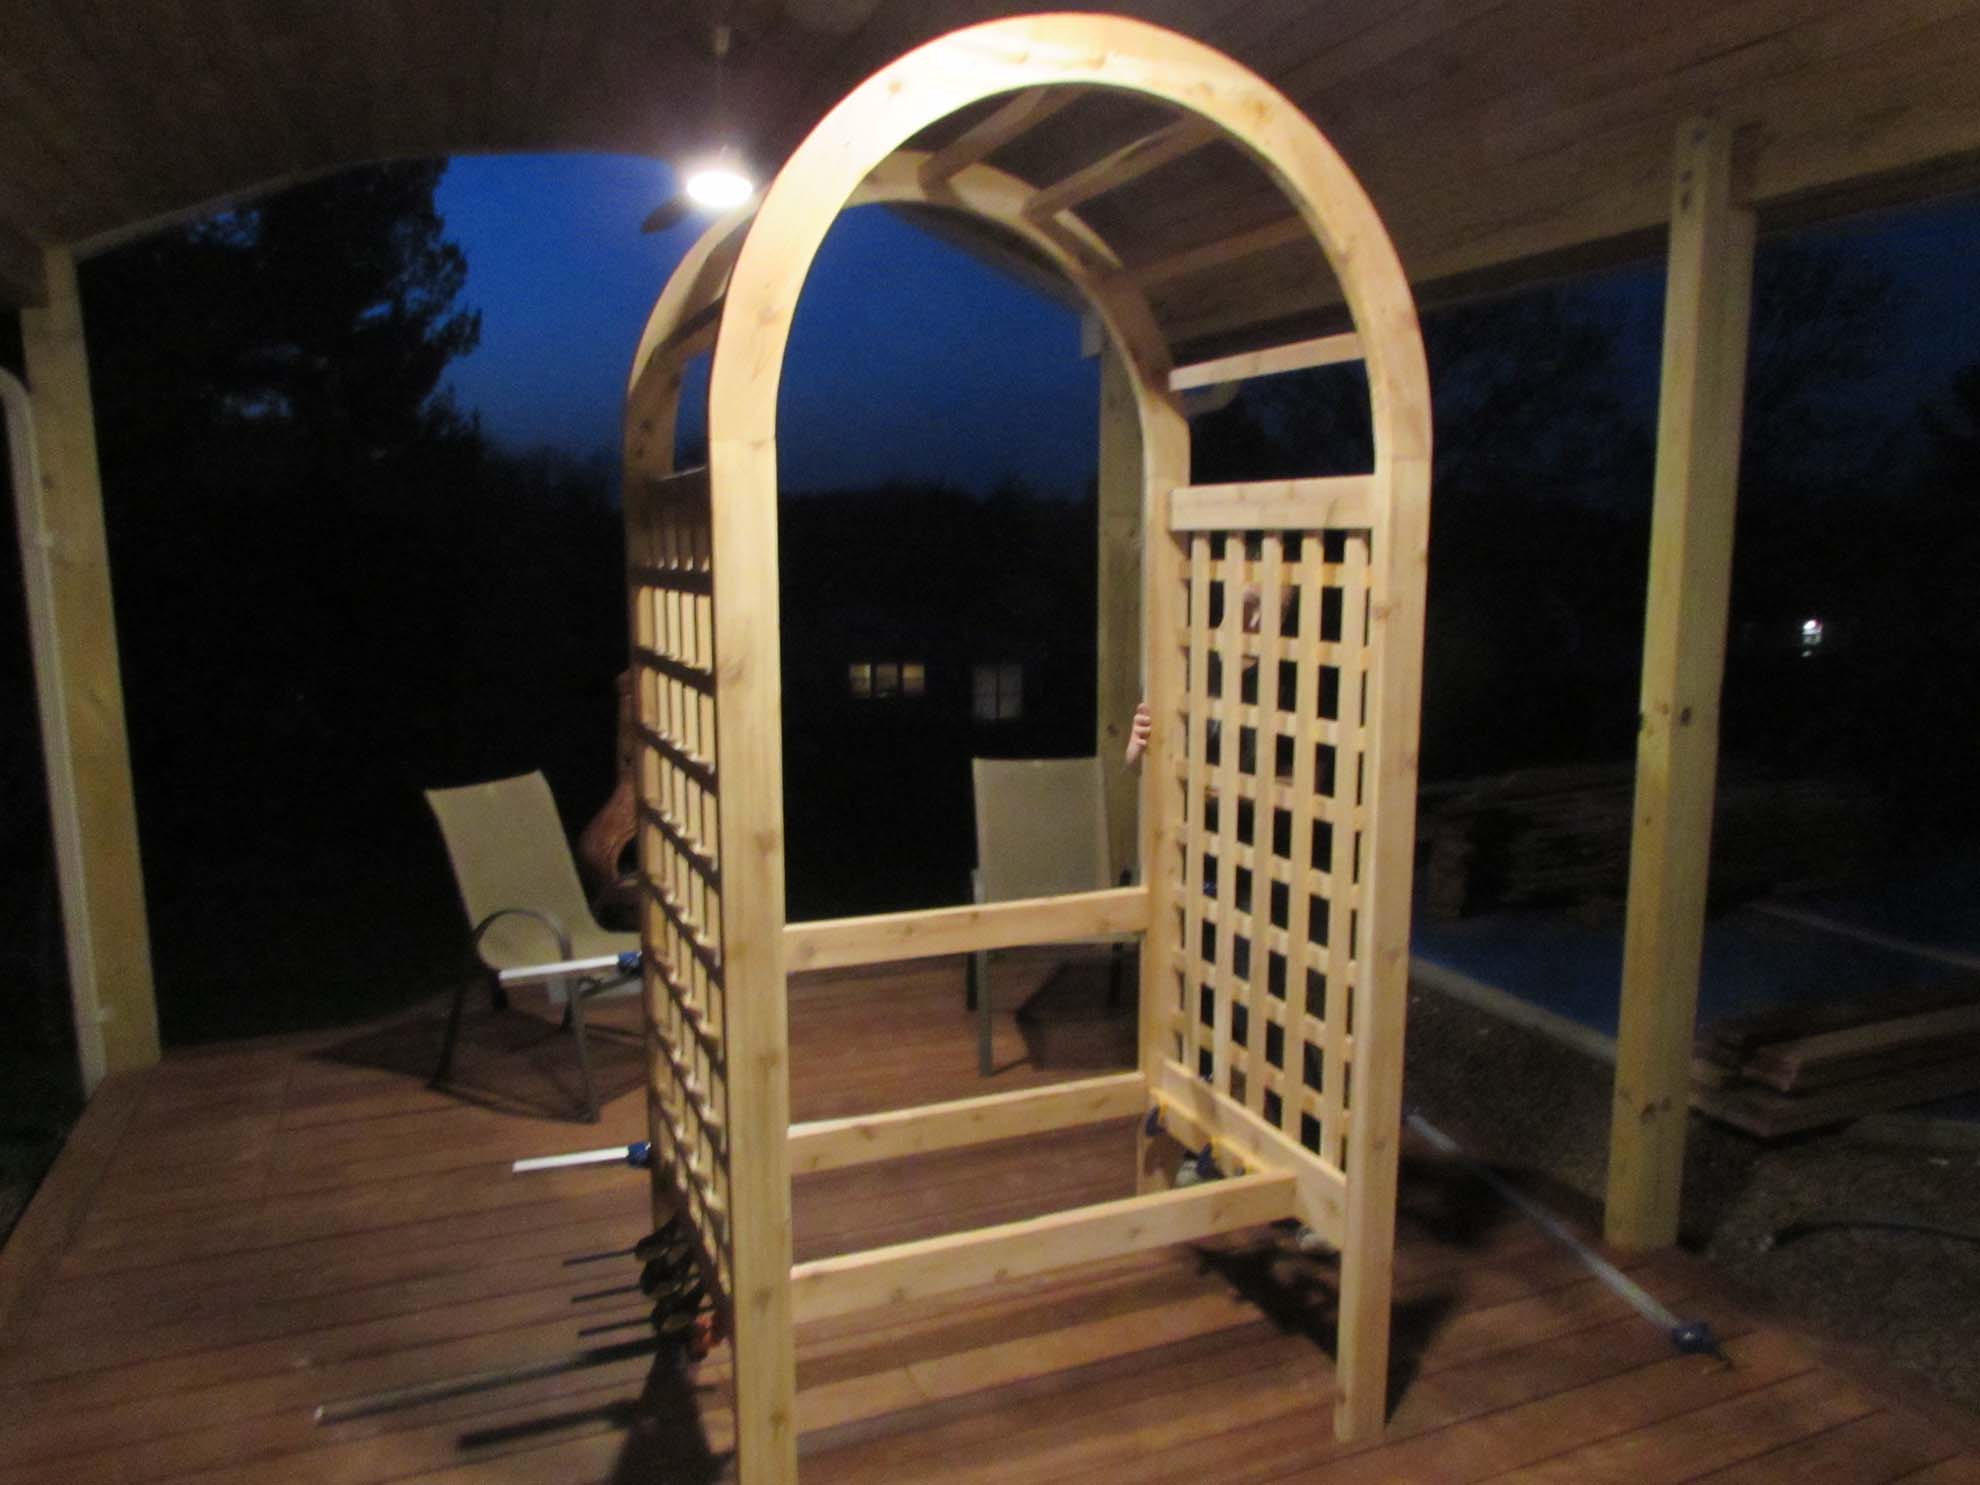
After a successful test fit, we took it all apart and headed to the band saw to cut out the curve.

This took two of us, just to keep everything flat.


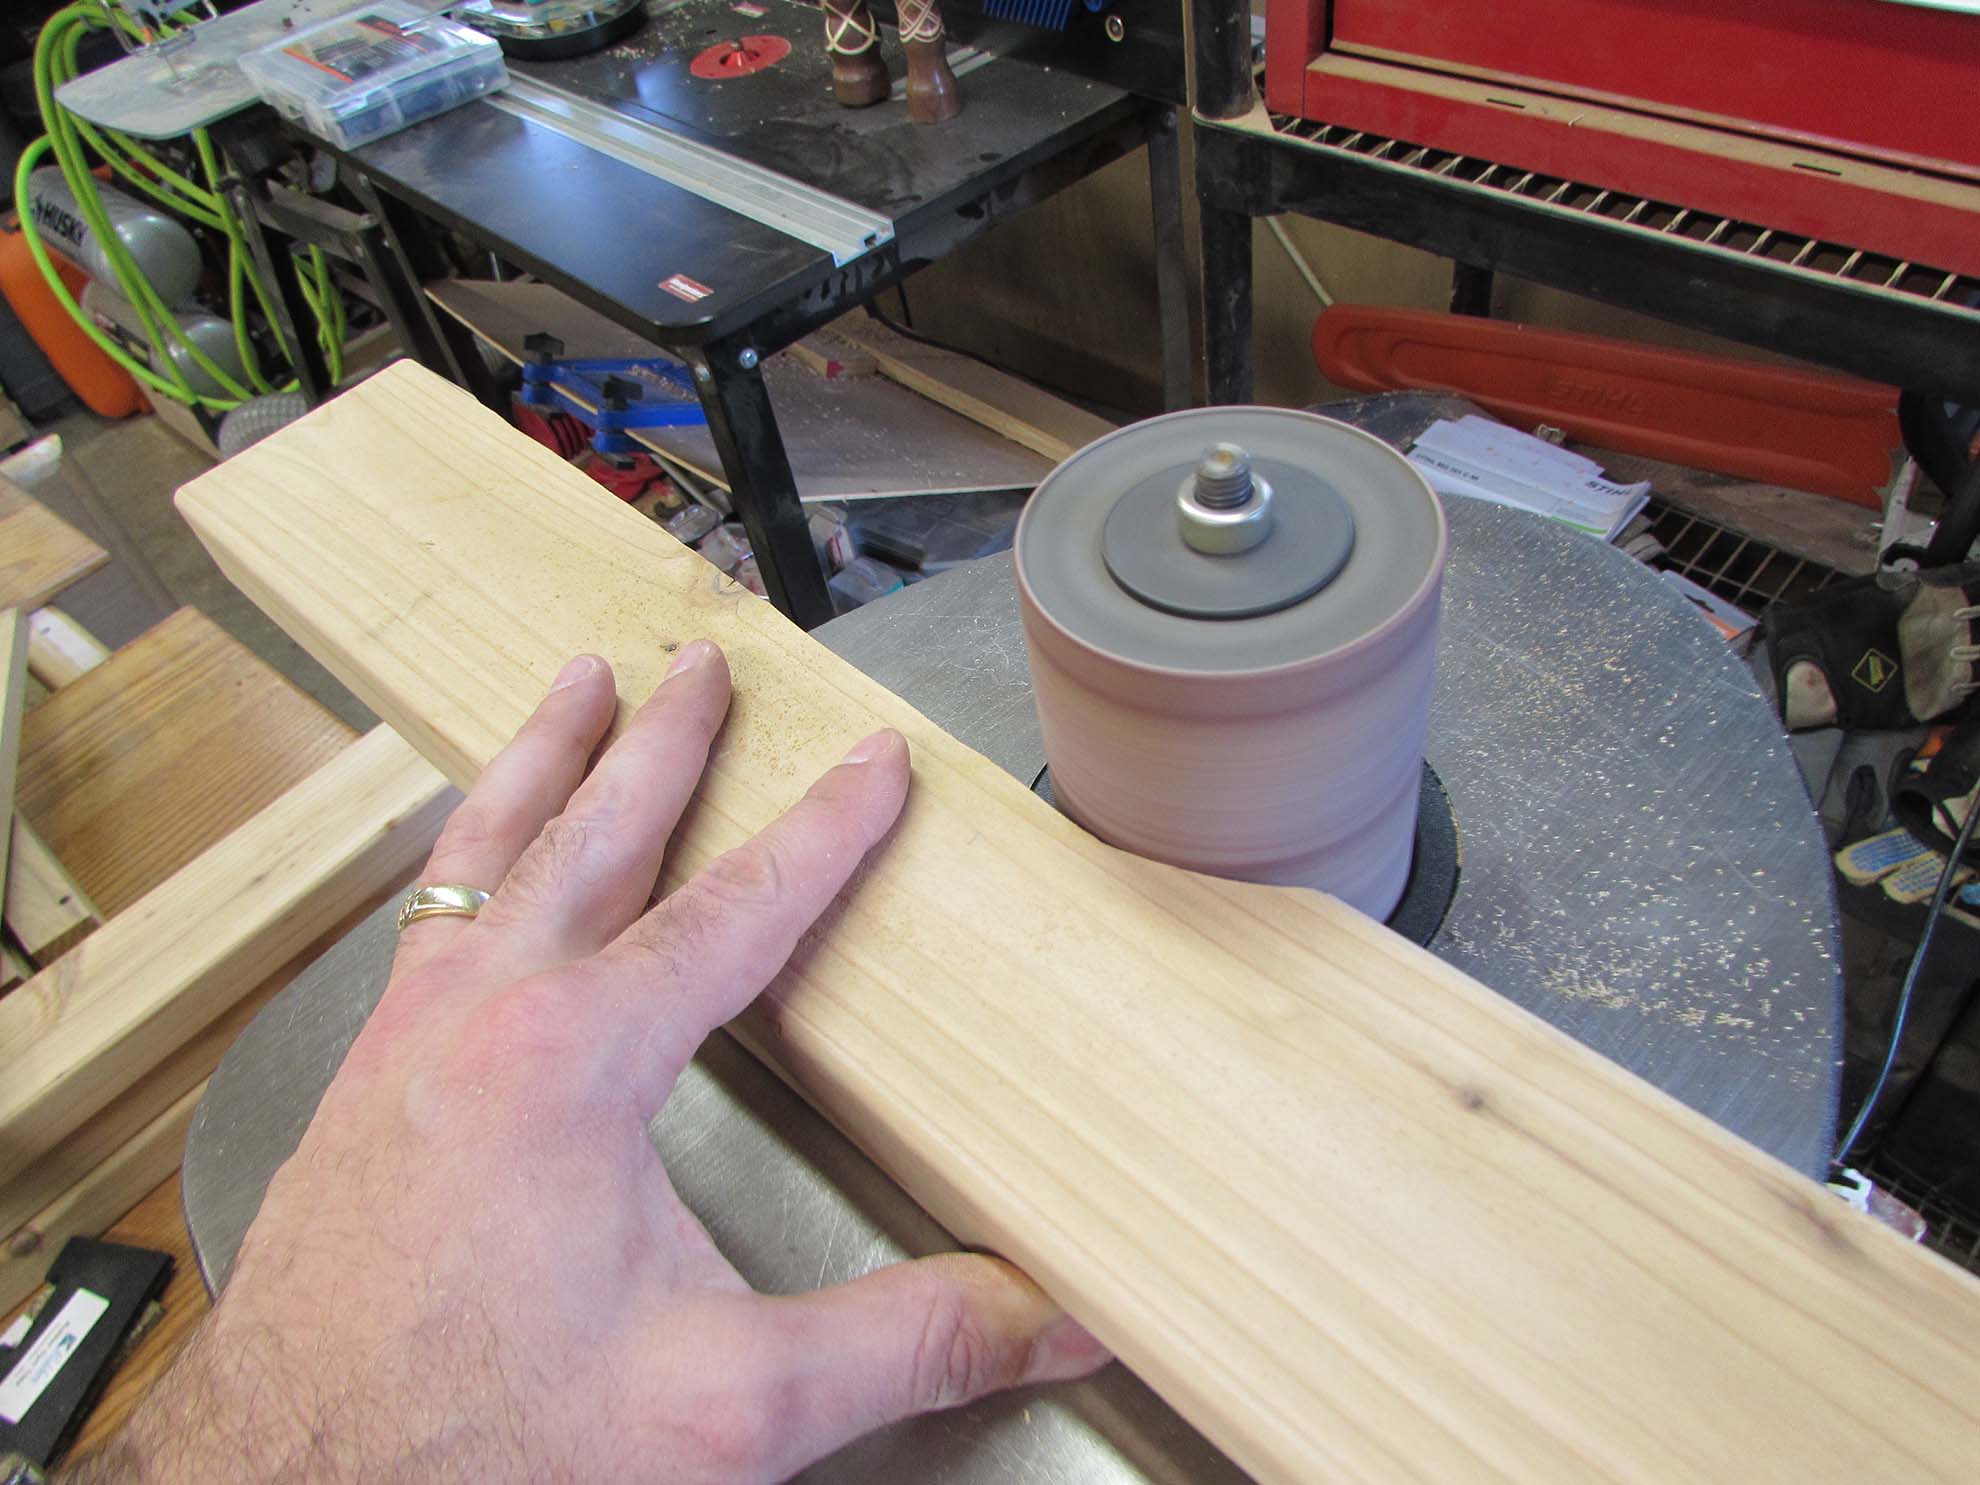
Erin sanded the cut edges down smooth on the spindle sander, then routed a small round-over to the inner and outer edges to match the 2″x4″s that these will mate to.


Then lots of sanding to clean up our pencil marks and glue squeeze-out.

yet another dry-fit to make sure all the edges match up well.


I clamped the seat supports in place to mark the locations of the 2″x4″s that will support the seat.
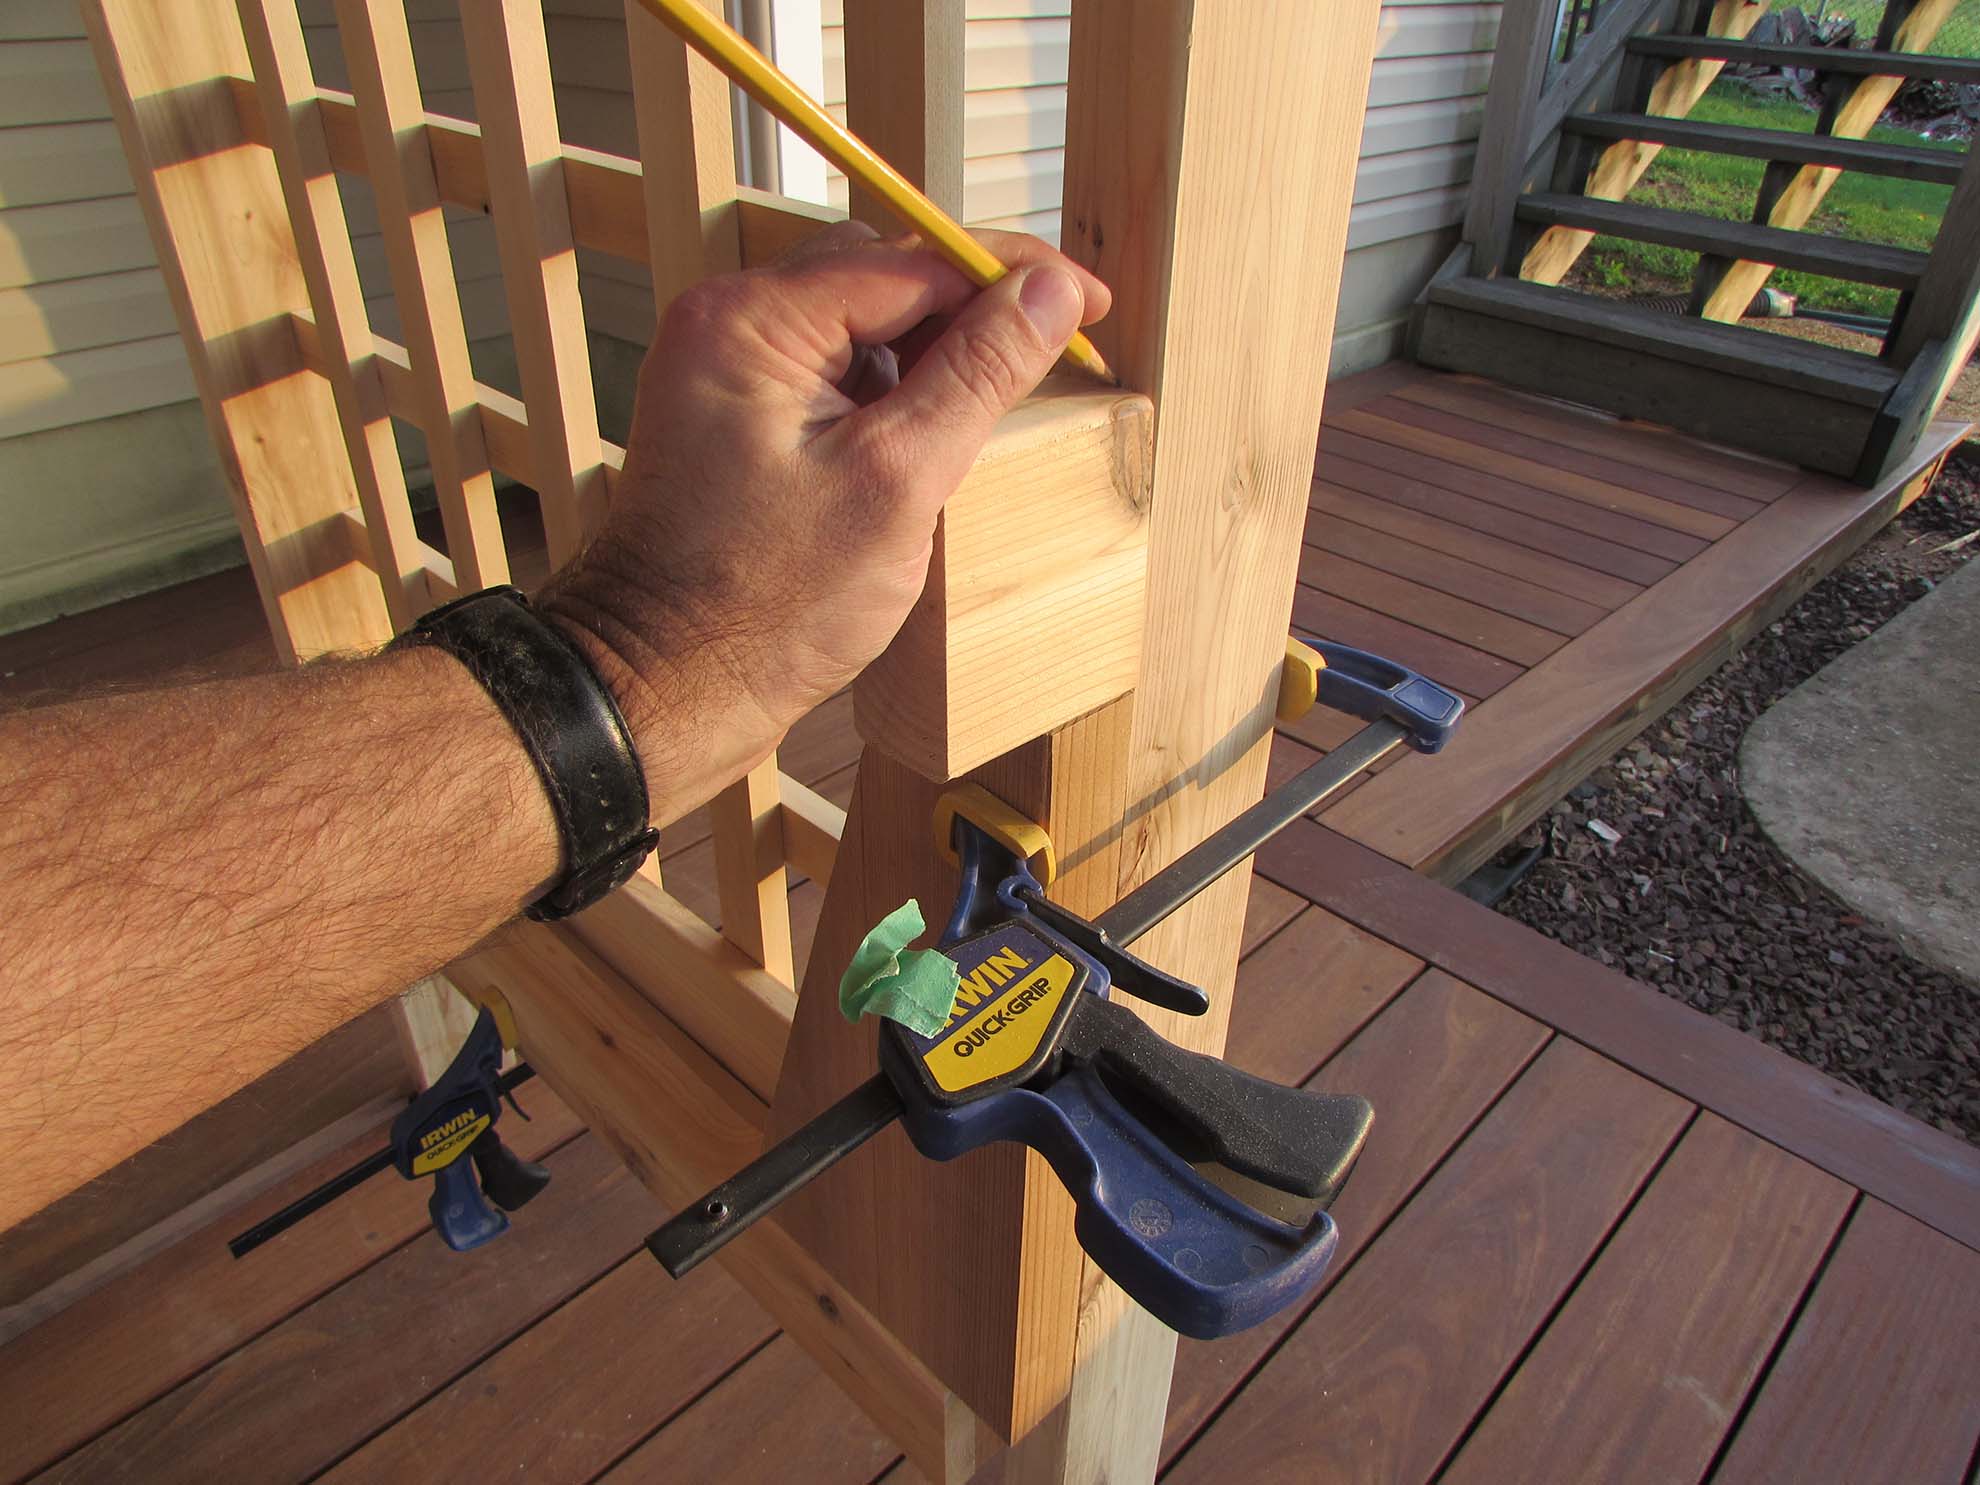
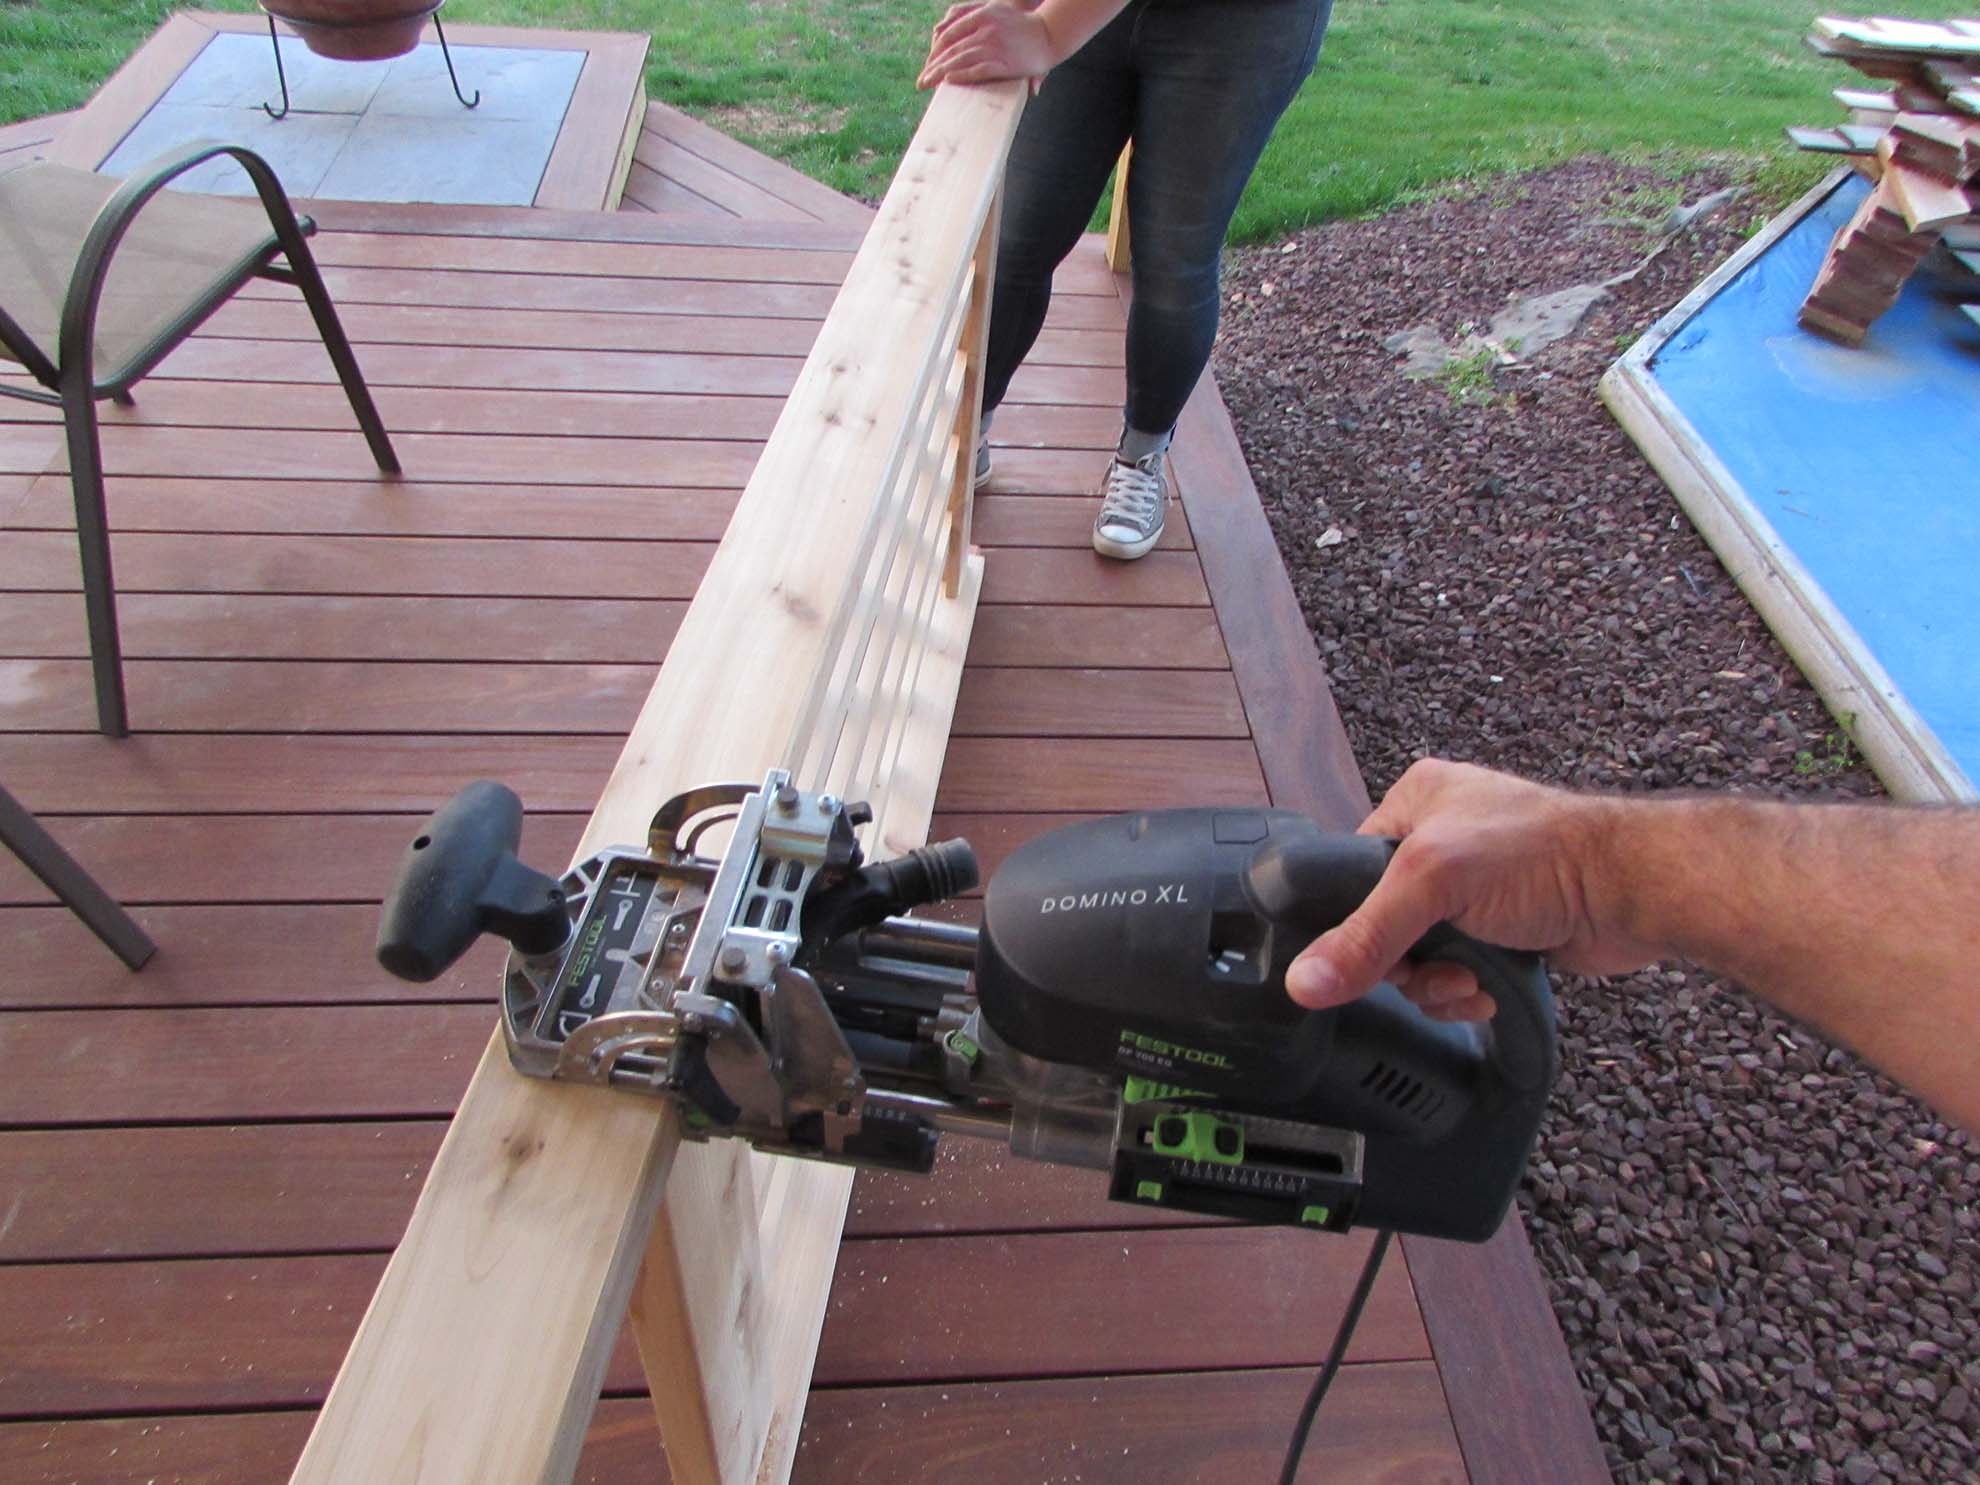
I clamped everything in place to mark locations for more Dominos.


More cutting and glueing and the seat frame was clamped into place to dry.

While that was curing, we applied glue and a single screw to hold each arch cross-bar in place.
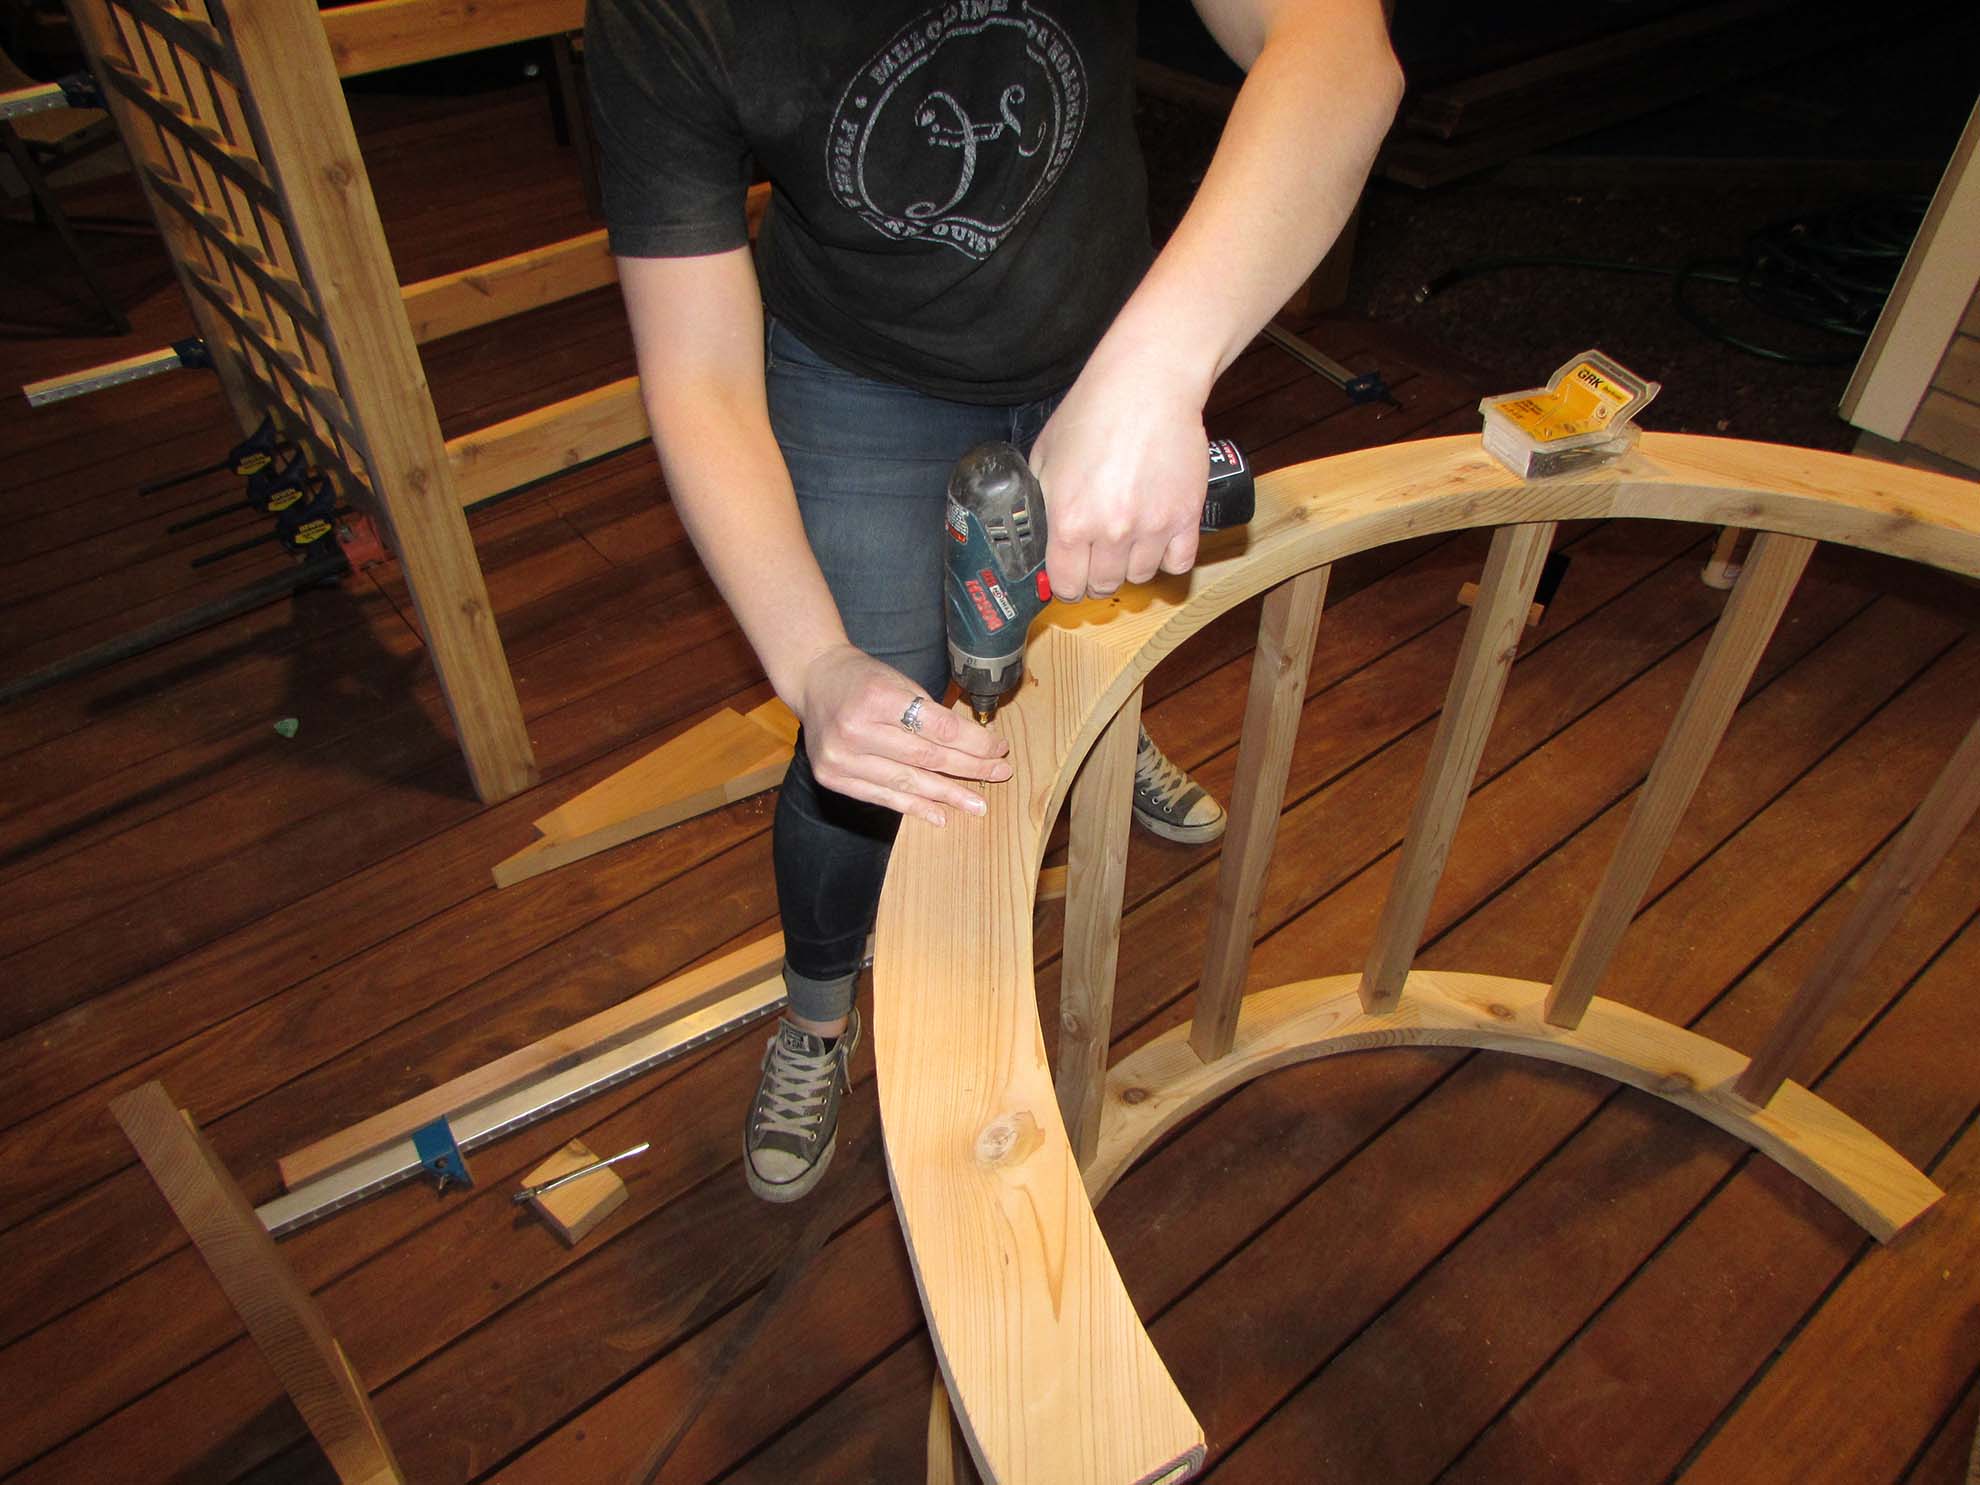
Then we glued the tenons in the top and set the arch.
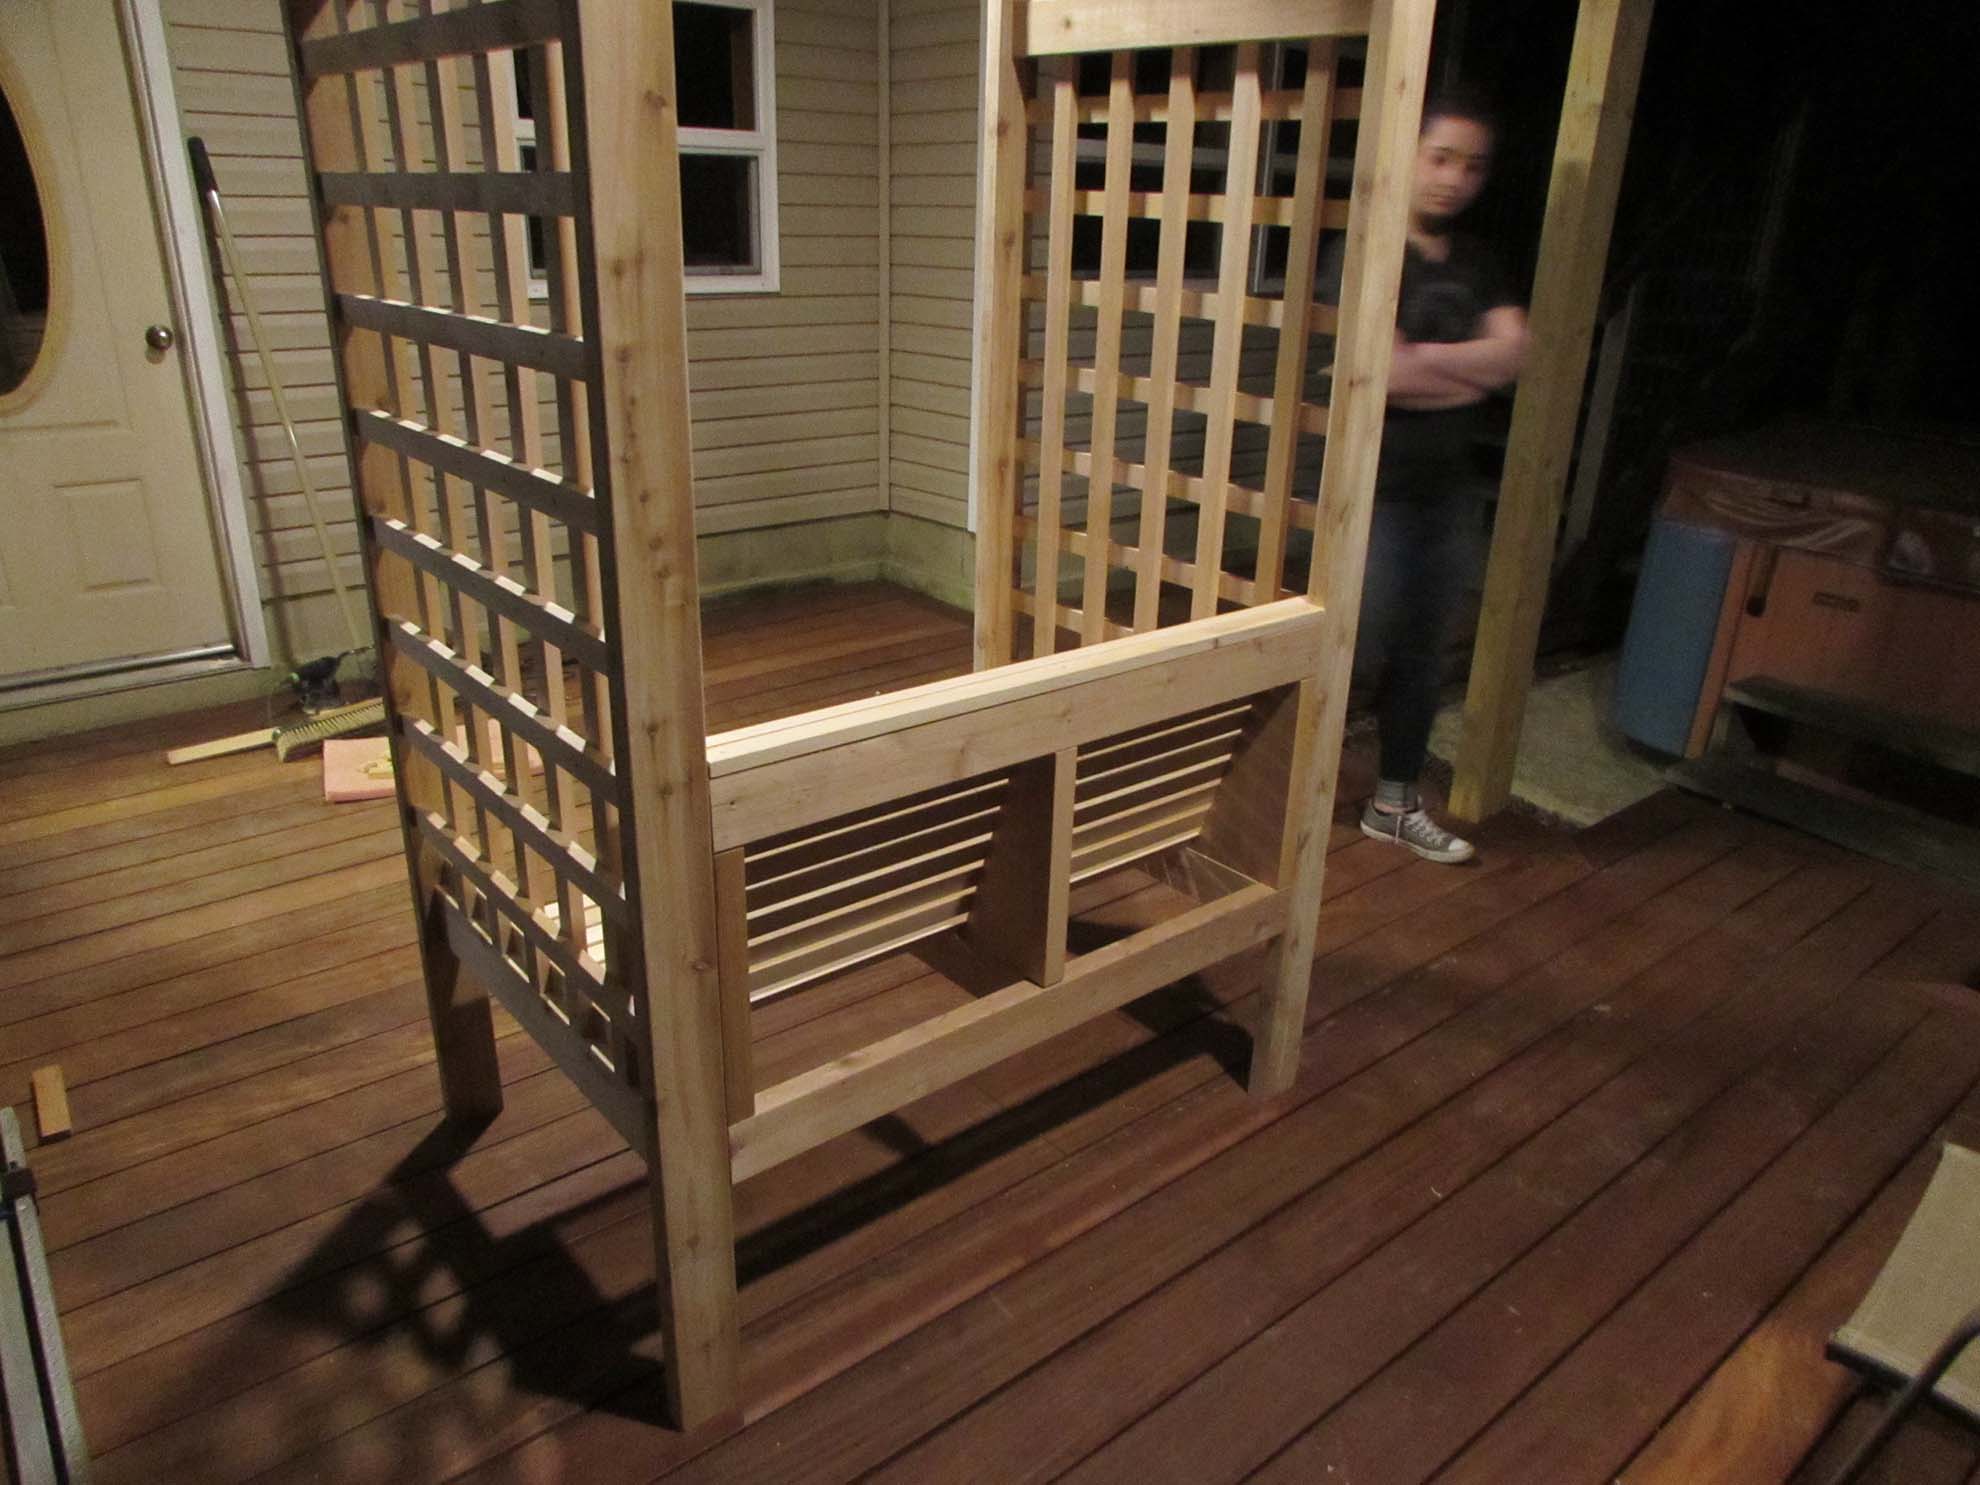
Glue and screws to hold the seat supports in place.

I decided to add an additional spacer to each side to give additional support to the seat supports. I will drill a couple of weep holes in them later, to prevent water from collecting.


I used my block plane to remove the sharp edges of the bench slats while Erin started attaching them. I cut several different thickness spacers for her to place between the slats. The gap was tighter at the front and the top, and a lot more open at the back to allow leaves to drop through. The gaps ranged from 1/4″ to 1/2″. She attached each slat with a drop of glue and a screw into each support (3 per slat).

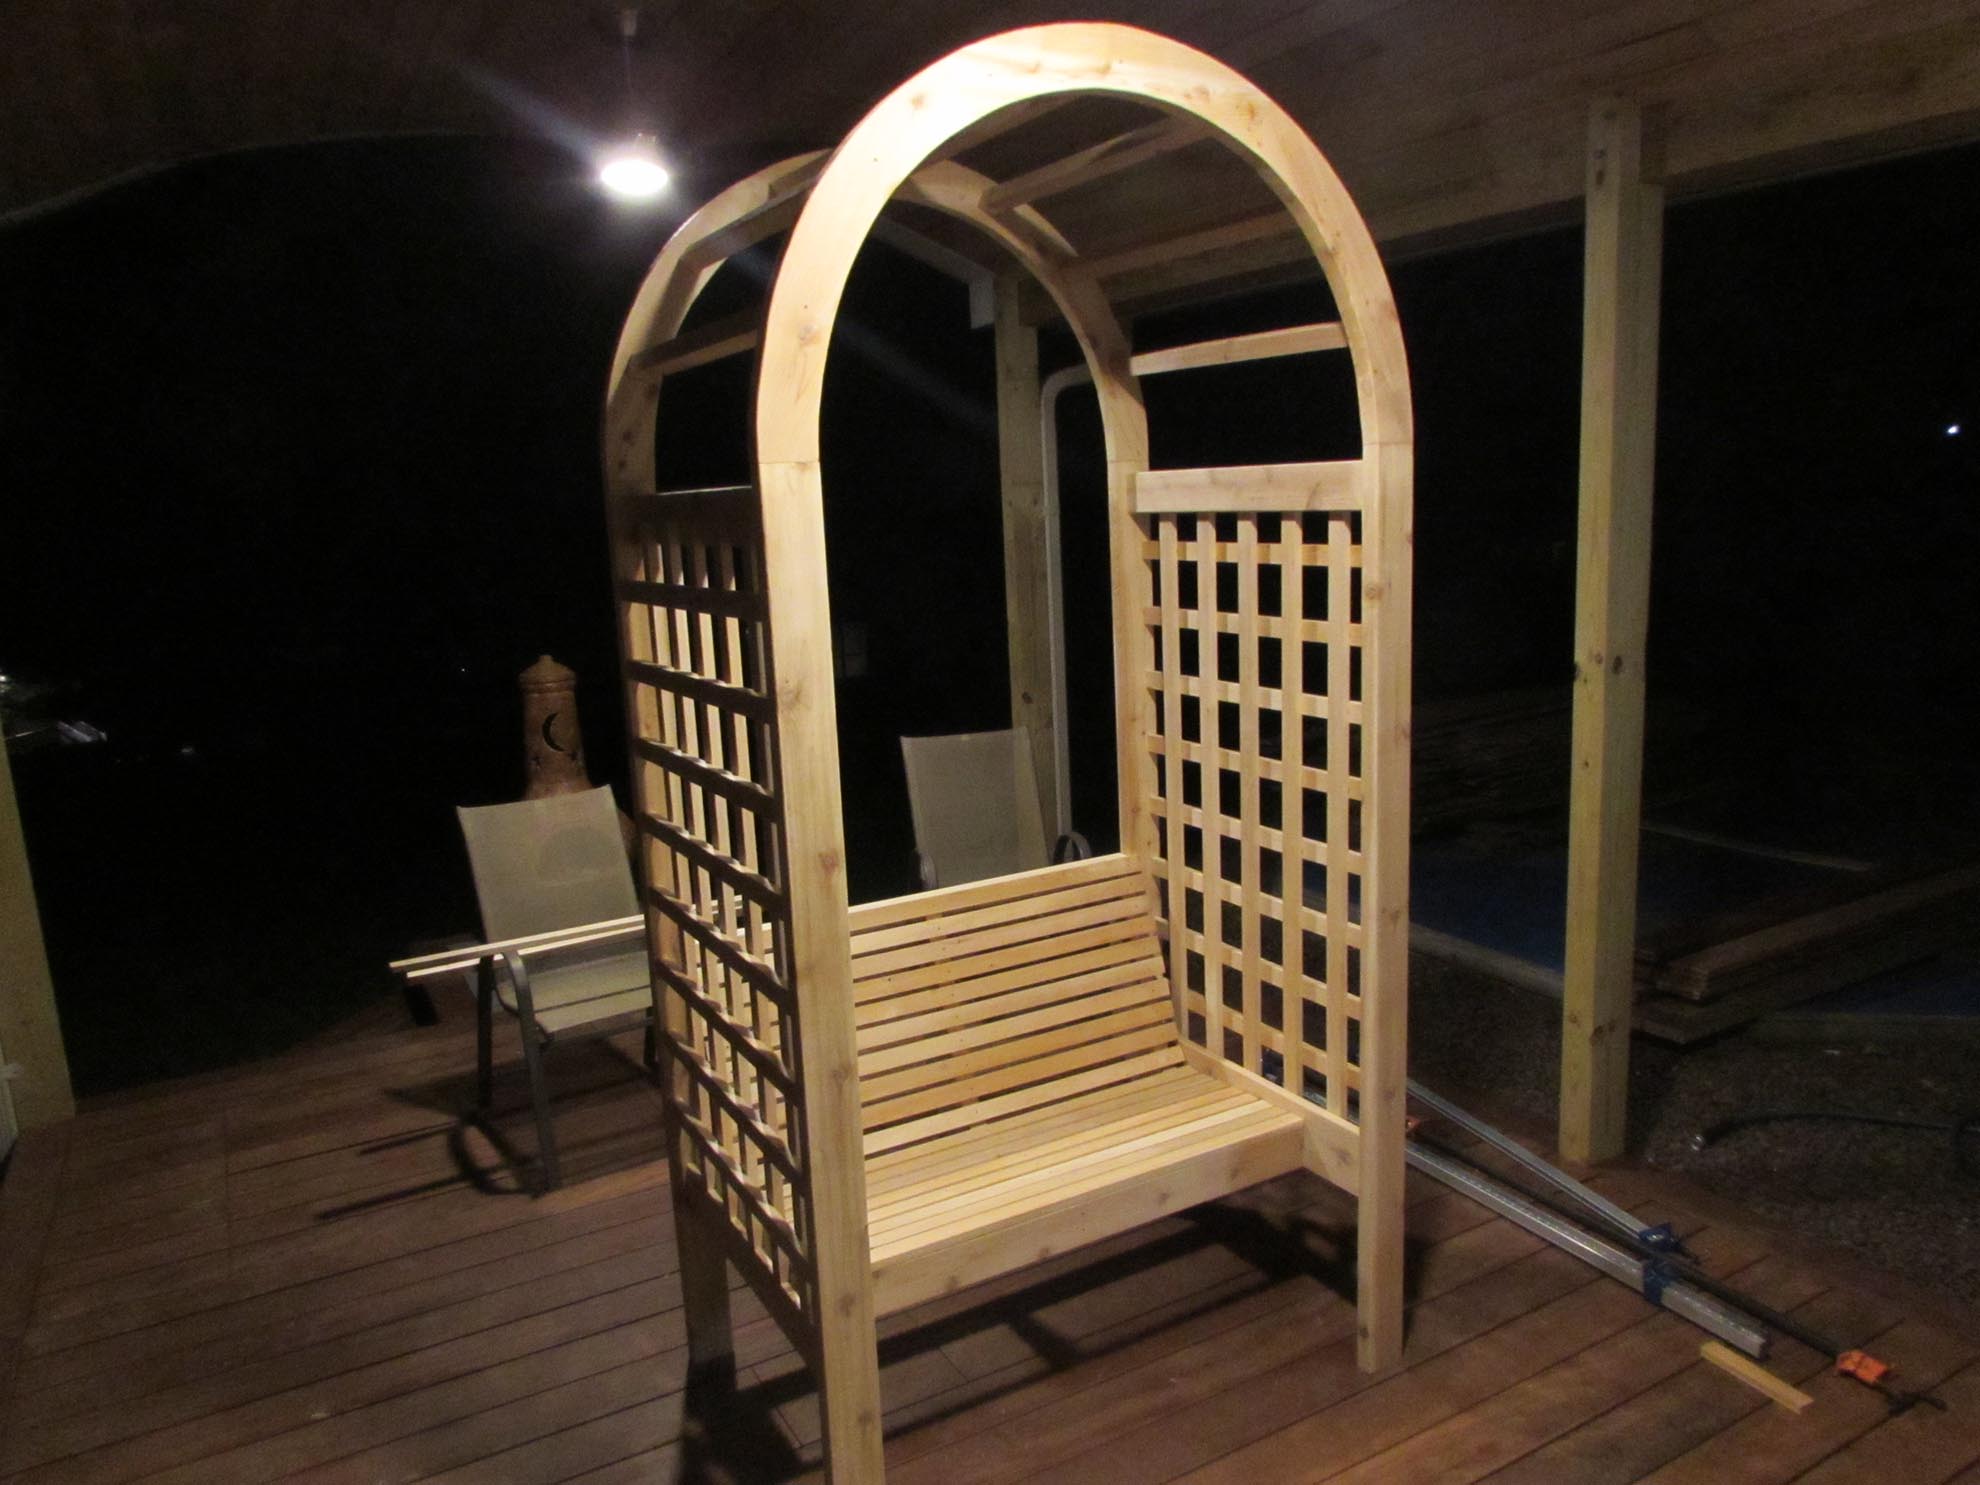
And after some finish sanding, we were done.
It was a long day wrapping this bench up, but it looks really good, and it is even comfortable to sit in. I think Diana and Ryan will enjoy it.


Very nice Lawrence. You make it look easy