
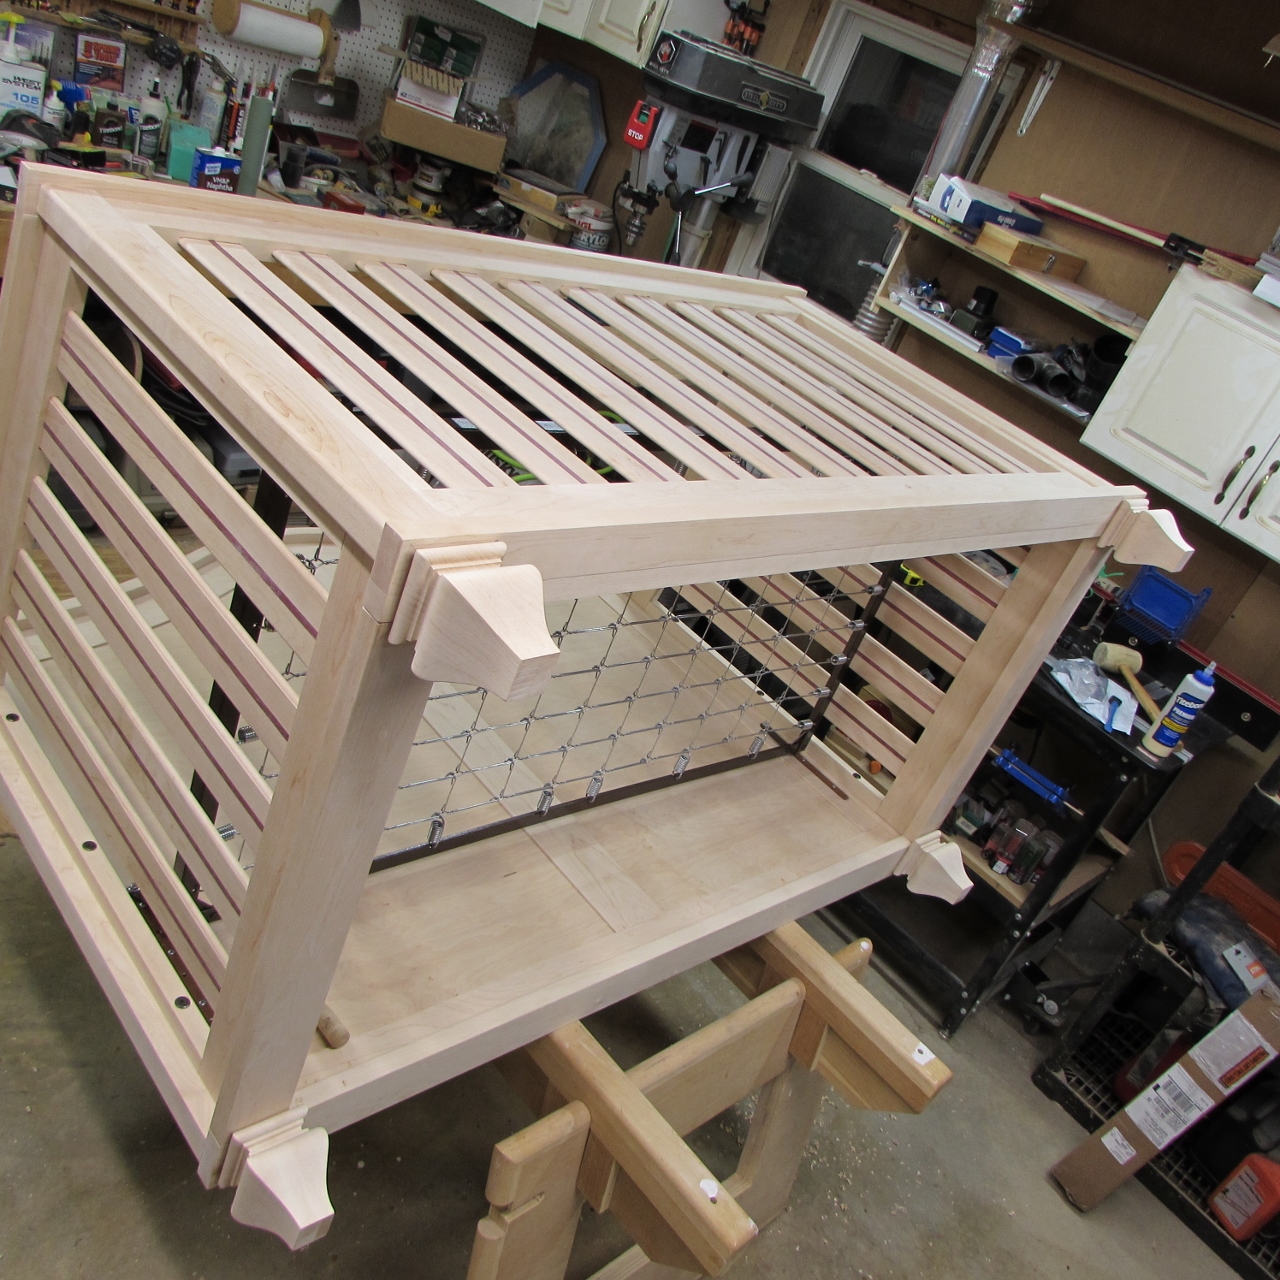
Maple & Purpleheart crib – day 11
The hard maple feet that I ordered, arrived yesterday, so I can start wrapping this project up. Good thing too, Momma just went into labor today. Please say a little prayer for Patrick and Lindsey to have a safe delivery and a healthy baby.
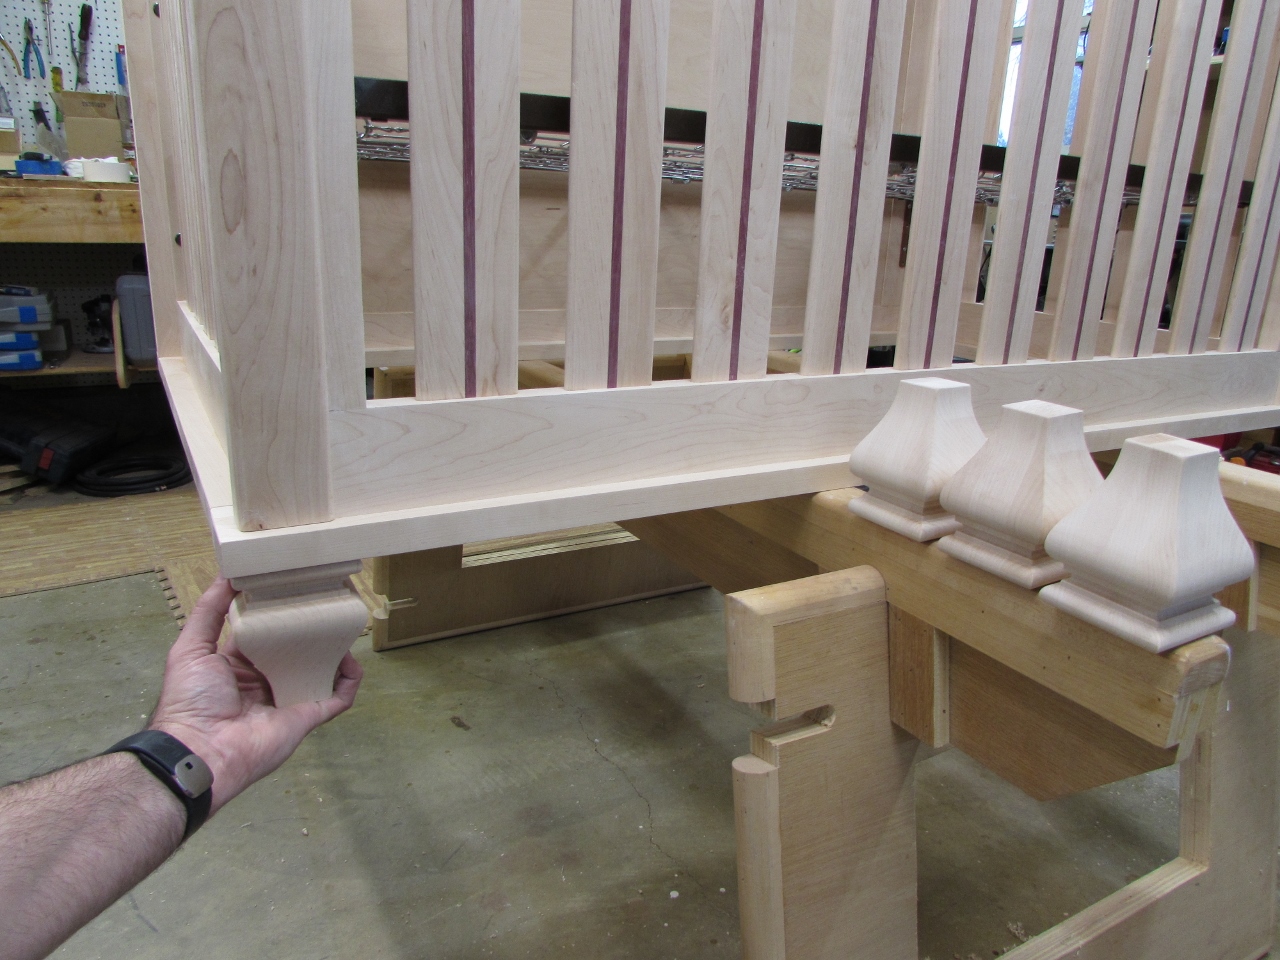
Back to work… Lindsey picked out these really nice bun feet, and I think they will go really well with the crib design.

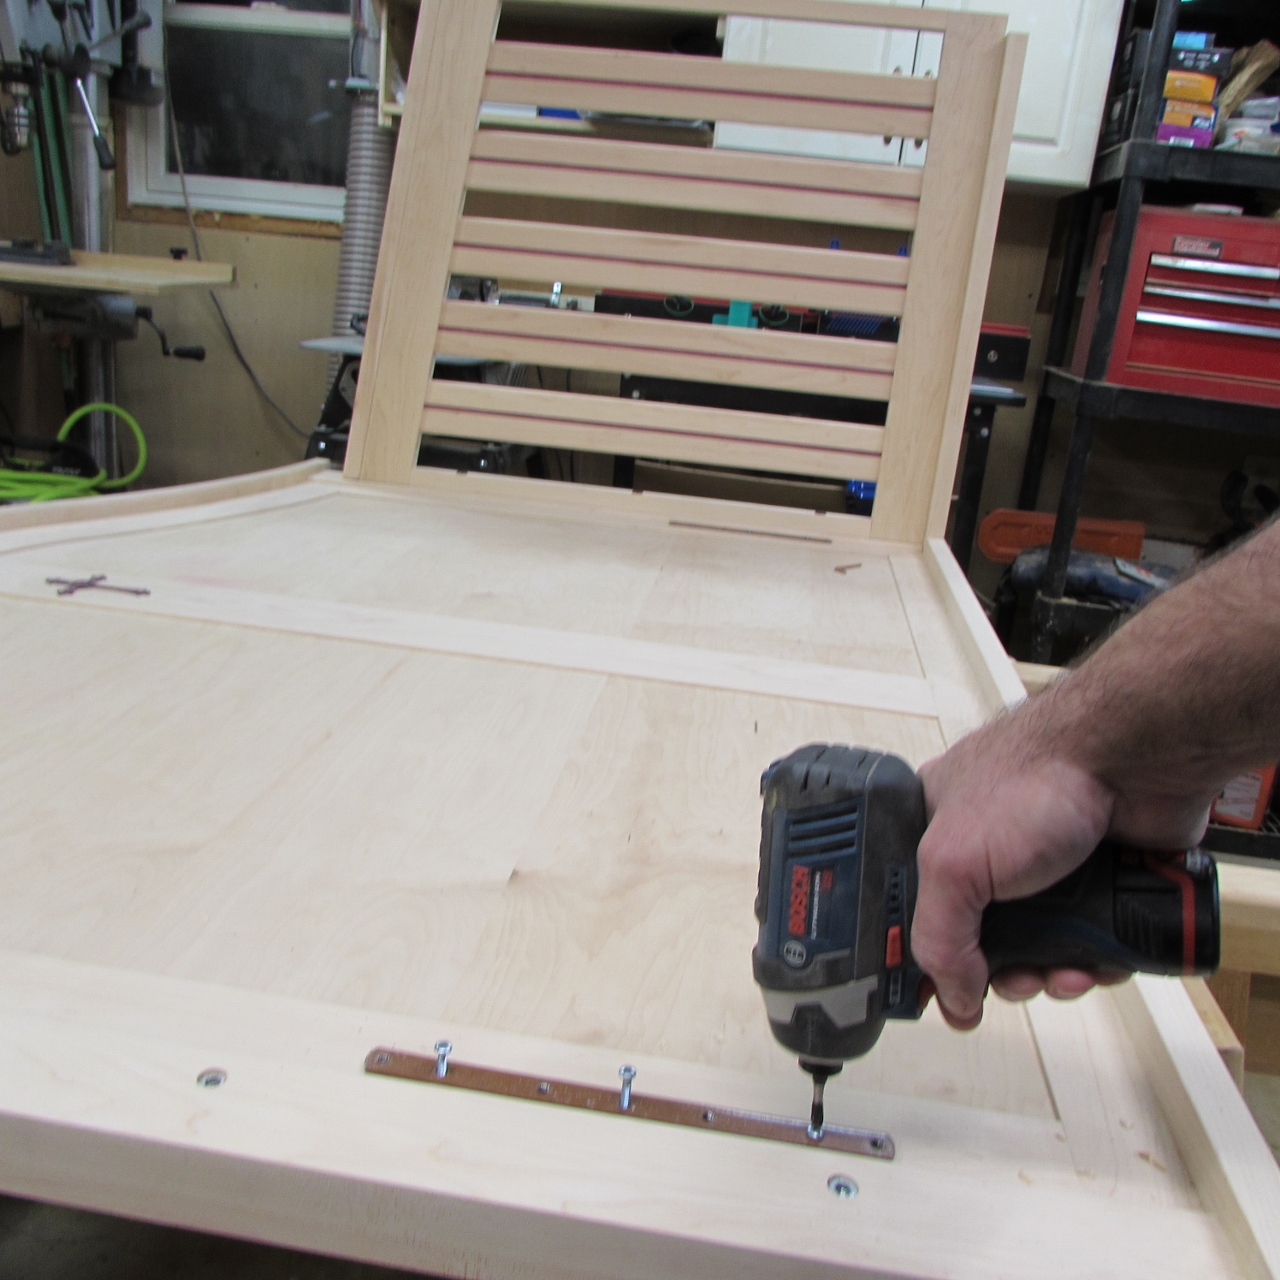
Unfortunately, they are a bit wider than the bottom rails, but they still have plenty of room for mounting. I held the foot in and down about 1/4″, then traced around it.

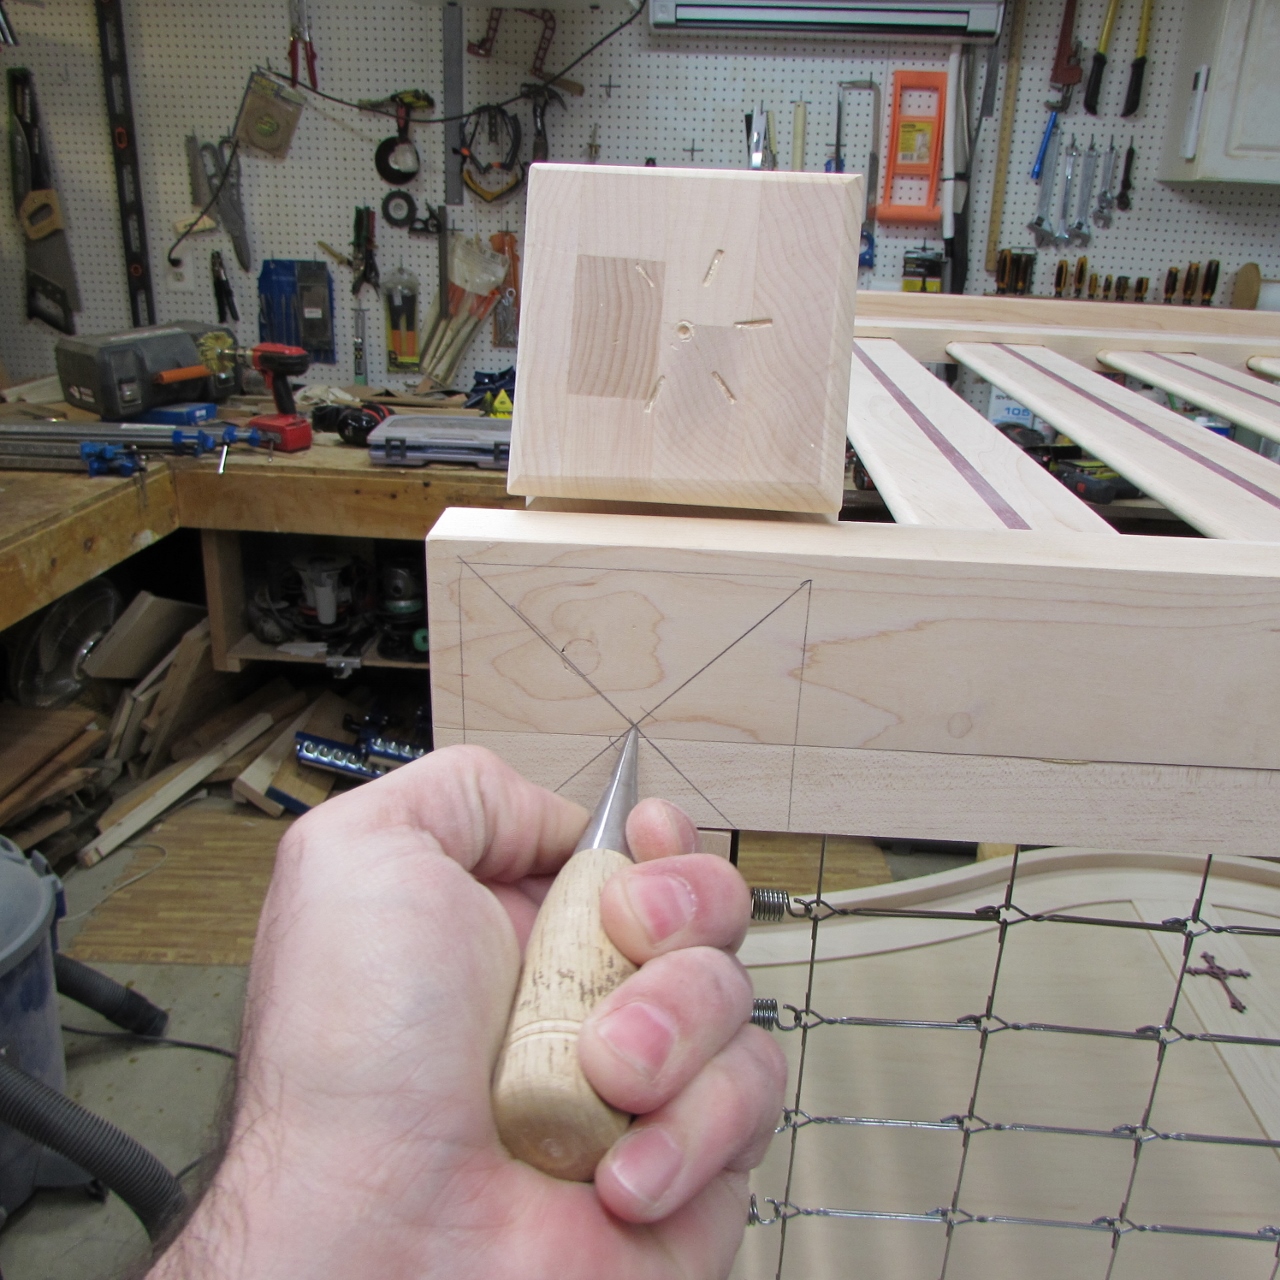
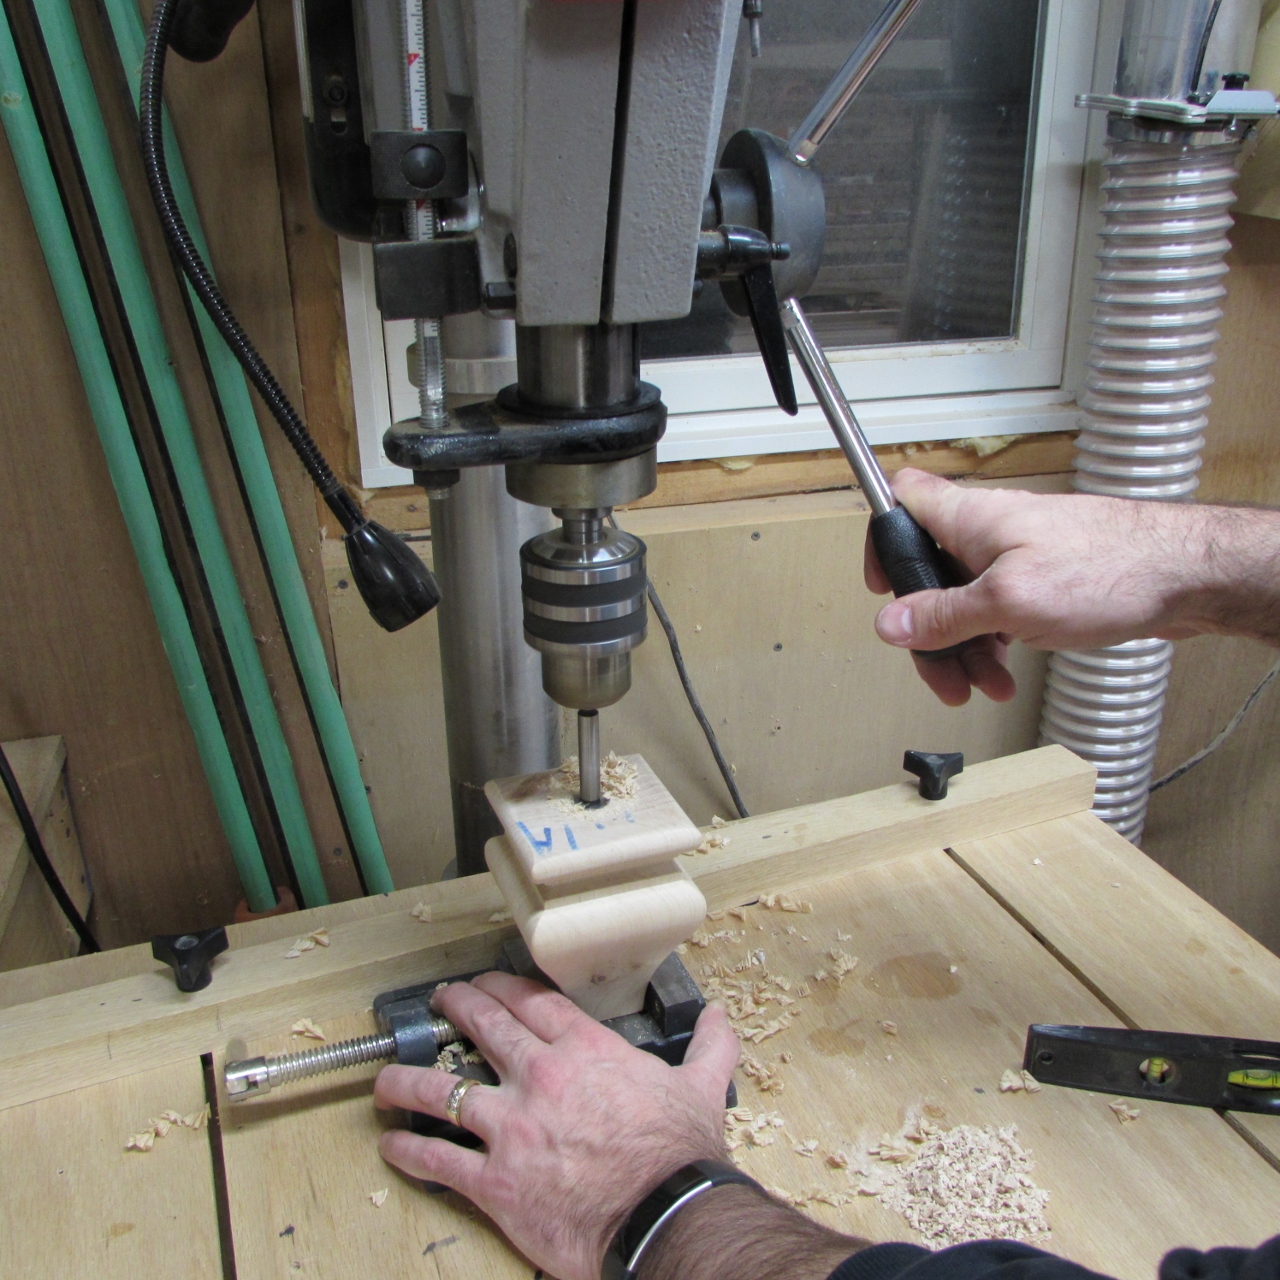
I found the center of each square, and punched a center point for the drill. The feet already had a center point, so I just held them in a vice and drilled a 3/4″ diameter x 1″ deep hole, in each.
Next, I marked a 3/4″ depth on my 3/4″ drill bit, and drilled the center of the foot locations.

I have some birch 3/4″ dowels that I cut down to just under 1-3/4″ long.


The dowels will eventually be glued into the foot and the base of the crib.
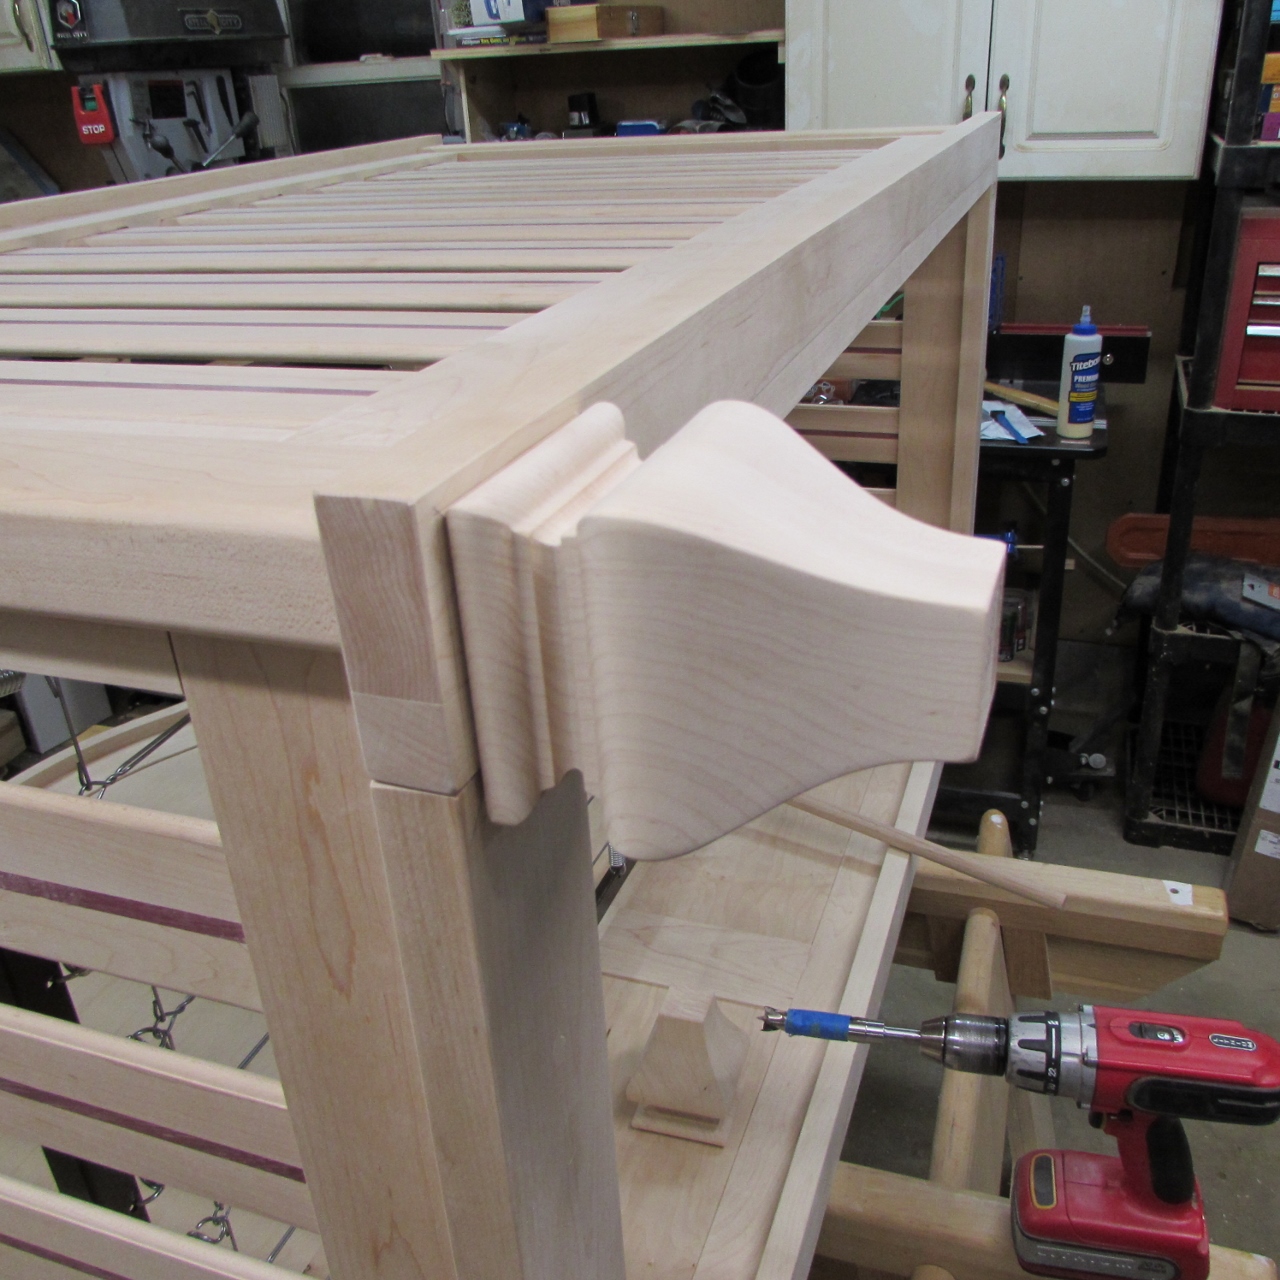
I dry-fit all four, and they looked good.

I sanded away my pencil marks and started pulling everything apart so I could get set up for finishing.

Before spraying, I cut small 1/2″ diameter pieces of tape to cover the threaded inserts. This will keep the finish out of the threads. I was asked to sign and date the crib, so I got out my Midnight Woodworking stamp, and made my mark.


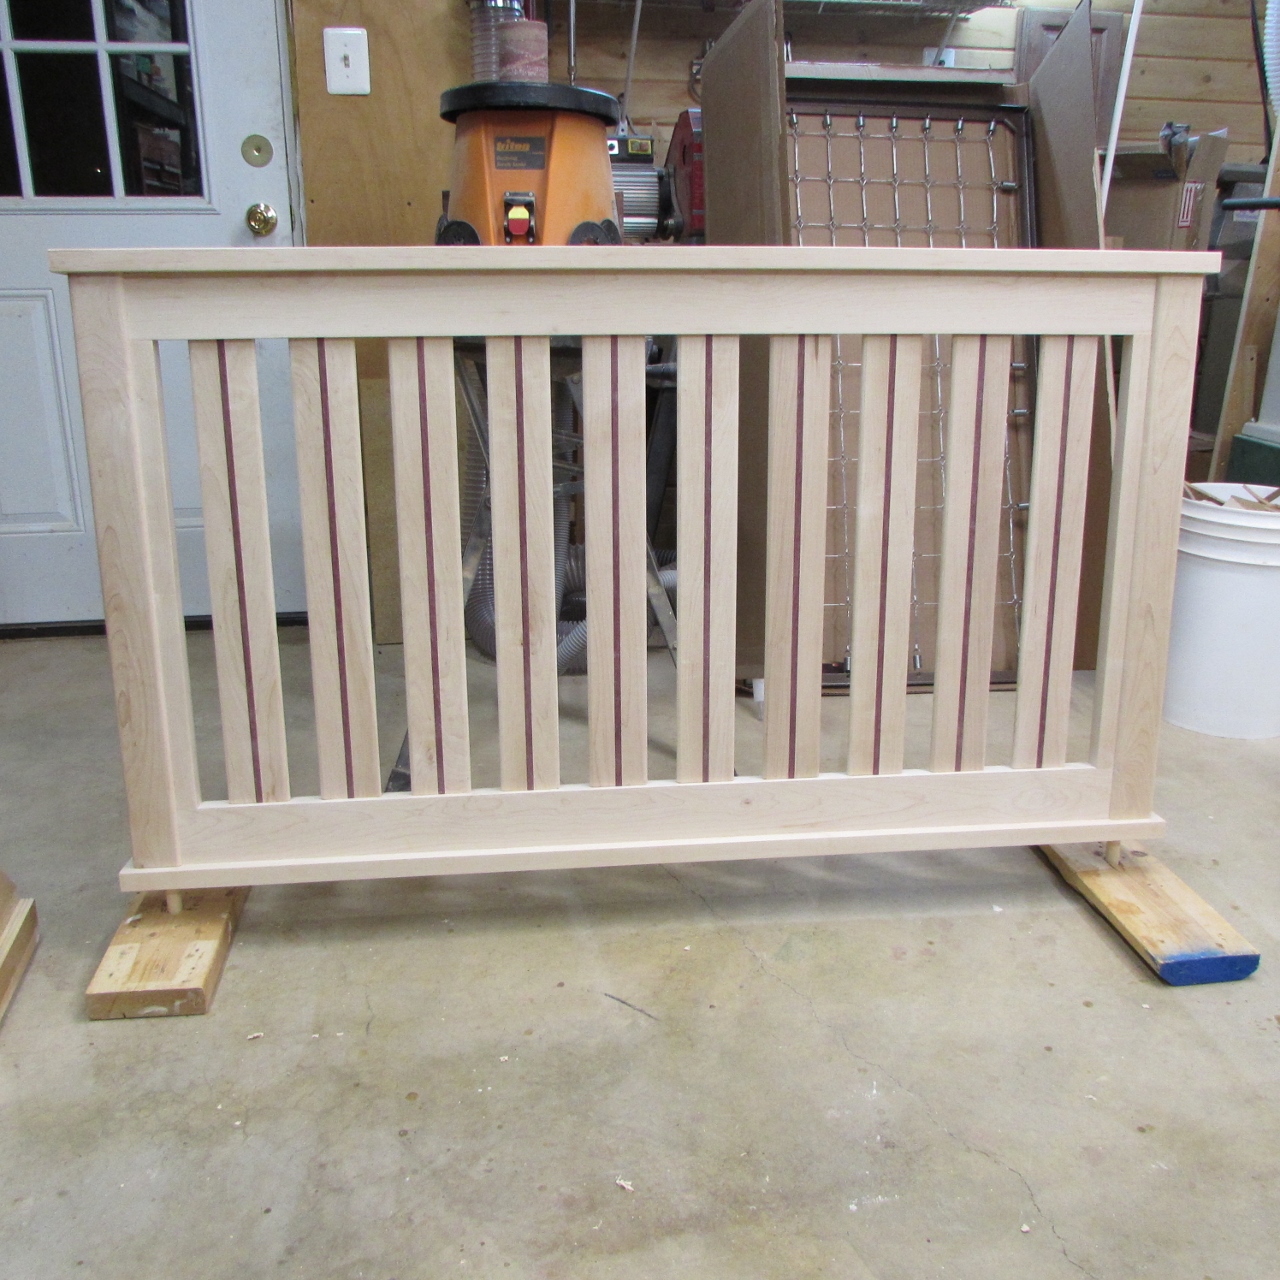
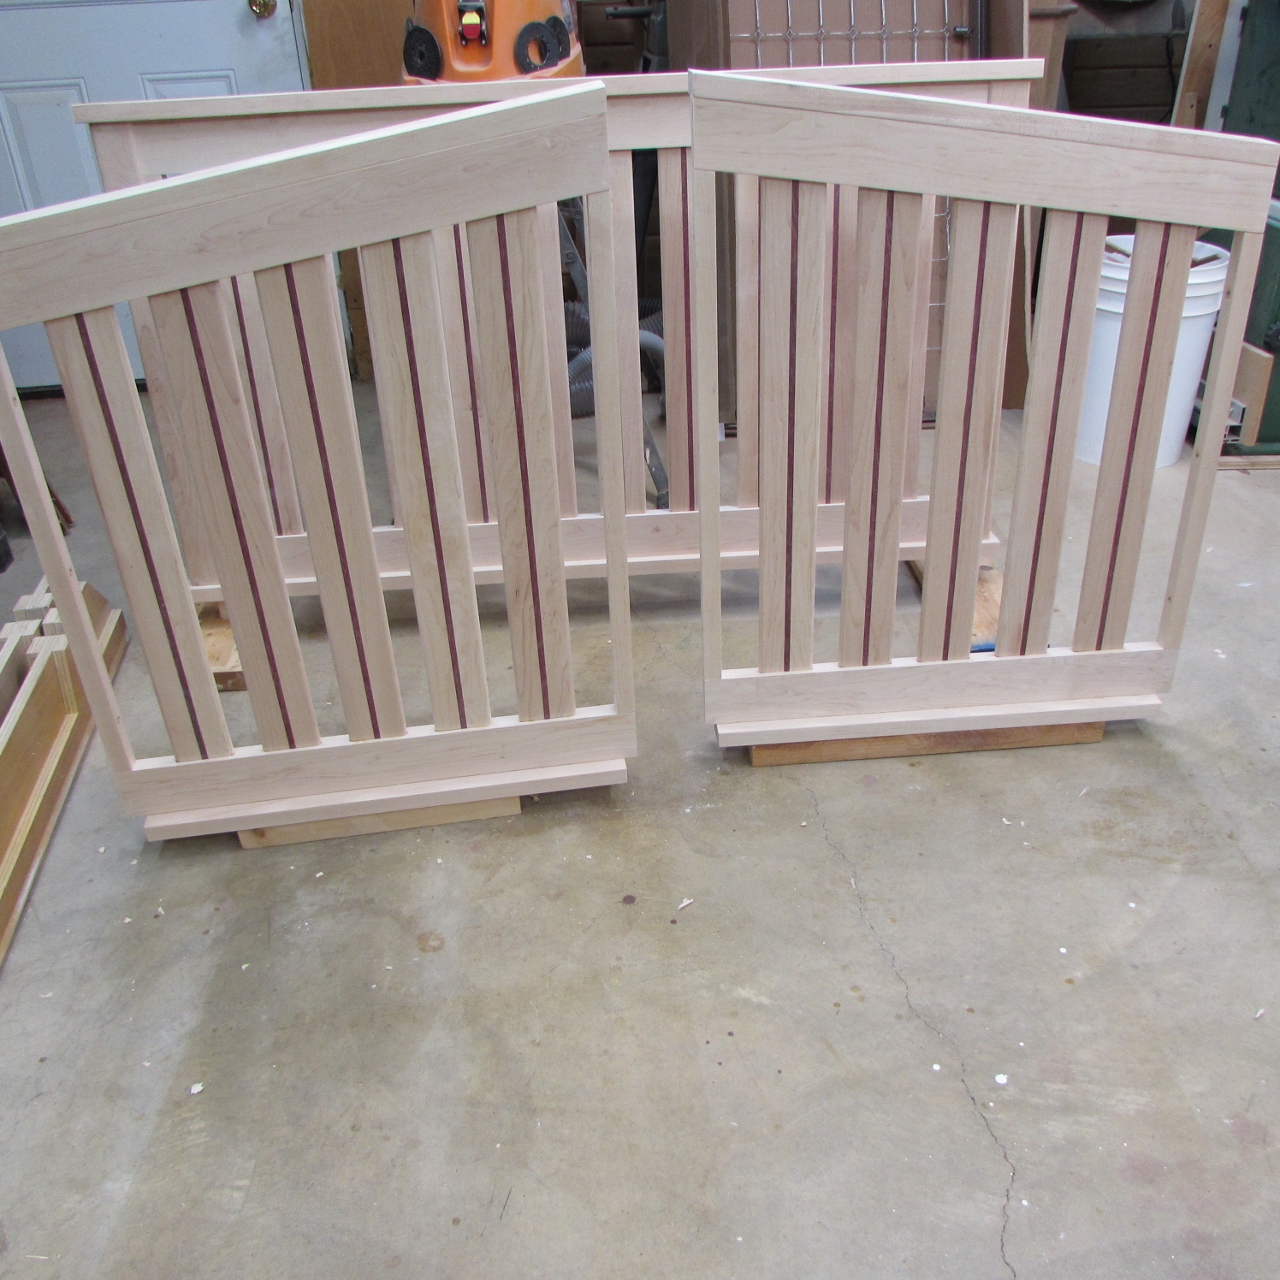
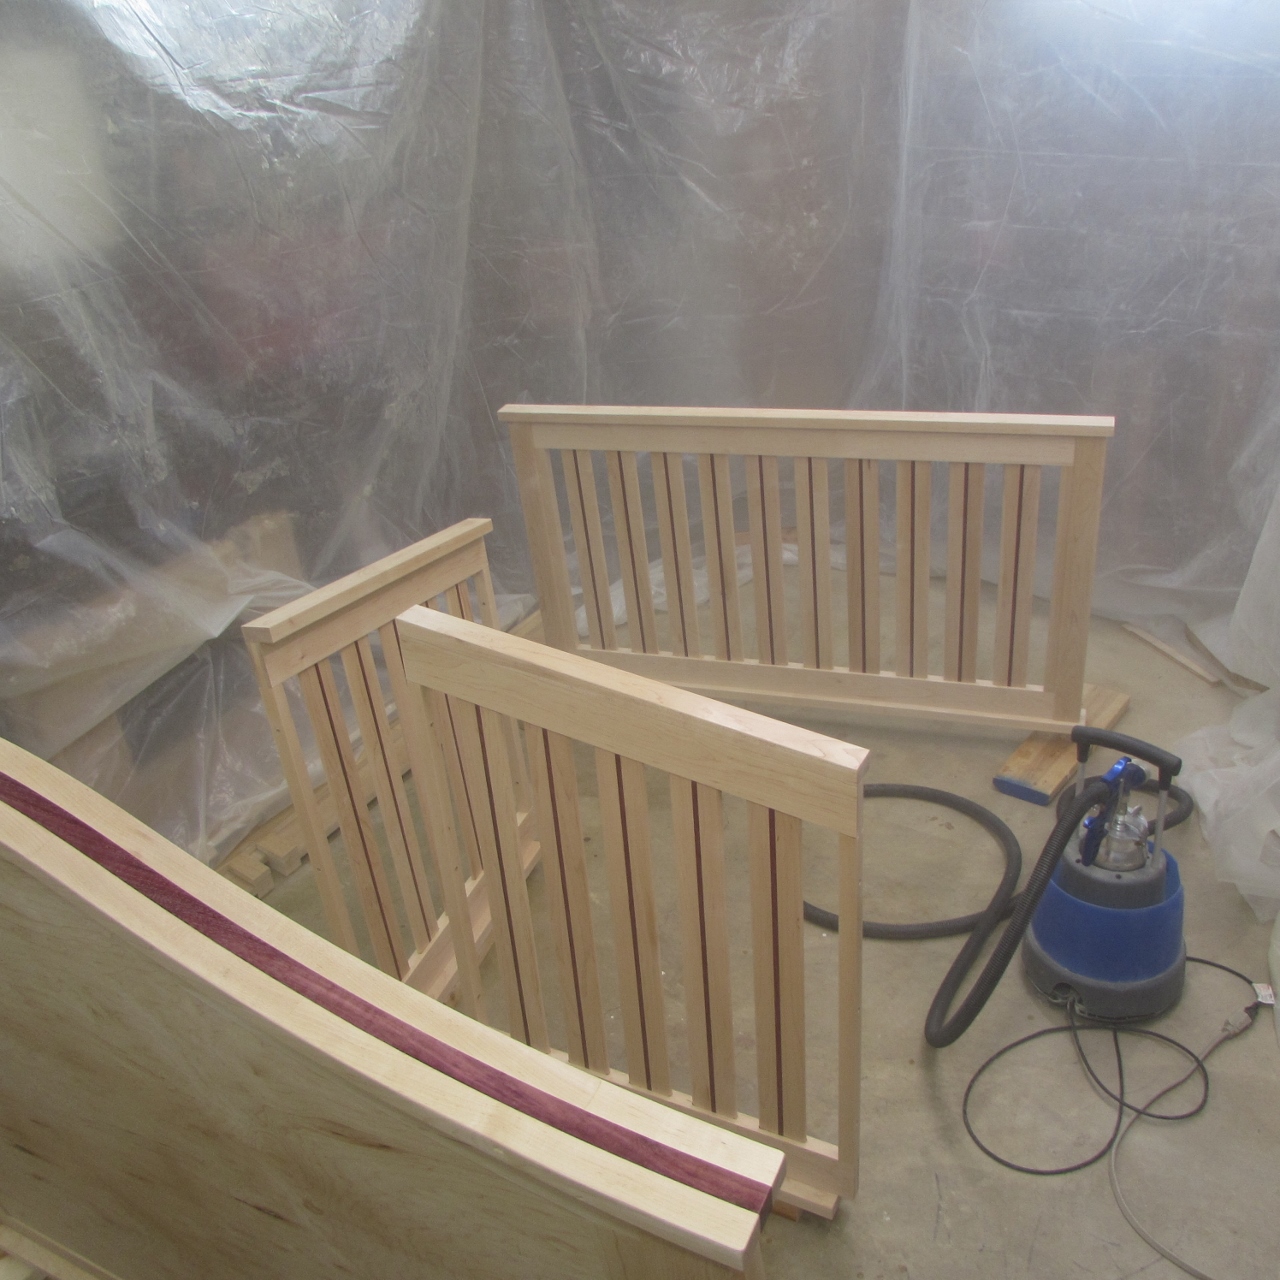
The pieces have to be finished separately, so I had to come up with ways to hold them off the ground. For the front and back, I drilled a 3/4″ hole into four scrap pieces of 2″x6″, and cut some 4″ lengths of dowels. I inserted the dowels into the bottom of the front and rear crib sections, then inserted the other end into the blocks. Instant feet. A little wobbly, but they leave the rest of the side free to be sprayed. I actually don’t want to spray the bottom yet, because I need to glue the feet on still.
The sides that don’t have holes, can just sit on some 2-1/2″ wide blocks.

The feet were similarly mounted into some scrap.


Since I don’t have a spray booth, I usually clear out half of my shop, and hang about 100′ of plastic from the joists in the ceiling. While not completely air-tight, it does keep the fumes and over-spray contained. I just wear a respirator when I spray.
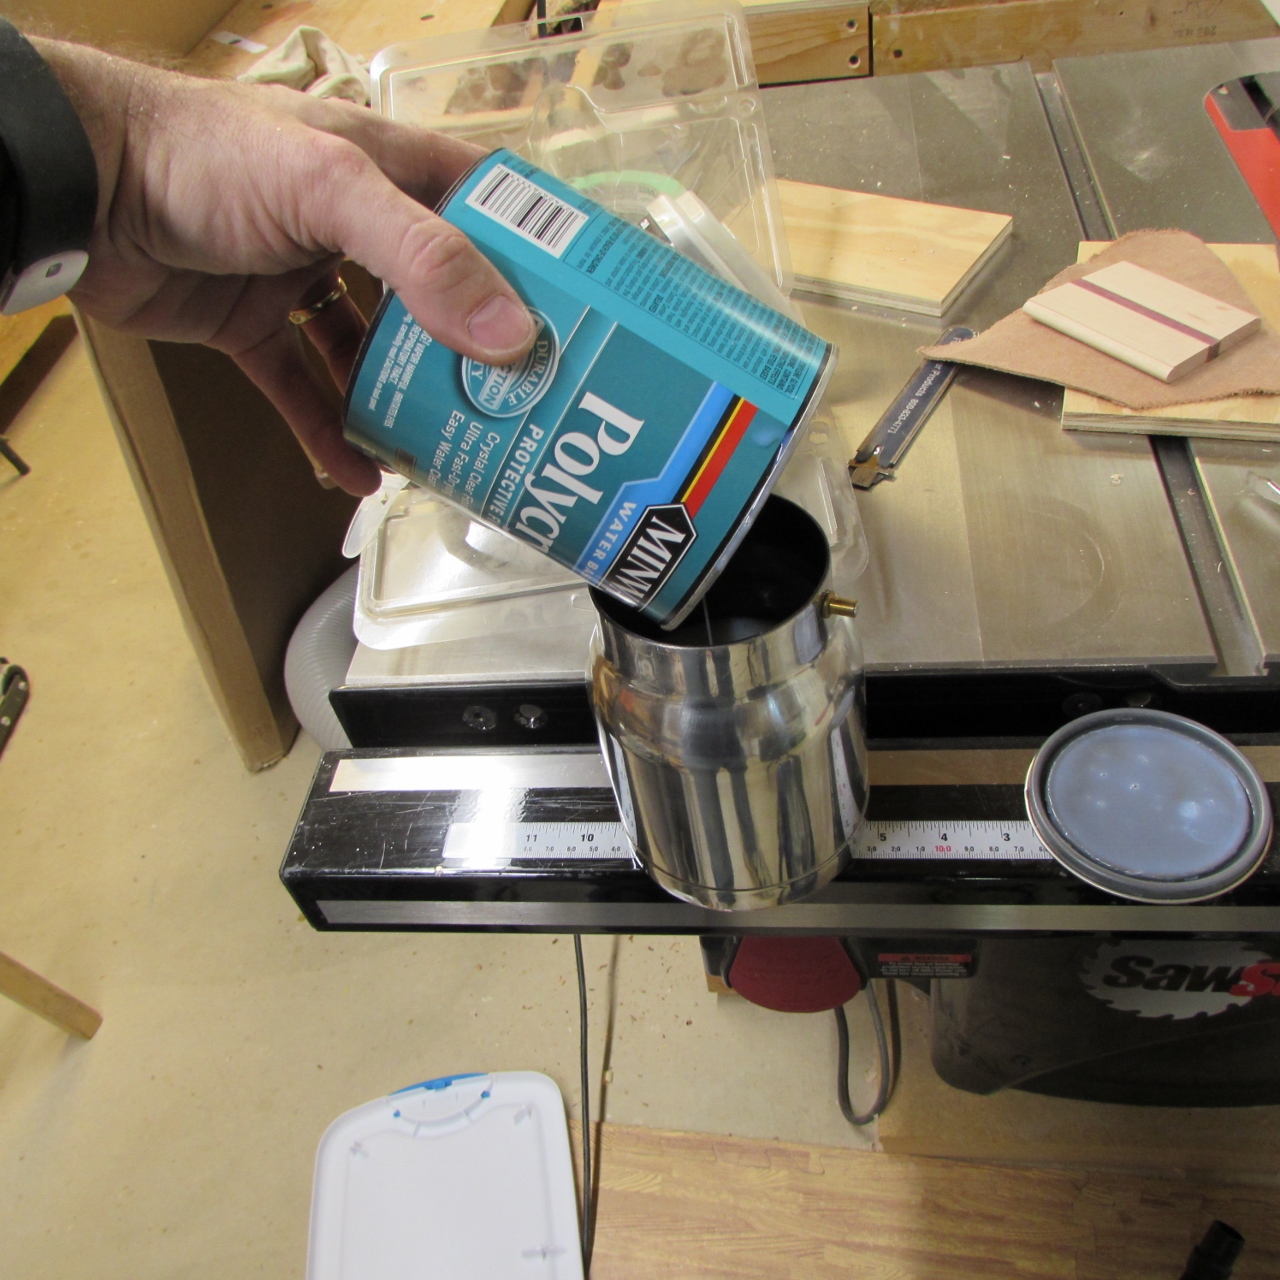
I filled my spray canister with some water-based poly and fired up my Earlex HVLP sprayer.

Man, look at that purpleheart pop.
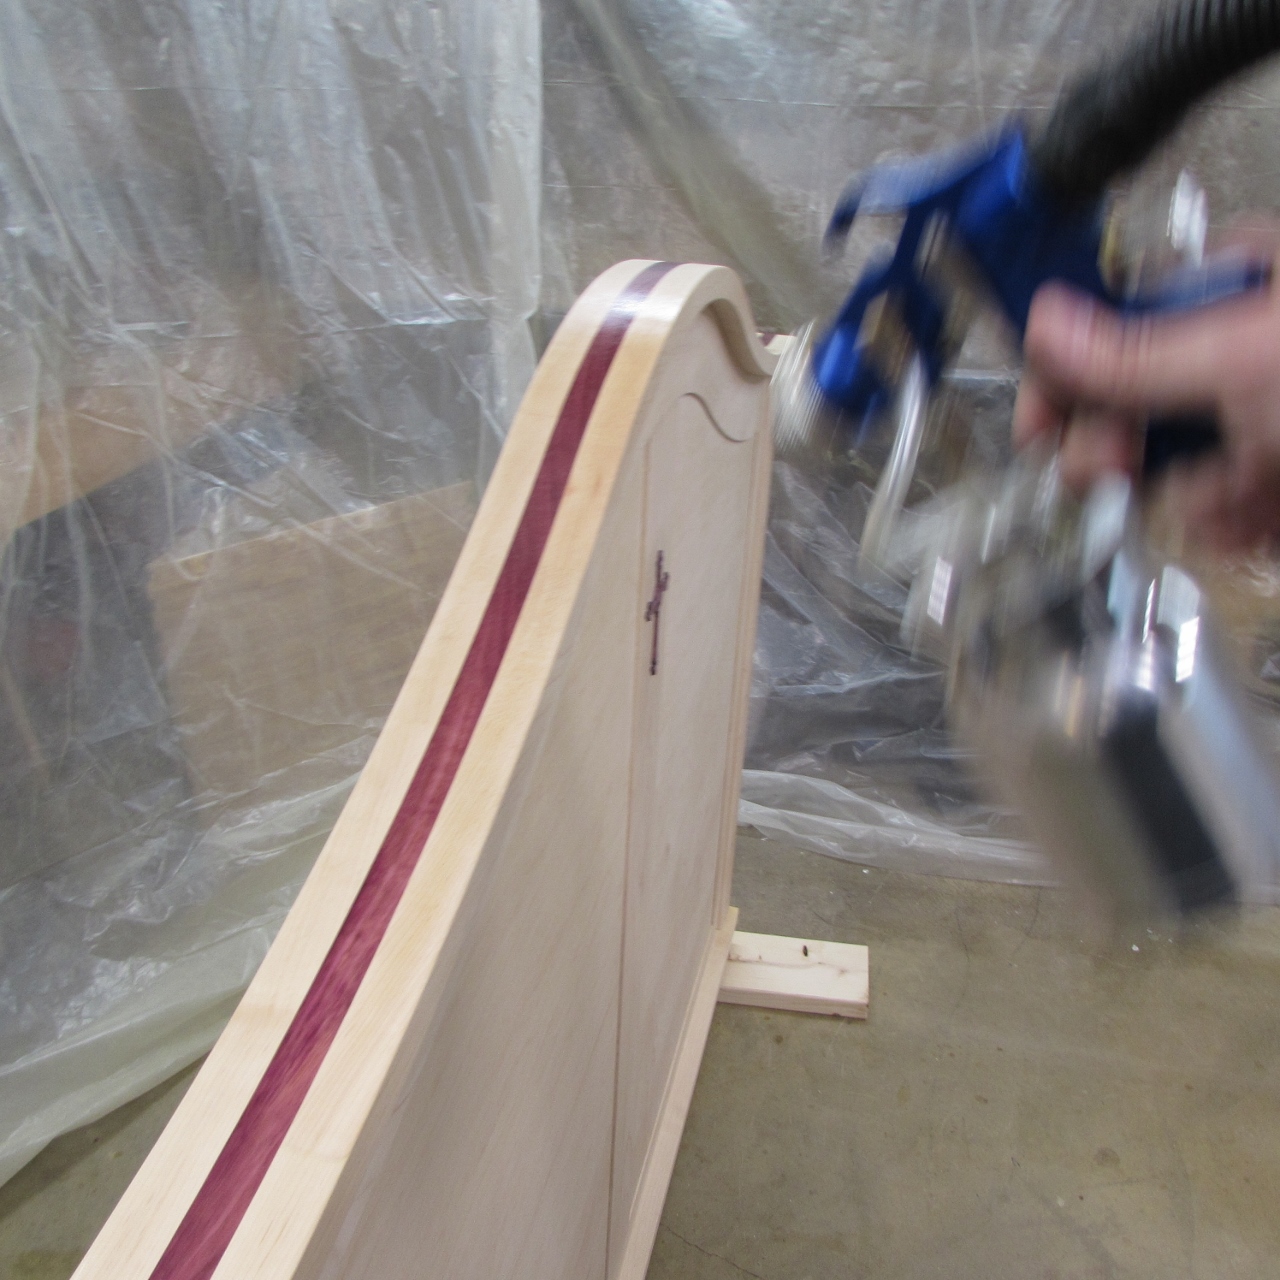

After about 15 minutes of careful spraying, the first coat was on. It was a bit foggy, in the spray booth, with no ventilation. The over-spray will eventually all land on the floor and make it a bit more grippy for a day or two, until the dust takes over again…
Tomorrow, I will sand it all down and spray it again. The crib should be ready in a day or two, right about the time the baby comes home…
