
Maker’s mark experiment
I haven’t bothered much with marking my projects in the past. When I finish a project, I usually only see the flaws in it. I am typically happy to be building for someone else because the fun part is learning how to build it. I have very few pieces of my own furniture at my house. Most of my projects have been small, and I have seen no real need to mark them as one of mine. There have been a couple big projects, lately, that I have thought about marking. When I did the altar for Saint Peter’s, I carved my Midnight Woodworking logo and a signature, into some walnut, on the Carvewright. The logo had to be about 4″ wide for the details to show. That is way too big for my smaller projects, and the carve took over 4 hours.
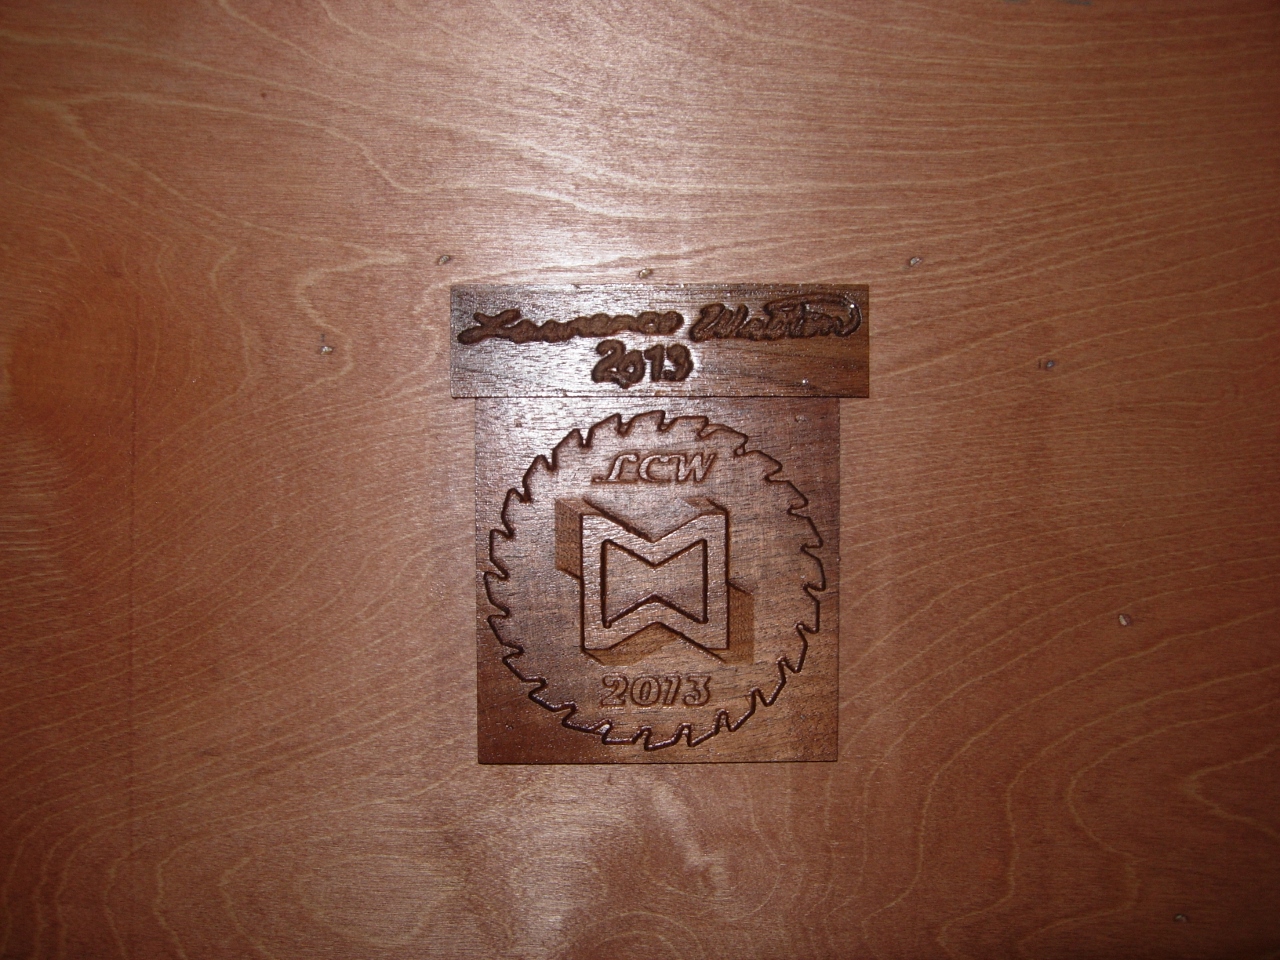
Carved maker’s mark and signature
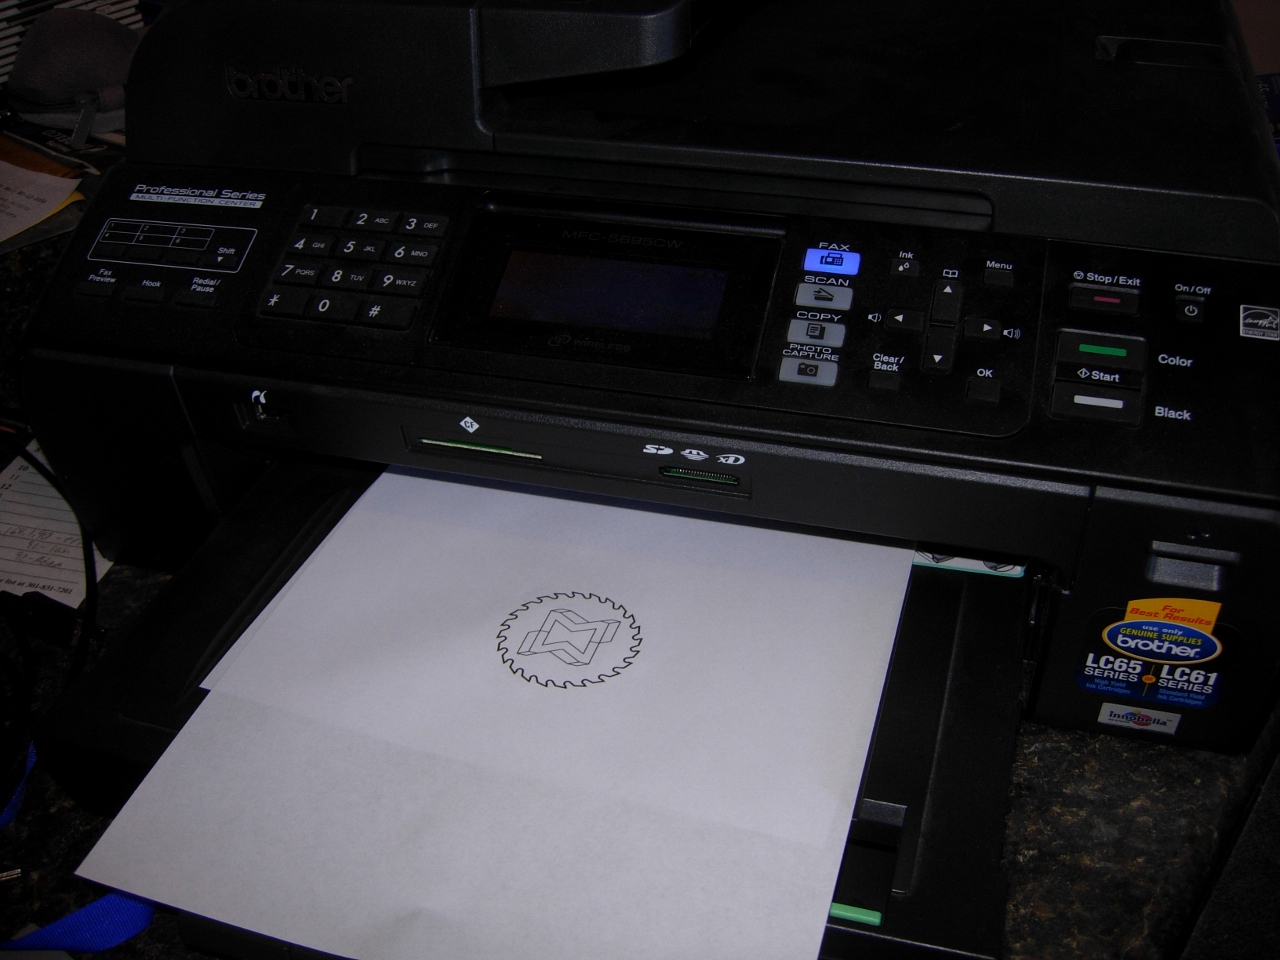
Printed Midnight Woodworking logo
I had an idea for a quick, small, and repeatable maker’s mark. Why not make a rubber stamp? I went onto Amazon and bought a block printing kit and large piece of linoleum. I figured that I would try hand carving the logo and if that didn’t work, the sheet of linoleum would be big enough to try carving it on the CNC. The first step was to minimize my logo to about 1-1/2″ wide and remove all of the text.
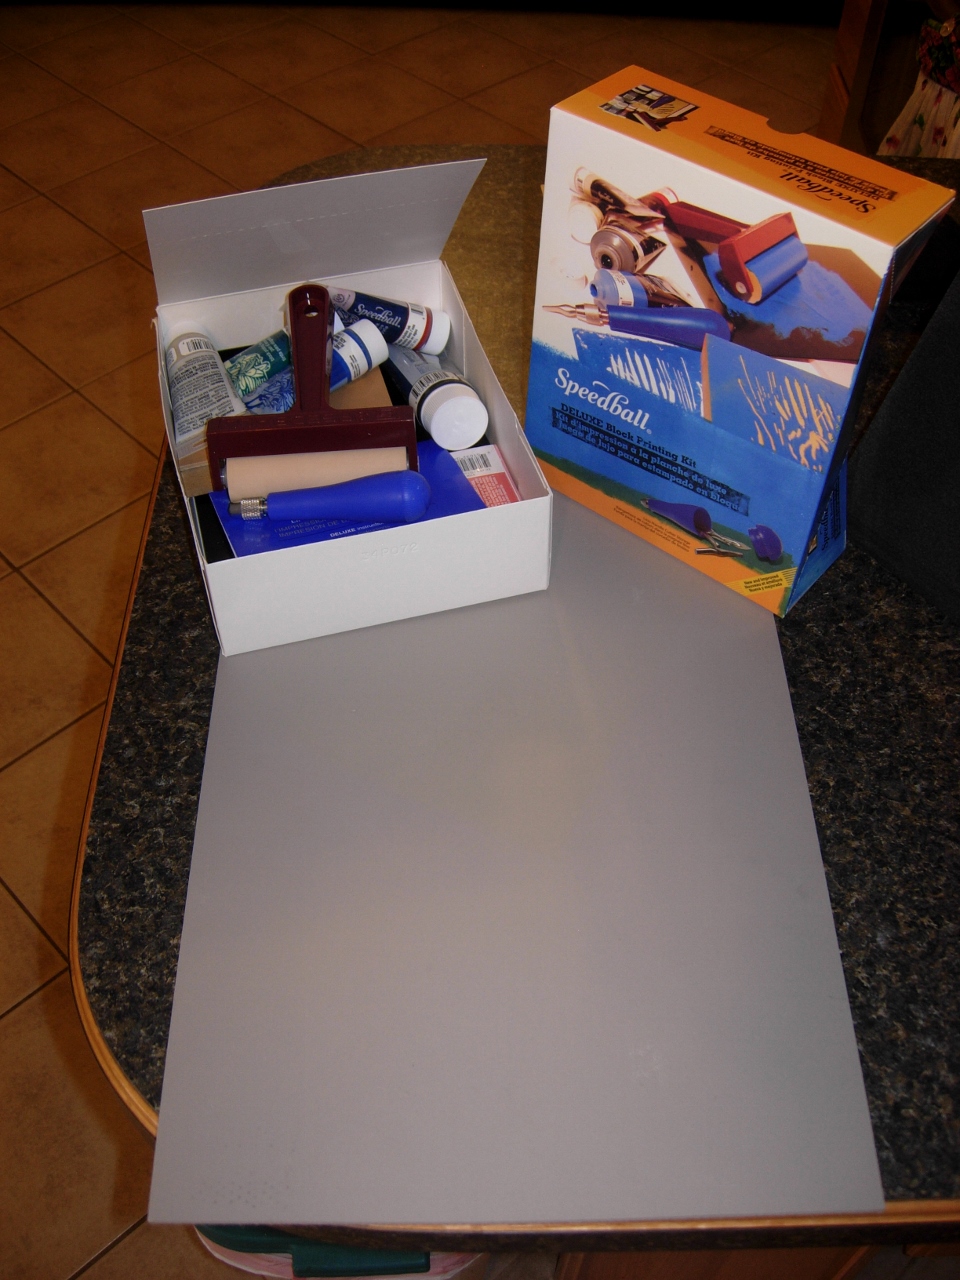
Stamp making kit
If you mirror the logo and print it, you can flip it over onto the linoleum and rub the ink in. I just rubbed the back of the image with my fingernail for a few seconds and the image transferred nicely.
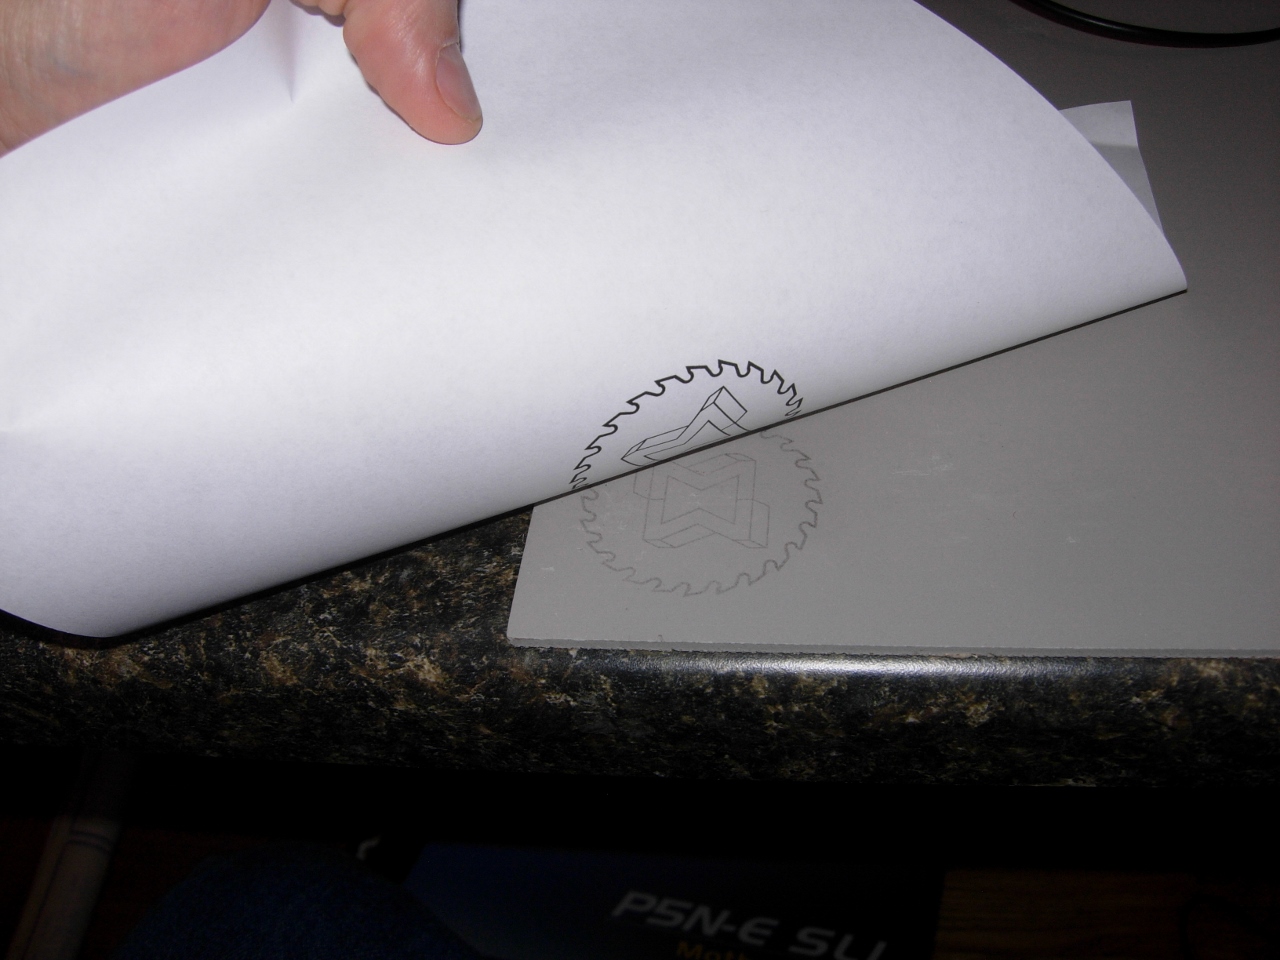
Rub to transfer
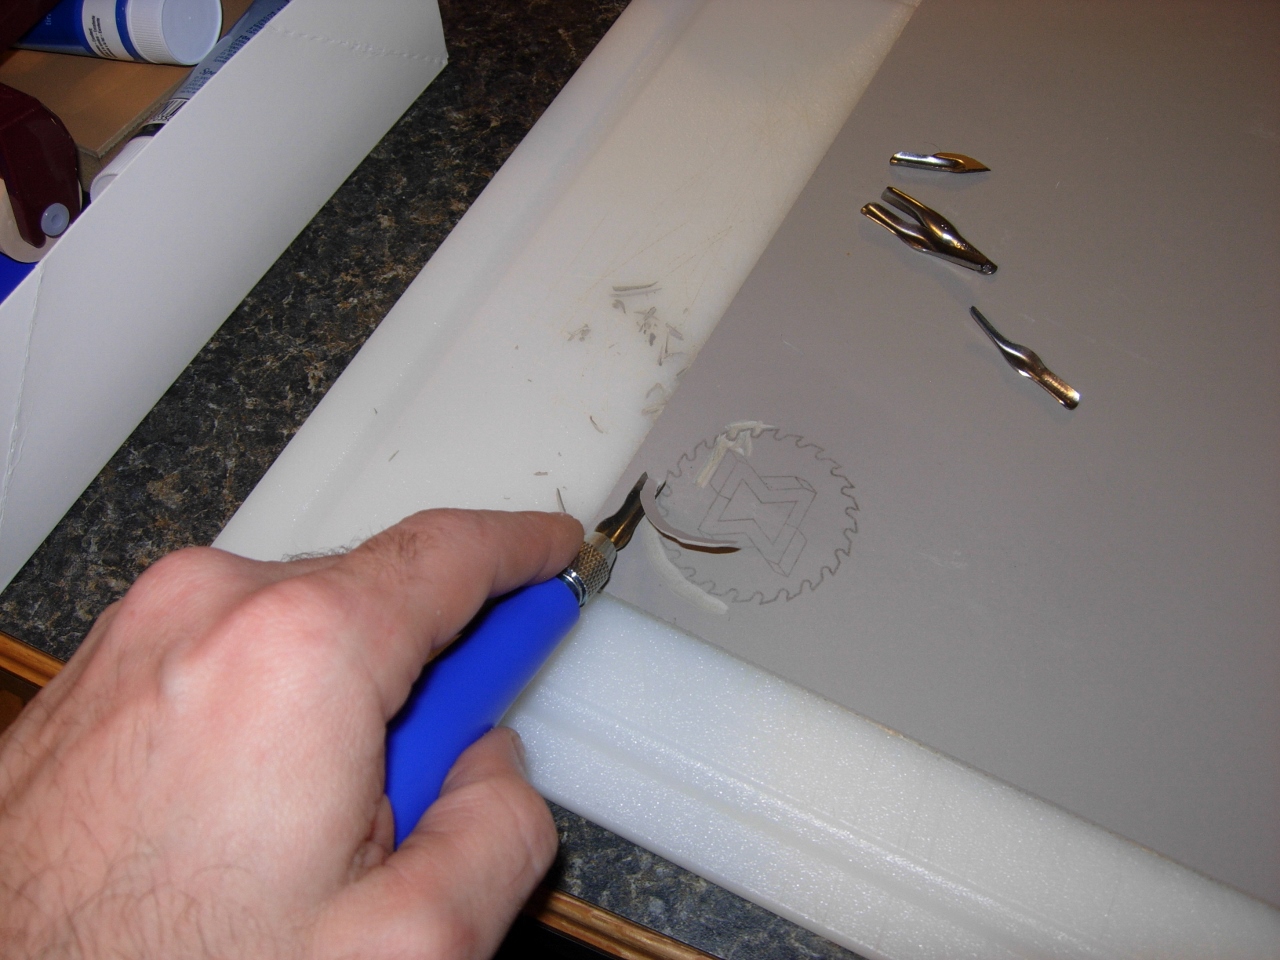
Starting the carve
Since I chose a toothed saw blade as part of my logo, I have a lot of detail work to do. The kit comes with several blades for carving. I used the larger gouge to carve away the majority of the waste, then used the tiny V-shaped gouge for the details. Here and there I used a bit of super glue to reattach a few bits that were over-zealously removed…
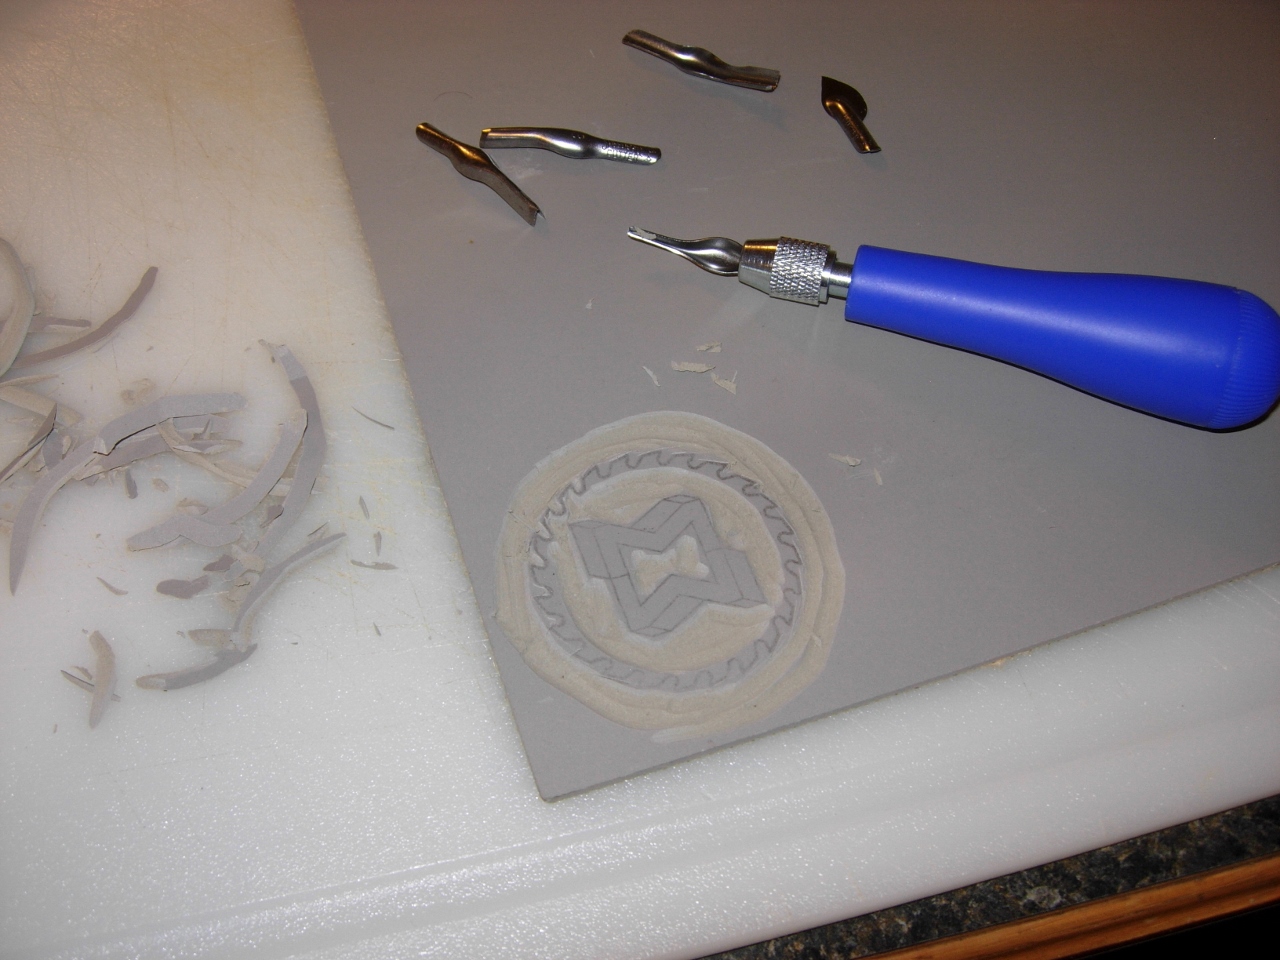
Saving the details for last

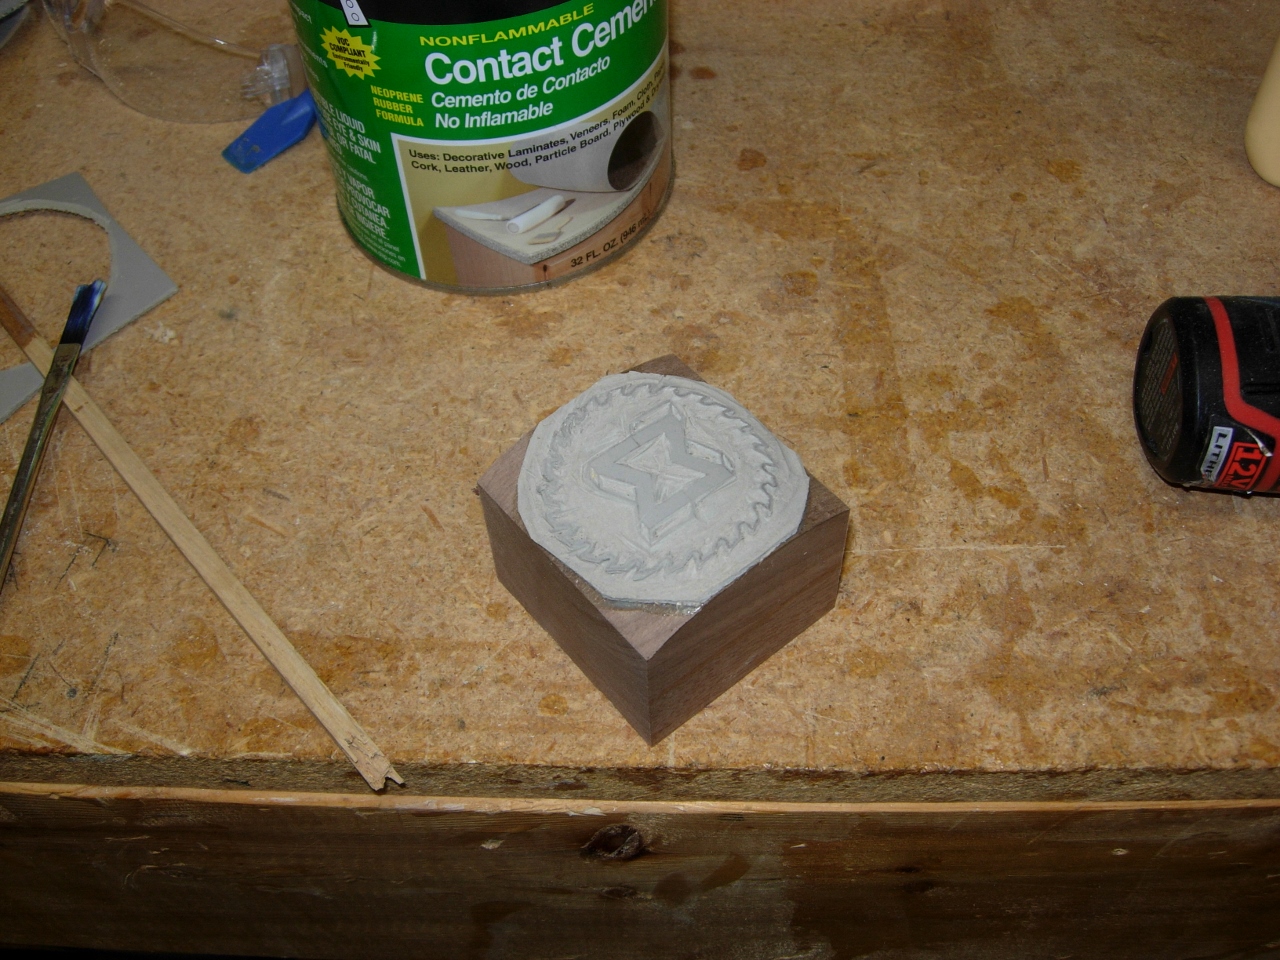
Cut a curved block
I decided that the stamp would work better on a curved block. I found a piece of 6/4 walnut and used the base of my router for the curve that I traced. I cut the curve on my band saw, then smoothed it out on my spindle sander.
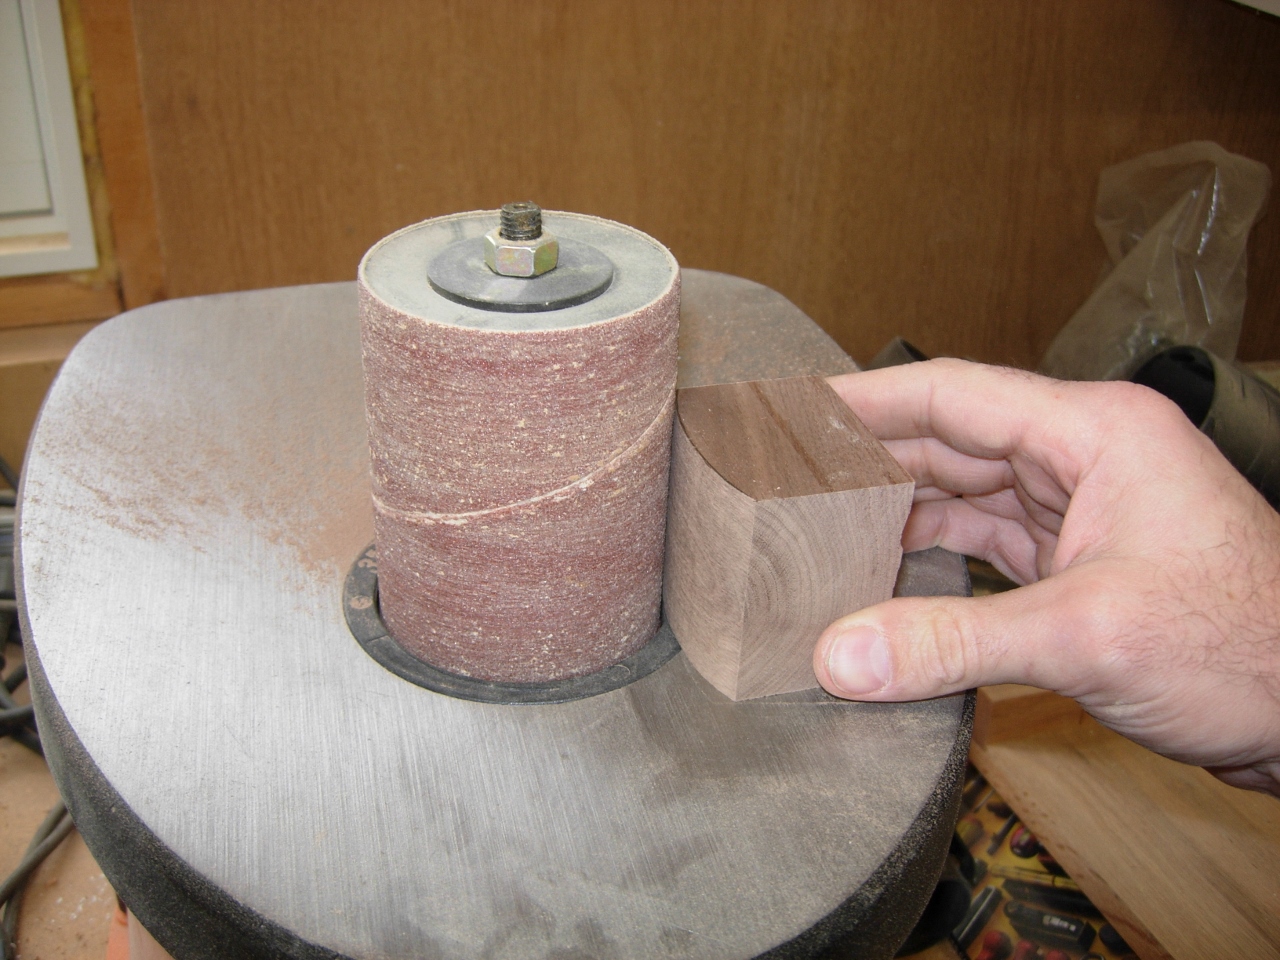
Sand it smooth
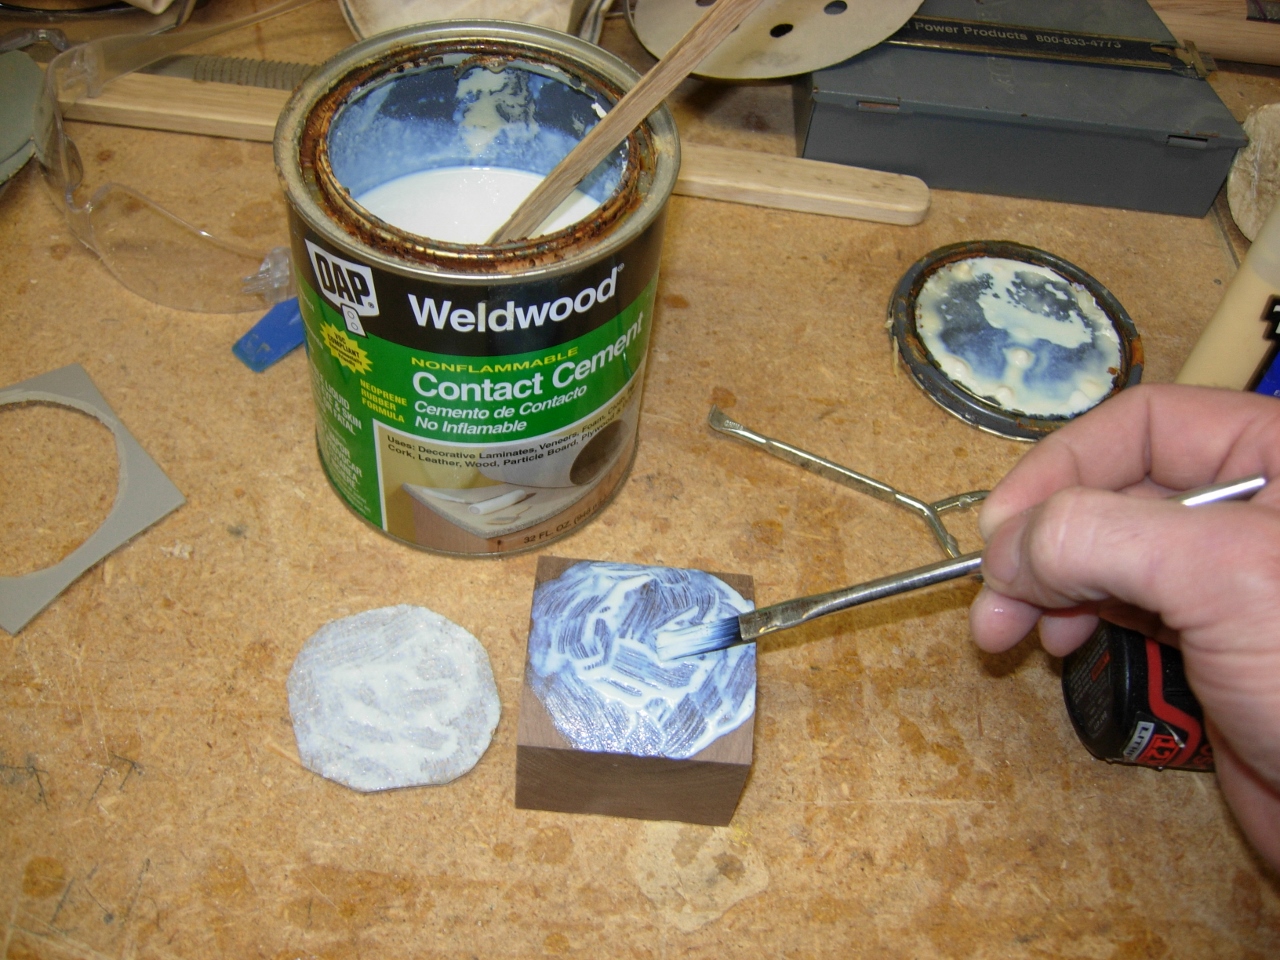
Applying rubber cement
I applied rubber cement to both surfaces and let them cure for about 40 minutes, before I attached them together.
Stamp complete
I applied a bit of black ink to the plate provided with the kit and spread the ink with the included roller. Next I rolled the ink onto the stamp and made a few test stamps.
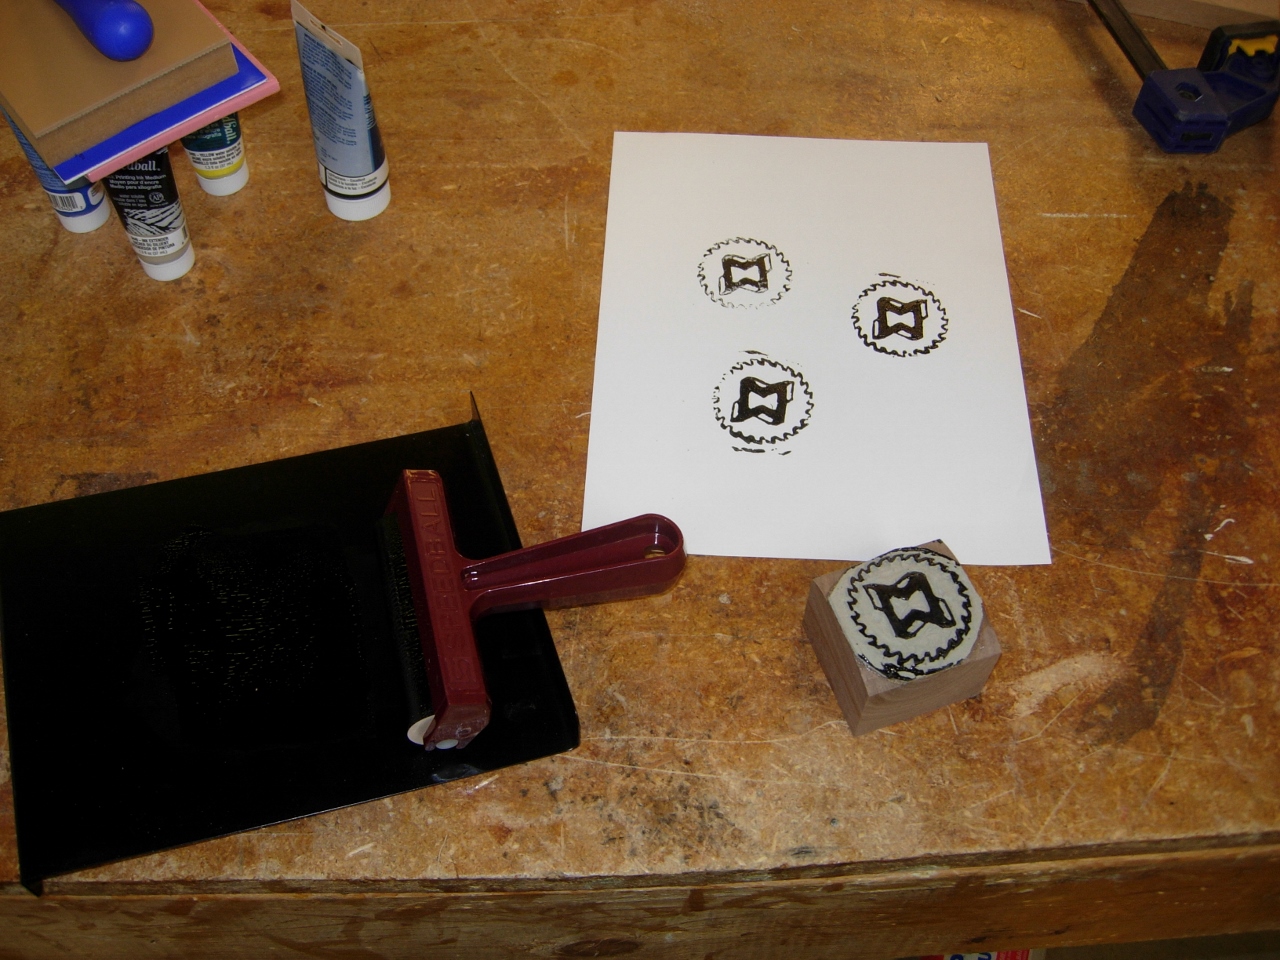
Test run
It isn’t perfect, but I am fairly happy with the outcome. Now I can sign the piece with a magic marker and date it if I like as well.
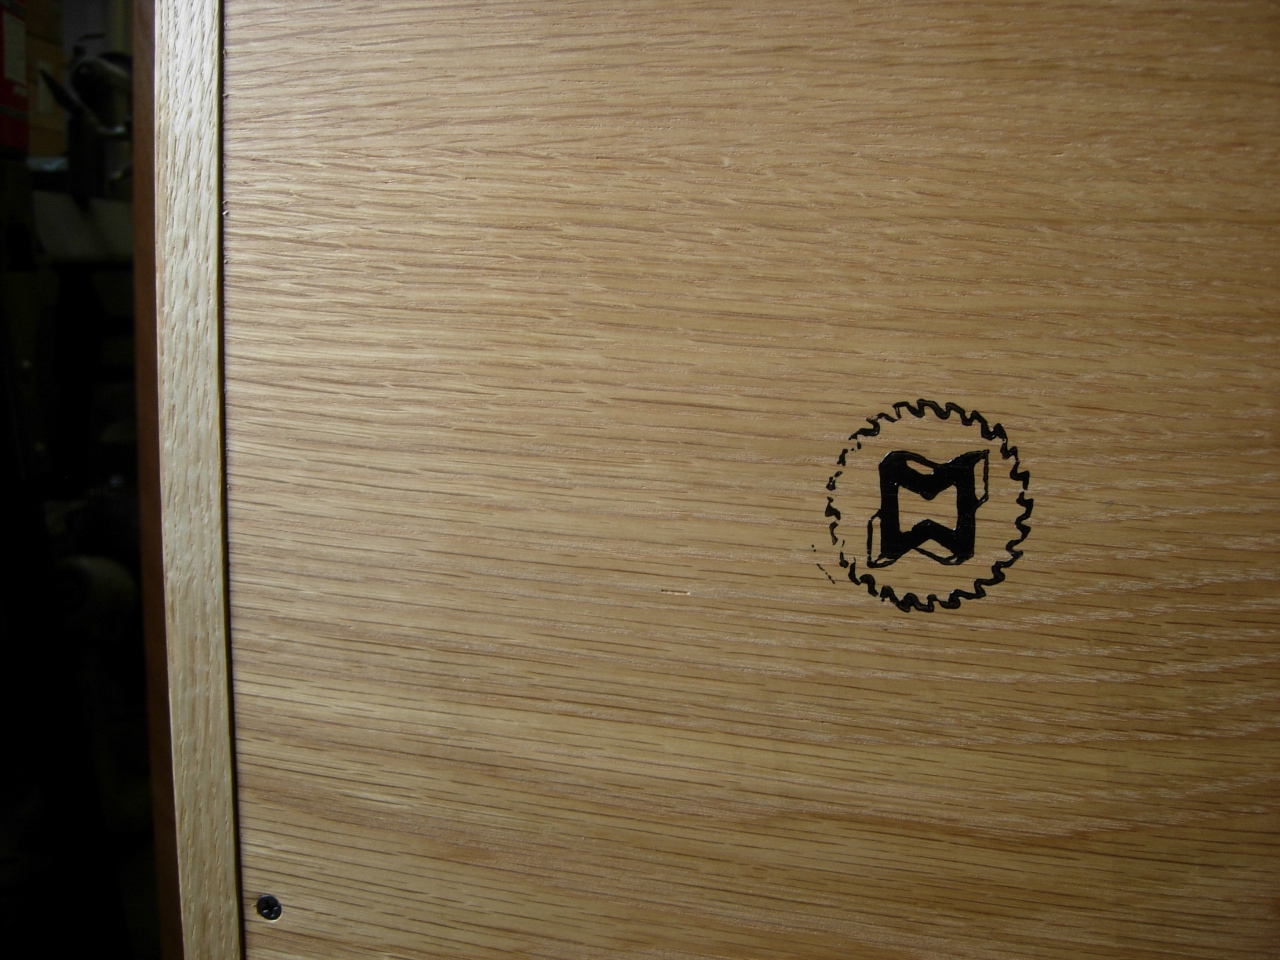
My new maker’s mark

I thought you were talking about Maker’s Mark whiskey!!
No issues with the ink running when you apply a finish?
I suppose it would depend on the ink you choose to use. I actually did not finish the stamp until the last project was already coated in Polyurethane. The kit, I bought, came with a water based ink and it went on smoothly. I have put poly and tung oil over water based paints and inks before without a problem. It should work the same with a water based ink.
Pingback: Statue bases – day 8 | Midnight Woodworking
Pingback: Maple & Purpleheart crib – day 11 | Midnight Woodworking
Thiis was lovely to read