
Maple & Purpleheart crib – day 10
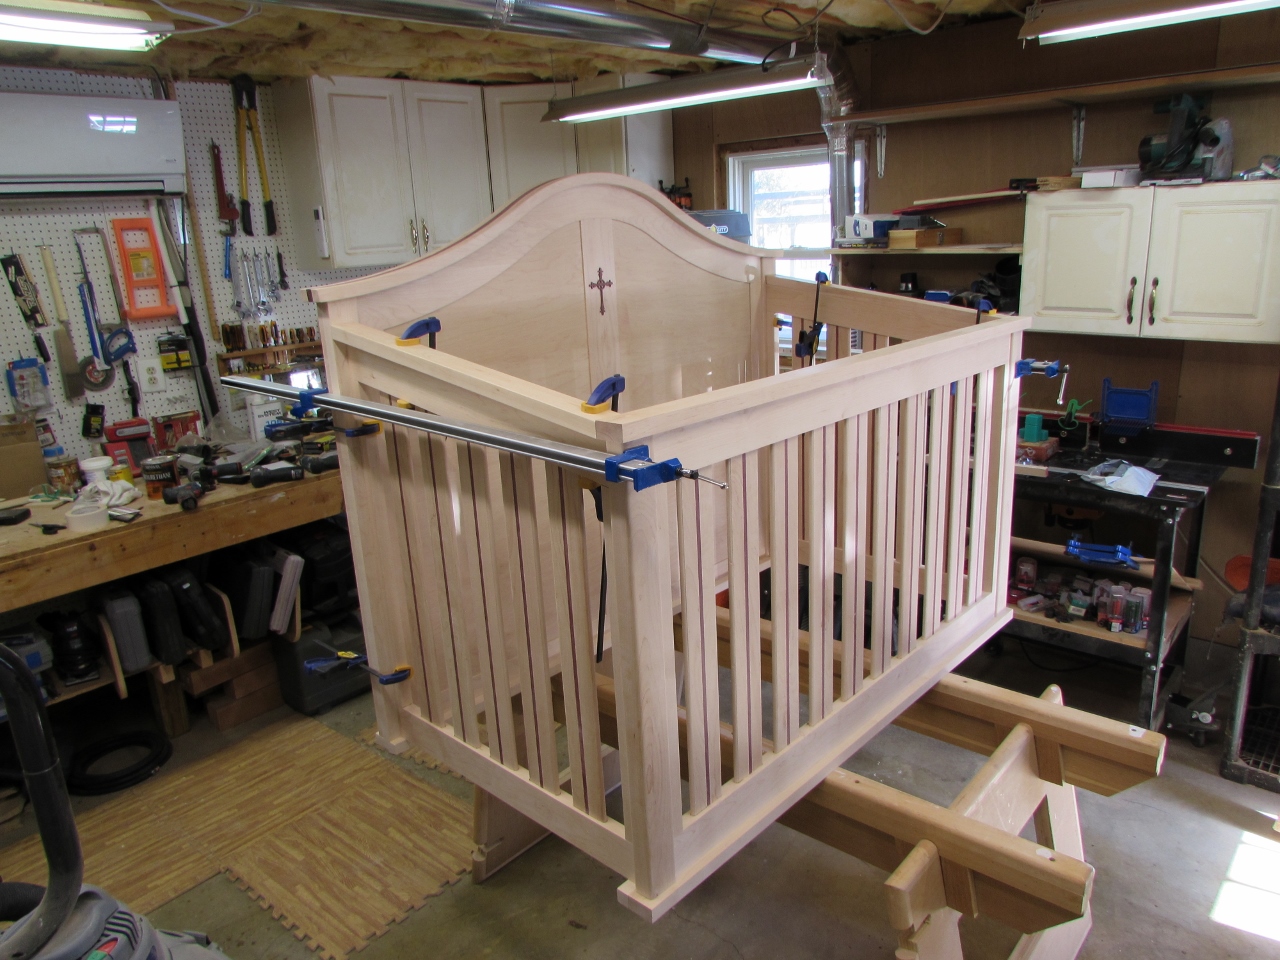
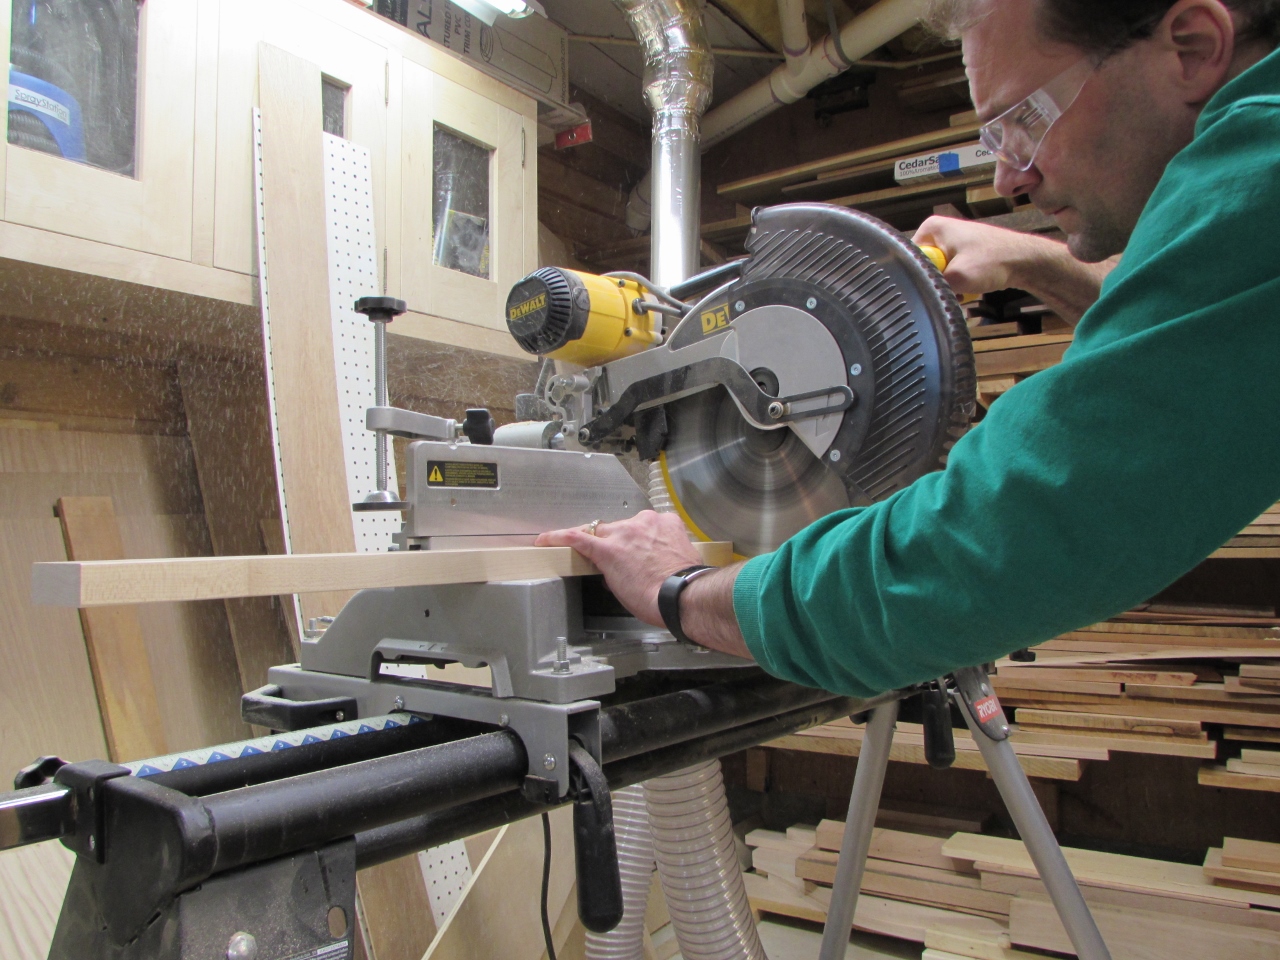
I set up my knock-down workstation, then assembled the sides and clamped the whole crib together.

Remember the sides were not glued up yet. That was so I could locate the back piece of the frames, to drill out. I firmly clamped the back piece, from each side, in place, then removed the rest.


I laid the headboard on its back. Then I set the depth for my drill bit, with a piece of tape. I want the bit to penetrate just enough for the pilot tip to leave a center mark on the sides of the headboard.


After I measured and marked the hole locations, I drilled the frame pieces. When I removed them, I used my awl to make the pilot holes a bit deeper, so I could line up the next bit.
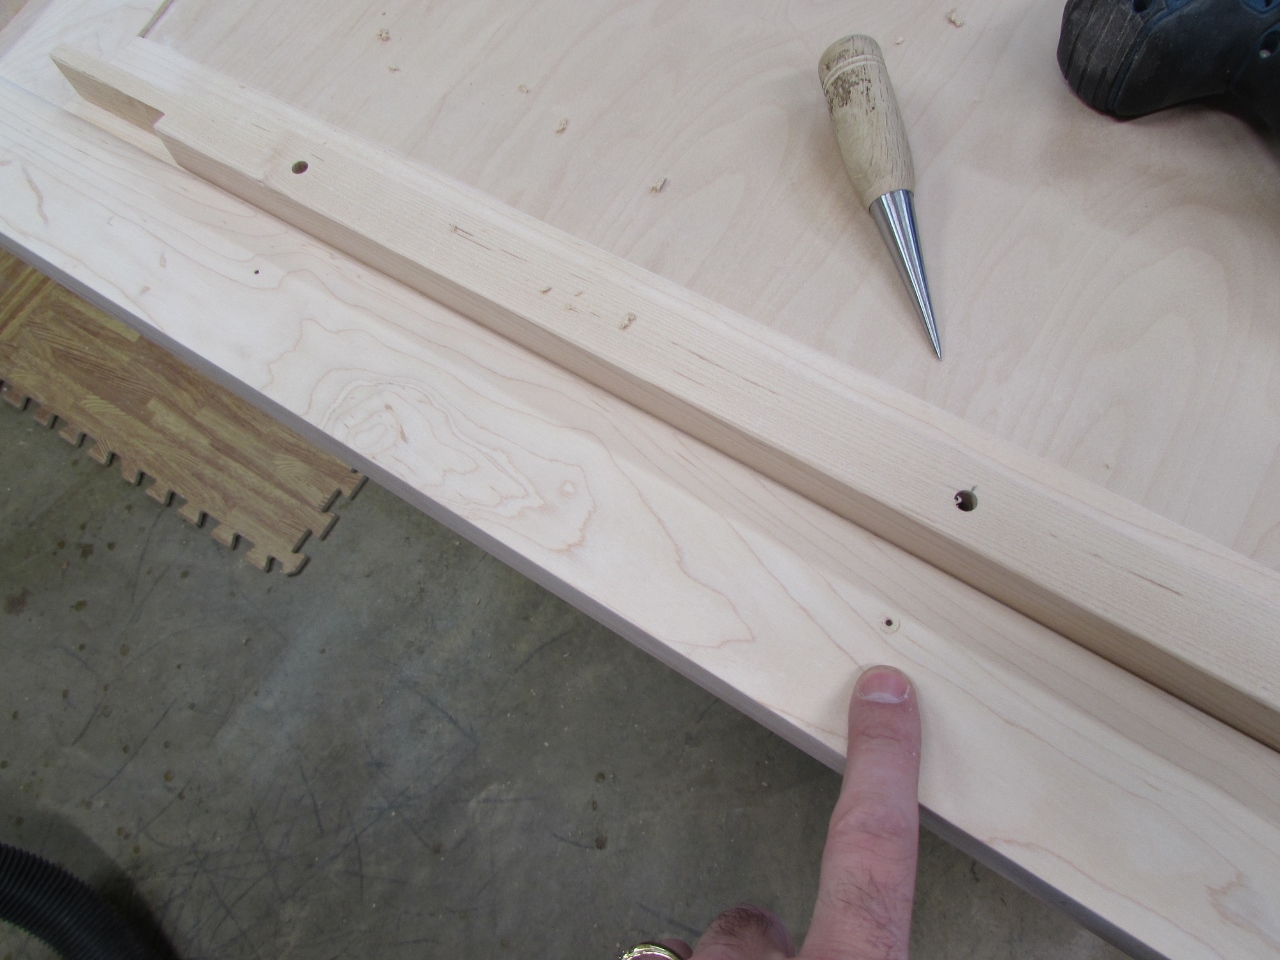
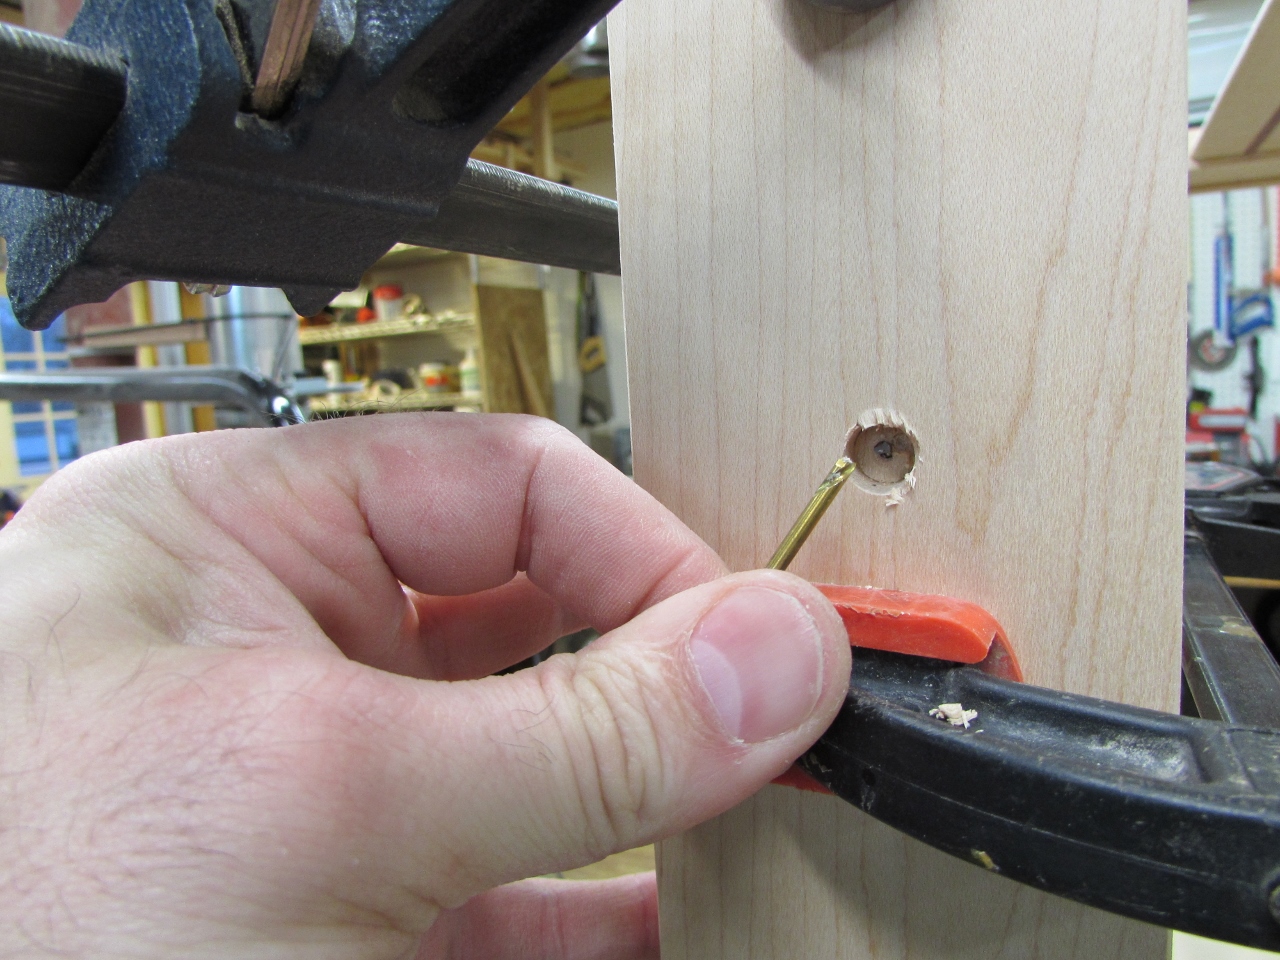
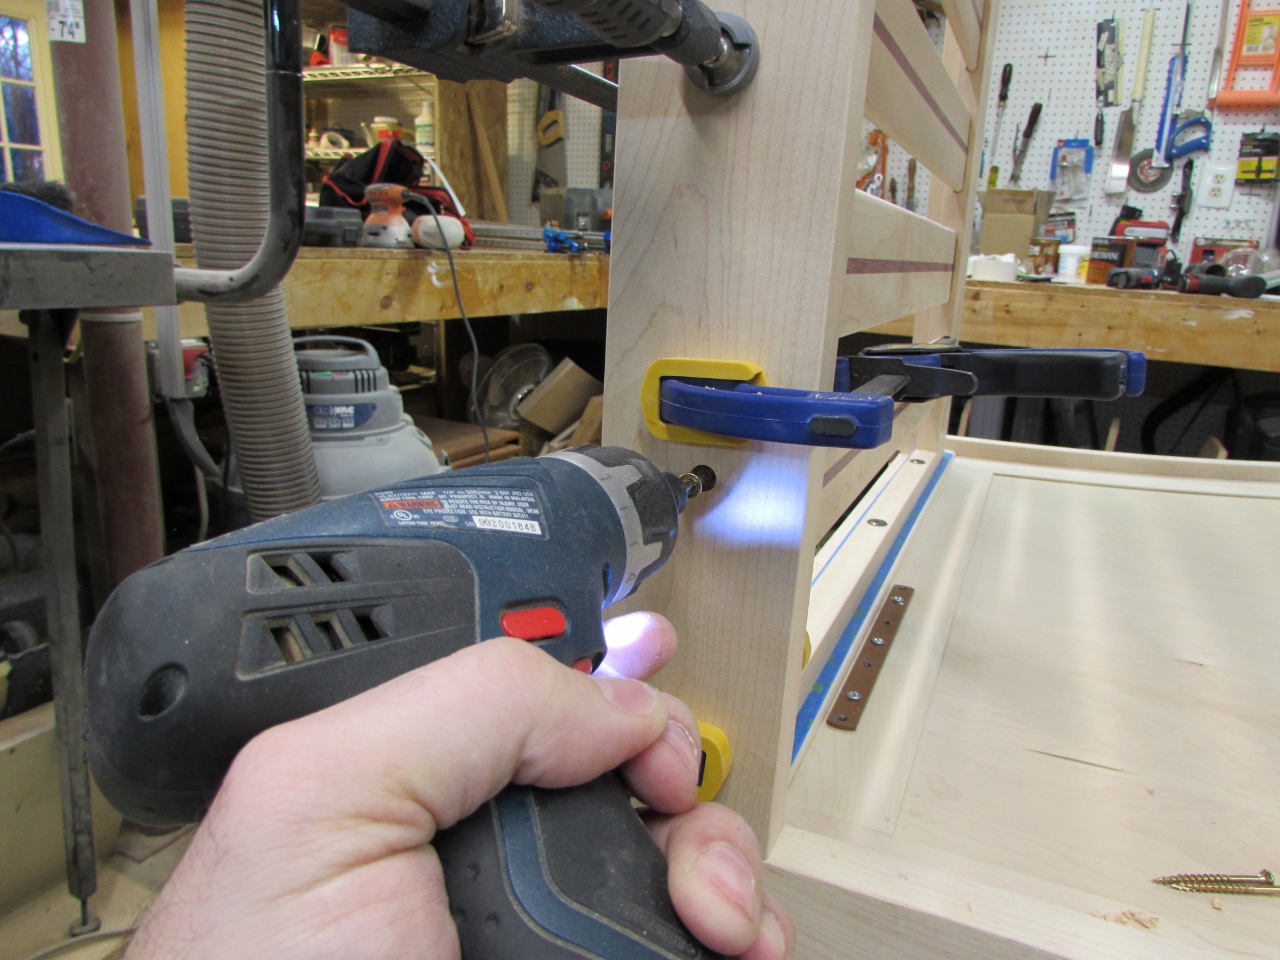
I drilled out a shallow 1/2″ counter-bore, then the hole for the threaded insert. I followed that with a clearance hole for the rest of the bolt.
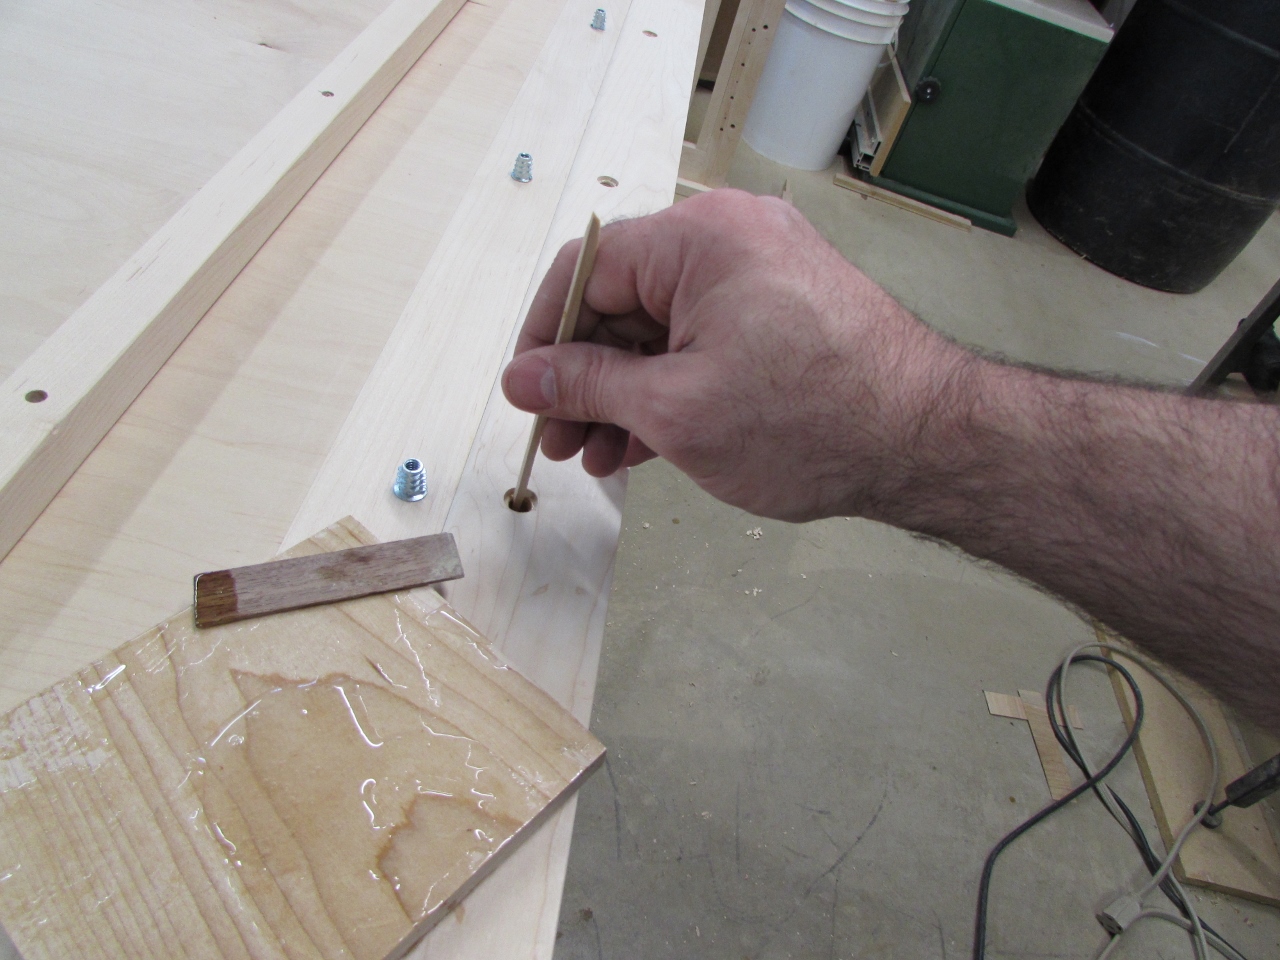
I decided that I didn’t trust the threaded inserts, just threaded into the wood. I mixed up some quick-setting epoxy and coated the hole and the threads of the inserts, before installing them. I pulled the ones off of the front as well, and epoxied them too. A little extra insurance never hurts.


Once the epoxy was dry, I lined the back and front sides with painter’s tape. I intend to glue the sides together, while in place, and I don’t want any glue squeeze-out on my finished front and rear pieces.
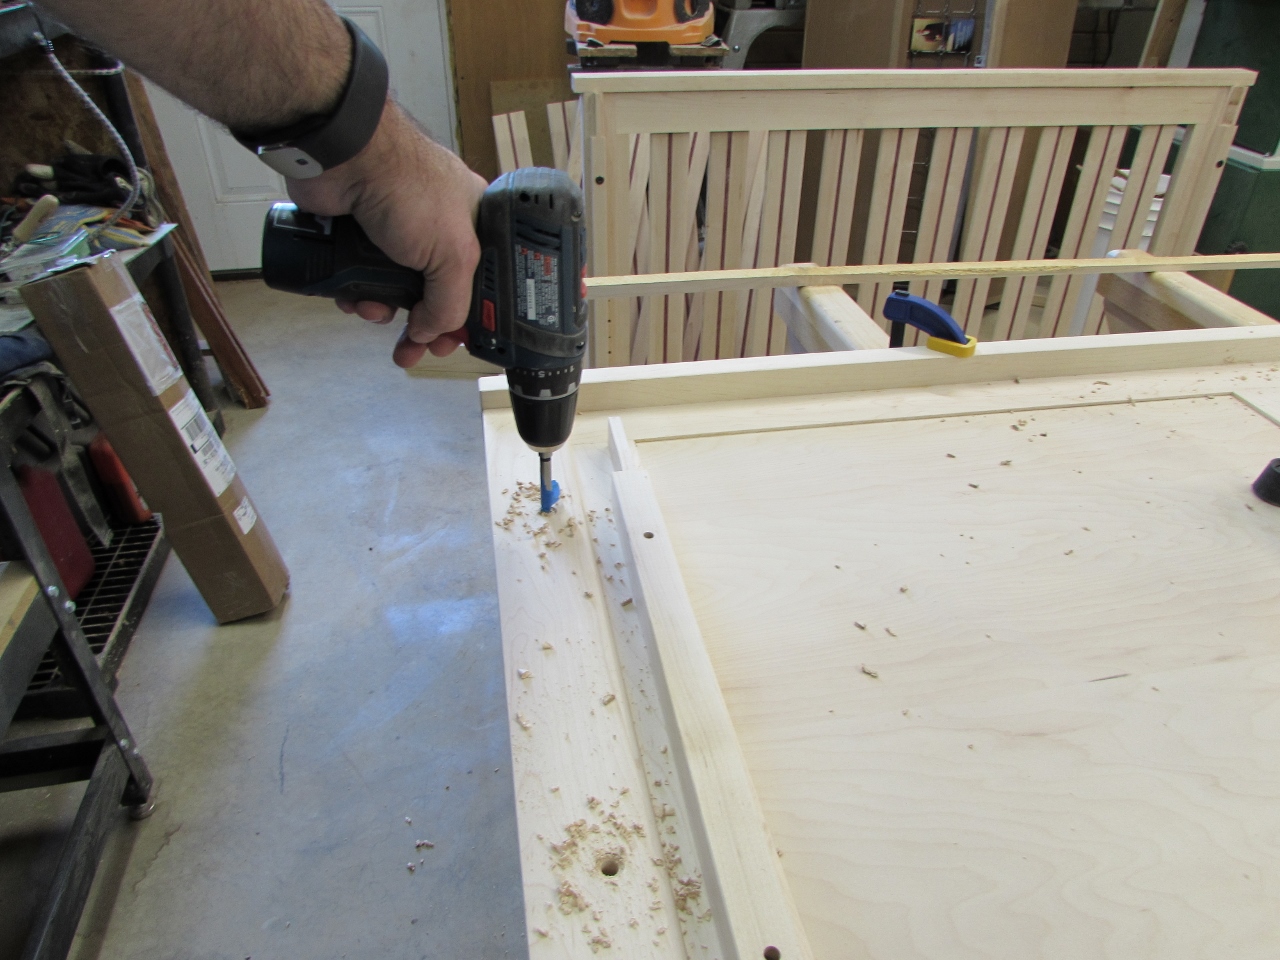
Before I glue anything though, I remembered to locate and install the adjustable mounting rails for the mattress frame.

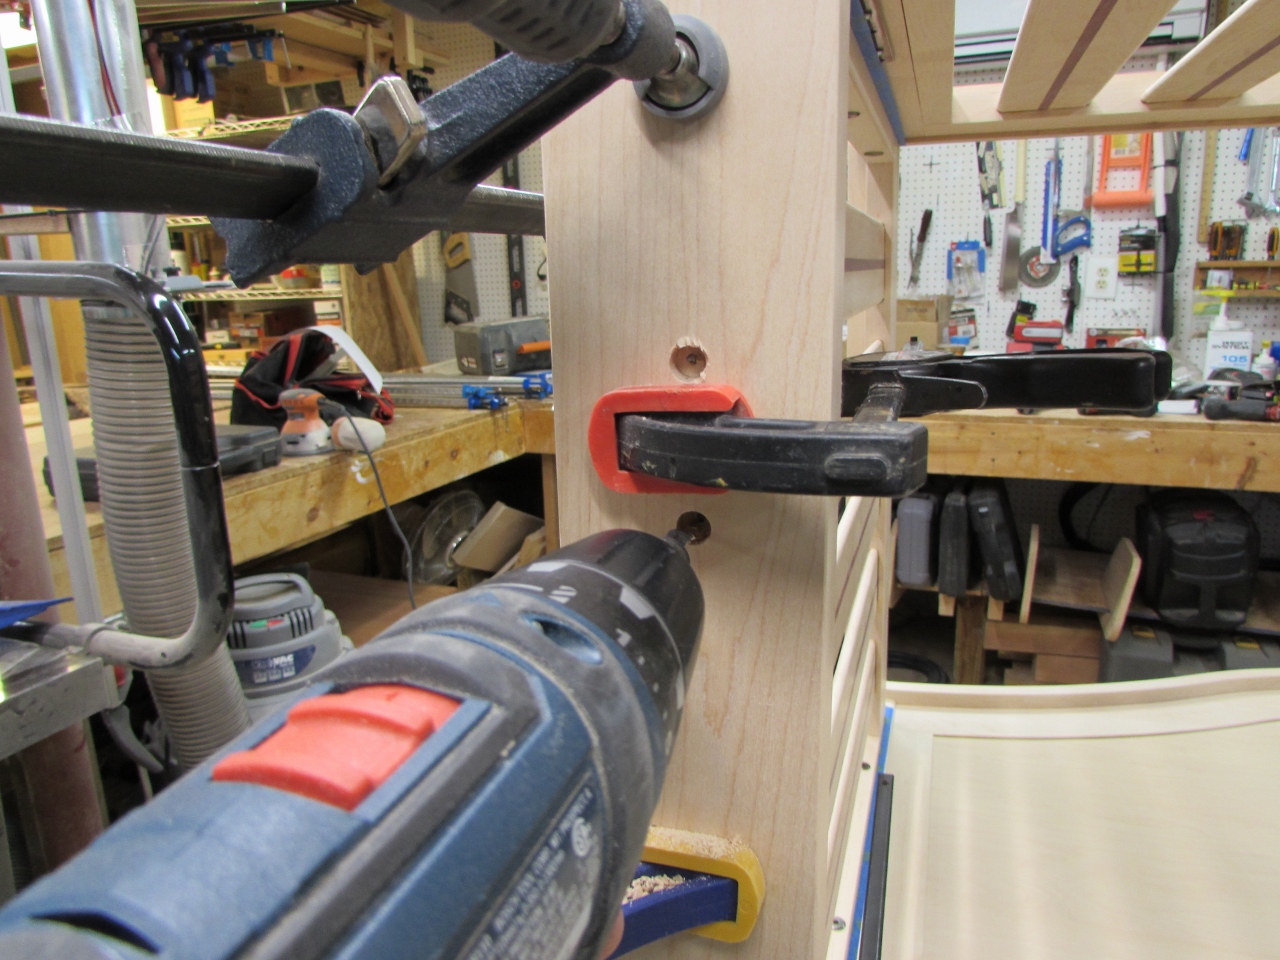
I drilled a pilot hole for each mounting screw, and a large clearance hole for the 1/4″ bolts.

Then I got down to the glueing.

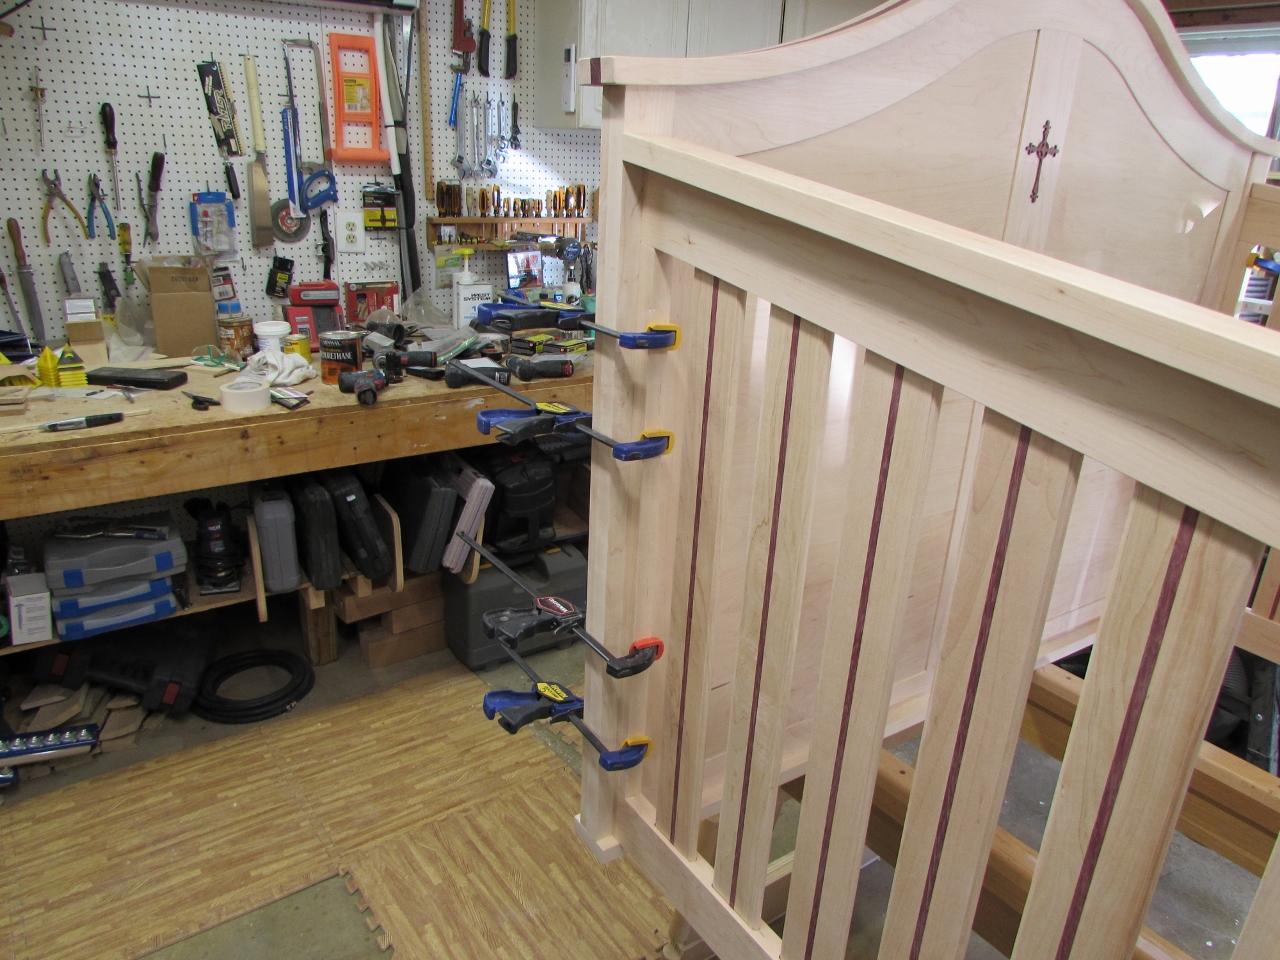
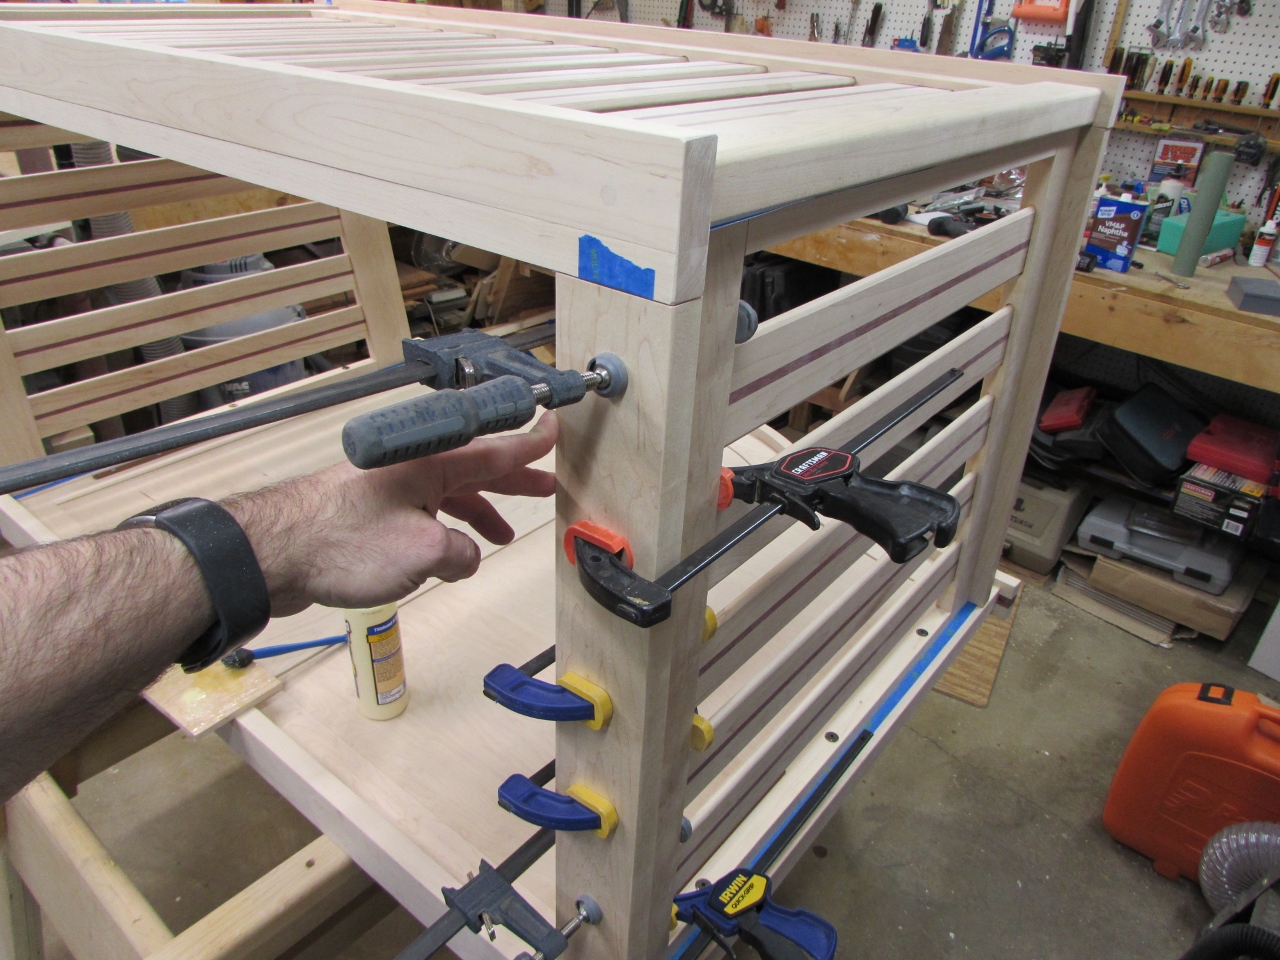
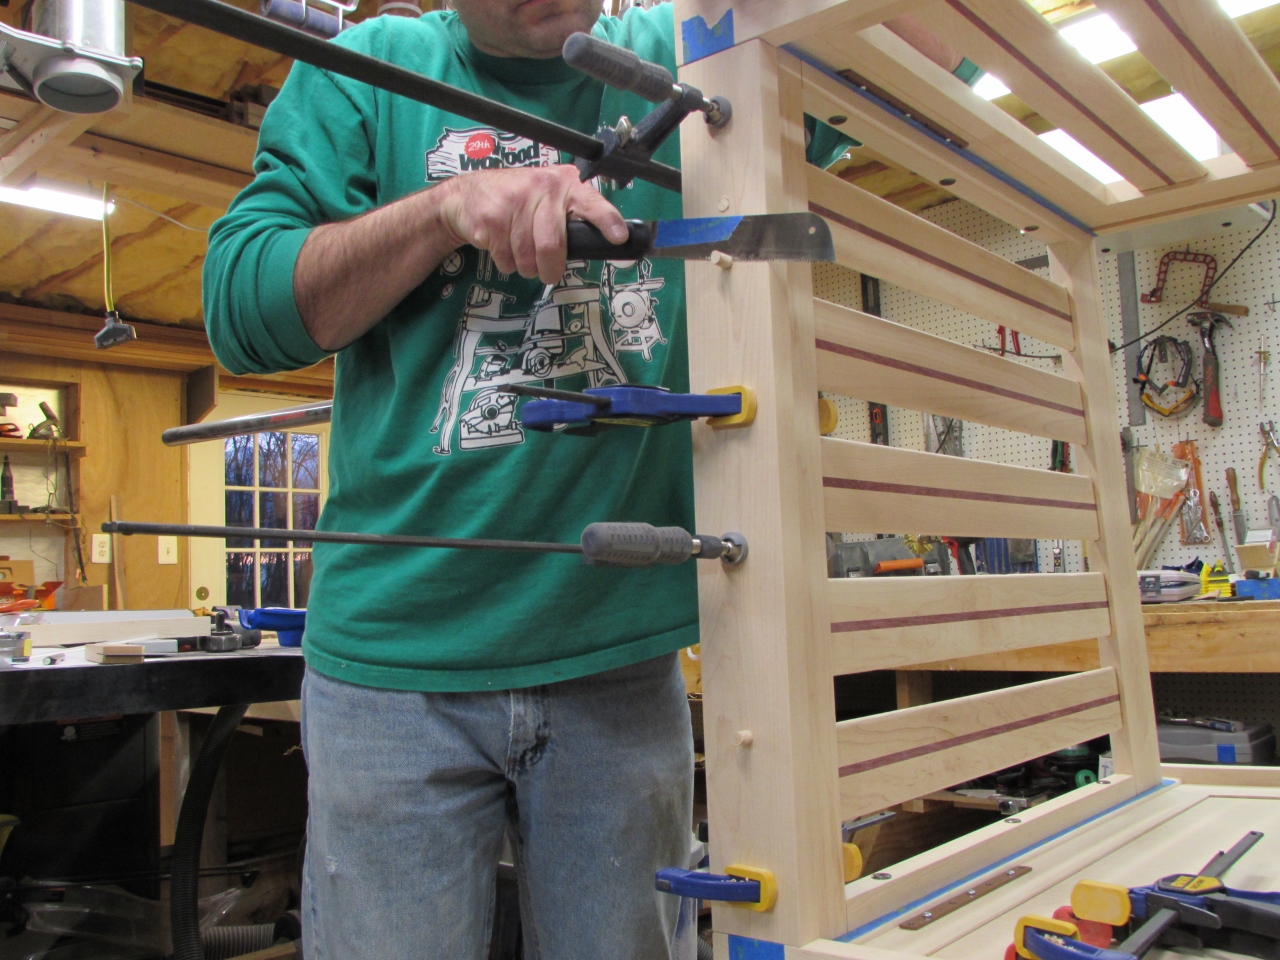
I attached the bottom rails first, then I stood the headboard back up, and started glueing in the slats.

I had to work quickly so I could get both sides together while everything was still movable. That way I could make adjustments to get everything straight and square. Once straight, I clamped the whole thing together to dry.

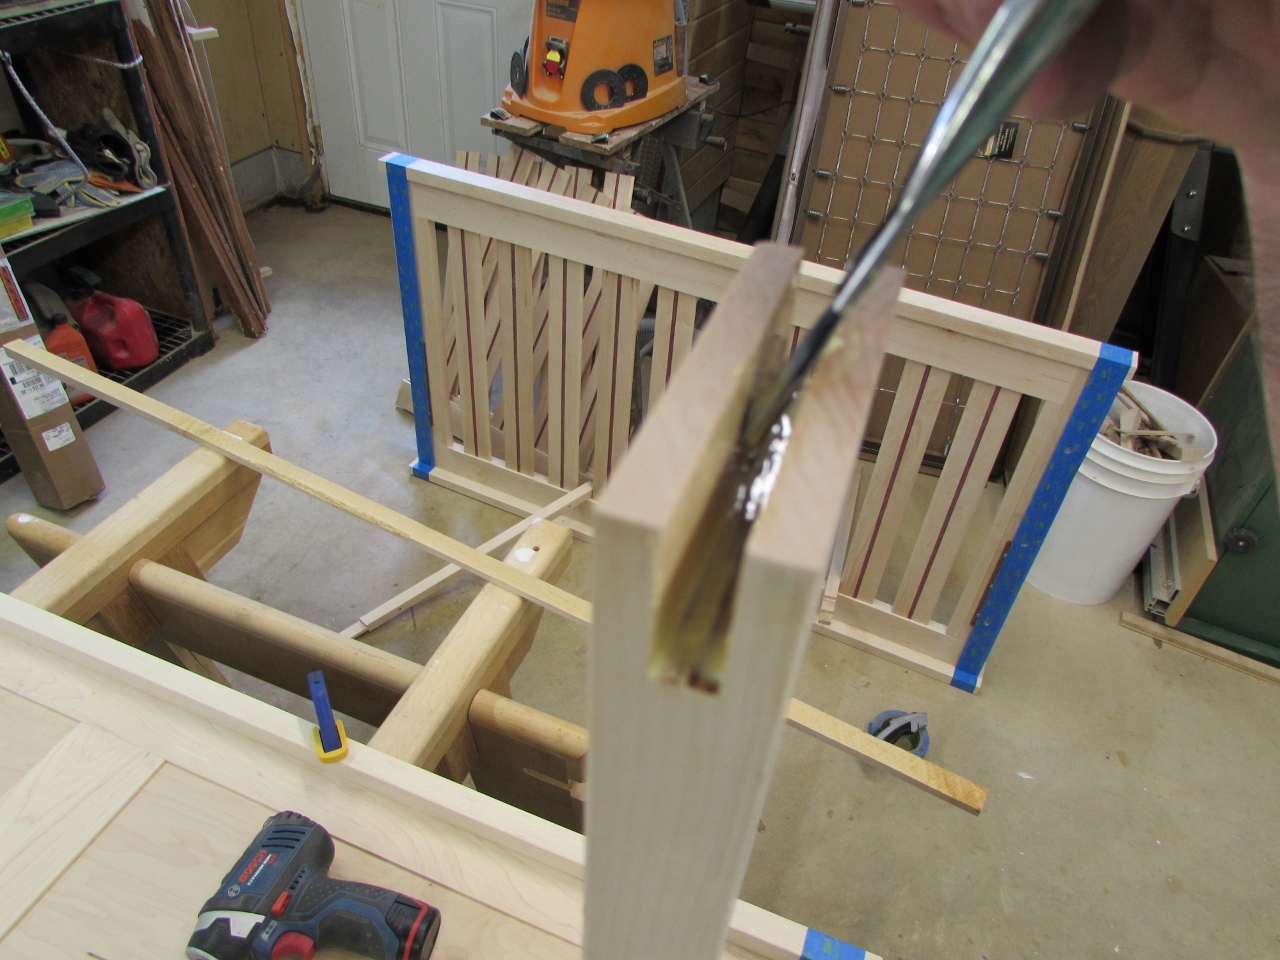
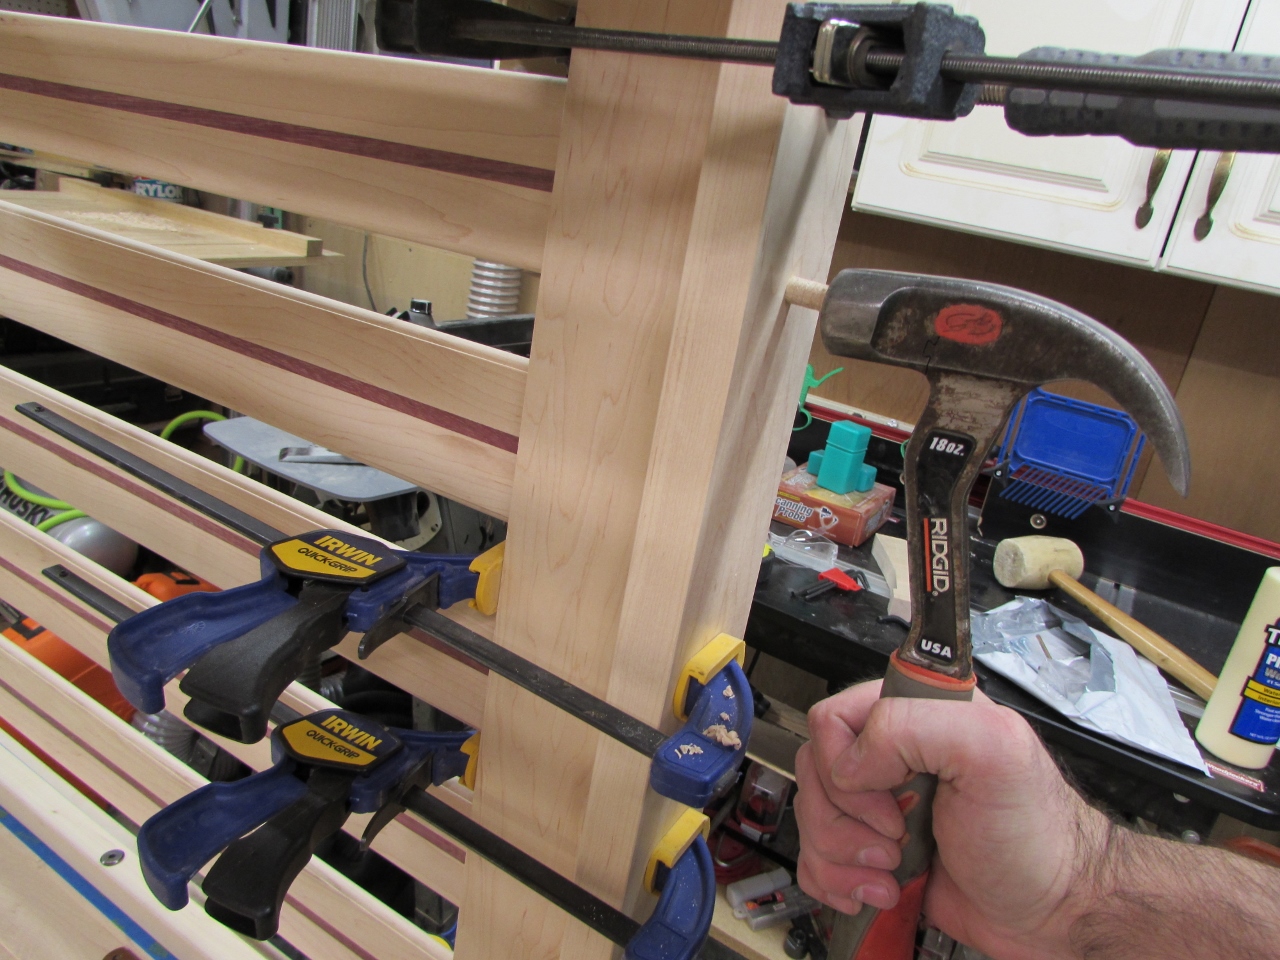
After an hour, I pulled the clamps and put glue on the top of the frame. I want to clamp on the top rails, and I know they will want to slide around. I decided to try the salt trick where you sprinkle a few grains of salt in the glue, and the crystals dig in, when you clamp the two pieces together, preventing movement.

The trick mostly worked, but I think it was intended for softer wood. When I clamped the rails on, with just my squeeze clamps, the rails did not move much, but they did not compress the salt either. I had to get out a few screw clamps to make that happen. Before that, I could actually see daylight through the glue joint…


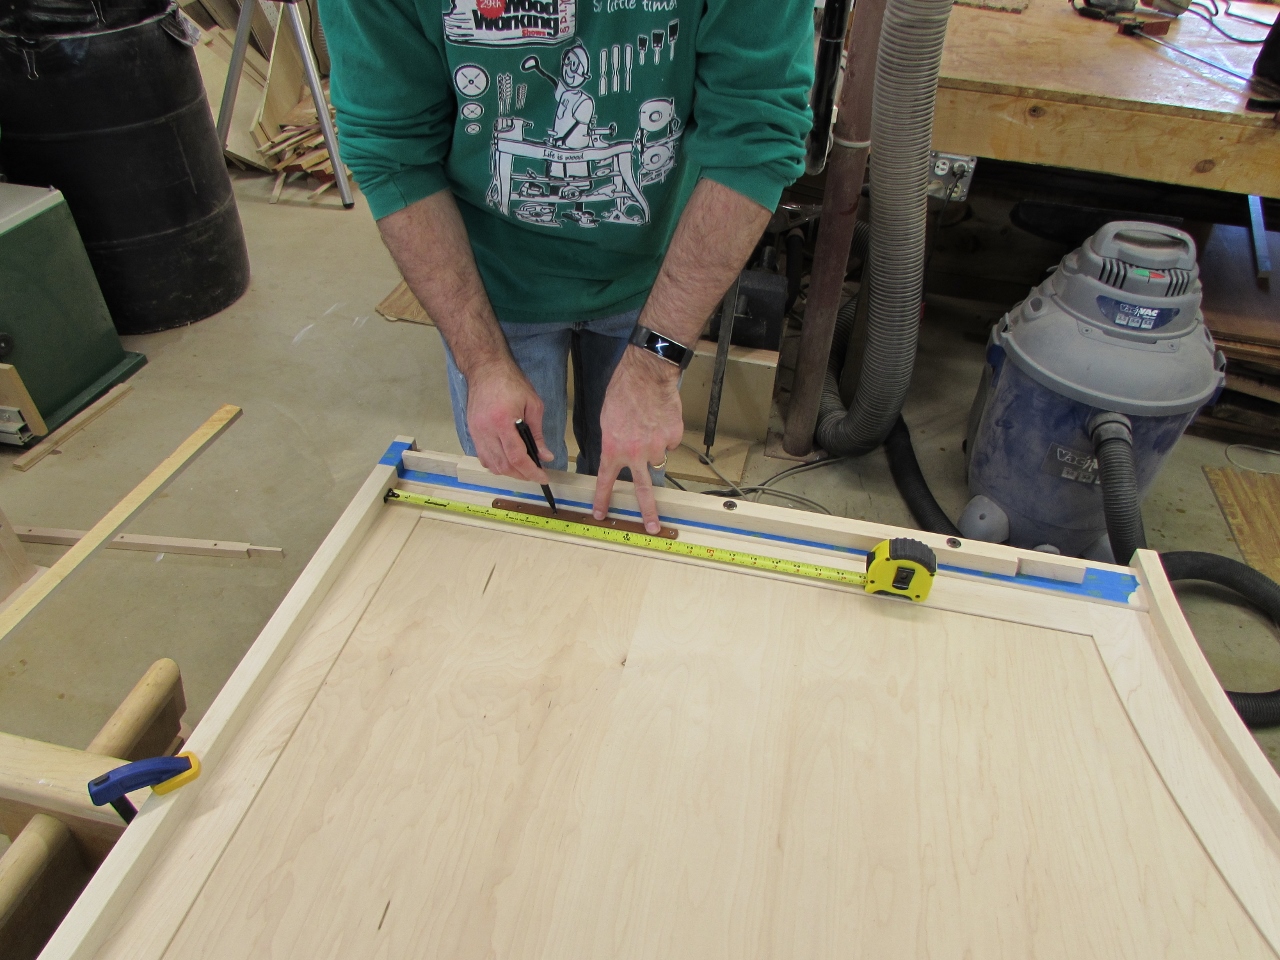
When the top rails were dry, I moved on to the bottom ones. I set them in place and marked a scribe line along the back of the front rail. This told me how long to cut the rail. I cut them so they fit snuggly against the tape. When the tape is removed, there will be a tiny bit of clearance, the thickness of my tape, but that is ok.
I lined the bottoms up with the outside of the front and back rails, then glued them on. In case any little people try to climb up the sides, I decided to put a few screws into the bottom rails.

I managed to break off a drill bit, while counter-sinking the hole. Dang it!
It is on the bottom, so it is not worth digging out, I just moved down an inch or so, and drilled a new hole. I will just have to make an extra plug.

After the holes were drilled, I cut a handful of new plugs and glued them in place.
A few minutes with my flush-cut saw and they were trimmed, then I sanded the bottom smooth. You can’t even see the extra plug. Ironic that the plugs on the bottom look even better than the ones on the top. That is usually how it goes…
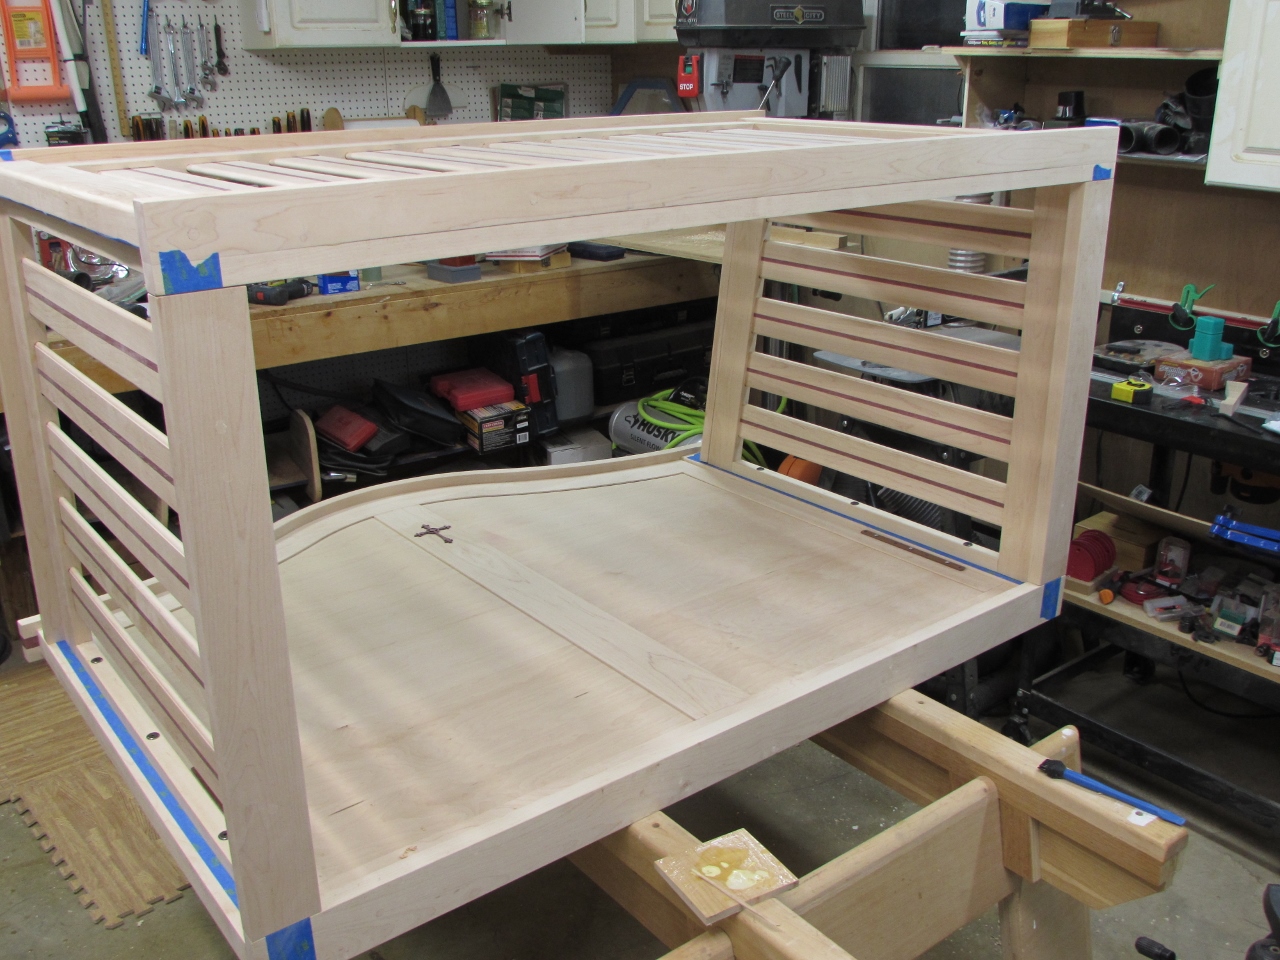
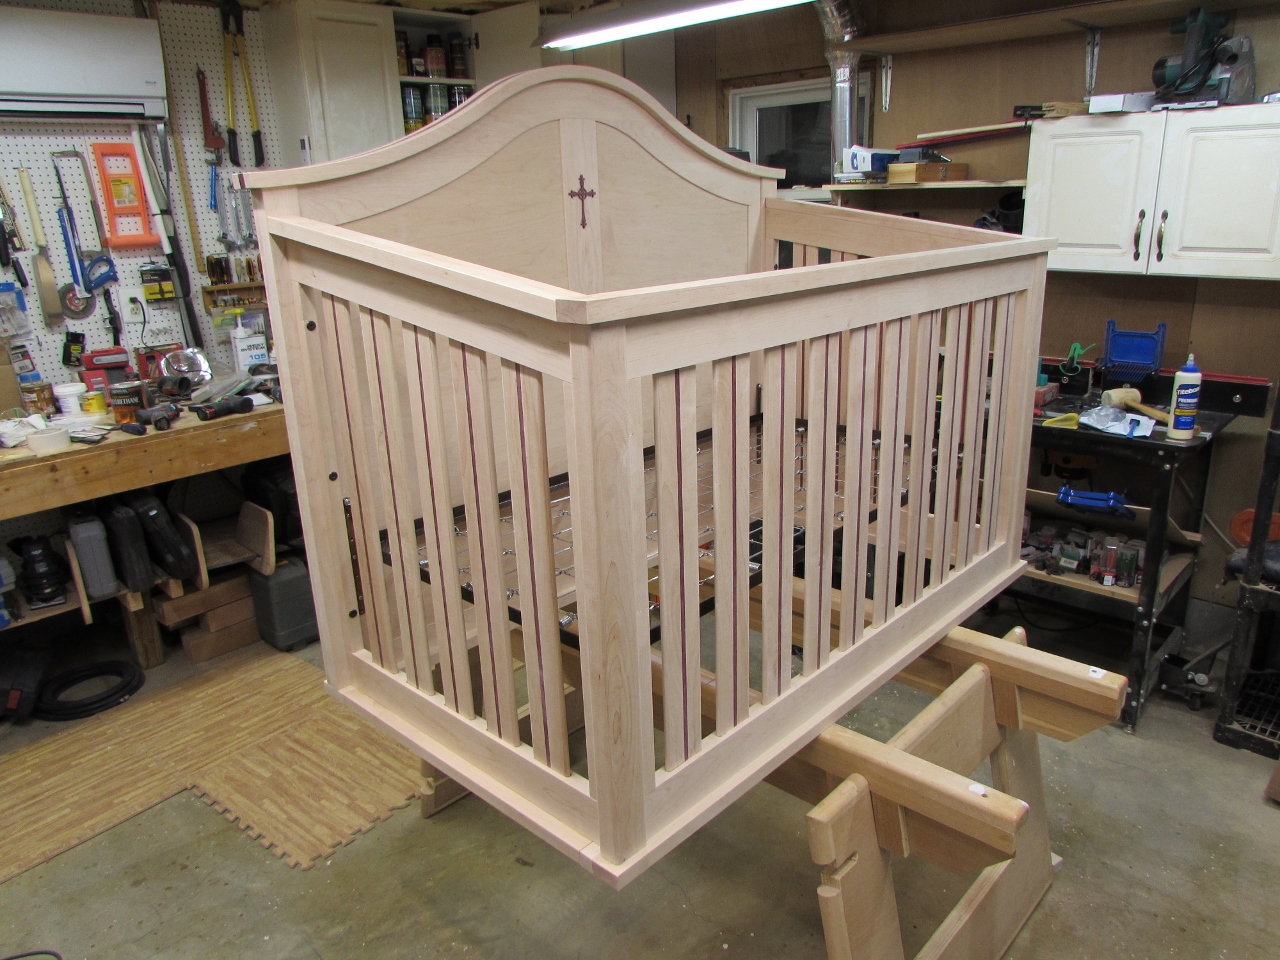
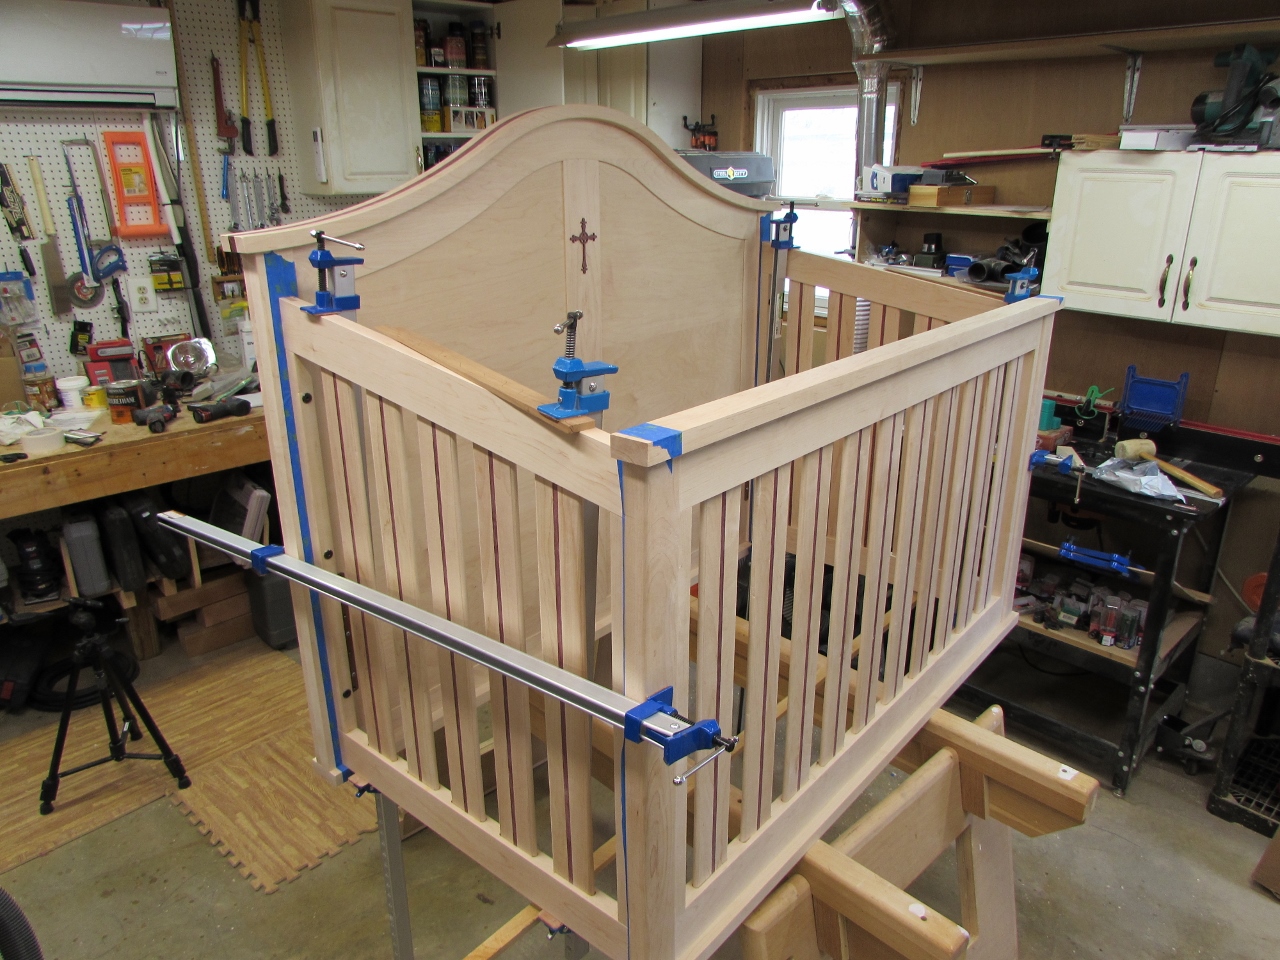
When everything was dry, I pulled the tape and re-assembled the crib. I went ahead and installed the crib frame, to see how it fit. I am pretty sure the frame is installed upside down, in this picture, but that is ok. I have to take the whole thing apart to finish it anyway.


Next steps, add the feet and finish.
