
Maple & Purpleheart crib – day 9
Happy Easter everybody. I am spending most of the day with the family, but I wanted to get a bit of glueing done. Mainly, I want to attach the sides and the top, to the headboard today.

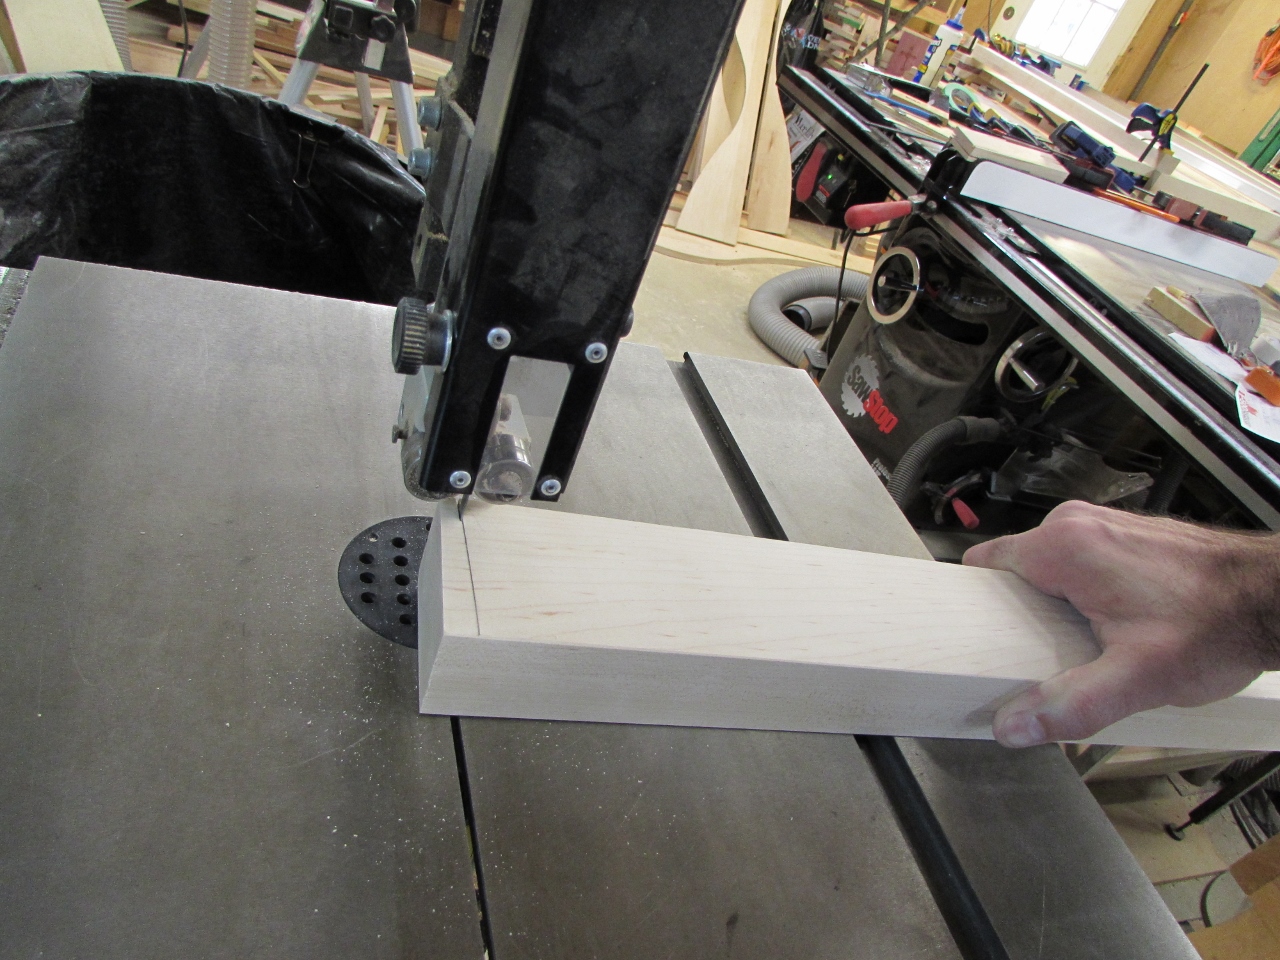
I started by clamping the top into place, so I had something to scribe the top of the side pieces with. Once I had the slight curve of the top rail, I cut both sides down on the bandsaw.
I dry-fitted them in place , and they looked really good.
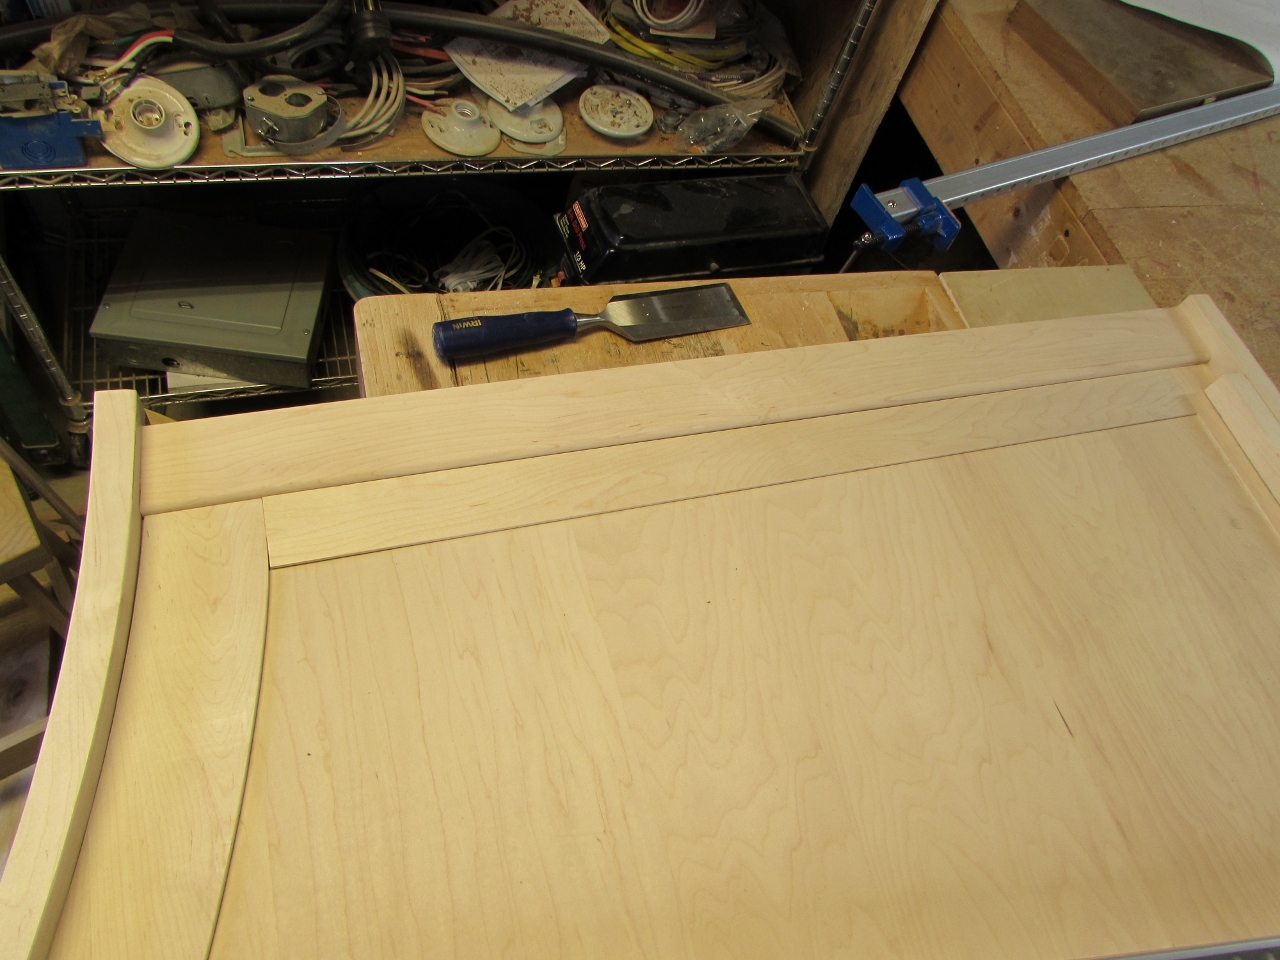
I was planning on just face glueing the sides on, but I decided on a little extra support.

I got out my biscuit jointer and played with the depth controls on a scrap piece of wood until I got the settings perfect to set the depth I wanted. I then marked four different locations, on each side, then laid the headboard down.

First I cut the slots in the side of the headboard, then I adjusted the depth to cut the side pieces.

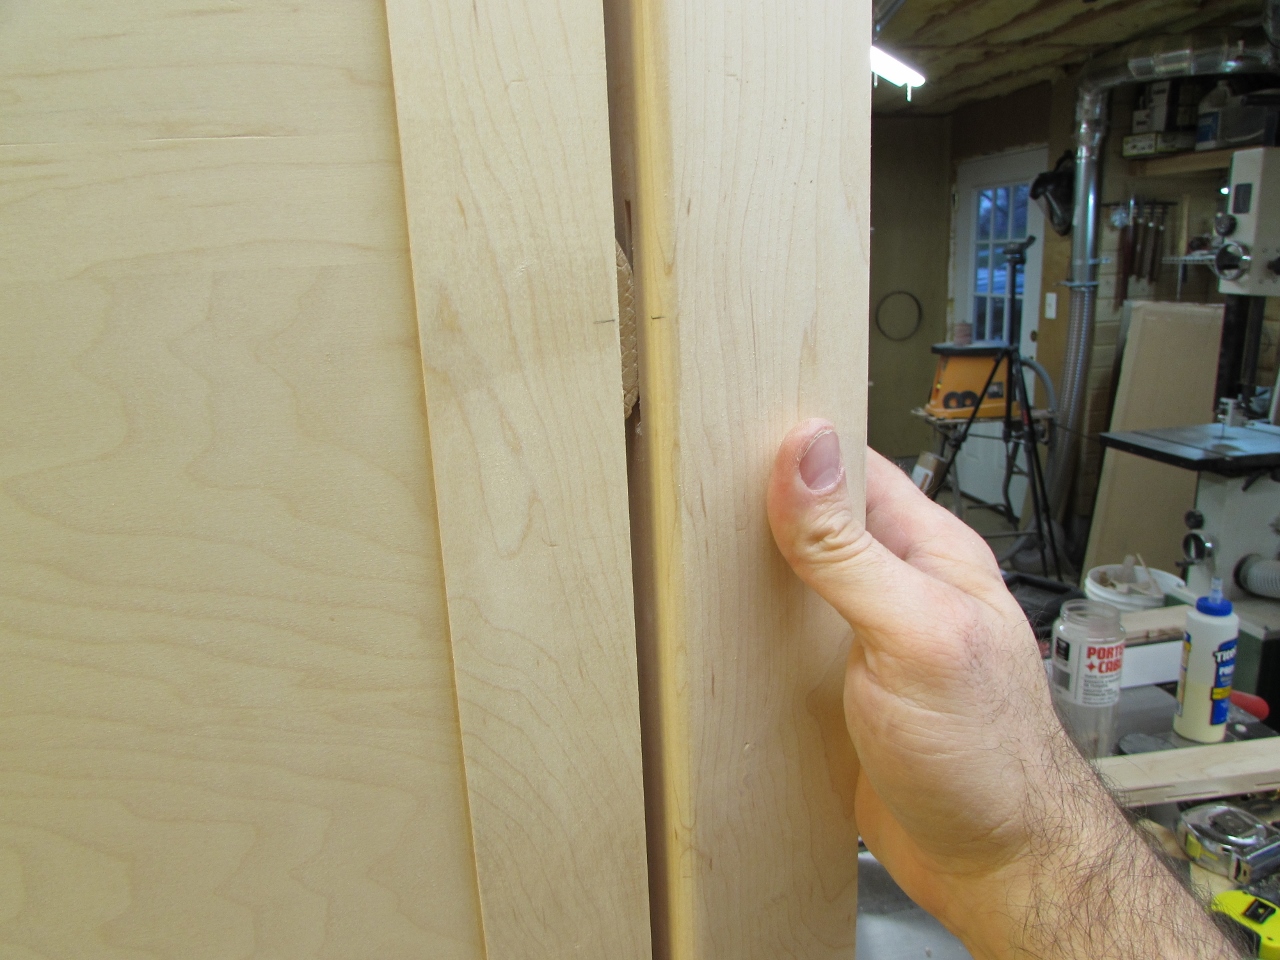
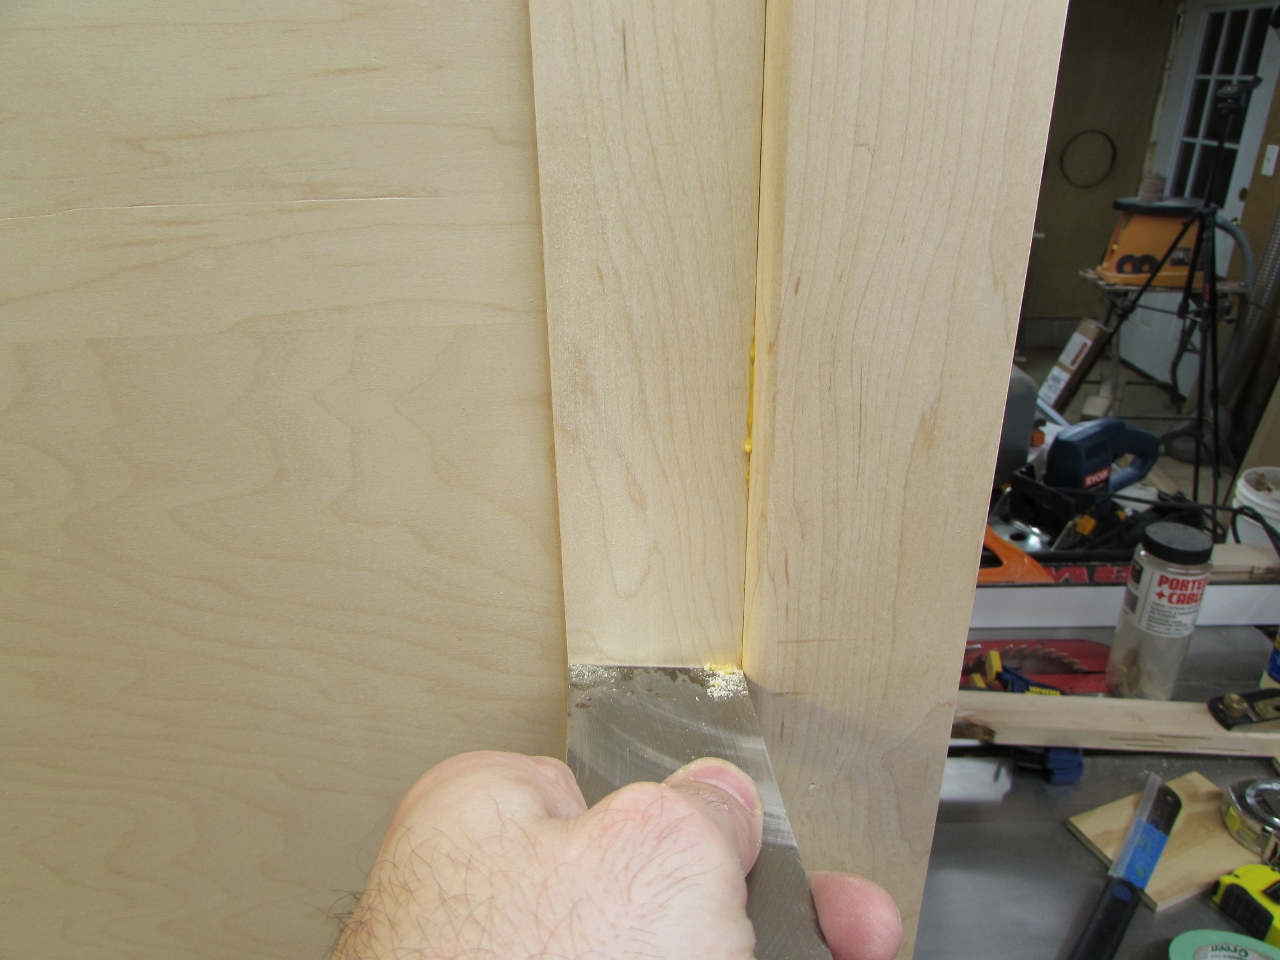
I dry-fit the sides again, and the biscuits lined them up perfectly, 1/4″ proud of the face of the frame.
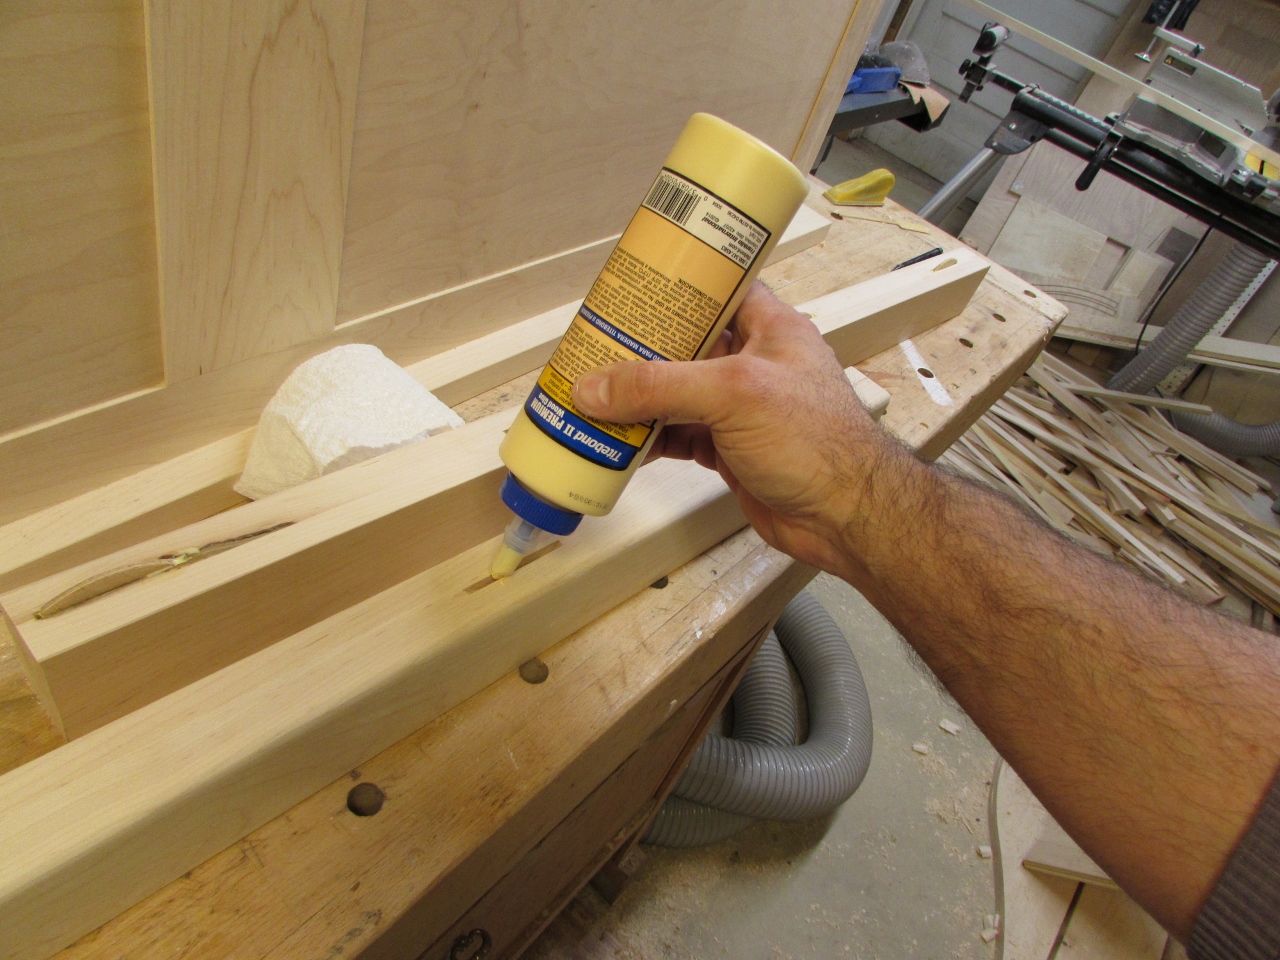
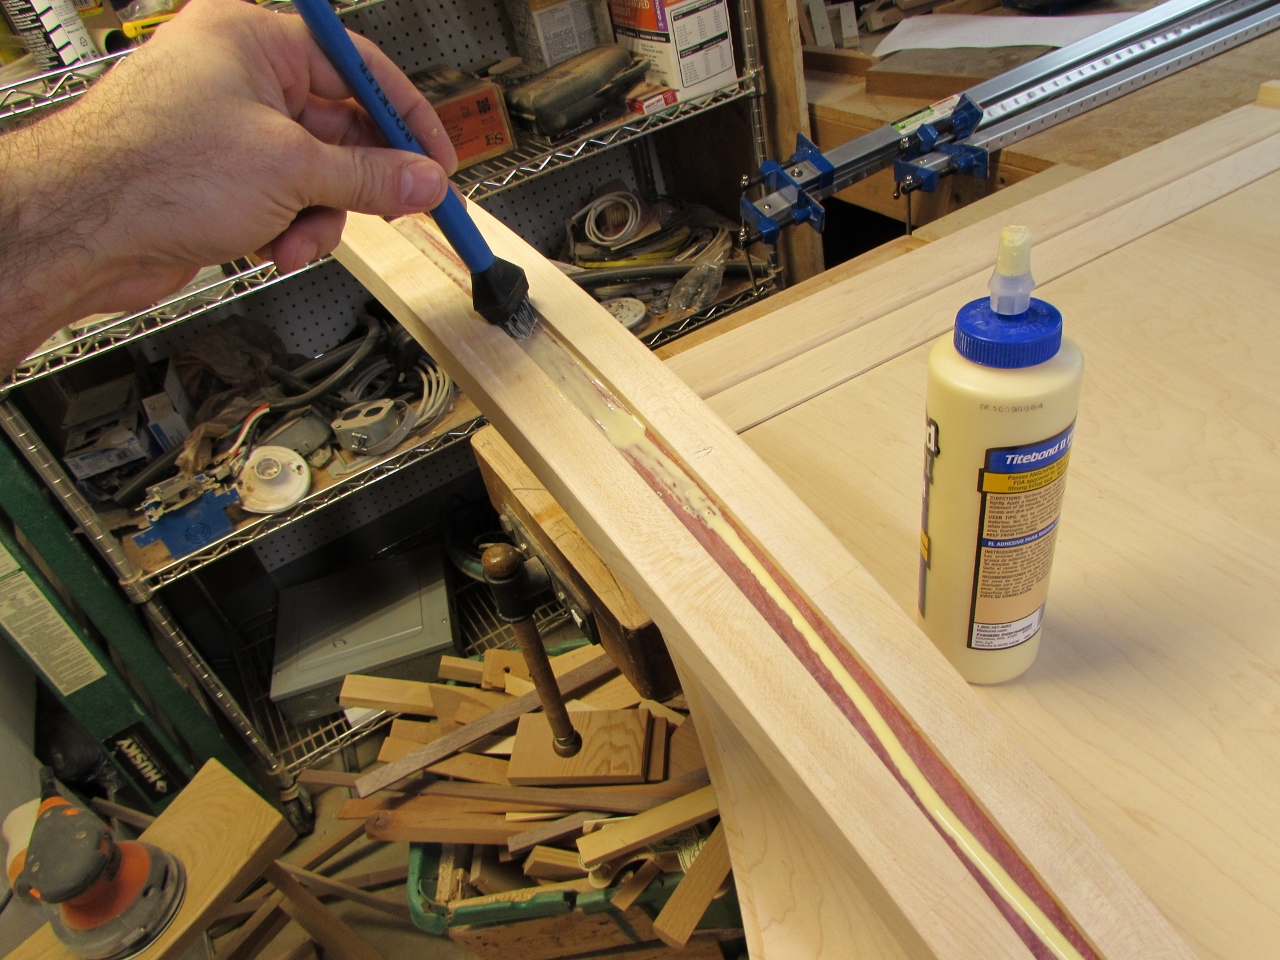
I glued the biscuits into the sides first, then painted glue down the side of the frame. It is easier to attach the sides while the headboard is standing, so I stood it back up first. With it vertical, I had to spread the glue evenly and thin so it wouldn’t run.
Before attaching the sides, I painted glue onto the dry side of the biscuits. If I had painted the slots, they would have dripped out before I could get the sides on. Finally everything was glued, so I quickly assembled it and clamped it all up. I had to clamp from the front as well as the back, to keep the pressure even.
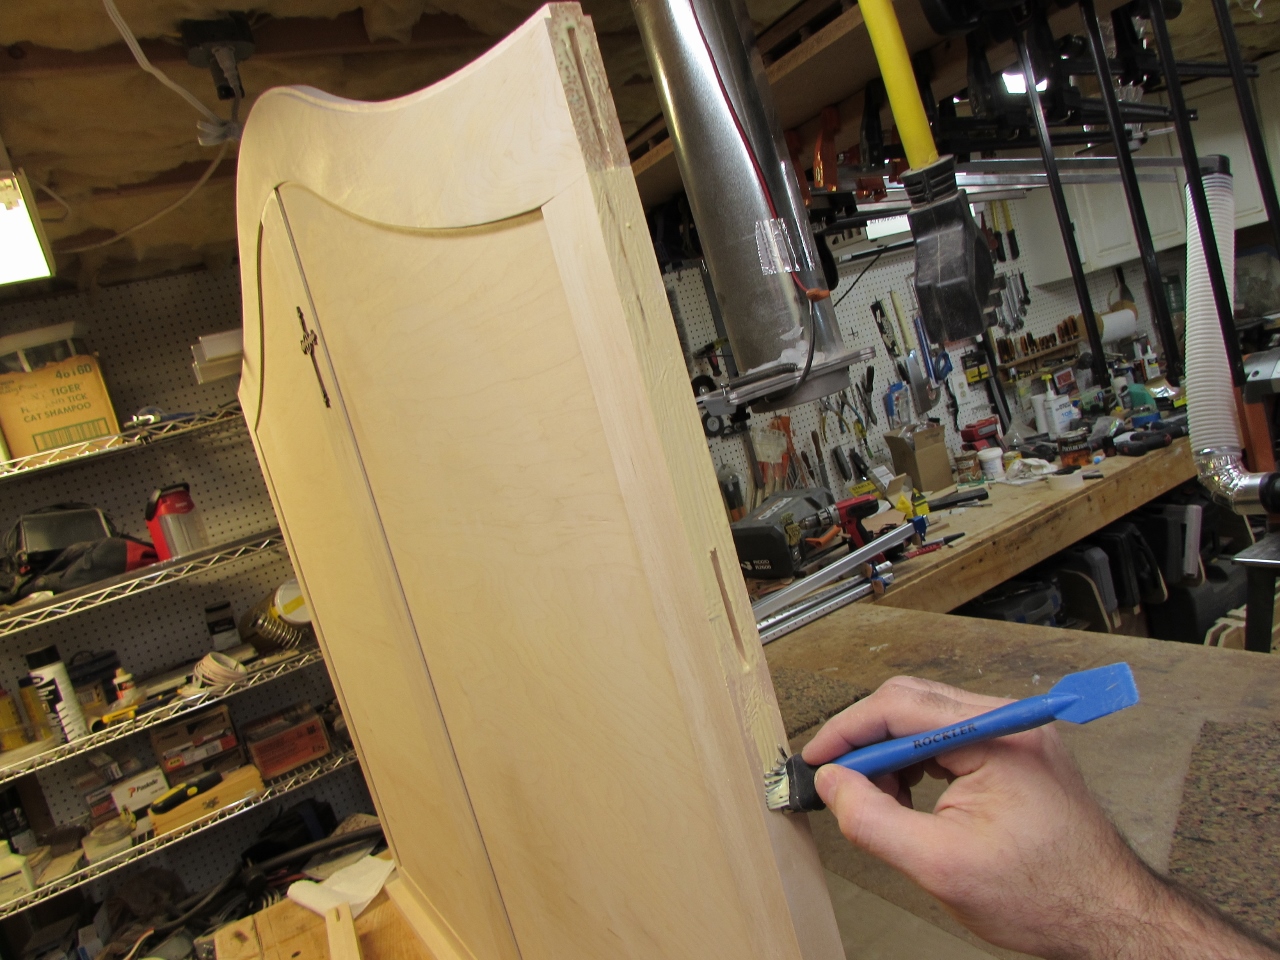
After an hour, the glue had set enough to pull the clamps. I used my 2″ chisel as a scraper to remove any excess glue. Next I turned the top rail upside down and painted the channel with wood glue.
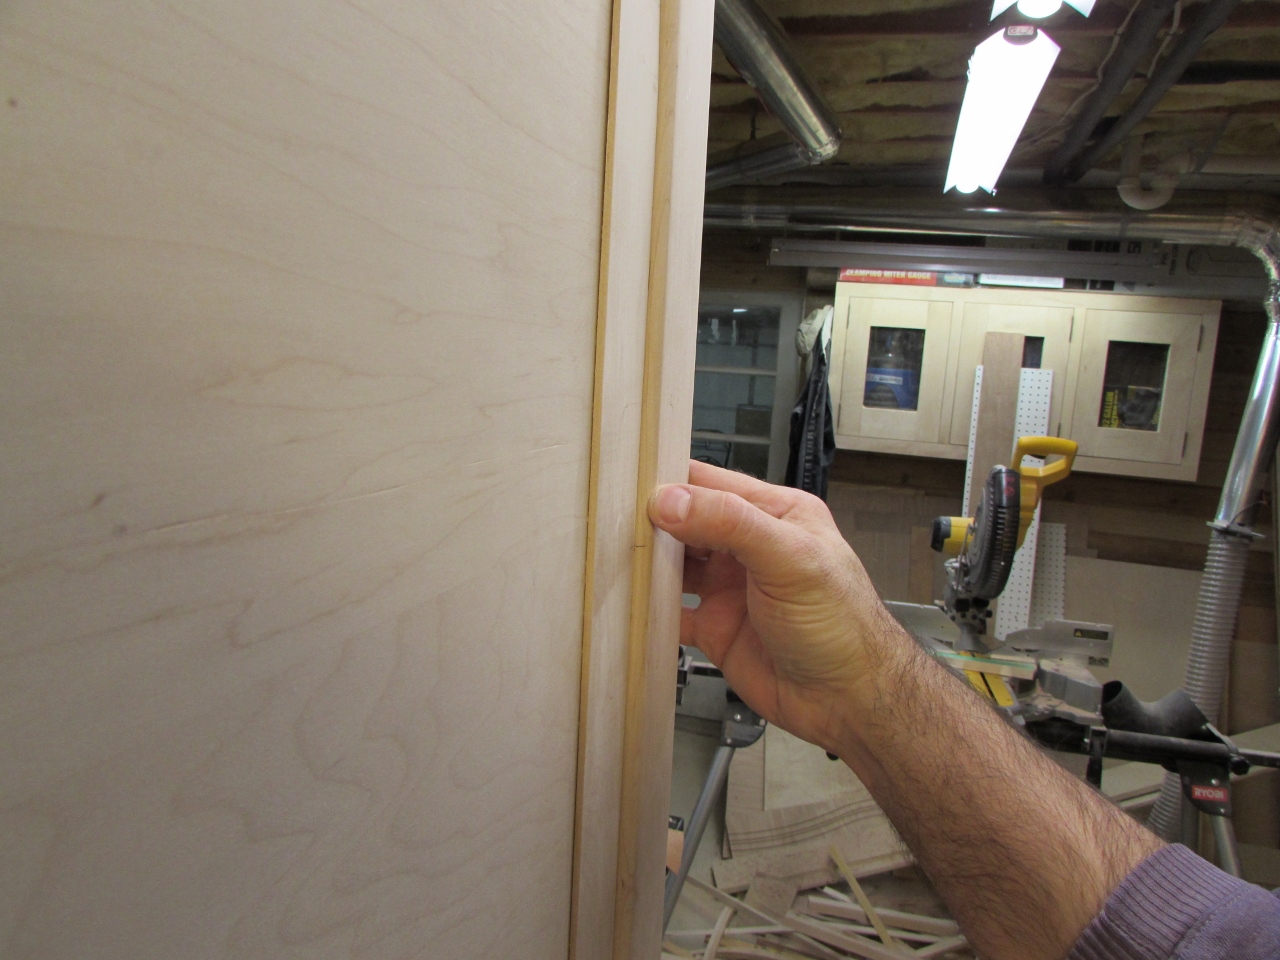
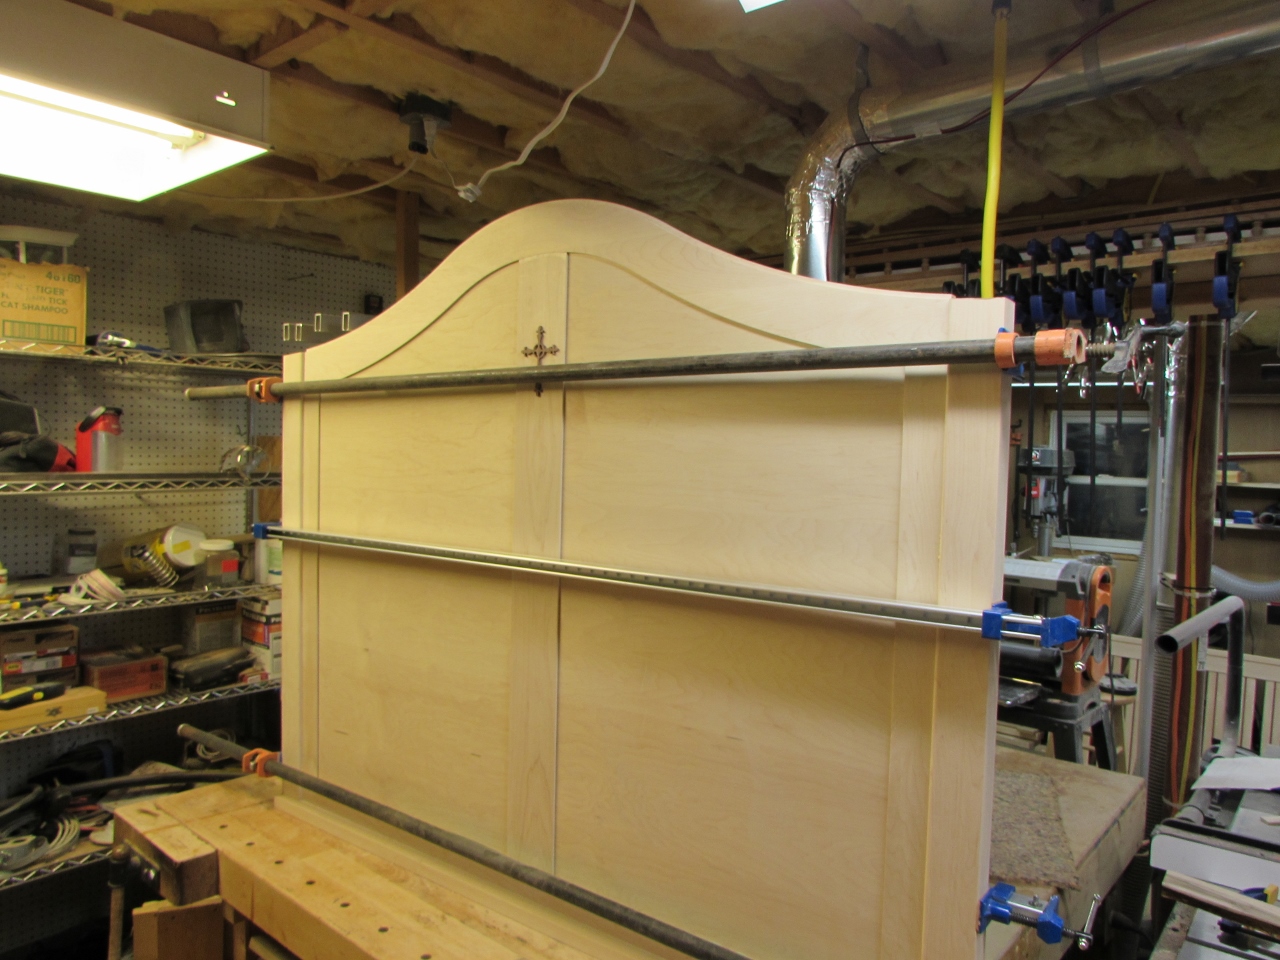
I attached the top and used a little creative clamping to get pressure in all the right places.
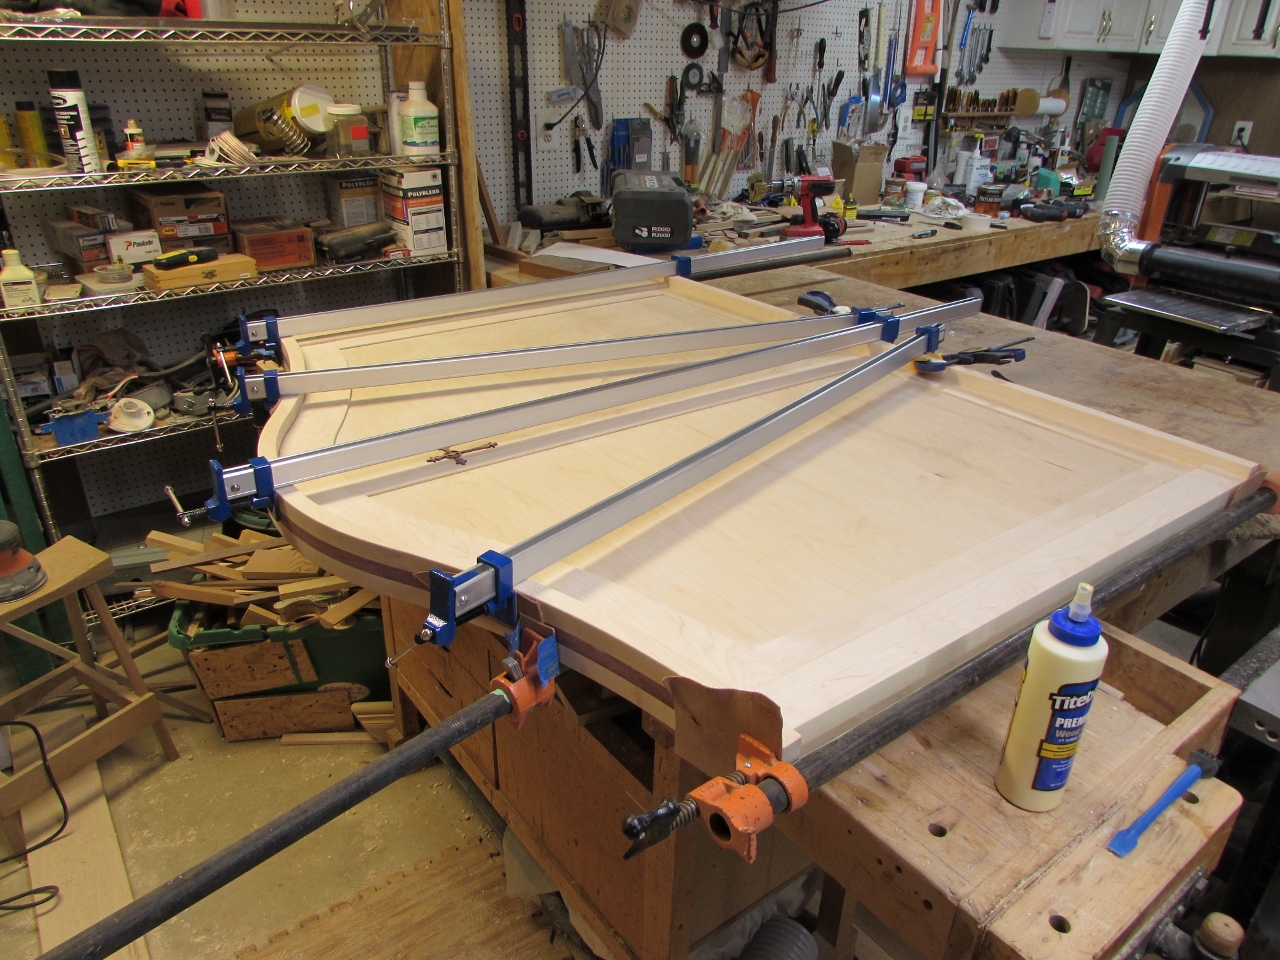

About two hours later, I pulled the clamps. It looked pretty good, things are starting to come together.
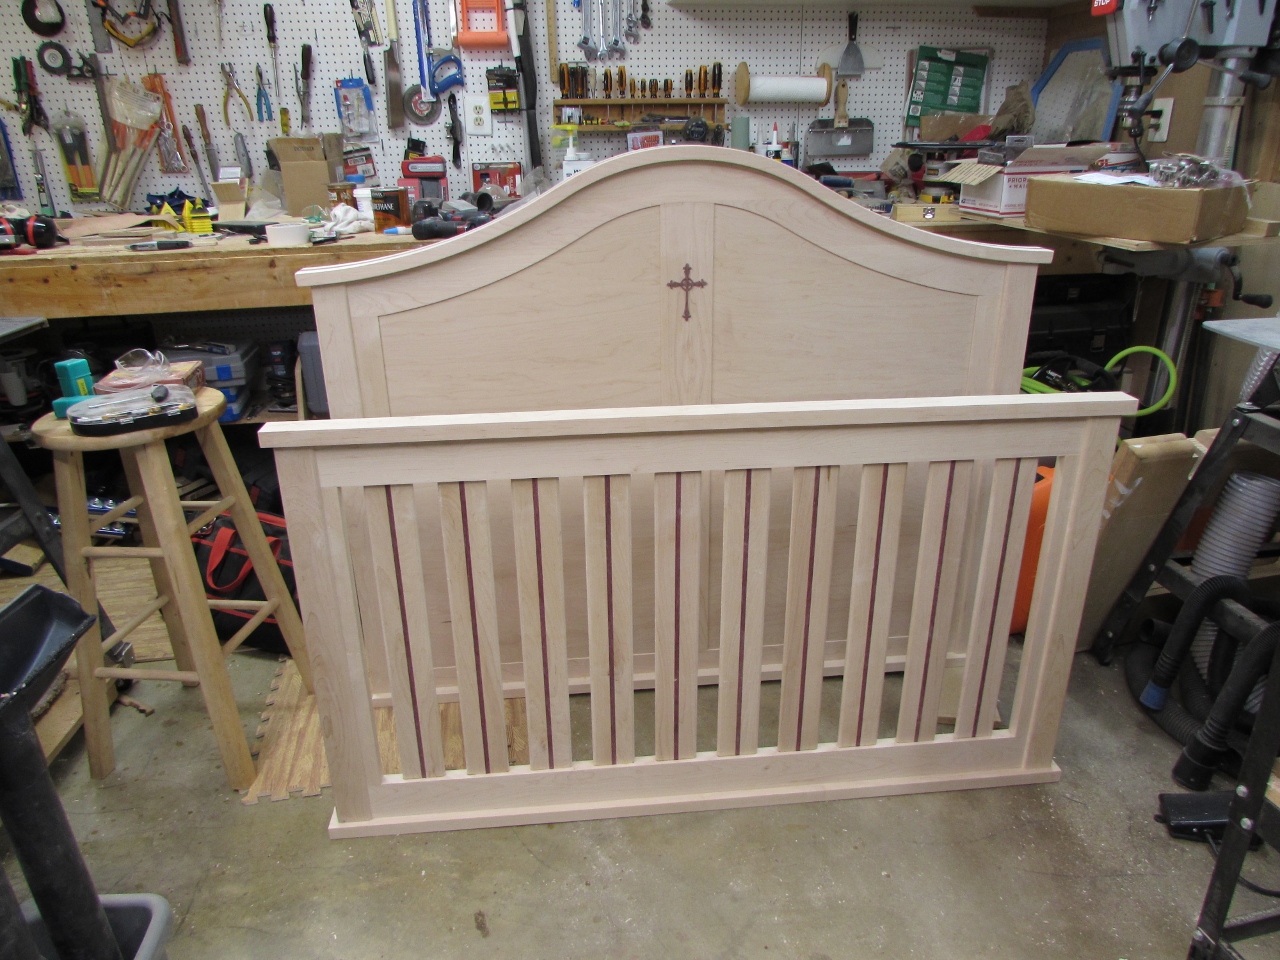
Tomorrow, I will try to have time to install the hardware, and maybe get the sides glued up. Then I just need the feet…

Beautiful design Lawrence! Looking great!
Thanks Michael.