
Maple & Purpleheart crib – day 8
I need to cut out a cross for the headboard. The one that was picked out is very detailed, so I modeled it up and created a program for my carver. I wanted a pretty piece of purpleheart for it, so I used one of the off-cuts of curly purpleheart from the bass guitar I made.

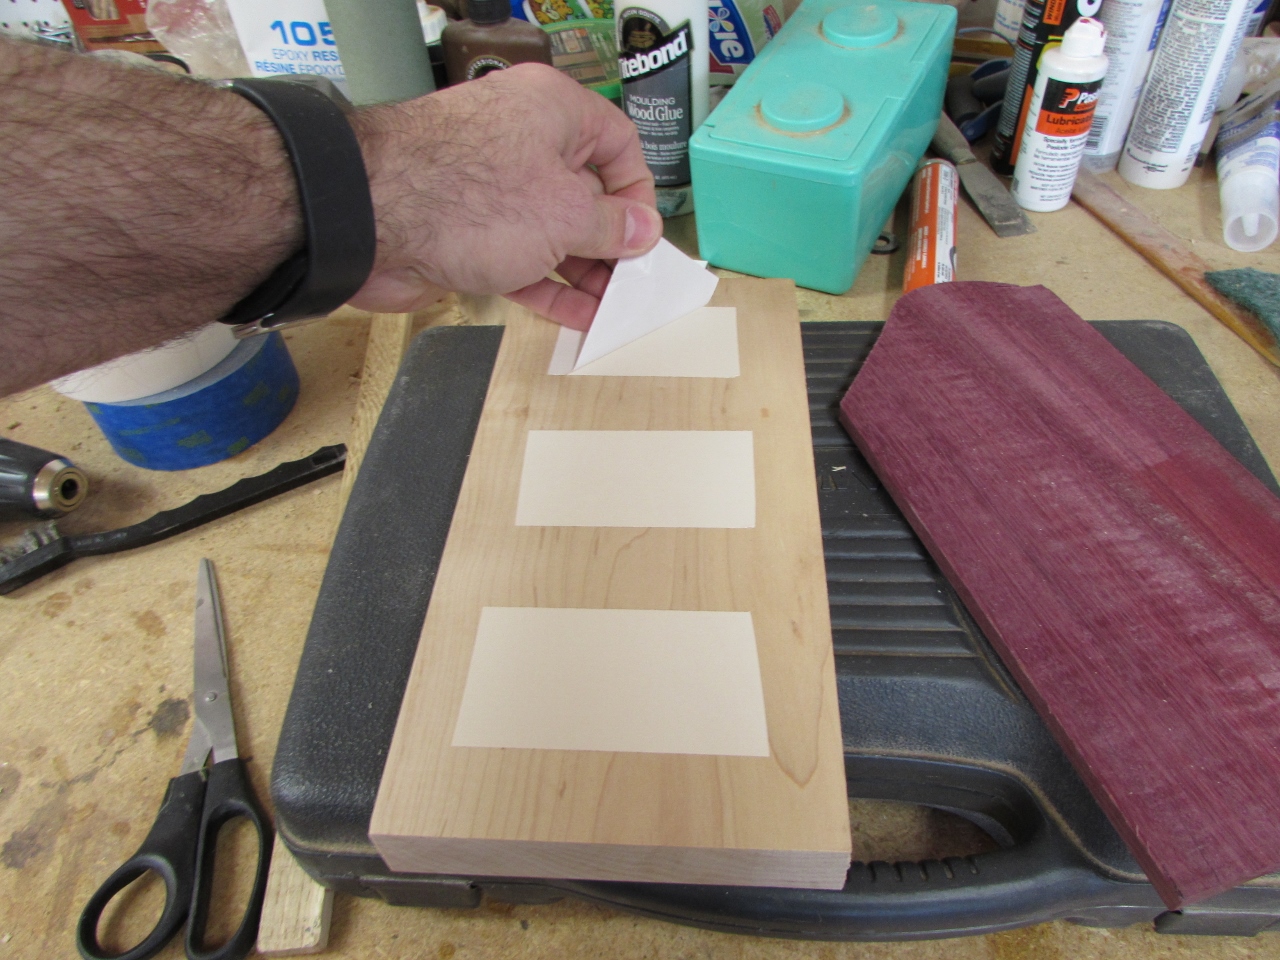
Since it is going to be pretty thin, I made a backer board for it, and stuck the piece on with double-sided tape.

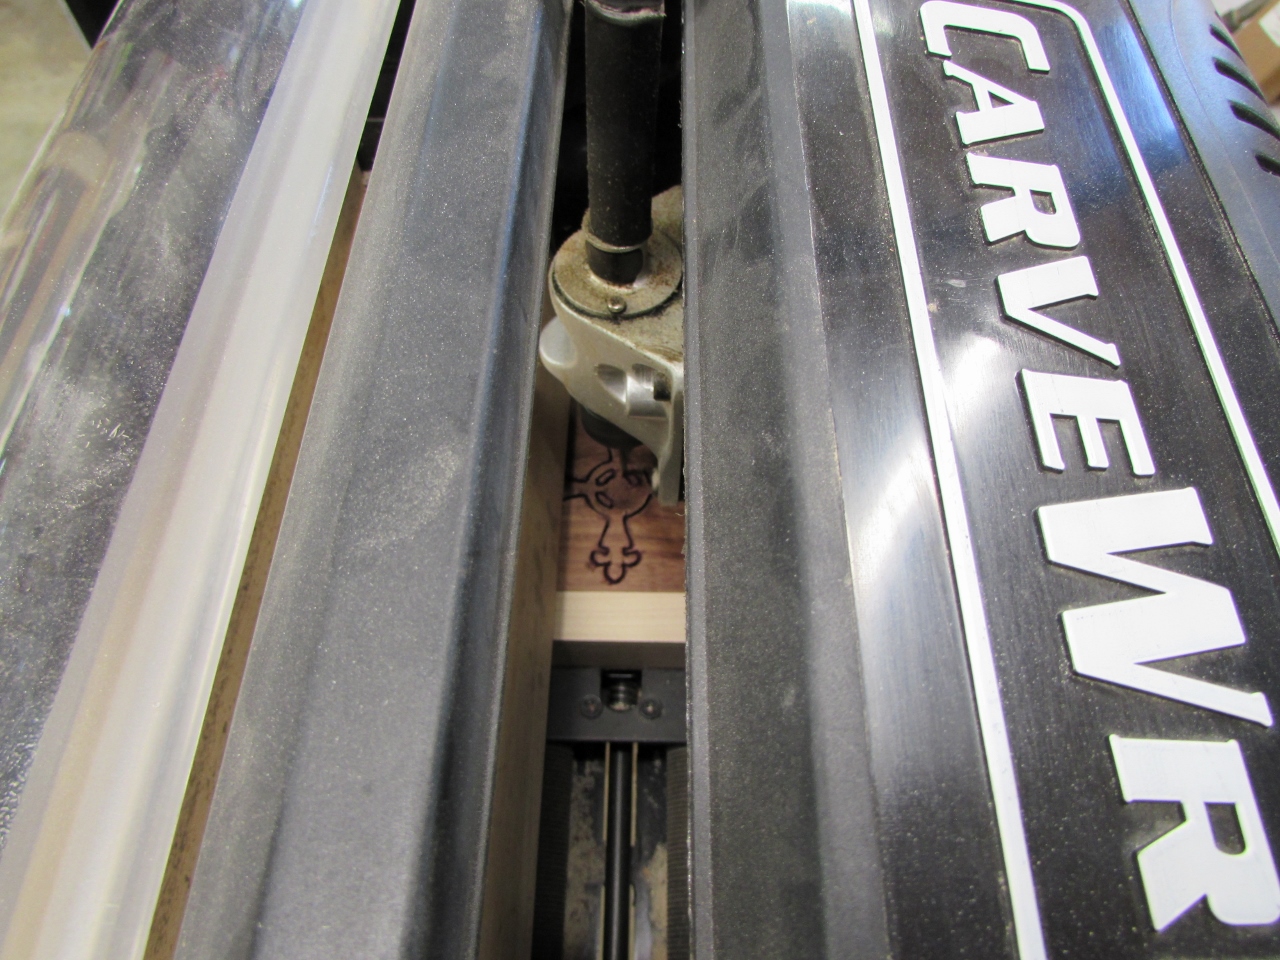
After planing it down to 1/8″ thick, I set it in the carver and started the carve.

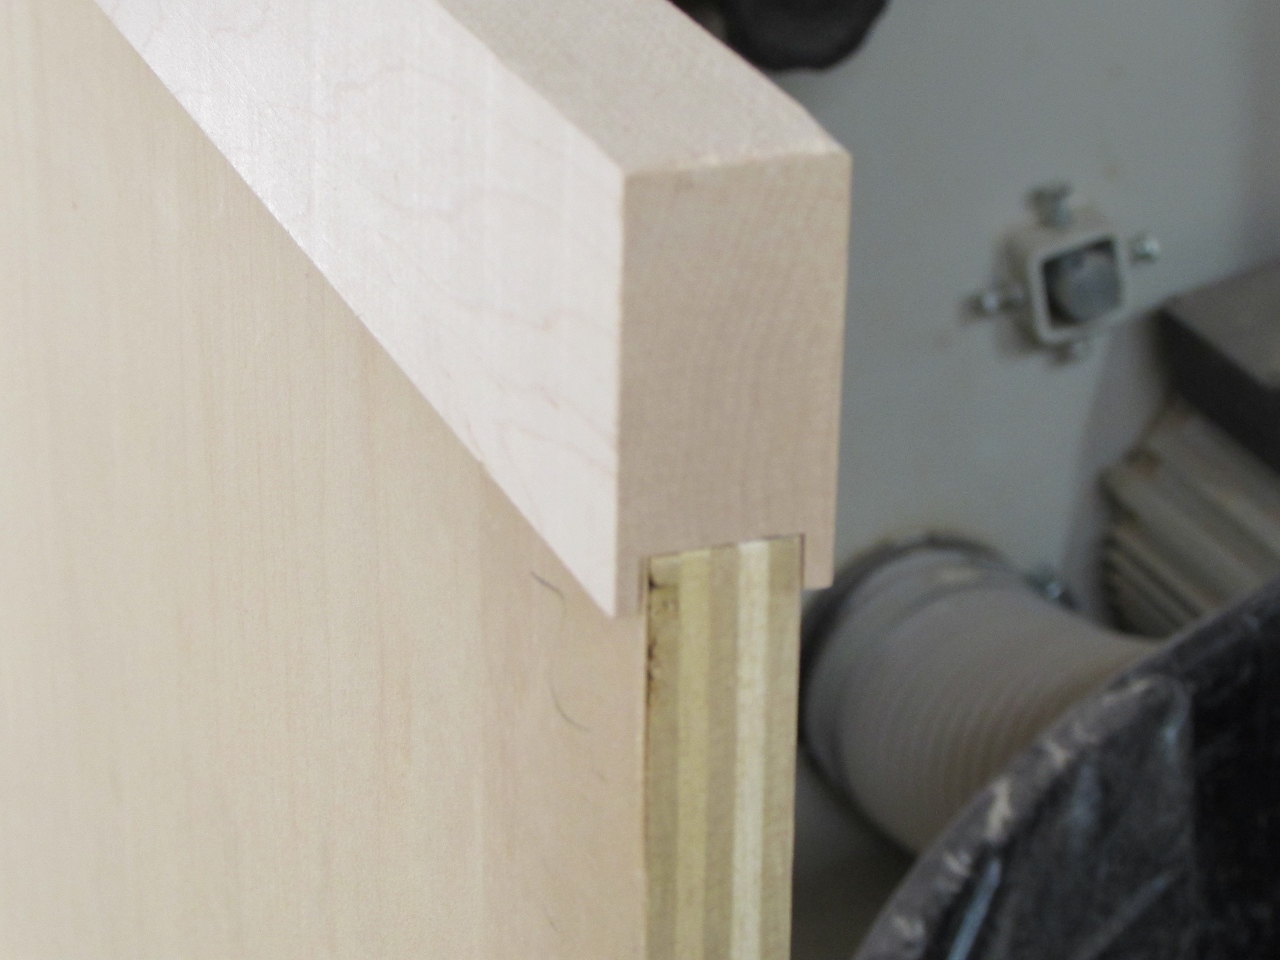
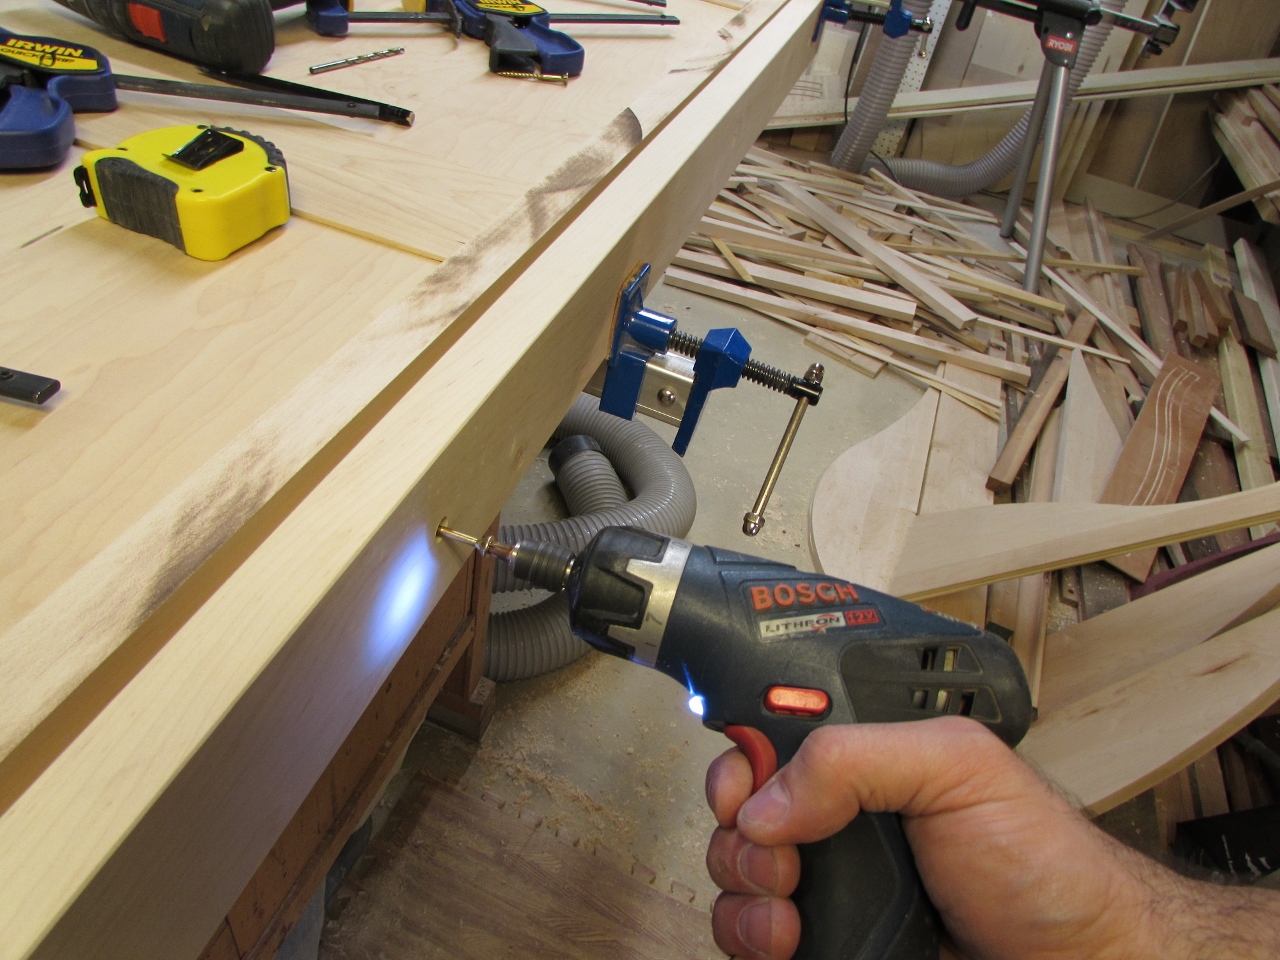
While that was running, I started cutting the dados in the frame pieces.

By taking my time, I got the groove just right for slipping over the plywood.

To butt the sides to the bottom, I cut 1/8″ off the outside of the sides, where they met the bottom. Perfect fit.
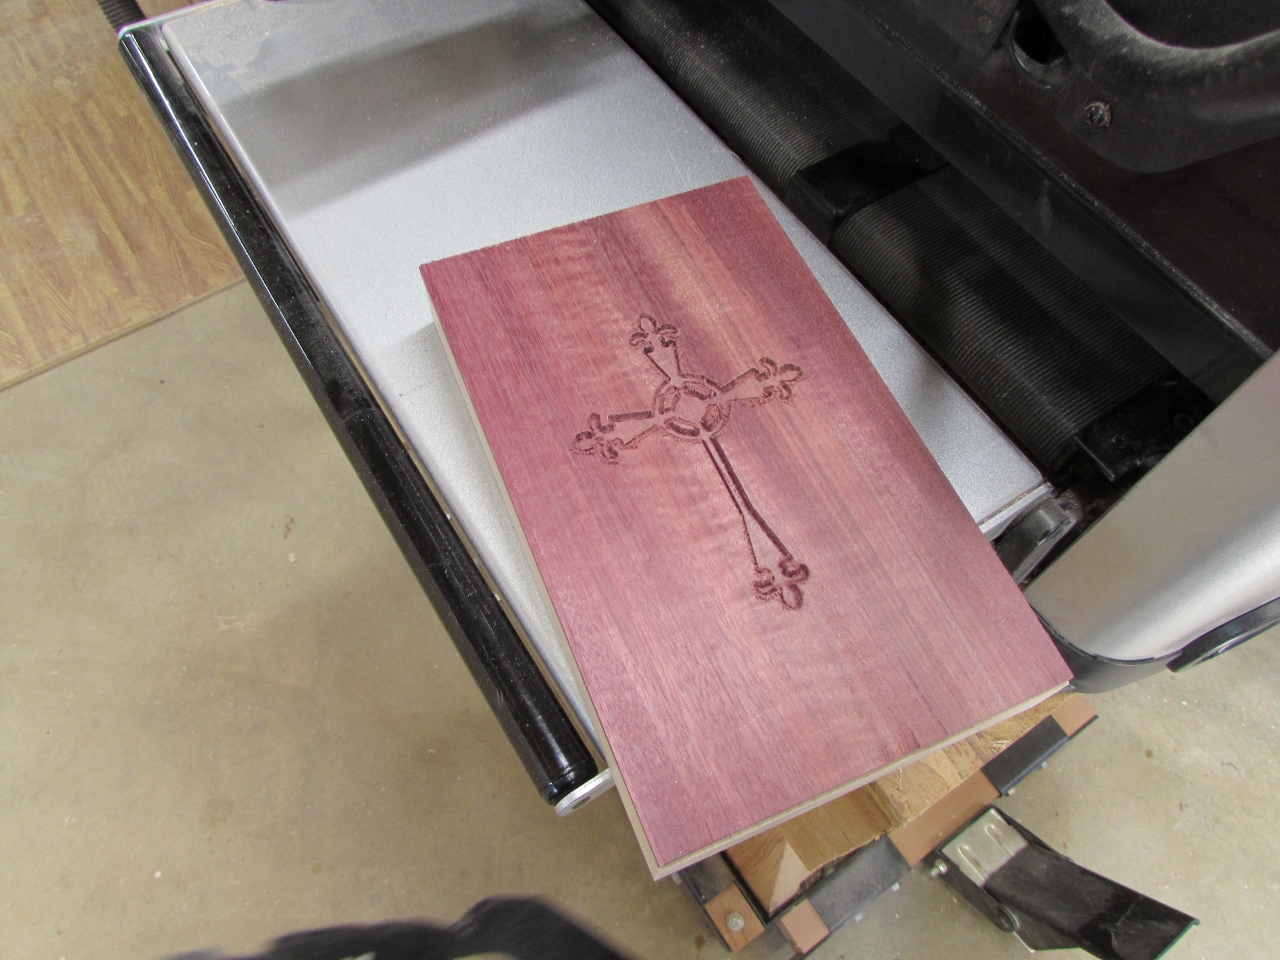
Meanwhile, the carver finished. I was not happy with the outcome. It carved away too much of the cross, and didn’t cut through the purpleheart.
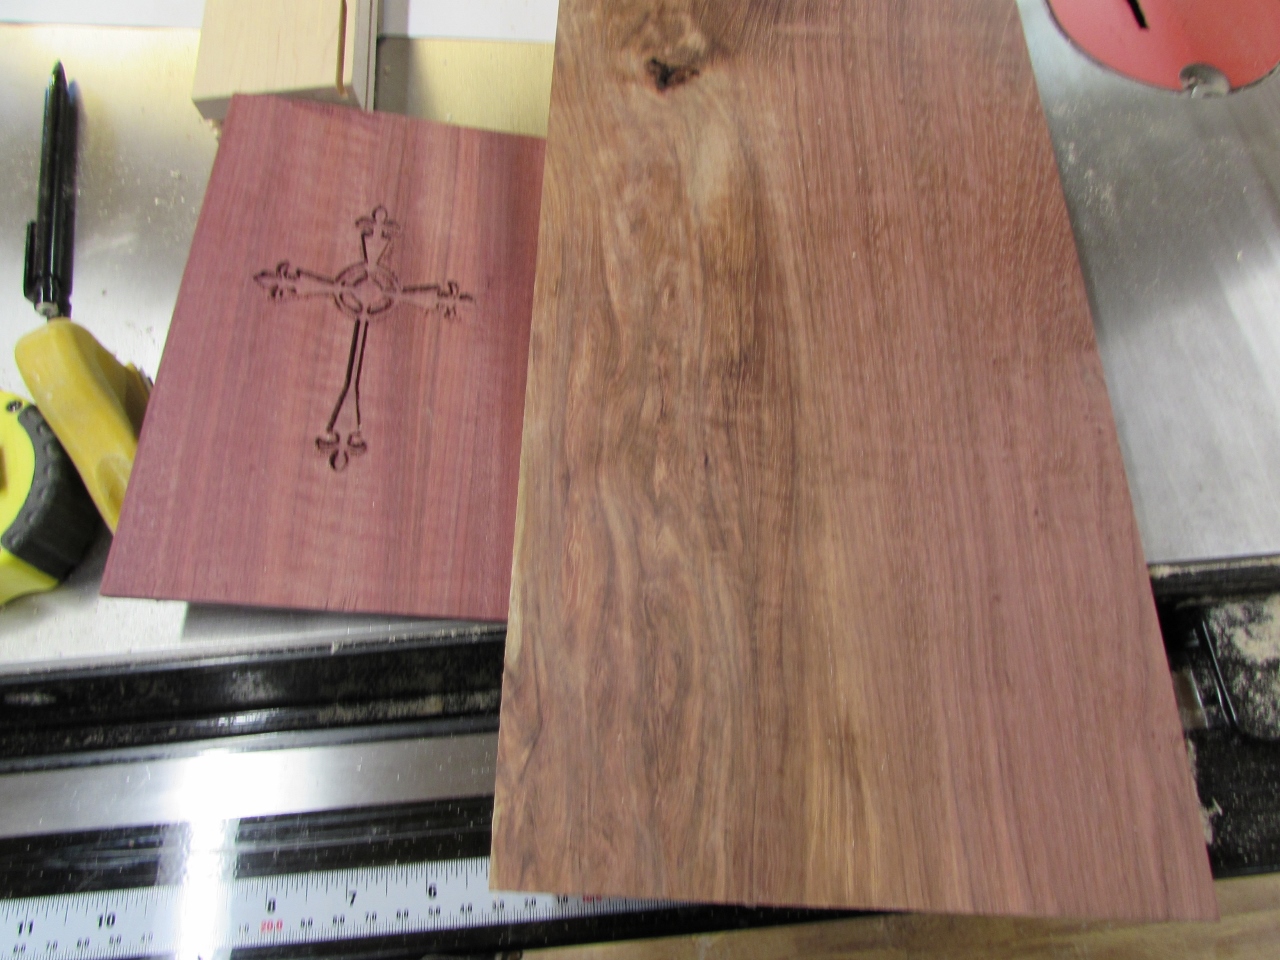
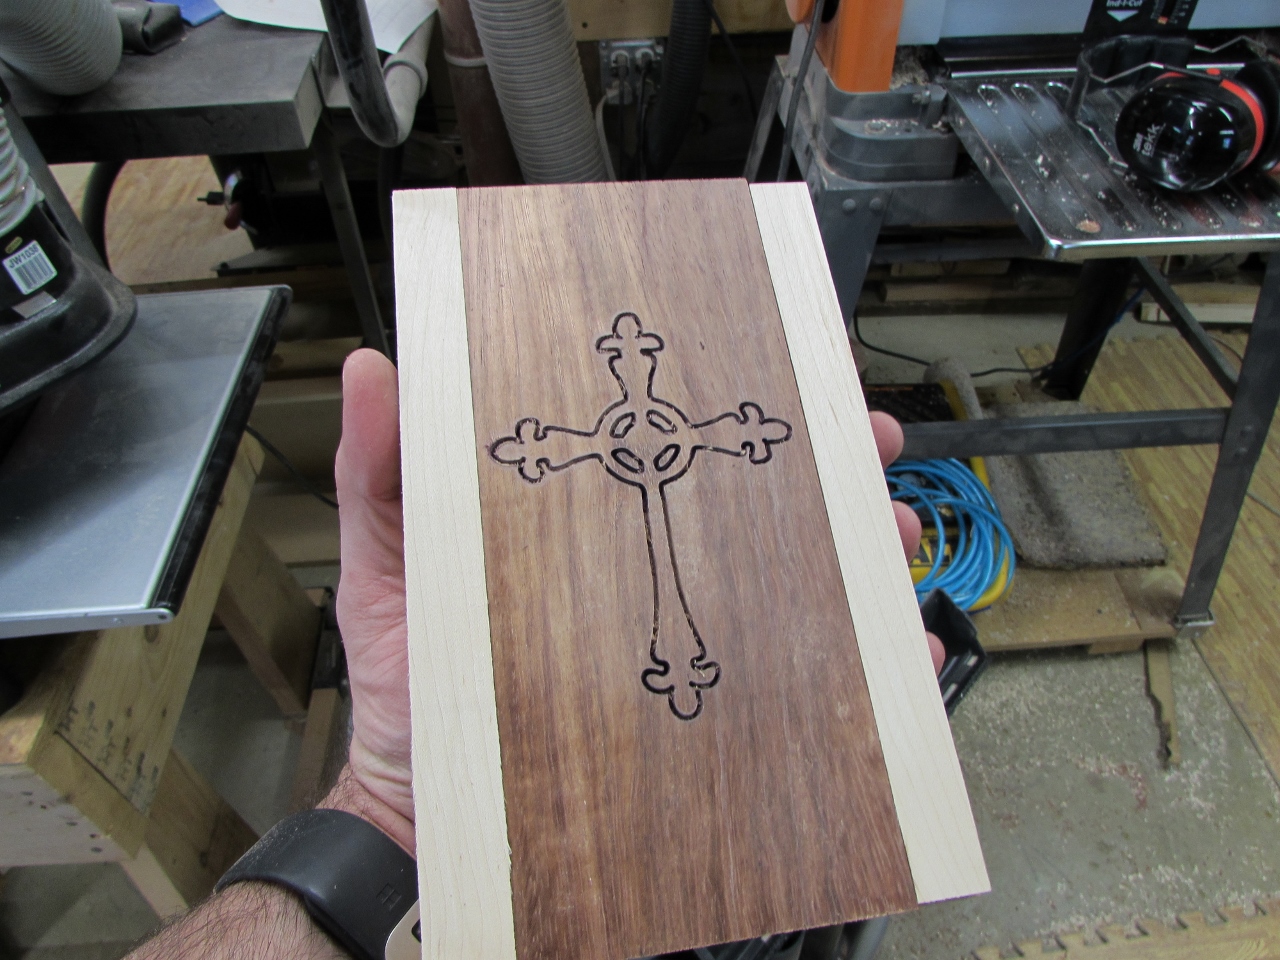
I created the relief carving from a 3d model that I drew. I decided to try a more basic approach and create a simple 2d outline, and try carving just the outlines. I rooted through my dwindling pile of purpleheart to find a piece with a bit of character. I know it looks brown now, purpleheart always does when you cut it. Give it a couple of days and it will turn that pretty purple of the last piece.
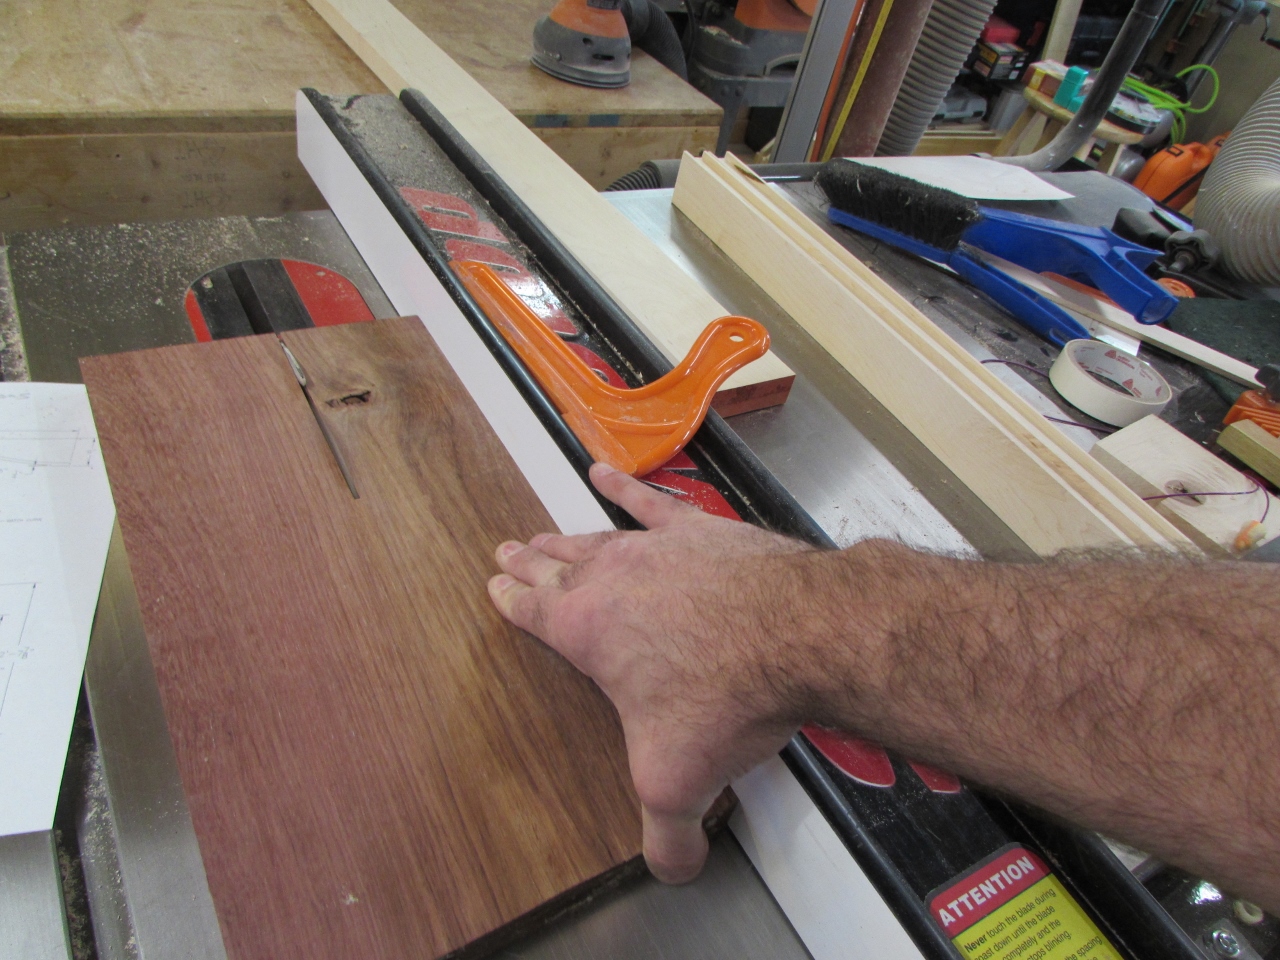
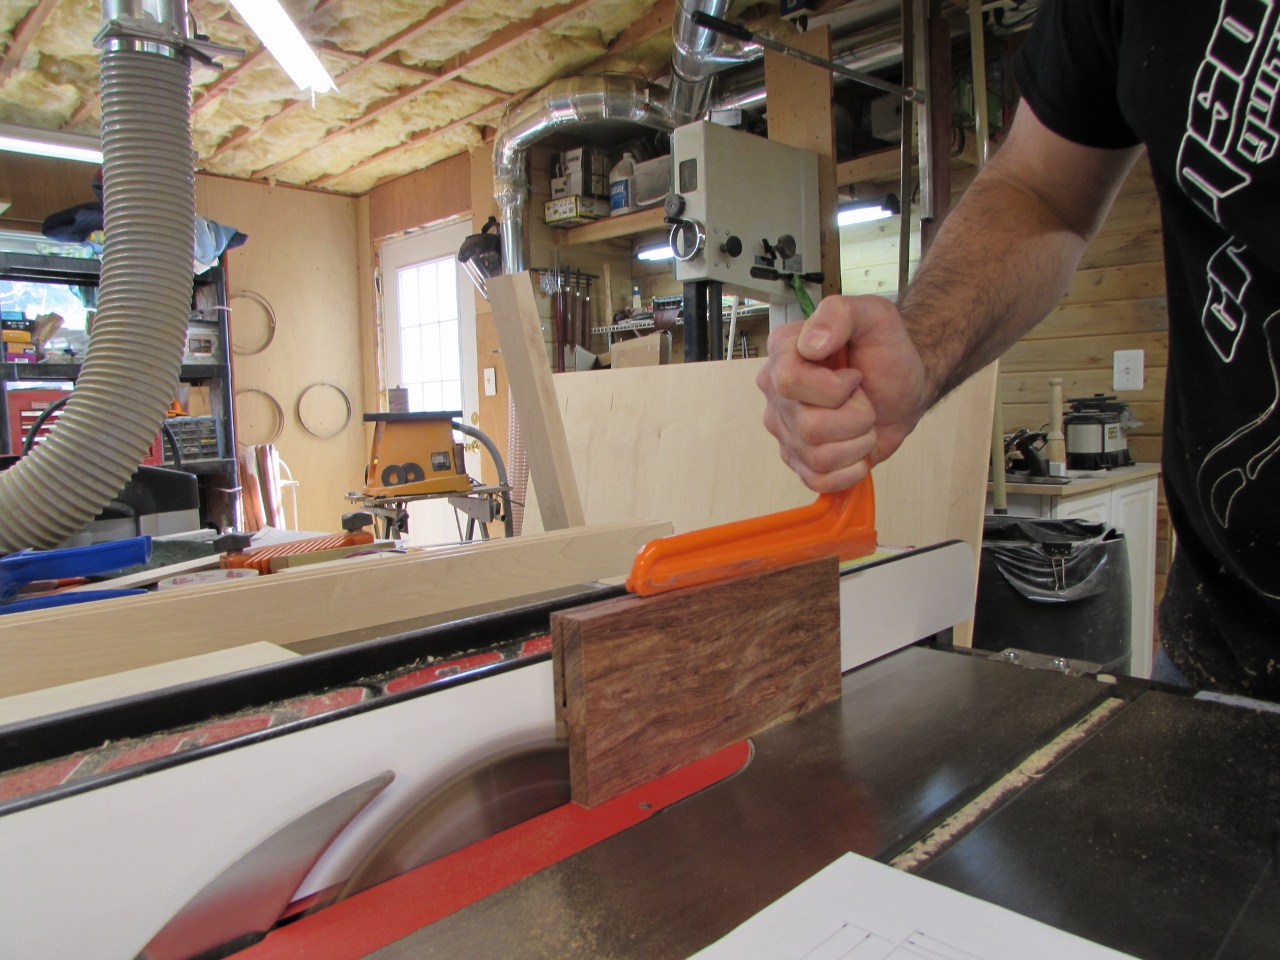
I had to cut down and re-saw this piece.

I planed it smooth, and added some spacers to the side, for the carver.
This time the carve came out a lot better.
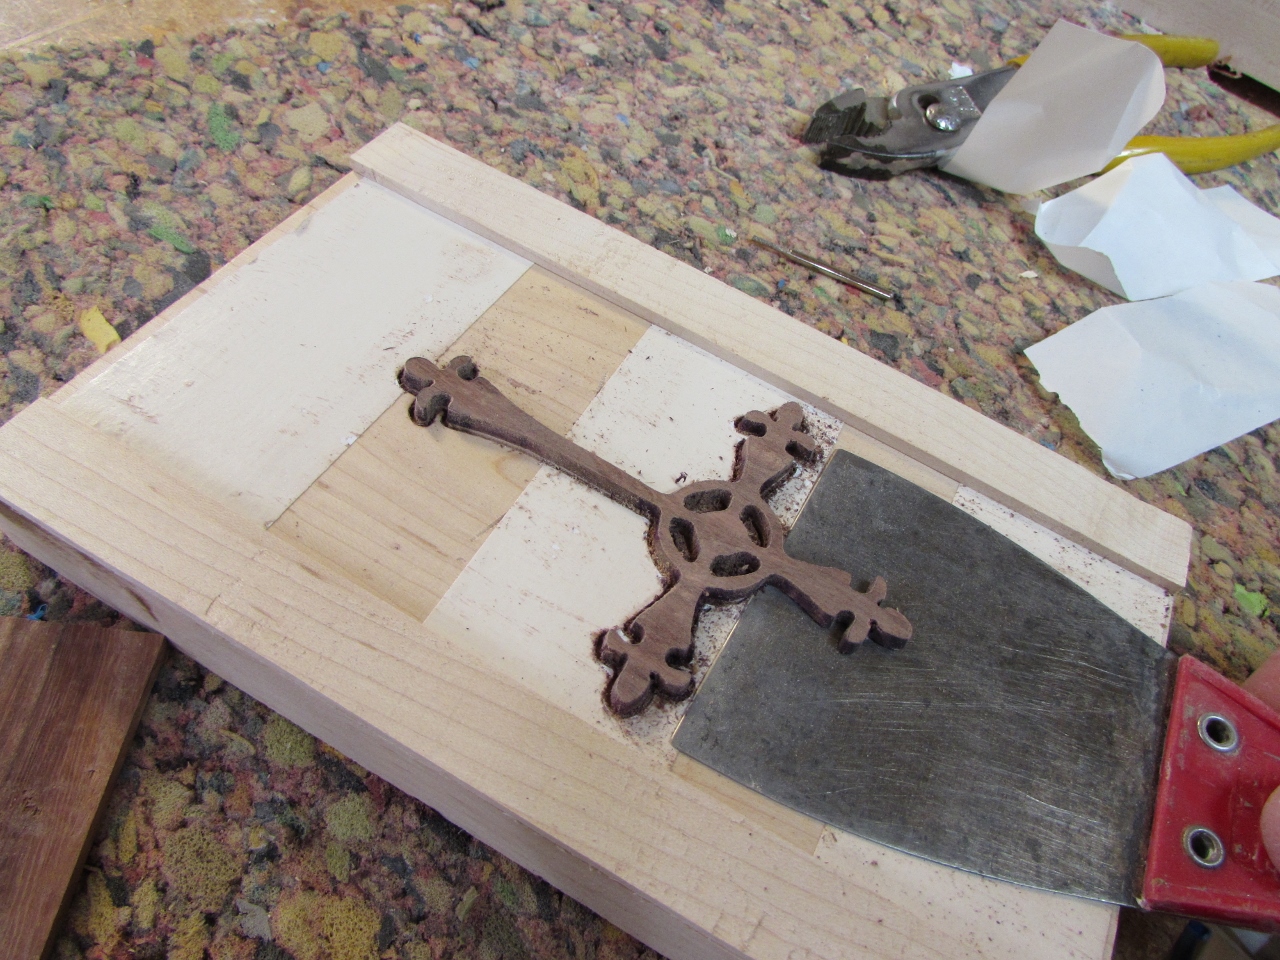
I carefully removed the cross from the board with a putty knife and cleaned off any tape residue with some denatured alcohol.

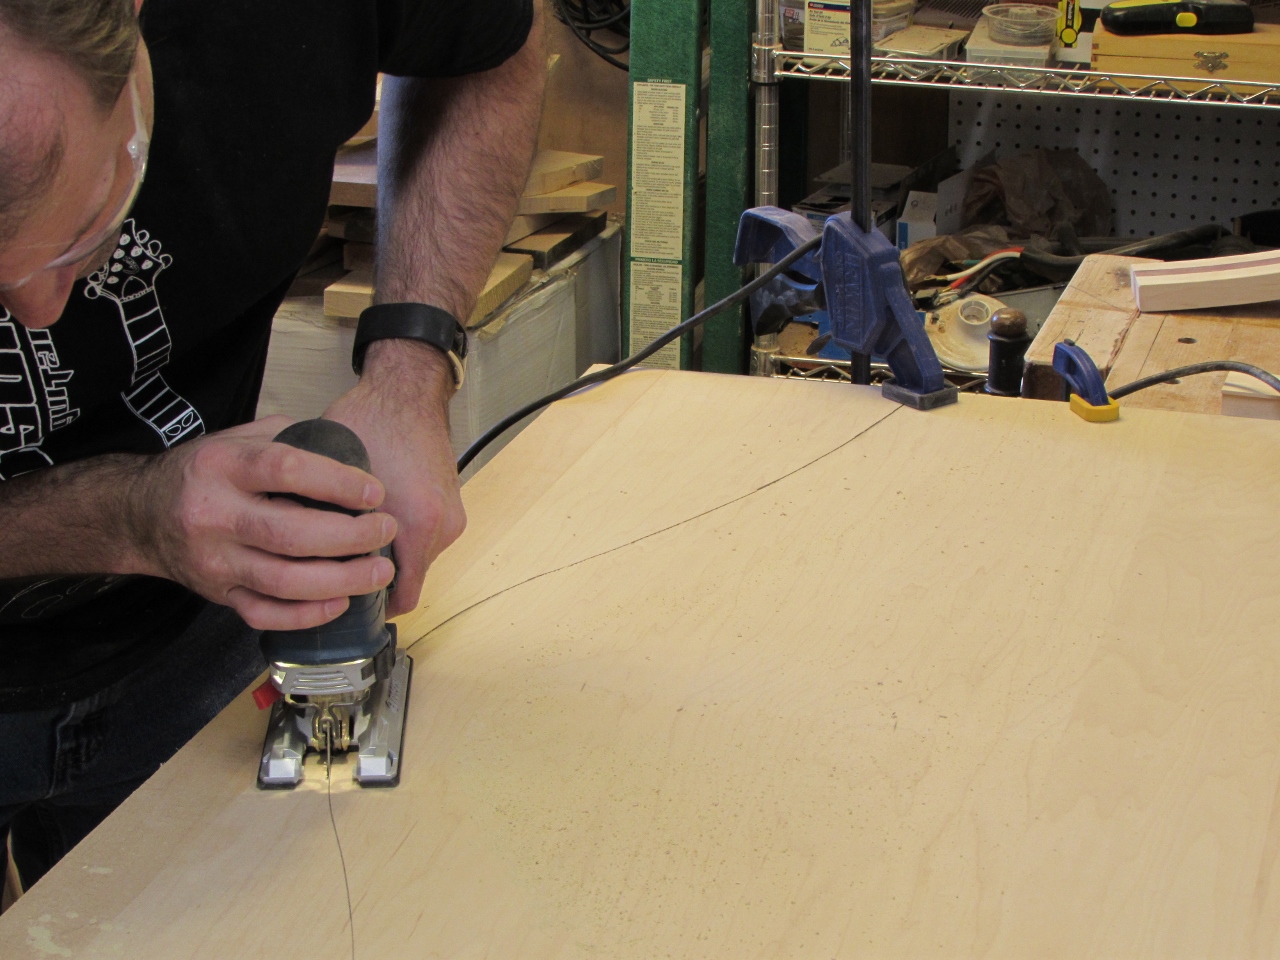
Time to start cutting down the plywood for the back. I cut the width to the correct size, but left the top a little long so I could lay out the curve.

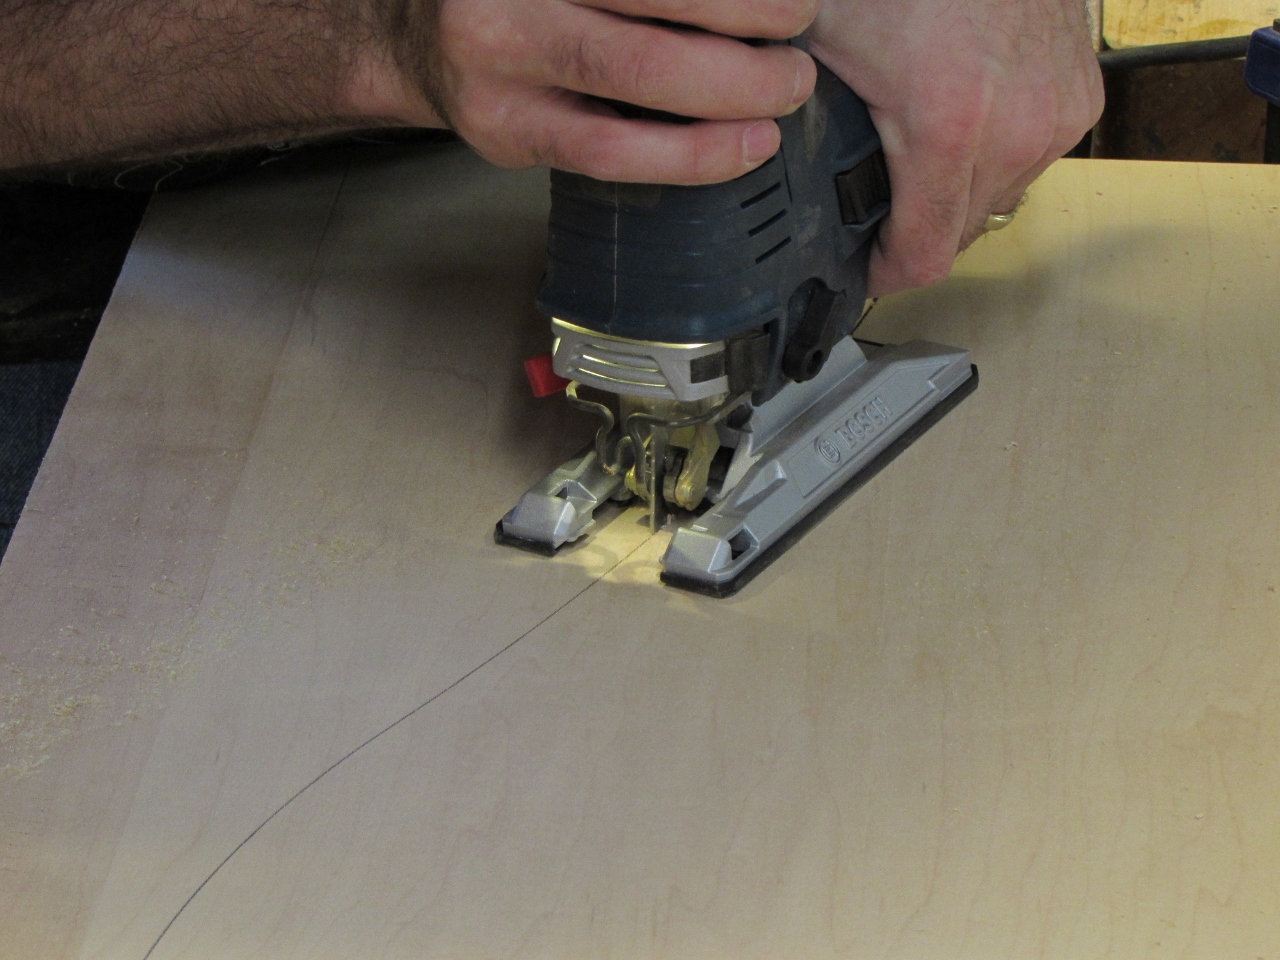
I used my jigsaw to carefully follow along the curve. When I was halfway through, I stopped to clamp the beginning of the cut, so the excess wouldn’t drop as I got closer to the end.
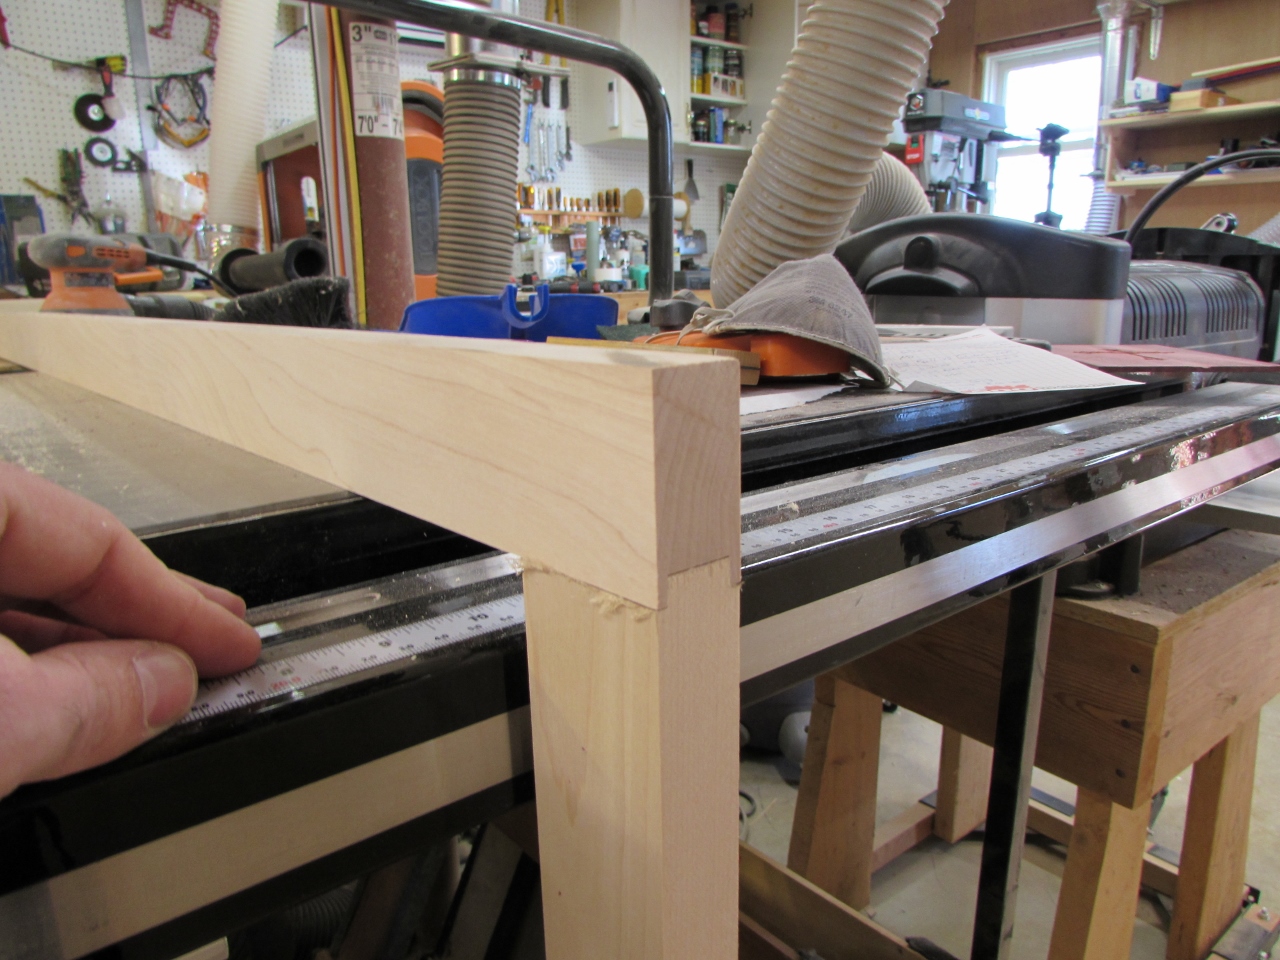
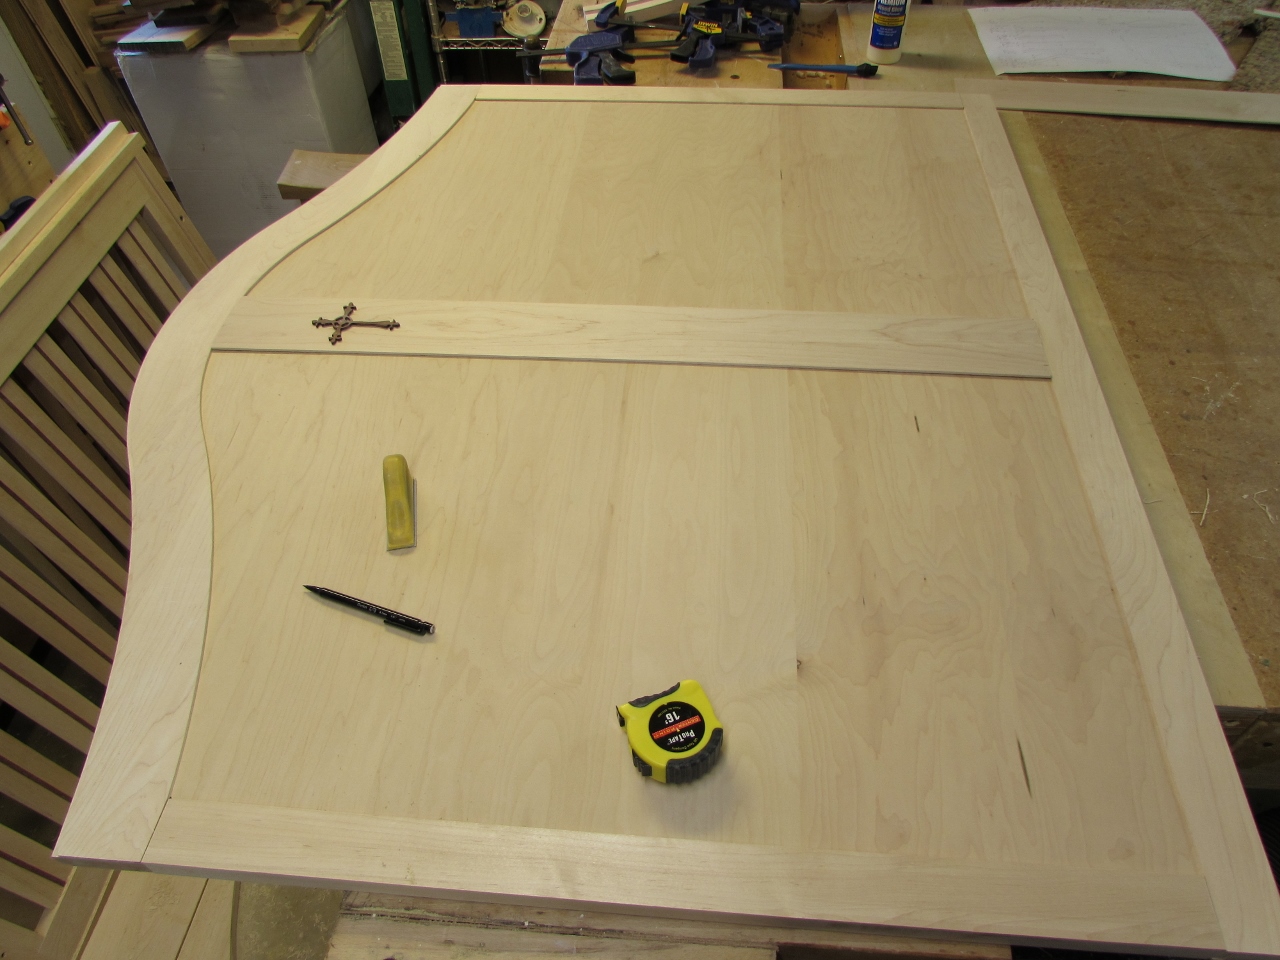
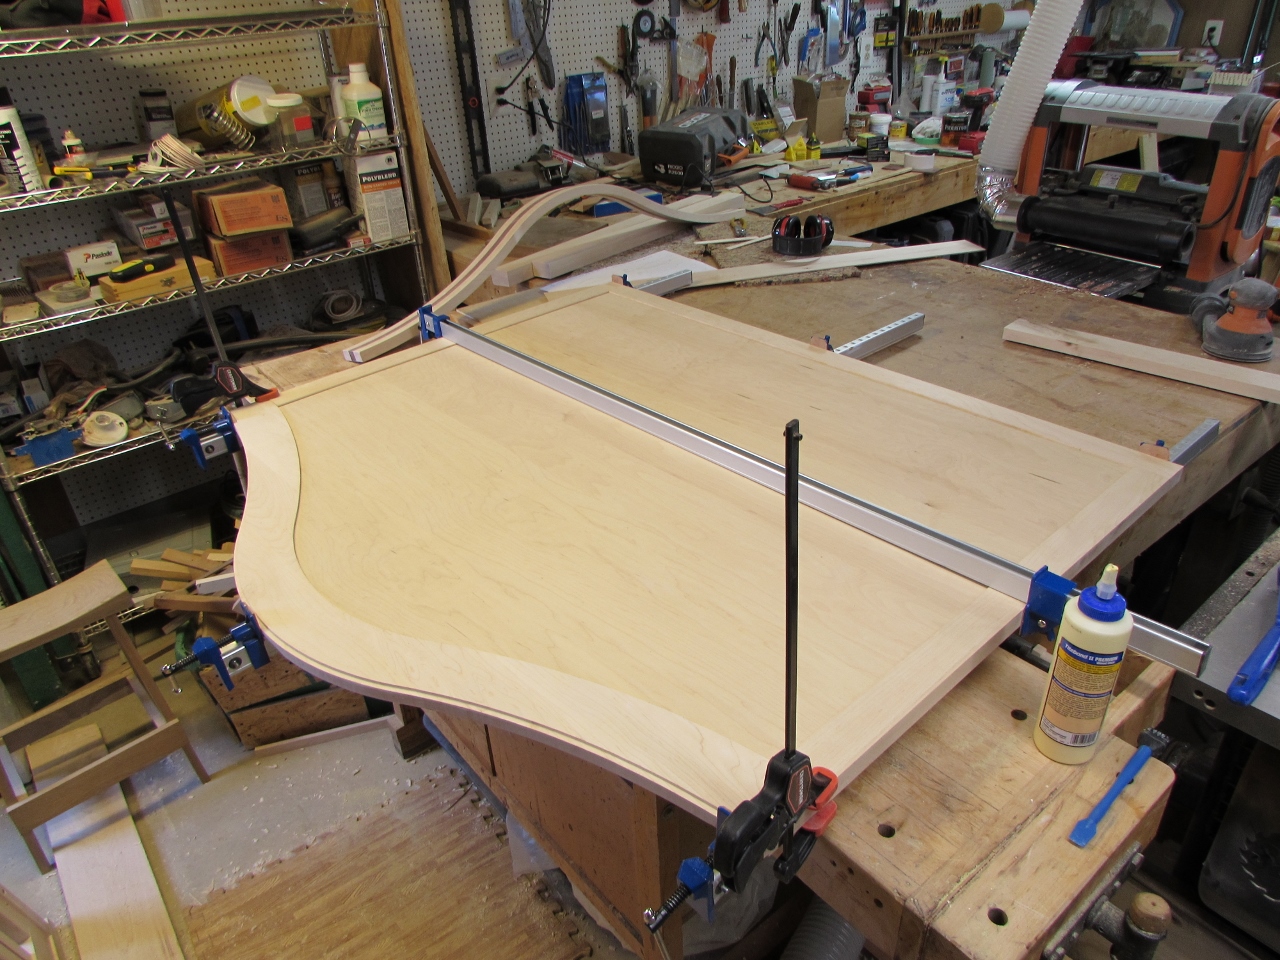
With the plywood cut down, I did a dry-fit of the frame.

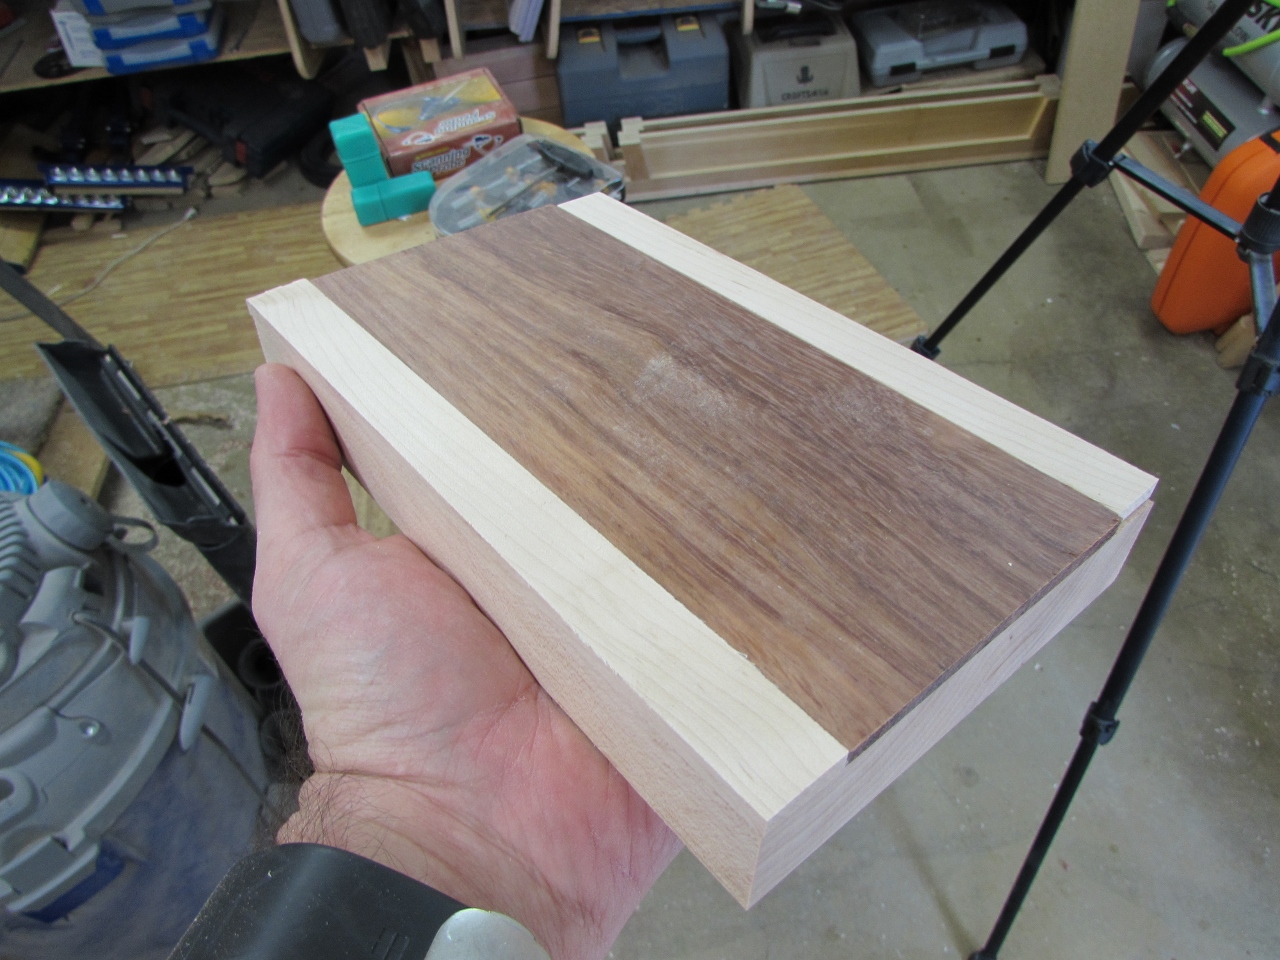
I have a habit of saving the excess pieces when I re-saw my boards down. I happened to have a 4″ wide piece that was already 1/8″ thick, so I grabbed it to be my center strip. I laid it in place and marked the curve for the top.
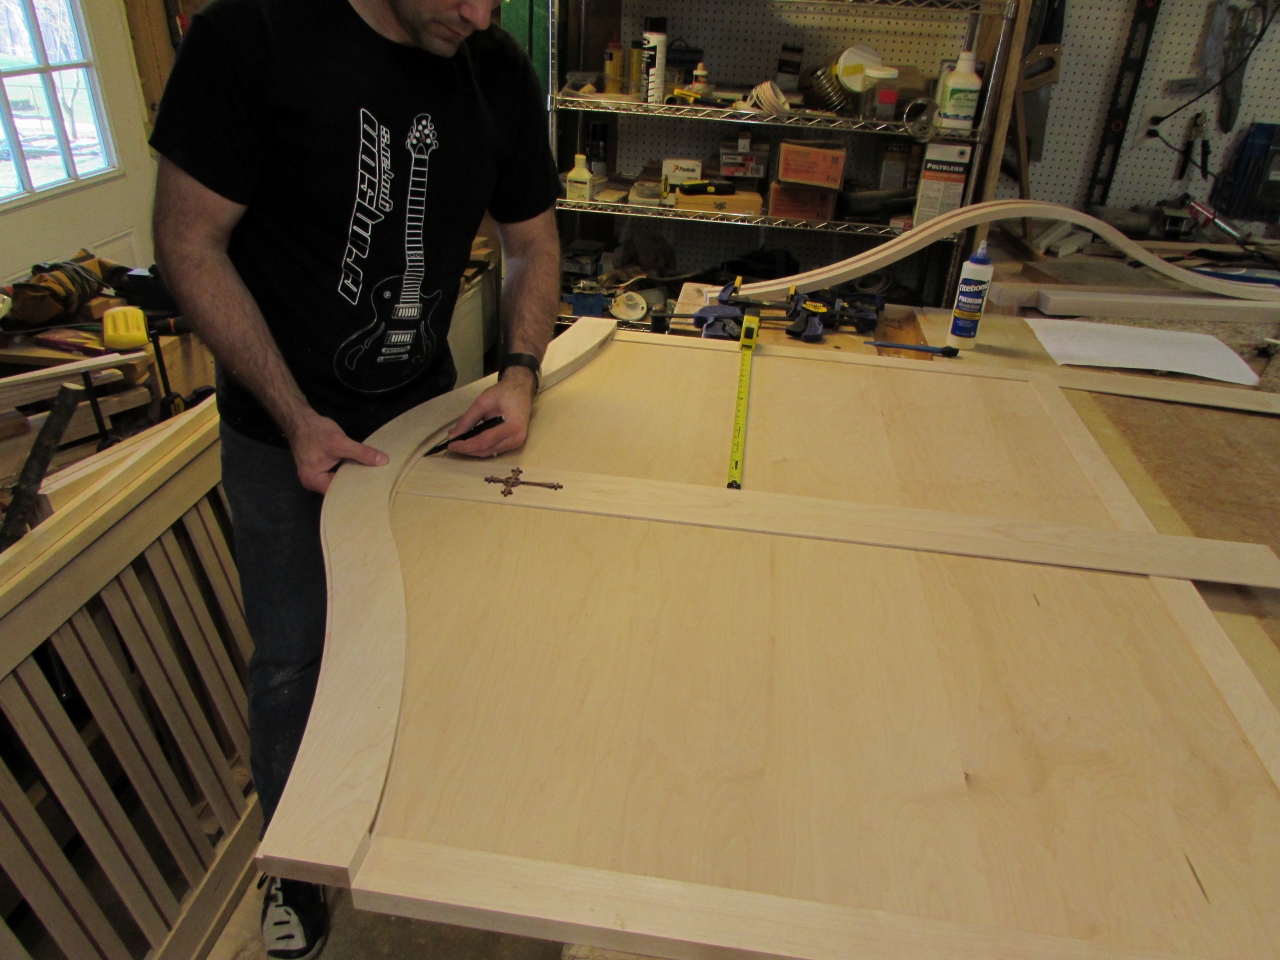

I cut the curve on the bandsaw, then cut it to length. Perfect fit.
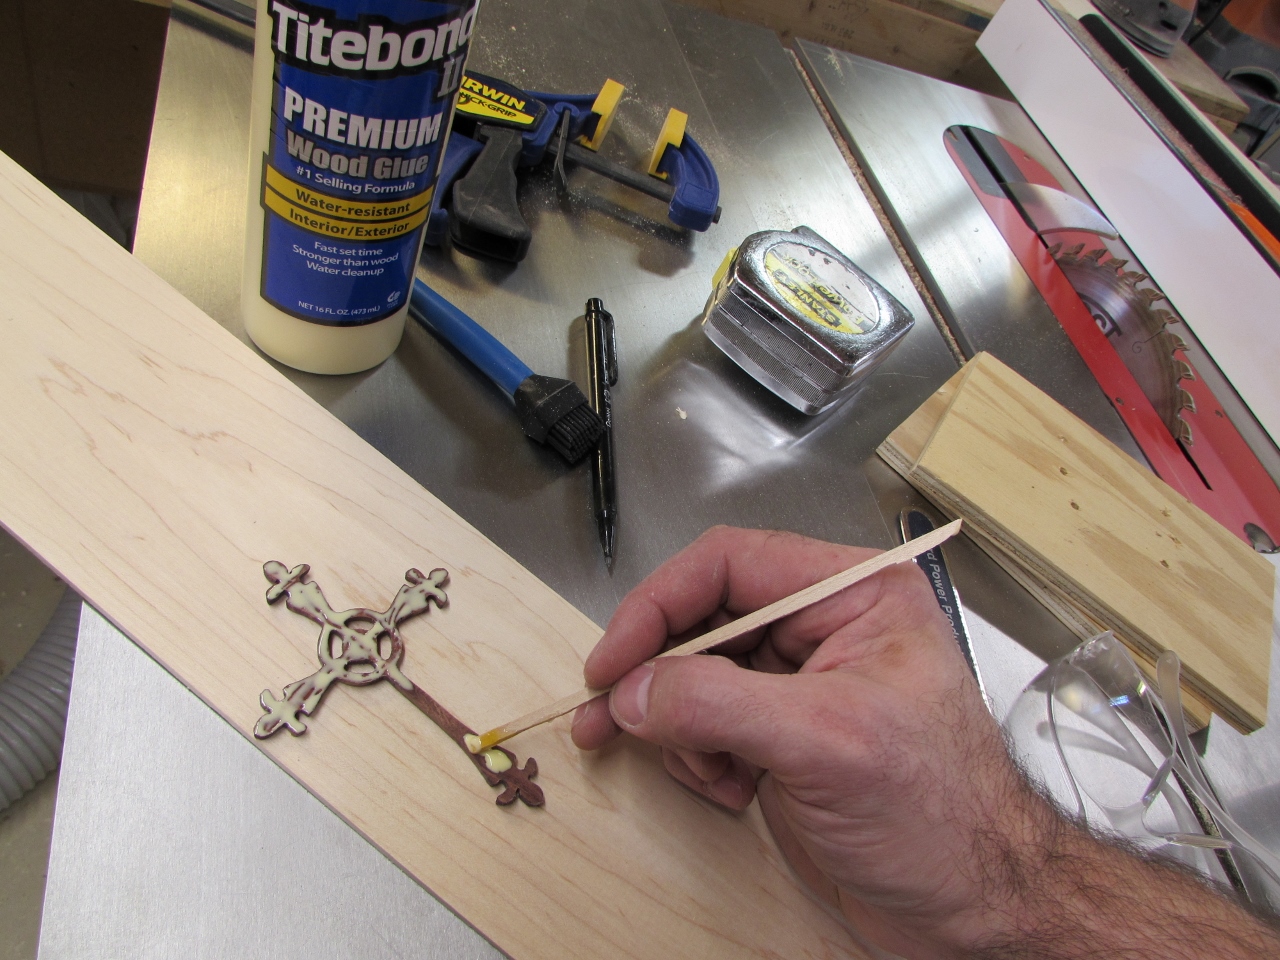
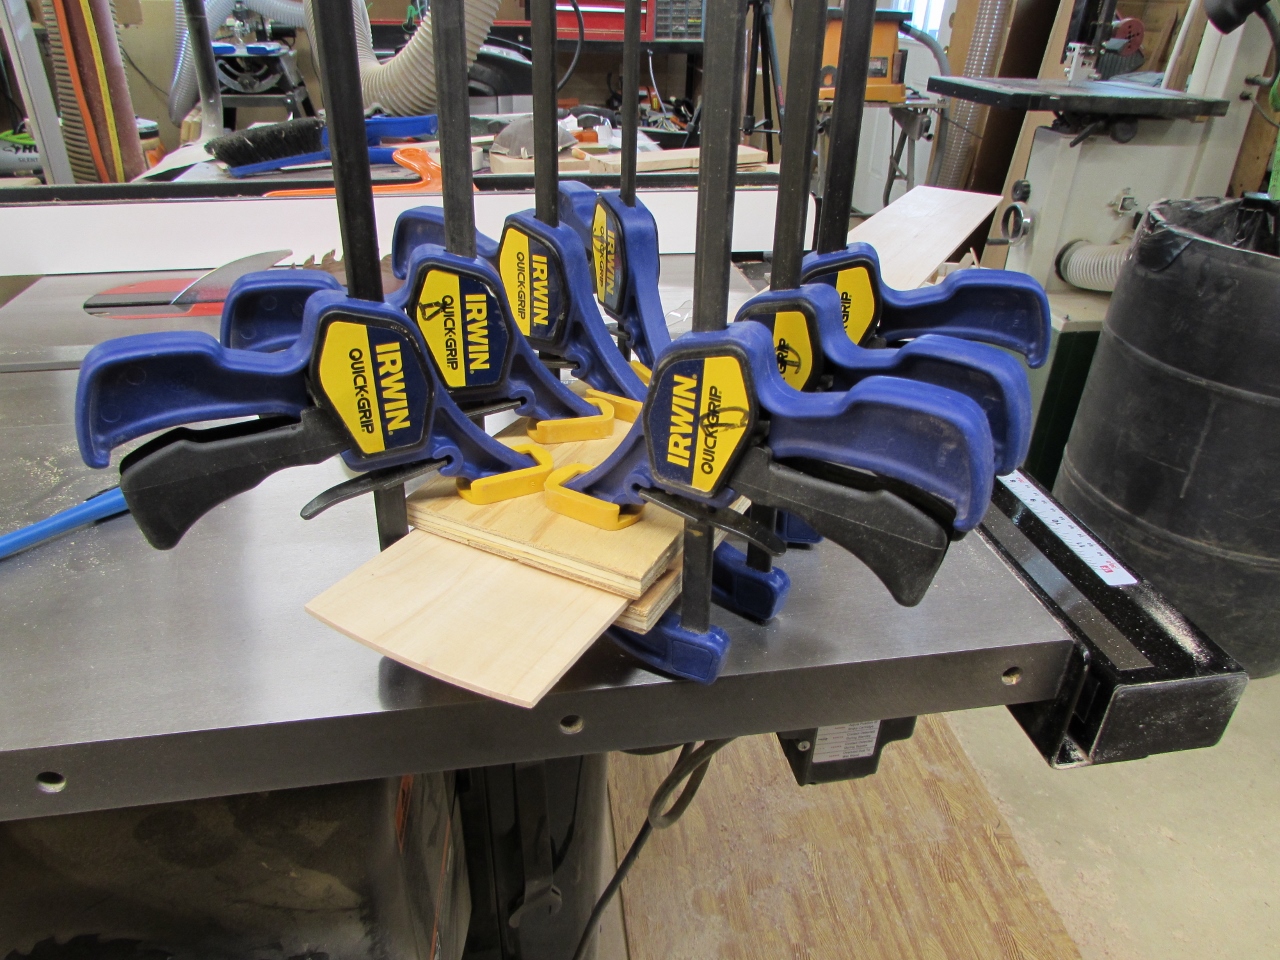
I applied glue evenly to the back of the cross and clamped it between a couple of boards so the clamping pressure was evenly spread all around.

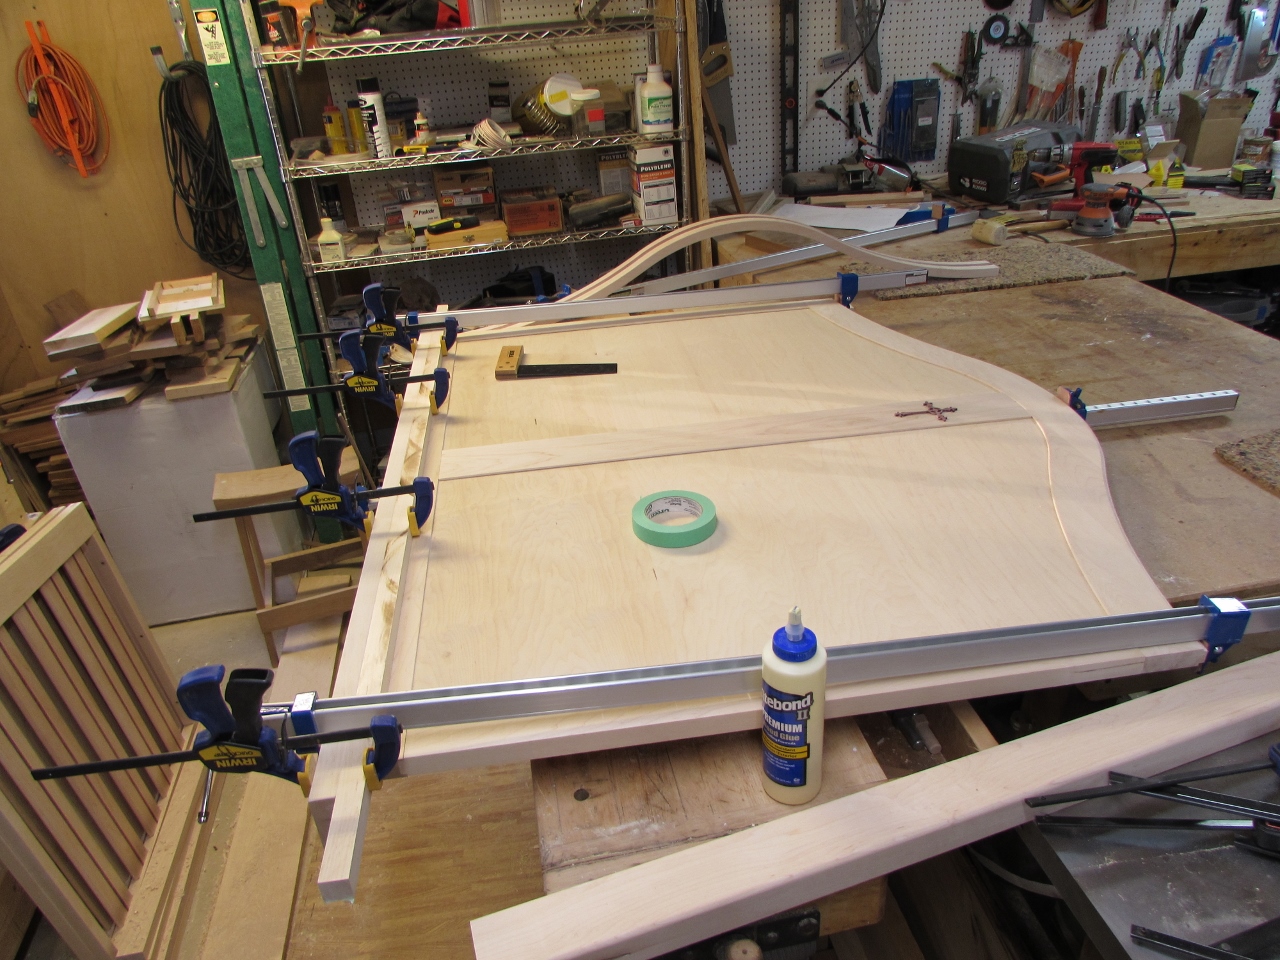
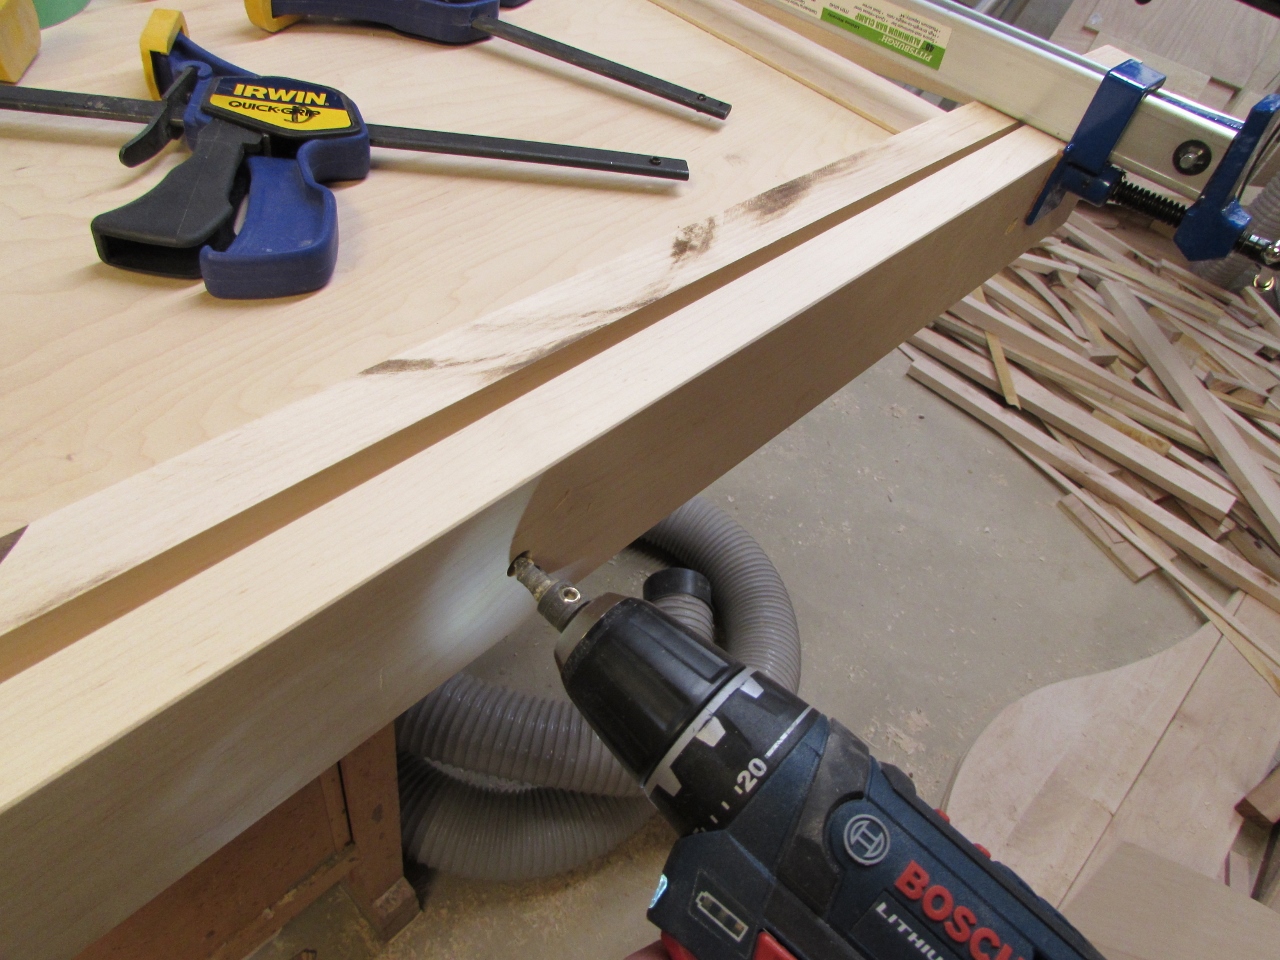
While that was drying, I applied glue to the channel of the frame pieces, then clamped them all in place.

When they had set up, I applied glue to the back of the center strip and placed it on the plywood. I have no way to clamp it, so I laid down a piece of paper, then covered it with anything heavy I could find. Half bag of concrete, framing nails, grout, a drill press…

While that was drying, I made a small addition to the front piece. I am not making the feet for this crib. I just don’t have the time, so we ordered four carved maple feet. They should arrive in a week, but I need more surface area to mount them. To get the extra surface area, I am adding a 1″x1″ strip to the back side of the bottom. I glued it in place and sanded it down flush, when it had dried.

I also increased the width of the bottom plate on the headboard as well. To locate, I clamped on a 1″x1″ block, and added some masking tape to prevent glue from sticking to the strip.


I applied glue to the bottom, then clamped the plate in place.
Like the front rail, I counter-sunk and screwed the bottom plate on.

I also cut and glued in plugs to cover the holes.

I sanded the plugs with the orbital, till everything was smooth.

Nearly got done the headboard. It didn’t seem like a lot of work, but I spent a lot of time today, waiting for glue to dry…
Well after midnight though, so I am going to bed.

You met a lot of challenge’s in this build, well done
Thanks, it has certainly been a learning experience…