
Maple & Purpleheart crib – day 7
I ran the lower arch on my CNC yesterday.
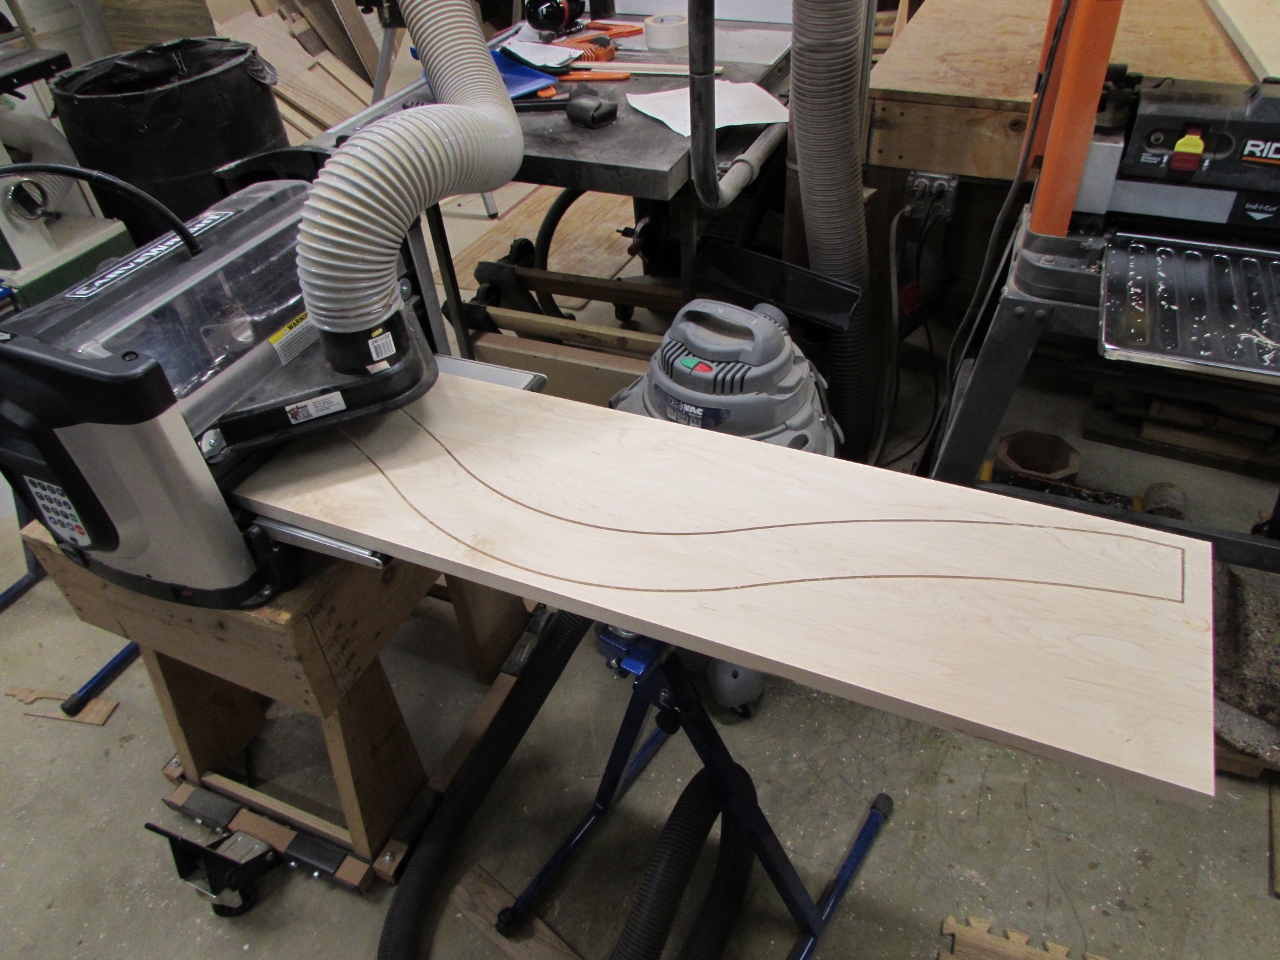
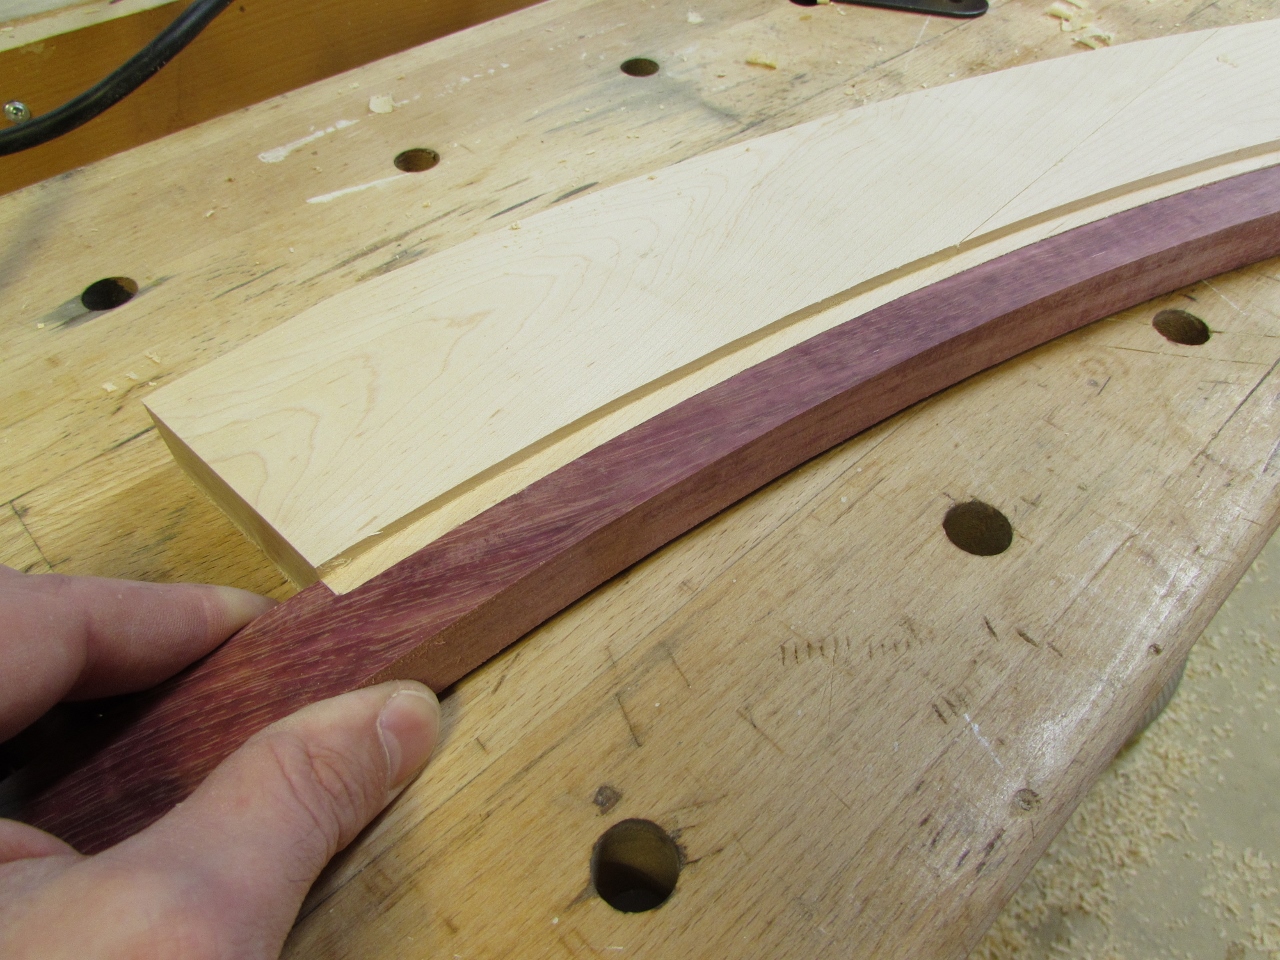
It looked really good when it came out. I laid the purpleheart pieces on it to verify that the curves matched perfectly.

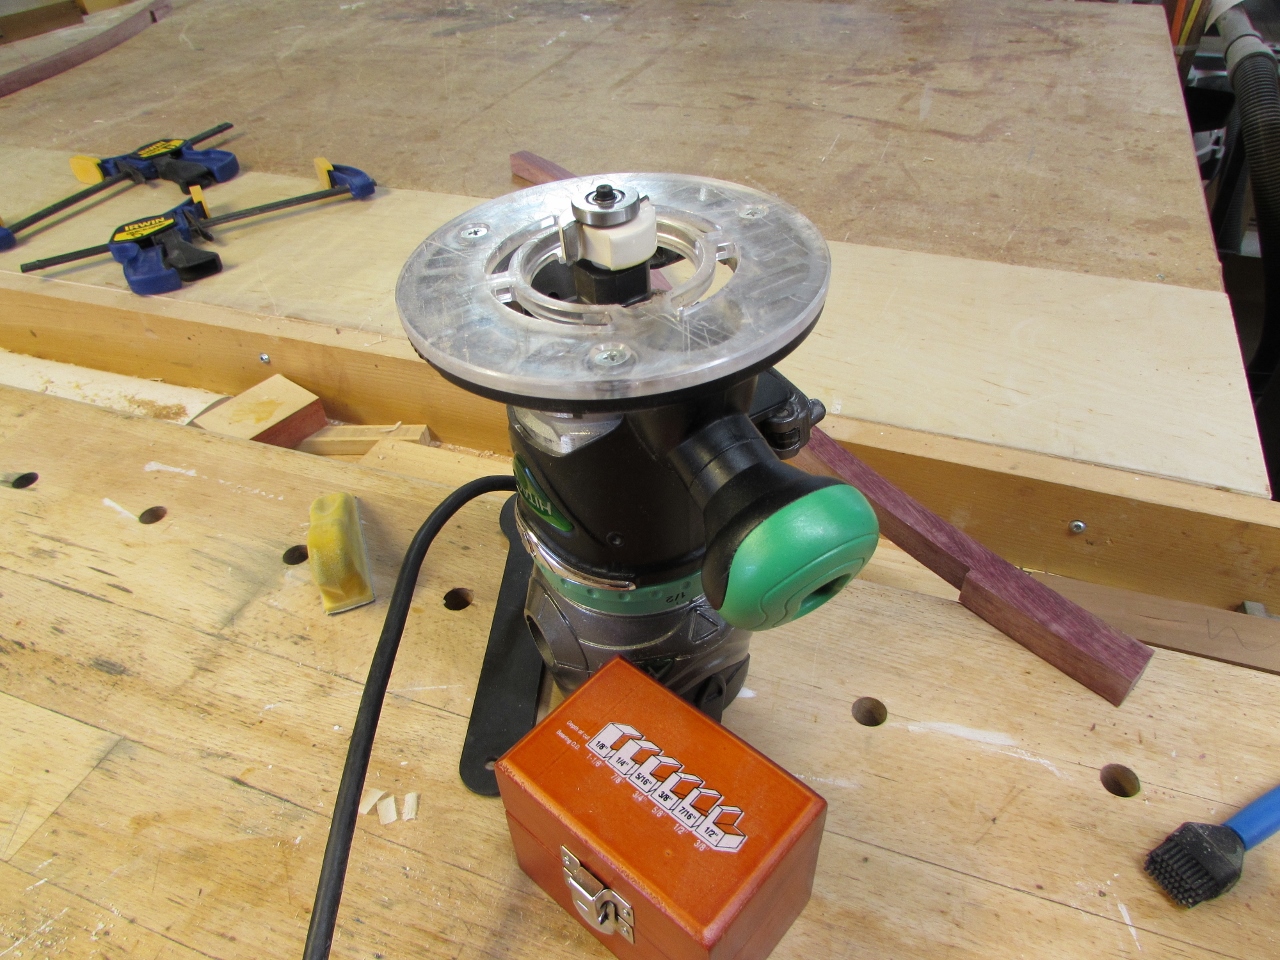
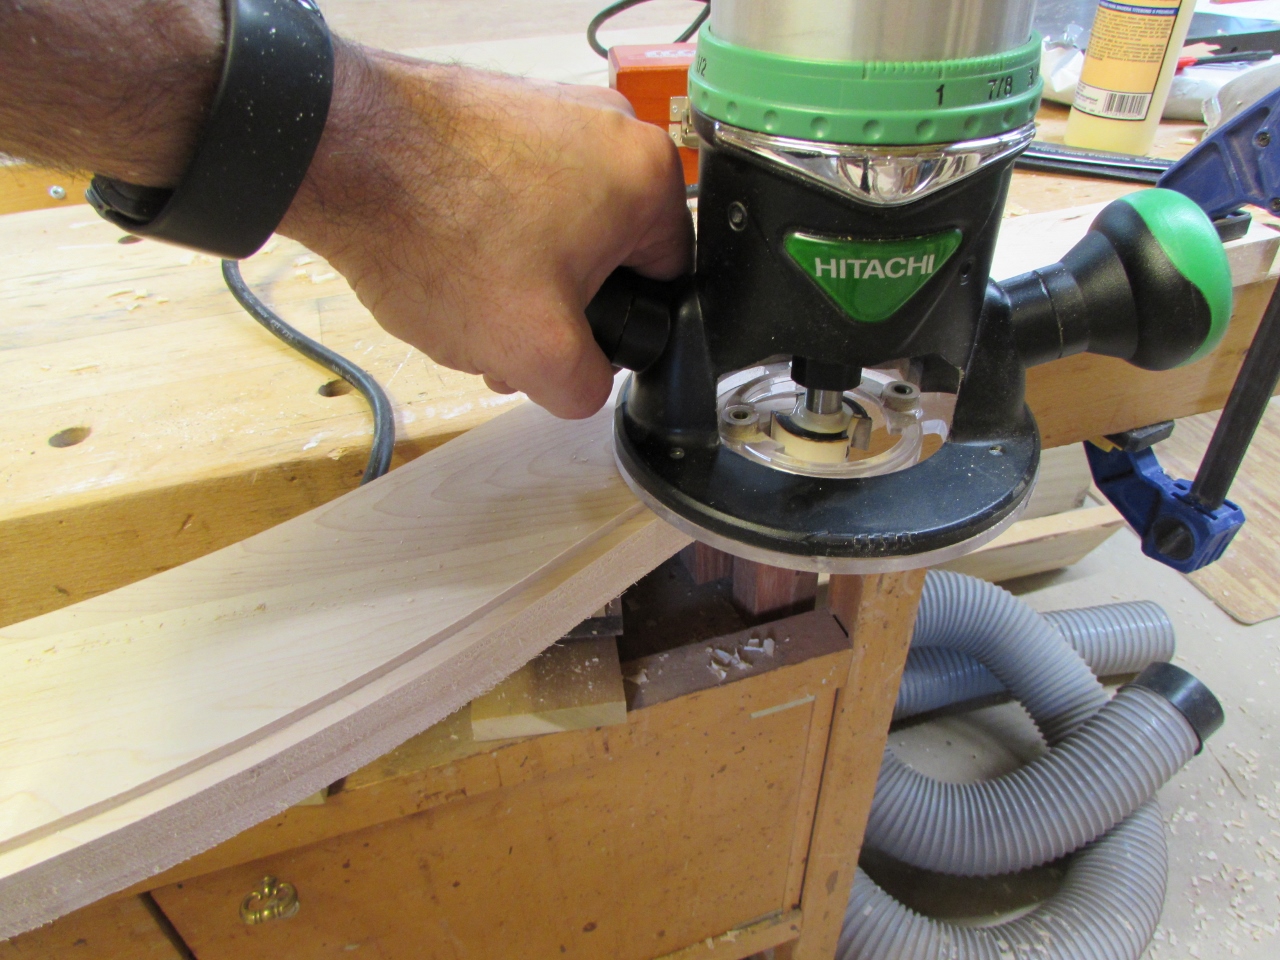
I need to cut a 3/4″ wide groove, 1/4″ deep into the bottom of the arch. That had me stumped for a while, then I remembered that I had a rabbet bit set for my router. I installed the bearing that would allow for the 1/4″ depth, then set the bit to leave 1/8″ of wood on the top.
I marked the ends, about 1-1/2″ in from each side, so I knew where to start. It wouldn’t be visible if I cut all the way to the end, but I wanted a bit more surface on the ends for glueing.

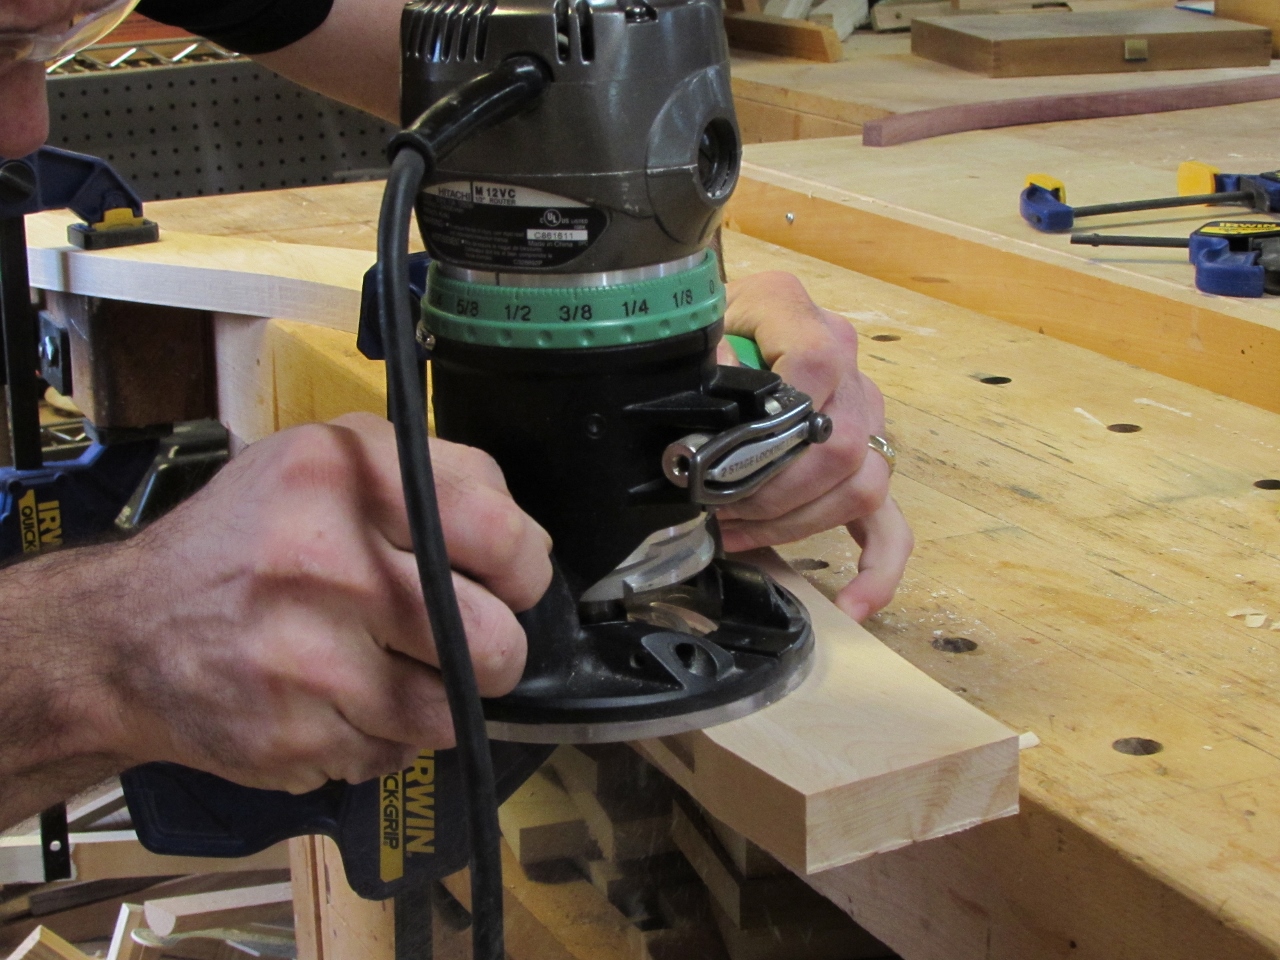
The first pass, with the bit, worked perfectly.

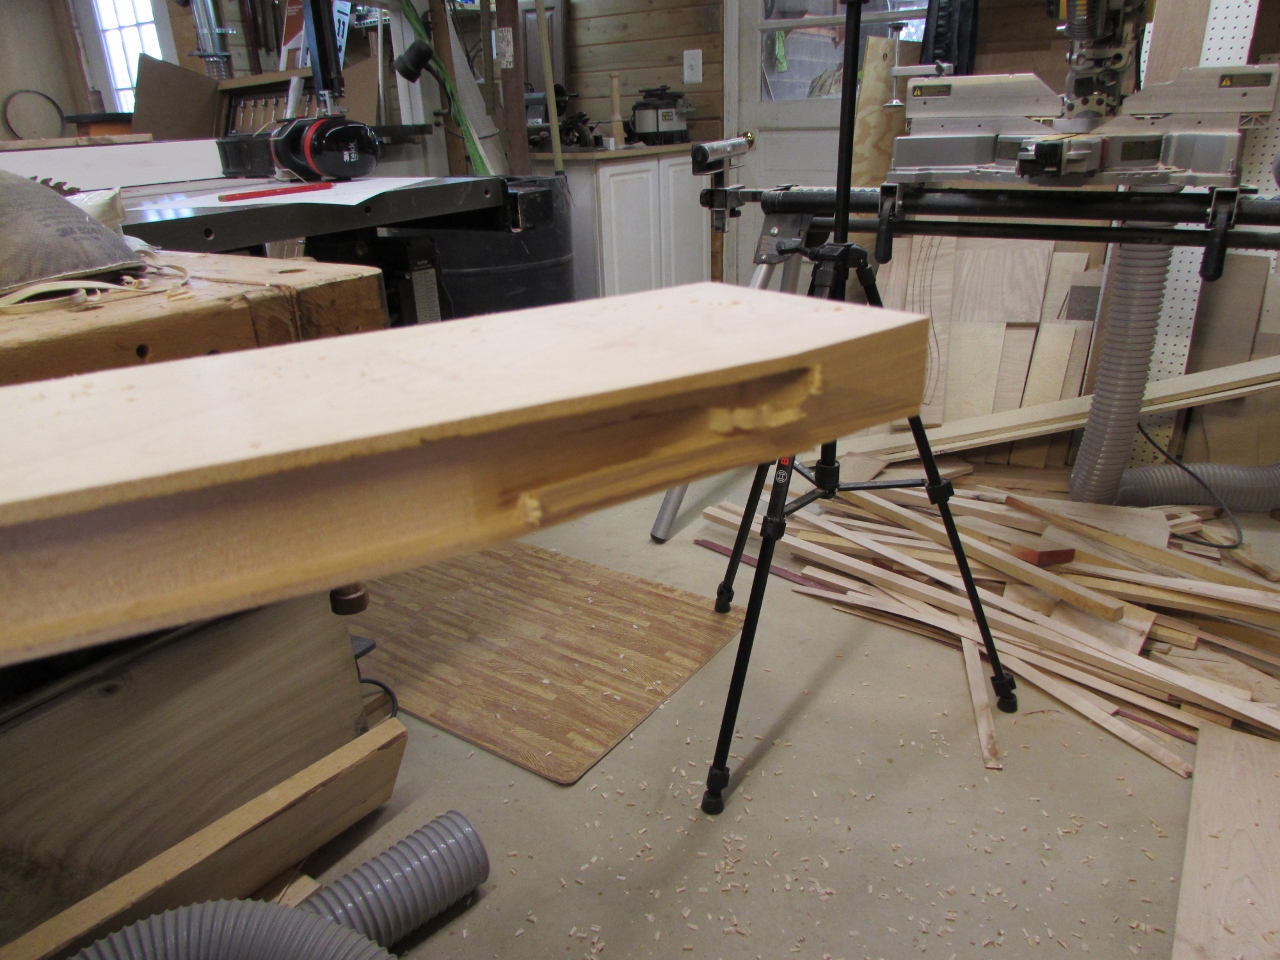
The second pass ripped a big nasty chunk out of the end. That sucks, because I am almost out of maple and I don’t want to have to make another. Guess I will have to repair it. I saw the chunk fly out somewhere around Adam’s work bench, but it was such a mess that I couldn’t find it. Uggh, now I will have to get creative.
Before bothering to fix it, I decided to route the 1/8″x1/4″ rabbet on the top side, front and back. That at least went smoothly.
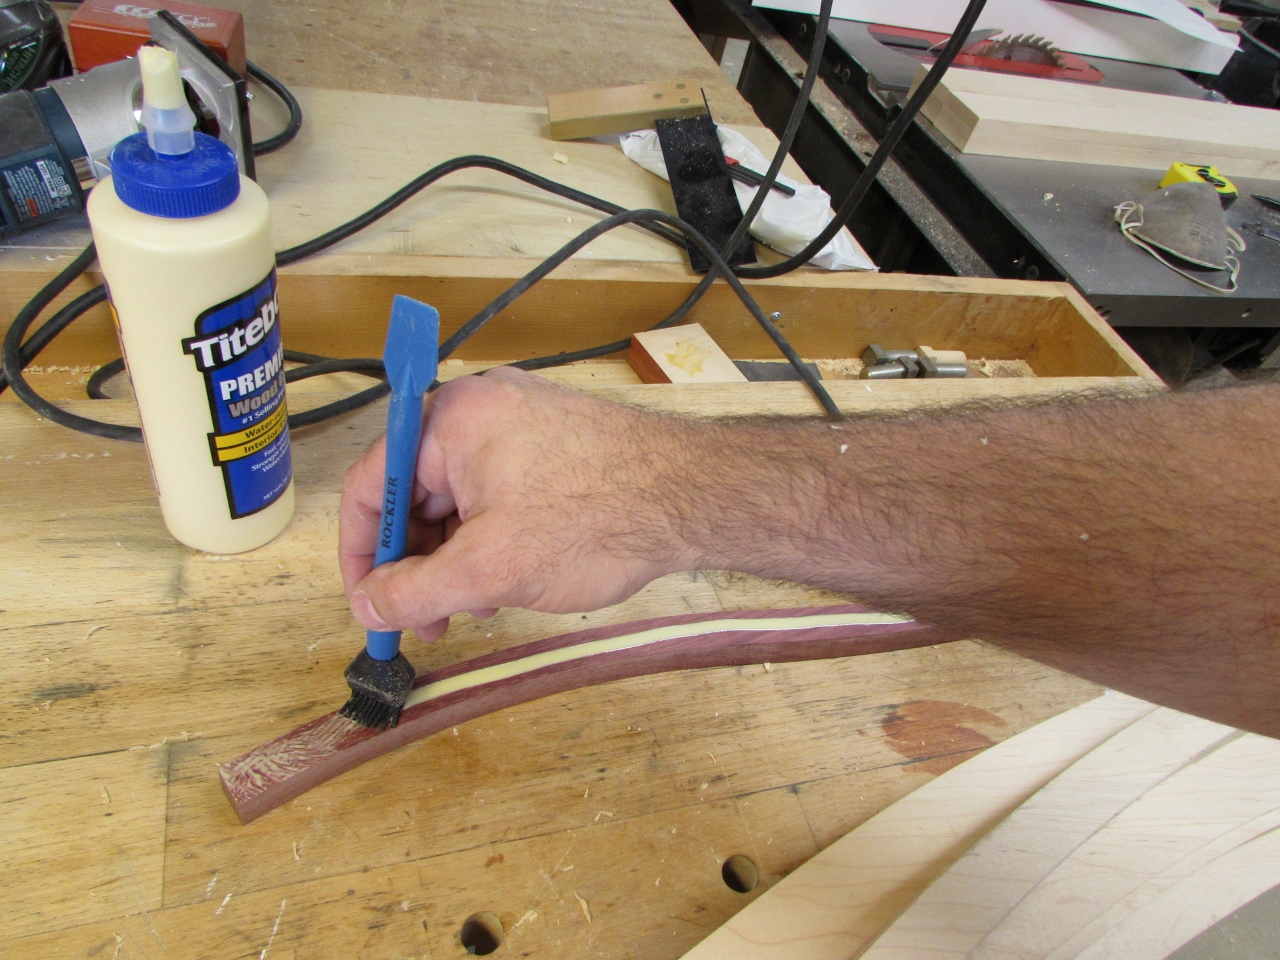
In this picture you can see where the purpleheart ribbon will rest. I am carving the front and back layers while I am working on this piece. When they are finished, they will glue to the purpleheart, and come down to the bottom of the rabbet on the front and back. I will apply glue to the full rabbet because all three surfaces should be touching wood, saving me from having to screw or nail on the top.

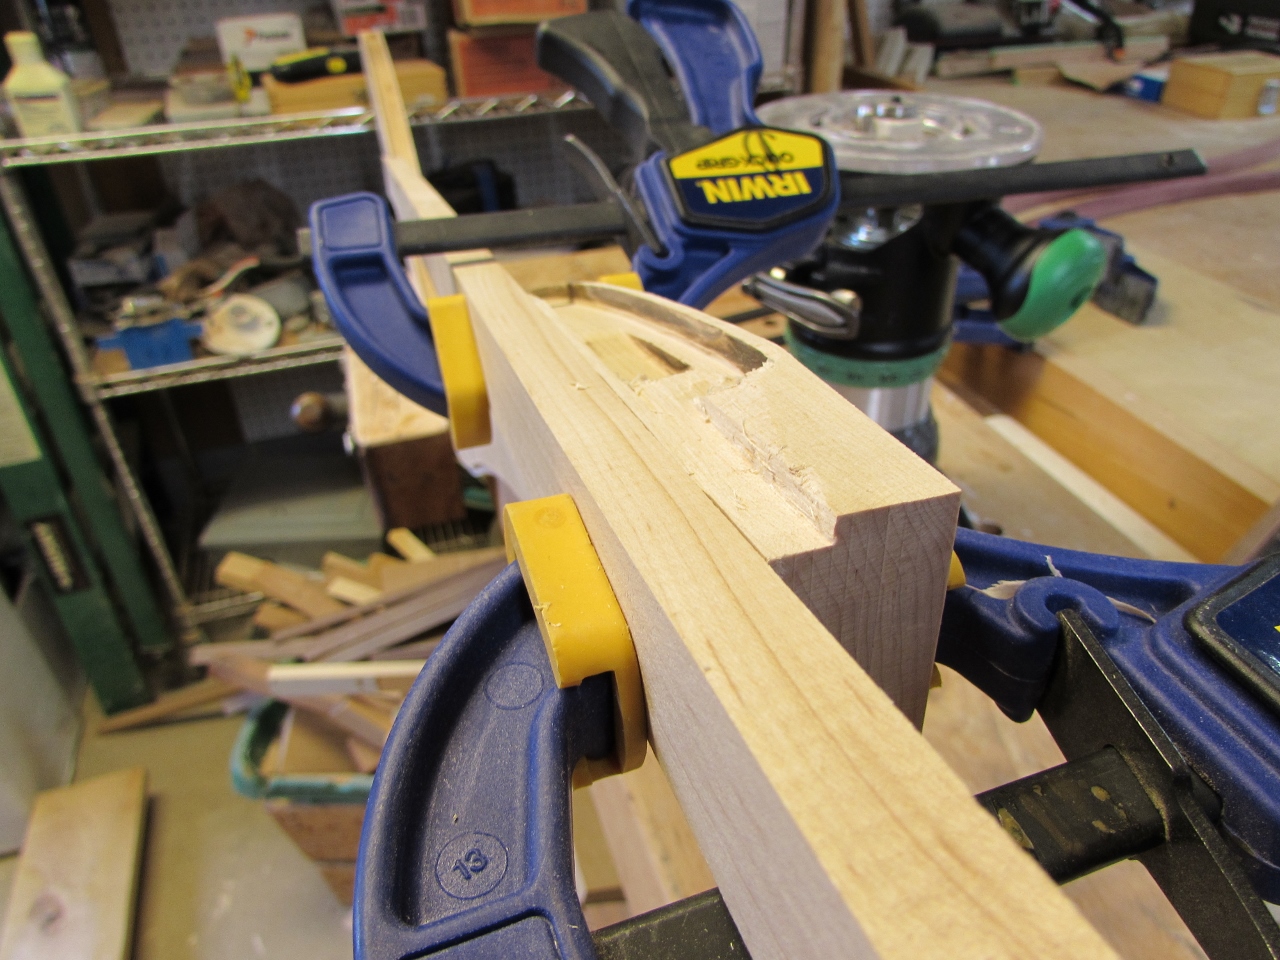
To repair that nasty tear-out, I need a smooth, flat surface. To achieve this, I clamped a straight piece of wood, just below the damaged area. This gives me a broad shoulder to ride my chisel along. I took my time and pared away the extra wood, being careful to carve with the grain, to avoid any more tear-out.
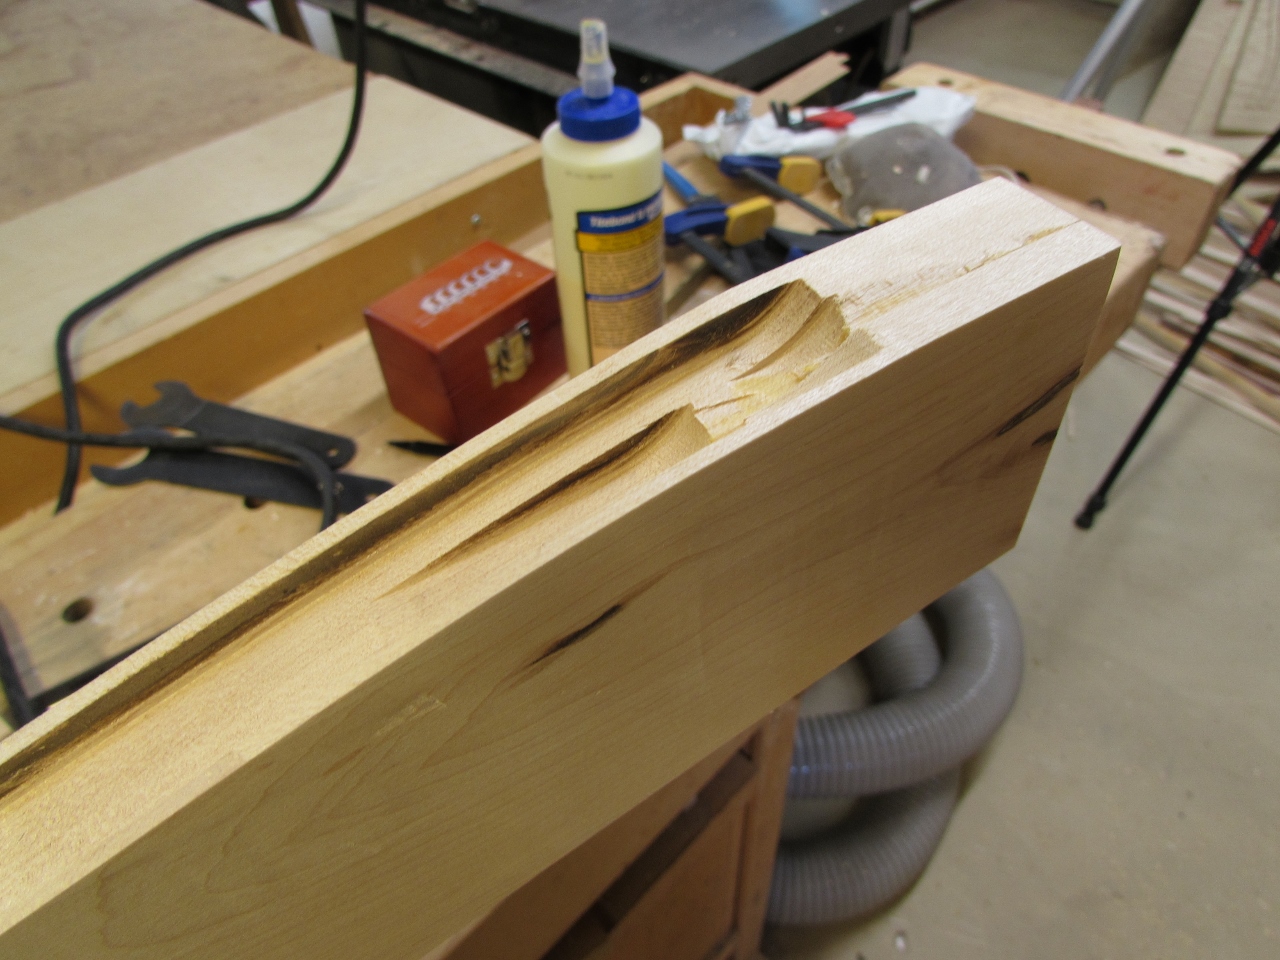
I cut a small piece of wood, just slightly larger than the new opening, then glued it in place.

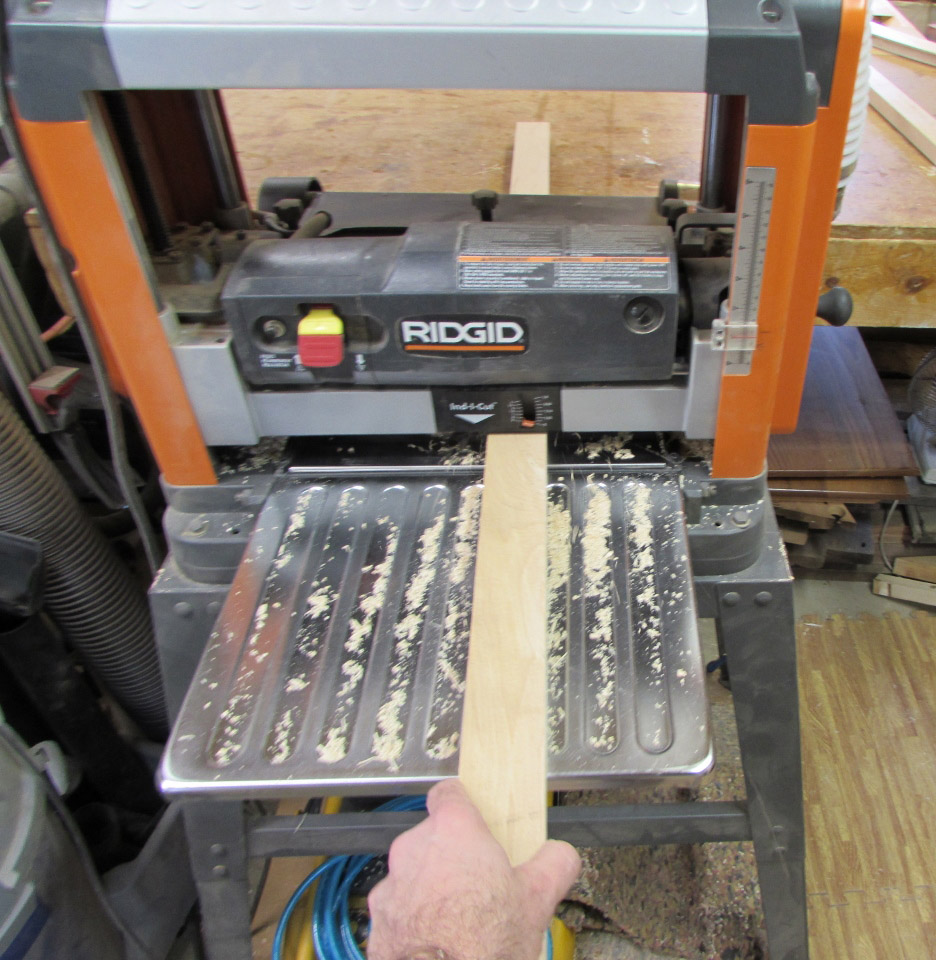
When it was dry enough, I planed the curve back onto it, then carefully ran the rabbet bit along it to cut the excess away.

The mess in the groove won’t bother anything, I just needed the face repaired. Everything else will be hidden.
Like I said, I was running the two remaining top arches on my CNC.

The maple is very hard, so I have the router making shallow passes, stepping down just under 1/8″ at a time, until it cuts through. The last two carves worked perfectly, so I was letting this one run without paying much attention to it. Bad idea, The tracking roller must be messed up, because it was moving the carve 1/16″ forward every successive pass. I canceled the carve before it got too bad. I can still use this, it did not significantly damage the arch yet, just the ends, and they stick out an inch, so they can be trimmed. I went back to the computer and redid the program. Remember, I am almost out of wood, and I still need two arches from this piece. I deleted the first arch from the program and reloaded the board and ran the program again. This error happens some times and usually reloading it will fix the problem.

Three hours later, the second arch was completed with no problems. To finish the first arch, I cut away all of the excess on my bandsaw. I kept the blade inside the cut line.
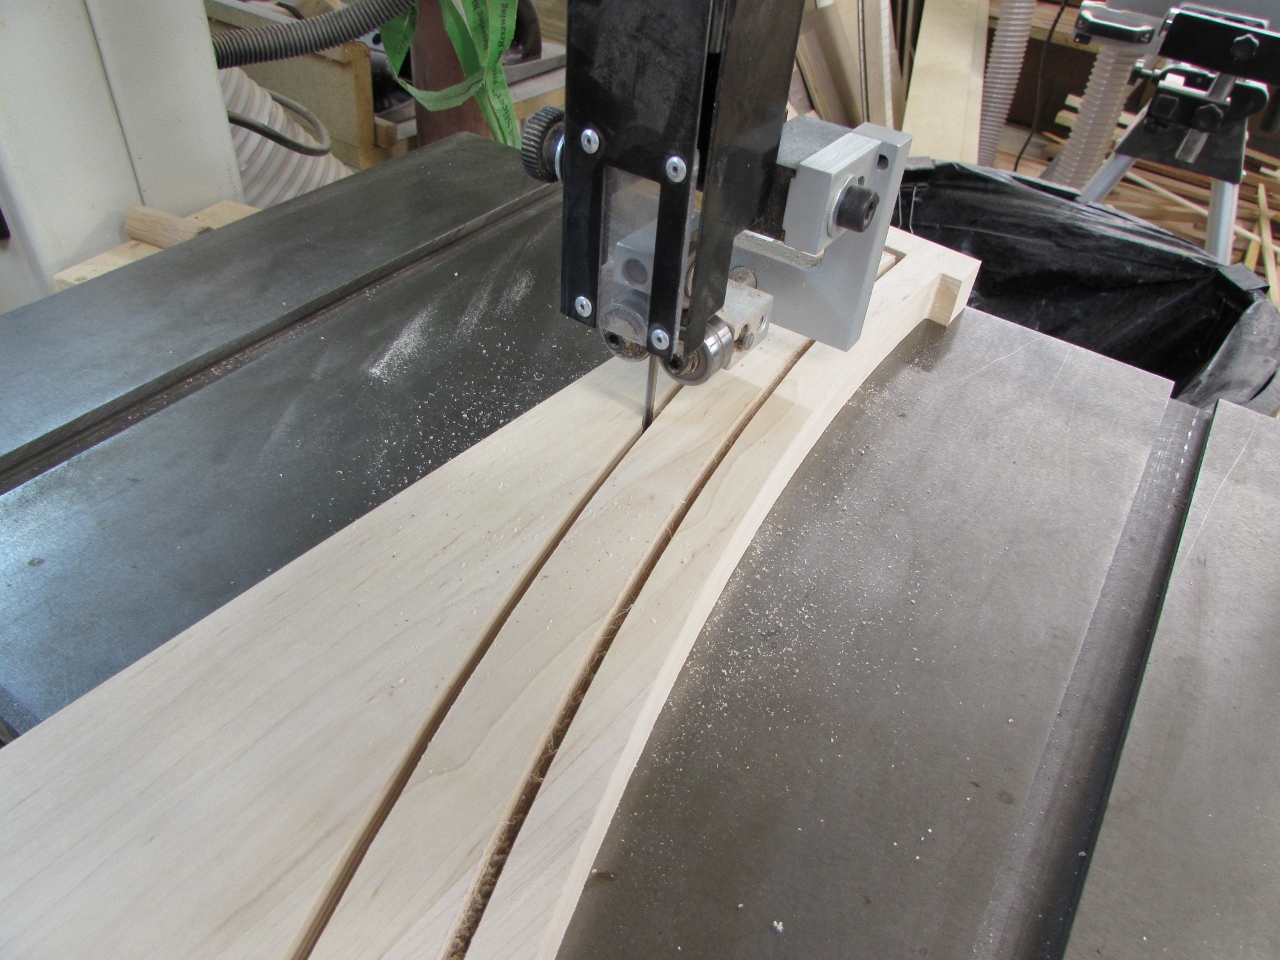
The bit cut about 1/2 way down, so I have to remove the waste on the other half.
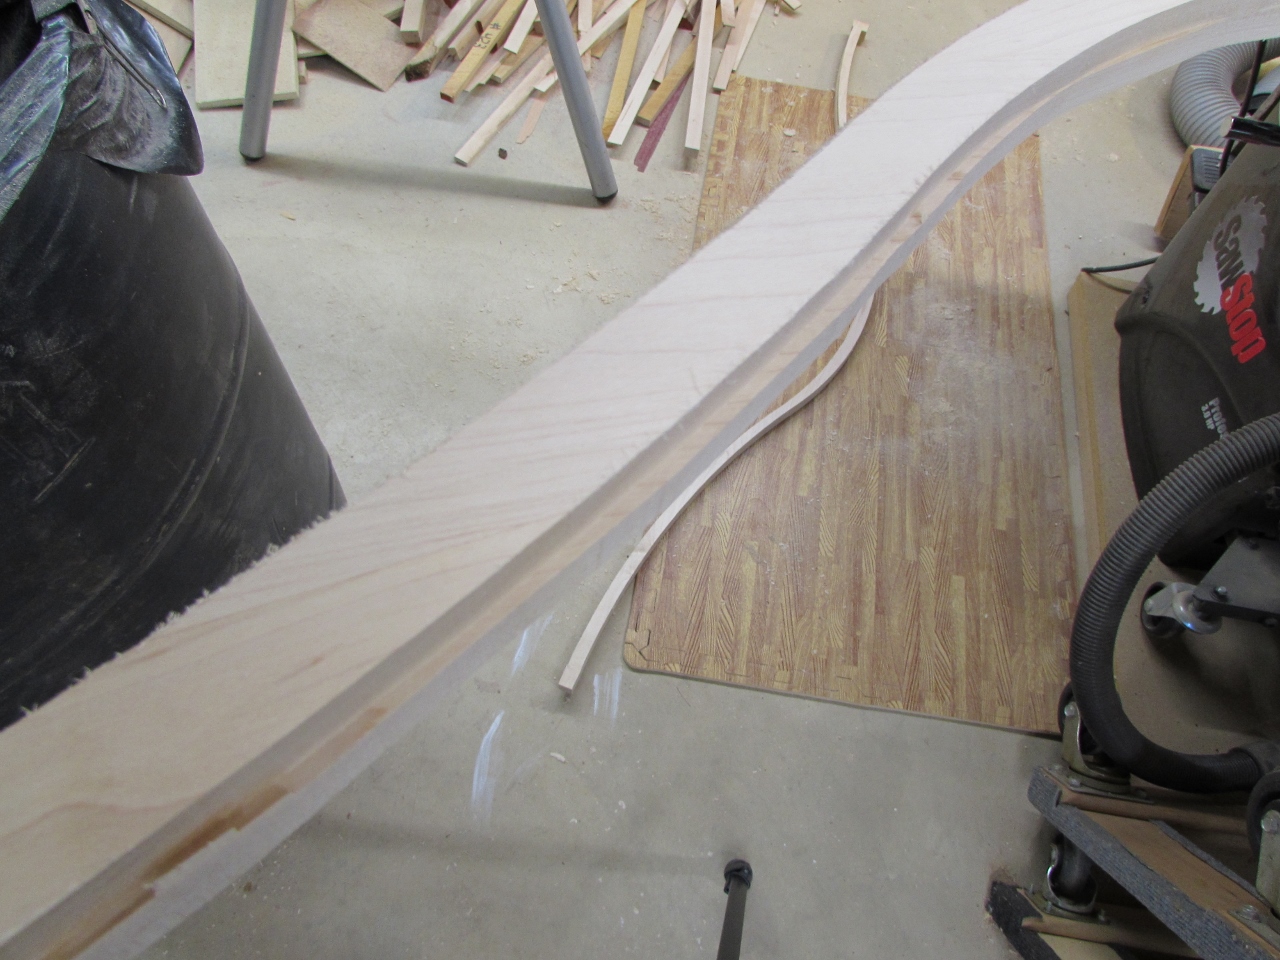
My solution was to flip the arch over, with the good side down, and trim the waste with a flush trim bit, on my router. I butted the good arch up to the back side to give me a larger surface to rest my router on. My initial test cut worked well, so I went ahead and cut the rest of it.

I didn’t learn from the last bit of tear-out. As I ran my router around the top of the arch, It ripped off half of the top of the arch. Crap! At least I found this piece. I picked it up and glued it back in place.

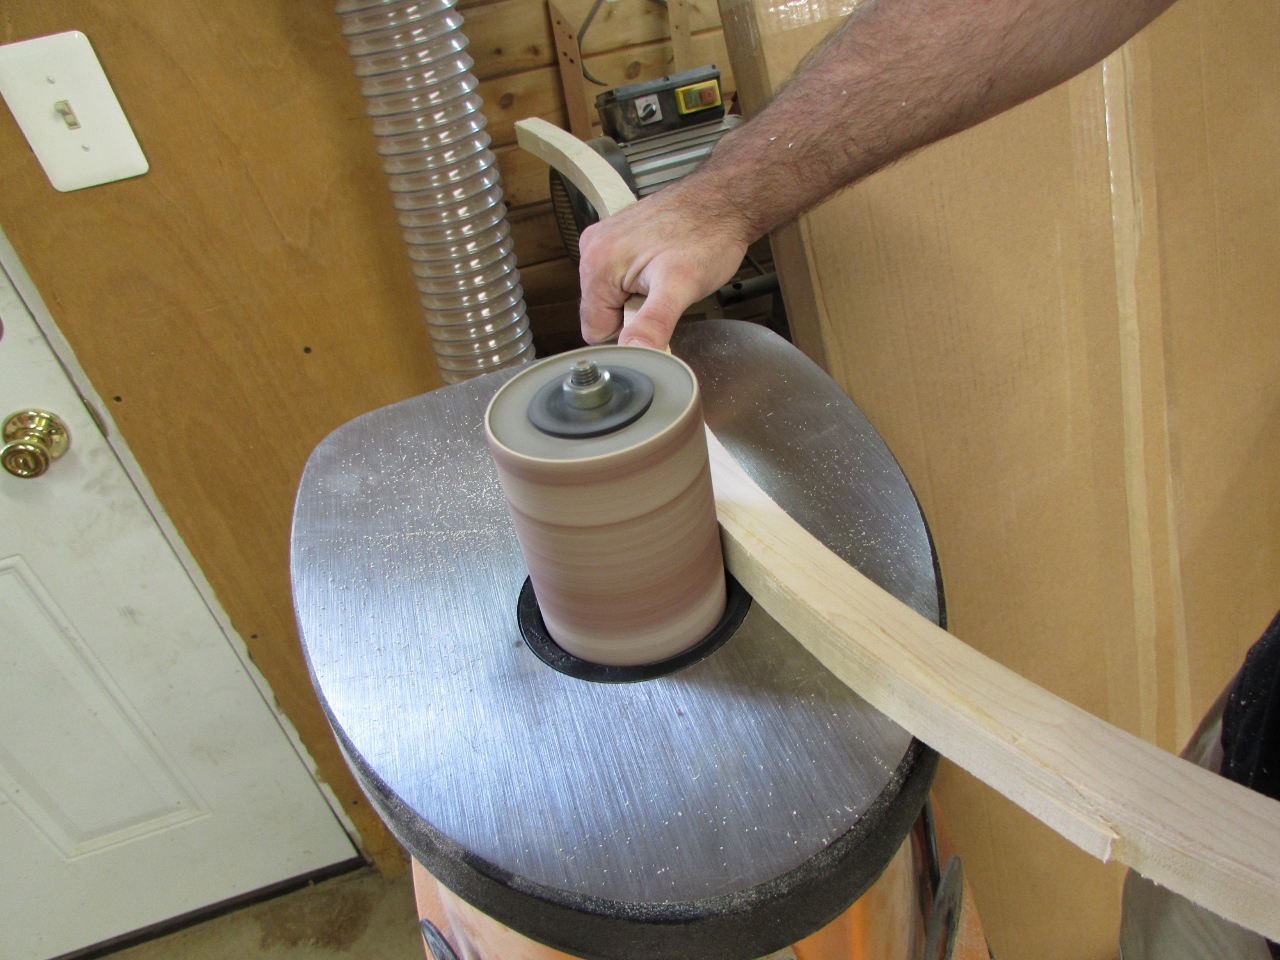
When that was dry, I finished making the edges flush, slowly on the spindle sander.
With all the pieces finally cut , I did a dry-fit to make sure it all came together correctly. Look at that, it actually works.
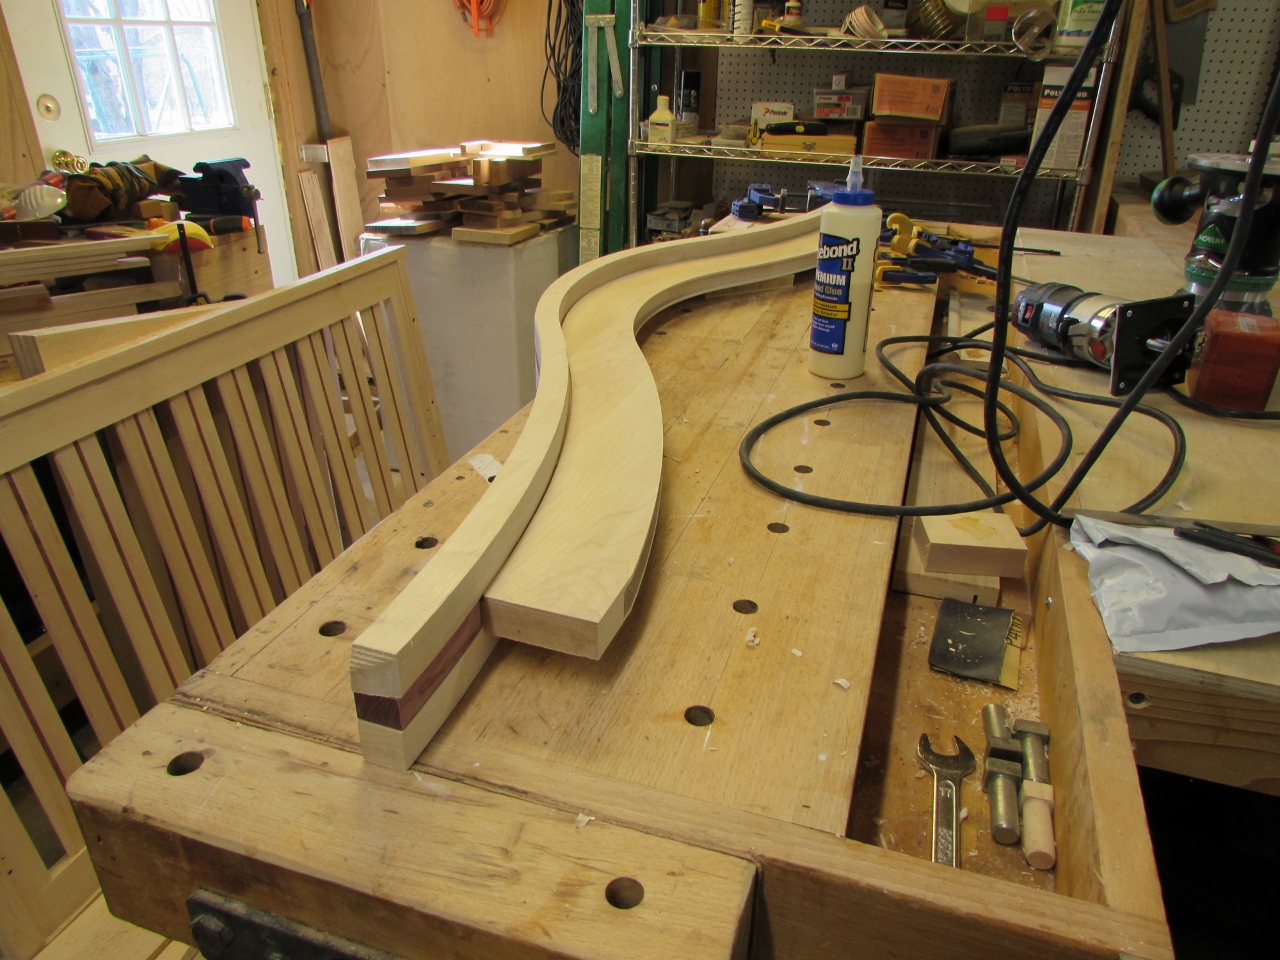
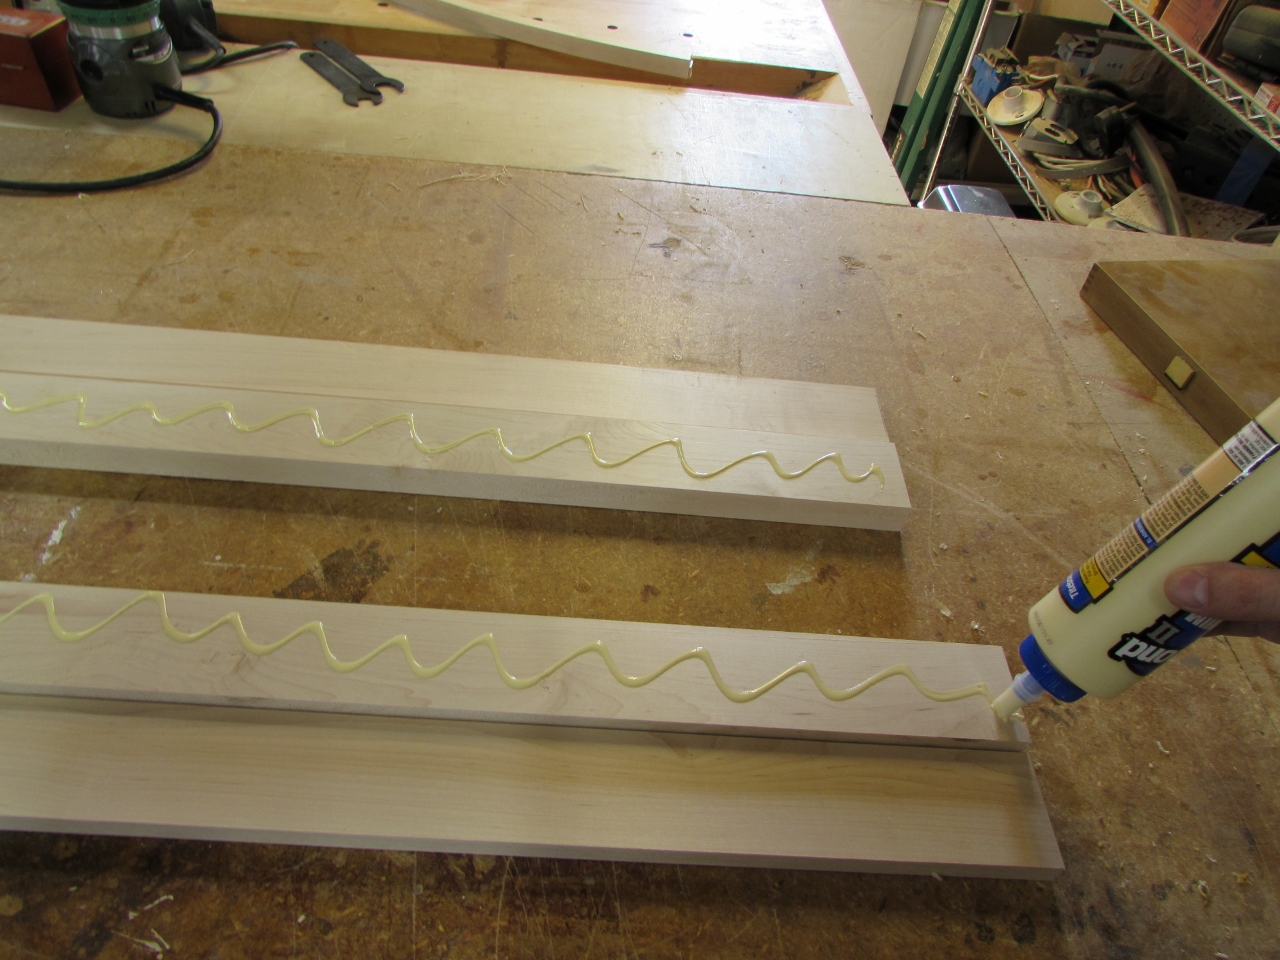
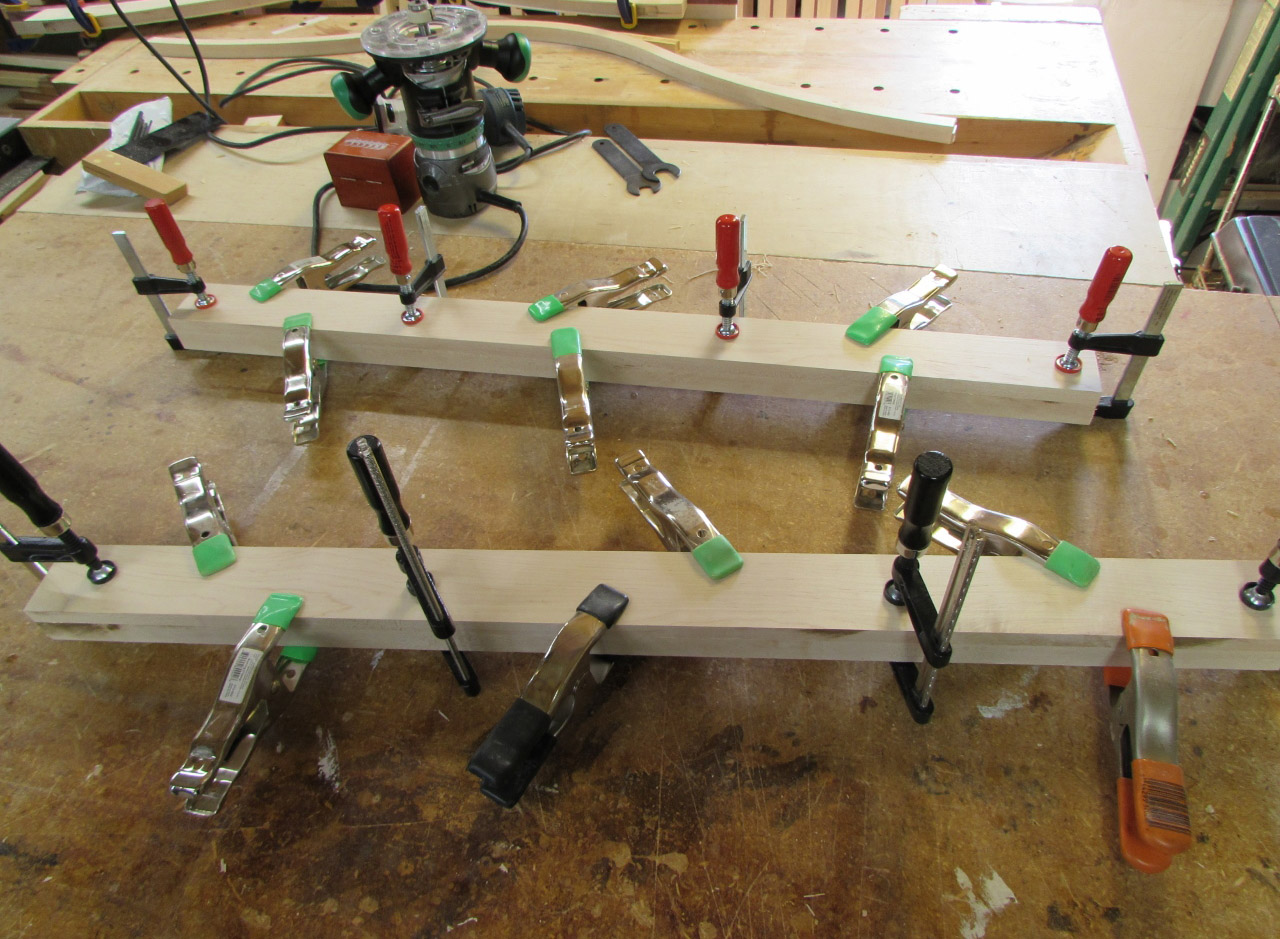
I am going to be patient with this glue-up and do it one layer at a time. I applied glue to the purpleheart and clamped it to the first maple arch. I used the lower arch to verify that everything got clamped together in the correct spot.
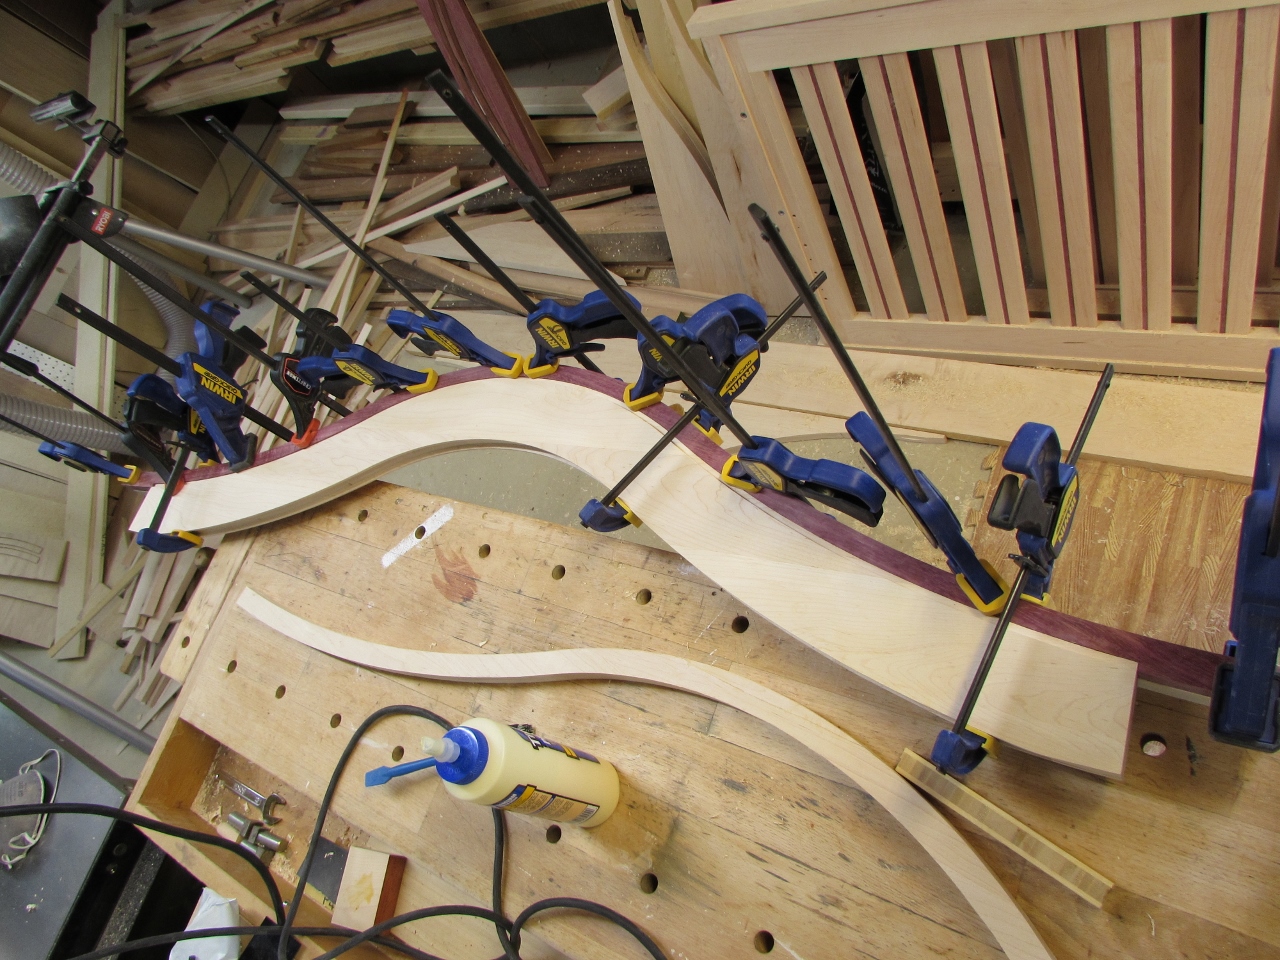
After that set up, I removed the lower arch, and clamped the other maple piece in place.

Here is a shot of the dado that was created. This is the glue surface for attaching to the top of the lower arch. The groove I cut into the lower arch will be the glue surface that mounts on top of the plywood that I will hopefully cut out tomorrow.

When the glue dried sufficiently, I carefully set the arch in the miter saw and trimmed about 3/16″ off of each end to remove the stepped cut from the one arch.

I used a chisel to scrape away any glue squeeze-out from the dado. Then I sanded the top side on the spindle sander to remove any glue as well as make the surface completely flush.


I did a dry-fit of the completed assembly. Yeah, it works. While it was sitting there, I got out my orbital sander and did some finish sanding on all of the arch pieces.

It was a lot of work, and about 12 hours of carving on the CNC, but the top looks just like I wanted.

I am pretty much done for the day, but I wanted to finish cutting the remaining pieces for the back.
Two of the side pieces needed to be laminated to make them thicker, like the corner posts, on the front, so I did a bit of re-sawing to take off about 1/2″ from two boards.
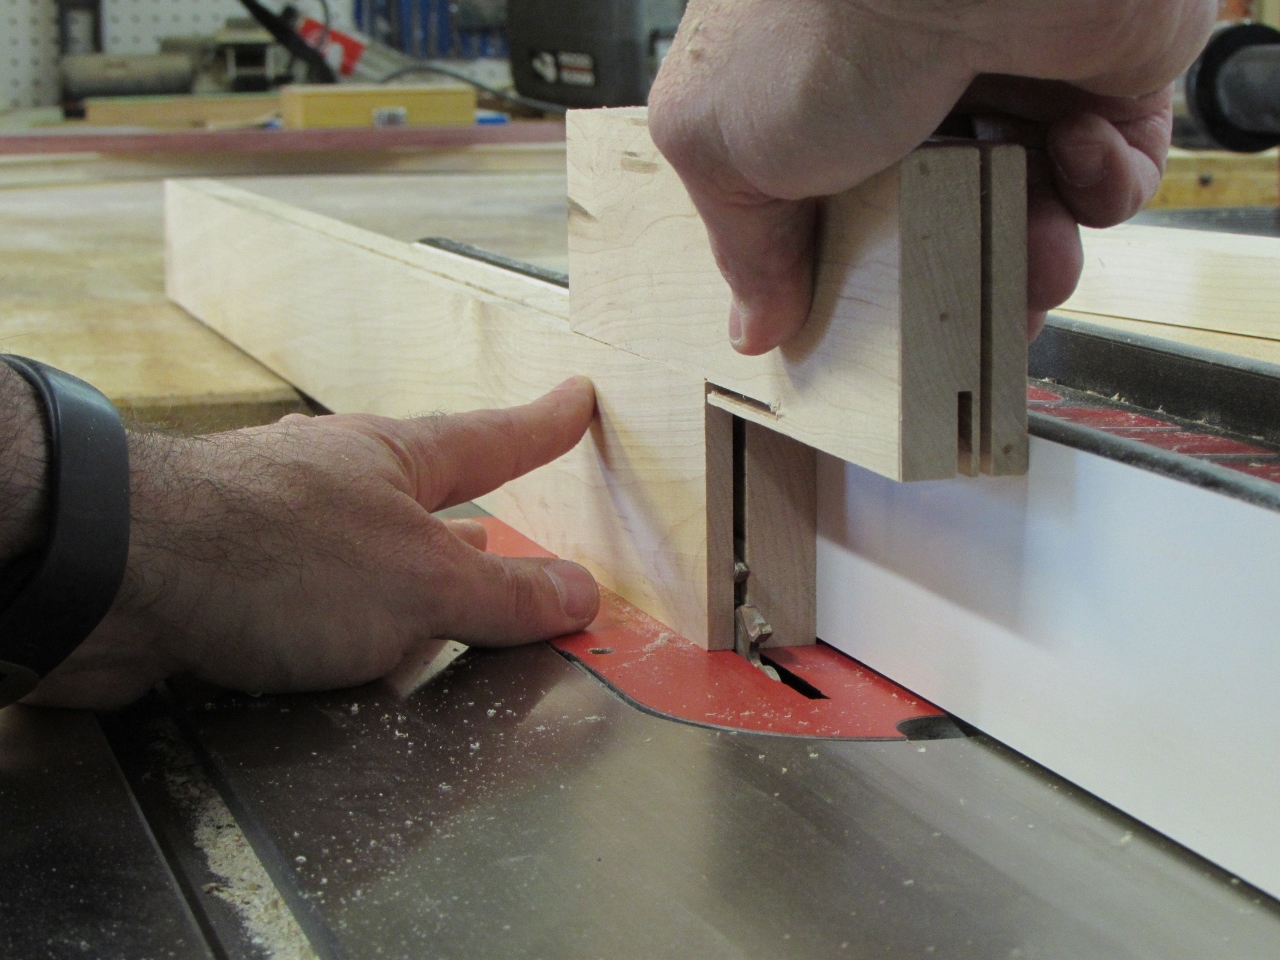
I then glued and clamped them.
The last thing I did was apply the round-over, then shut down for the day.

Hopefully tomorrow, I will get the back mostly finished. I still have a few details to figure out…
