
Maple & Purpleheart crib – day 6
I think I have worked out a functional plan for the back. BACK.PDF. The curvy parts were the hard bit to work out. The main back will be a piece of 3/4″ maple plywood, but it will be trimmed and framed similar to the other sides, except for the curve at the top. I thought about creating templates, then rough cutting the curves on the bandsaw, then using a flush trim bit in my router, to match the pattern. Problem is that the maple has a lot of reverse grain with all the knots, and the purpleheart is prone to tear-out. Both materials would be rather unpredictable. I decided to create a test program for my Carvewright CNC router.

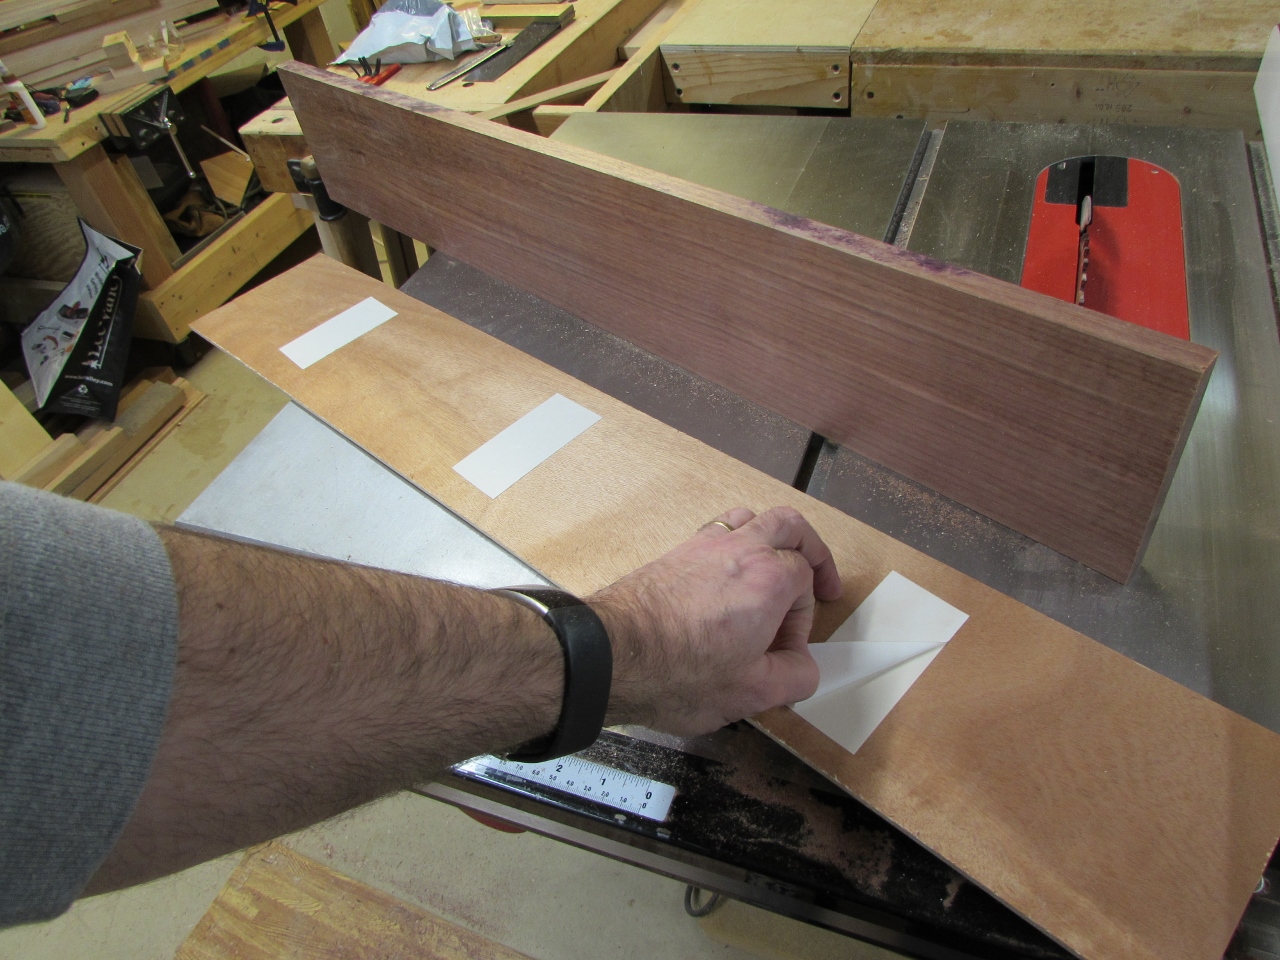
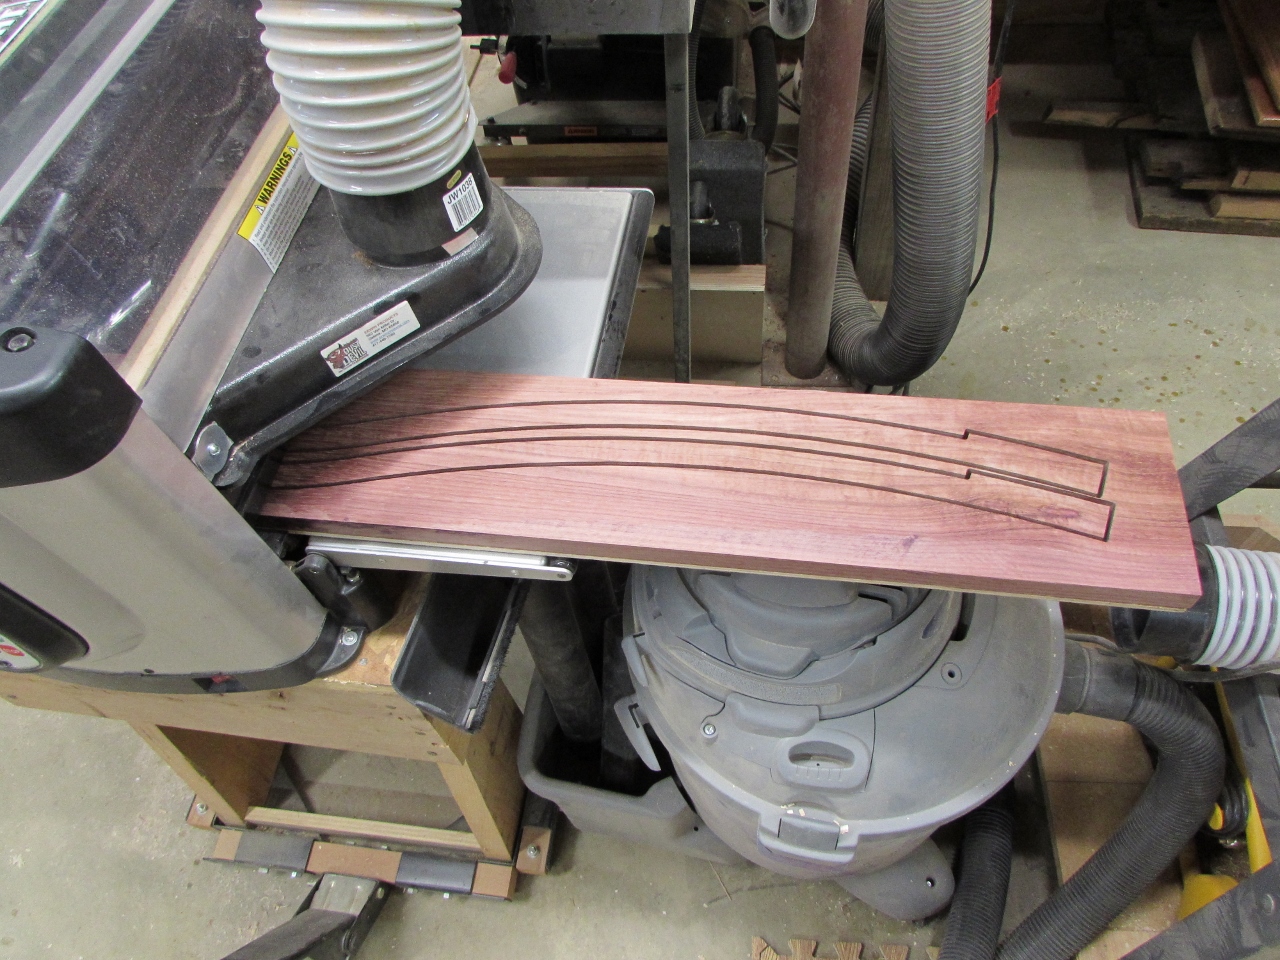
The hardest piece to cut will be the purpleheart ribbon for the center of the cap. It steps the bottom curve in 1/4″ so that the ends slip down around either side of the top frame. I will layer a similar piece of maple across the front and back of the purpleheart. The maple curves will not have the step, enabling them to slip down in front and behind the top frame. This 1/4″ deep recess, created by joining the three pieces, will give me a lot of surface to glue to the top curve of the frame. My piece of purpleheart was not long enough to cut the full curve, so I split it in half to cut it out of a shorter piece. I ran a test carve on a piece of plywood, to see if everything looked good, and to check my dimensions.

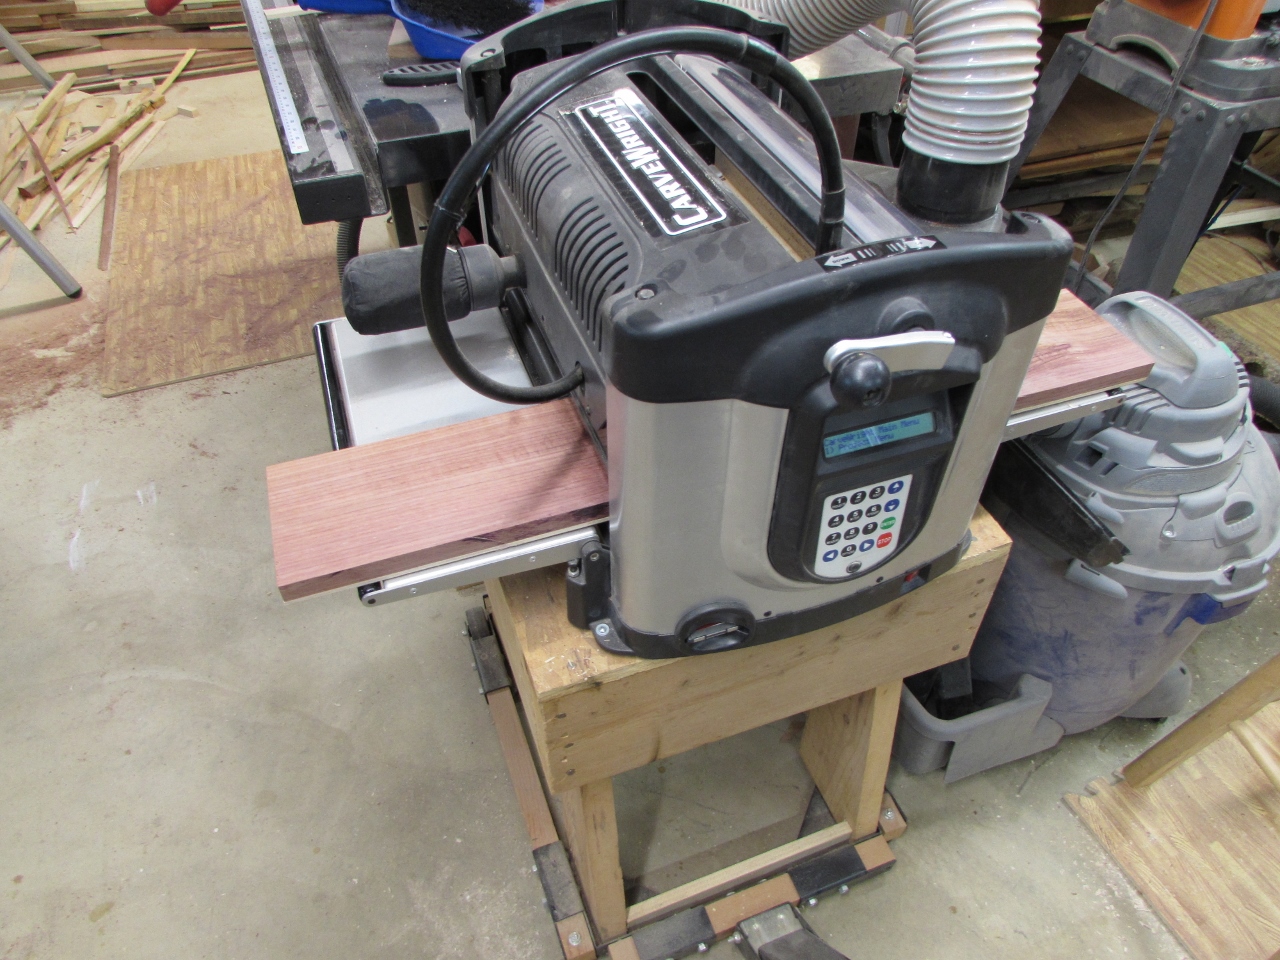
Everything seemed to check out, so I cut down the purpleheart and planed it to 3/4″ thick.

When I want to cut through the board, but don’t want the pieces to move around, I usually double-sided tape my board to a piece of 1/4″ plywood. That way the freed pieces will stay in place, when I cut all the way through.
I loaded up the blank and fired up the CNC. This program is going to take 3 hours to run, so I put on my headphones and started on the next thing.

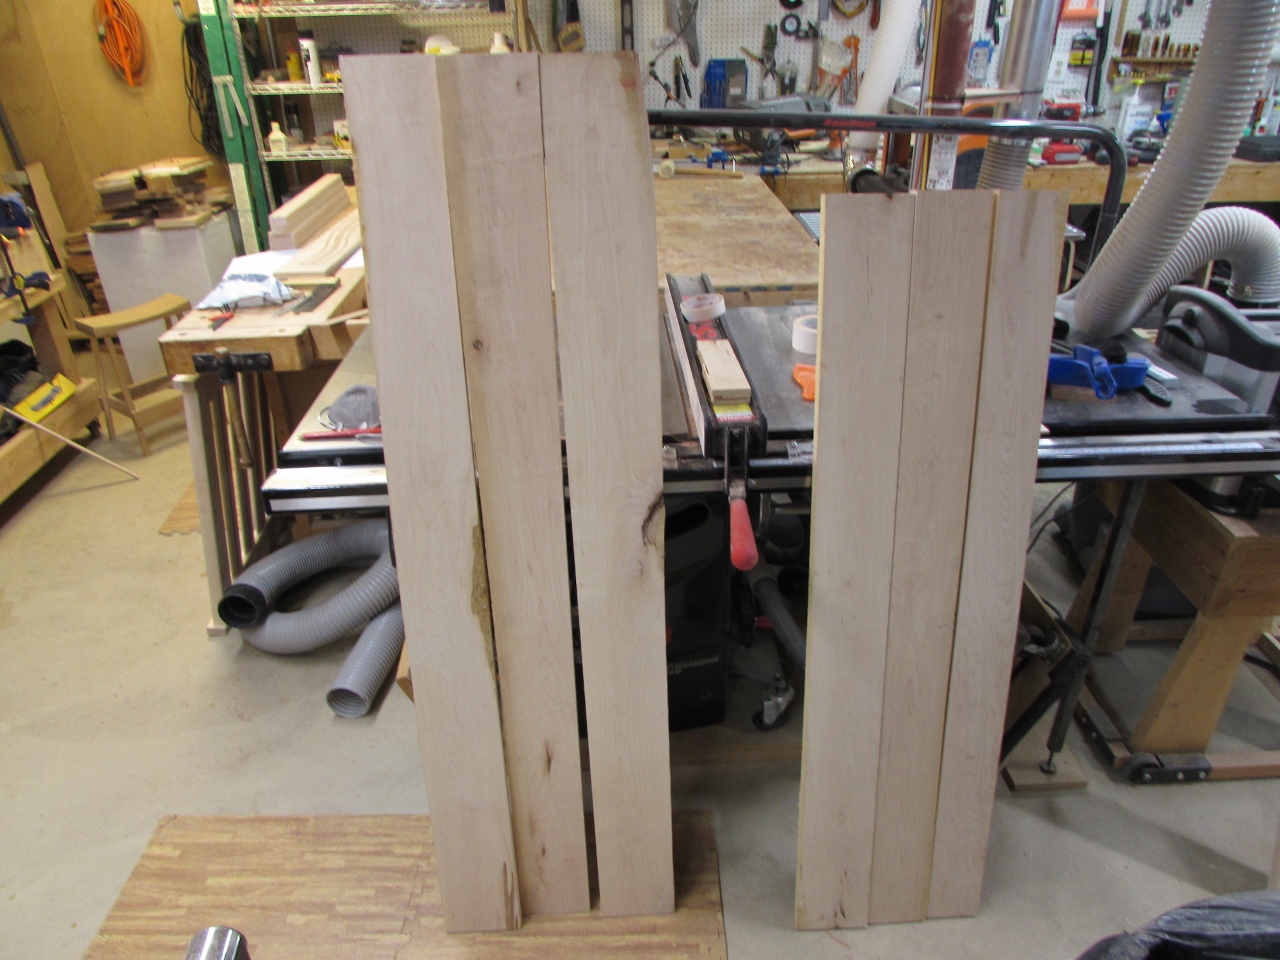
To cut out the maple curves, I will need a couple of panels, roughly 5′ long and 1′ wide. I carefully picked through my dwindling pile of maple, and pulled out some knot-free pieces and cut them down to size.
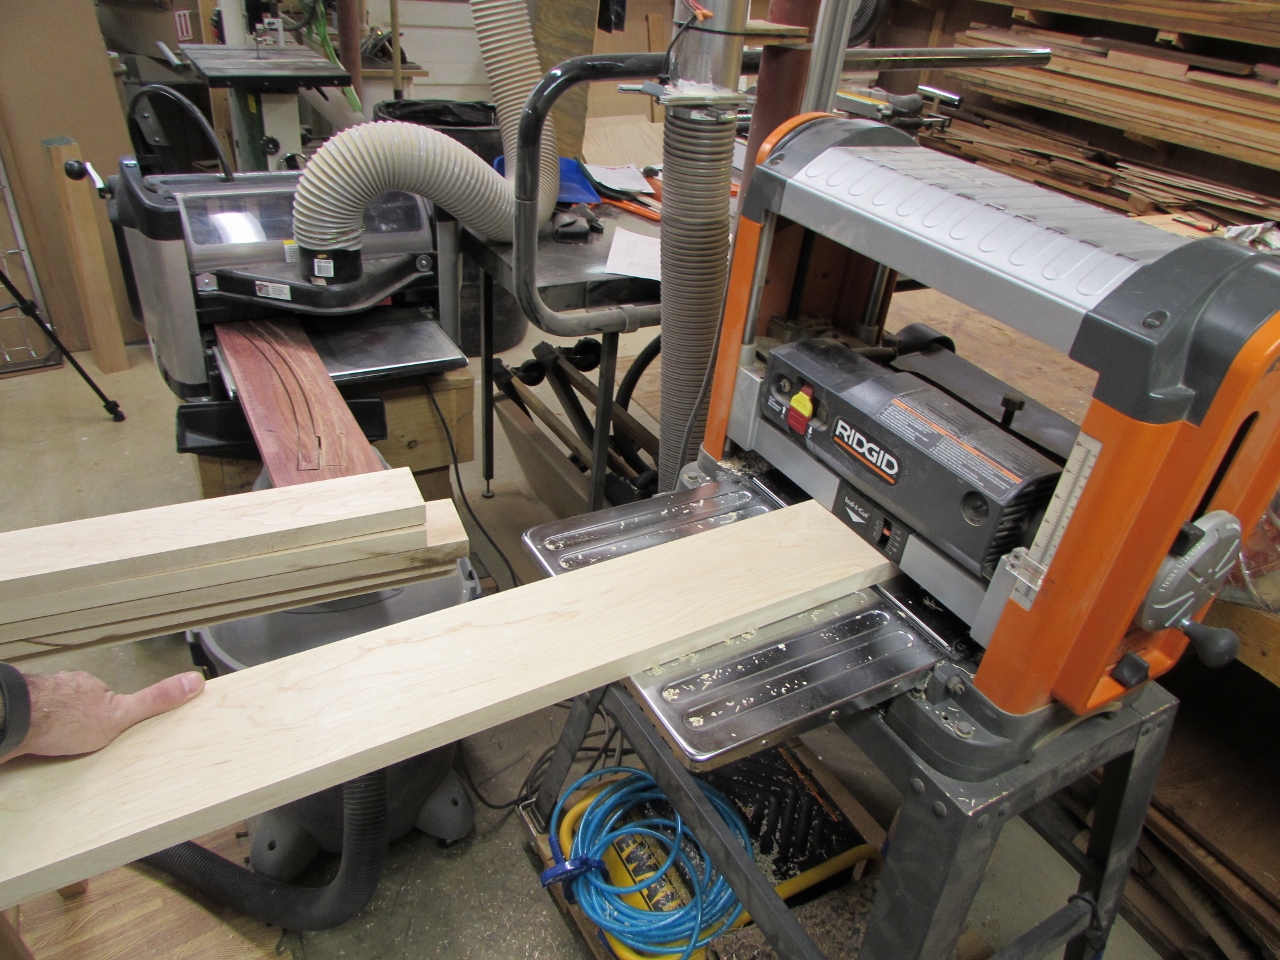
I ran them through the planer to clean them up, just a pass on each side. This also helped me to identify the grain direction so they would all match in the panel.
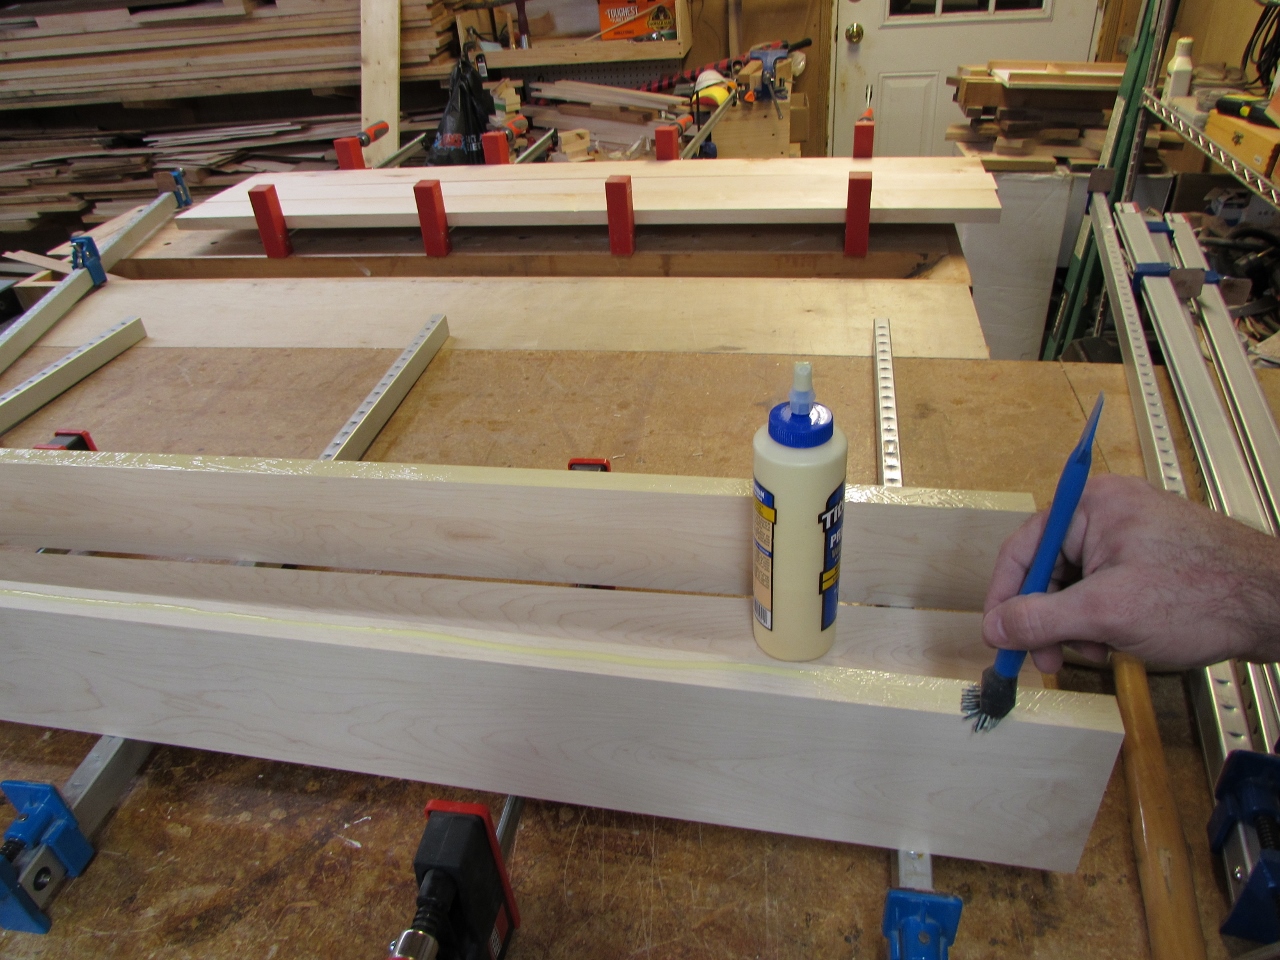
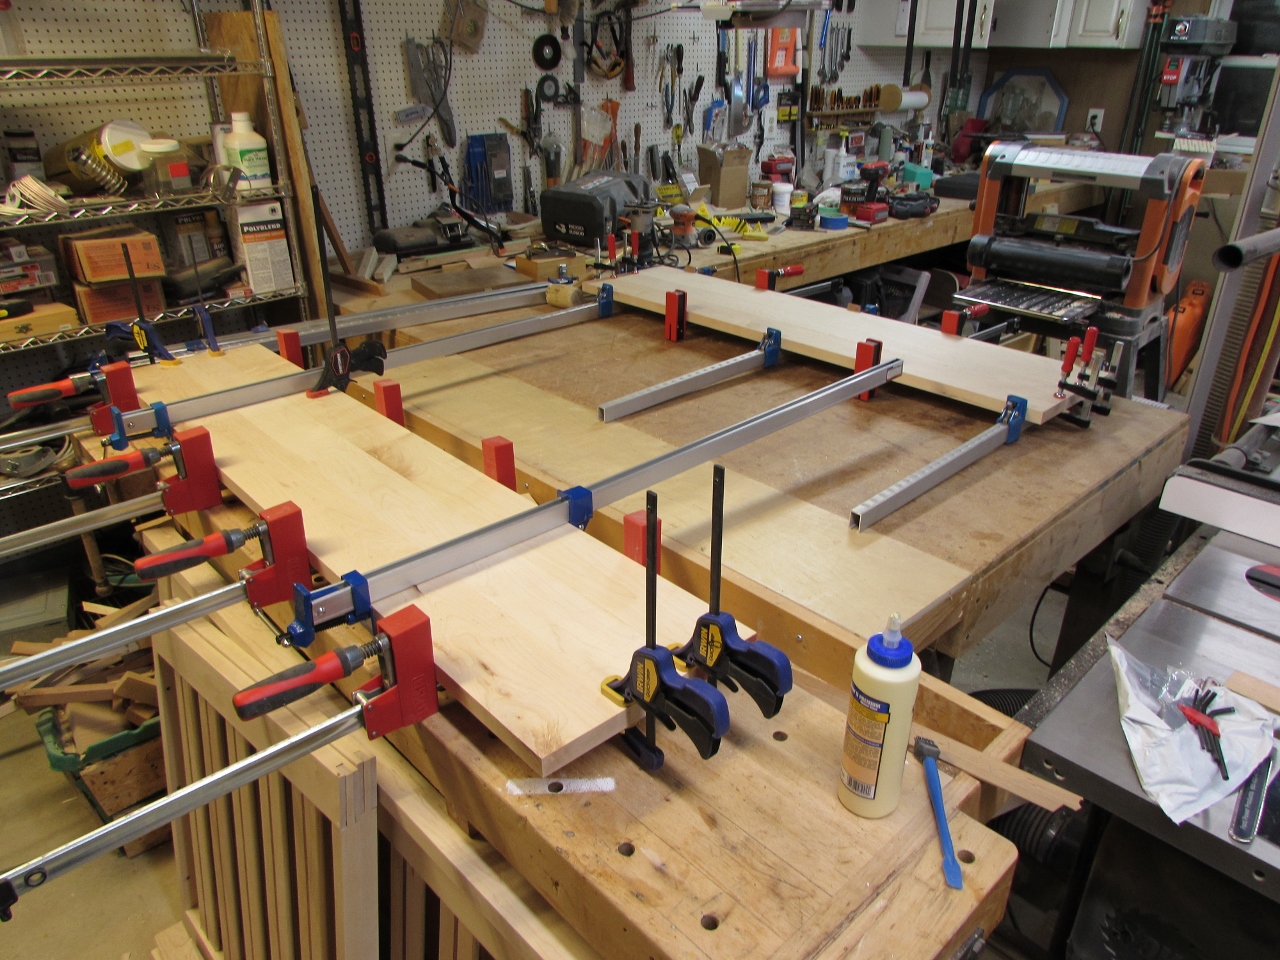
Then I pulled out the big clamps and started spreading the glue.
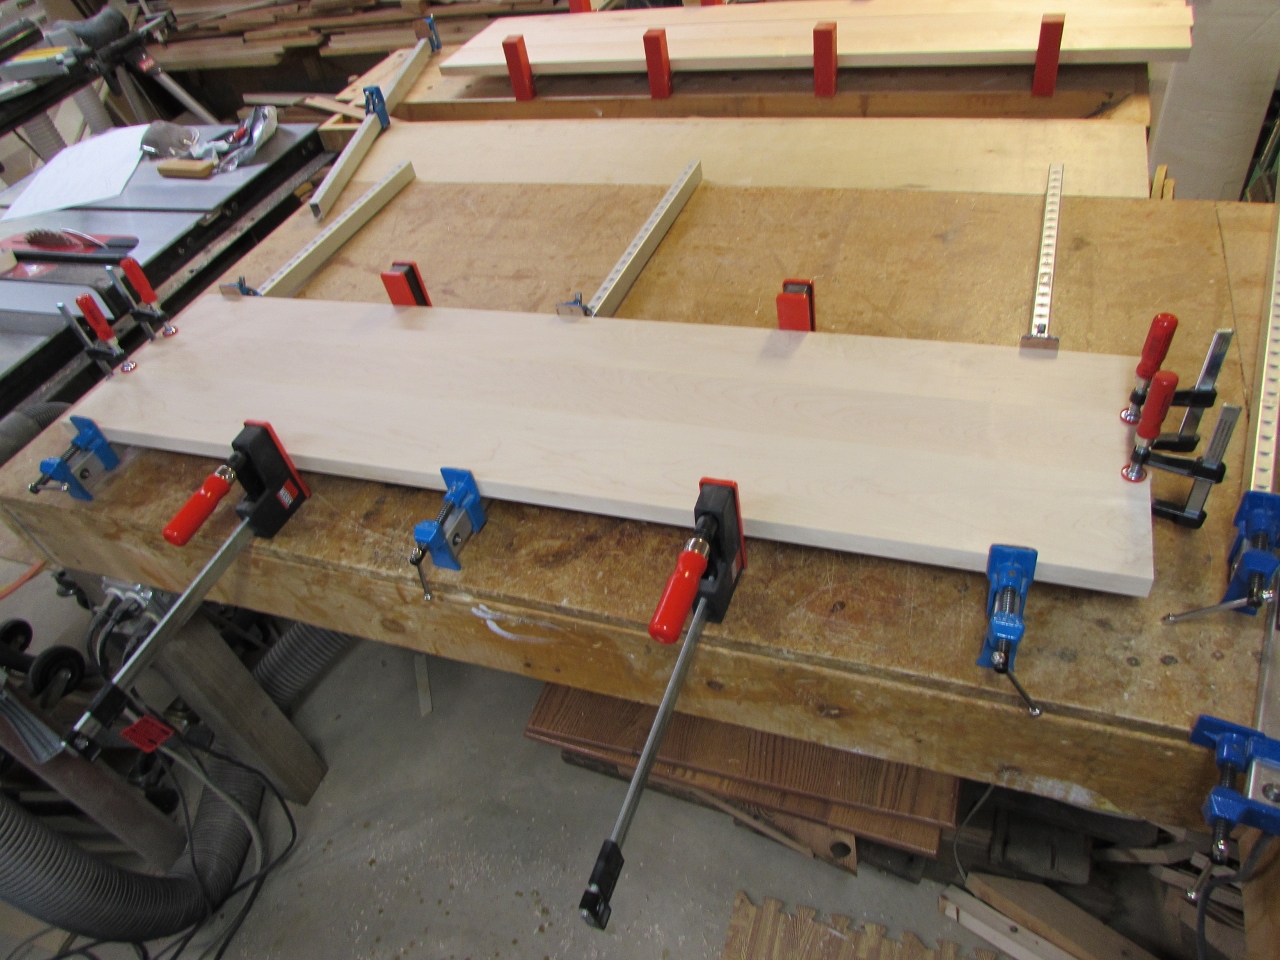
After I finished glueing up the panels, I checked on the CNC. It still had a half an hour or so to go…

When it was finished, I pulled off the back panel, and removed the tape.

Since I am out of bench top space, I laid out the curve on my remaining maple. I think it turned out perfect. Hopefully I will get to run the rest of the curvy parts on the CNC over the next night or two, so I can make some headway this weekend.
