
12′ Cherry Conference room table – day 2
Heat has been off-line, in the shop for the last week, so I haven’t been doing much down there. I had some time to trouble shoot yesterday, so the heat is now back up and running. I had a few hours to work today, so I got back on the conference table. I am going to focus on the legs today.

Cutting the side pieces to length
I cut the eight horizontal pieces, that will become the top and bottom side pieces, to the exact length of 28″. Next I squared them up and laid out the mortise locations. I will be laminating two pieces together to create 6/4 sides so I figured it would be easier to cut the mortises in an open-face fashion.
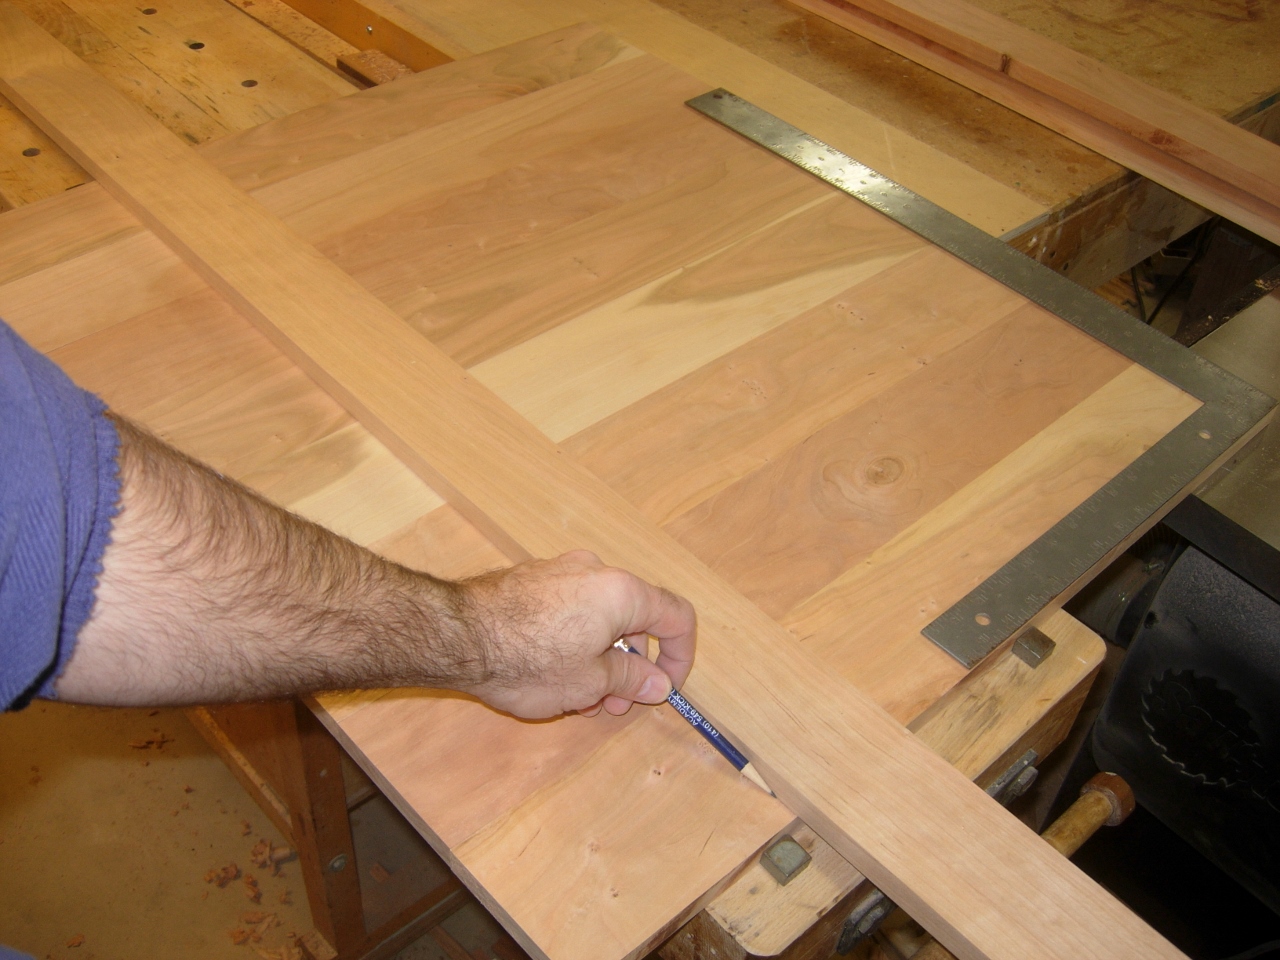
Locating the edges of the mortises
To cut these mortises, I chose a 1/2″ diameter straight bit.
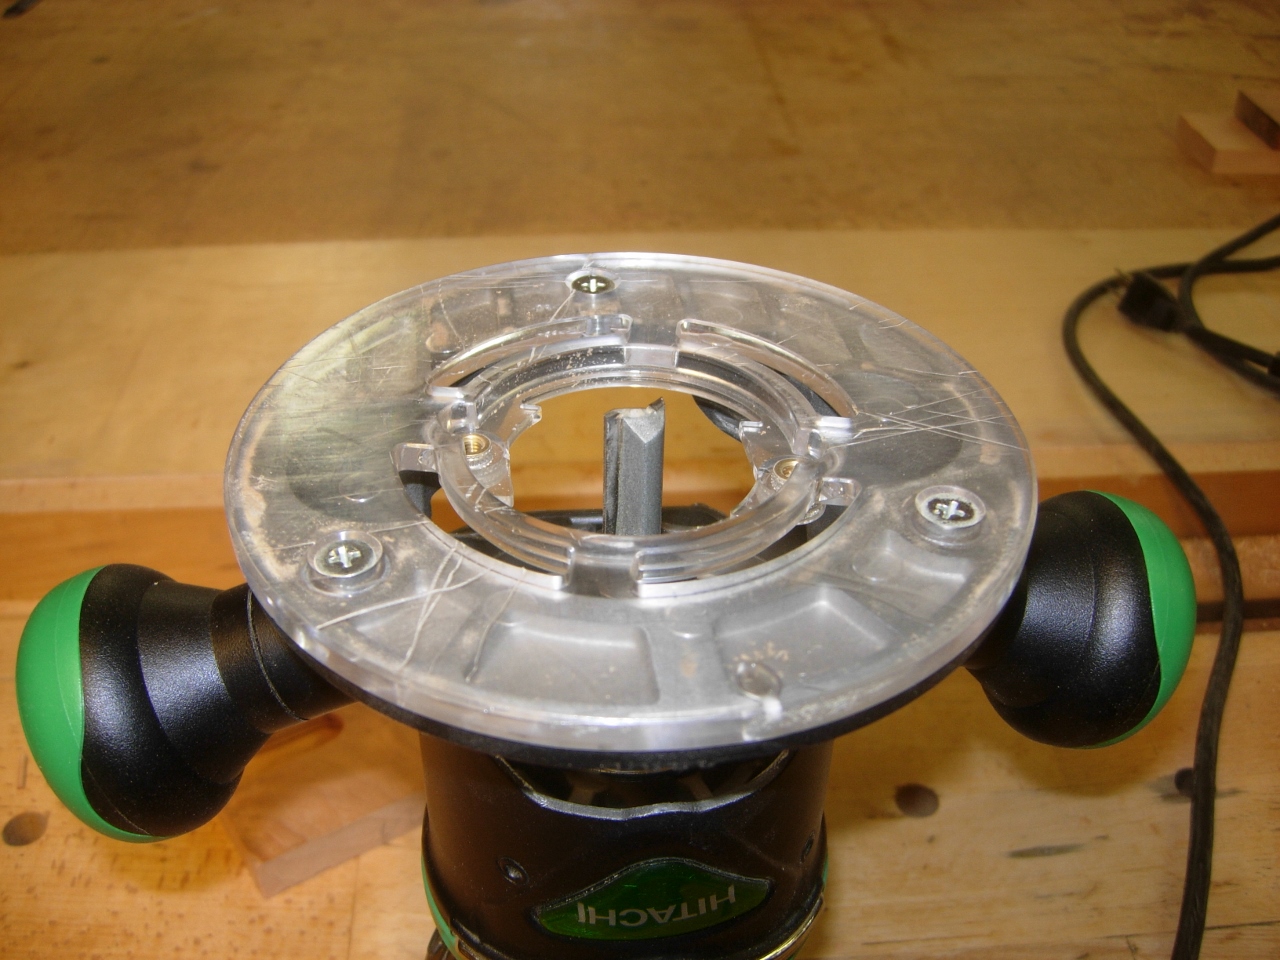
1/2″ straight bit
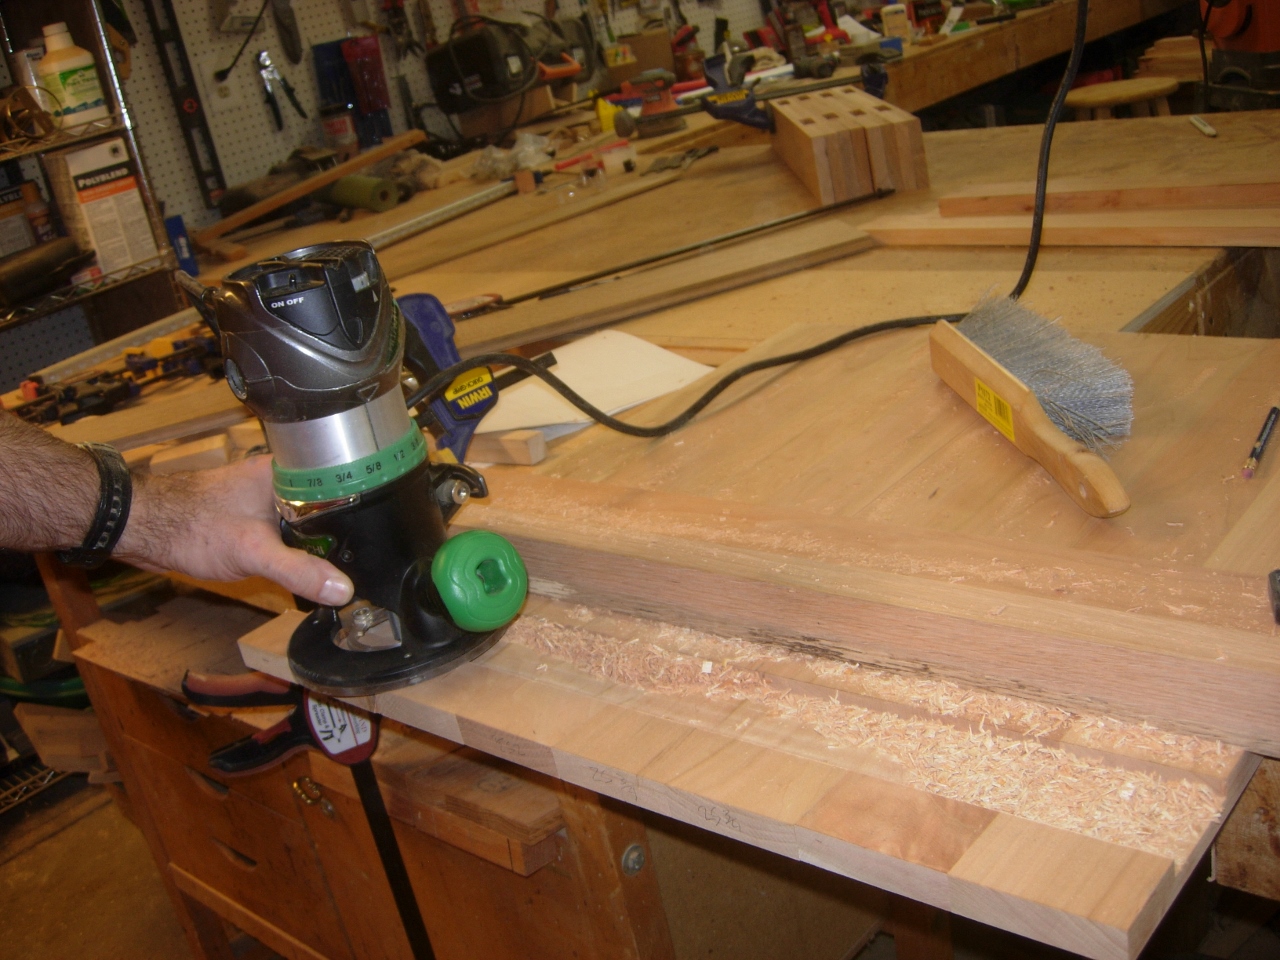
I created a frame around my mortises, to restrict the router to the mortise location. I lowered the bit down about 3/16″ and made the first cut, holding the router tight to the frame.
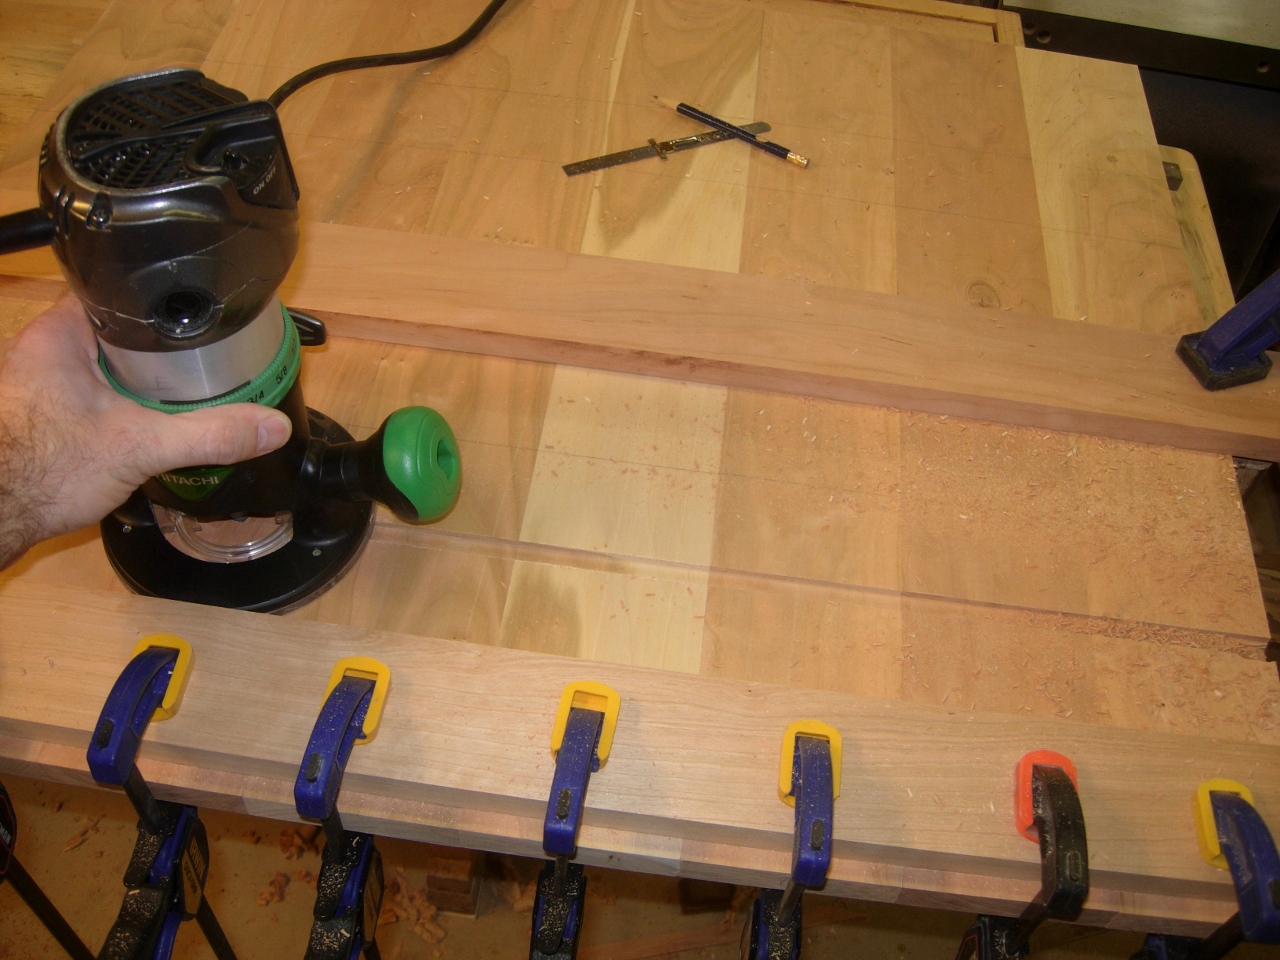
Boards clamped at router’s maximum locations

Adding spacers
I added spacers to give my router an edge to ride against, until I reached the opposite side.

Finishing first run

Dropped the bit to 3/8″ deep for second pass
Then I lowered my bit and made the second pass at 3/8″ deep.
Second pass complete
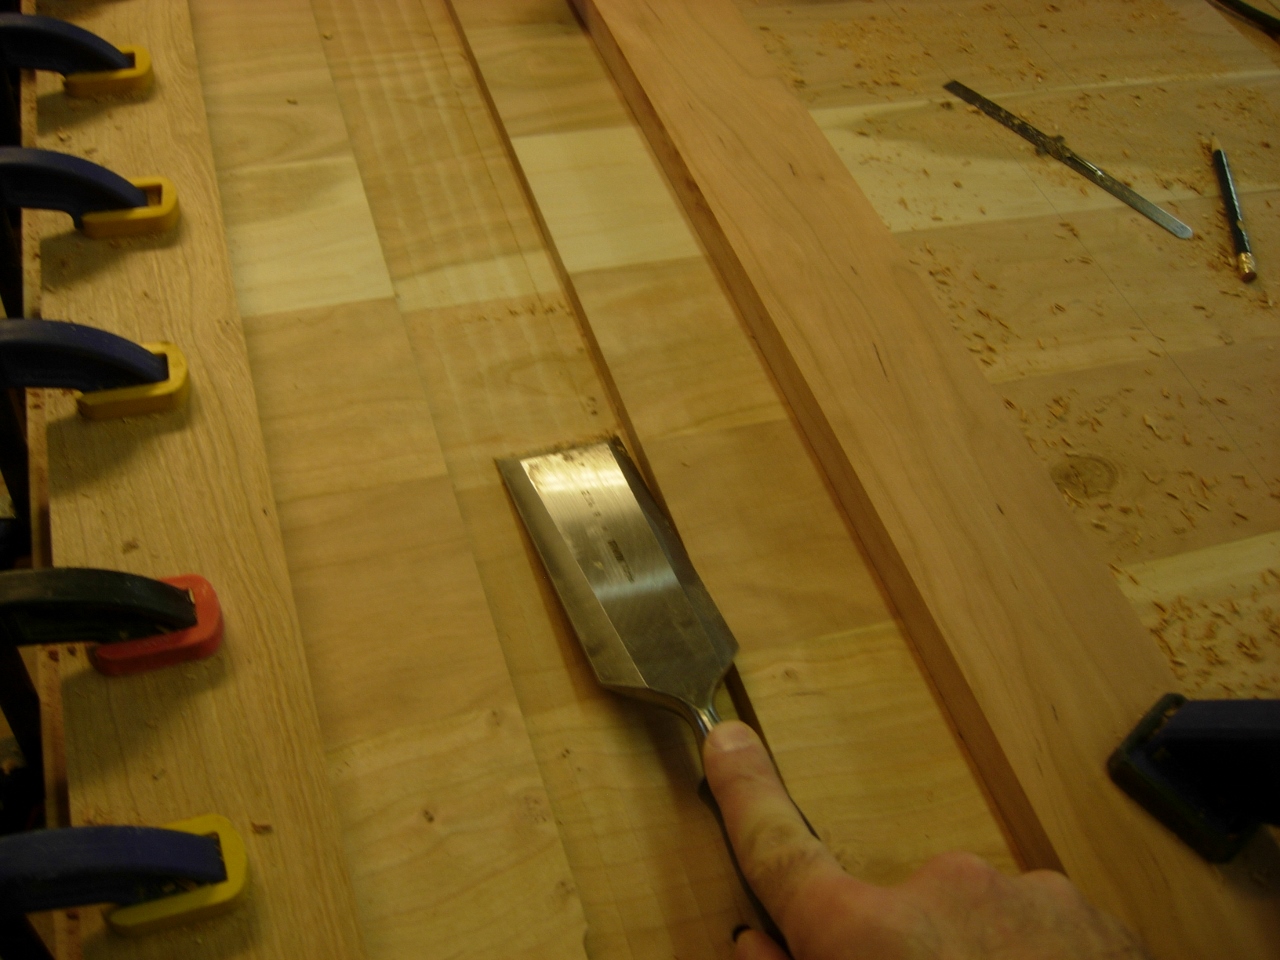
Cleaning up the mortise slot
I cleaned up the groove with my 2″ wide chisel.

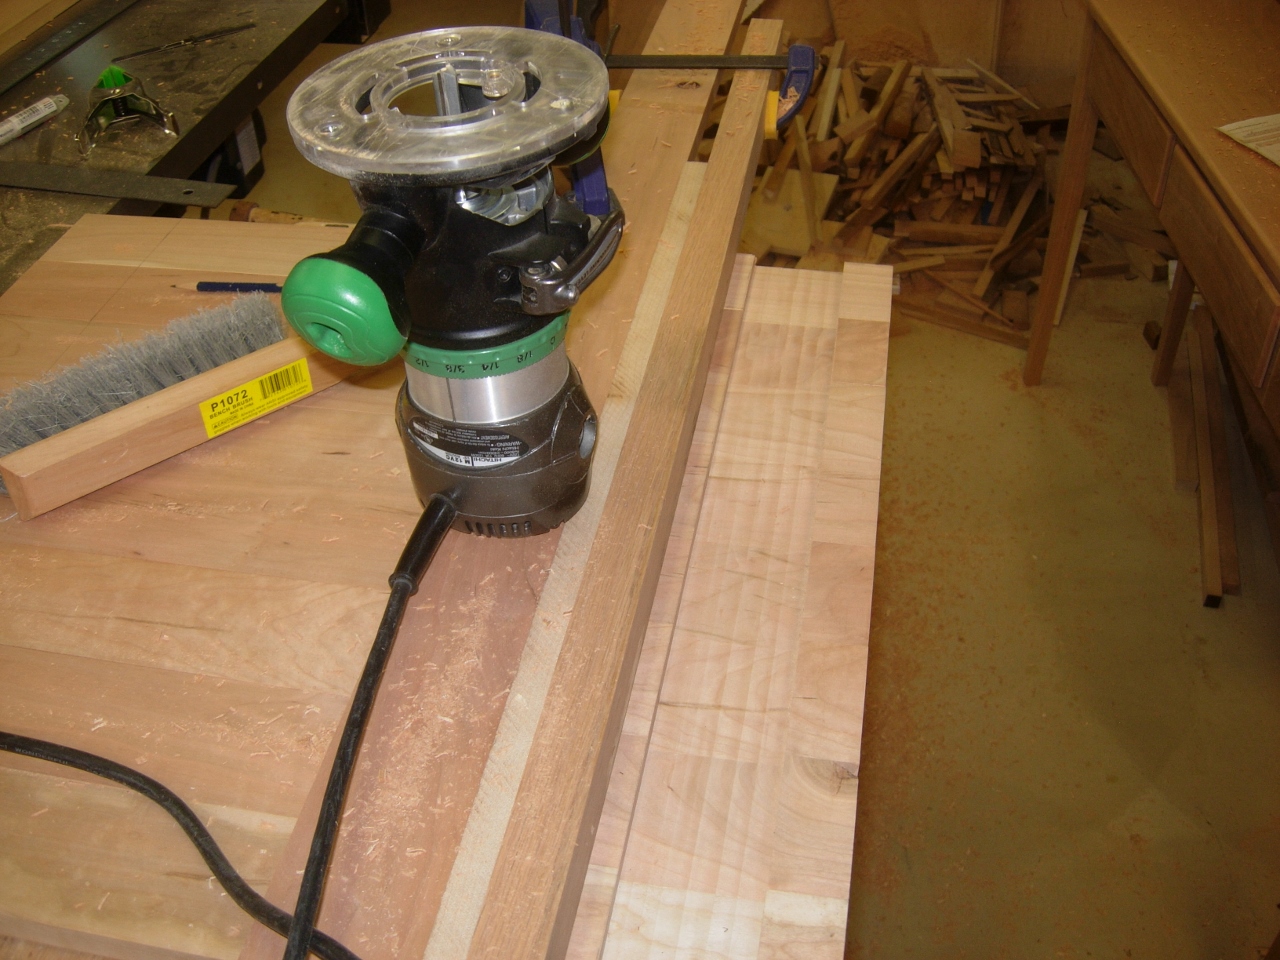
Setting up the frame for the other side
After the first mortise was complete, I flipped the boards and repeated the process on the other side.

Second side cut
Laying the boards together, you can see how they create two mortises in each board.
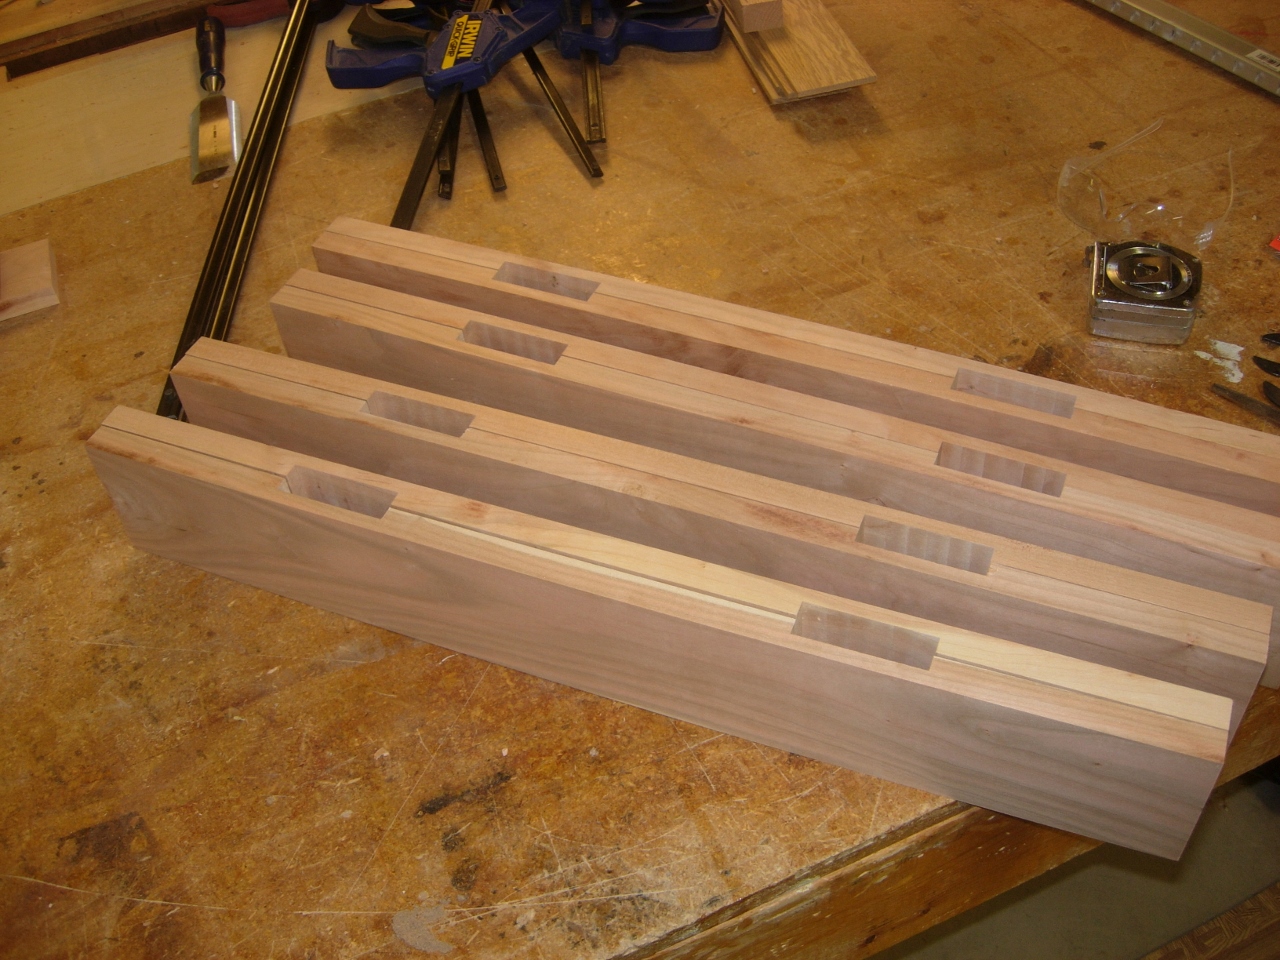
Leg mortises complete
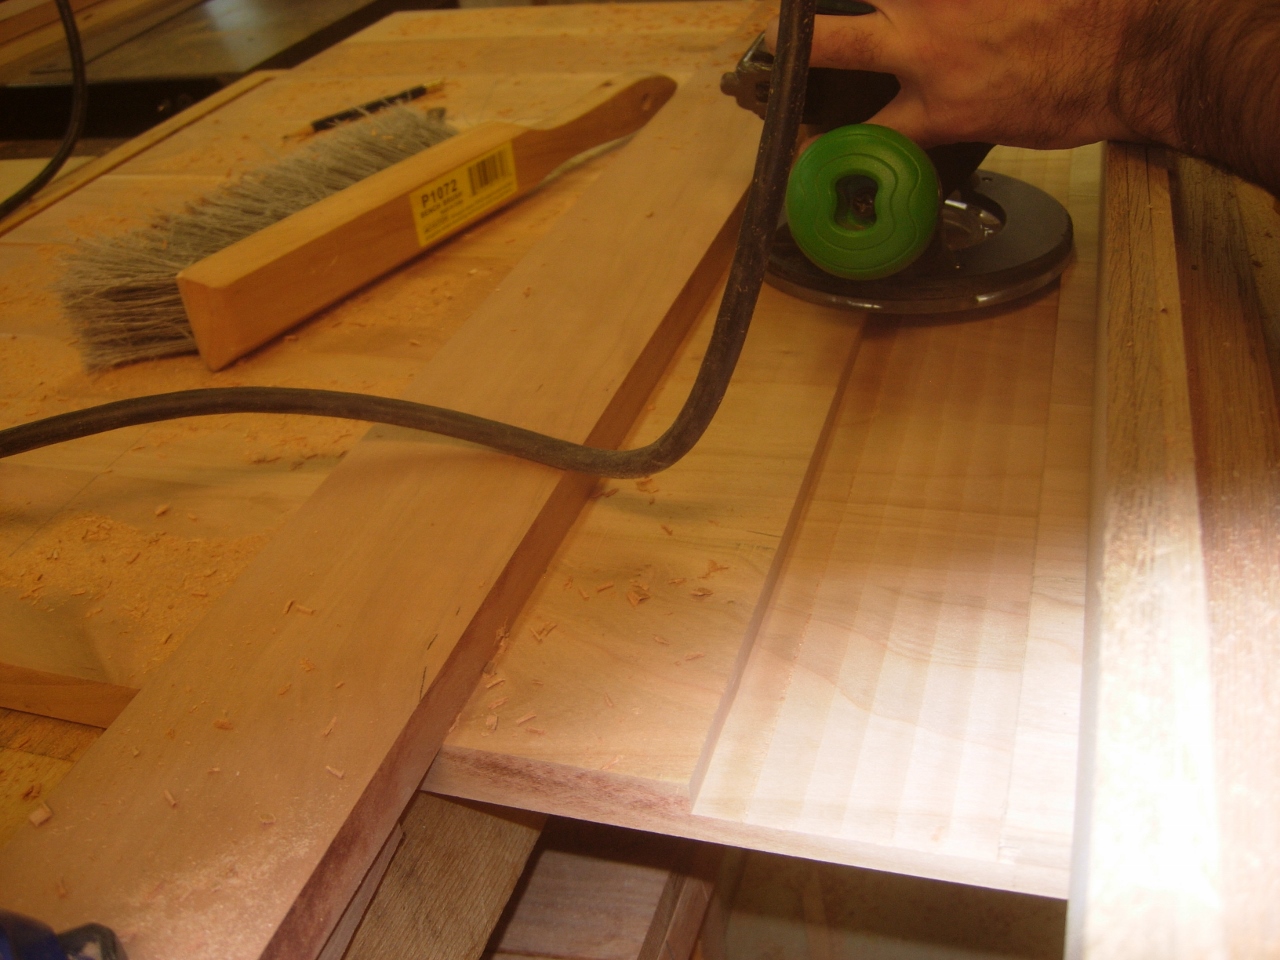
Setting those aside, I grabbed the vertical boards that will set into these mortises, and started creating the tenons.
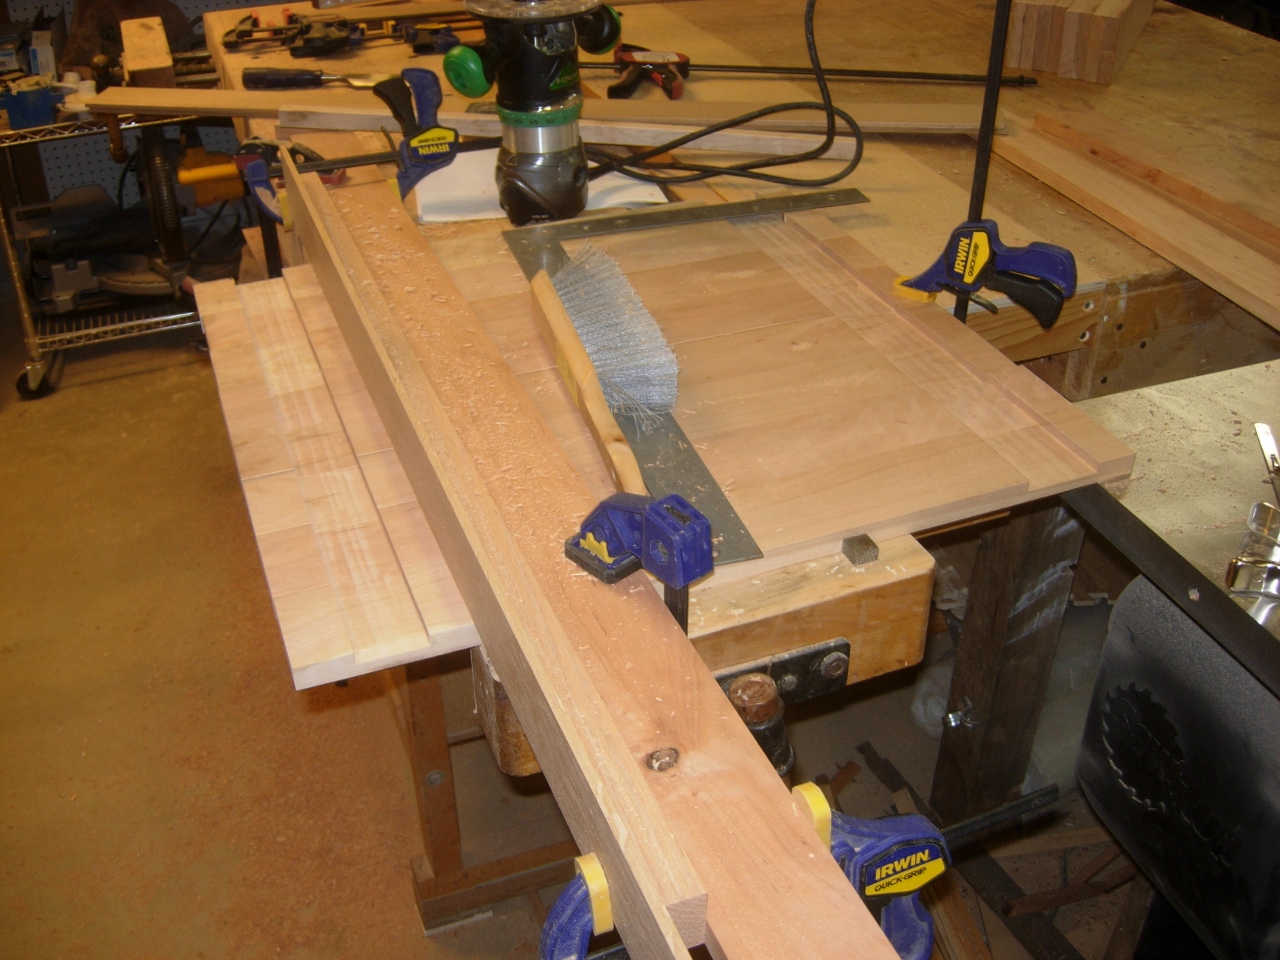
Cutting the tenons on the ends of the verticals
I clamped the board so that I could rout my way towards the end, then gradually added spacers, as I cut, until there was about 1-1/4″ left, uncut. This gave me a face for the router to rest on while I cut.
Cut as far as I can go with the router
Cutting the other end, the same way
After repeating the process on the other end, I moved over to the table saw to finish cutting out the tenon.

Finishing the tenon on the table saw
Any uneven surfaces left behind was easily cleaned up with the block plane and a sanding block.

Planing and sanding tenons
I lined everything up and clamped up a dry-fit of the two sides. Everything fit well, all of the joints were nice and tight.
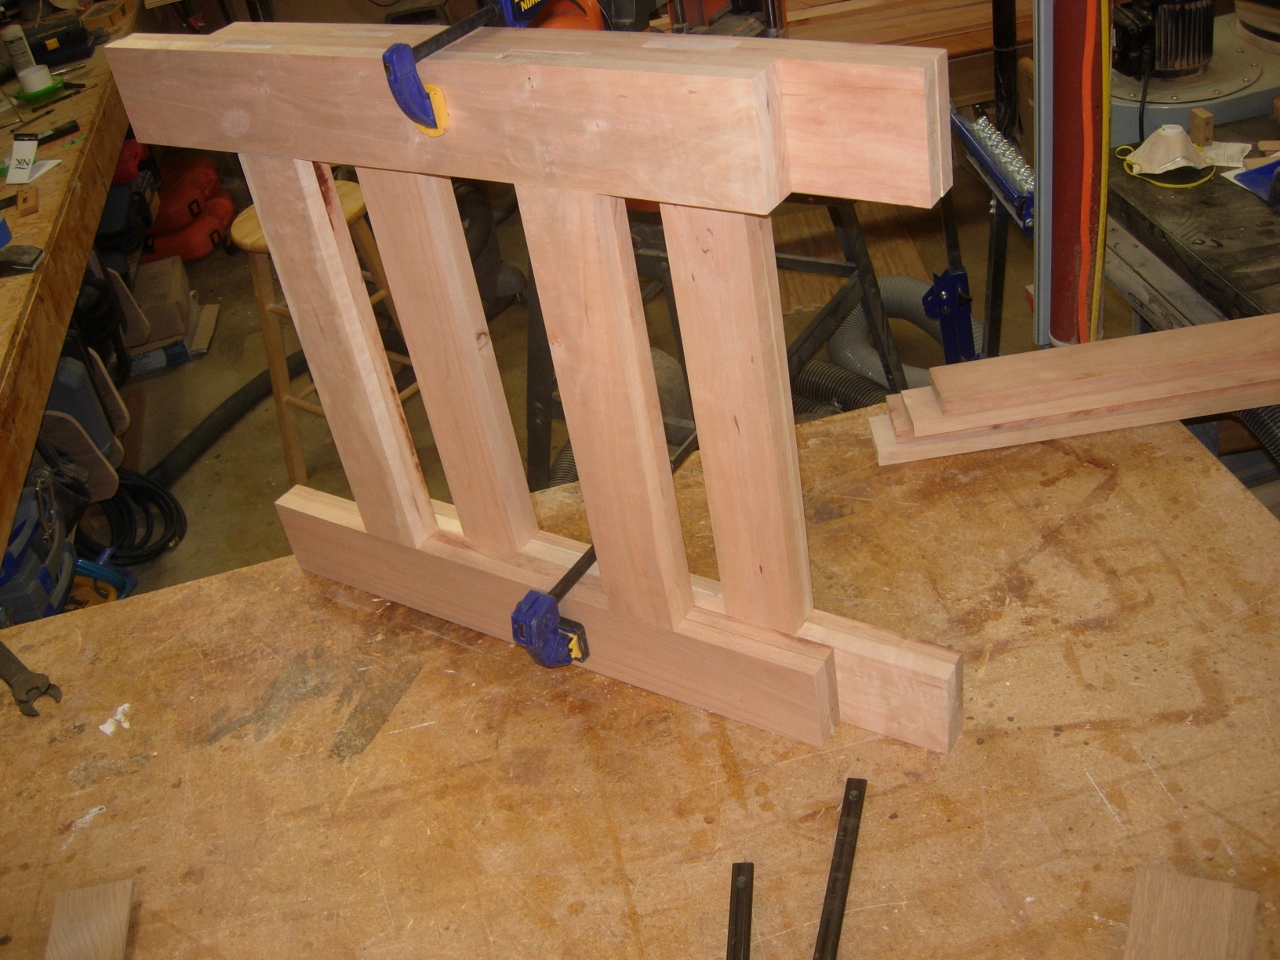
Dry-fit of the legs
I still need to do some more cutting, so I won’t be glueing things up just yet.
