
Rob’s sofa table – day 6
We knocked out most of the remaining work on the sofa table last night.

Aligning and clamping the apron pieces
First thing was to notch the tenons on the apron. We clamped all the sides together and set the table saw blade to 3/8″ deep to make the shoulder cut.

Cutting the depth of the notch
Then Rob cut the remaining side on the band saw.

Removing the rest of the notch

Cleaning up the shoulder
We used a chisel to clean up the shoulder, then did a dry-fit assembly of the carcass.

Dry-fit looks good
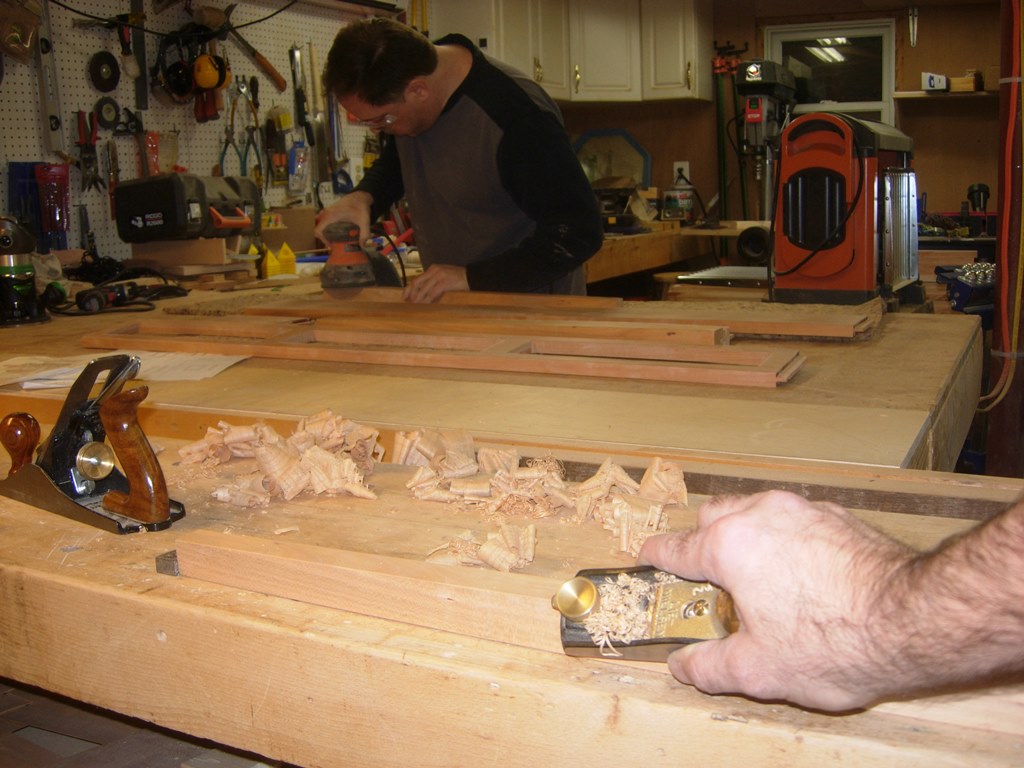
Everything fit together well, so Rob moved on to sanding the outside faces to remove any scratches or pencil marks.
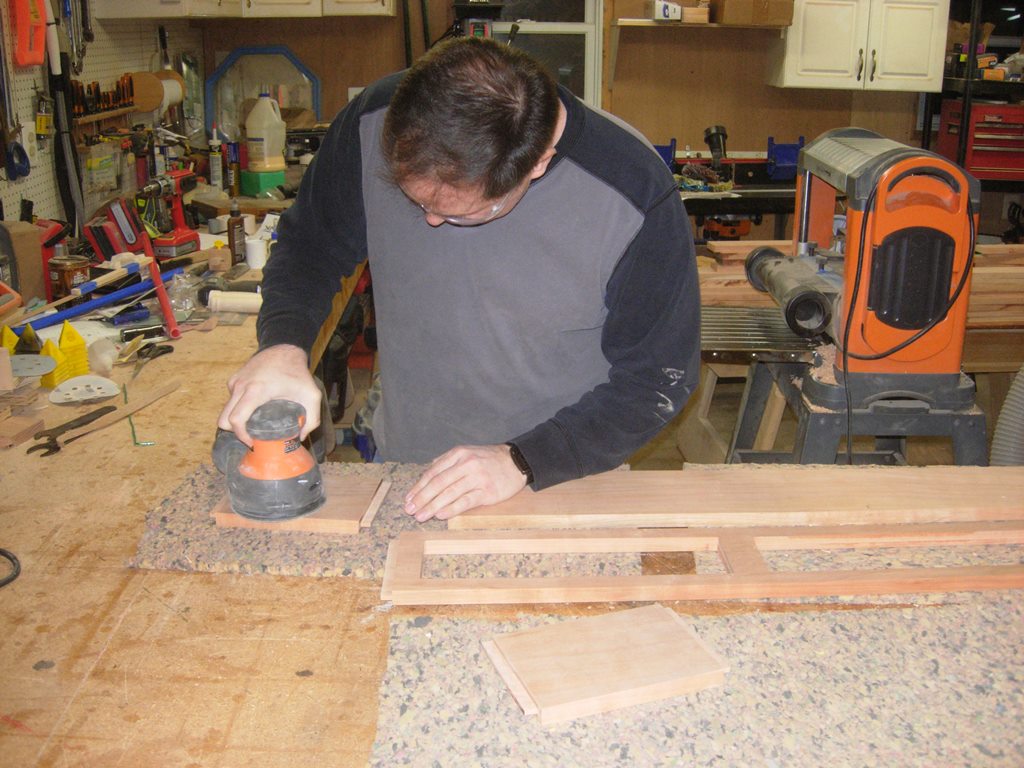
Sanding down all the outer faces
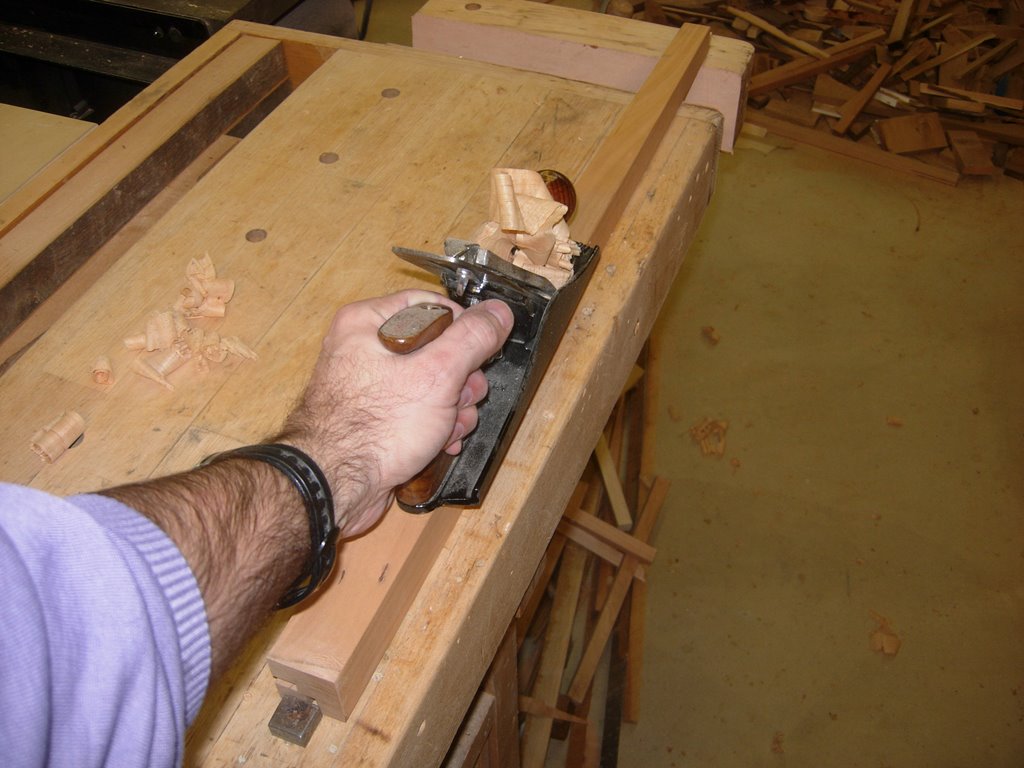
Cleaning up the legs
While he was doing that, I did the same thing on the legs, but with the smoothing plane. since the legs were narrow, the orbital sander may roll over the sides of the legs, rounding them slightly. I figured the plane would leave a crisper edge. That done, I knocked off the sharp edge with a few passes of the block plane.
Hard at work

Applying glue to the tenons
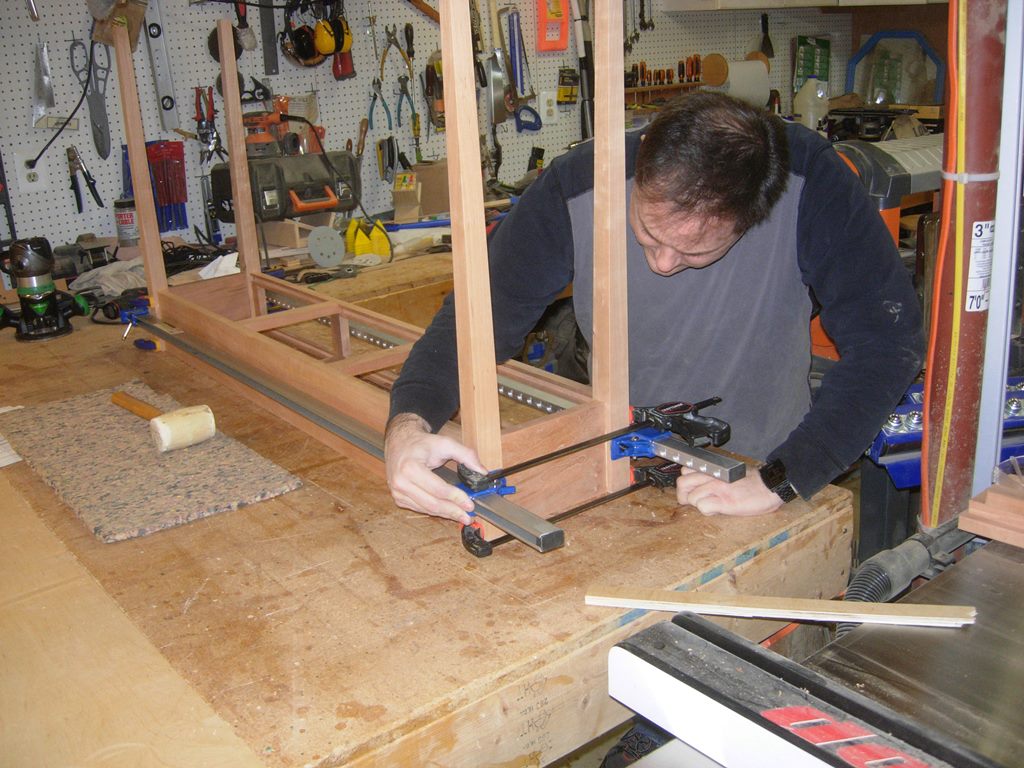
With the legs and sides cleaned up, Rob applied wood glue to the tenons and we started clamping everything up, long sides first.
First side clamped
When we clamped the sides to the faces, we placed a few of the drawer rails in the middle to keep everything from bowing inward, if clamped too tightly.
The rest of the carcass clamped and drying

Applying glue to the drawer faces
With the carcass drying, we moved on to the drawers. Rob applied glue to the small tenons on the front and back pieces, then we clamped them up.

First drawer clamped up
With all the drawers clamped, I checked them for square. One was out of square, so I threw a clamp across two corners and tightened till it was corrected.

All three squared, clamped, and drying

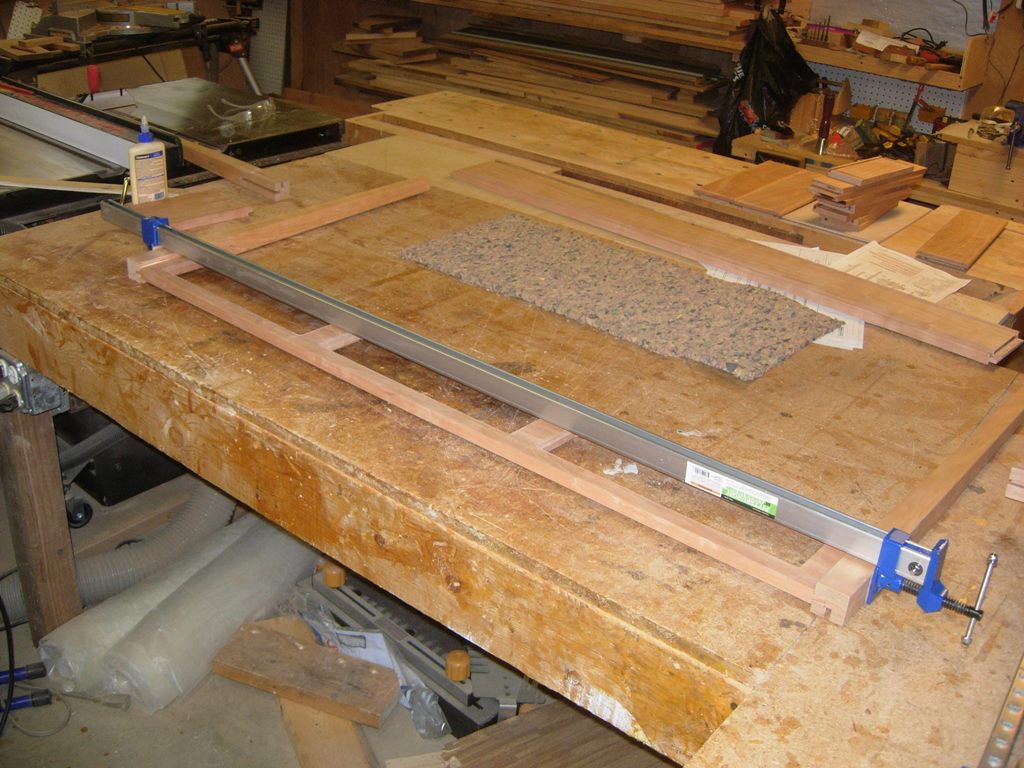
Cutting the top to the correct width
The last piece to cut out was the top. We ripped the sides down to the correct width, and Rob cut the board to length.

Cutting the top to the correct length

Cleaning up the edges
Rob then cleaned up the edges with my smoothing plane to remove any burn marks from the table saw.

Adding a 1/4″ round-over to match the drawers
He then added a 1/4″ round-over to match the drawer fronts, and sanded the top.

Sanding the top

Adding the bottoms to the drawers
While he was doing that, I set the drawer bottoms in place, as well as the cross pieces in the carcass. They will all have to be tacked in place later, but it was getting close to midnight and we wanted to put it all together to see how it looked.
Dry-fitting the bracing

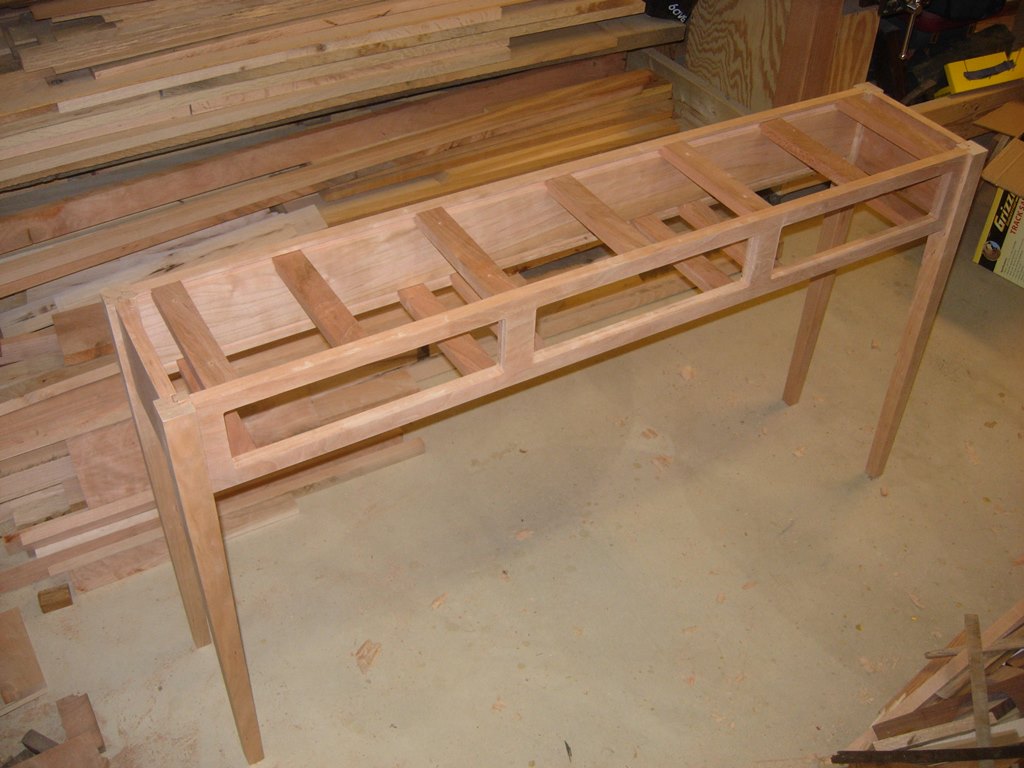
Rob is proud of his new table
Rob was tired, but happy with the finished product.

Almost ready for finish
Looks like there is a bit more sanding and a couple of brad nails to add, then we will be ready for finishing.

Lawrence, Thanks for the great posts! I really enjoy seeing progress photos and it helps me to think through the process. Very much appreciated!
My pleasure, It is good to hear you enjoy it.
Beautiful work Rob and Lawrence!