
12′ Cherry Conference room table – day 1
I started on my latest church project for St. Peter’s. A 12′ long conference table with a cherry trestle base.
Conference table plan.PDF
The majority of the base will be assembled with mortise and tenon joinery, but with a bit of a twist. I am starting with all 4/4 boards, but I want all the base components to finish at 1-1/2″ thick. I plan on planing the boards to 3/4″ thick and then cutting the mortises and tenons before glueing the pieces together into their final 1-1/2″ thick state. Since there is no room, in my shop, for a 12′ long table, I will be building it in pieces that will also aid in the transport and final installation in the basement of the church. Since wood movement for a solid wood top would be an issue, I decided to laminate a sheet of 3/4″ particle board to a sheet of 3/4″ birch plywood, then laminate a piece of Formica to the top. I would love to do a solid wood top, but this will be more stable and very durable.
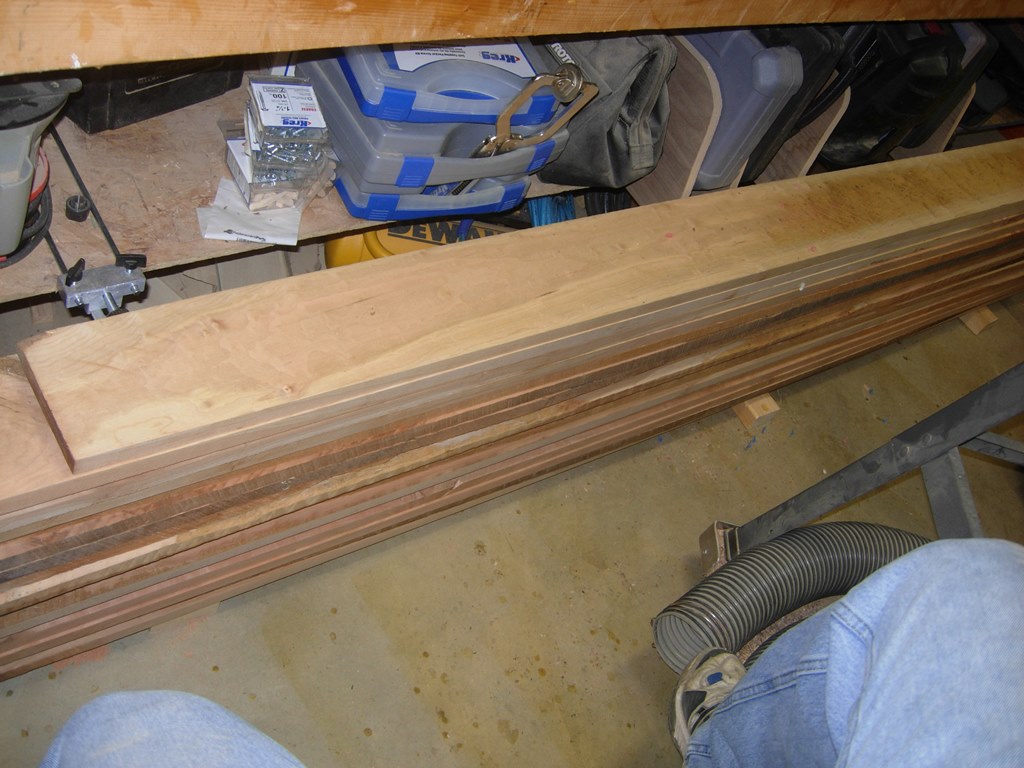
New pile of cherry
I started with a pile of 1″x6″x8′ long cherry boards from Vintage Lumber. Alex had his guys plane both sides to 7/8″ thick and run a straight line cut down one side. This makes it easier for me to process the boards at home. With them planed most of the way down, I can easily identify defects in the wood, that I want to avoid. The straight line cut enables me to do most of my edge joinery right on the table saw.
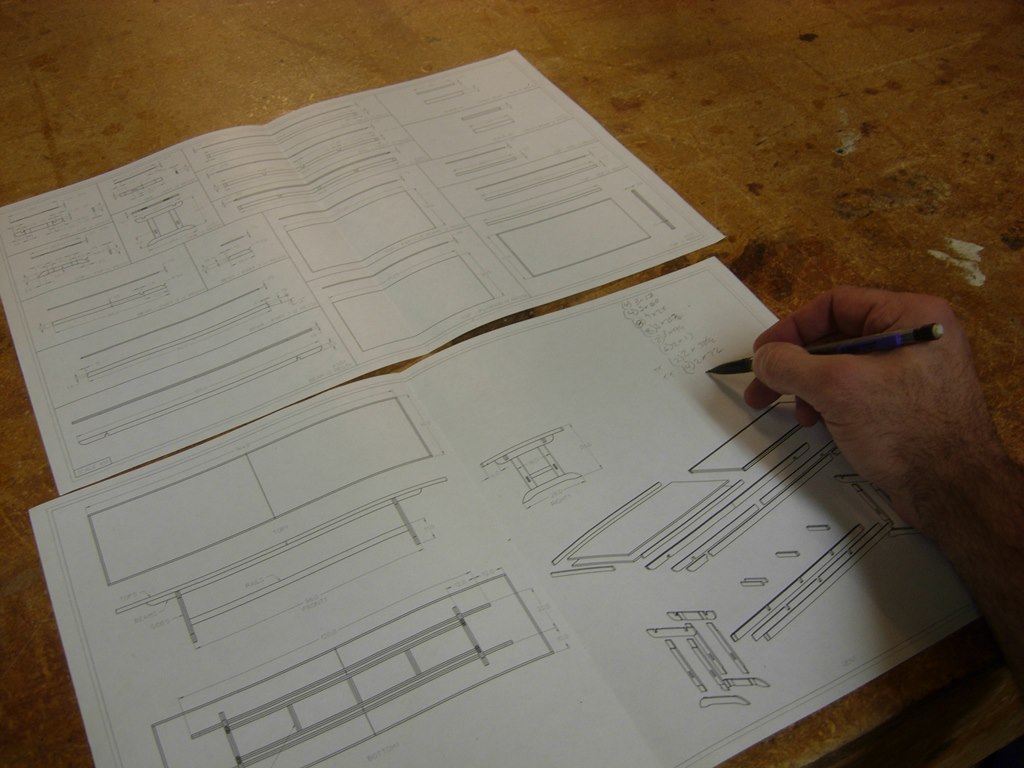
Working up a cut list
I sat down and worked up a cut list, then marked each board with what I intended to cut from them.
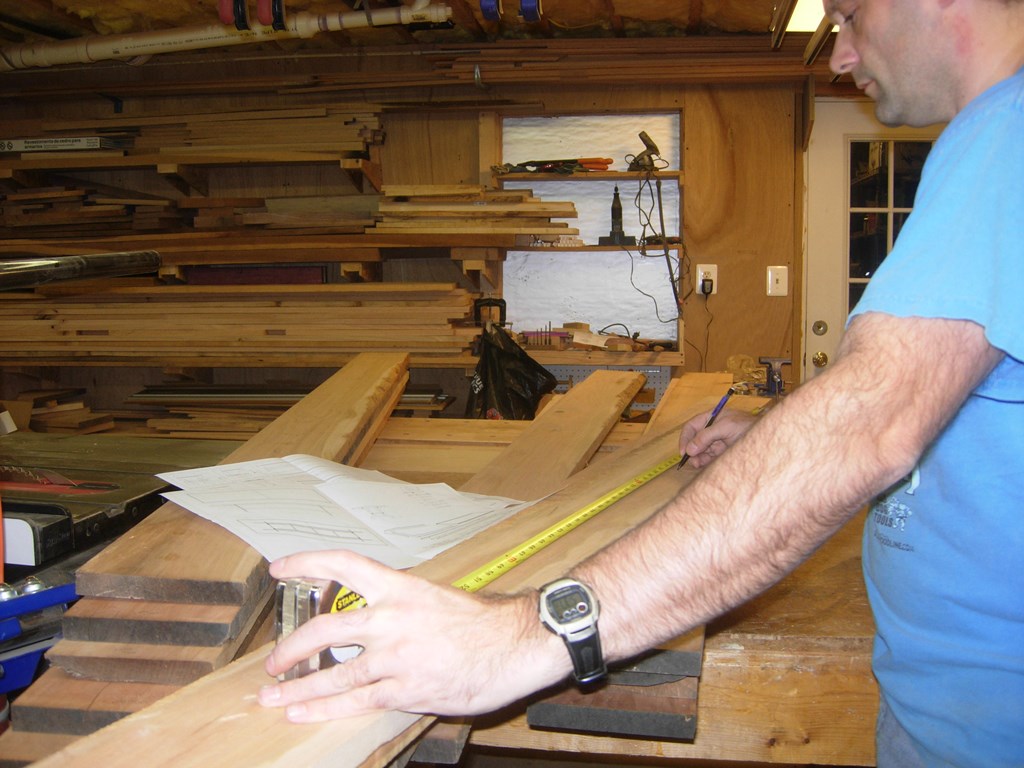
Marking rough cut dimensions
I rough cut the lengths, leaving an extra couple of inches in case my planer sniped the ends.
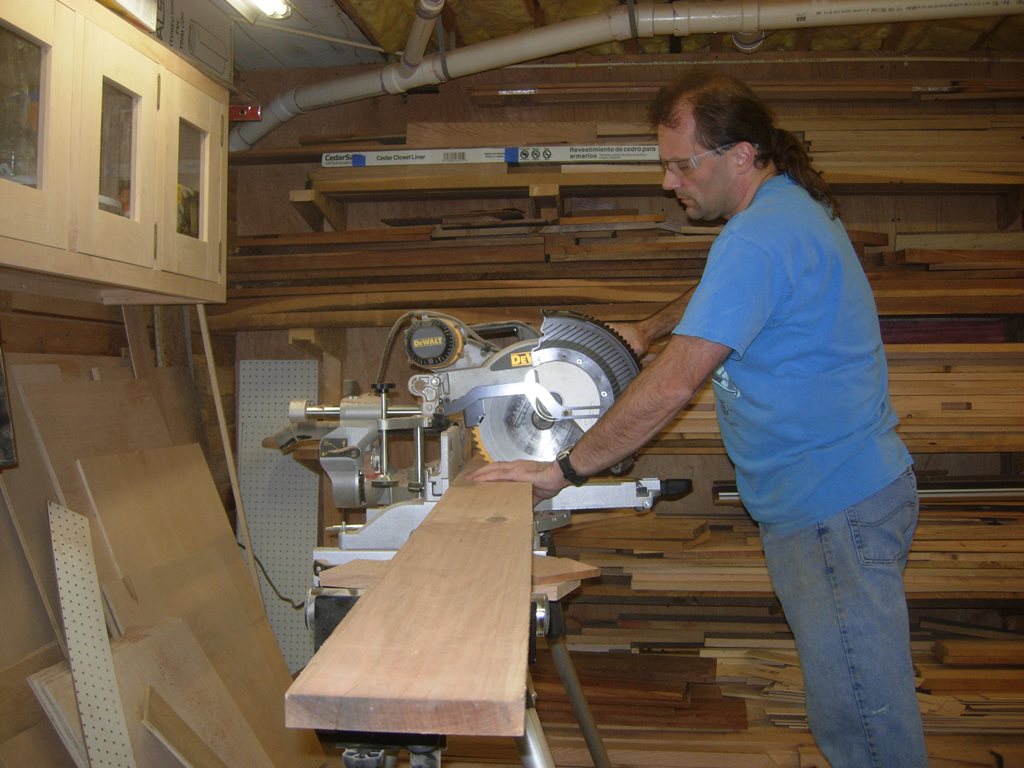
Rough-cutting all the lengths
Once the boards were shortened to manageable sizes, I ripped them to their proper widths.

Cutting all the boards to the correct widths

Cut and ready for planing
I moved the pile over to the planer and planed the whole lot down to 3/4″ thick.
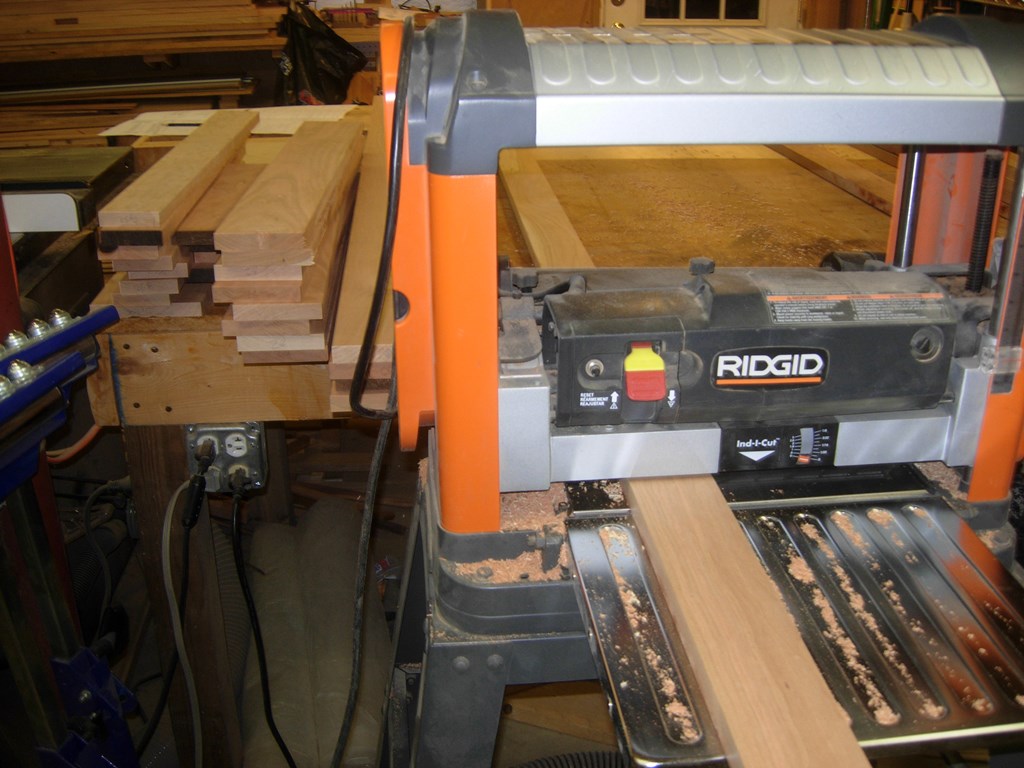
Planing everything to 3/4″ thick
It didn’t seem like a lot of planing, but I still managed to fill my dust collection bag.
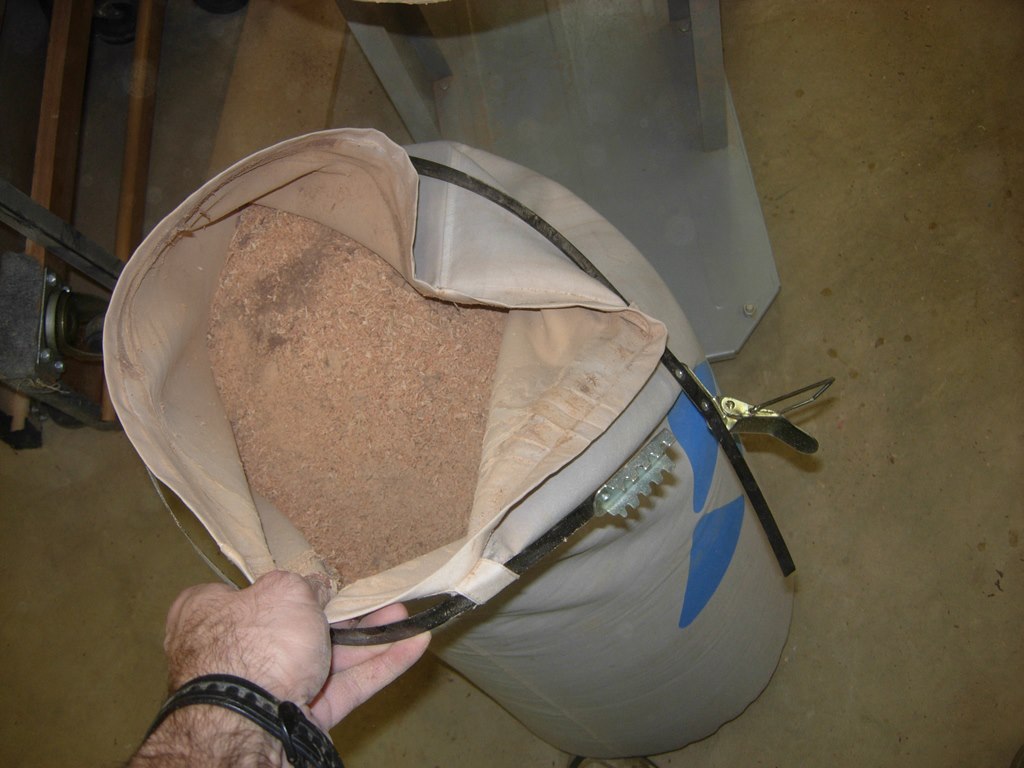
That was a lot of planing…
After about 4-5 hours of sorting and milling, I have all the boards cut nearly to size. Most of these boards will have curved ends, so I am not worried about cutting them to the correct length just yet. I used every single board with only a few scraps left over. The pile looks a lot smaller somehow.
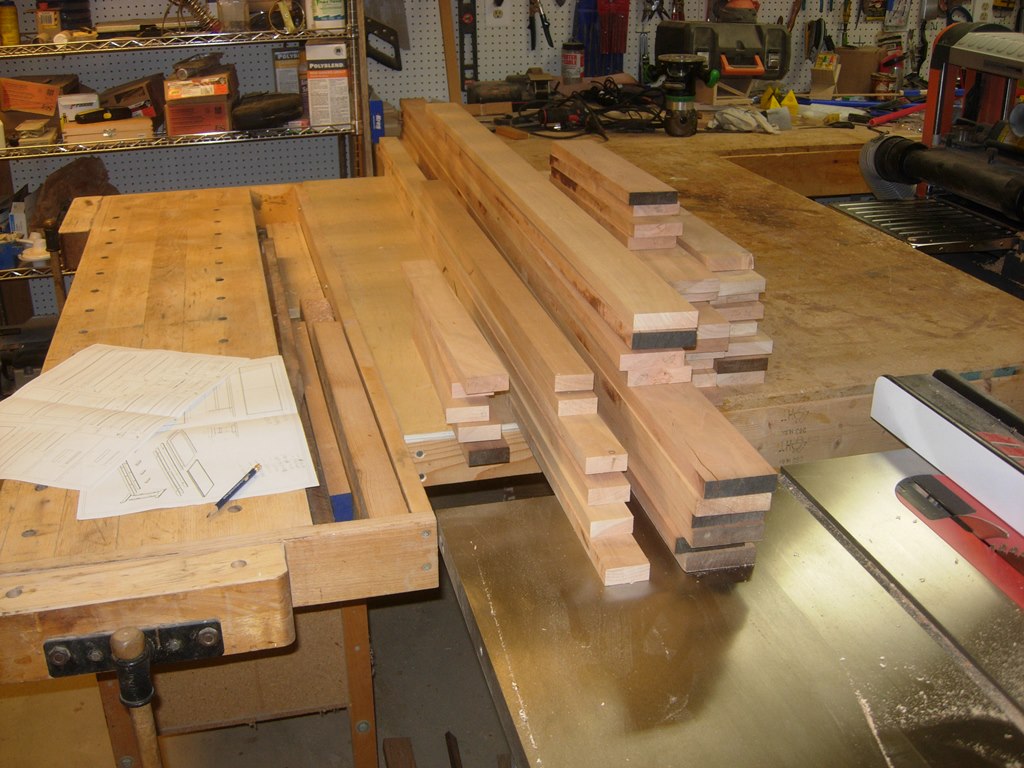
All the wood has been milled
