
Rob’s engagement ring box
I have been rather busy these last few weeks, and I haven’t put up many posts. I have also had a few projects that, for one reason or another, I haven’t been able to post. One of those projects was an engagement ring box that Rob made for his girlfriend Jen. He approached me a while back with an idea that he had for the box, but wanted me to not post anything until after the engagement.

Rob’s design sketch
I asked Rob to draw up what he wanted, so he generated the above sketch. I am limited to doing 3D models in the engineering software that I use at work, so my version was a bit less flowing than his, but it gave me a good starting point.
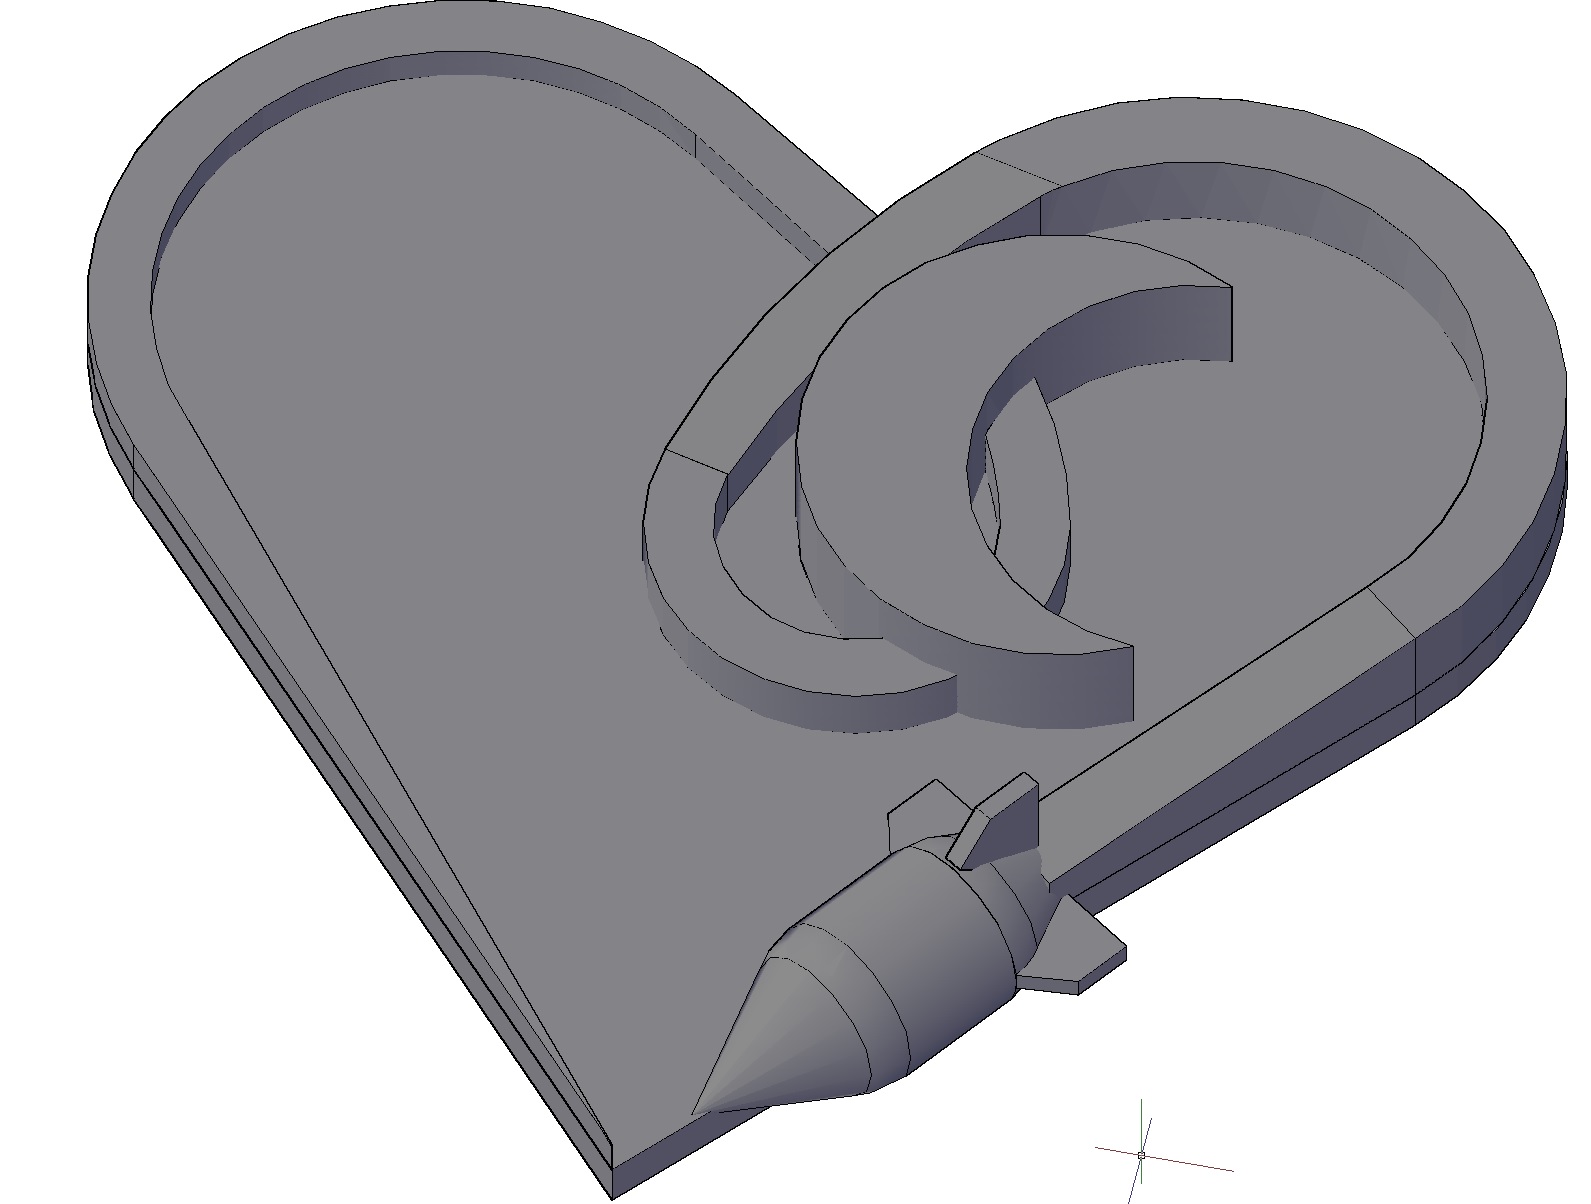
The cad model
I softened the edges a bit more and imported the image into the Carvewright software.

Cad model brought into the Carvewright software

Carving the heart
We fired up the carver, and half an hour later, we had the lid to the ring box.

Pretty close to the sketch
The next step was to start the rest of the box. I had a small piece of 6/4 cherry, that we cut down to 3″ wide and 3″ deep. Rob drilled out a 1-1/4″ hole in the center, about 1″ deep, then we attached the top piece with double-sided tape.

Drilling out the body of the box
Rob cut out both pieces together, on the band saw.

Cutting out the shape

Box roughed out
He shifted over to the scroll saw to clean up some areas that were too rough from the band saw.
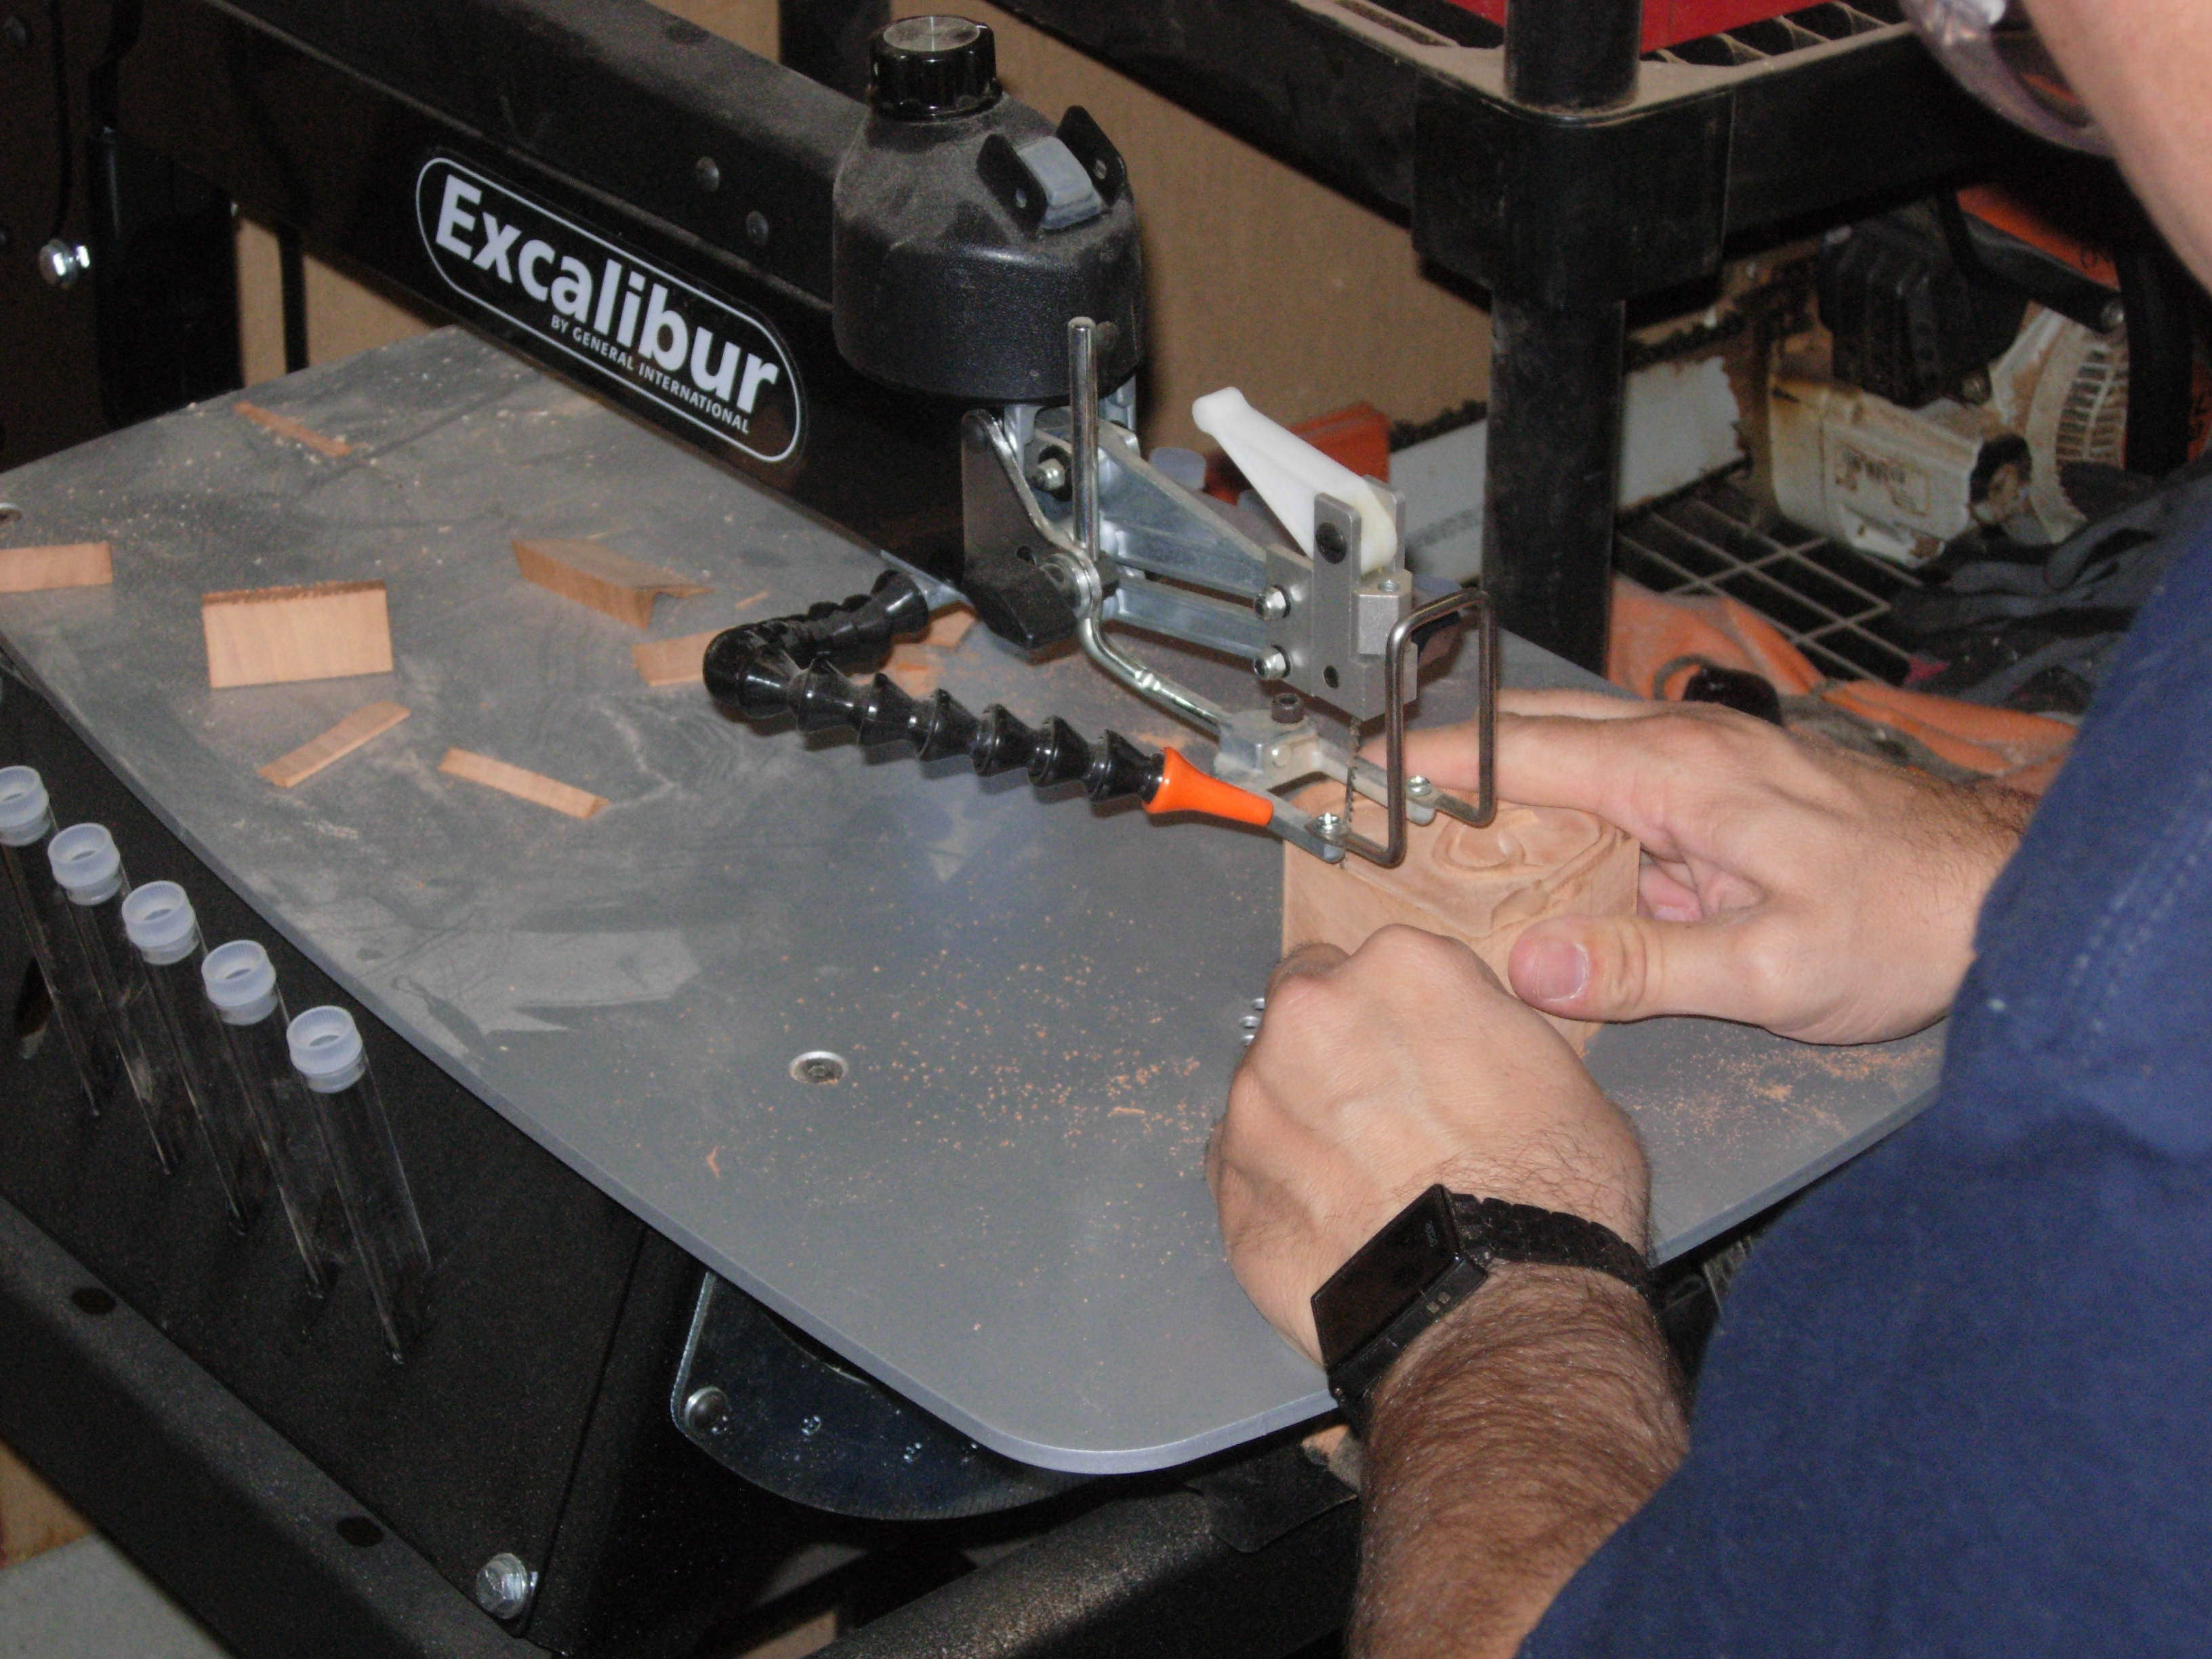
Doing some detail cuts on the scroll saw
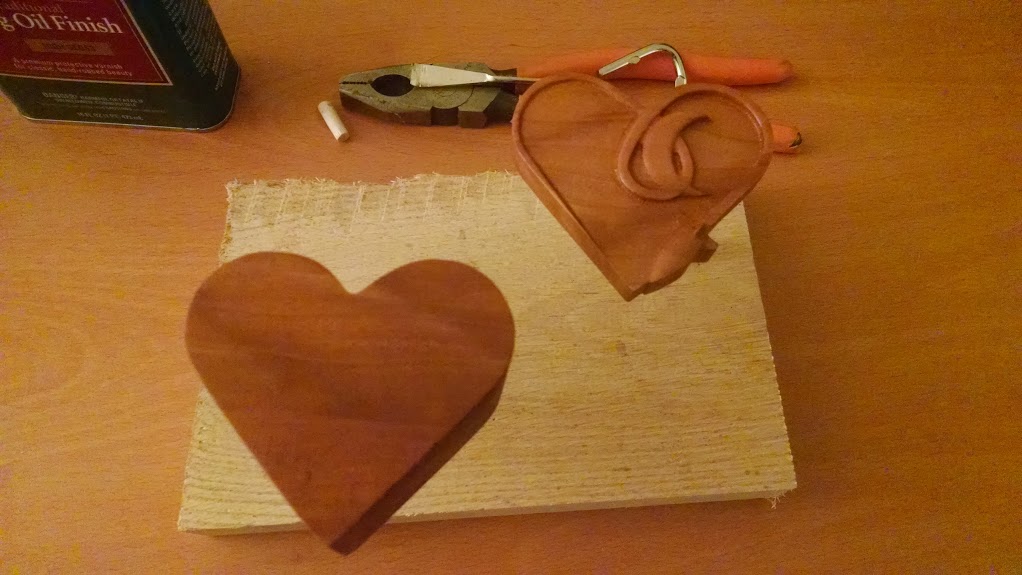
Then cleaned the rest up with the spindle sander.
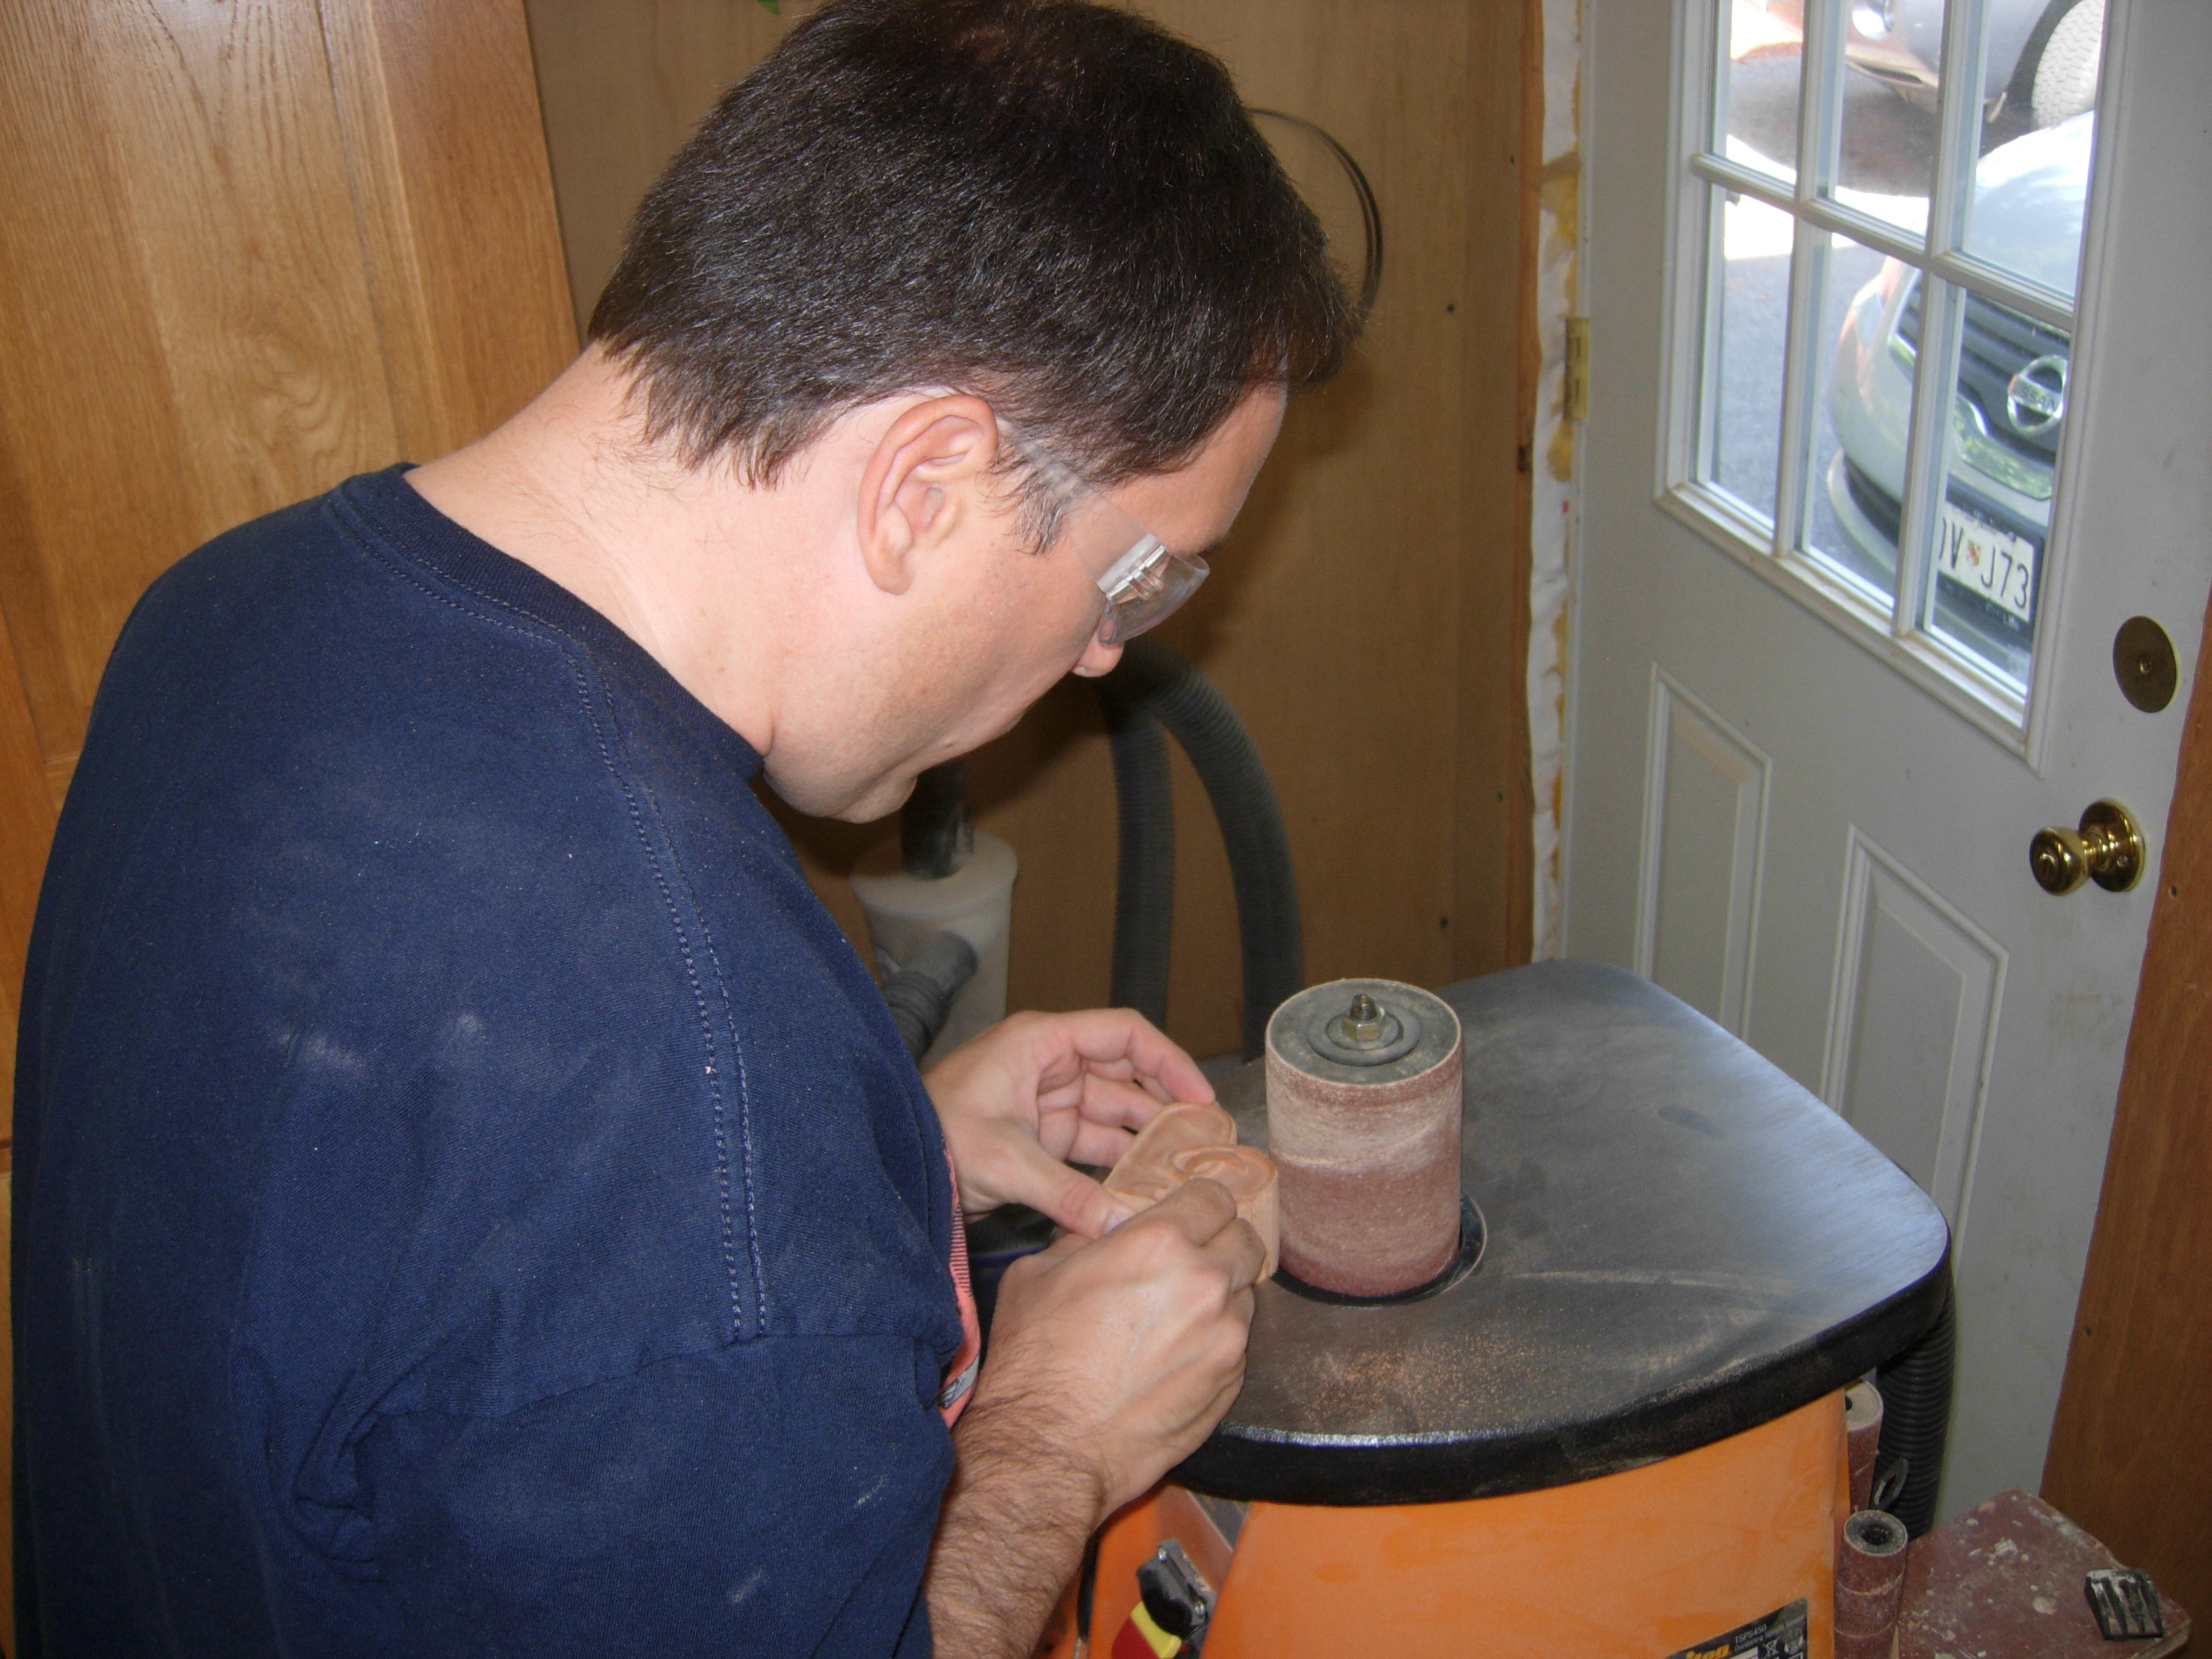
Cleaning up the body
Rob used my Dremel tool to sand all of the nooks and crannies.
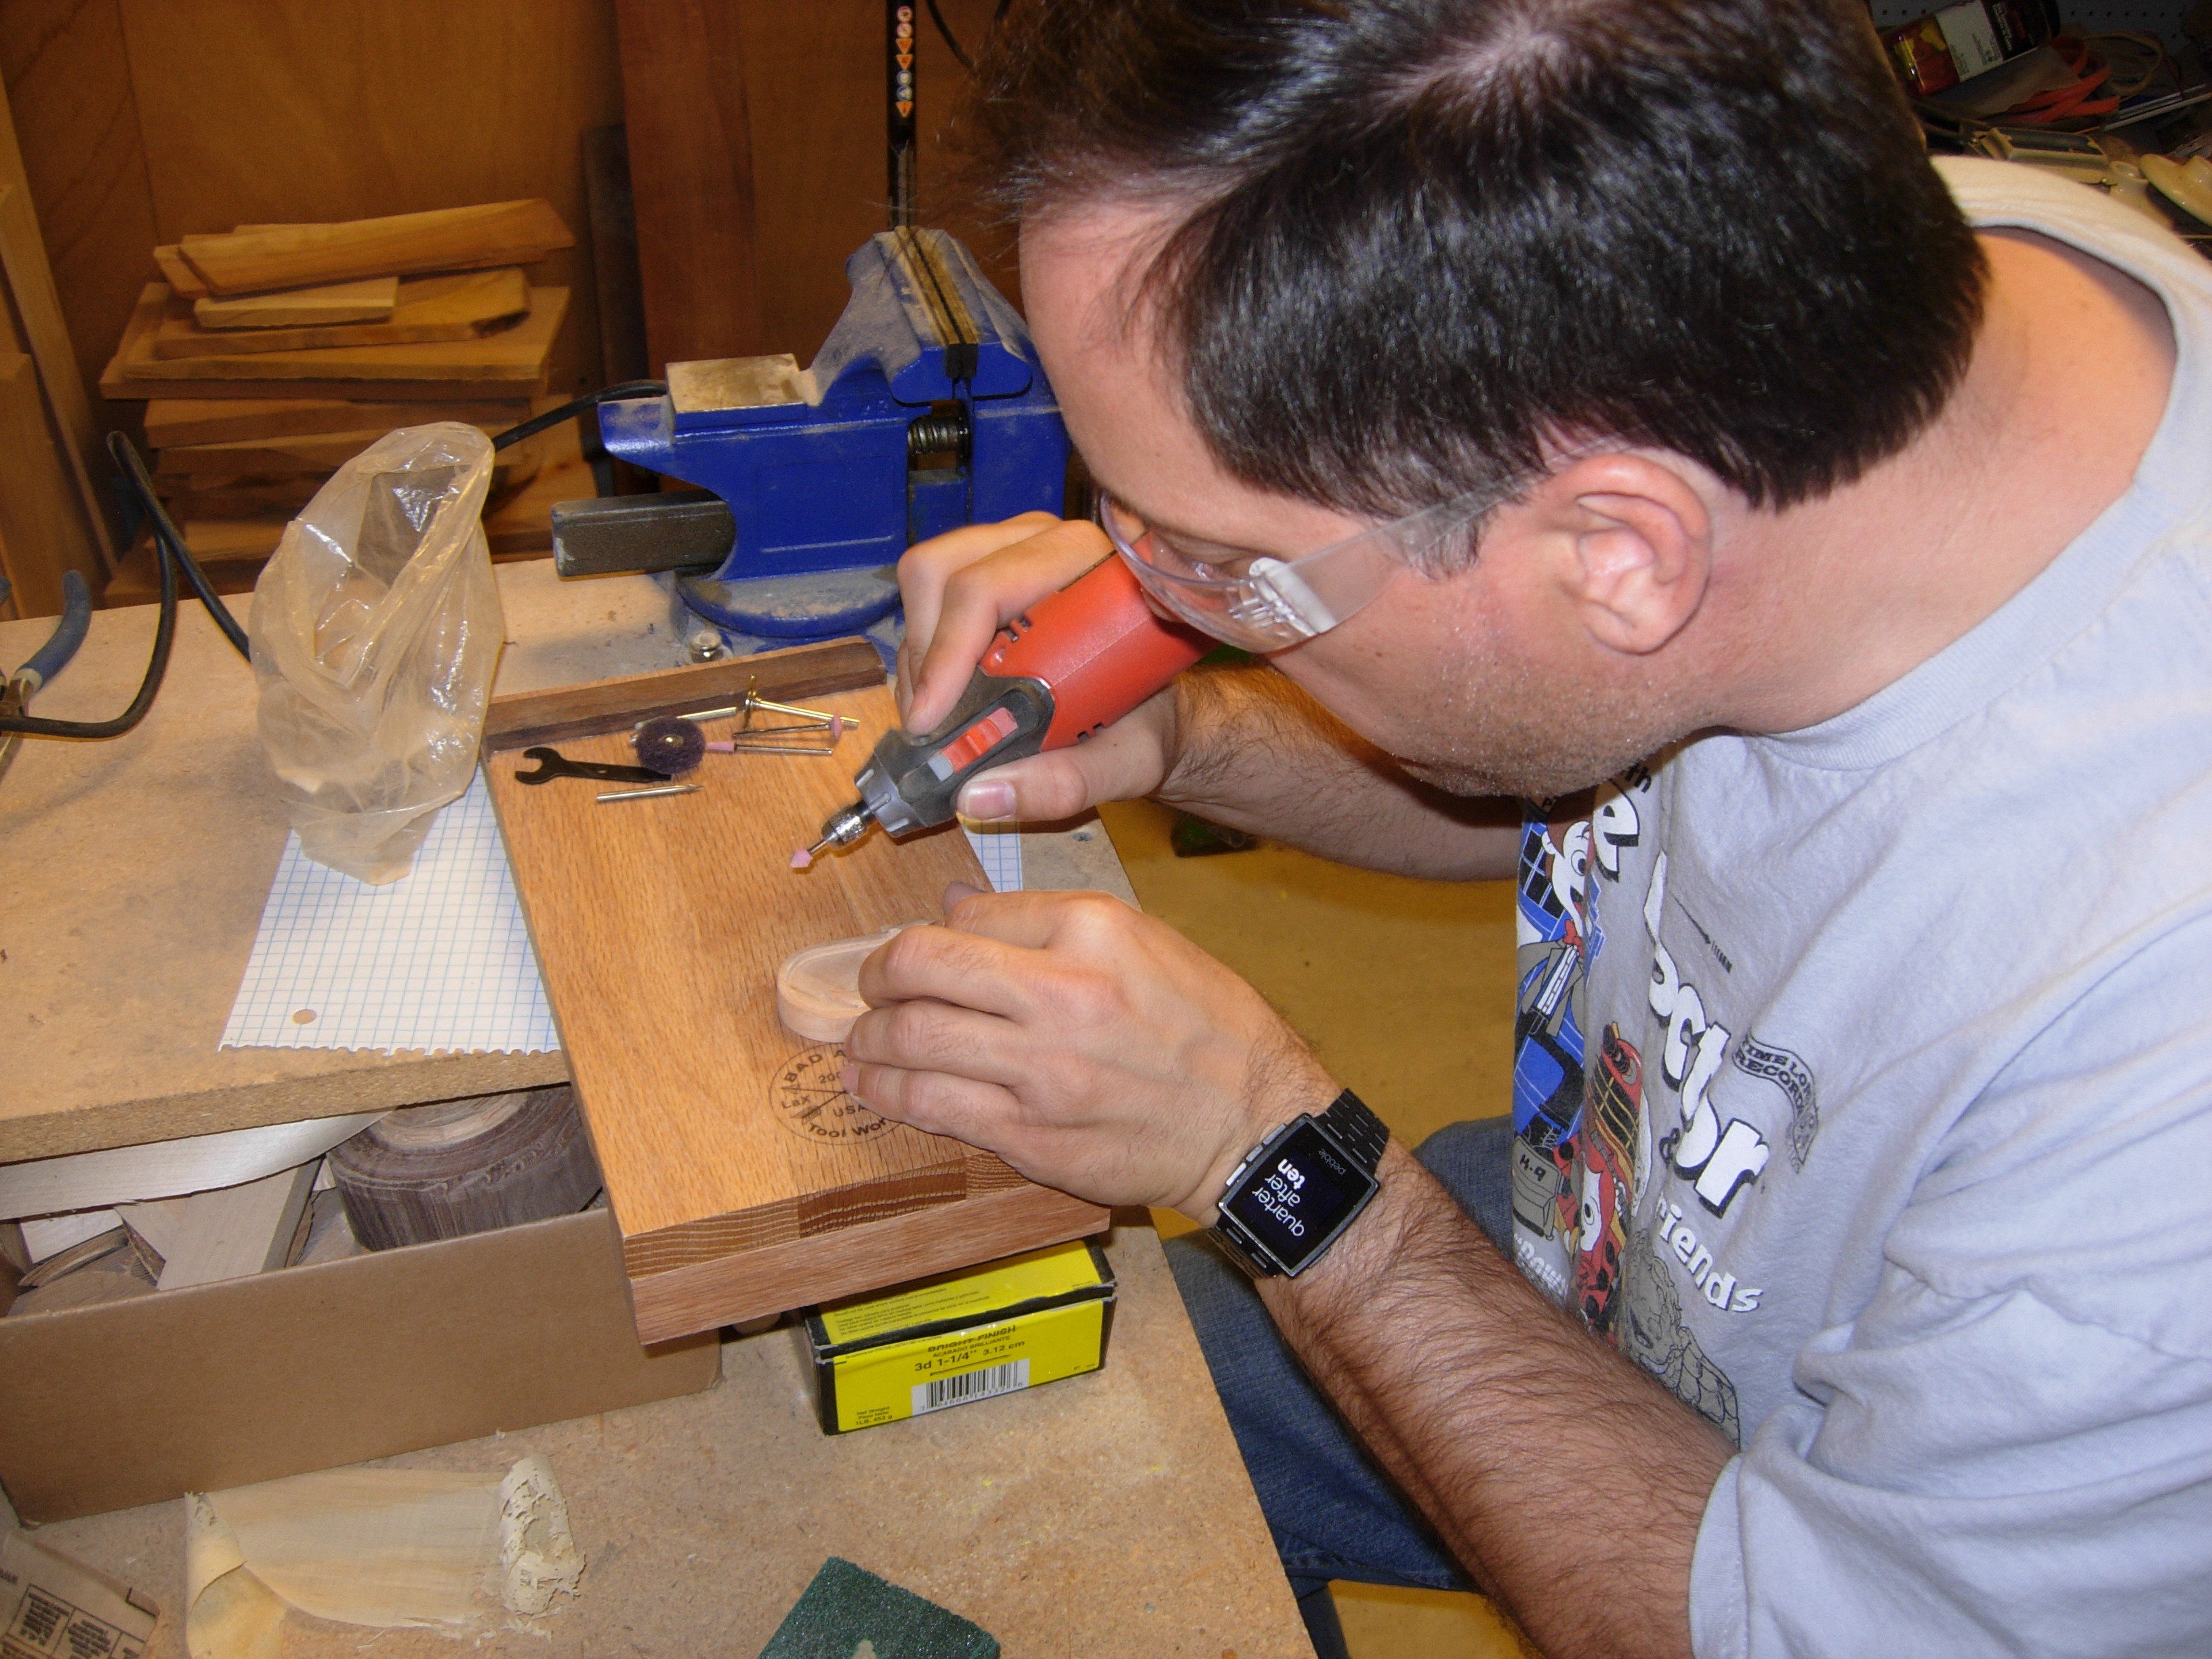
Detail sanding the carve

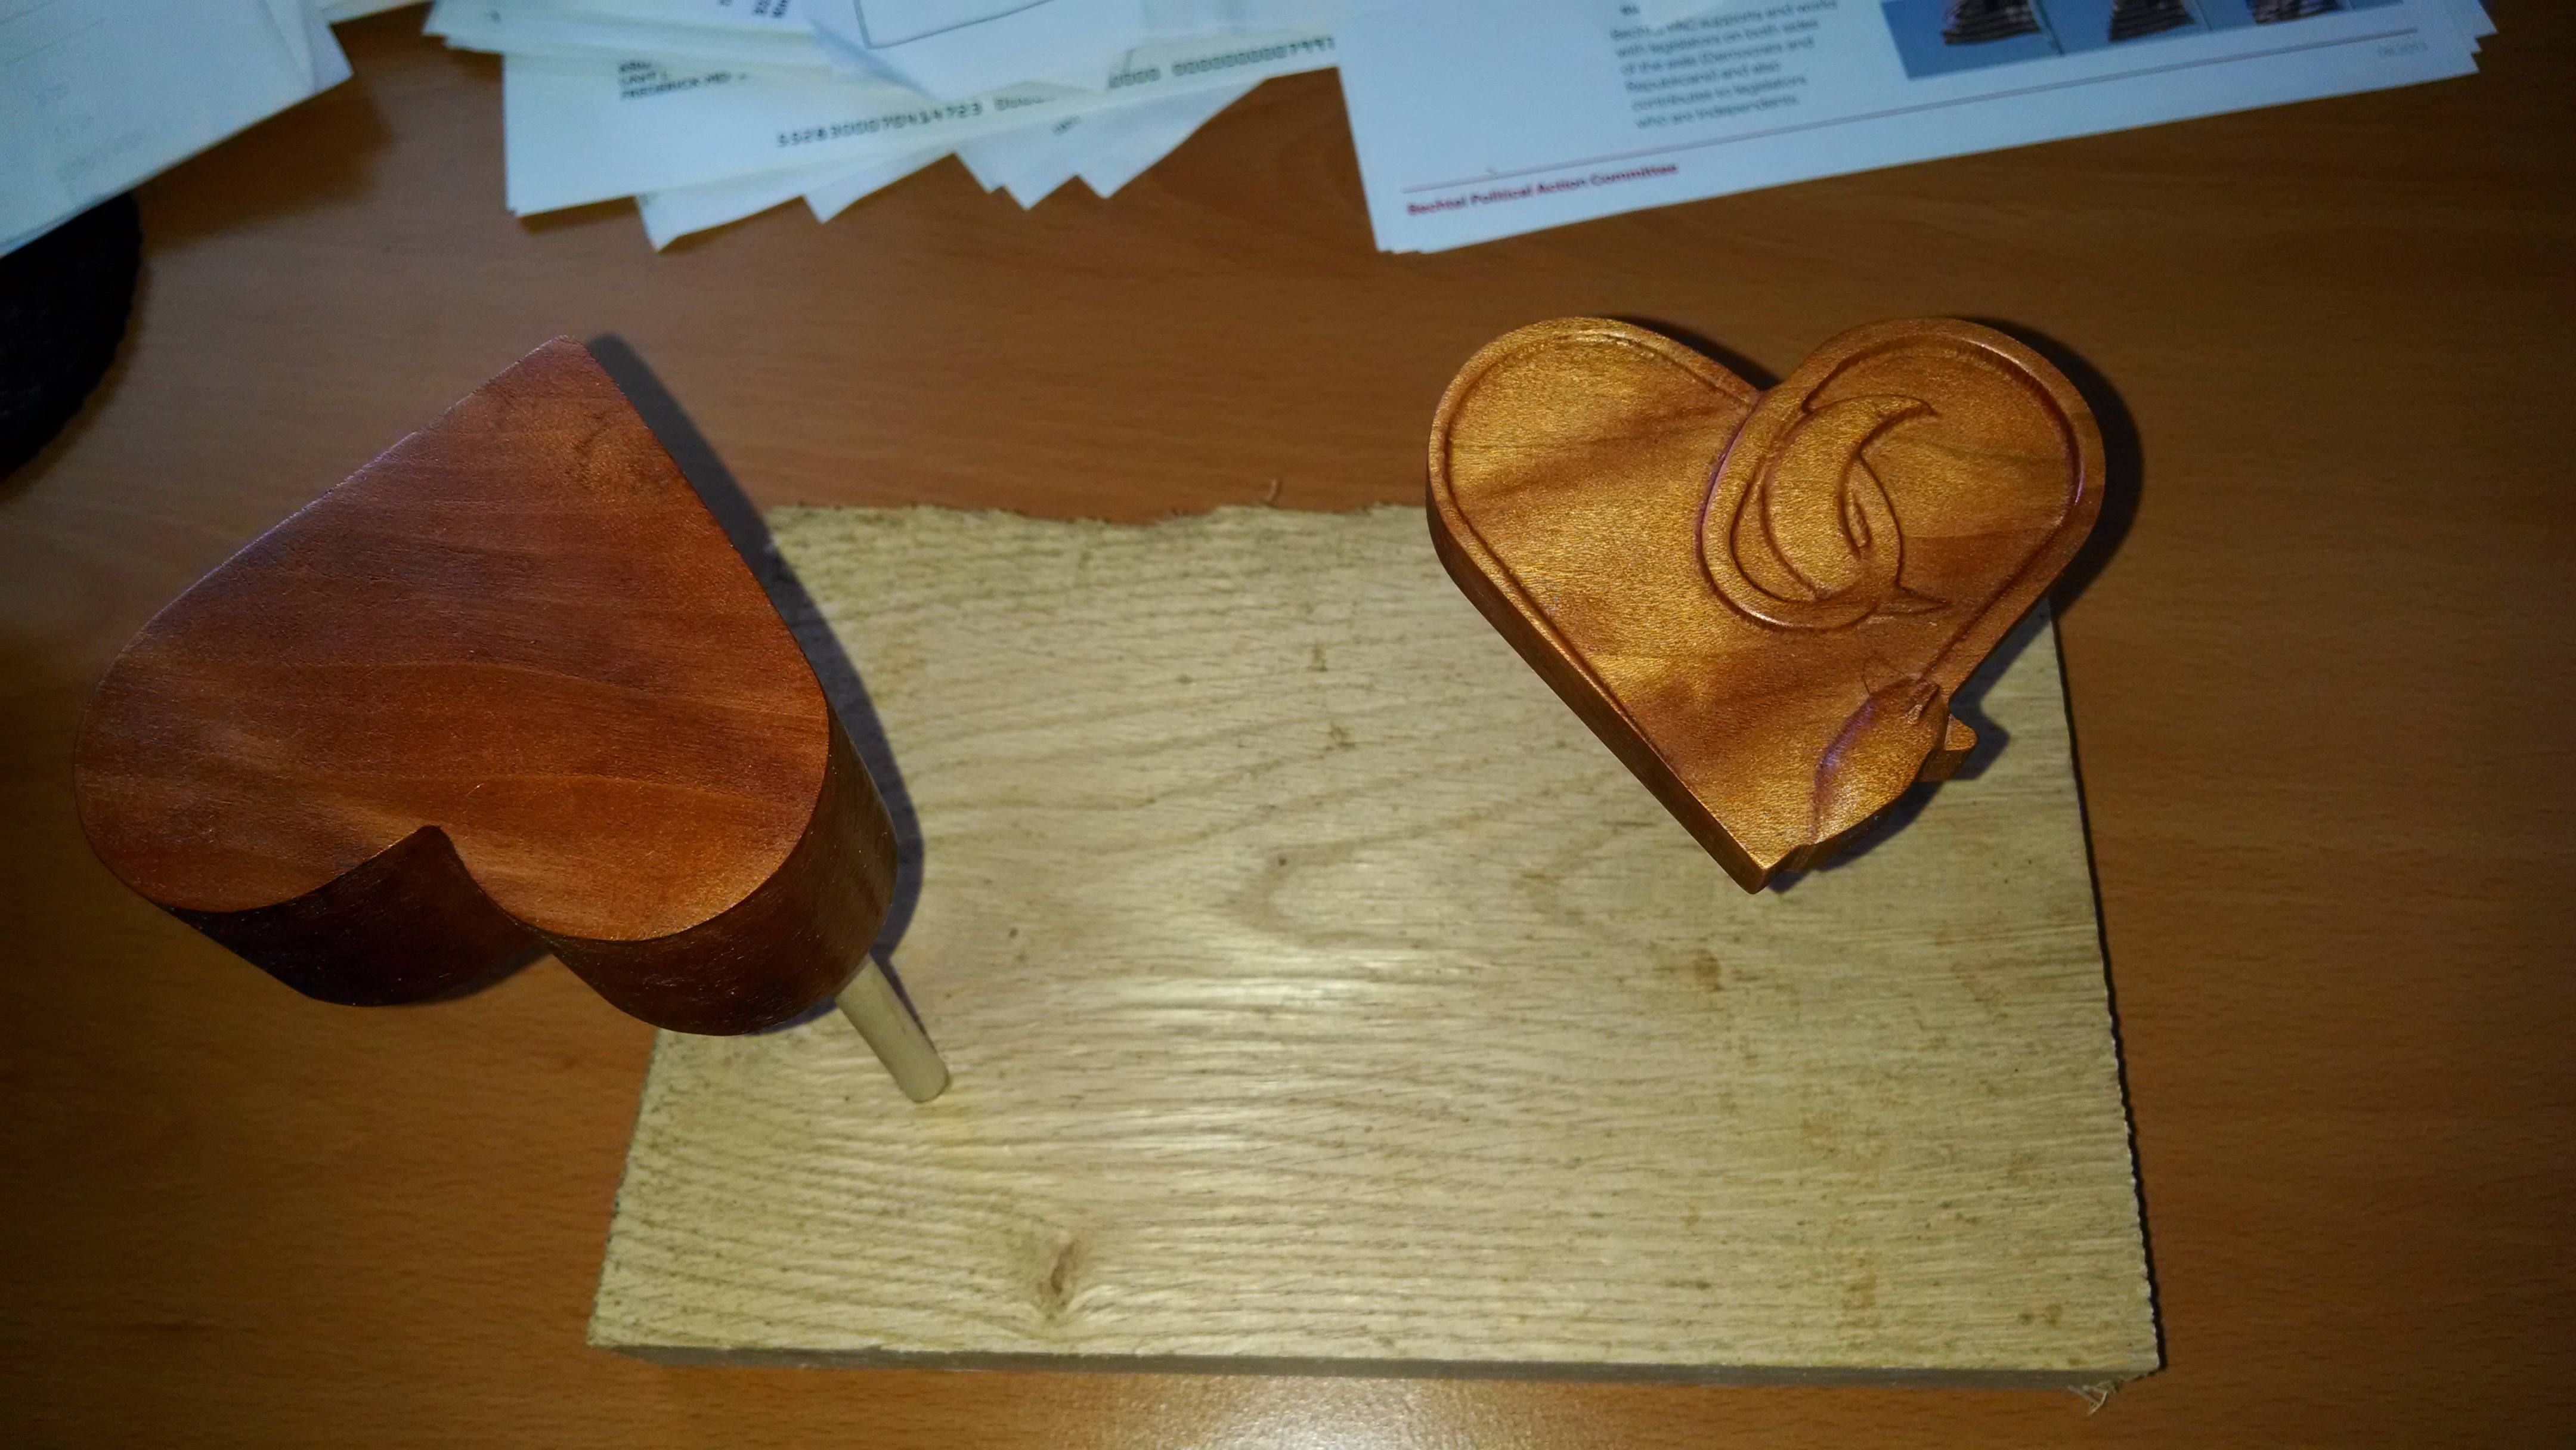
Top and bottom mounted on dowels
We drilled a 1/4″ hole, off to one side, then cut a short piece of dowel to press into it as a pivot point instead of a hinge.
First coat of Tung oil
Before installing the dowel, I made a plate with two longer dowels, to use as a mount for the top and bottom, for finishing.
Rob applied several coats of Tung oil until he brought out the natural iridescence of the wood.
Third coat of oil, starting to glow
The box turned out really nicely, when all assembled.
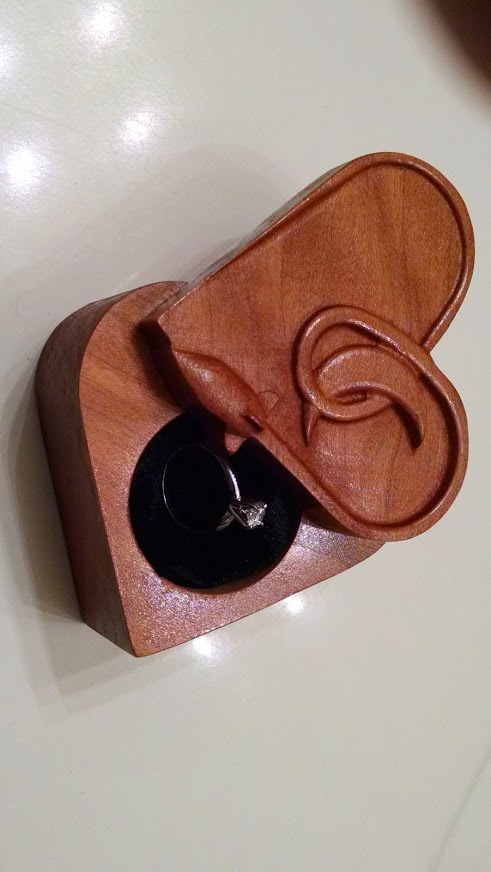
Dowel pressed into the pivot point and ring loaded up
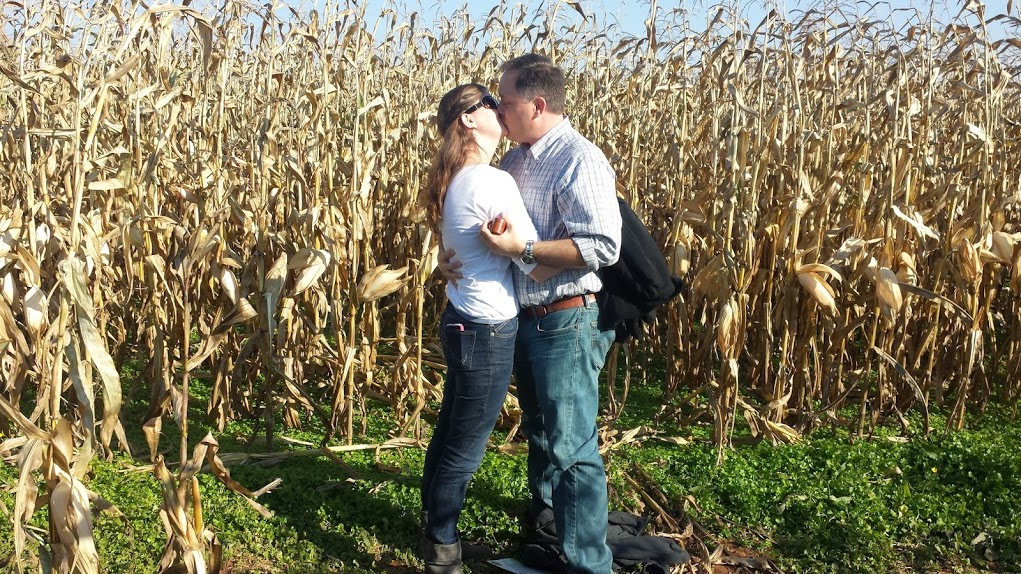
Rob popped the question yesterday, in the middle of a corn maze.

Rob on one knee

Jen mulling over the question…

She said YES!!!
And didn’t say anything else for a while…
Funny, I am not sure she ever looked at the box…

I totally noticed the box! It’s beautiful!! Thank you so much for helping ☺
The box is awesome! It is beautiful and I am sure it will be treasured.
Pingback: Reception desk – day 2 | Midnight Woodworking