
Make your own light saber
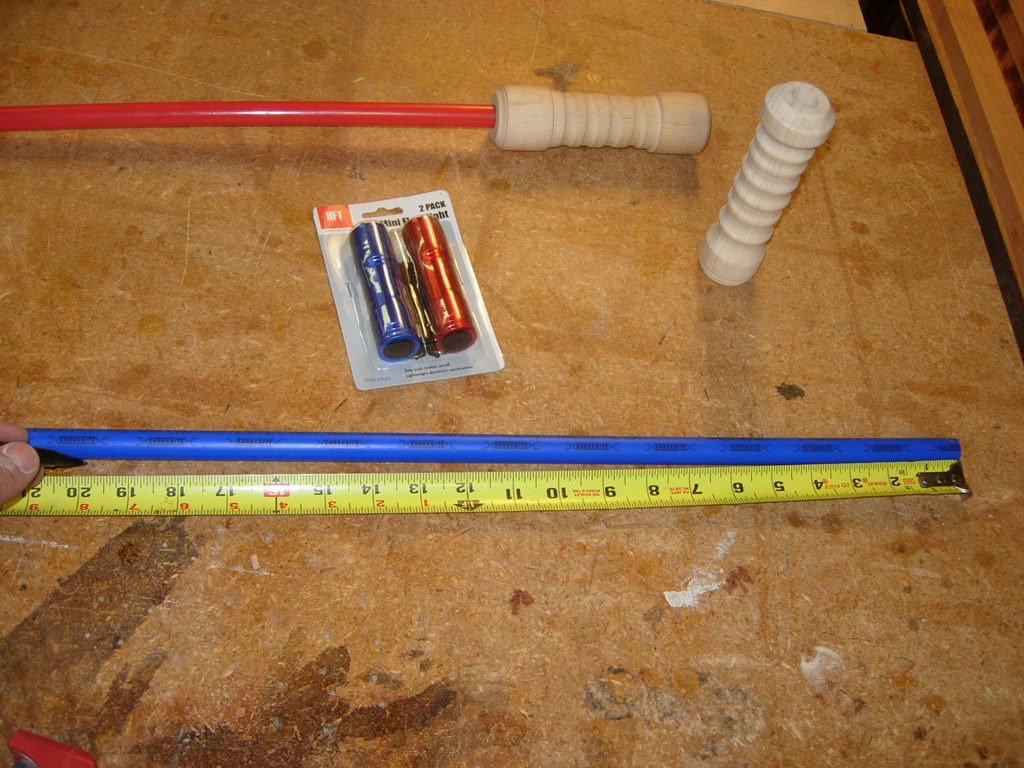
When Adam and I went to Woodworking in America this year, we spent a lot of time at the North Carolina Woodworker booth. His favorite project there was the clever little light saber, that they designed. He wants to build some for his friends so I scavenged around looking for the supplies required. Basically, all that I needed was some inexpensive LED flash lights from Harbor Freight, some 1/2″ PEX line, a 1/2″ Nylon cap, and a scrap block of wood.
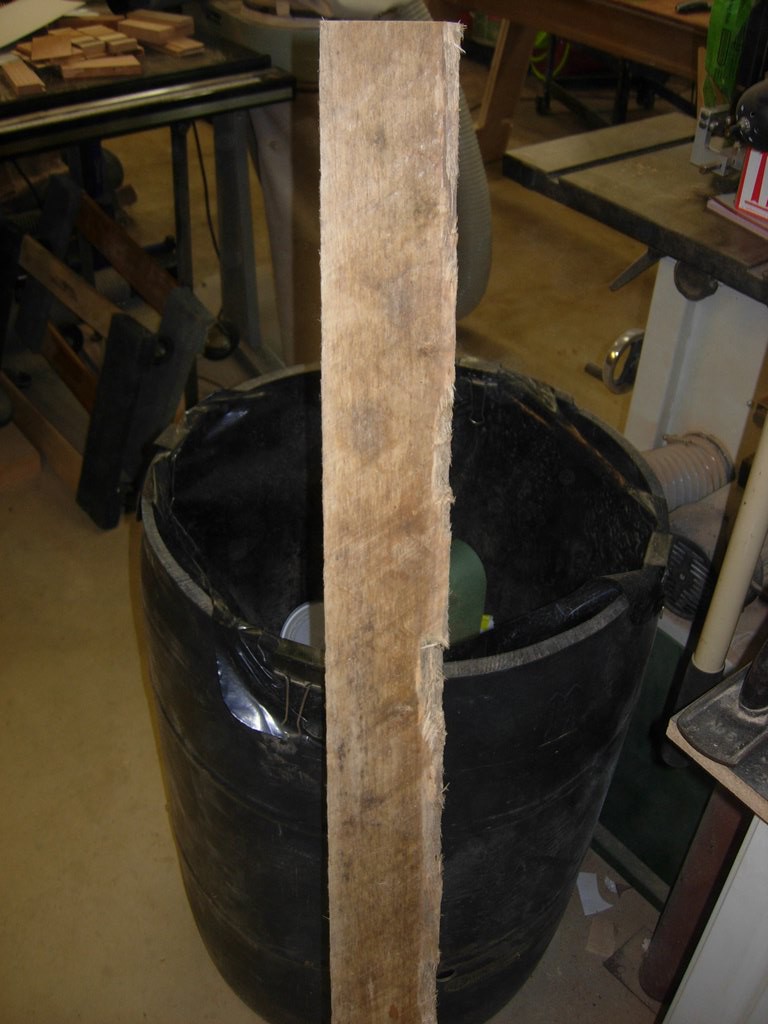
4″X4″ Piece of rough-sawn poplar
I grabbed an old 4″x4″ poplar board that was used for fork lift spacer block, and cut a chunk off.
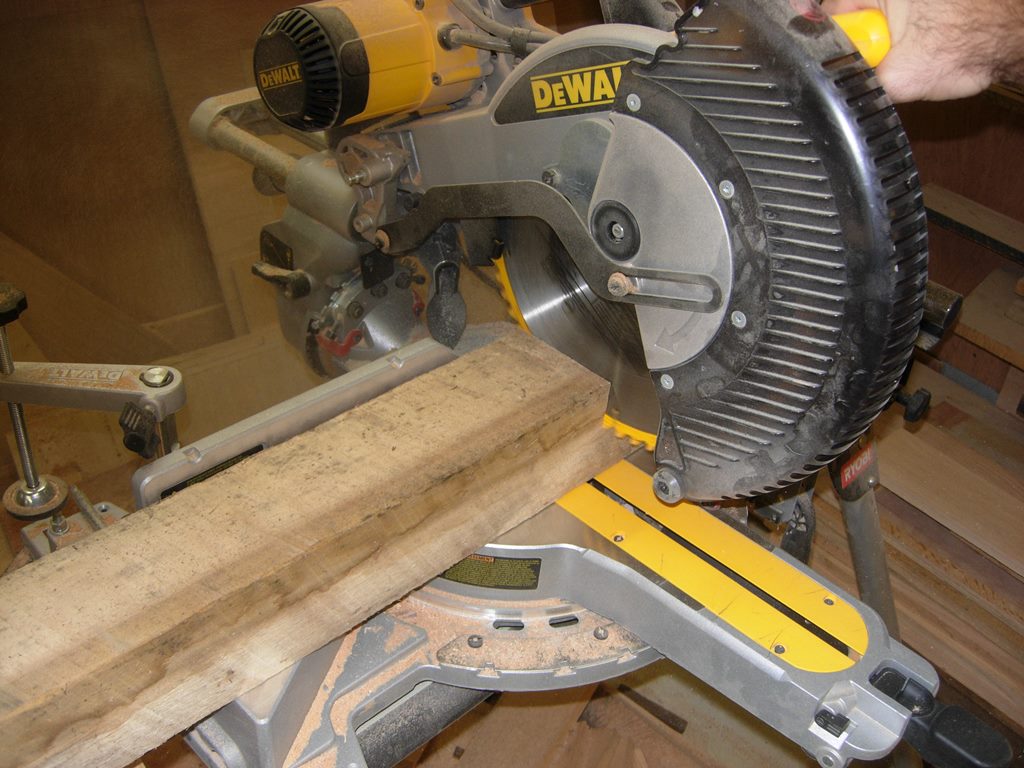
cutting a chunk of 4″X4″
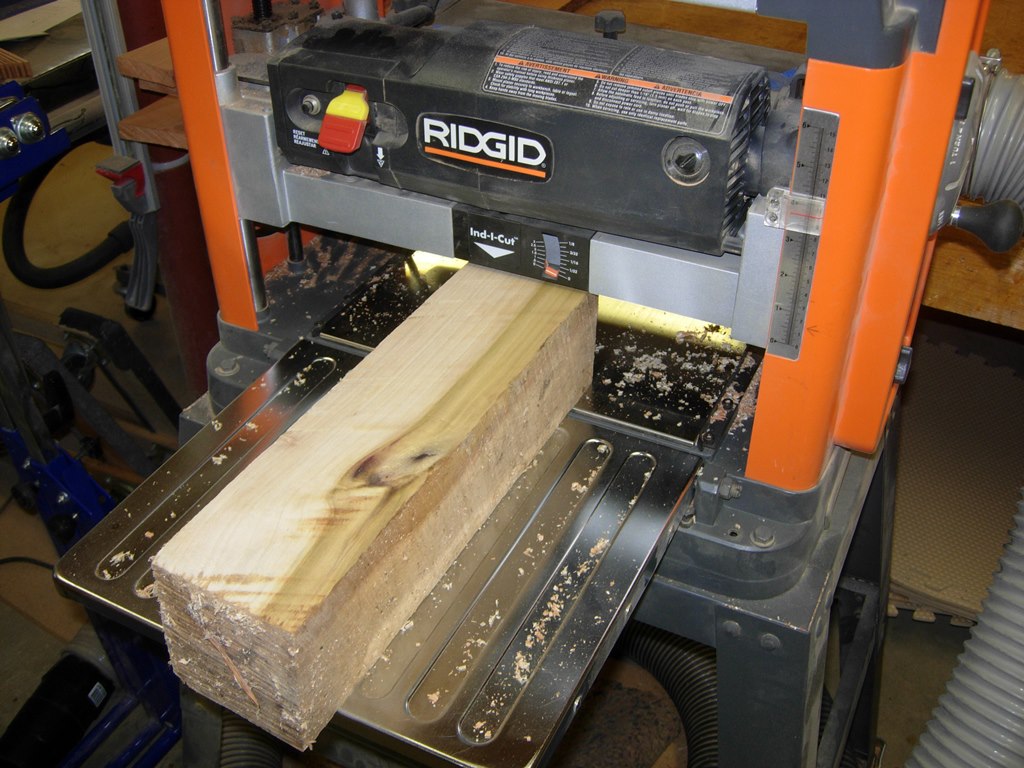
Planing the first side
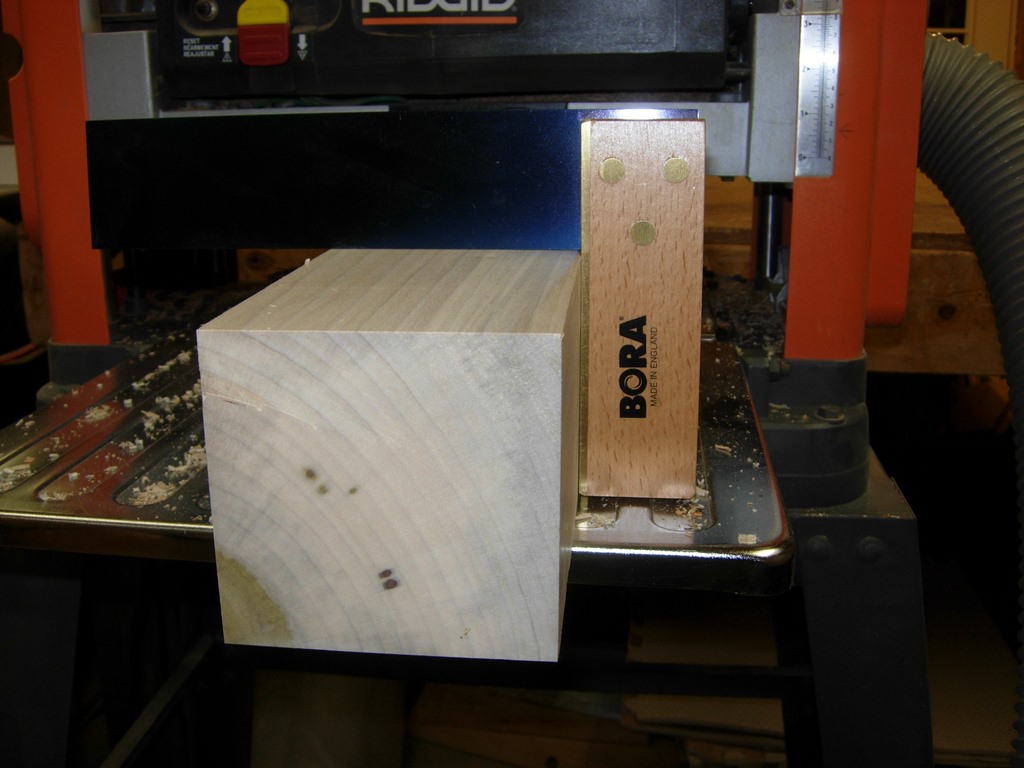
Adam and I planed down one side, then I ran it through the table saw to make one side perpendicular to the planed surface.
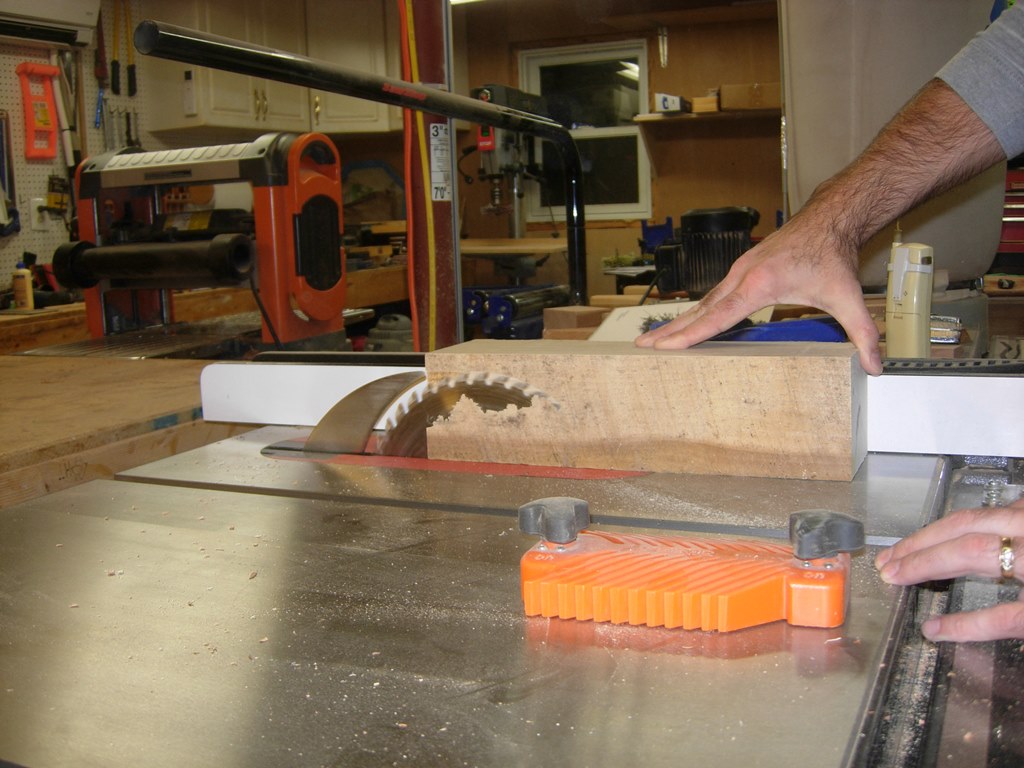
Squaring up side two
This allowed us to plane the opposite sides down flat and parallel to the square sides.
Planing the other sides down square and parallel
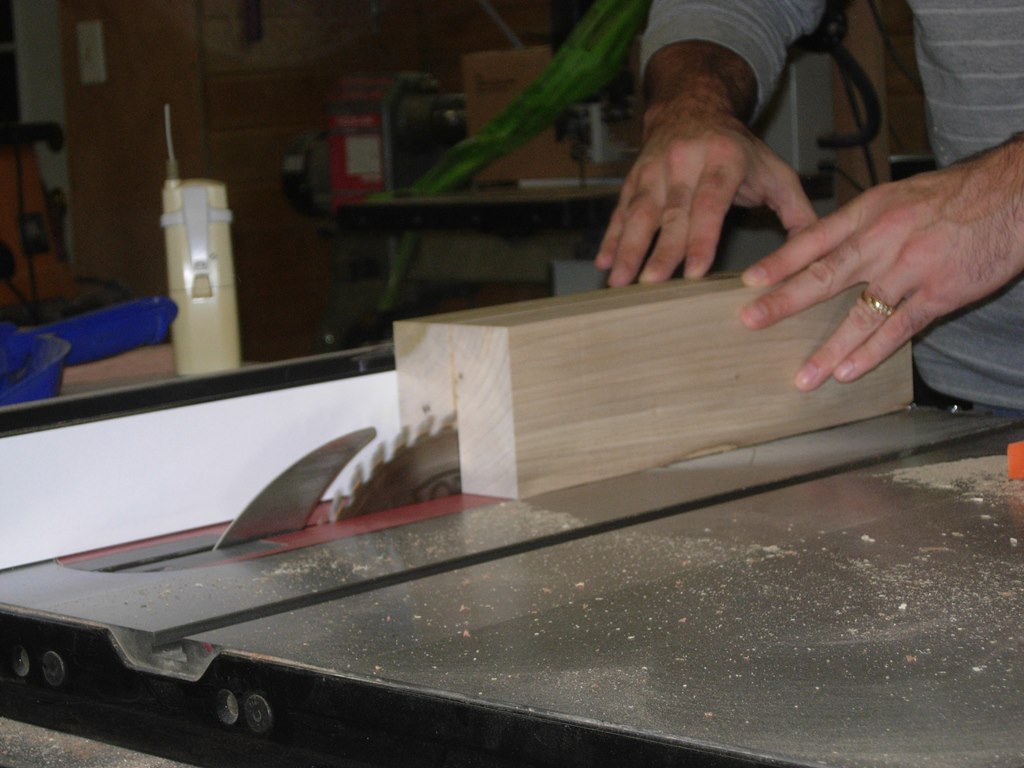
Ripping the block in half
Once squared up, I ripped the block in half then cut those two pieces in half again.
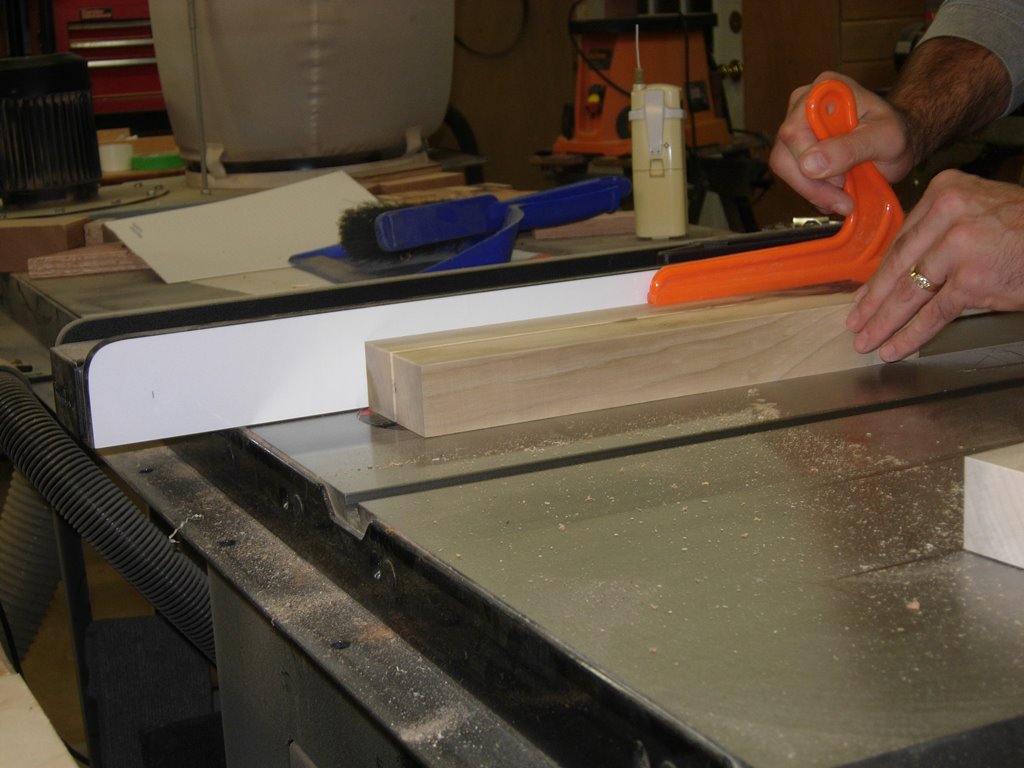
Ripping the halves in half
I chopped the blocks down to 8″ long and made sure both ends of each block were squared off.
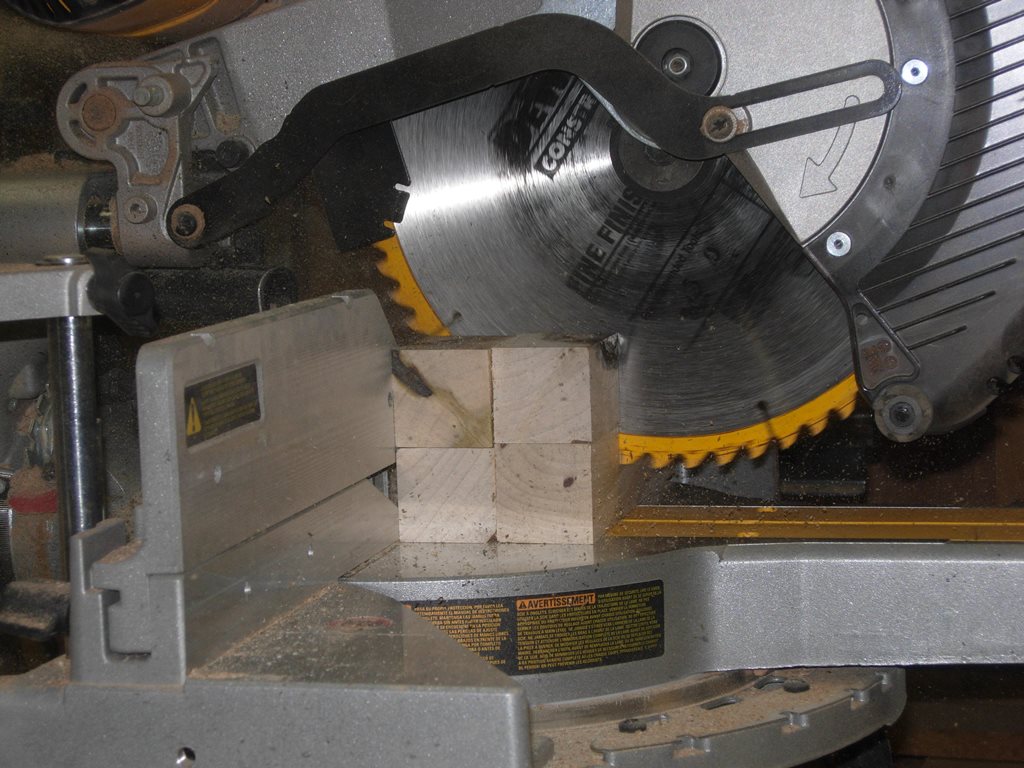
Cutting the quarters to length
8 blanks ready for shaping
I used Adam’s handle as a pattern for the rest of these. The next step is to pre-drill both ends. I grabbed a 1″ speed bit to drill out the flashlight side. I attached a piece of tape for my depth stop, at about 1/4″ less than the length of the flash light.
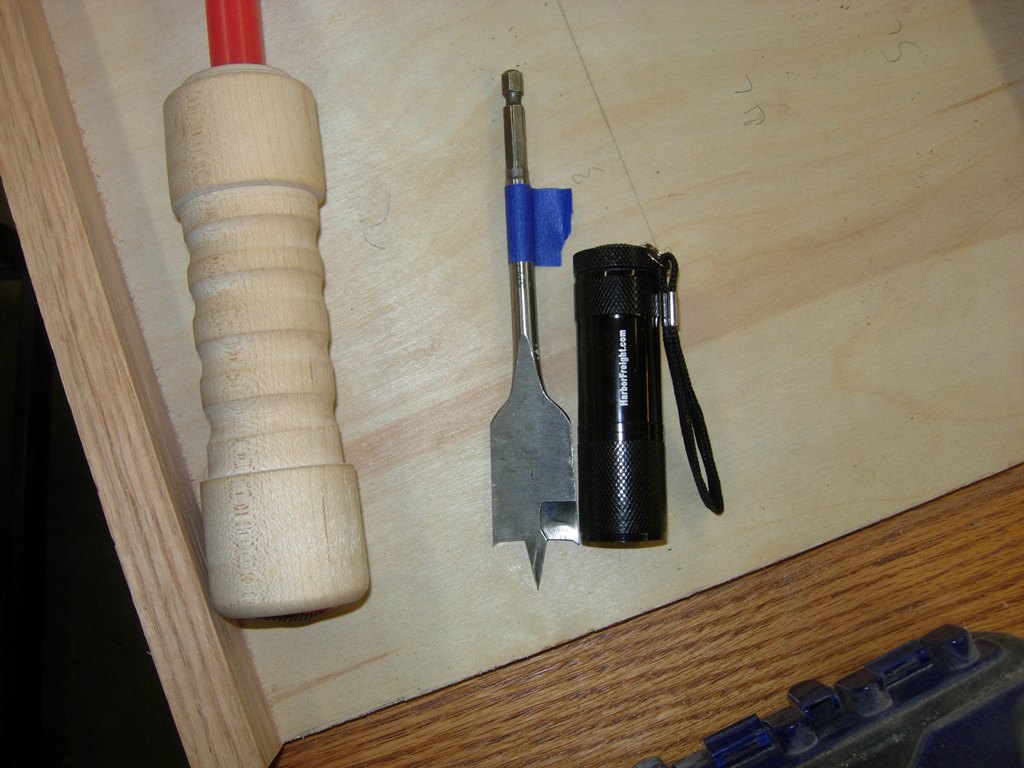
Marking the speed bit
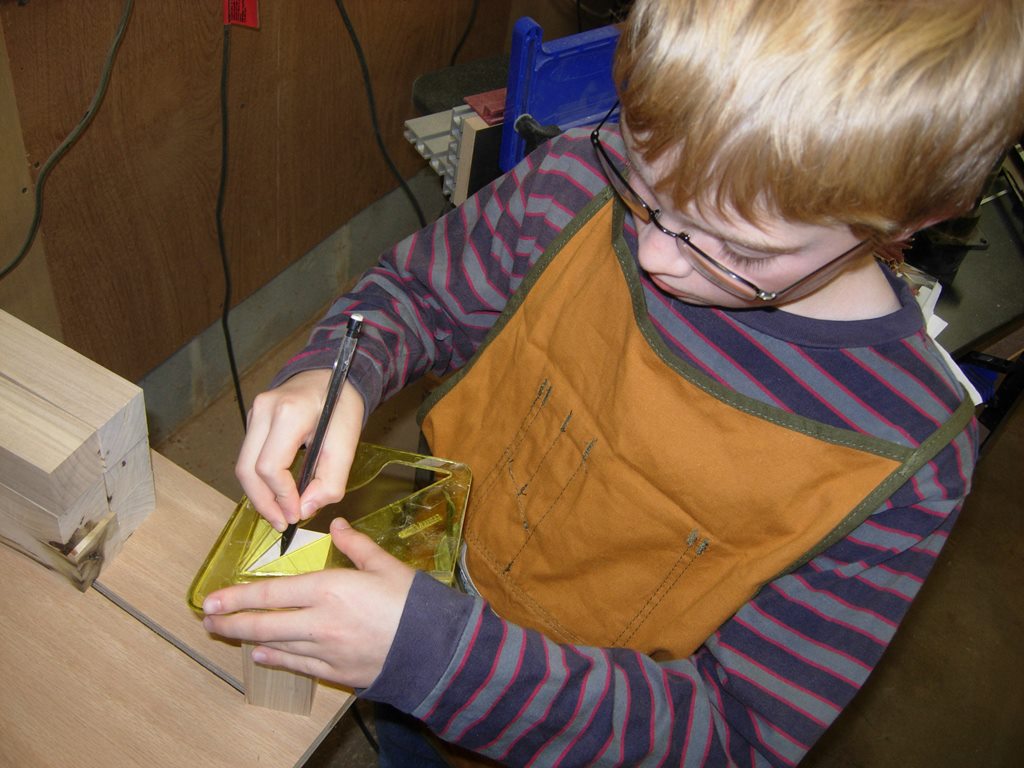
Adam finding the centers
Adam used my center finder to mark the center of each end of the blocks.
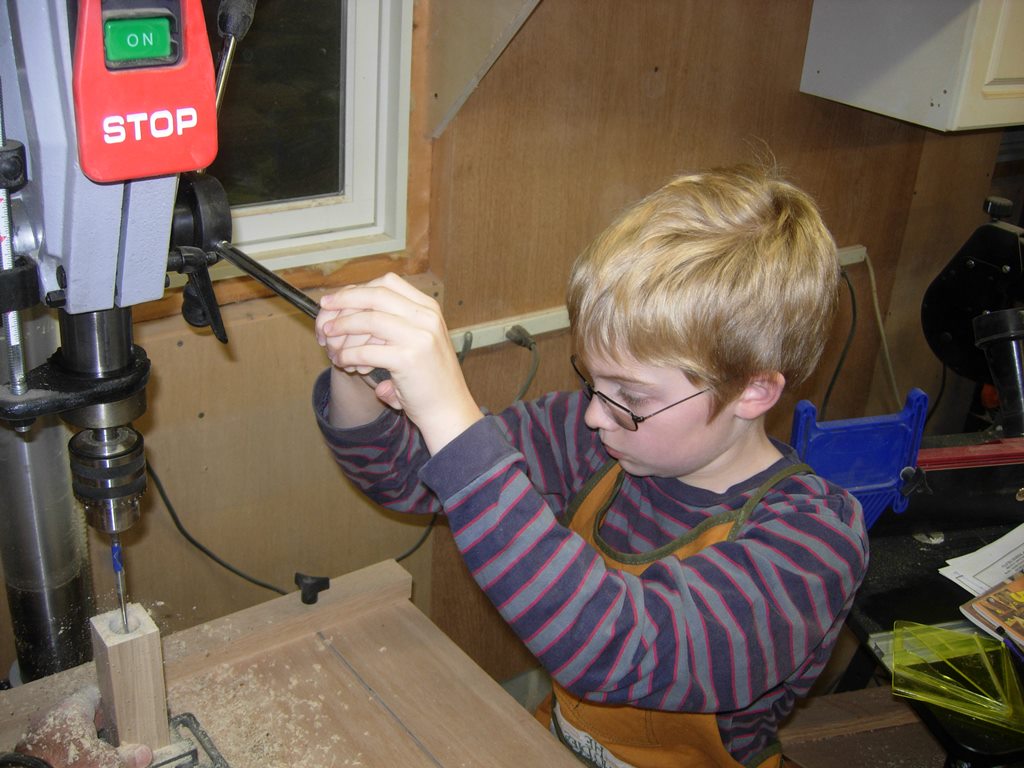
Drilling the 1″ holes
I clamped the block in a small machinist vice, to hold it perpendicular to the table. Adam drilled out all of the holes, about 3-1/4″ deep.
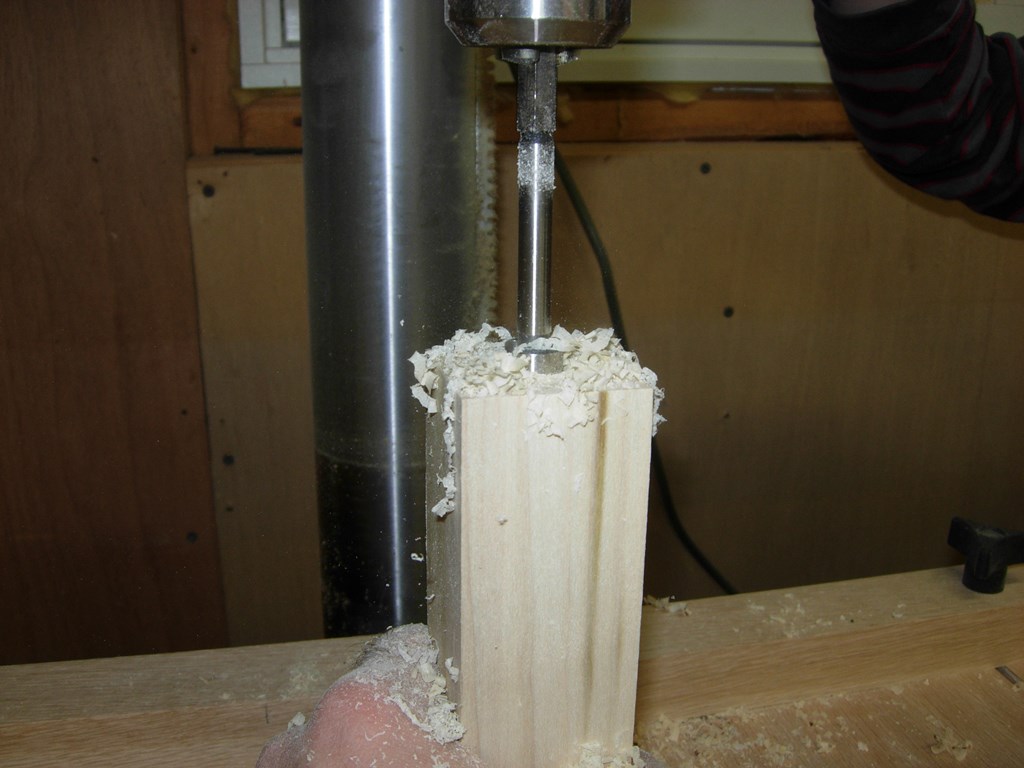
Drilling the 5/8″ holes
After that, we flipped the blocks and drilled out a 5/8″ diameter hole in the opposite side, through to the larger hole.
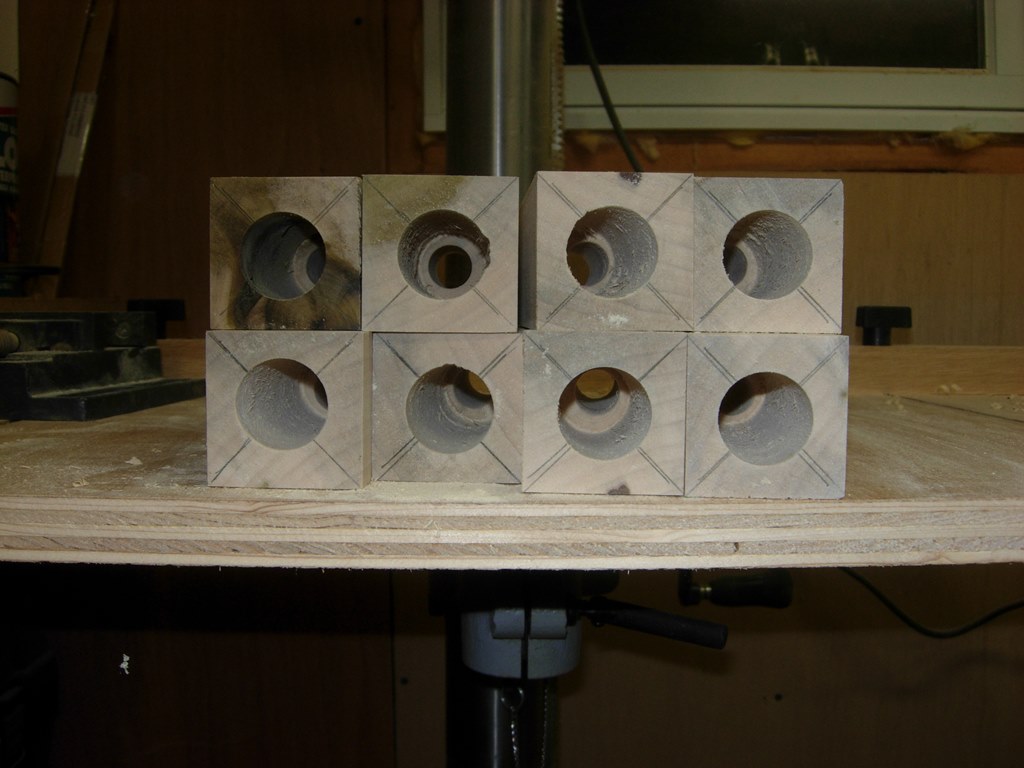
Blanks all drilled
They didn’t all come out dead center, but they didn’t have to…
Trying my new roughing gouge
Since the blocks are cut to length and there are holes drilled in the end, a couple of bushings are required to hold the blocks in the lathe. I chucked up a piece of pine and cut a taper on one side that would stay in the chuck, that was 1″ diameter in the middle. The other side was a knob with a 1/2″ diameter spindle sticking out with a slight taper on it.

Creating the work holding jigs
Separating the two pieces
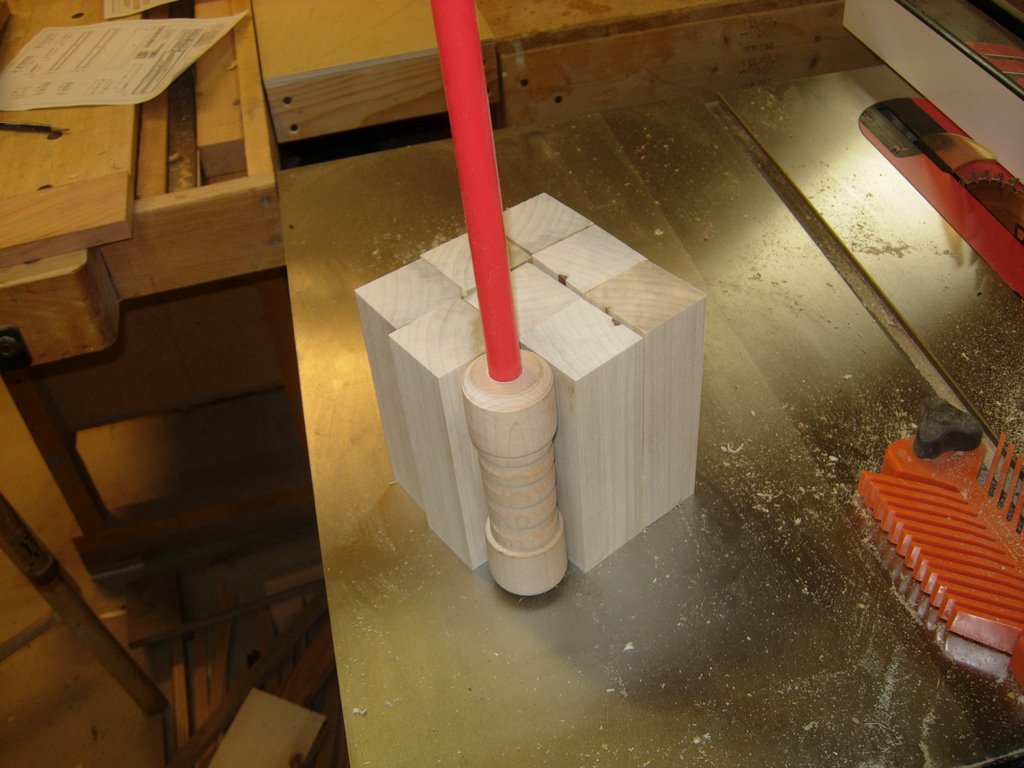
After cutting the waste piece out of the middle, I chucked up the block on the two tapered shafts. It creates a surprisingly tight friction fit.

Blank clamped into place
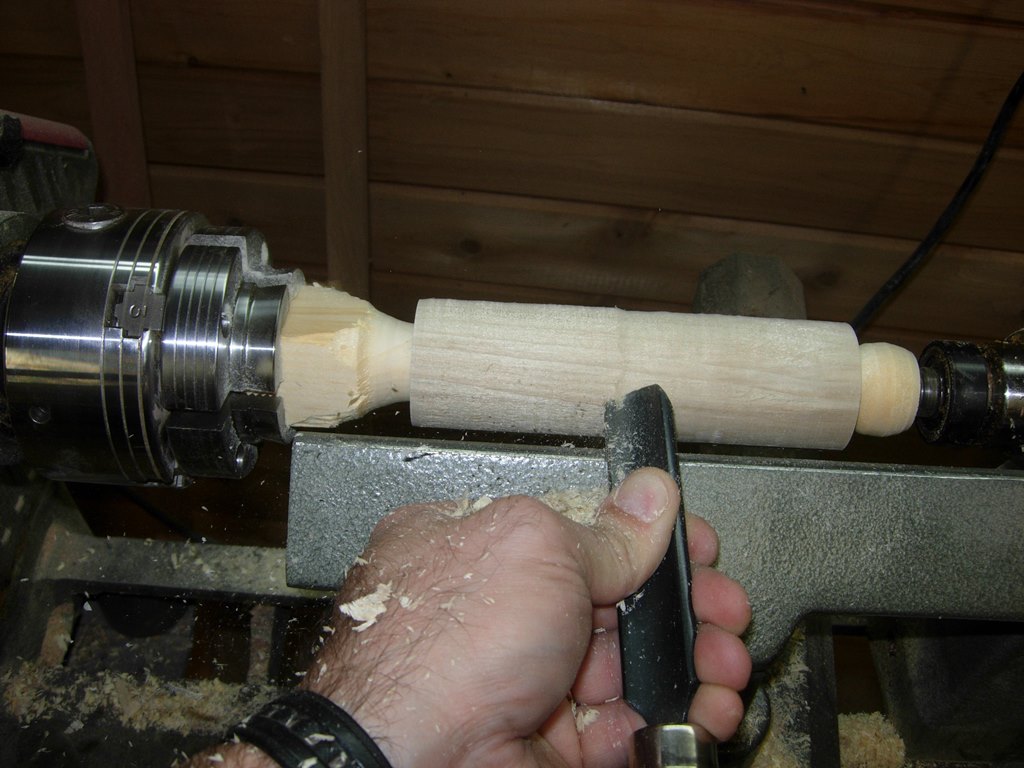
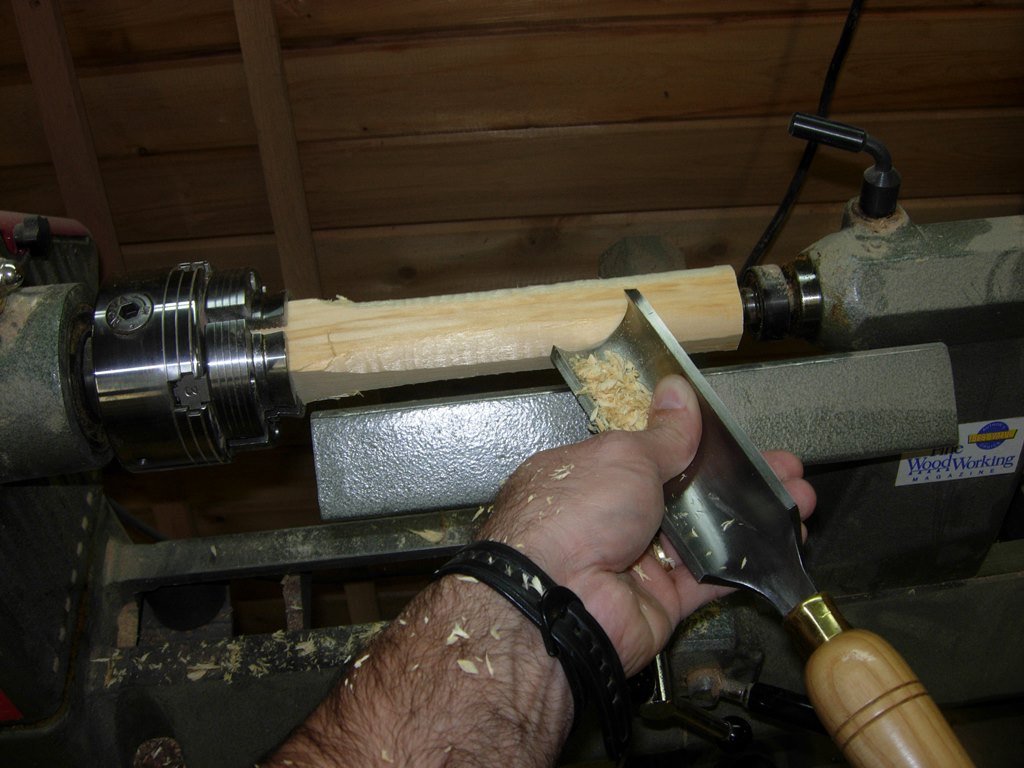
Taking the square edges off with the roughing gouge
I wasn’t sure how everything would work, and I have a habit of things not always staying together on the lathe, so I decided to make the first one myself and let Adam try turning some if I was successful.
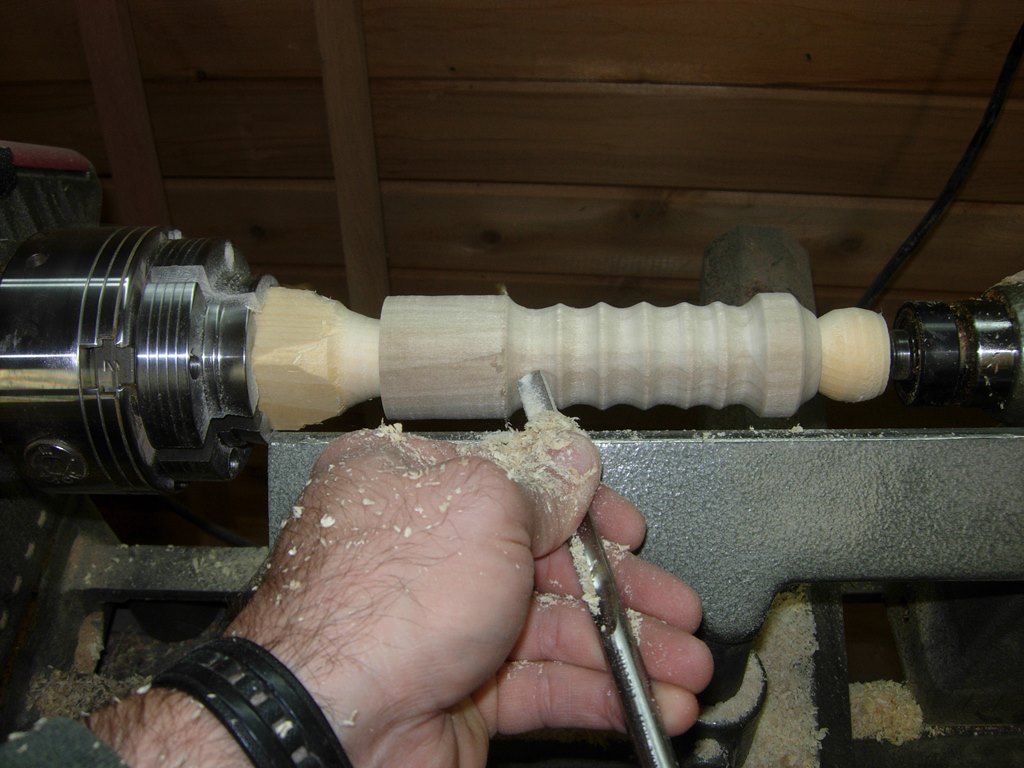
Using a spindle gouge to shape the handle
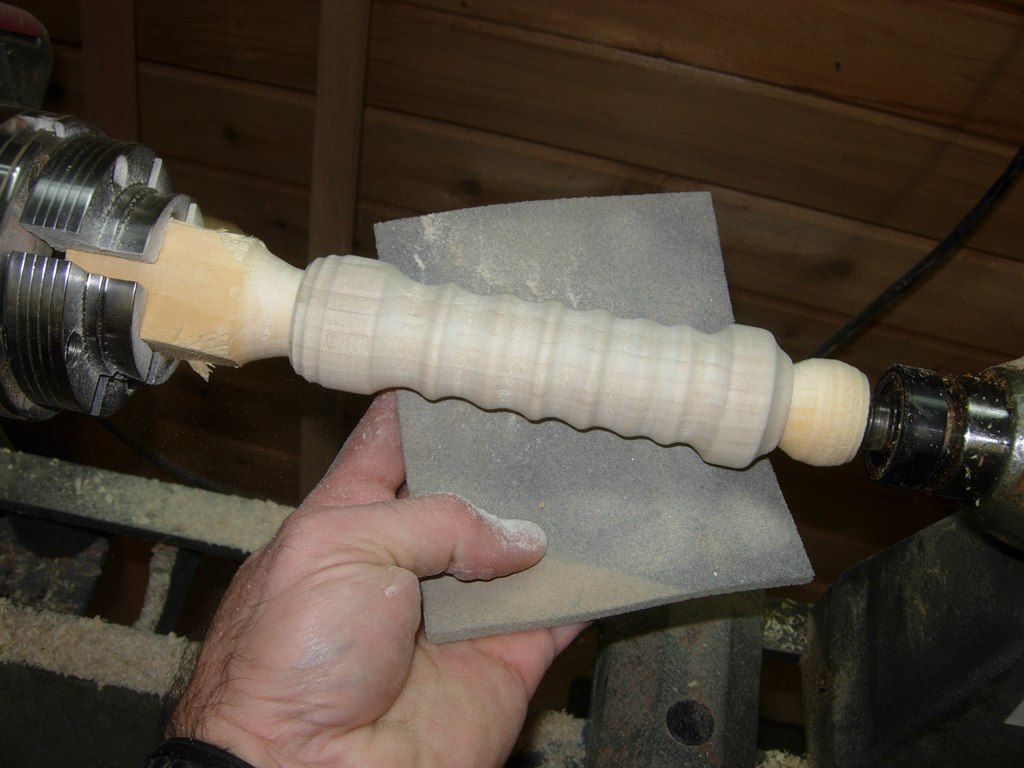
I took the block from square to round with my 3/4″ roughing gouge, then switched to a spindle gouge to do the shaping. After only a few minutes, I had a handle. I sanded it down with a foam sanding pad, and the handle was complete.
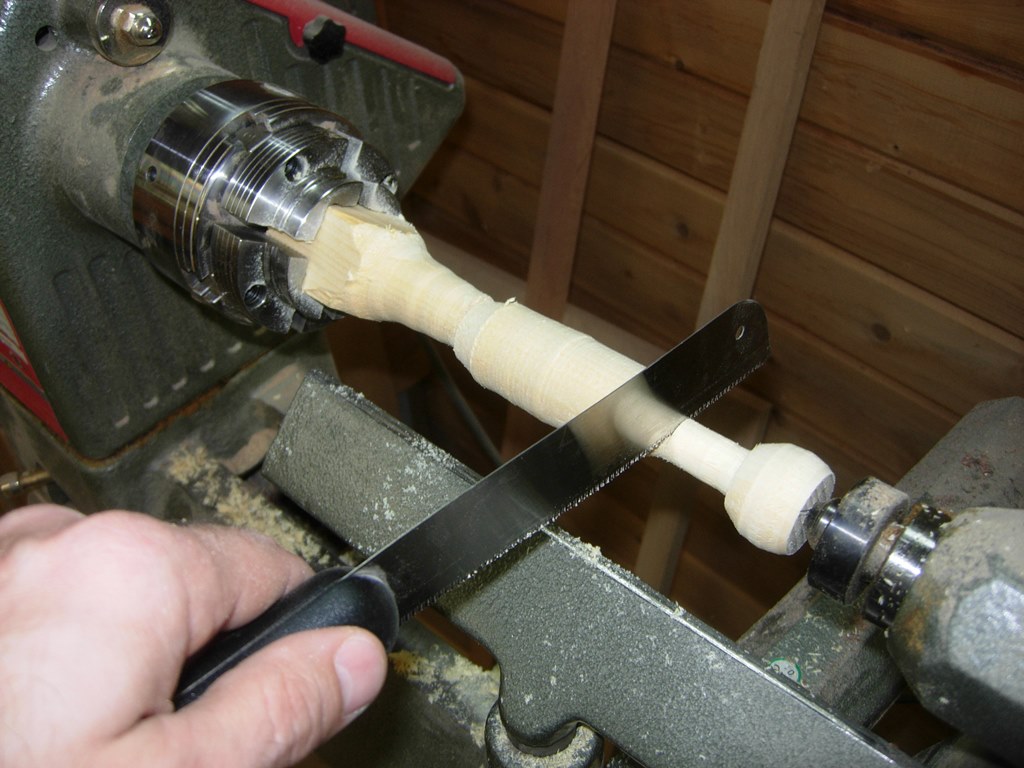
I loosened up the tail stock and with a twist or two broke the handle free from the tapered bushings.
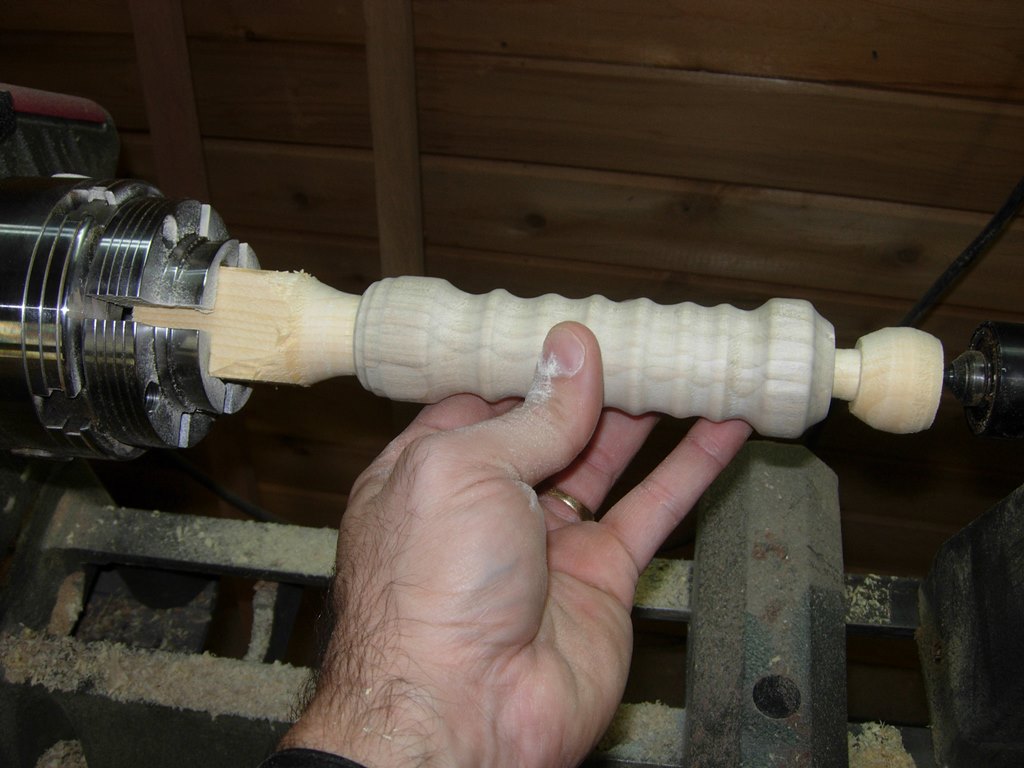
Releasing the finished handle
Marking the Pex water line
Time to make the rest of the saber. The PEX line that I bought was a straight piece, about 60″ long. I measured 20″ in from each end and cut the pipe.
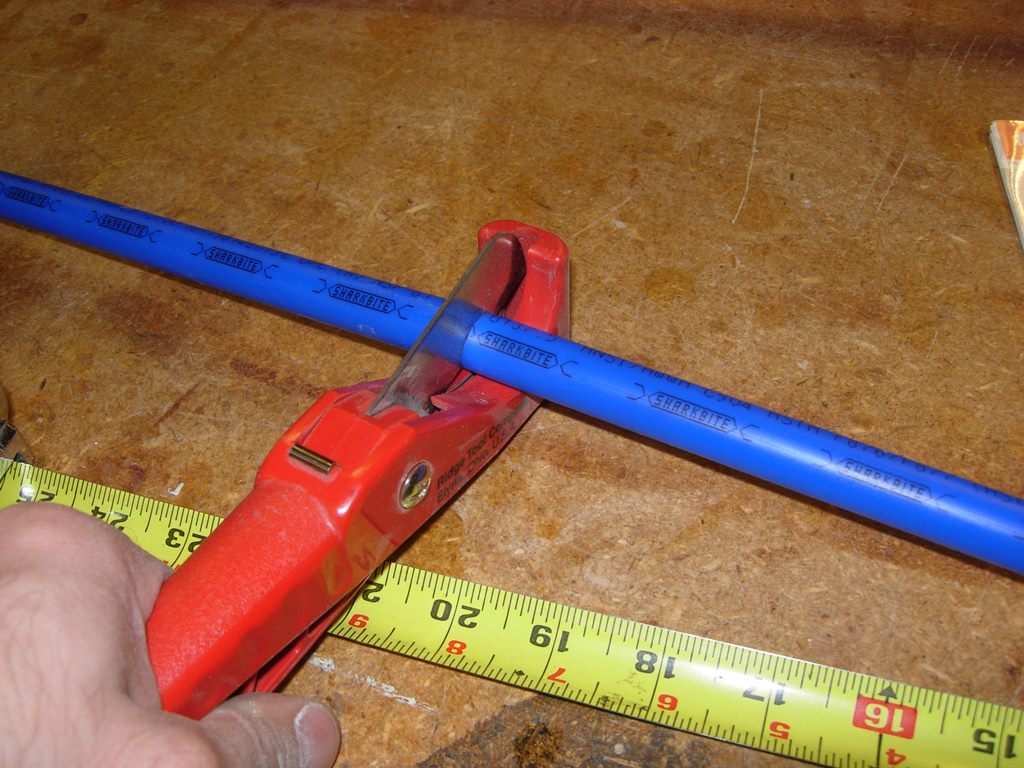
Cutting the 20″ pieces
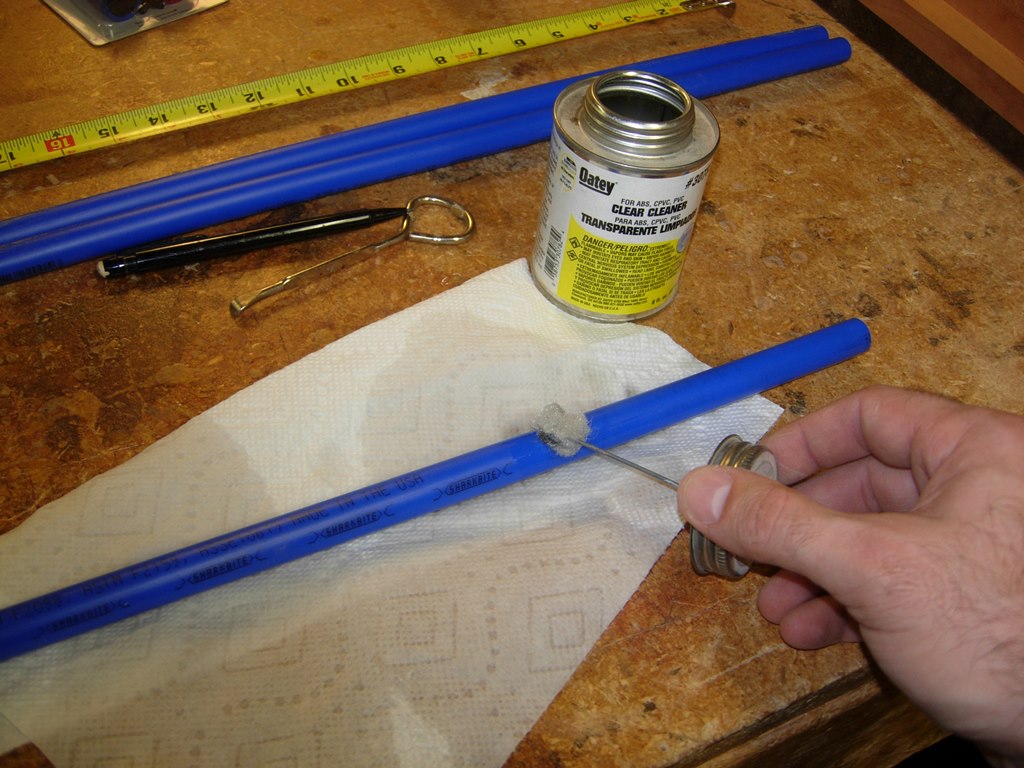
Cleaning off the writing
Since there was writing all over the pipe, I tried a couple different solvents to clean it off. The denatured alcohol was mostly effective, but I wasn’t happy. I tried Naphtha, but it seemed to have little effect. Finally I reasoned that PVC pipe cleaner might work since the PEX is used in the same applications as PVC pipe. It worked really well and I had the pipes cleaned in no time.
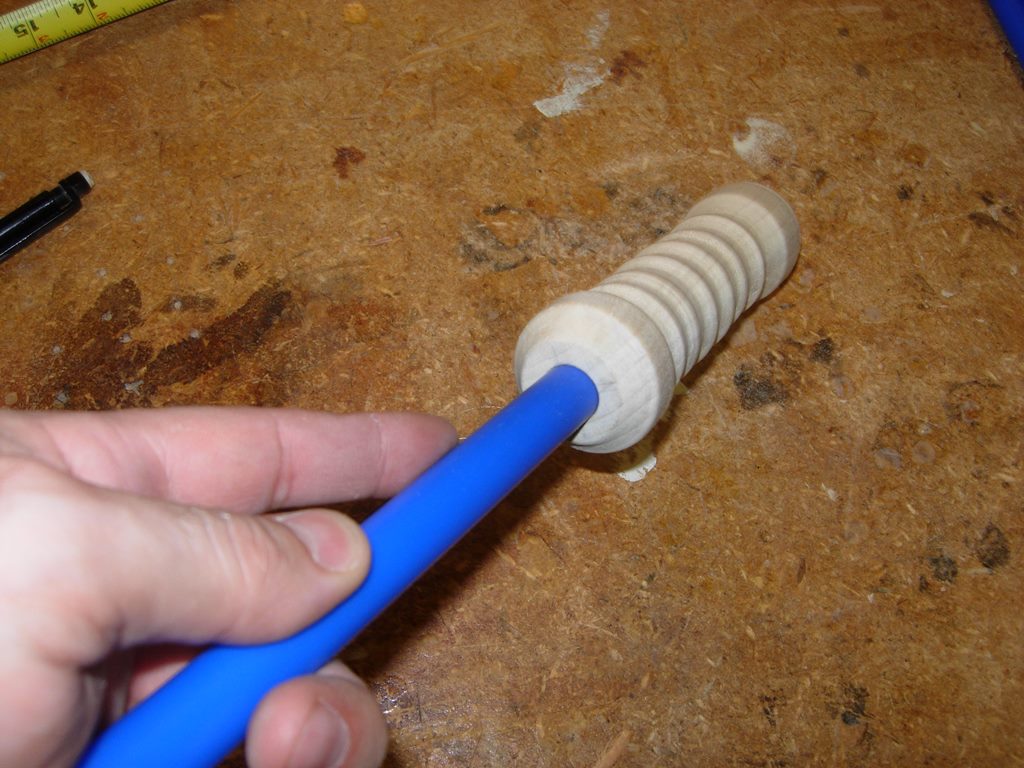
Setting the tube in the handle
I inserted the pipe into the 5/8″ diameter hole and pressed it all the way in. It was a very tight fit and will stay without any glue.

Adding a bit of tape for a snugger fit
Next step was to wrap a single layer of tape around the flashlight. This makes a nice press fit for the flashlight. By leaving 1/4″ of the light sticking out, I have access to unscrew the back to replace the batteries.
Press in the flash light
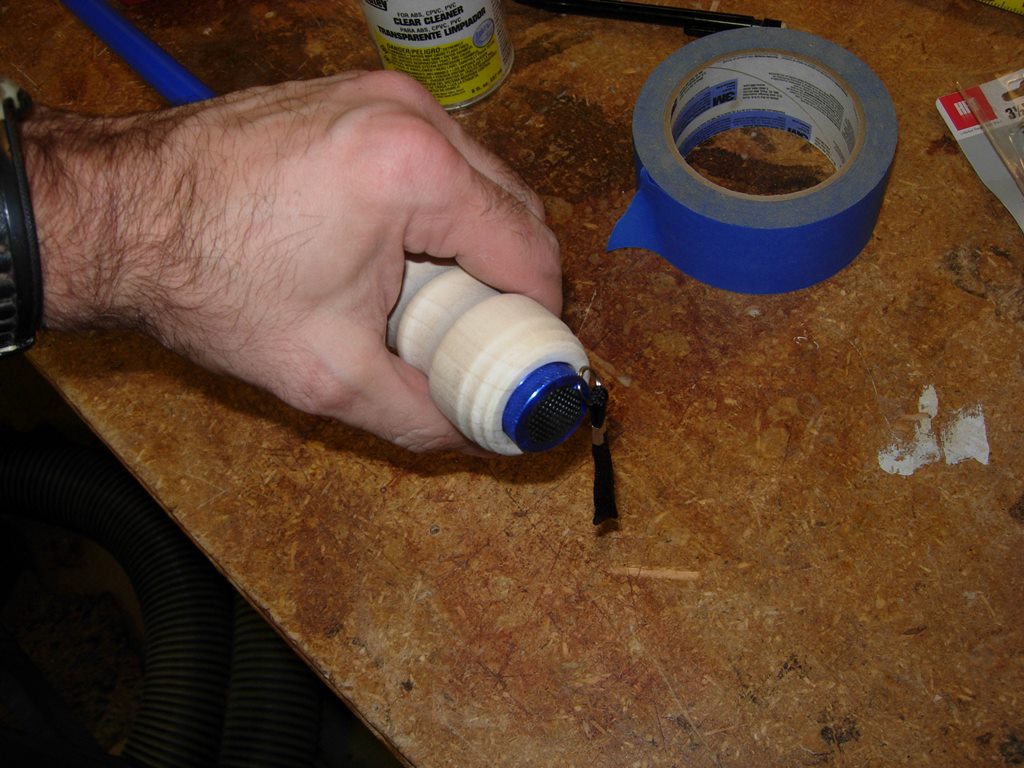
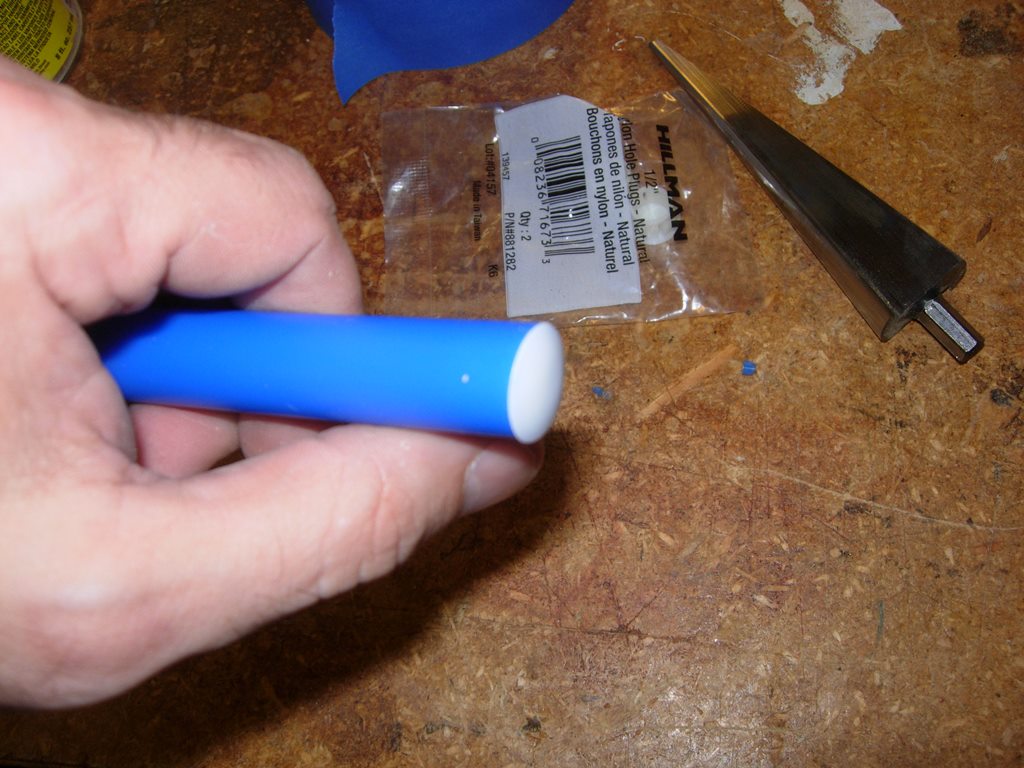
I did make one addition to the design of these light sabers. When the kids (or adults) are using them, the light is rather blinding, when you look straight down the end of the tube. I found some locking nylon caps that press in and stay (even under battle conditions). The cap is translucent so it still glows, and it has the added benefit of brightening the end of the tube. Without the cap, the end is a lot darker than the rest of the saber.

A cap for the end
Since it is a tight fit, I created a slight chamfer on the inside. I used my tapered reamer, but sand paper or a file would work as well.

Adding a small chamfer to ease insertion
Pressed in cap
With the cap pressed into place, the lightsaber is complete.
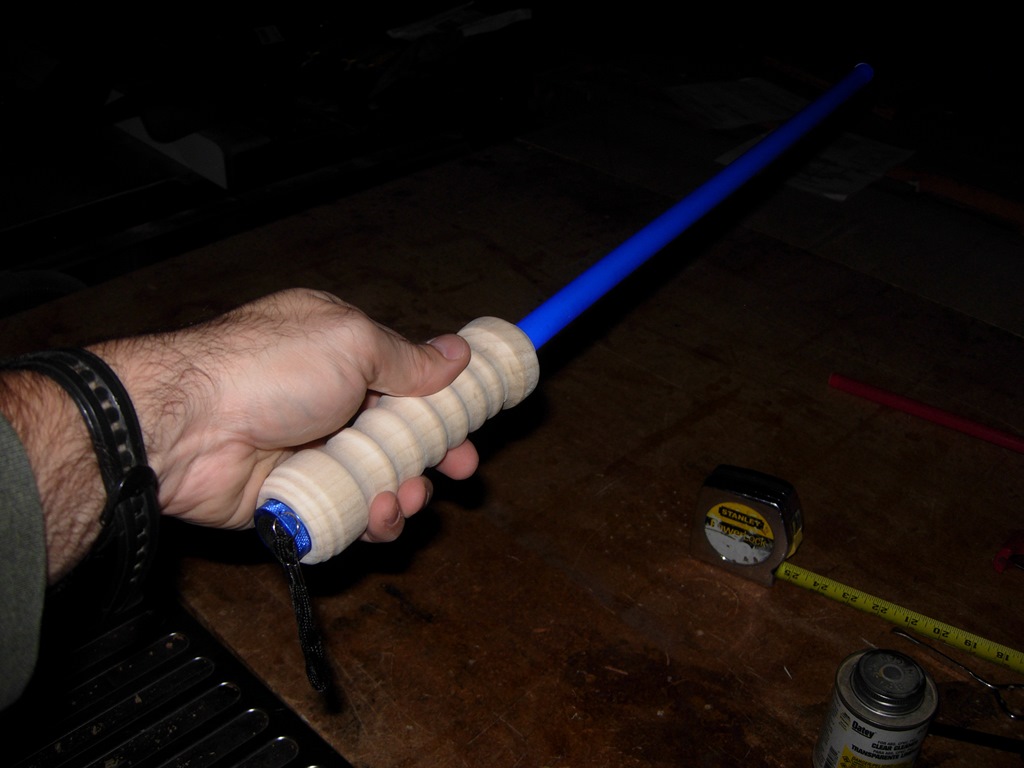
Saber complete
With the lights out, the entire saber glows and the end in not blinding.
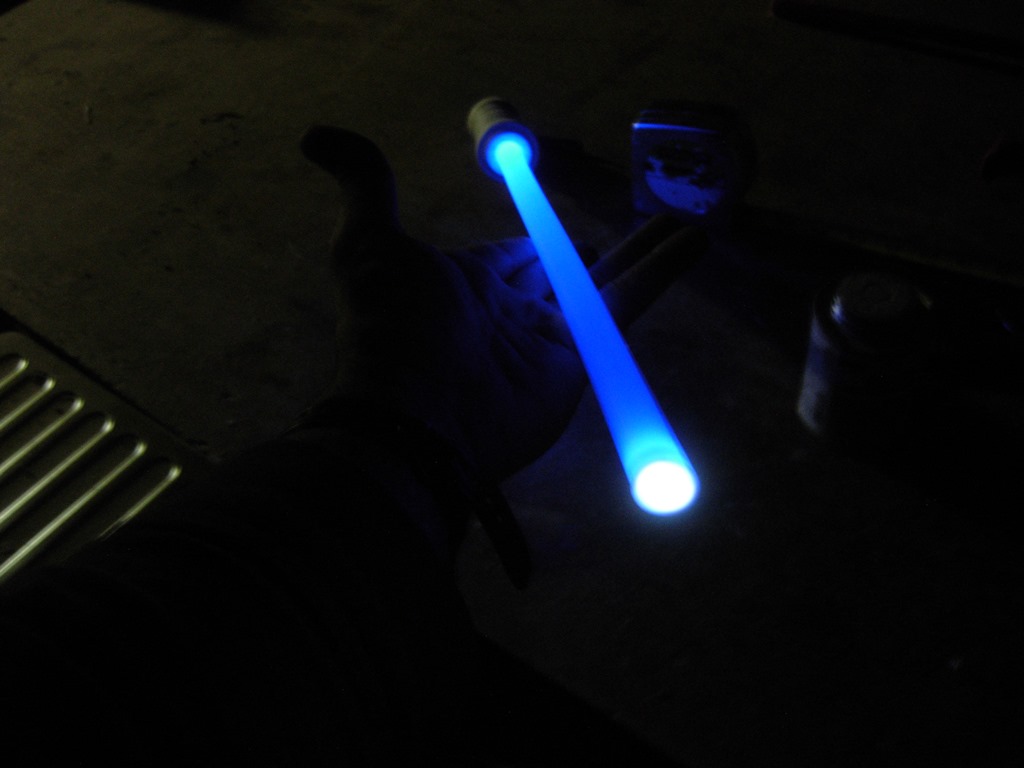
The cap keeps the light from blinding your victim…
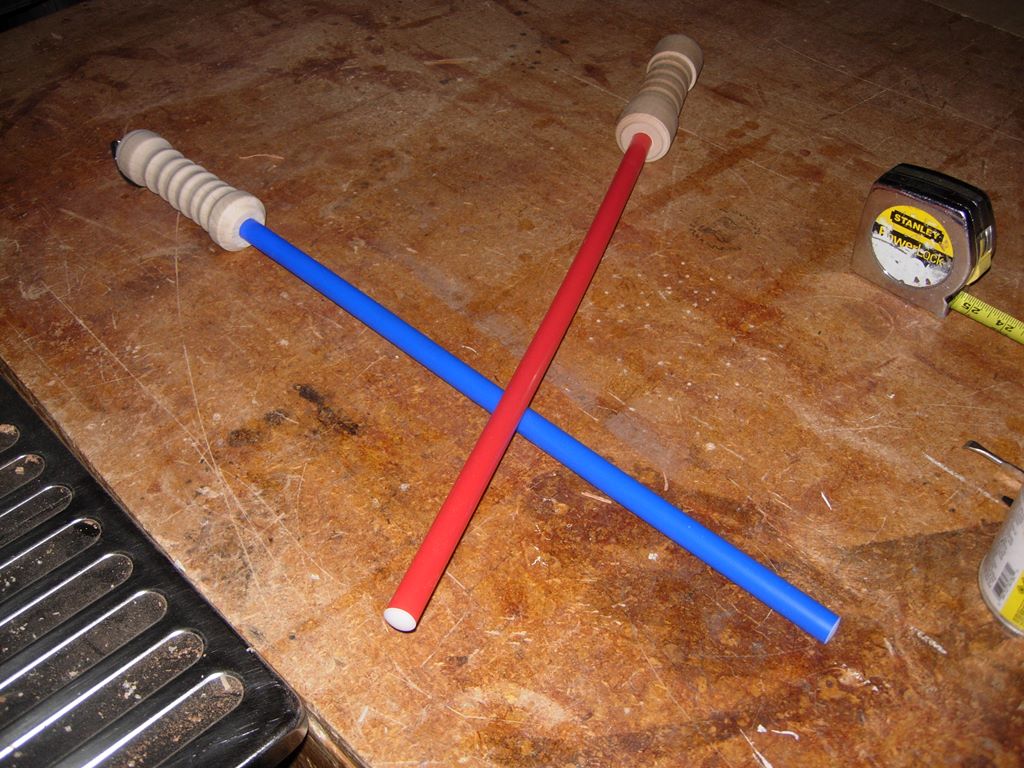
Mine and Adam’s sabers
I hope to have time for Adam to work on some more handles this weekend.

Lights out
This is a fun little project to do with or without the kids. If you have a scrap block of wood, all the parts total about $3 to build one. They are also durable enough for play fighting. If you don’t have a lathe, you could use various other methods for shaping the handle. Try a rasp, spoke shave, or even whittling one with a pocket knife.

Or find a lathe at Lawrence’s… 🙂 Neat project.
Looking forward to giving these a try. I saw you made them at WWIA, and wasn’t sure how to procede with doing my own. Thus far the kids have been happy using duct tape, electrical tape and foam swim noodles. This will definitely raise the bar.
Awesome, it is a fun/cheap project. Email me a couple pictures when you make them.