
Rob’s sofa table – day 1
It has been a while since Rob has been down in the shop, but he has a new project that we got started on this week. He wants a TV table, but wanted to make a piece of furniture that could be used elsewhere in the future. Rob is fond of the clean, simple design of Shaker style furniture, so I searched the web until I found a set of plans for a Shaker hall table, on the WoodSmith website.
104-shakerhalltable.PDF
The table, featured in these plans, is too deep, and not quite wide enough for its intended location, so I redrew all of the parts to create a new cut list. The WoodSmith plans do a great job with the construction instructions, so I won’t bother with detailing the assembly. Mainly, I just need to get a part layout for the boards that we bought.
sofa table.PDF
I picked up three pieces of 12″ wide air-dried cherry, from my buddy Dave. Two of them were 7′ long and one about 3-1/2′ long with some cracks in the center. I knew I would have a bunch of little pieces, so the cracks did not bother me.

Rough-sawn air dried cherry
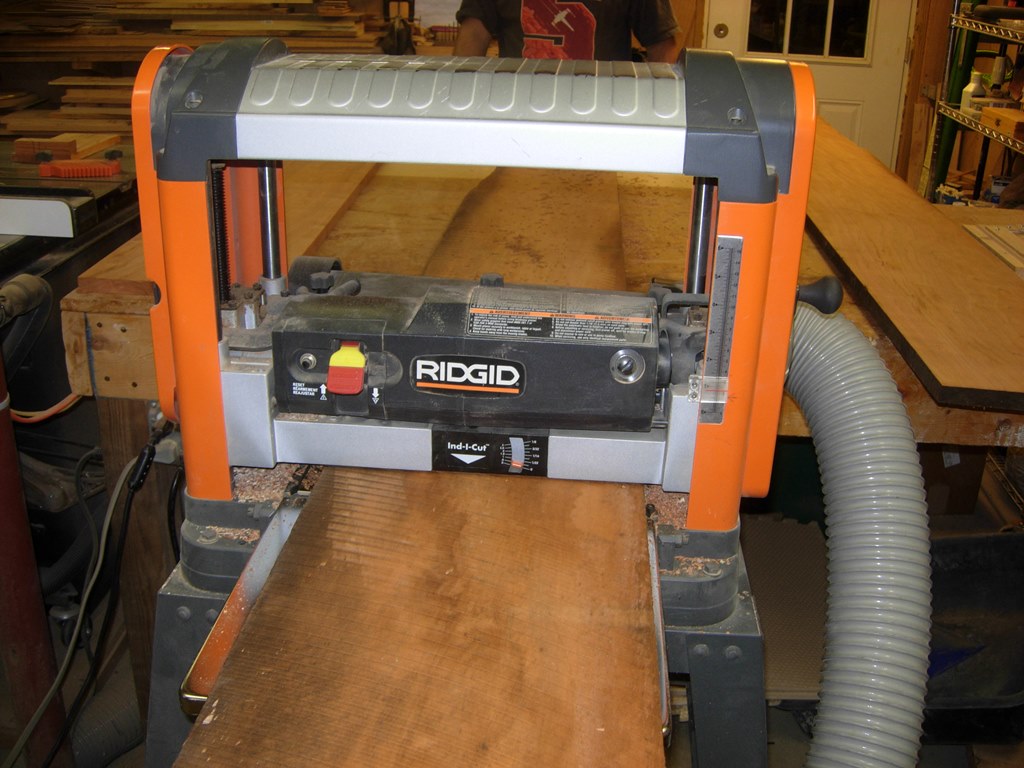
Barely fits my planer
The boards are barely narrow enough to fit through my planer. Rob seemed a bit hesitant about the wood with its black water staining and occasional spots of white fungus, on the rough-sawn surface. But, the grain and coloring looked beautiful, once the boards were planed.
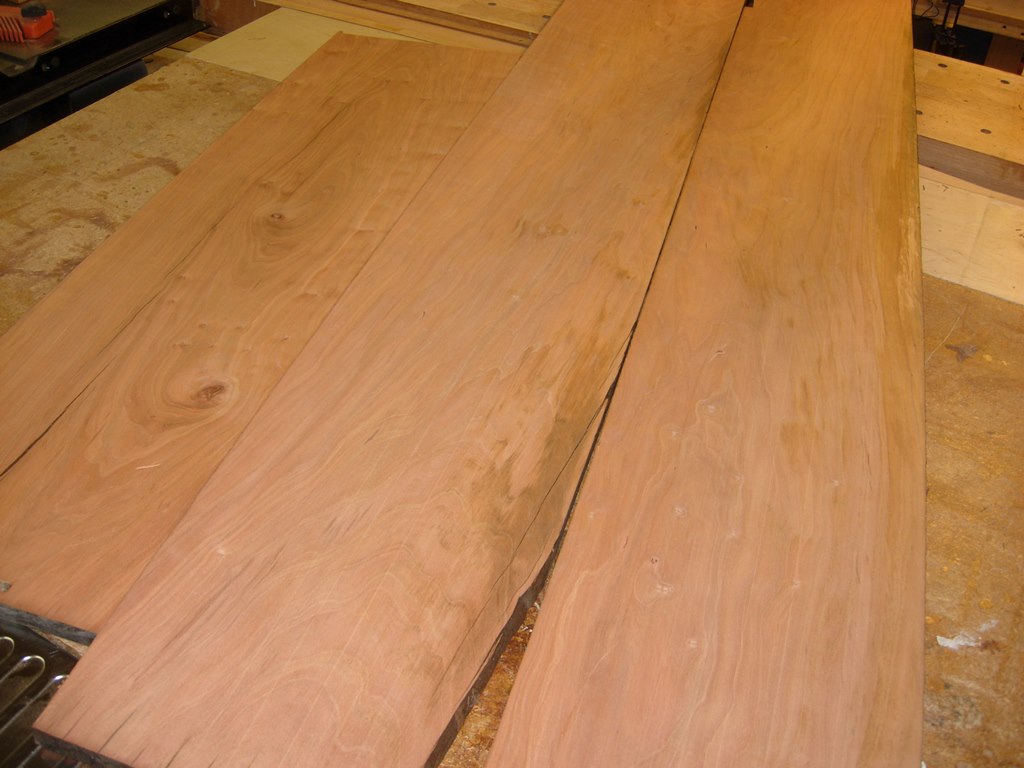
All three boards planed to 3/4″
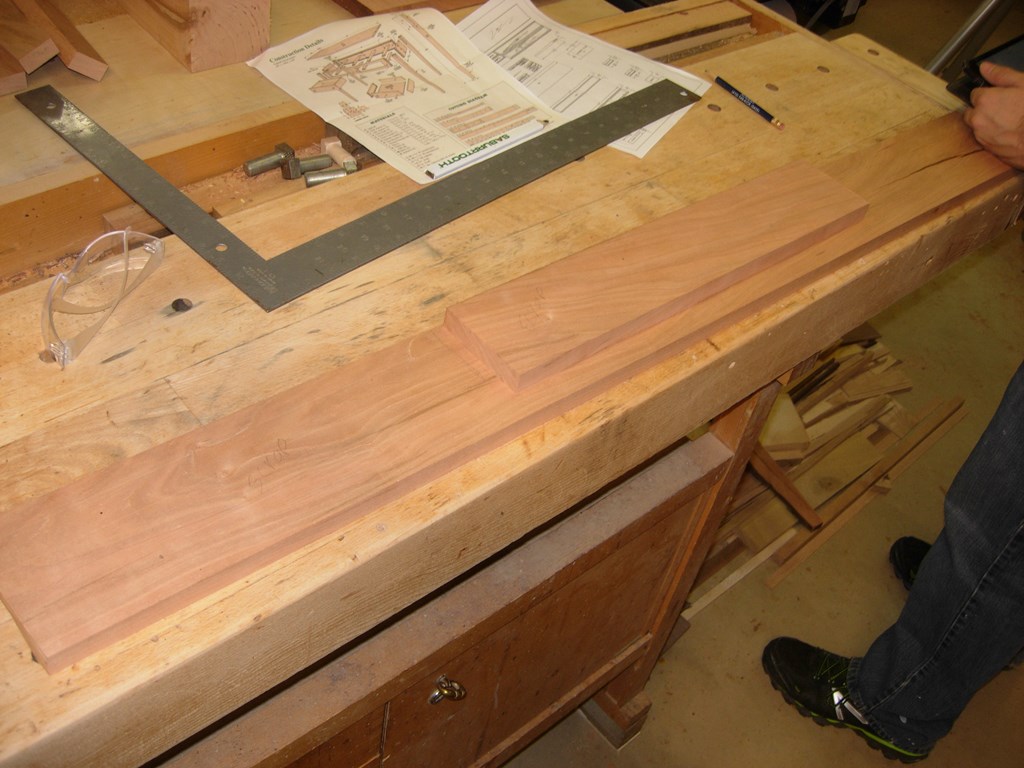
The next step was to roughly lay out the pieces, to make sure everything would fit between the cracks and rough edges.
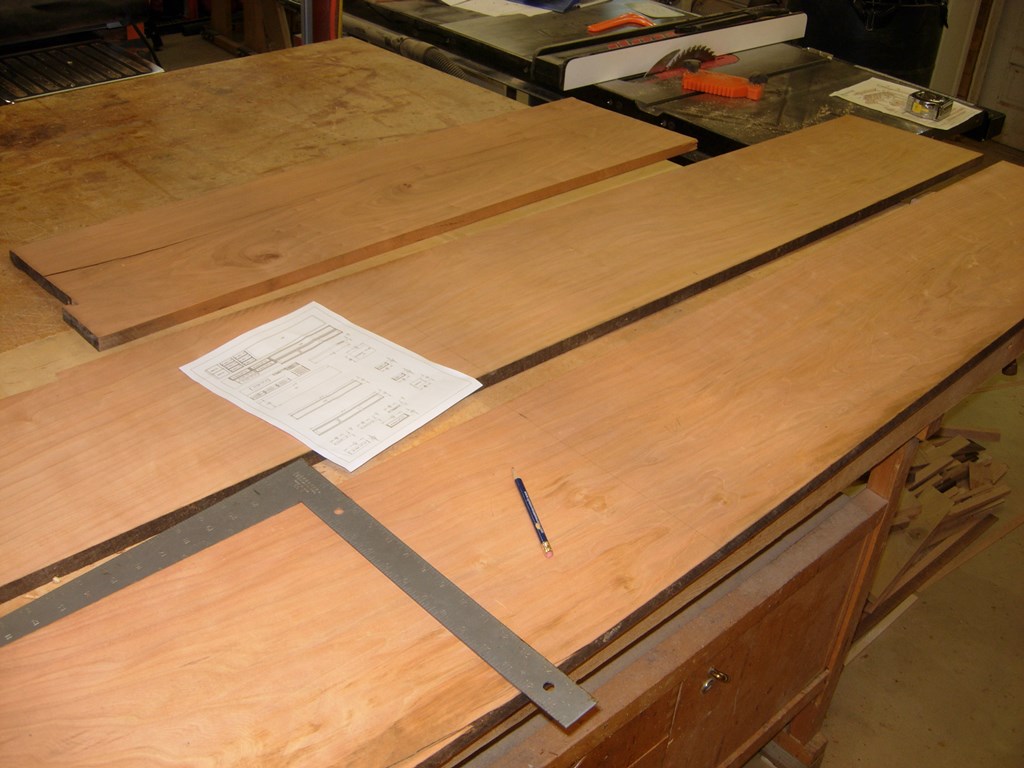
Piece layout

Breaking down the big boards
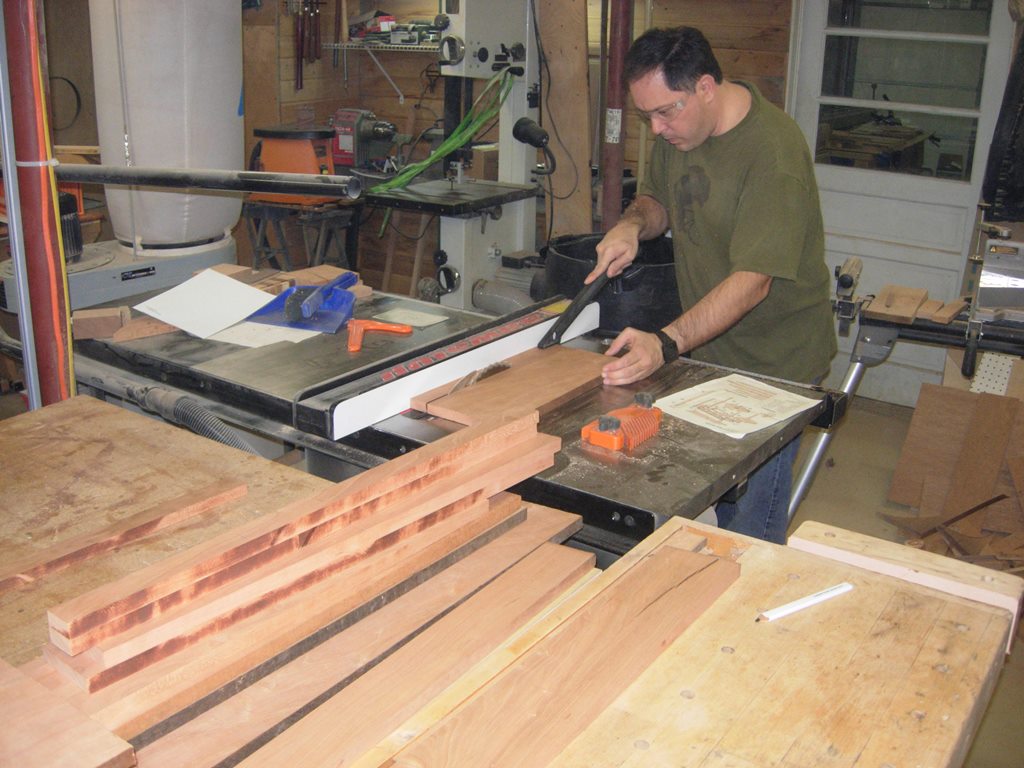
With a rough idea what we wanted, Rob started breaking down the cherry. We left most of the boards an inch or two long, but ripped everything to the exact width.
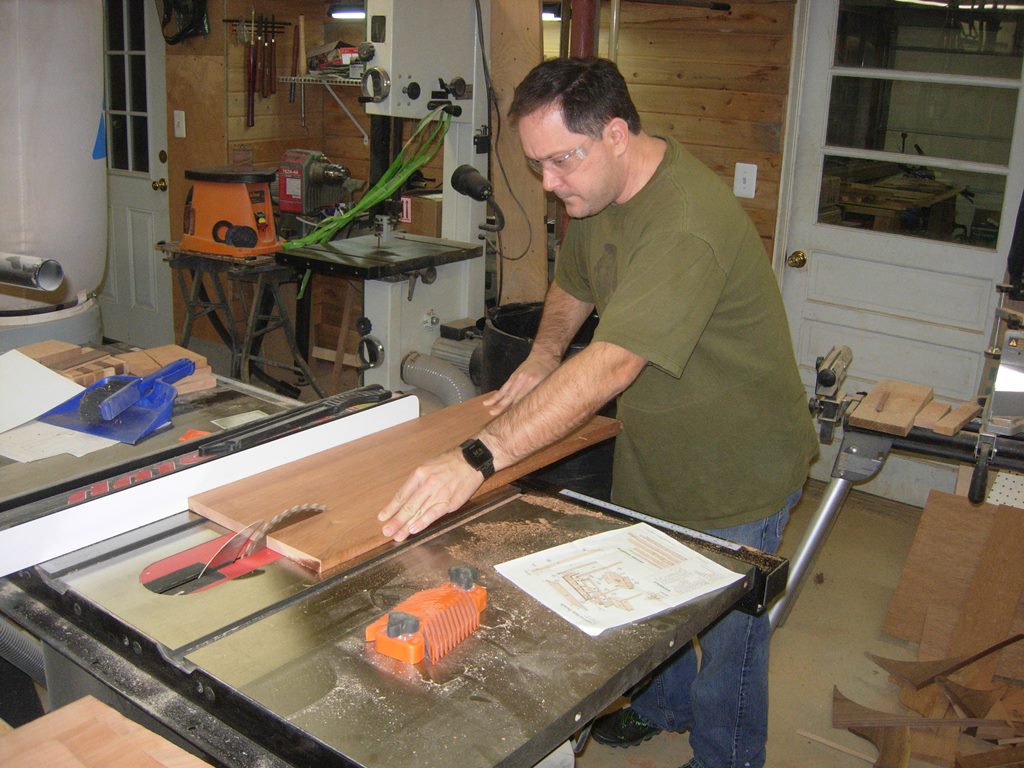
Ripping the boards to width
Cutting the drawer runners
Once all the 4/4 boards were pieced out, we set them aside and started on the legs.
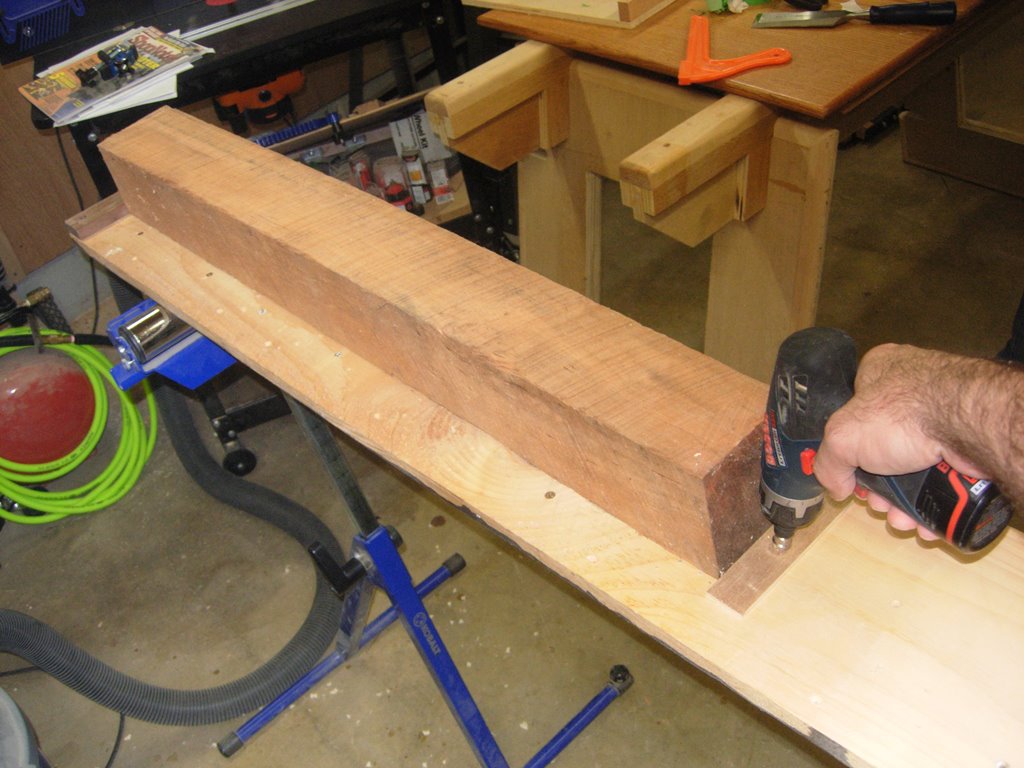
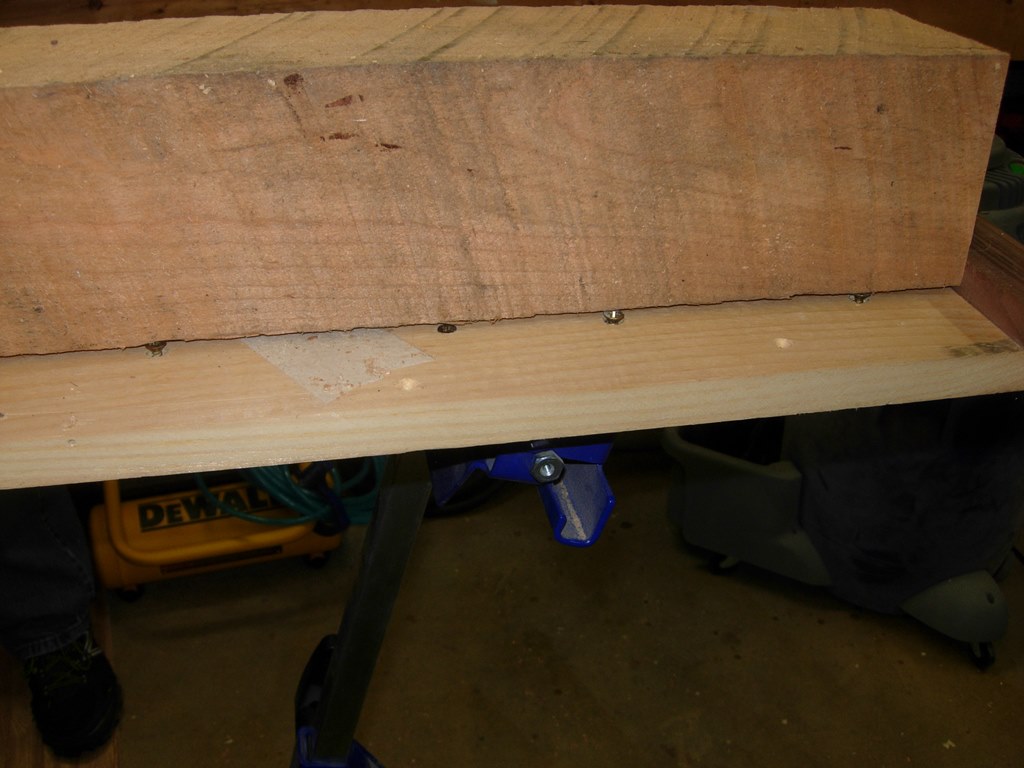
Setting the 4″X4″ into my planer sled
I have a neighbor that brought me home some 4″x4″ posts from work, a couple of years back. They were used as load spacers for a fork lift. He said they were going to throw them out, and he grabbed them for me. Four of those boards were cherry. I didn’t have a use for them at the time, but I set them in the corner of the garage. Since they were green wood, at the time, I let them dry out for a couple of years. Just one 36″ long chunk, from one of those boards, should be enough to make all four of the legs required for this table. The posts are extremely rough, and a little twisted, so I got out my planer sled and adjusted the support screws to take up the slack, and remove any wobble.
Adjusting the screws to remove the wobble
The first pass through the planer showed a light colored, pretty grain, so we kept going.

First pass through the planer
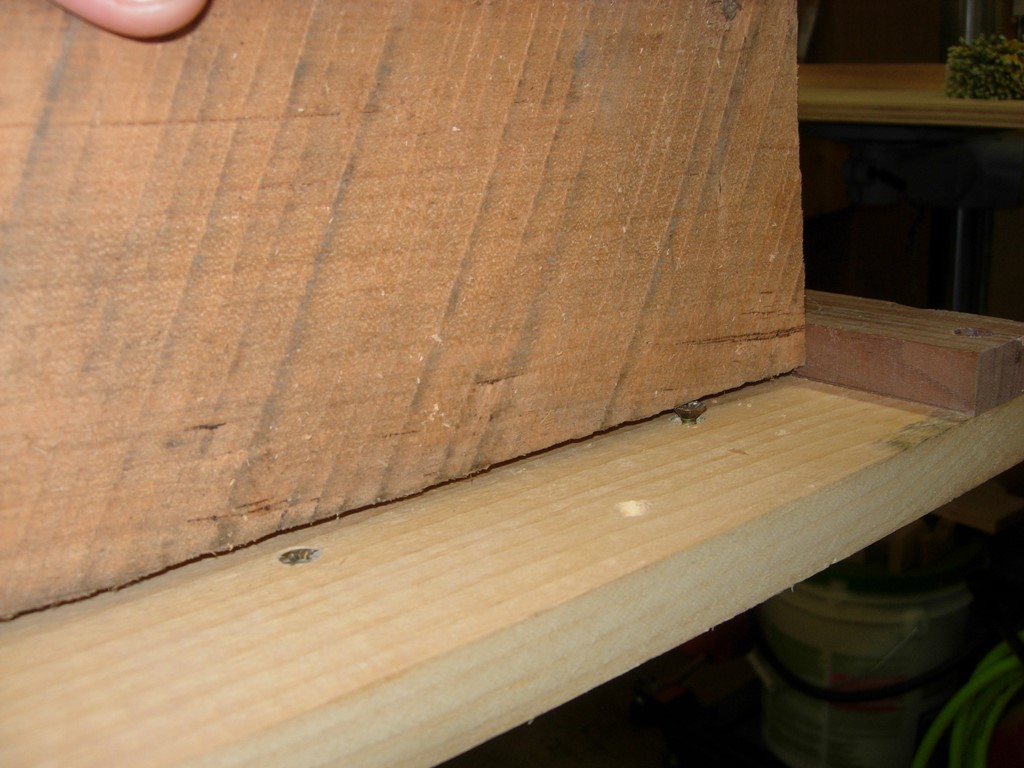
After planning the first side flat, we rotated the post 90 degrees and planed the adjacent side. Once the second side was flattened, I checked for square. It was out by about 1/16″.
Slightly out of square
I flipped the board over and raised a row of support screws 1/16″ and planed the opposite side flat.
Adjusted screws to make up the difference
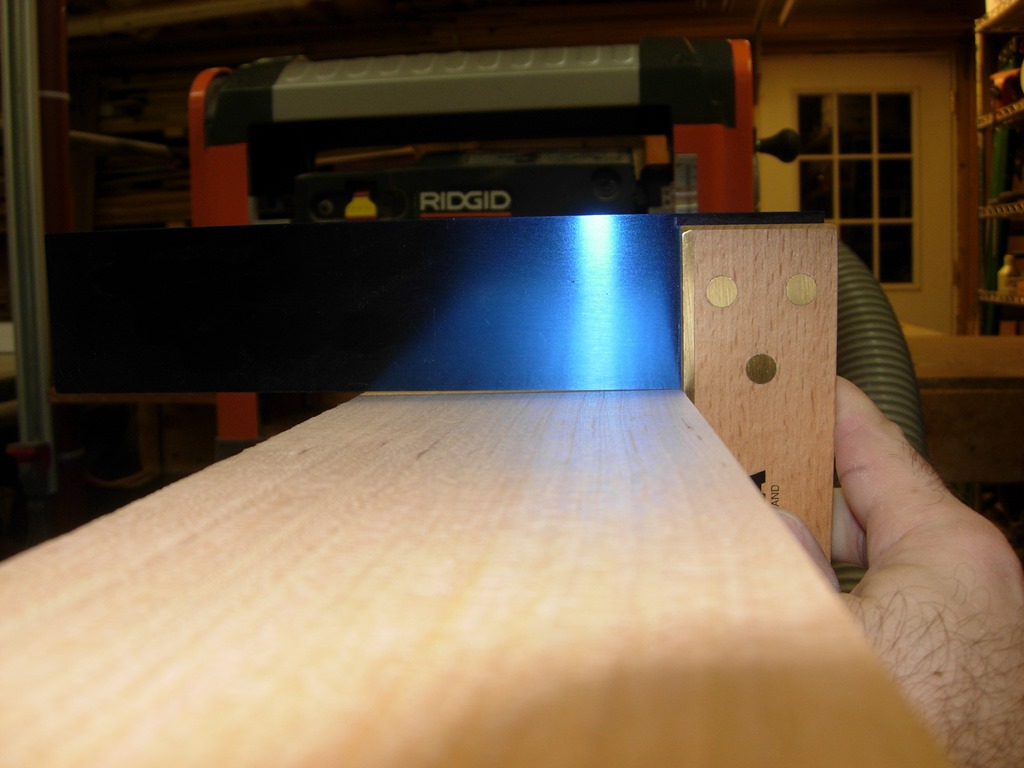
That solved the problem. The next step was to run the post through, without the sled, and plane the two non-square sides down parallel to the two square sides.
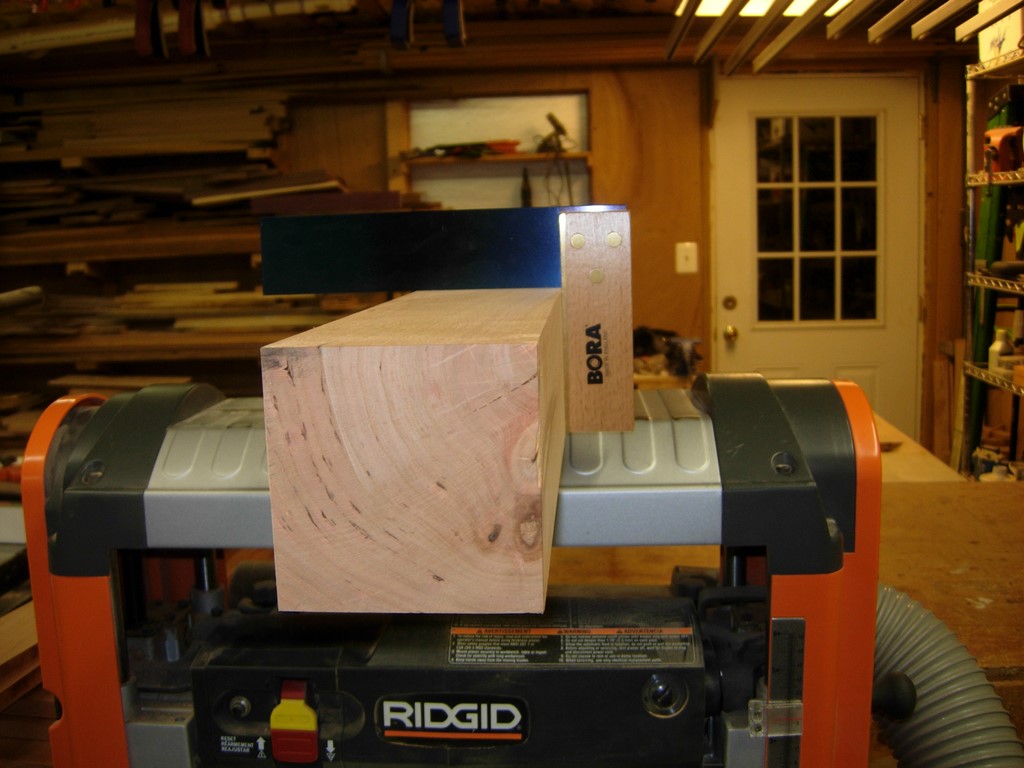
All four sides, square and parallel
Rob then squared up the ends on my miter saw.
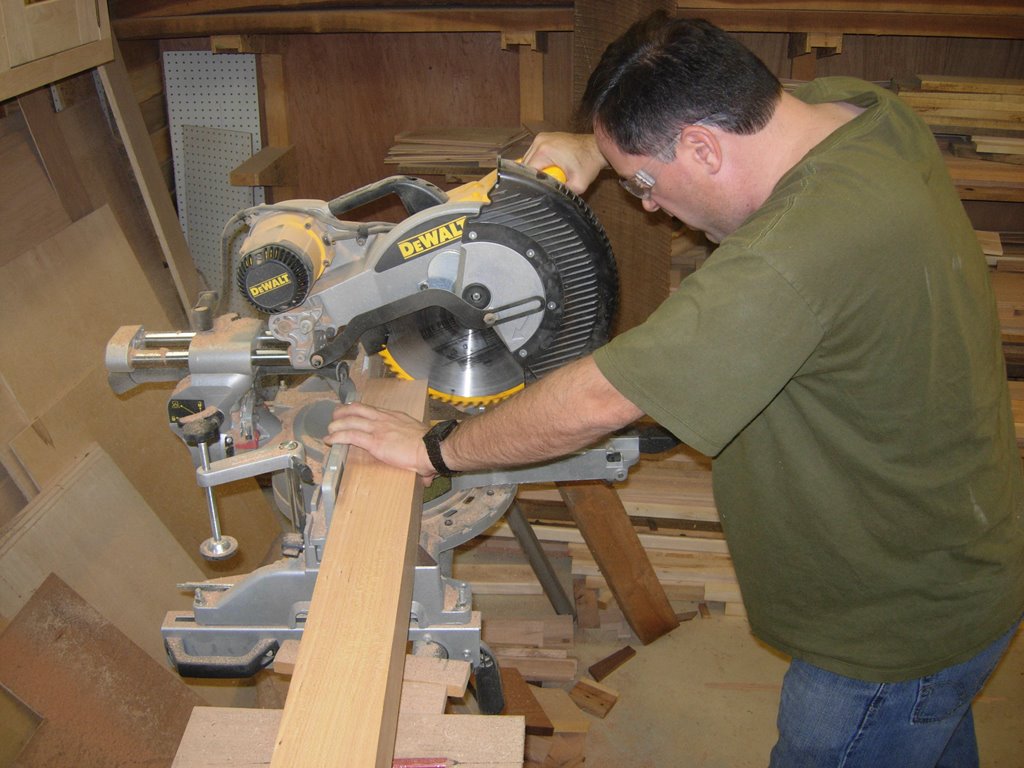
Squaring up the ends
Here is a picture of the two ends of the post. We didn’t have to remove too much of the overall dimension, to get it square. Now we can easily rip the four legs from the one blank.
Before and after
When all the planning and cutting was done, we wound up with a small pile, that still needs to be cut to exact size, and have the mortises and tenons cut into them, but it was a good start for the first day.
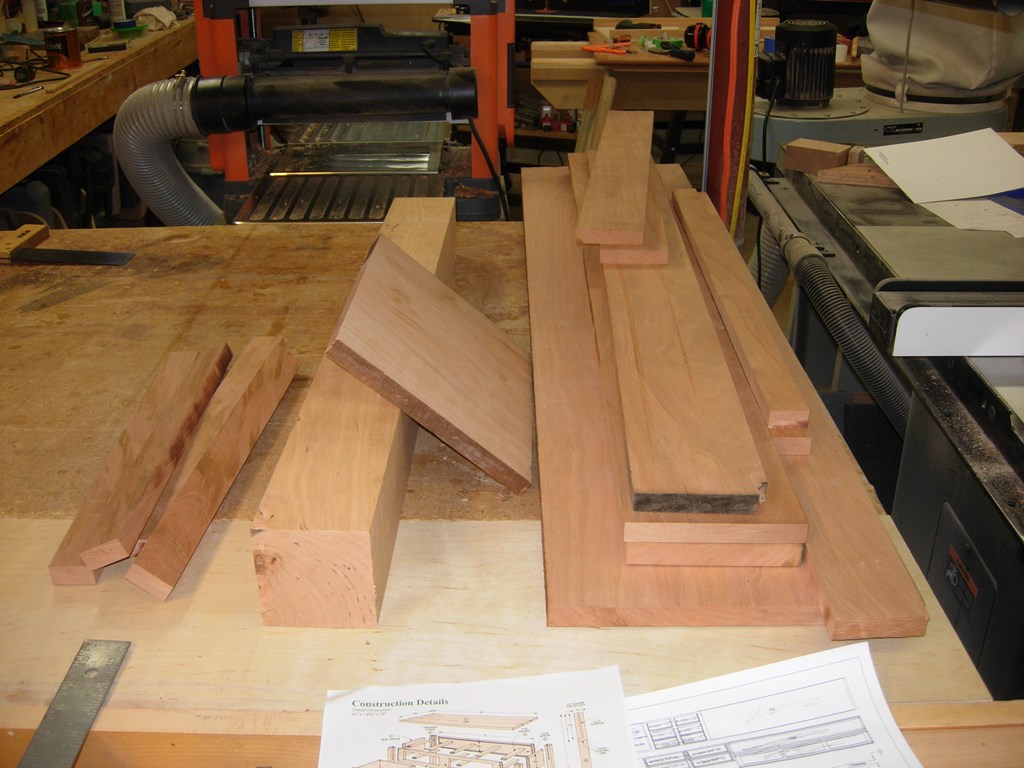
Rough-cut blanks
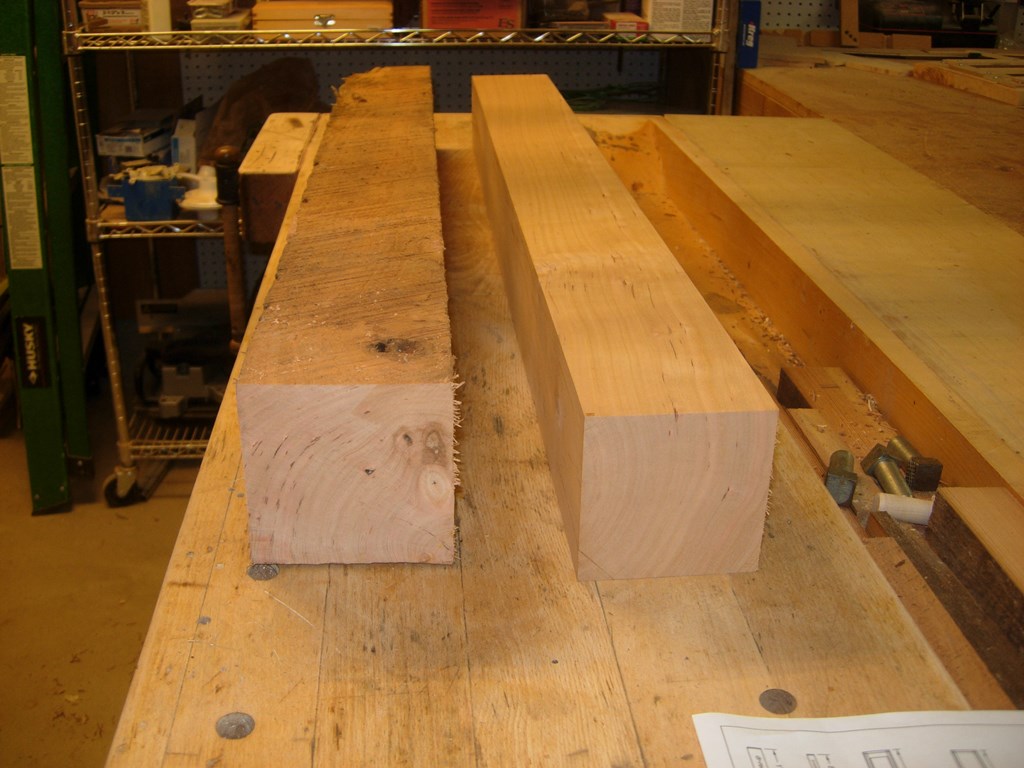
Minimal scrap left over
These two pieces were all that was left over from the three original boards. The longer one has a series of cracks running through the center. Not a bad bit of estimating, if I do say so myself. We had to stray from my original layout a bit, due to cracks in the wood, but we got everything we needed from those three boards.
