
Headless guitar concept – day 1
So I don’t play guitar, but I really enjoy building them. I have been collecting bits and pieces while building other guitars, and I have been kicking around the idea of building a headless guitar. The hardware for them tends to be rather expensive so I wanted to come up with a design that would allow me to use standard hardware.
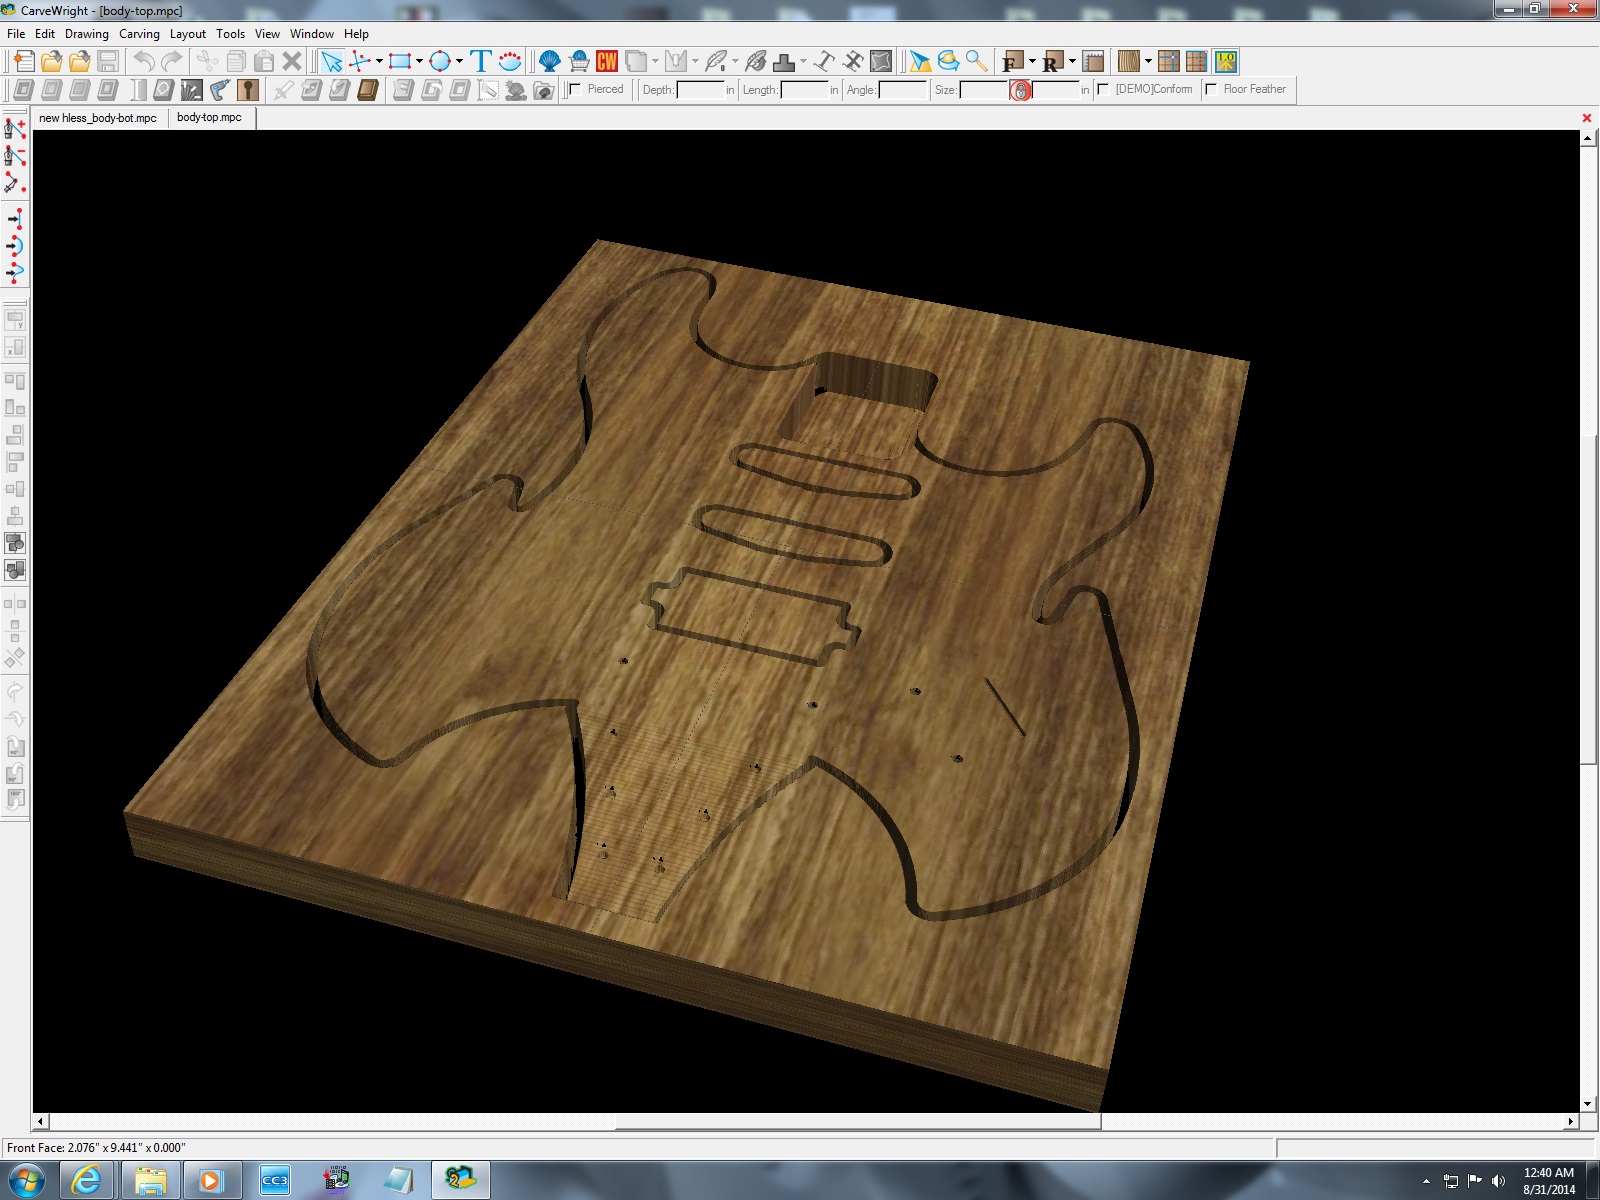
CNC program for top half
This is what I came up with. I started with a basic Strat layout, then stretched it in 2″ or so. The act of stretching it, on the computer, gave me the little squiggly bits in the middle. I really liked them, so they stayed. I also added a tail that will hold standard tuners. I angled it down 4 degrees to pull the strings down a bit. I think this will help on the guitar side, but it was a pain on the CNC programming side. I can’t get the program to angle a surface so I made a series of parallel cuts, every 1/16″ that step up .005″ at a time (royal pain in the butt!). I repeated the slope on the back of the carve as well so the tail will be parallel, 1/2″ thick. I will have a fair bit of planing or sanding to clean it up, but I think it will work.
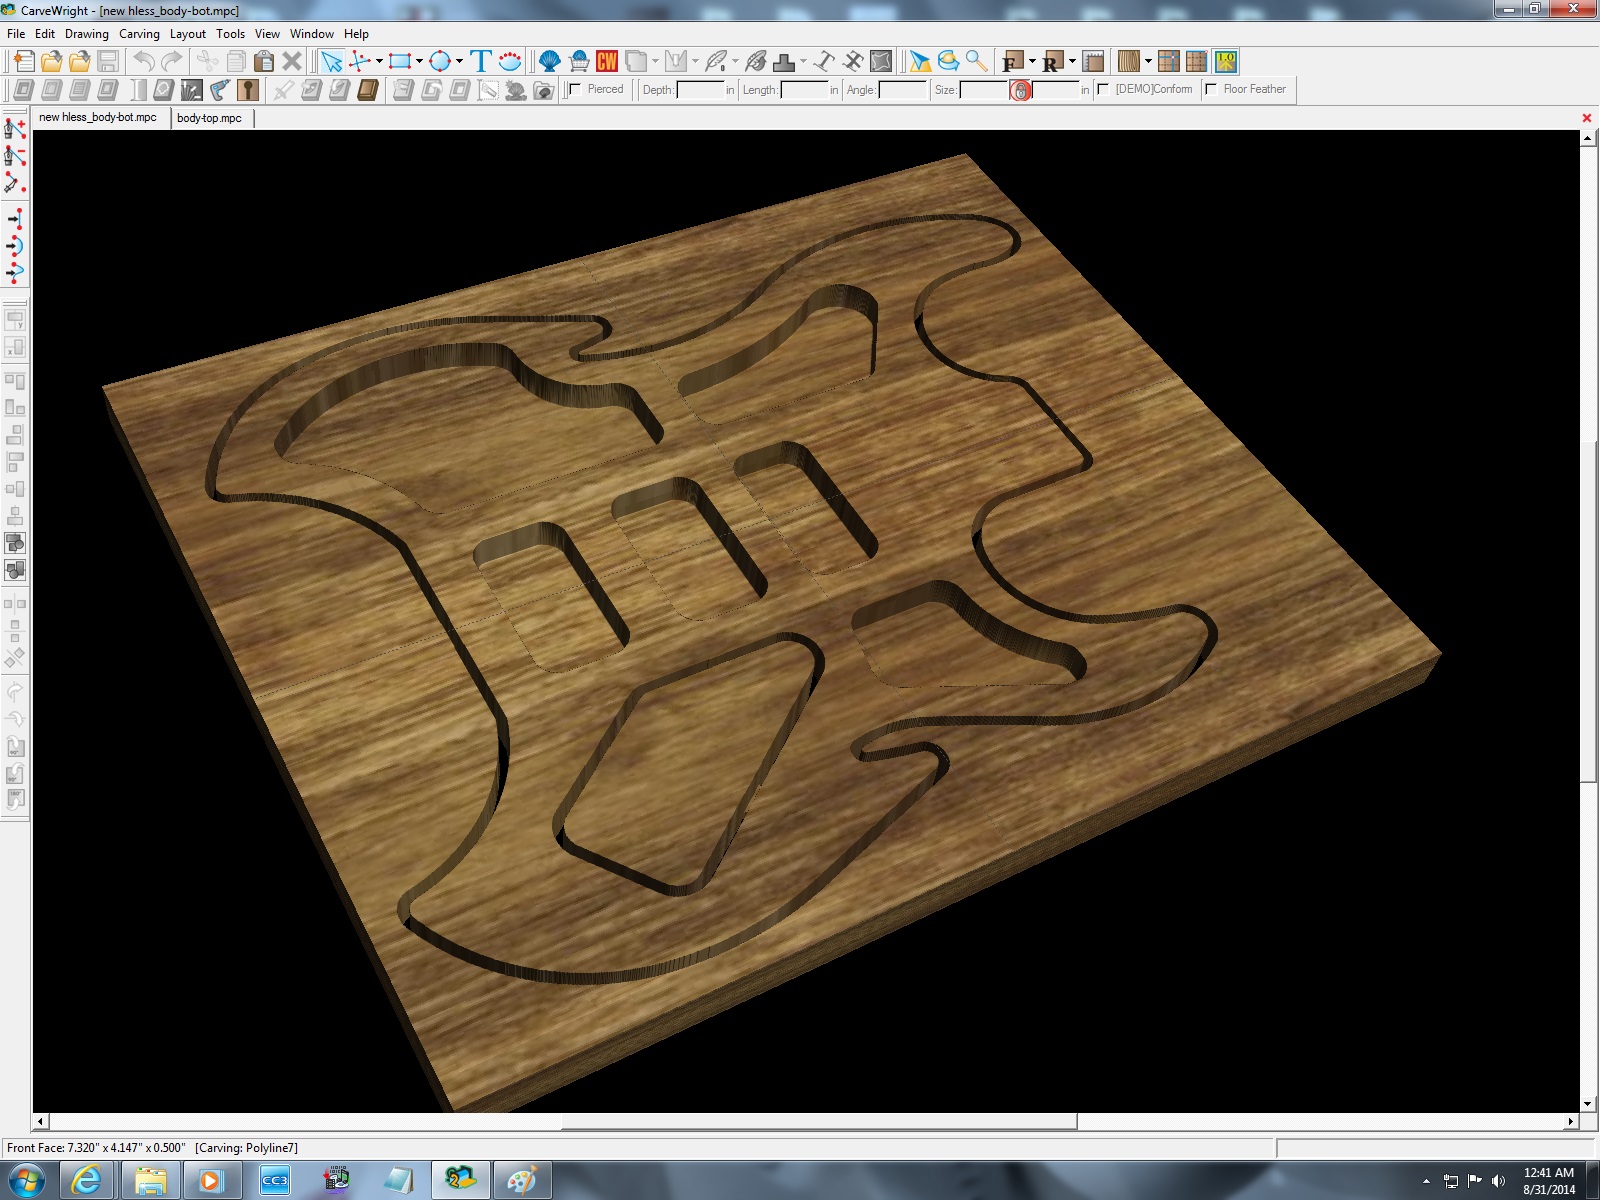
CNC program for bottom half
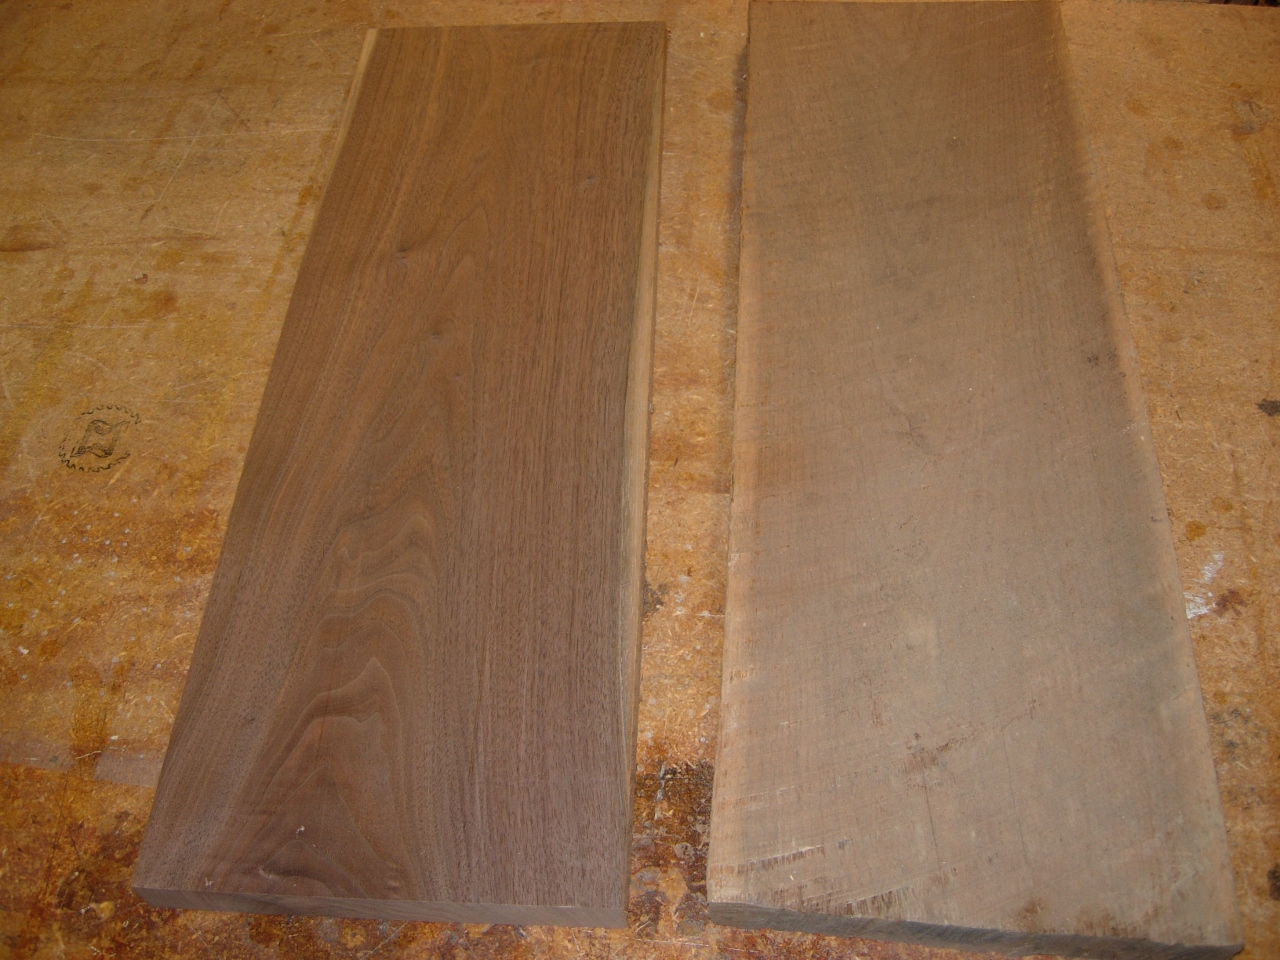
The walnut blanks for the top half of the guitar
First step, once I turned off the computer, was to glue up some panels.
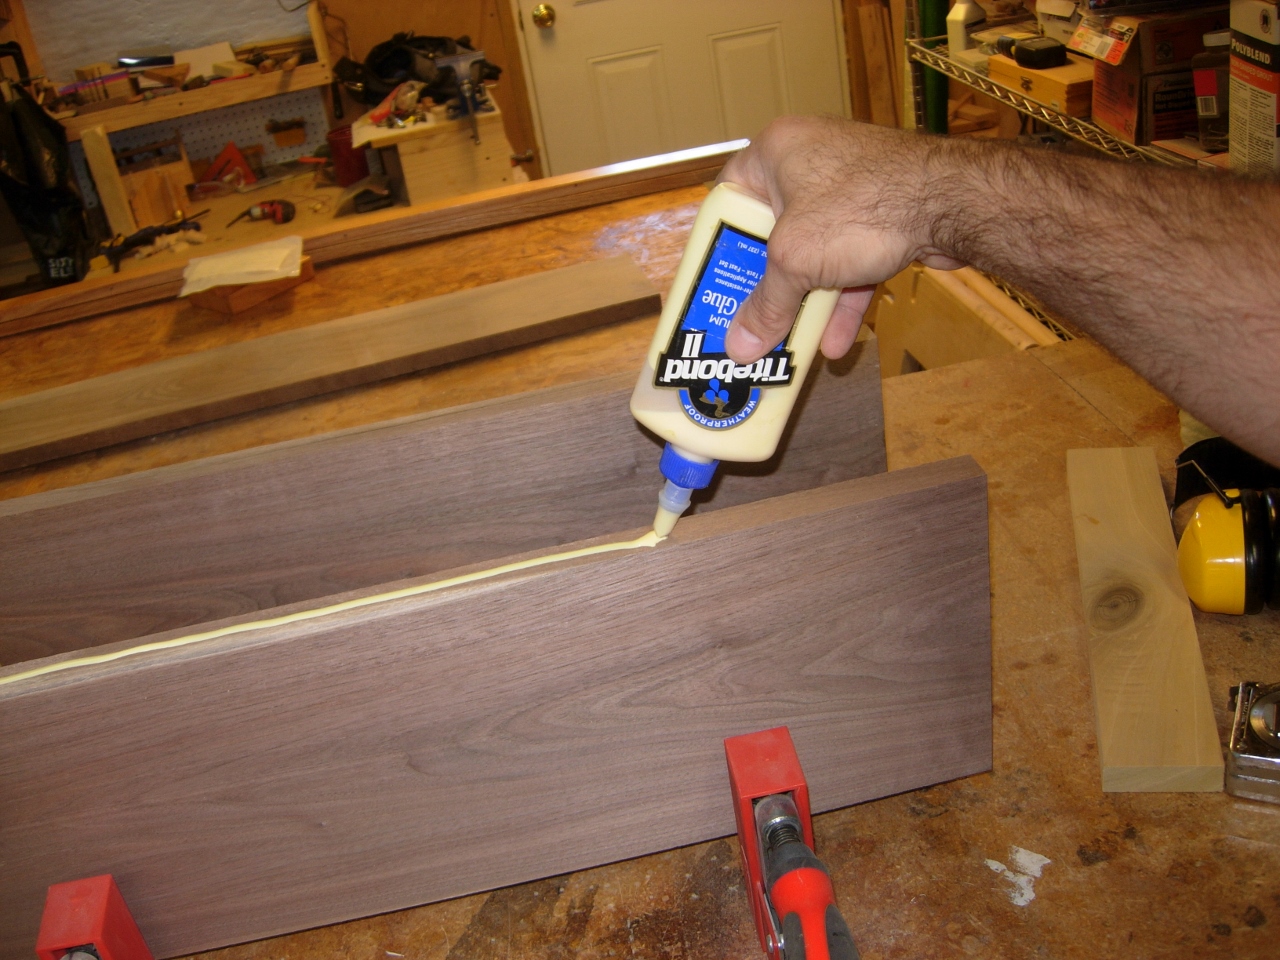
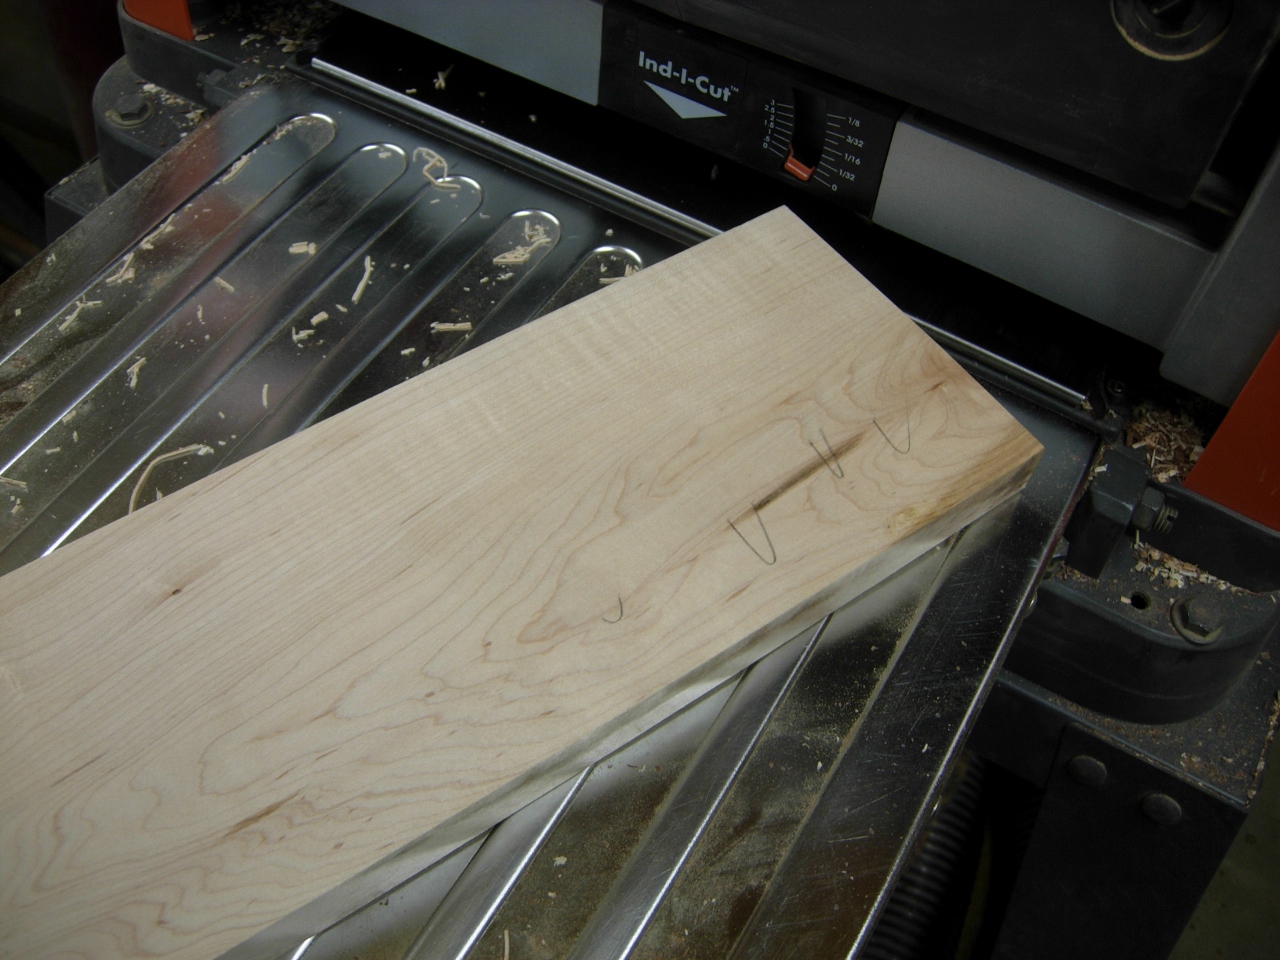
Cut, planed, & applying the glue
I found some suitable walnut, planed it to the desired thickness, and glued it up.
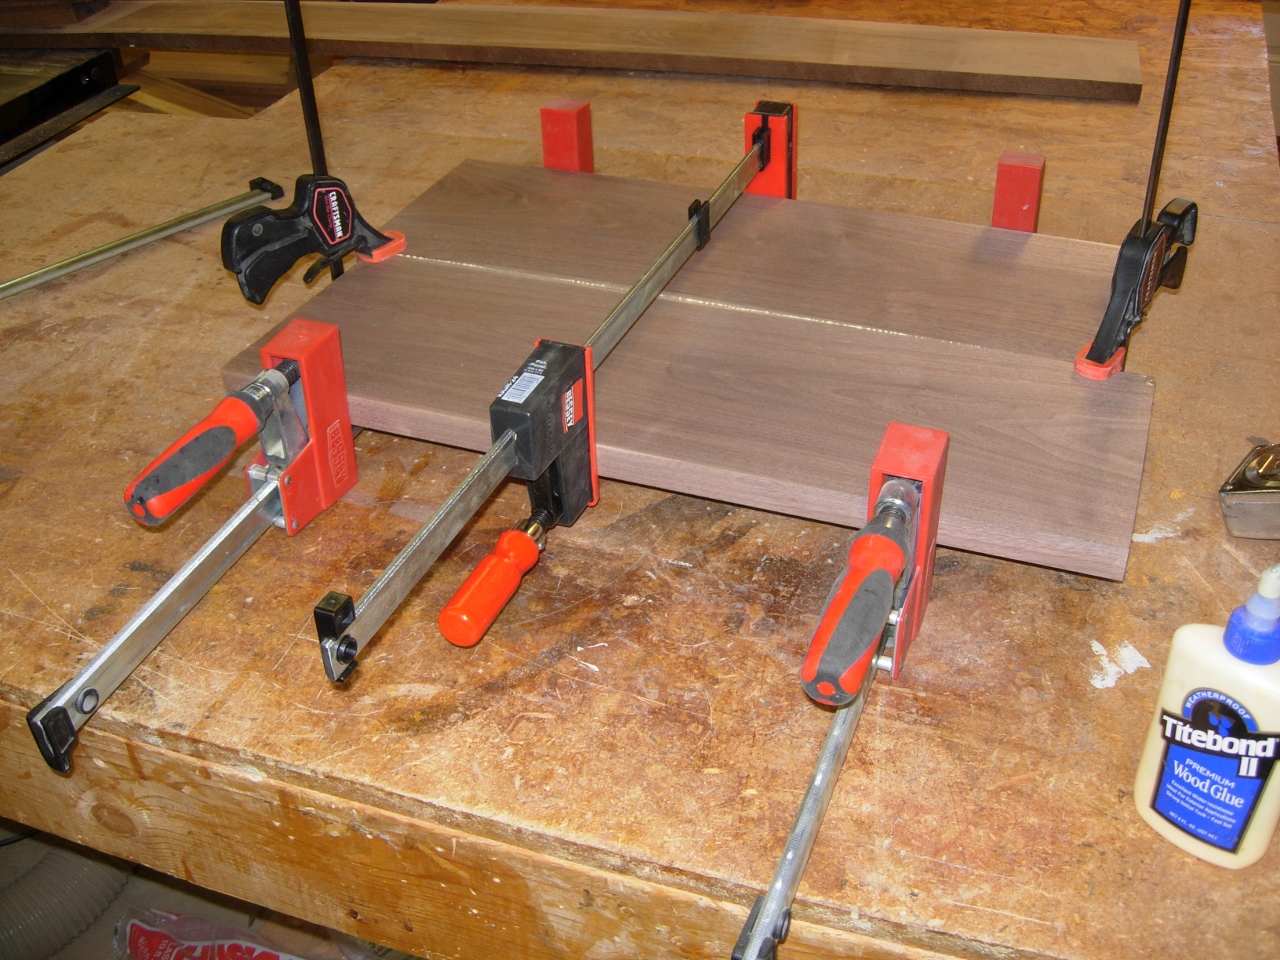
Clamped and drying
Before I could repeat the process with the maple, I had to take a bit of twist out of one of the pieces. To do this quickly, I pulled out my homemade adjustable planing sled. It has a cleat at one end, and a series of screws that can be raised and lowered to support a twisted piece of wood.
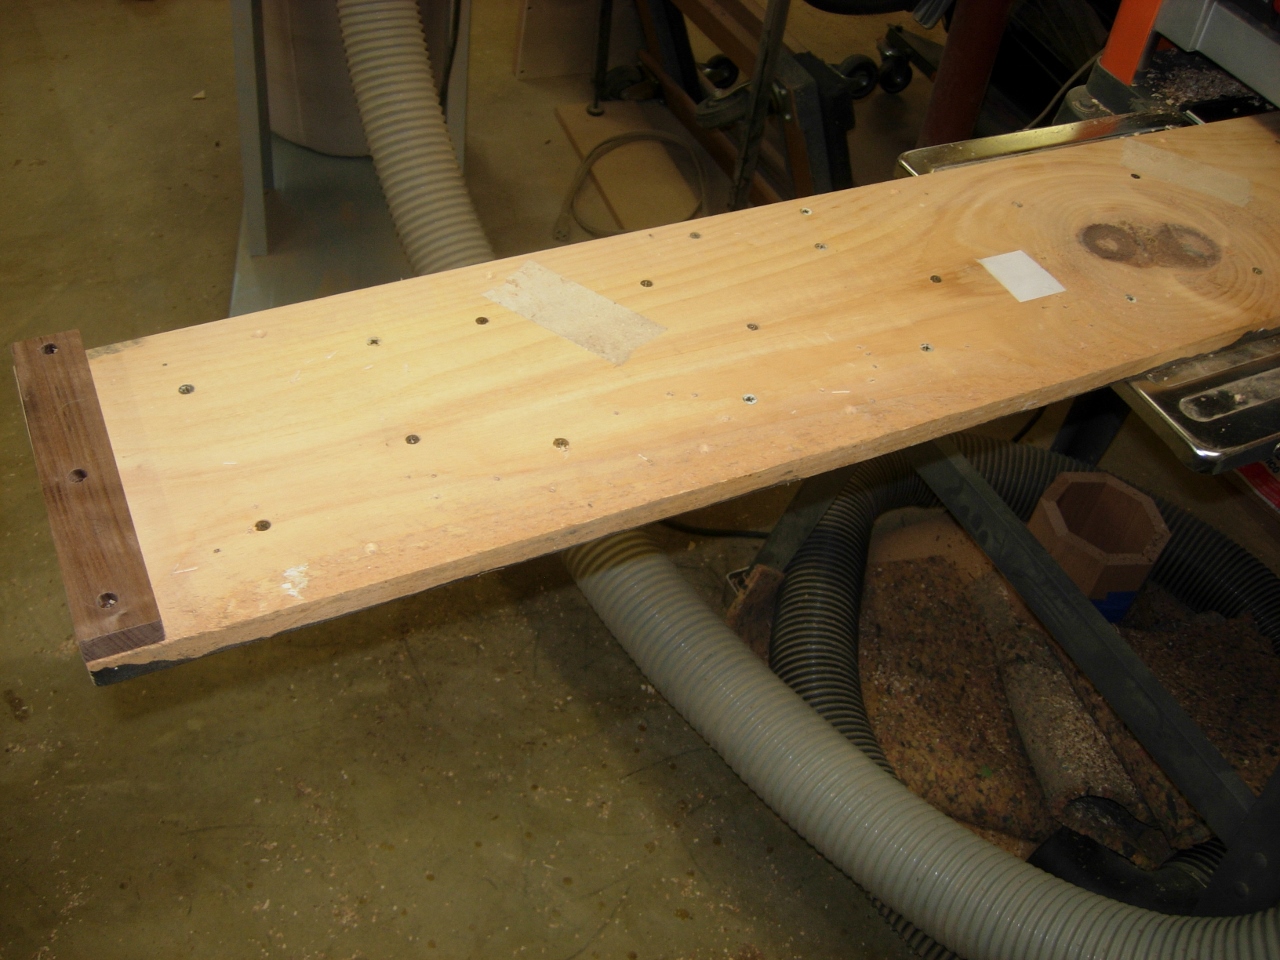
My adjustable planing sled
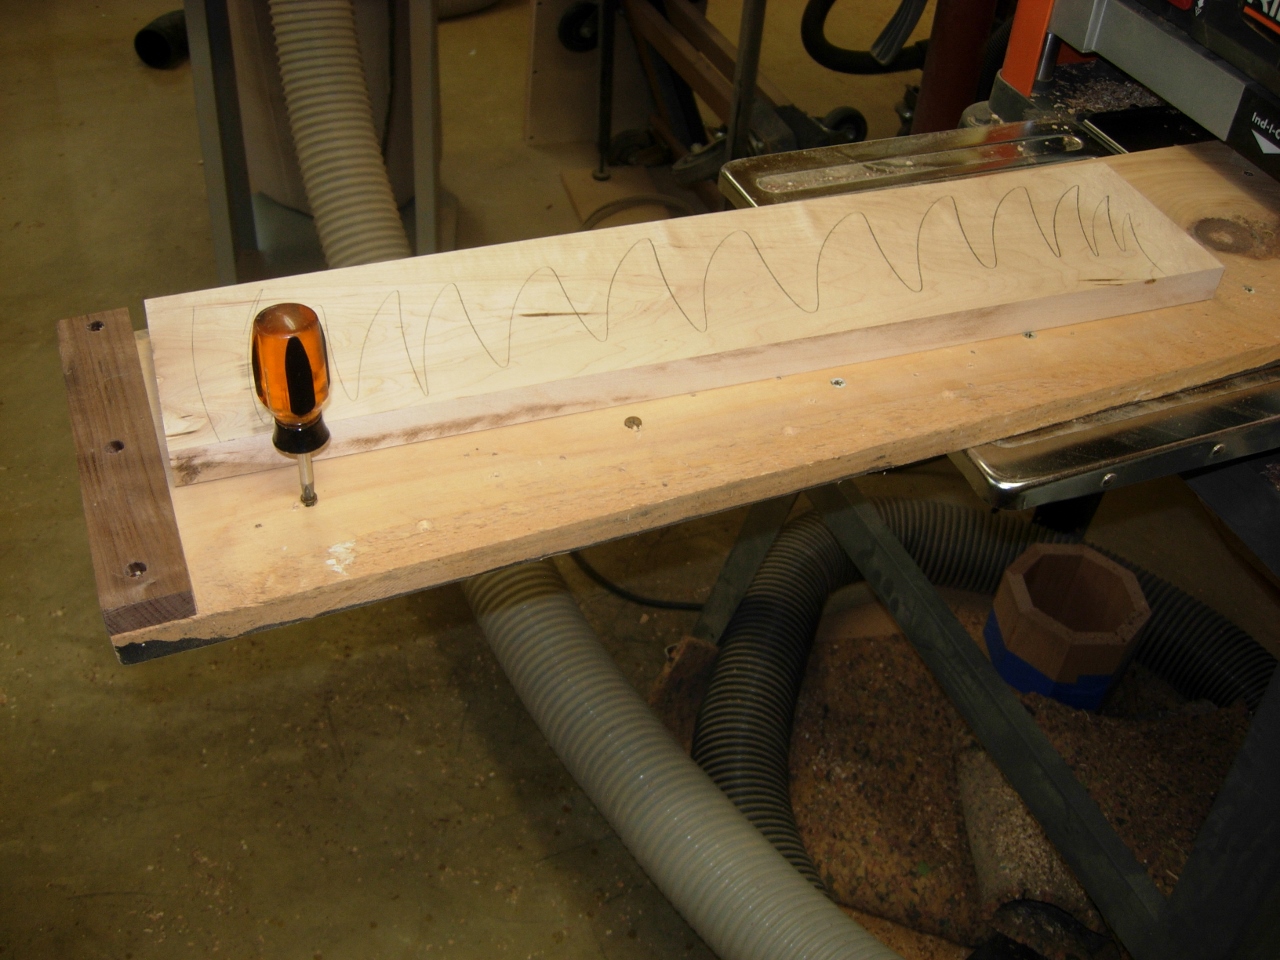
Adjusting the screws to level the maple
The maple is about 1″ thick and it needs to be 3/4″. This gives me room to play a bit. I adjusted two of the screws, to support the high side of the board, then scribbled all over the face of the board. This allows me to see exactly where the planer cuts. When all the pencil marks are gone, that side is flat.
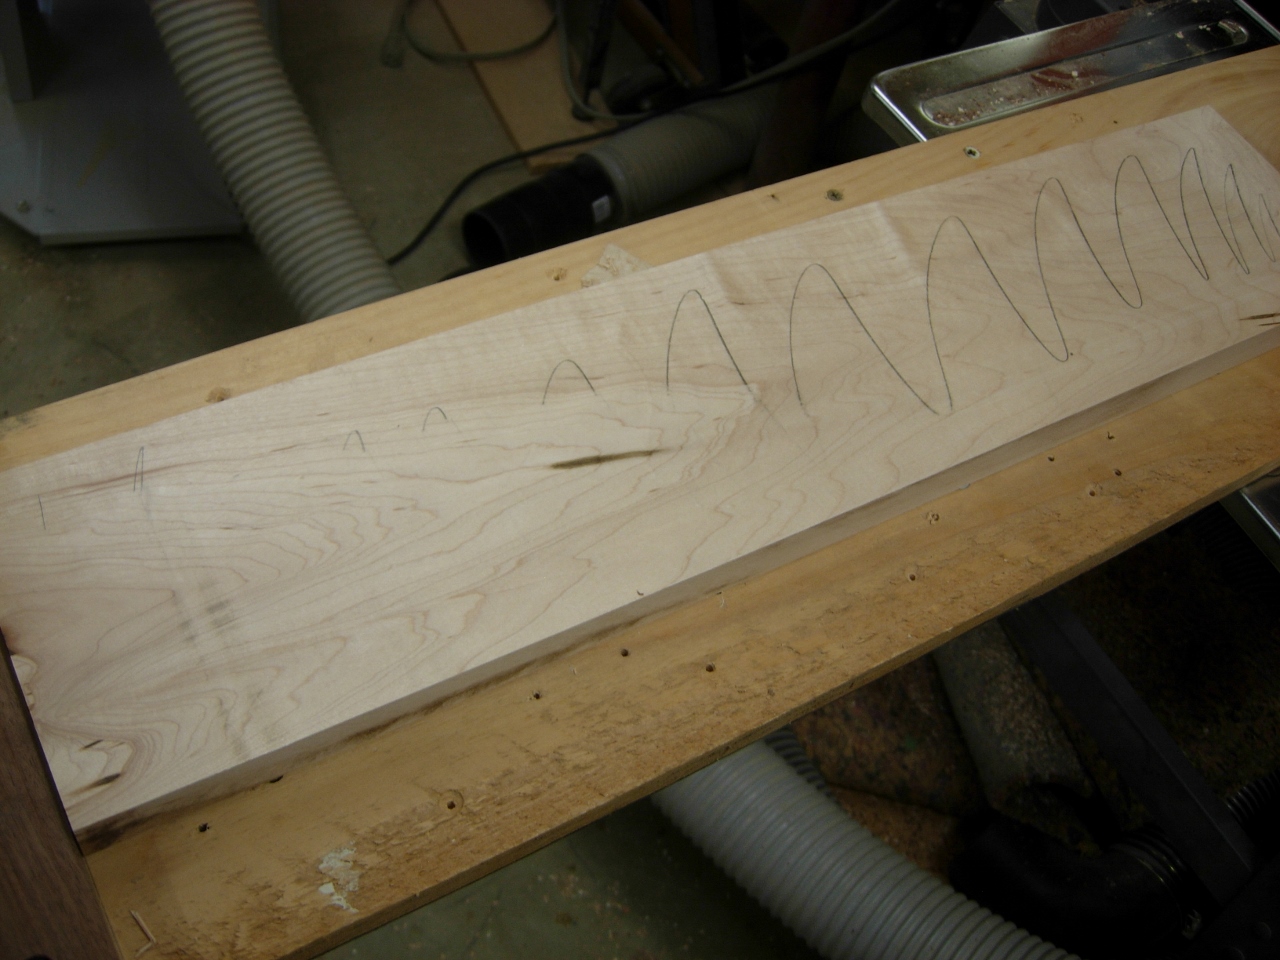
Plane until the marks disappear
Simply flip the board over and run it through normally, without the sled. You can mark it again to verify that you planed the entire side down, parallel to the newly flattened side.
Flip and repeat
That done, I glued up the maple panels.
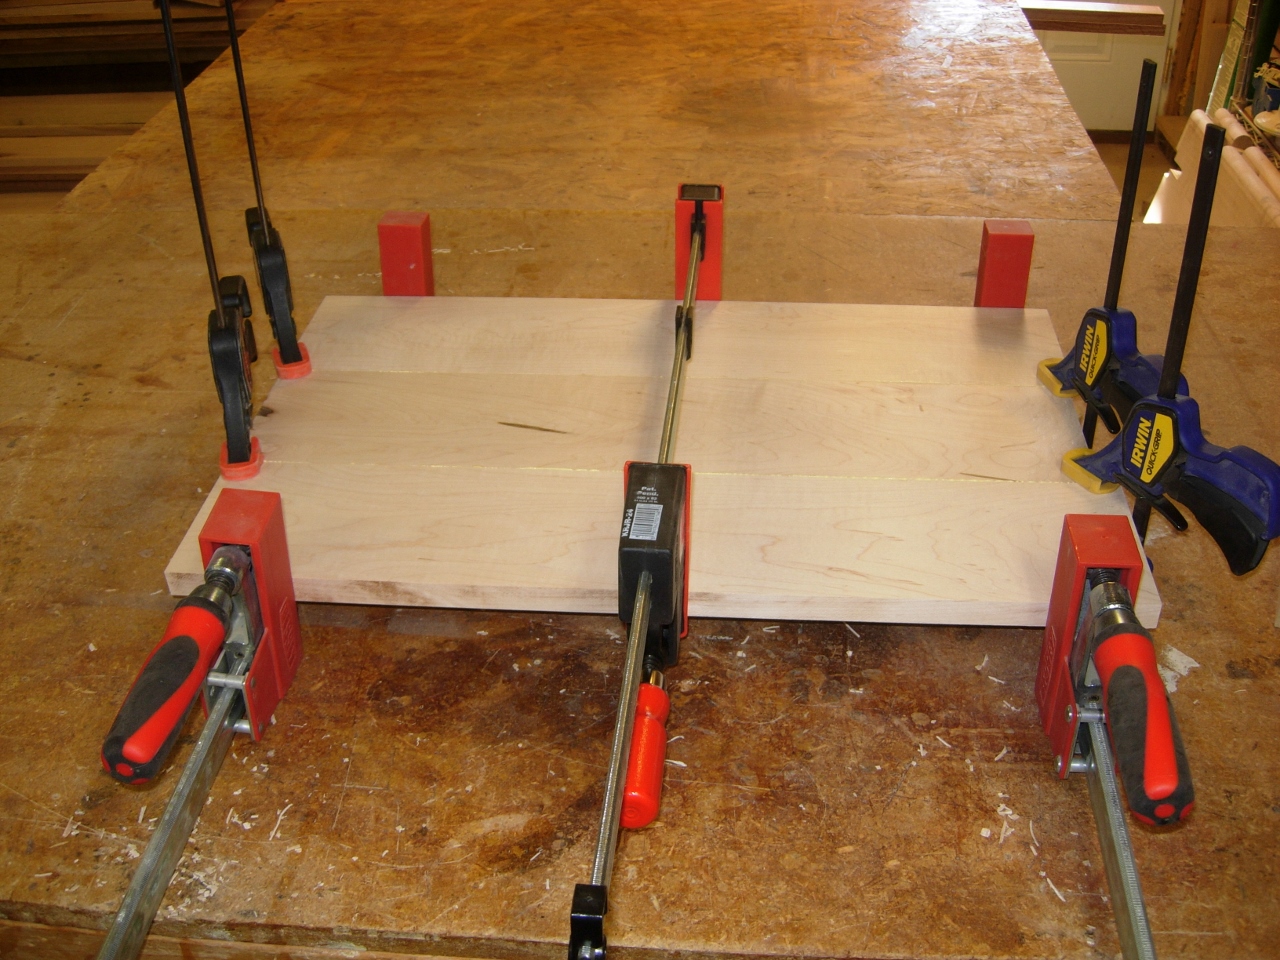
Glued and clamped

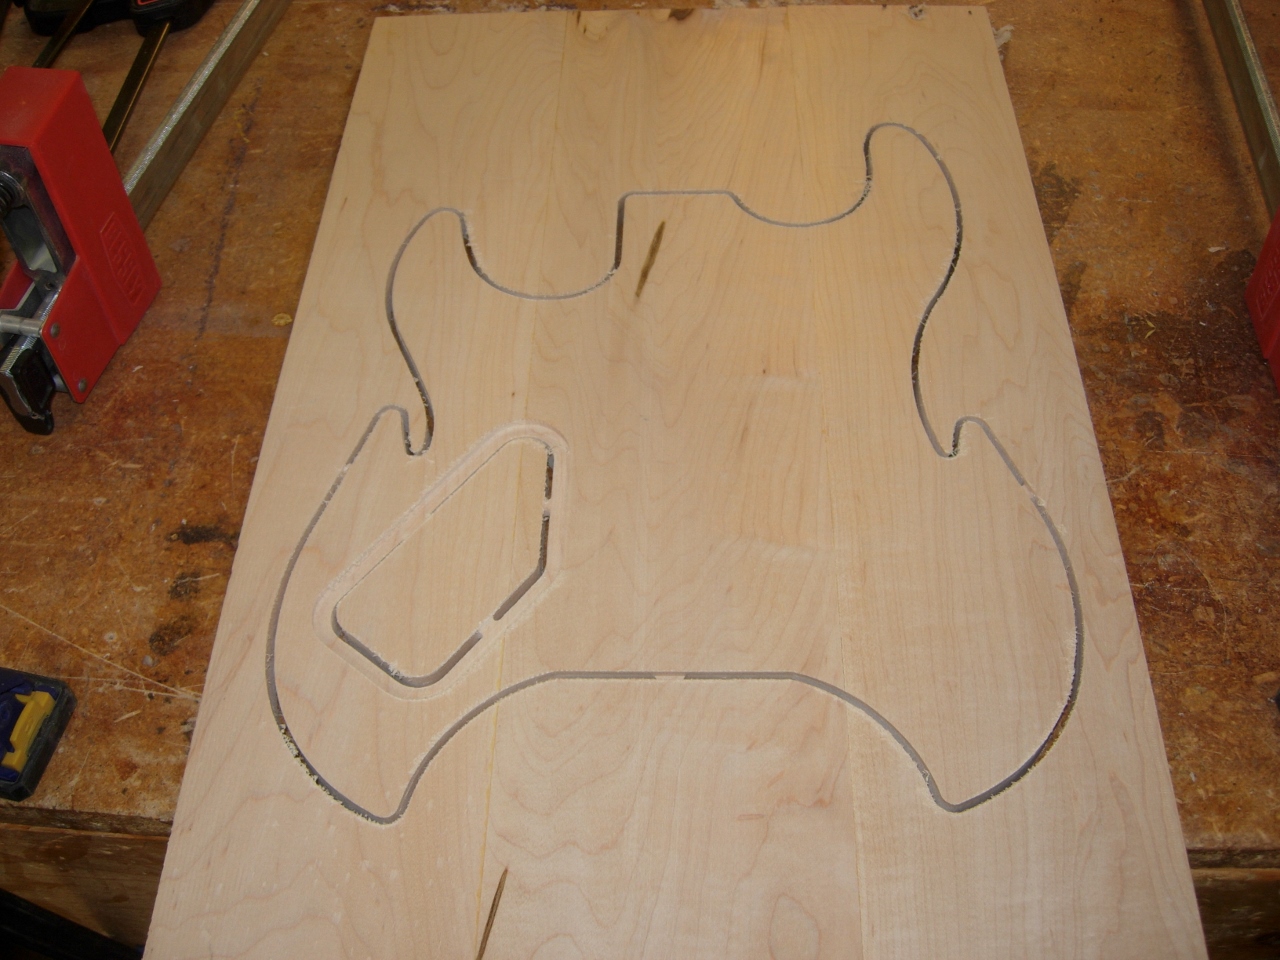
Back side of the bottom half
I started with the maple. The carver cuts the rear side first, then I flip the board, and it carves the front half.
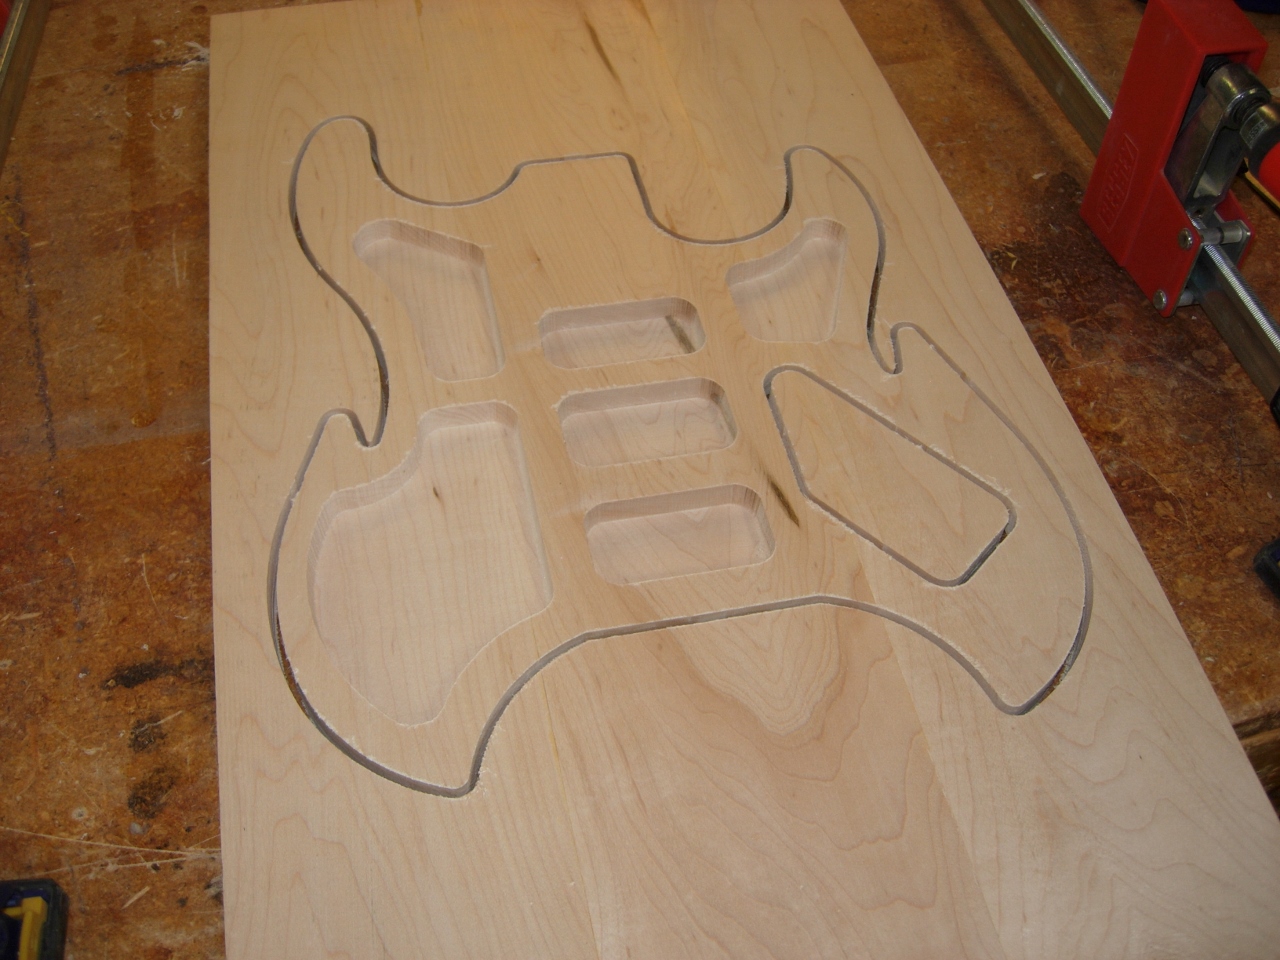
Front side of the bottom half
When the carve is complete 2.5 hours later, I cut out the tabs that hole in the control pocket, and the tabs that hold the body as well.
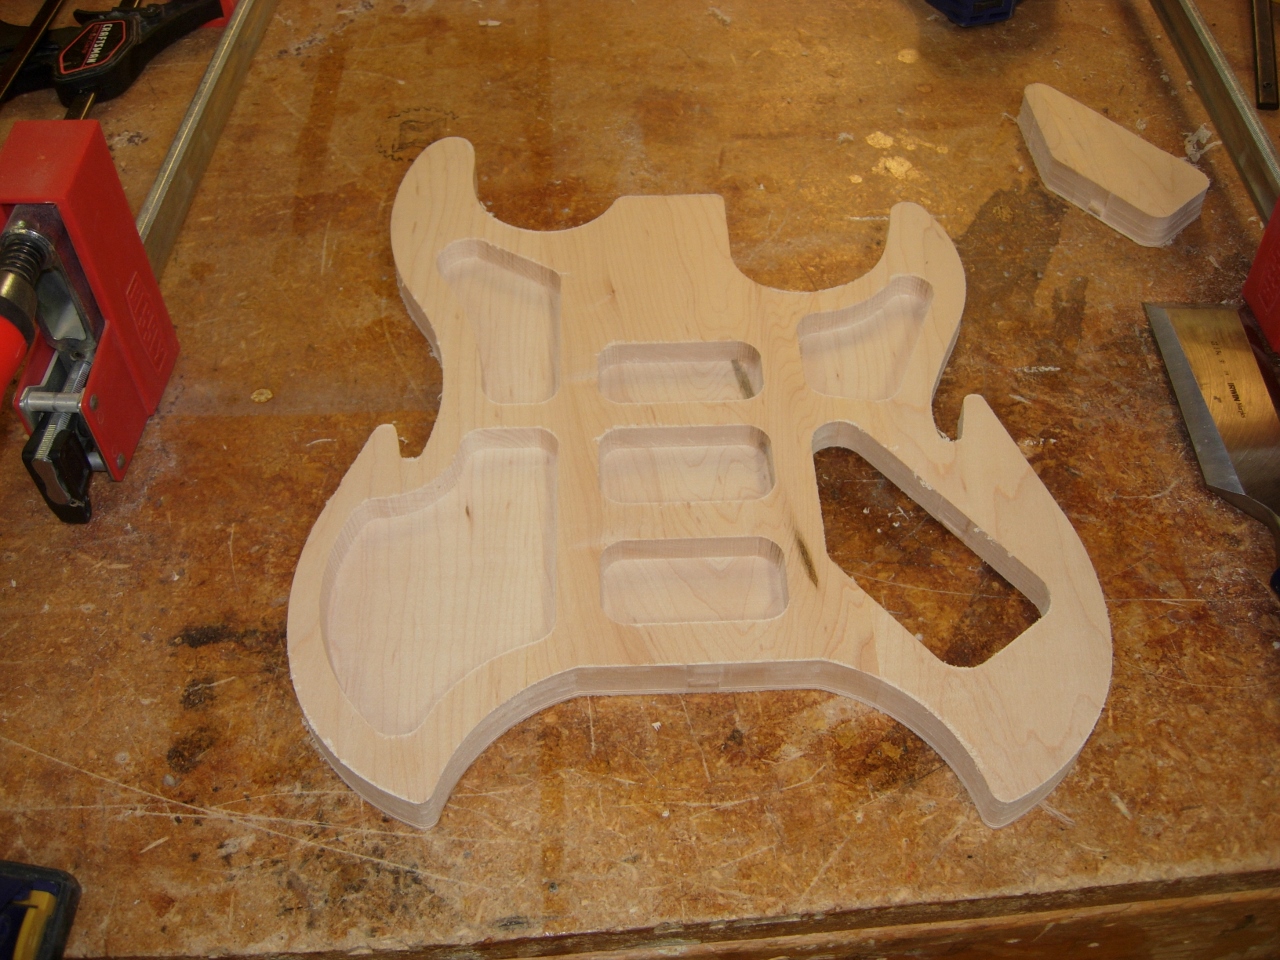
Tabs cut, carve of lower half complete
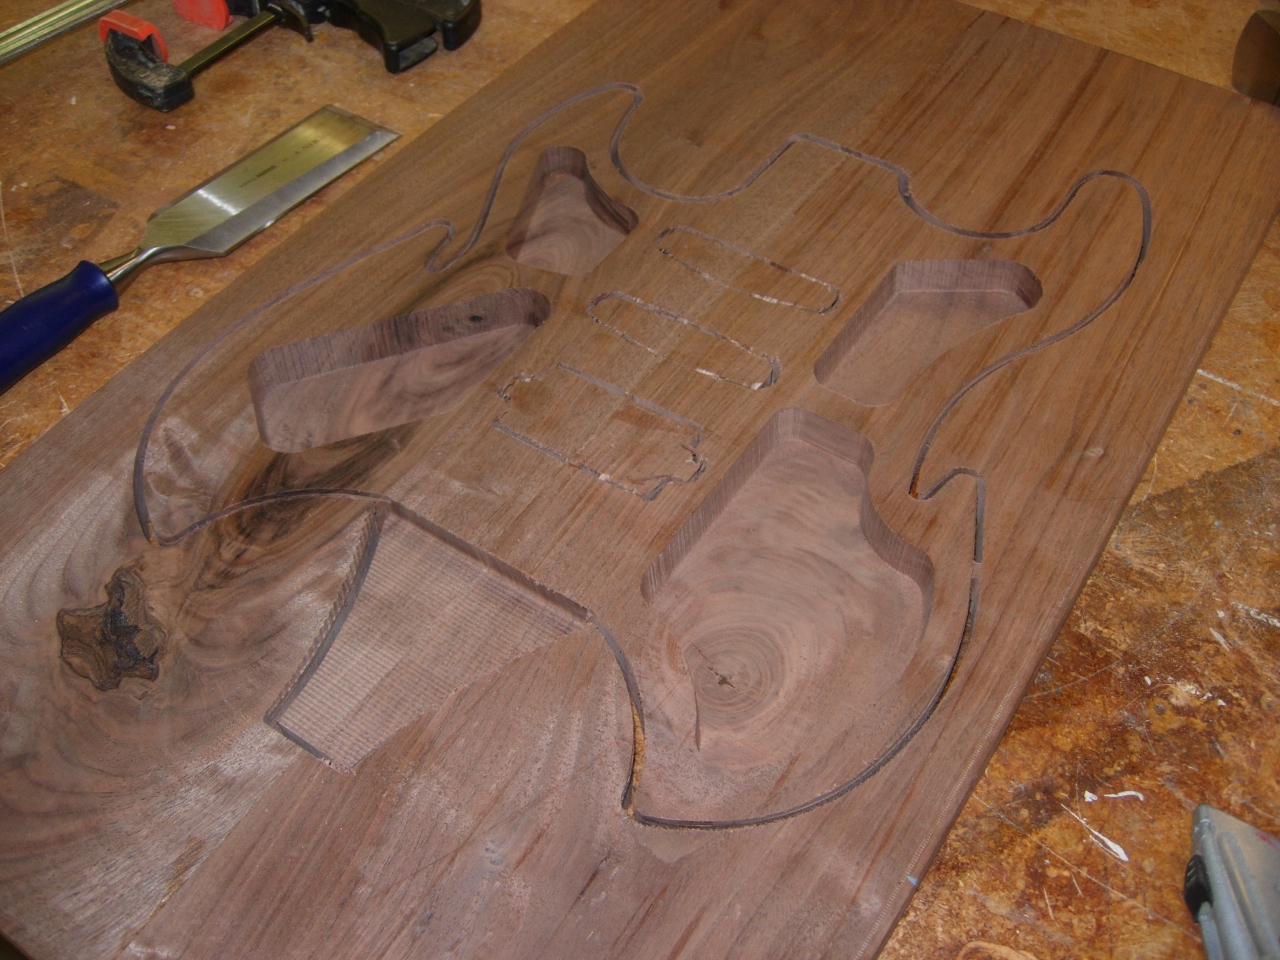
With the bottom complete, I ran the 5.5 hour carve of the top, in the walnut.
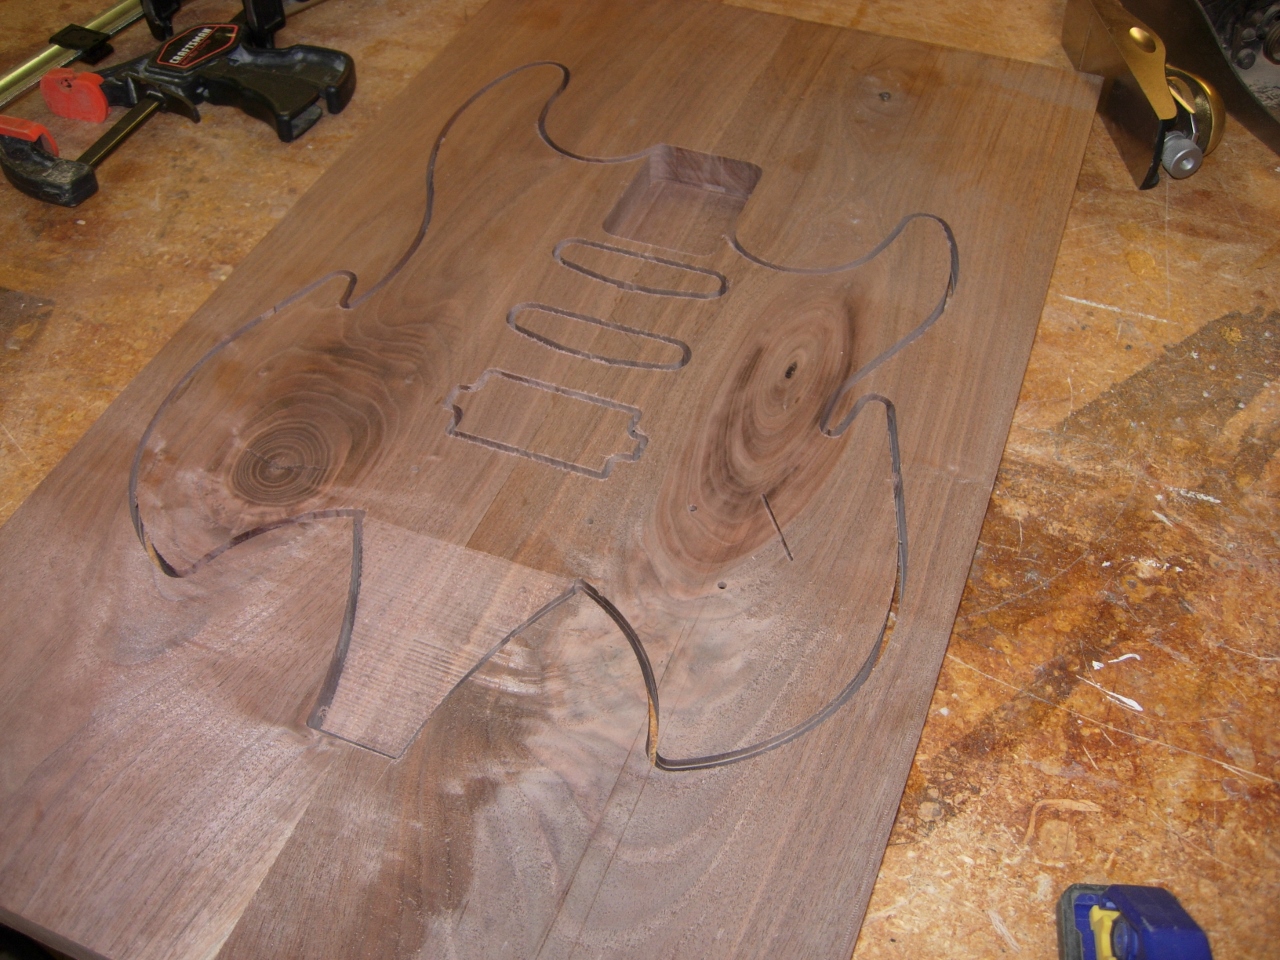
Front side of the upper half
I was pleased that the tuning tail came out the way I had hoped. Since the tuner holes will be drilled at a perpendicular angle, I couldn’t carve them. Instead, I left a shallow 1/8″ diameter pilot hole to locate them for the drill press. I did the same for the bridge, volume, and tone knobs as well. The carver sometimes does not quite do what I tell it, and I didn’t want it carving the holes too big…
Back side of the upper half
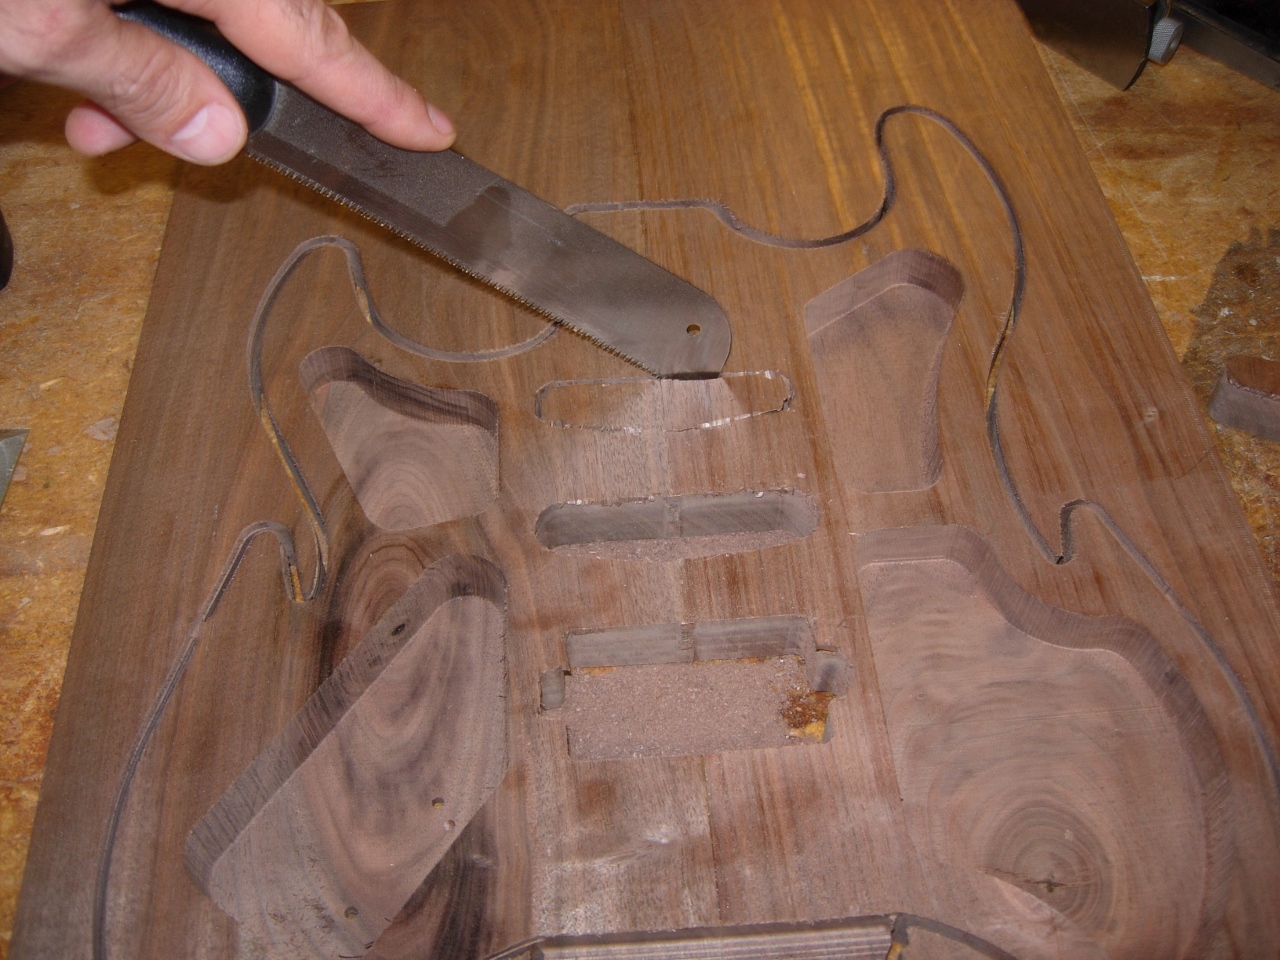
Cutting all of the tabs
I cut out all of the tabs holding the upper half in place, and laid the top against the back piece.
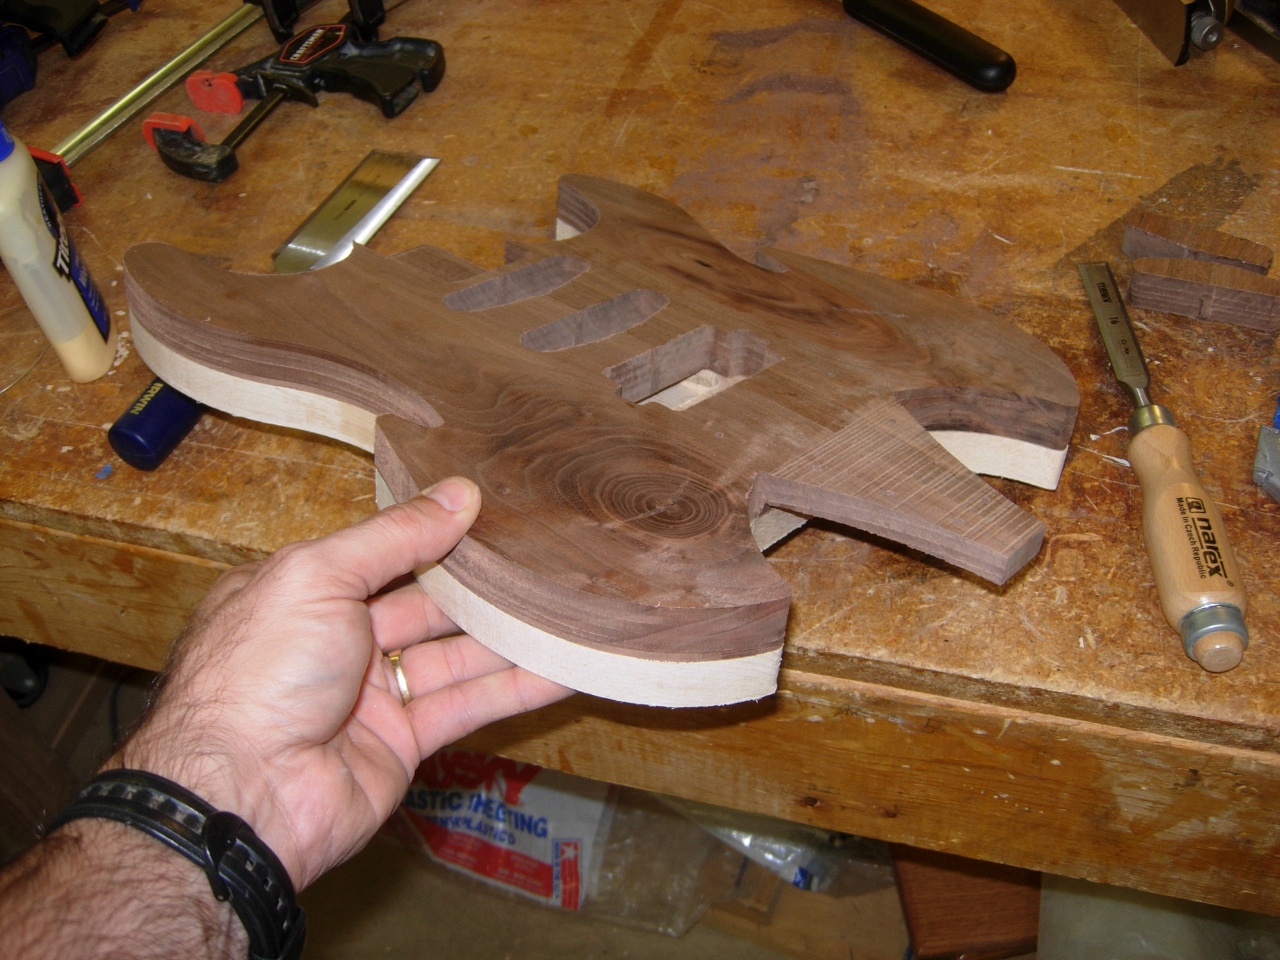
Both halves completed
I did a quick test fit to ensure that everything would fit. Surprisingly, it all did. I am rather happy with the overall appearance.
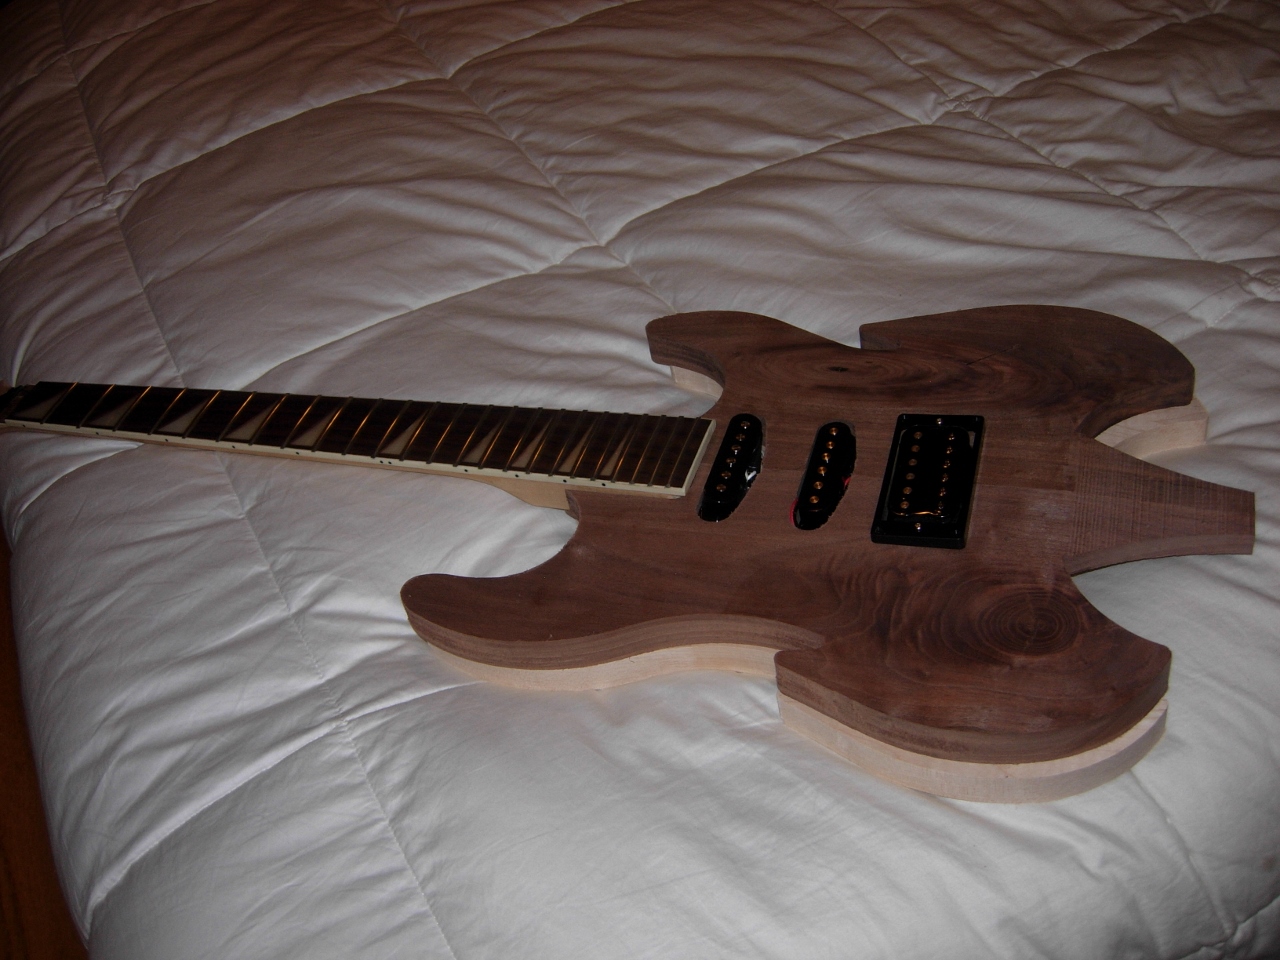
Test fitting components
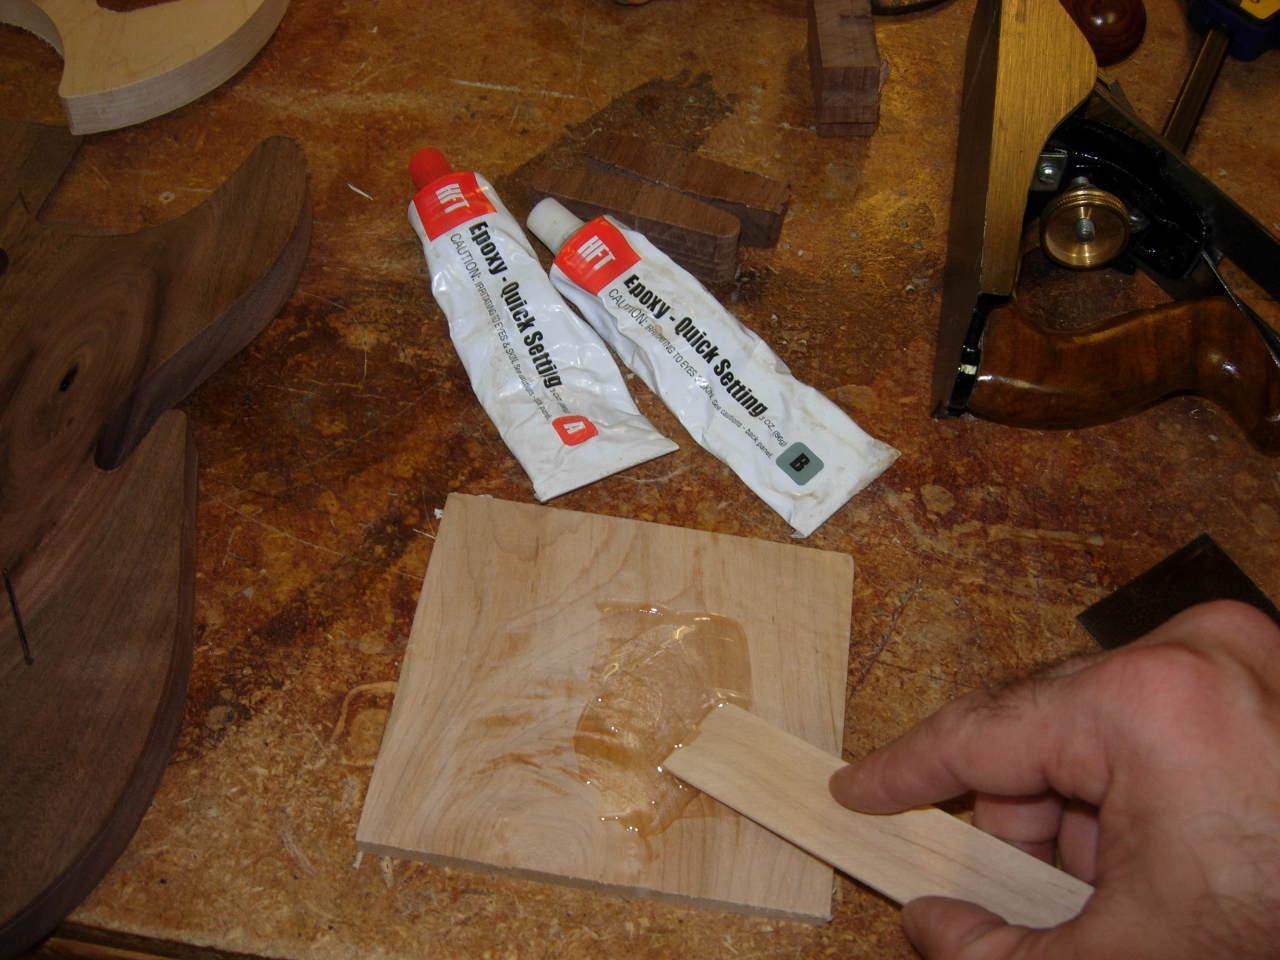
Mixing a little epoxy
Since it is already past midnight, the last thing I am going to do today is apply a little epoxy to fill some cracks in the knots.
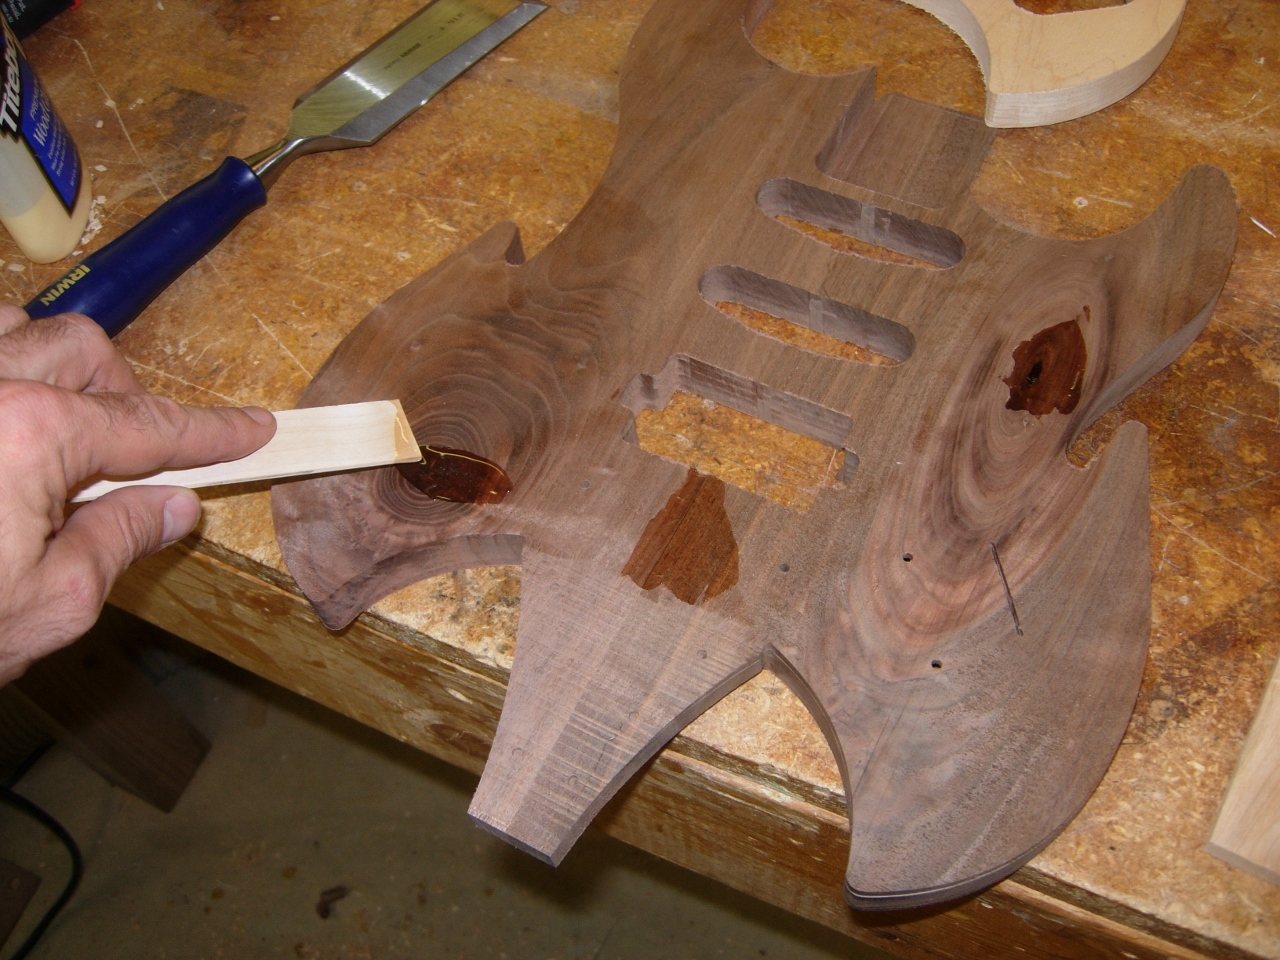
Filling the knots and cracks
The next few steps will include a lot of sanding, drilling, and routing radius’ around the top and bottom edges.
