
Headless guitar concept – day 2
I had a few little details to accomplish today, before glueing up the front and back halves of the guitar body. Yesterday’s epoxy has dried, so I sanded it down flush to the face of the board.
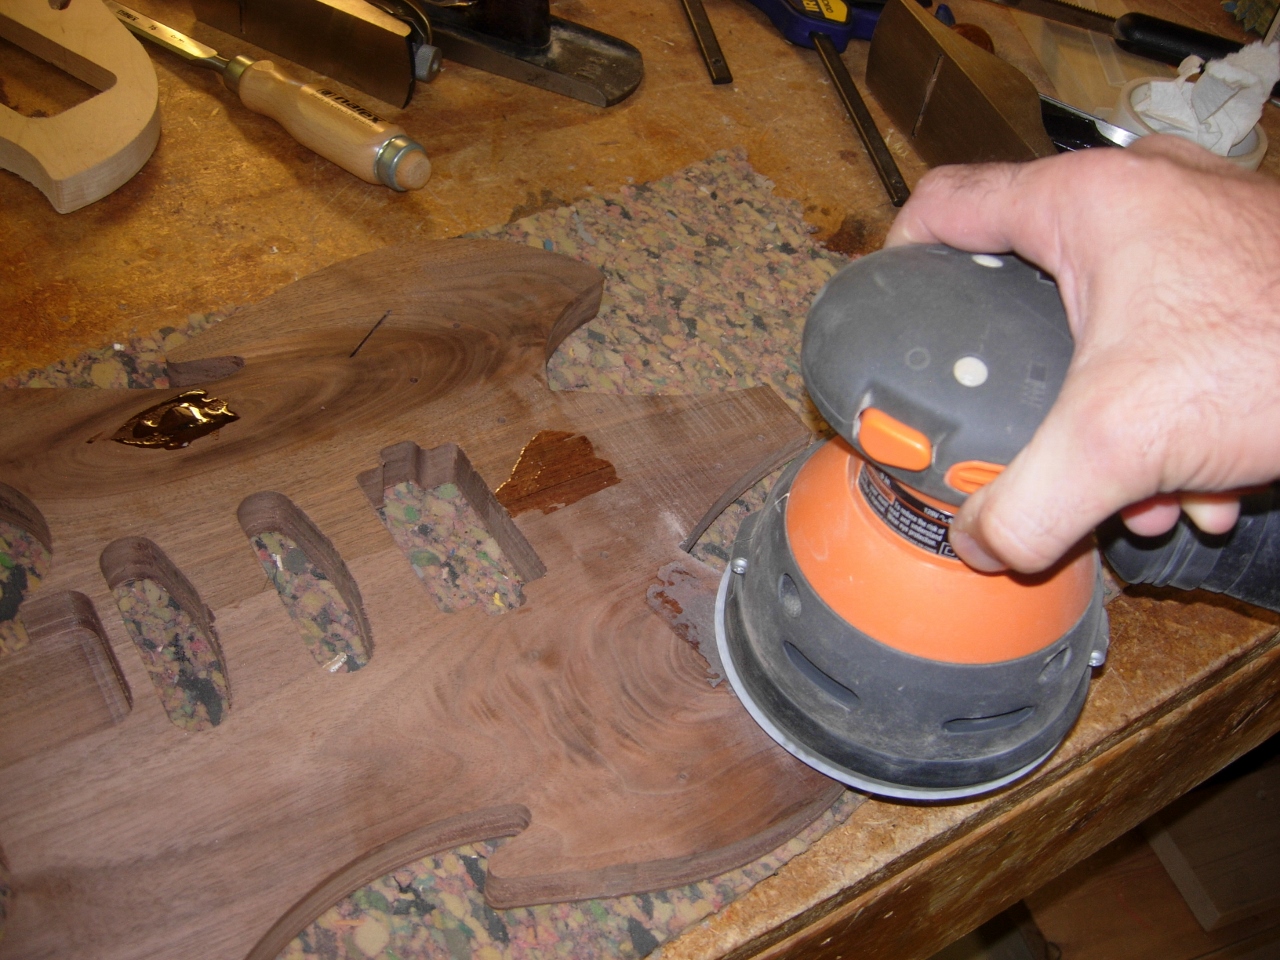
Sanding down the epoxy
I used a thin needle file to clean up the switch slot.
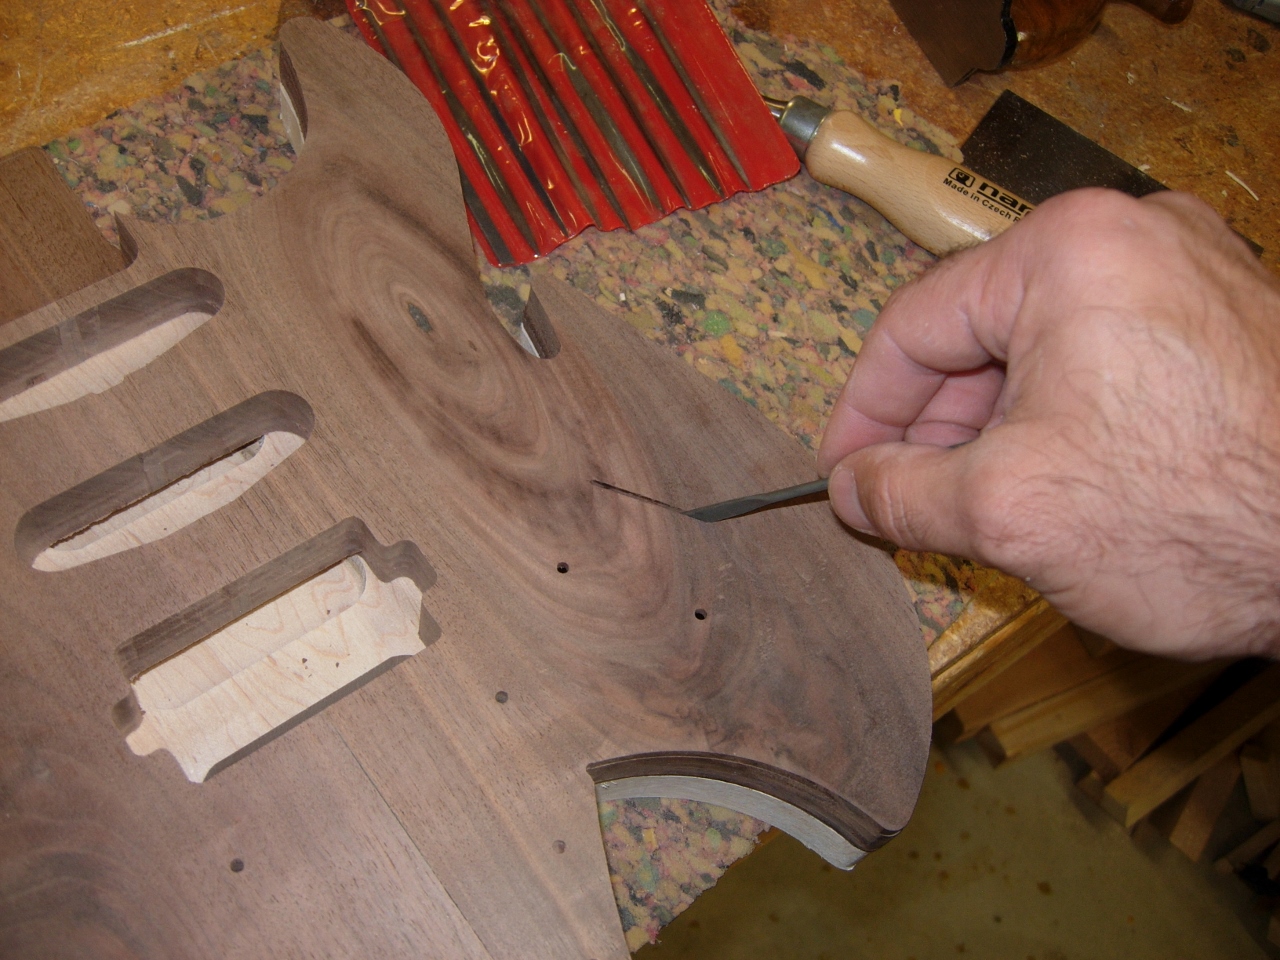
Cleaning up the switch slot
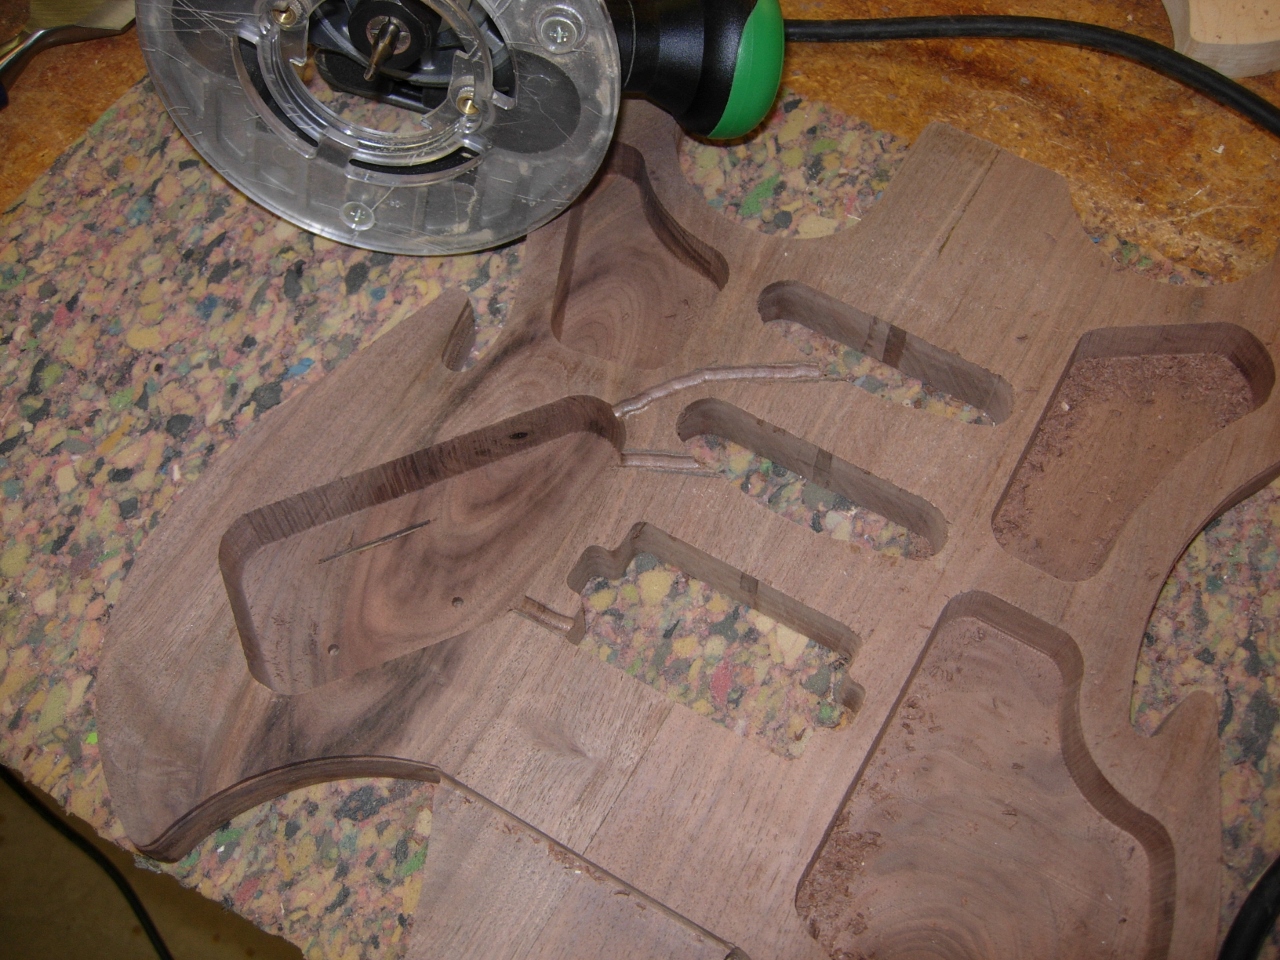
Adding grooves for pickup wires
I used my router to cut some grooves for the pickup wires, then put in the 3/8″ round-over bit to radius the edges.

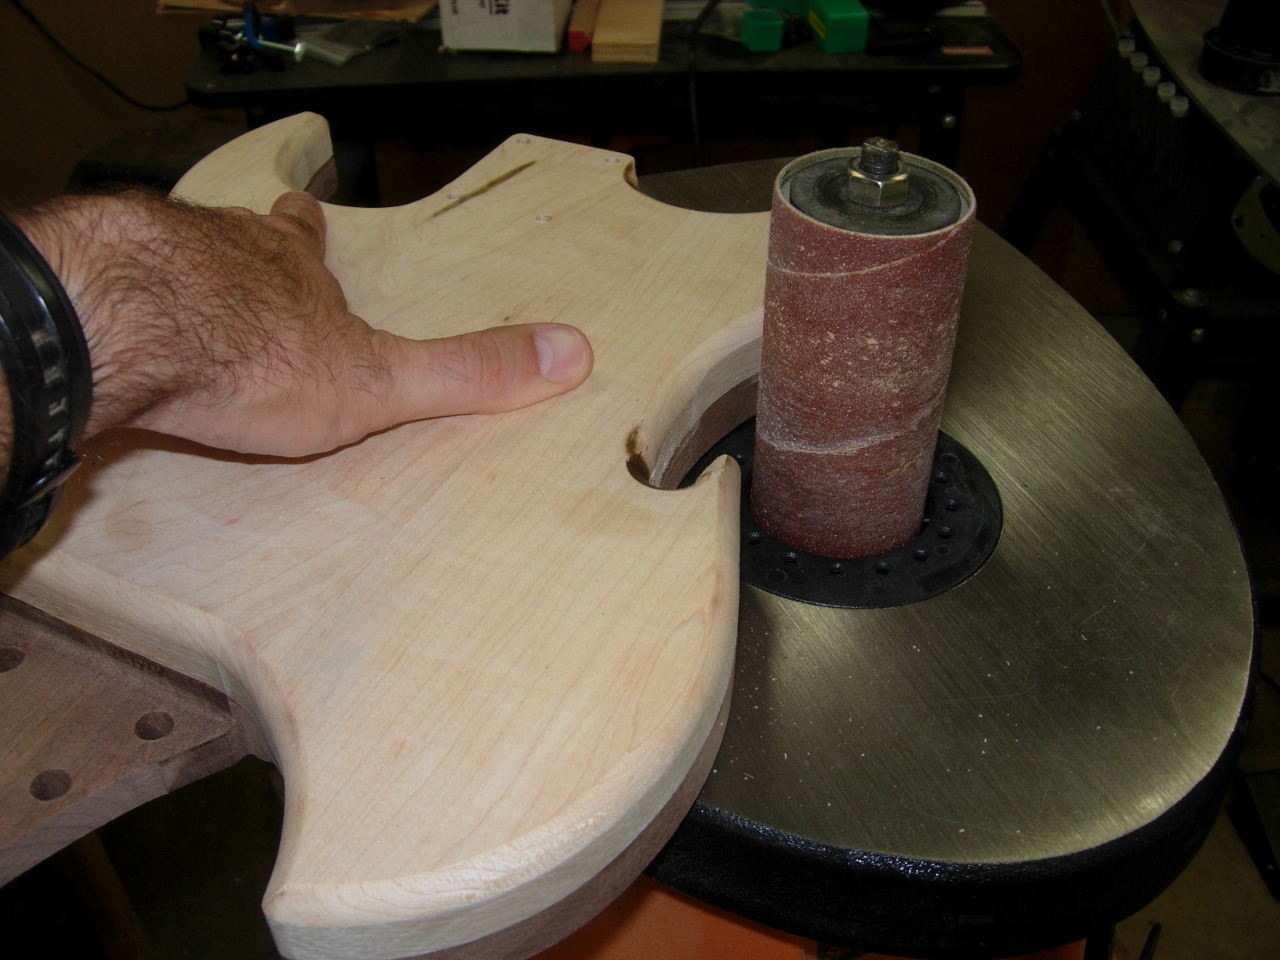
Adding a round-over to the top
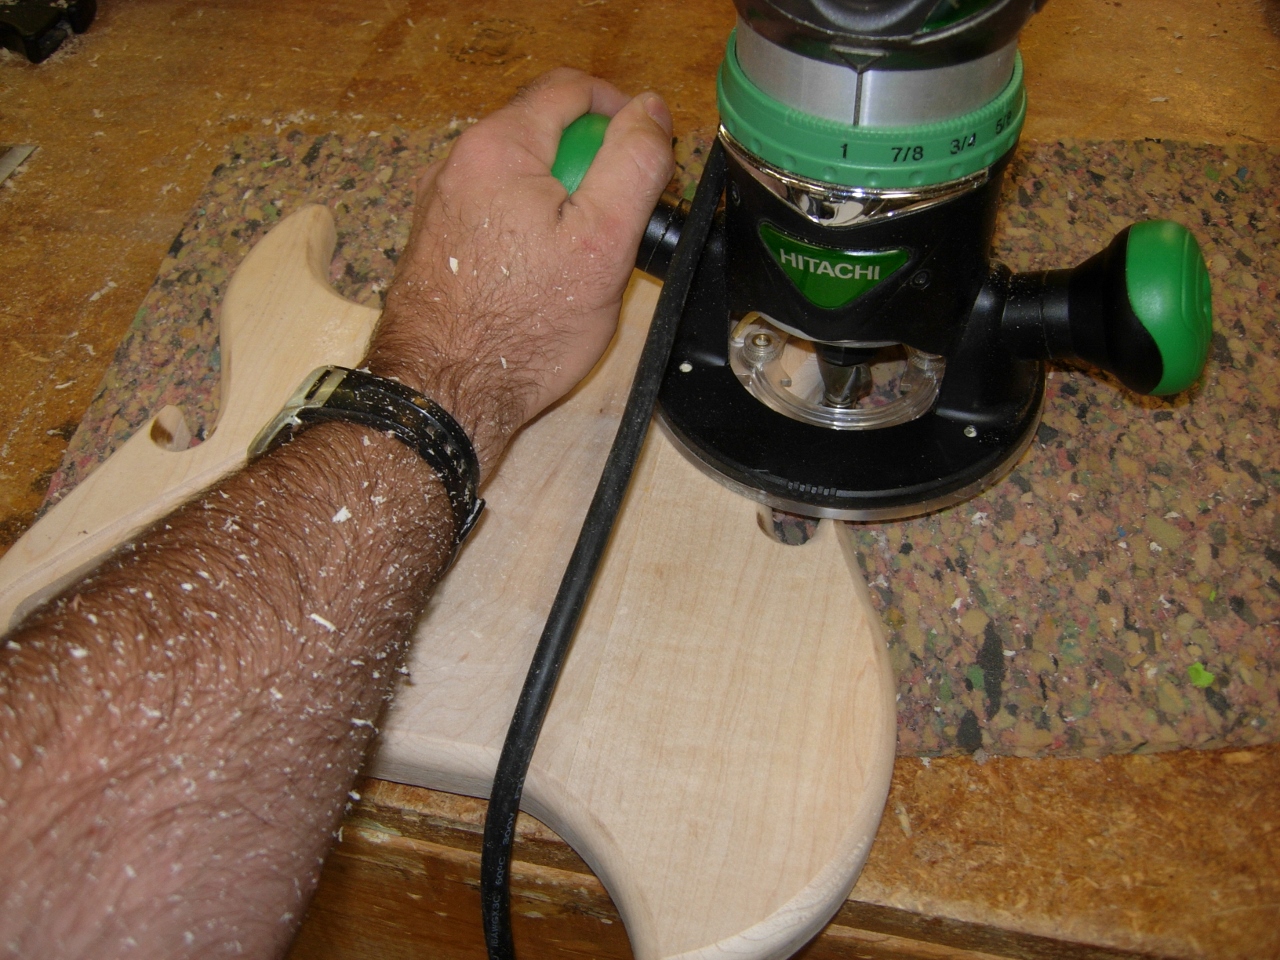
Adding a round-over to the bottom
I did as much as I could of the front and back, but the bearing wouldn’t fit into the tight corners.
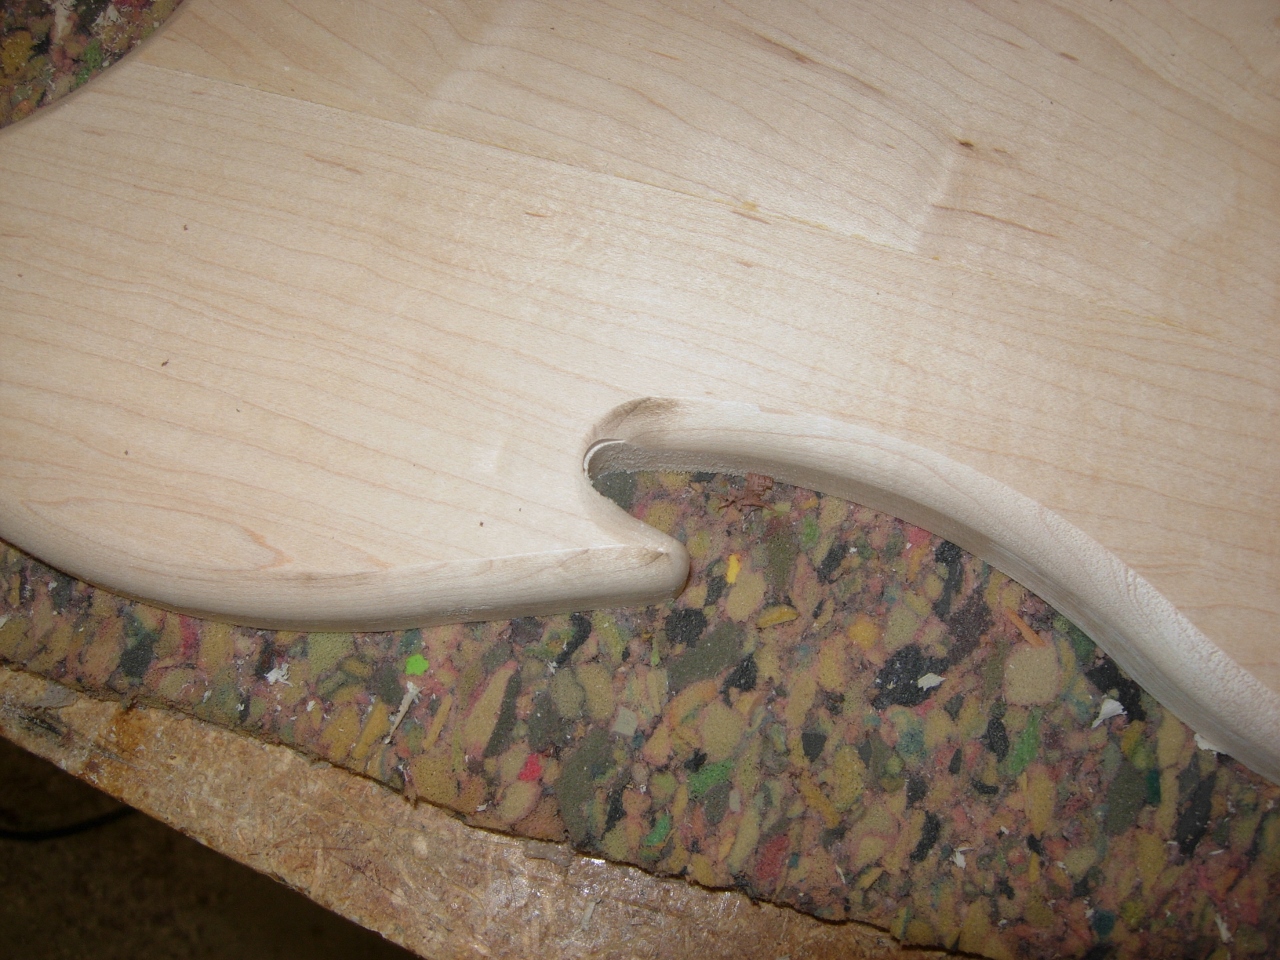
Bit does not fit
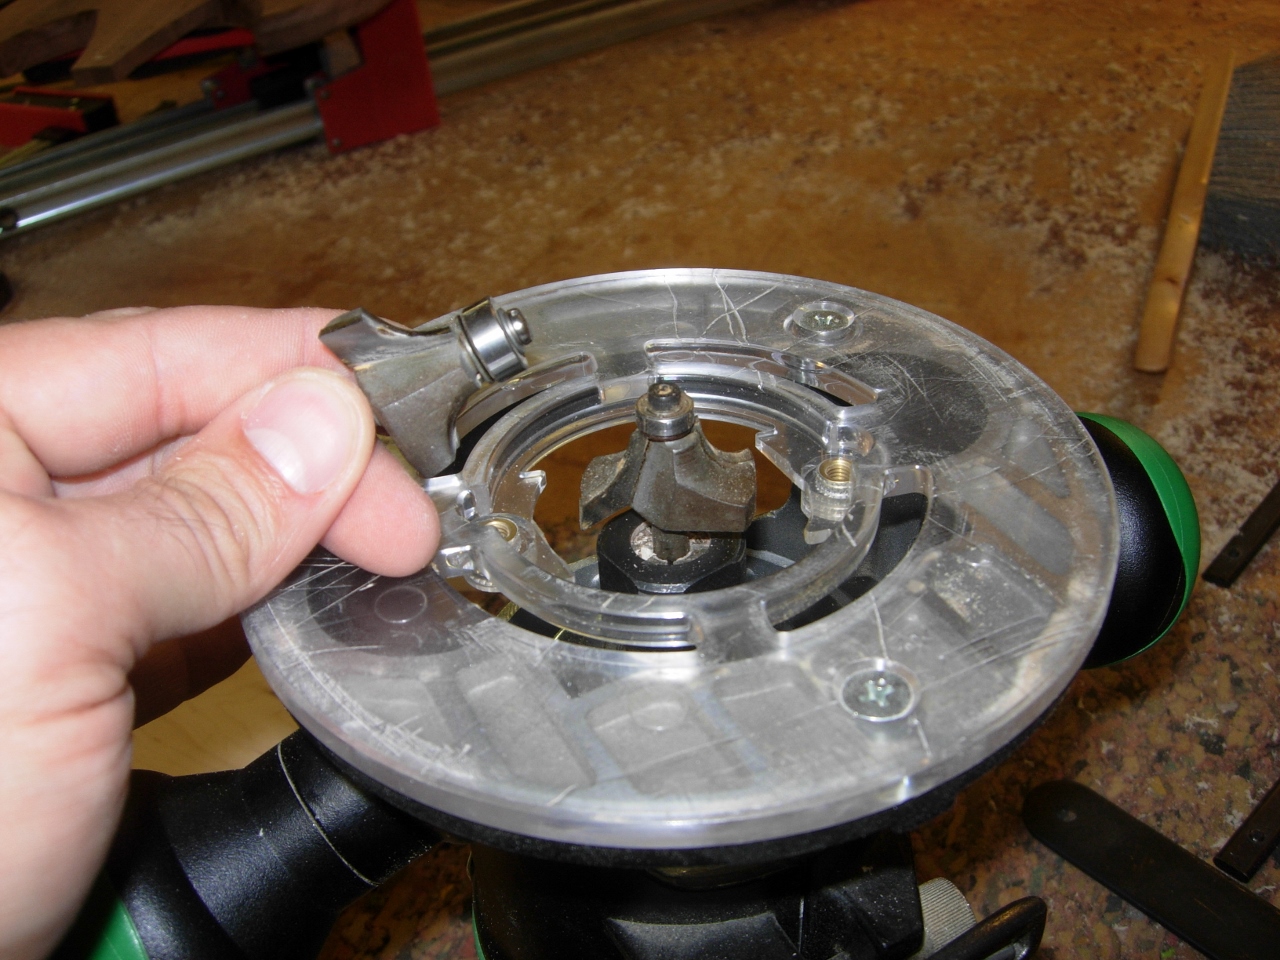
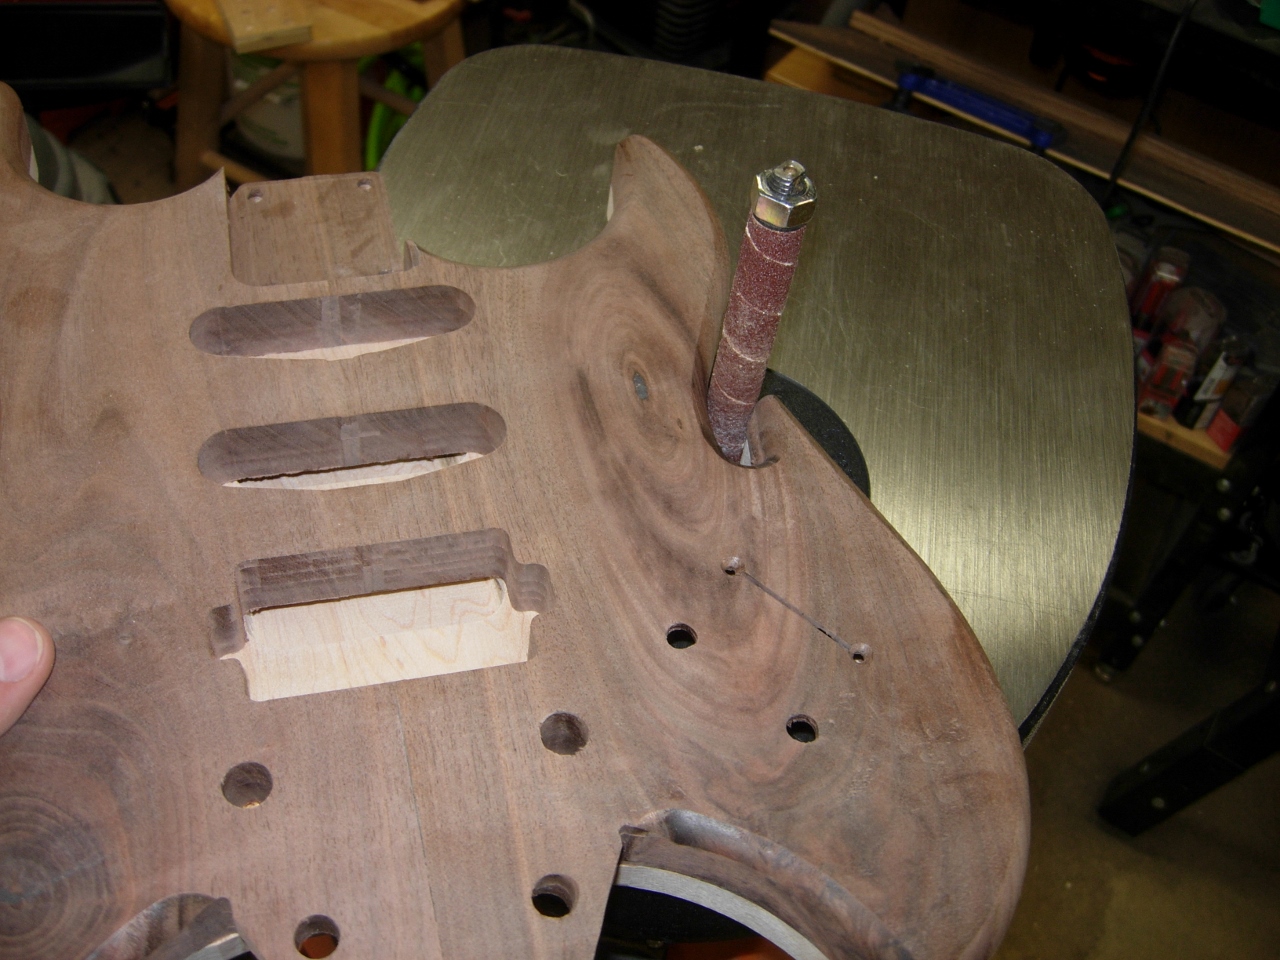
Trying a smaller bearing
I had some success stepping down to a smaller bearing, but I had to be careful not to cut too deep.
Workable
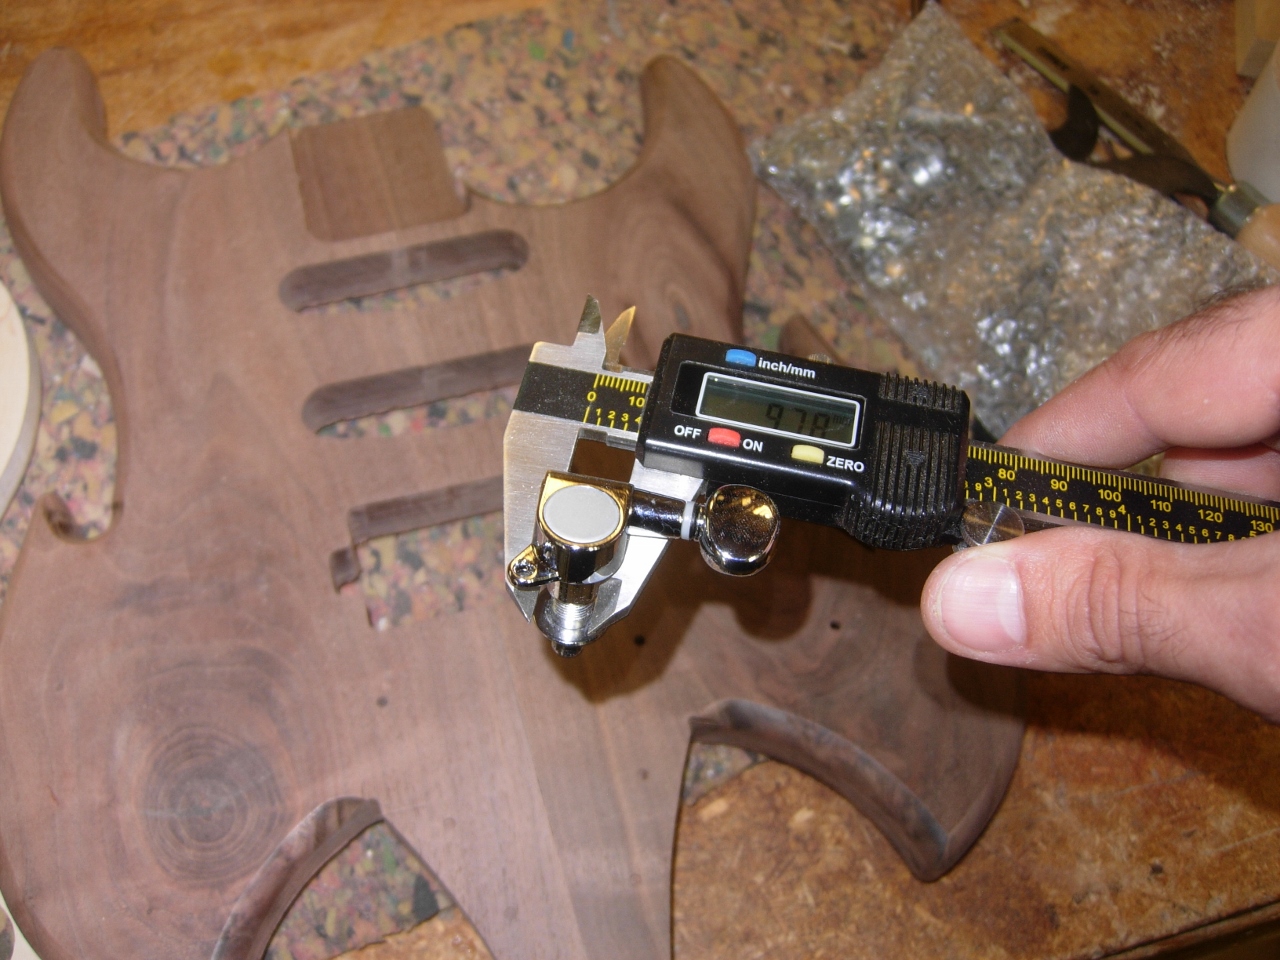
Measuring machine head tuner
Next step was to drill out the holes for the tuners. I got out my calipers and measured the tuner body to determine what size hole I needed.

Setting tail level
Since the tail is at an angle, I stacked a few boards to level it out. This enabled me to drill perpendicular to the tail. I drilled out all six holes, then moved on to the bridge.
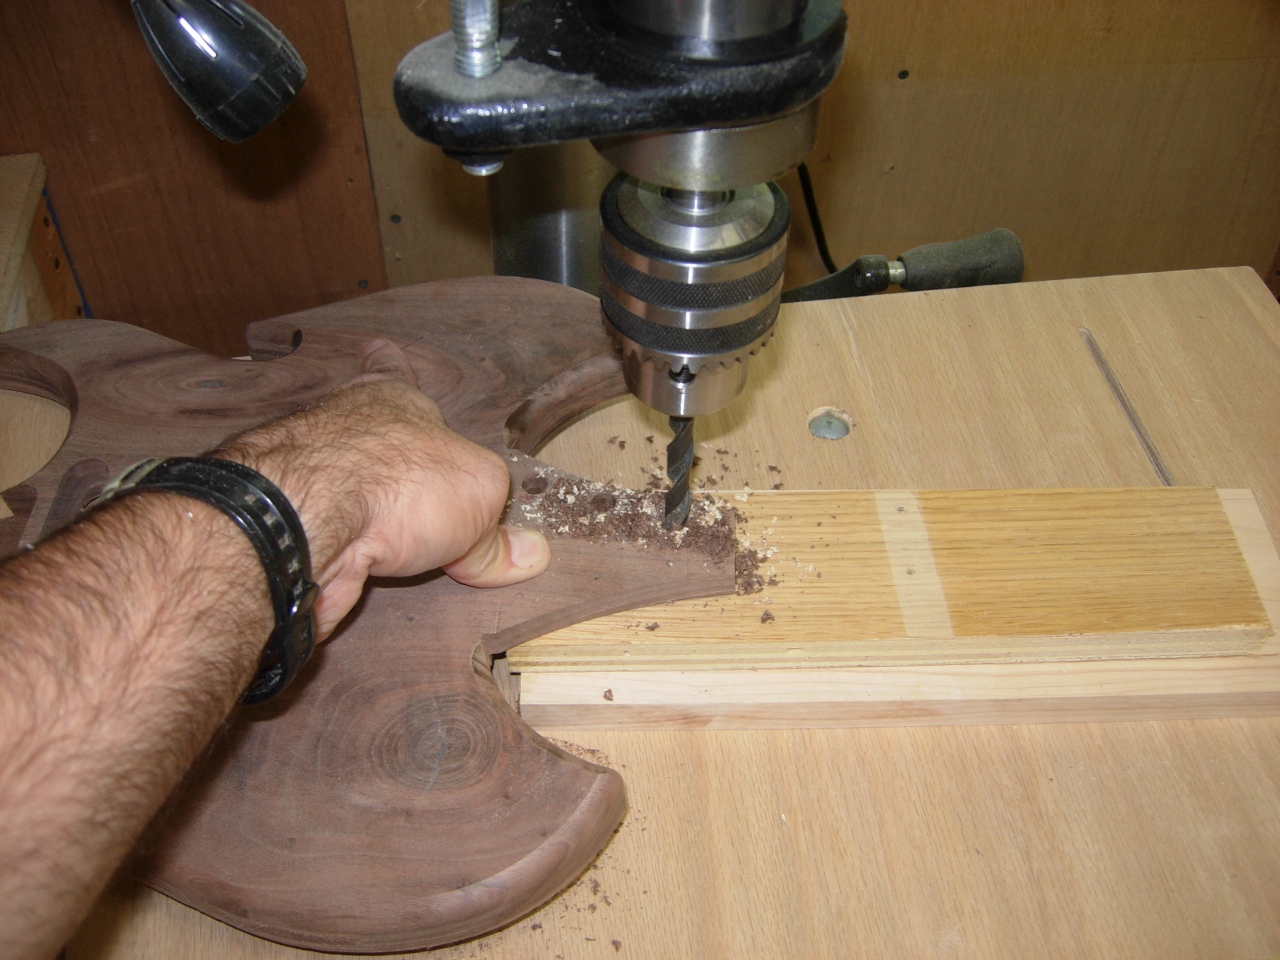
Drilling out the tuner holes
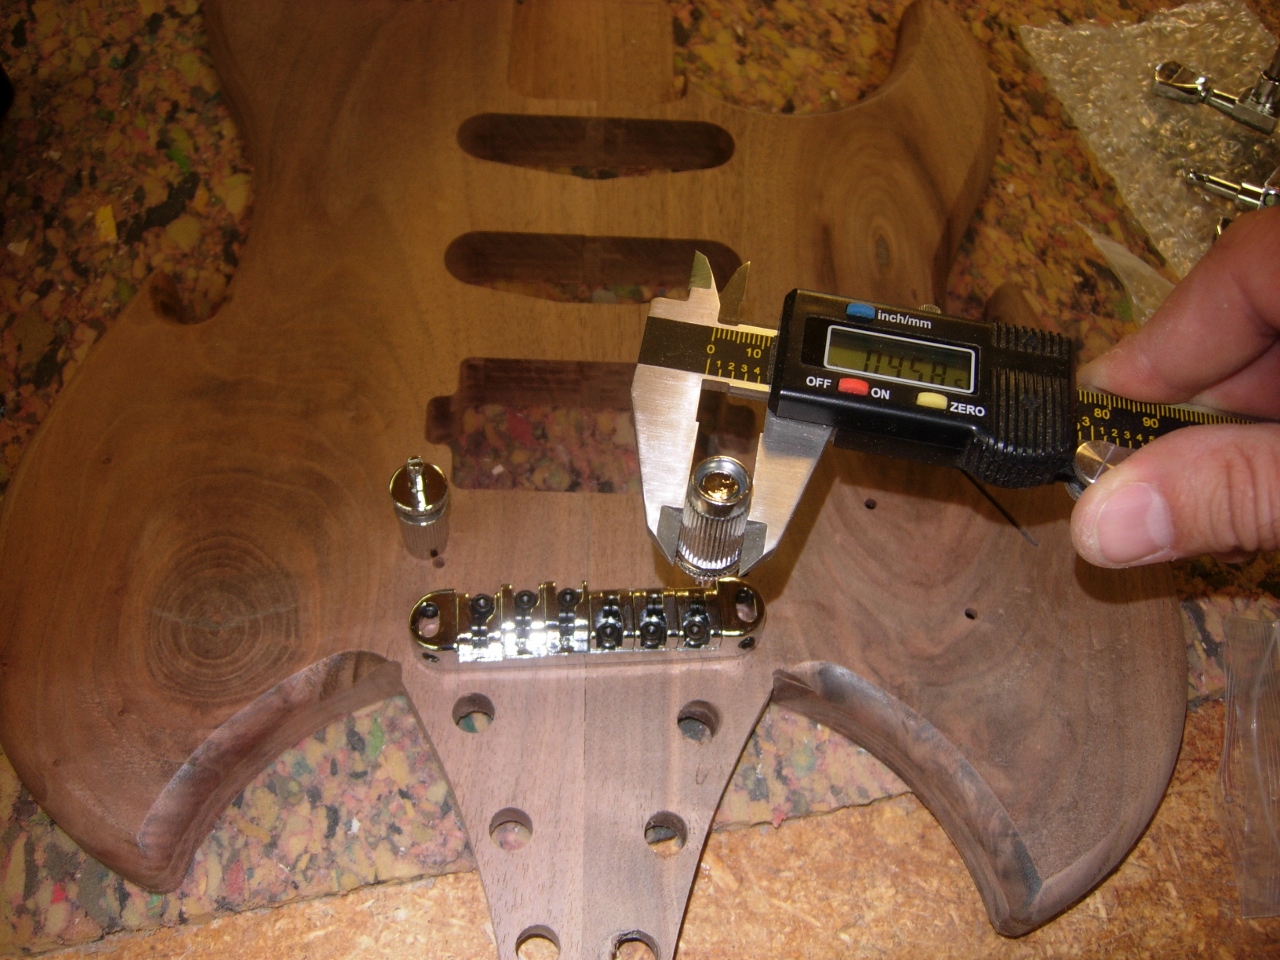
Measuring bridge posts
I repeated the process of measuring and drilling.
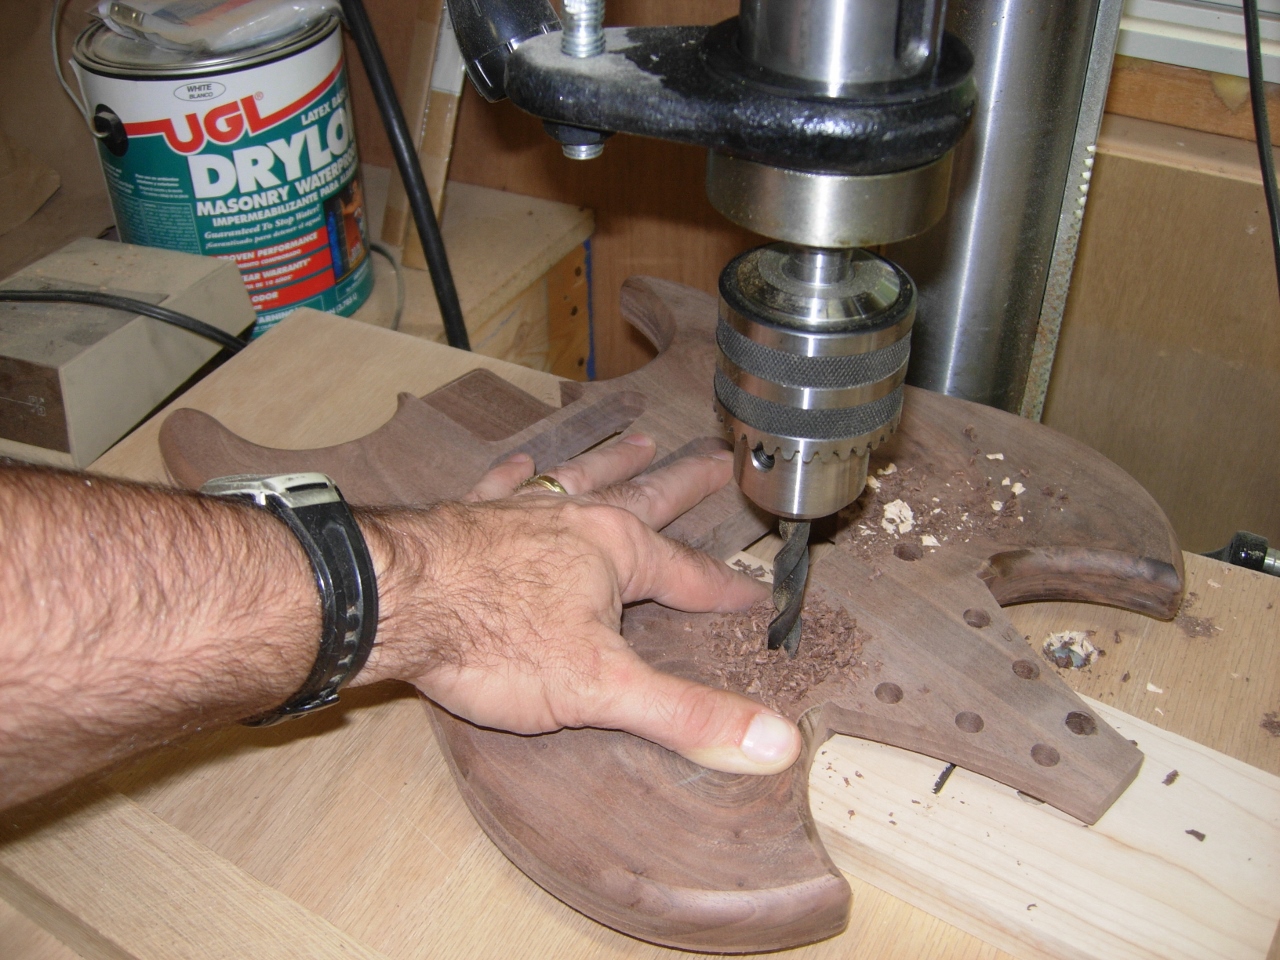
Drilling post holes
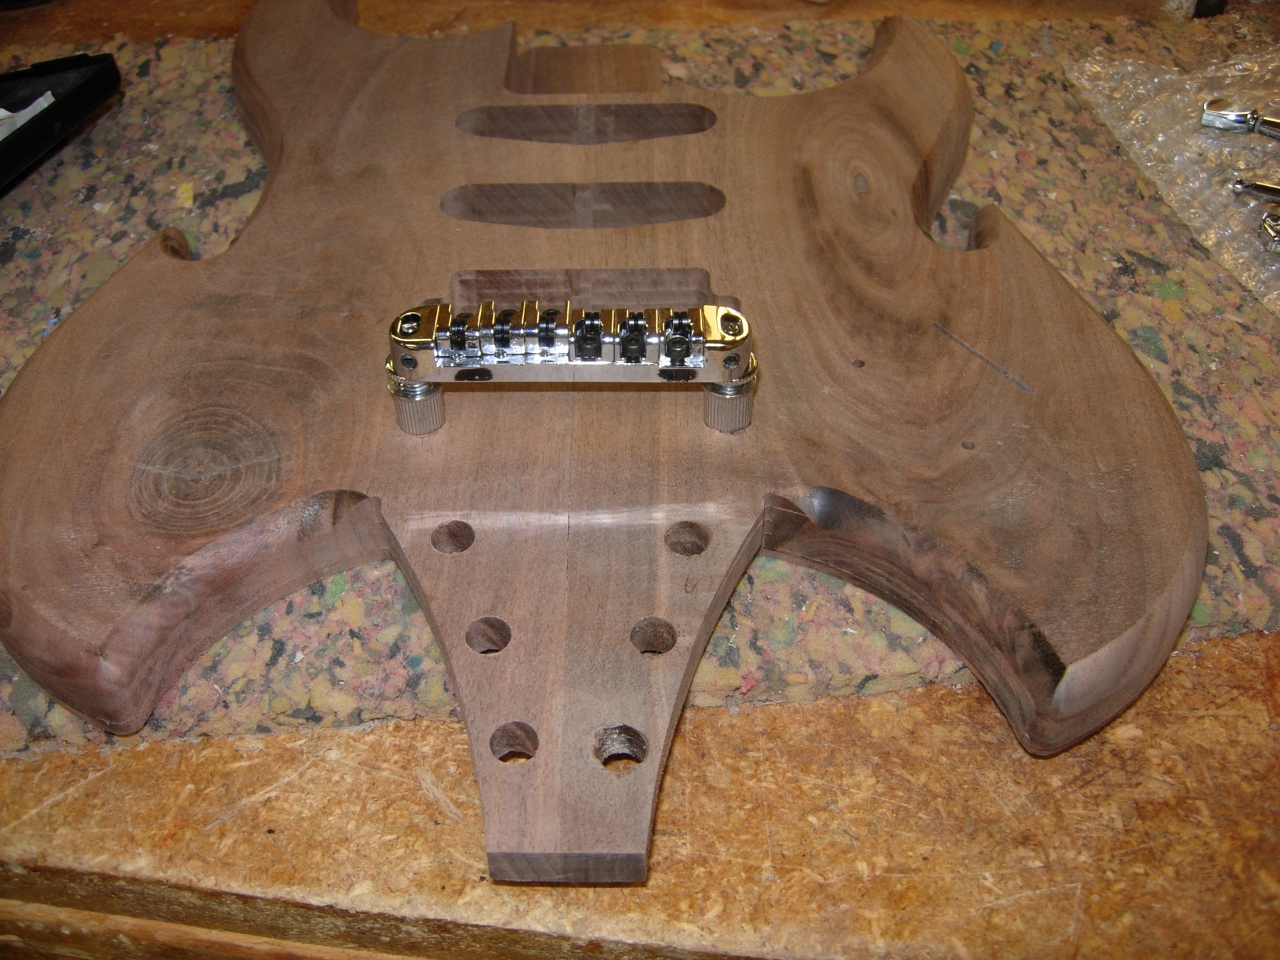
Test fit of bridge
Since the bridge posts are press fit, I set them in only a little ways, to make sure they lined up with the bridge. They will get pressed in later, after the finish is applied. I also installed the machine head tuners to check them as well. It is a tight fit, but it will work.

Test fit the tuners
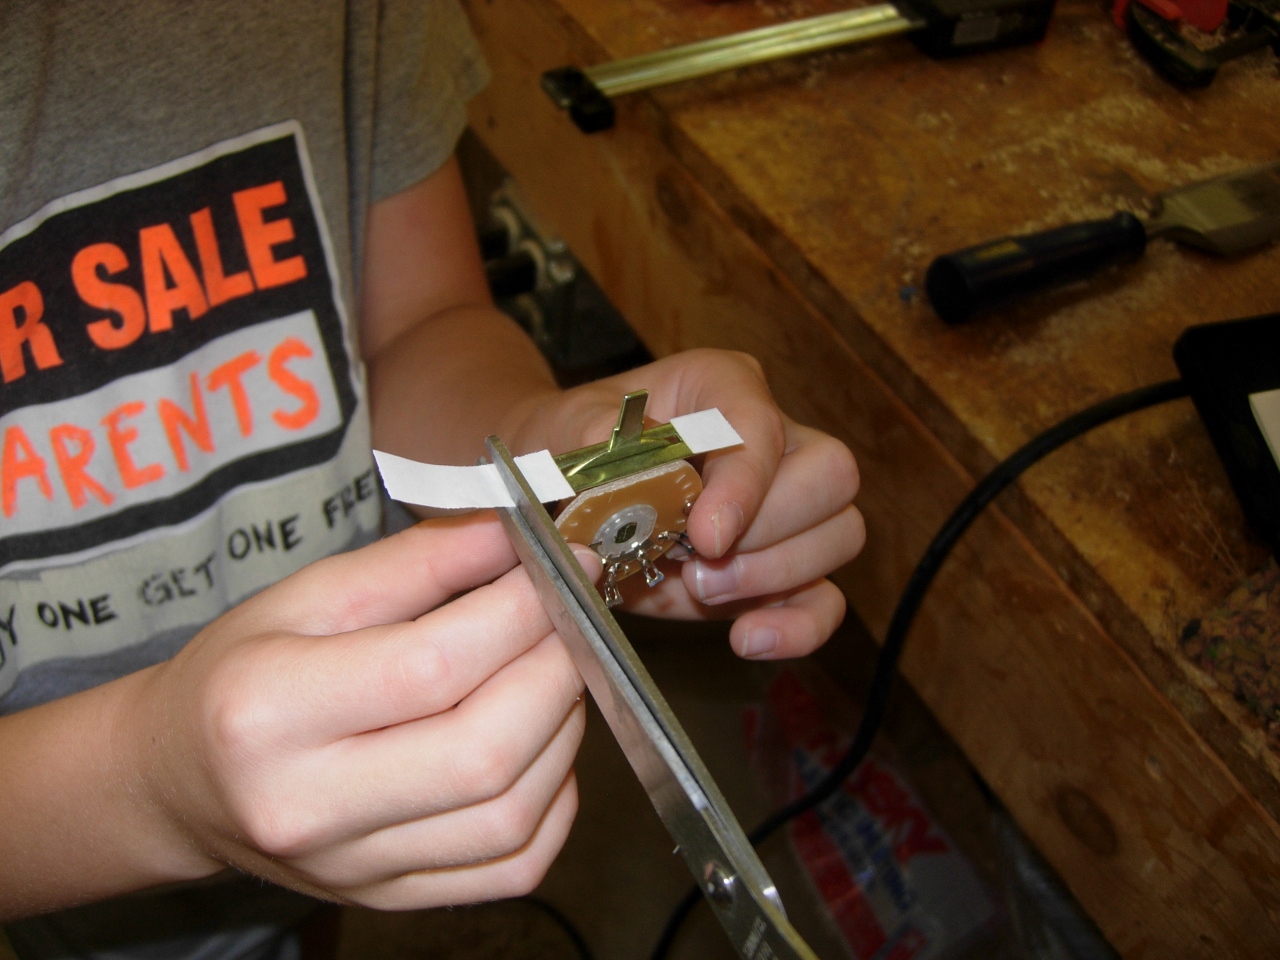
Applying double-sided tape
To install the 5-way switch, I had Adam help me attach some double-sided tape, then I centered the switch and pressed it in. With the tape holding it, I drilled out the pilot holes at the mounting points. I removed the switch and drilled out the larger clearance holes.
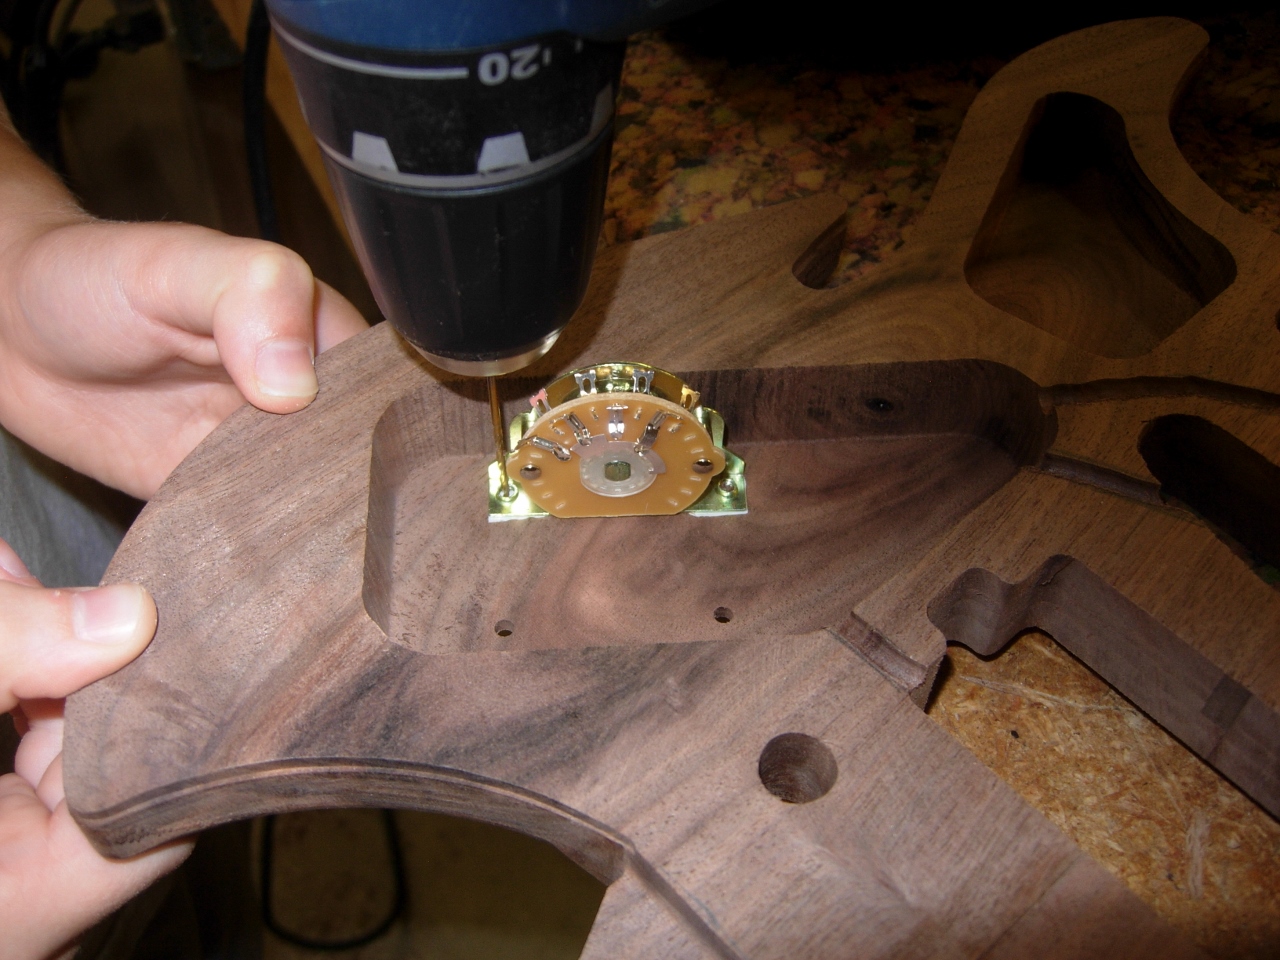
Locating and drilling screw holes
Adding a counter-sink
I counter-sunk the holes and installed the switch. It fit very nicely.
Switch fits perfectly
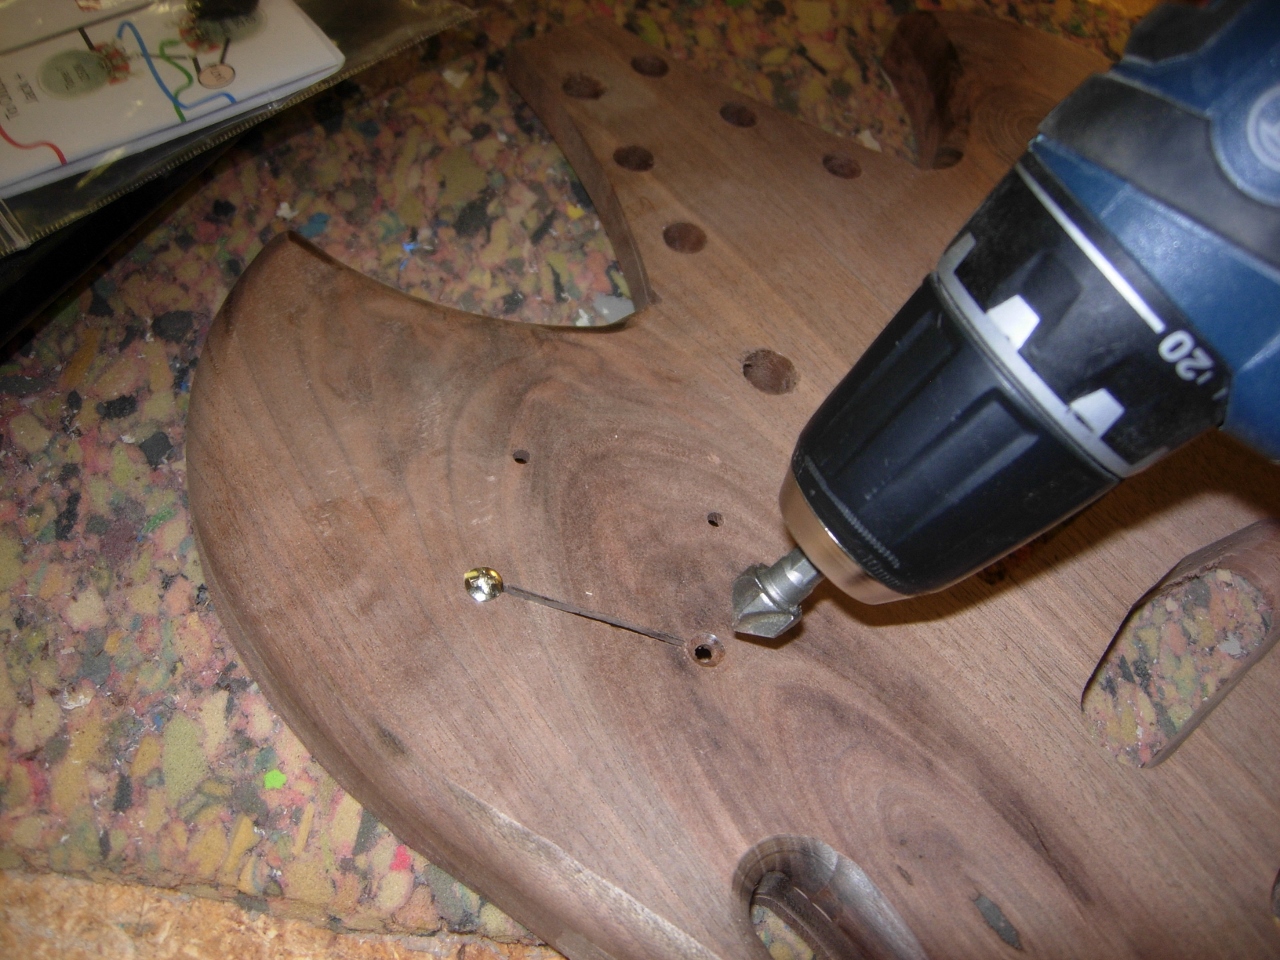
Next, I measured the volume and tone potentiometers, then drilled their mounting holes.
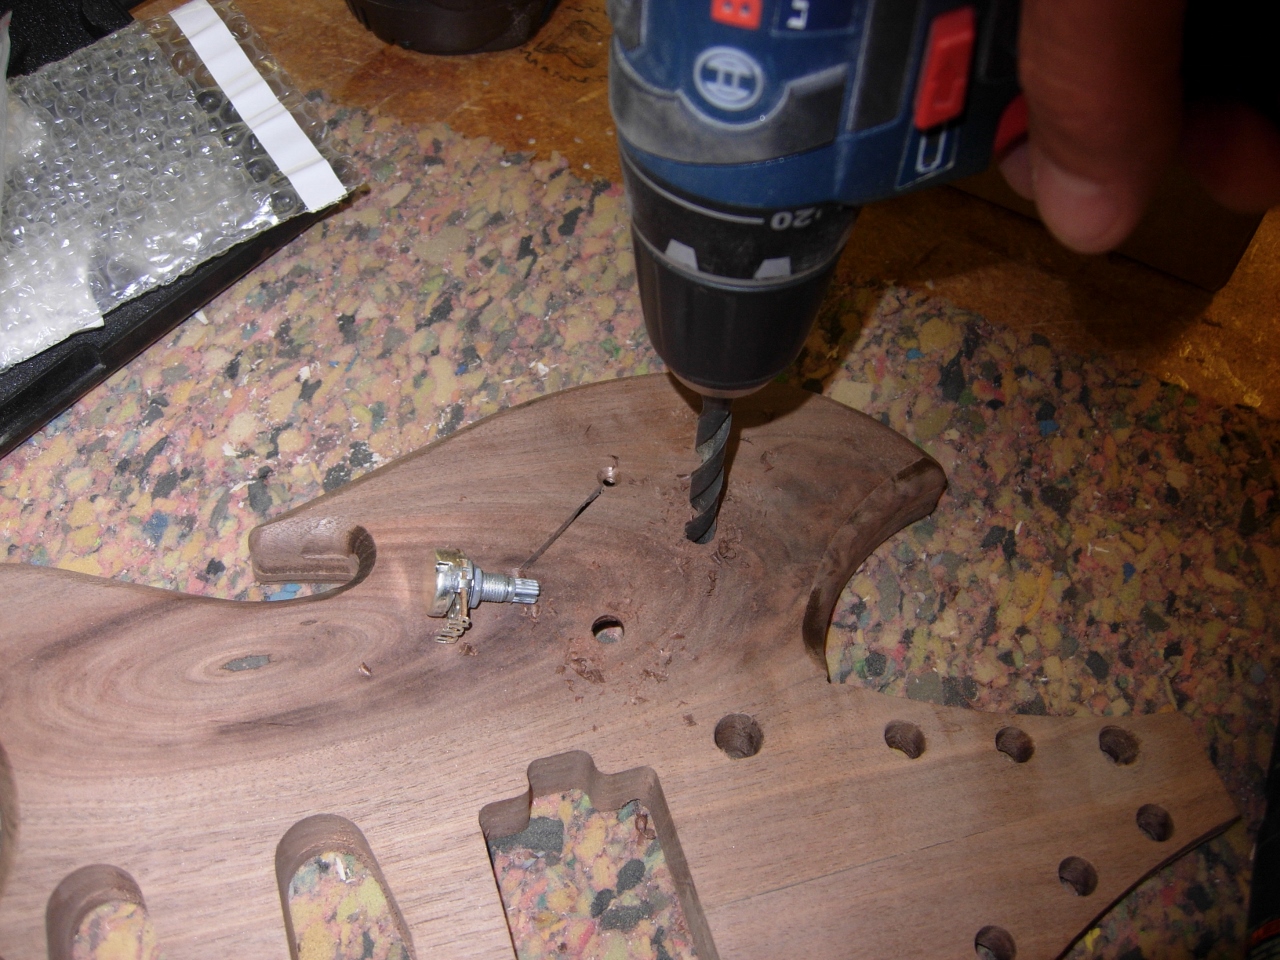
Drilling volume and tone holes

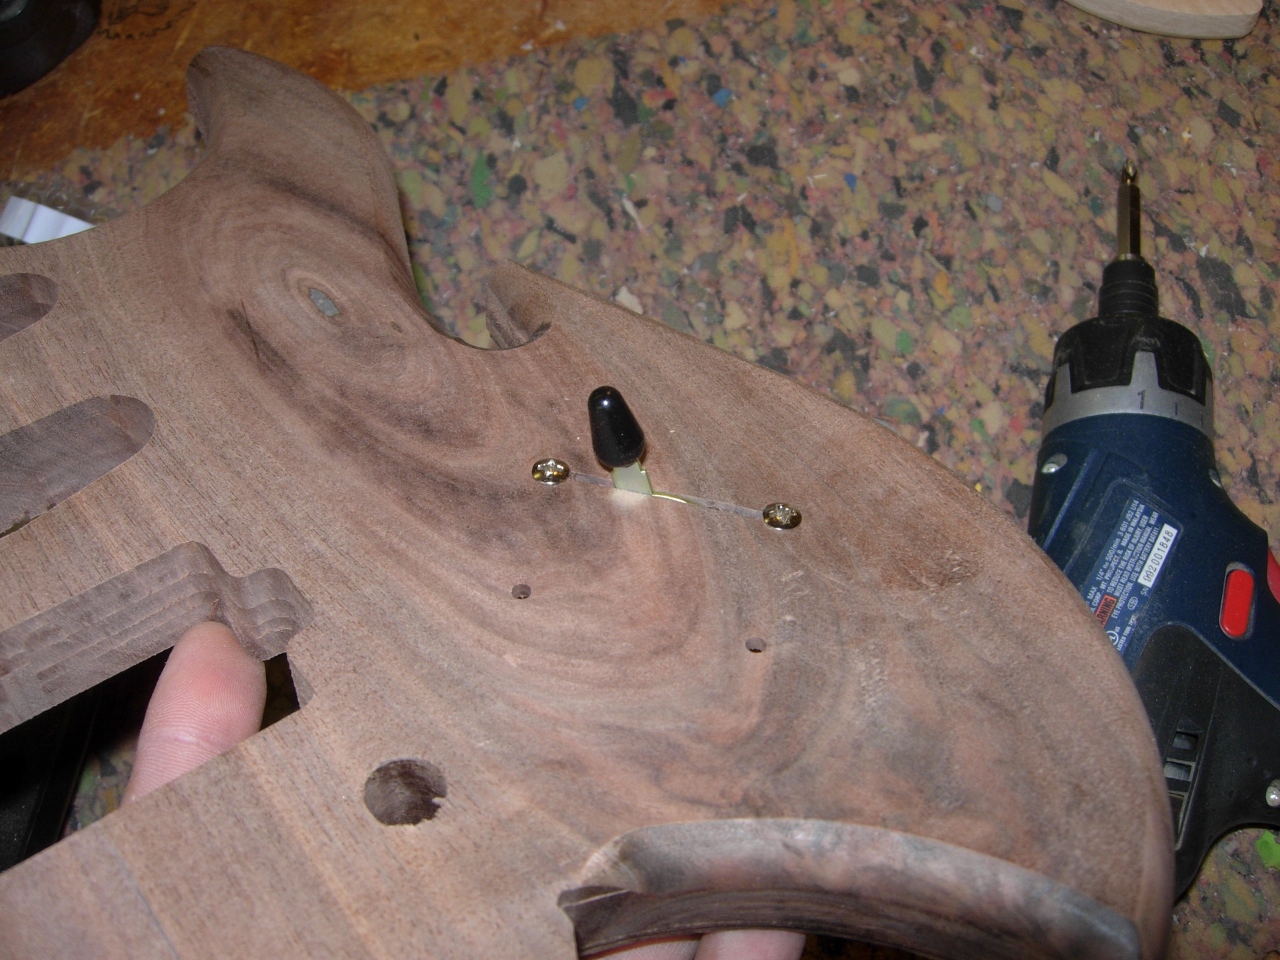
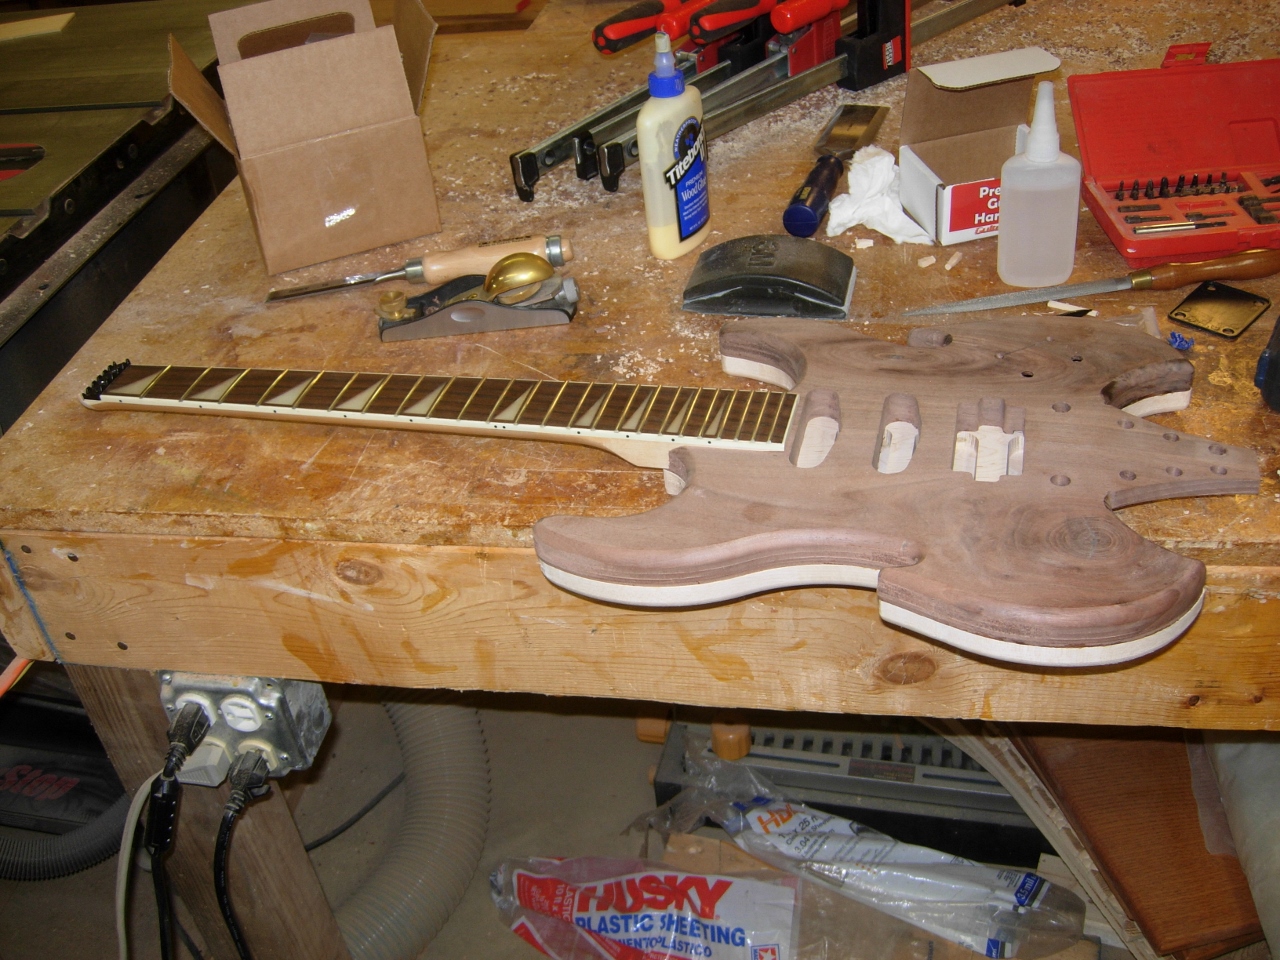
Applying glue
With all the minor details complete, I glued the two halves together and moved on to the neck.
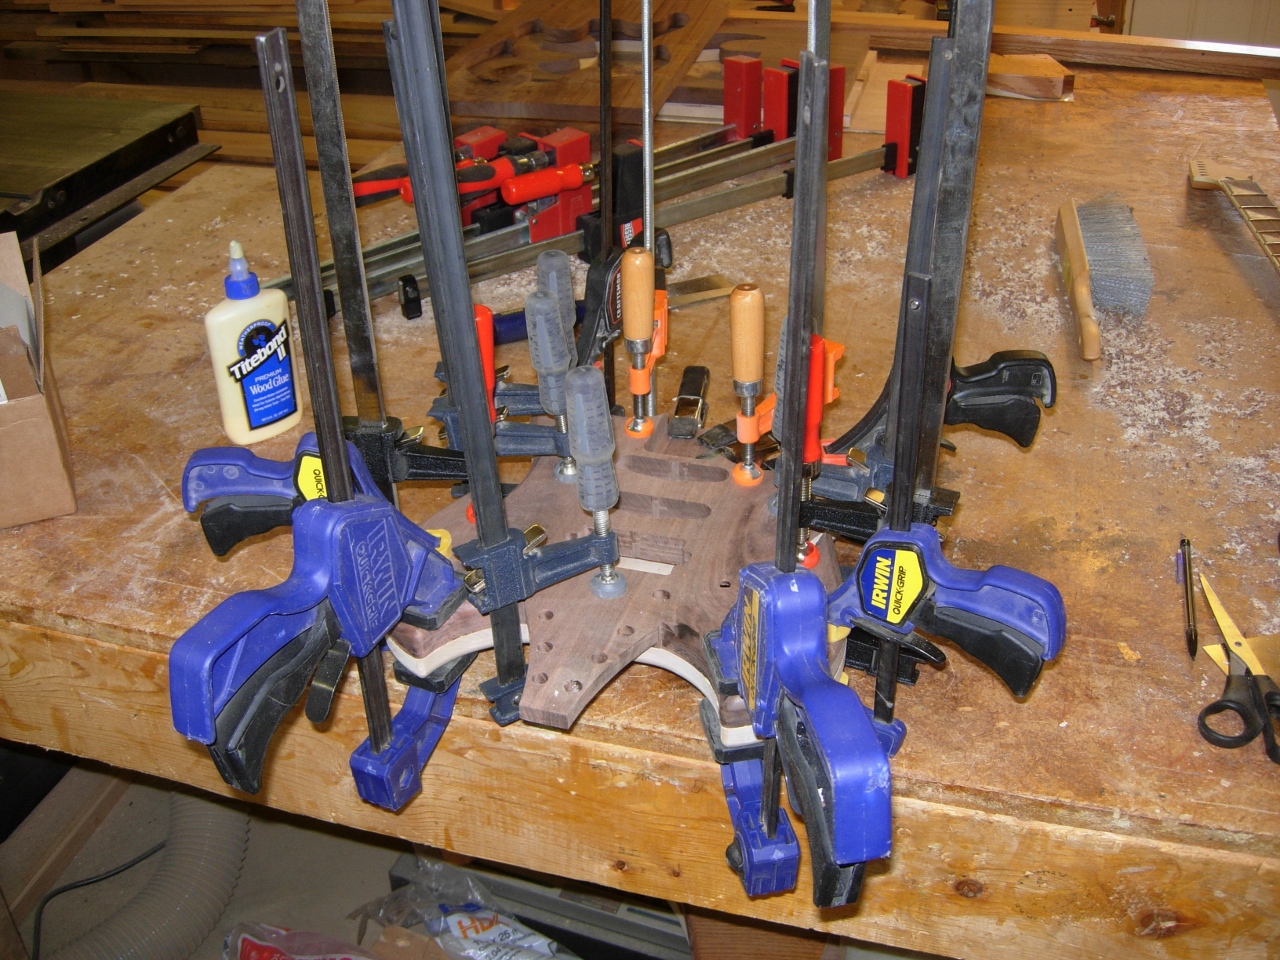
Clamping up the body to dry
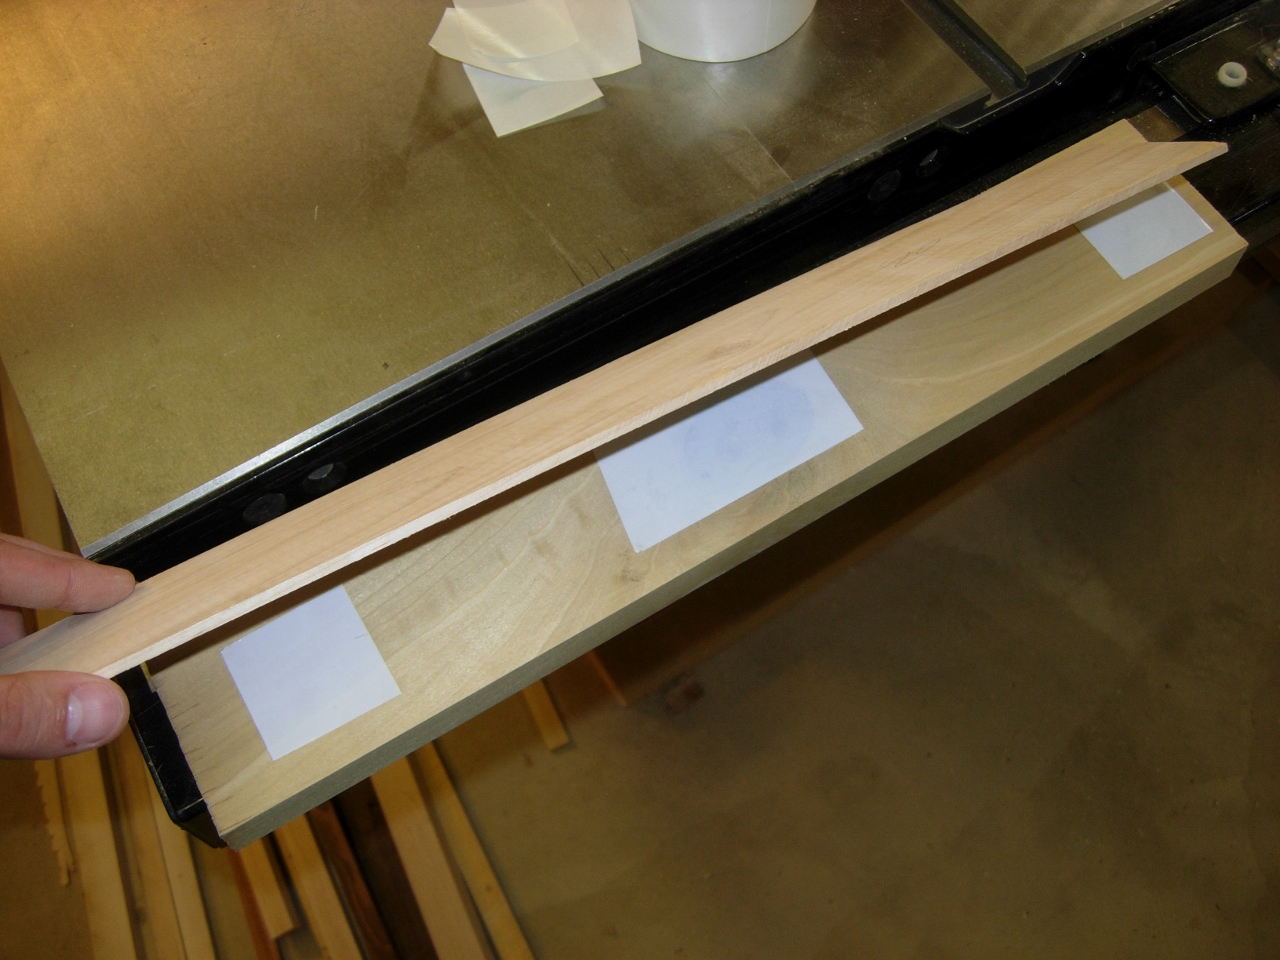
Taping maple veneer to poplar blank
I have an old guitar neck that someone gave me, and I intend to convert it to my purposes. After I chop off the head, I need a plate that can hold the strings. I designed something, on the CNC, that I want to try. It will be thin, so I taped a 1/8″ thick piece of maple to a thicker piece of poplar. Now I can cut all the way through the maple without worrying about the piece breaking free.
Carving new head plate

Carve complete
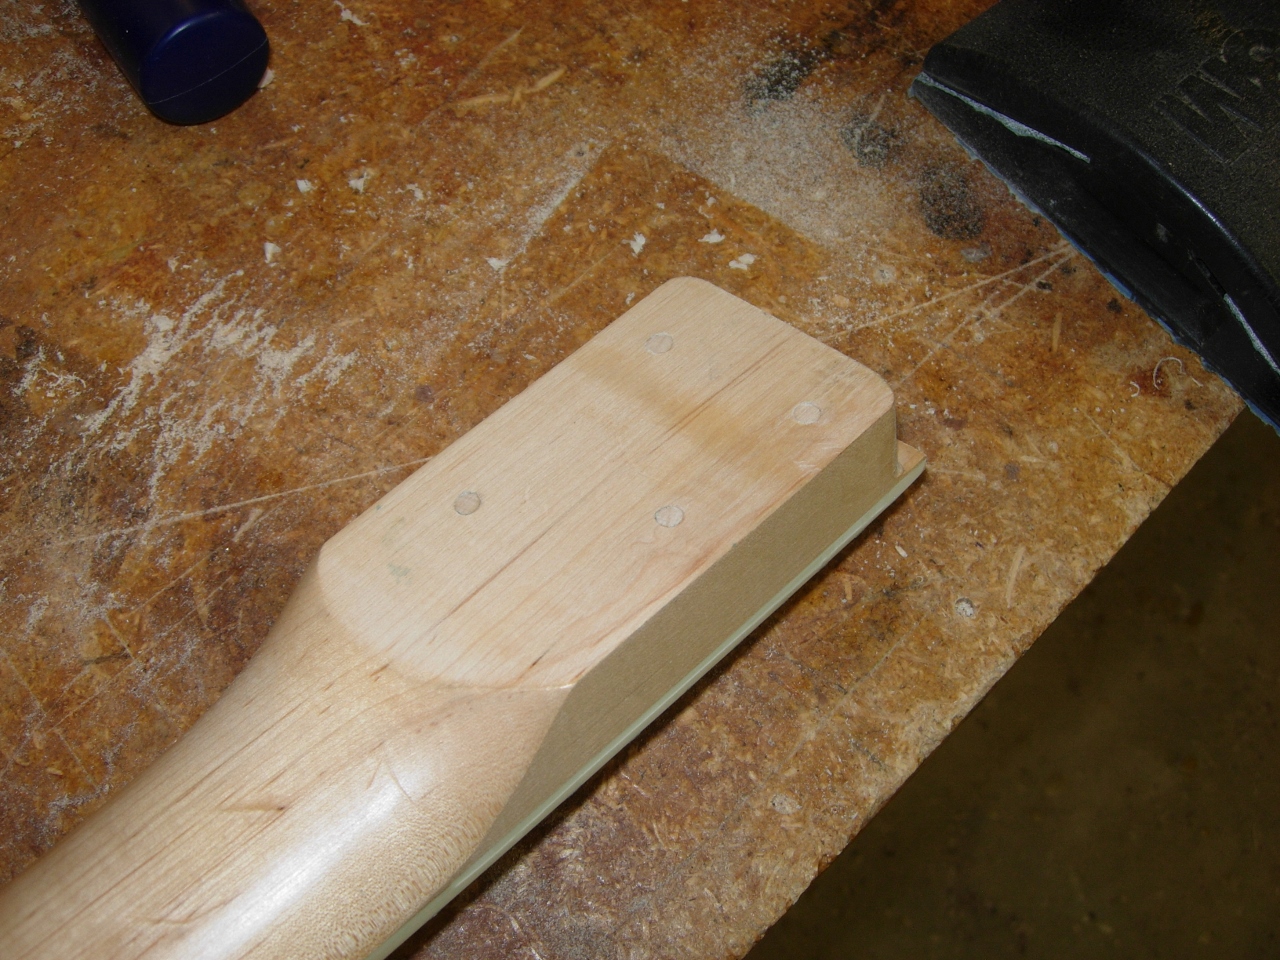
The carve only took a few minutes. I pried the thinner piece away with a large chisel, then sanded down the new headplate.

Separation

Headplate complete
With the plate complete, I proceeded to be-head the neck.
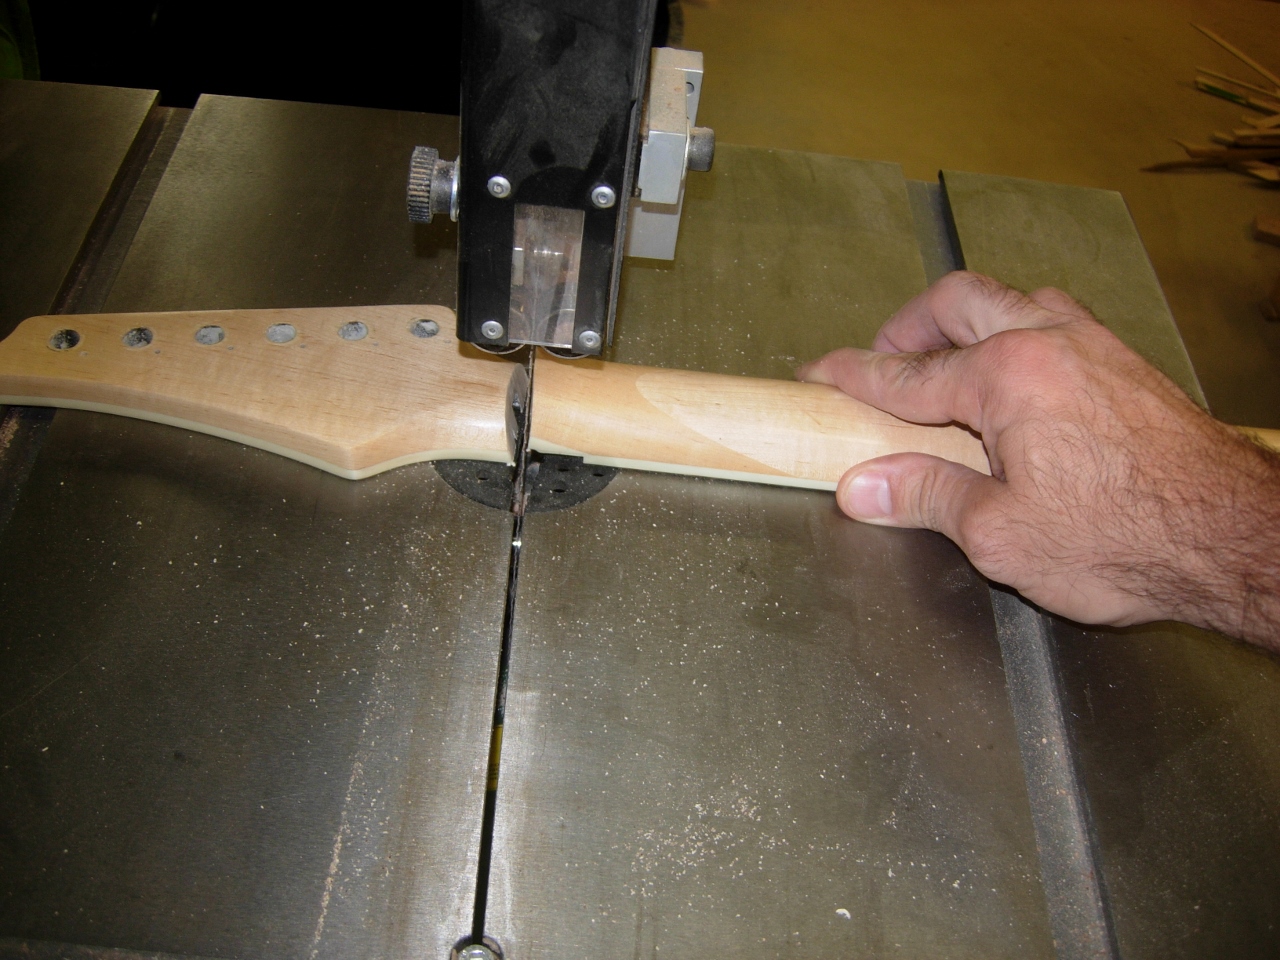
Be-heading the neck
It was set up for a Floyd Rose style nut, so I cut the head off just past it, and attached the headplate. I even left a hole for adjusting the truss rod. This will not be the final version of the headplate, but I needed to test the concept. When I find one I like, I will have it made in steel or brass.
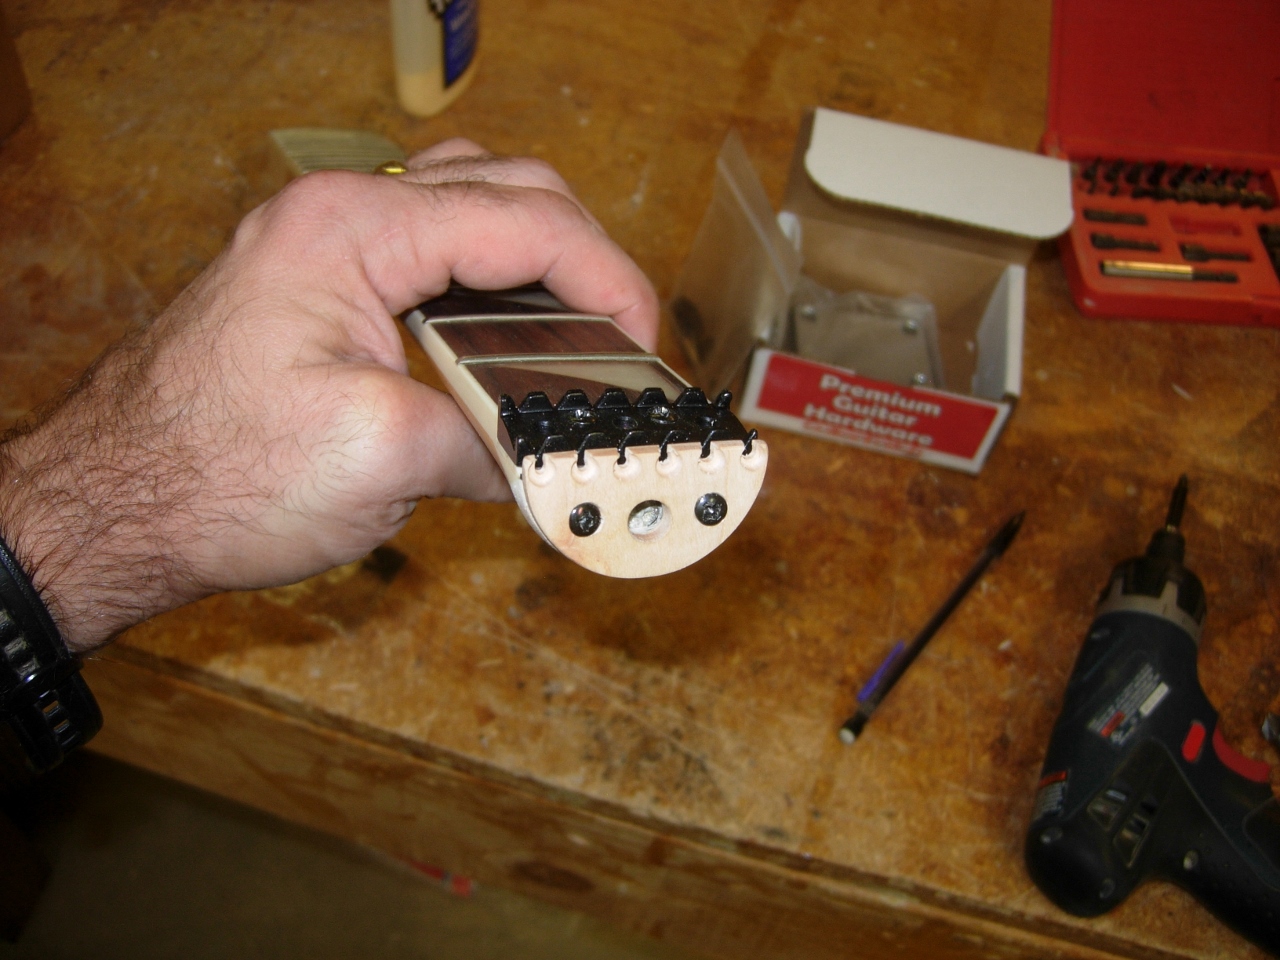
Attaching nut and headplate
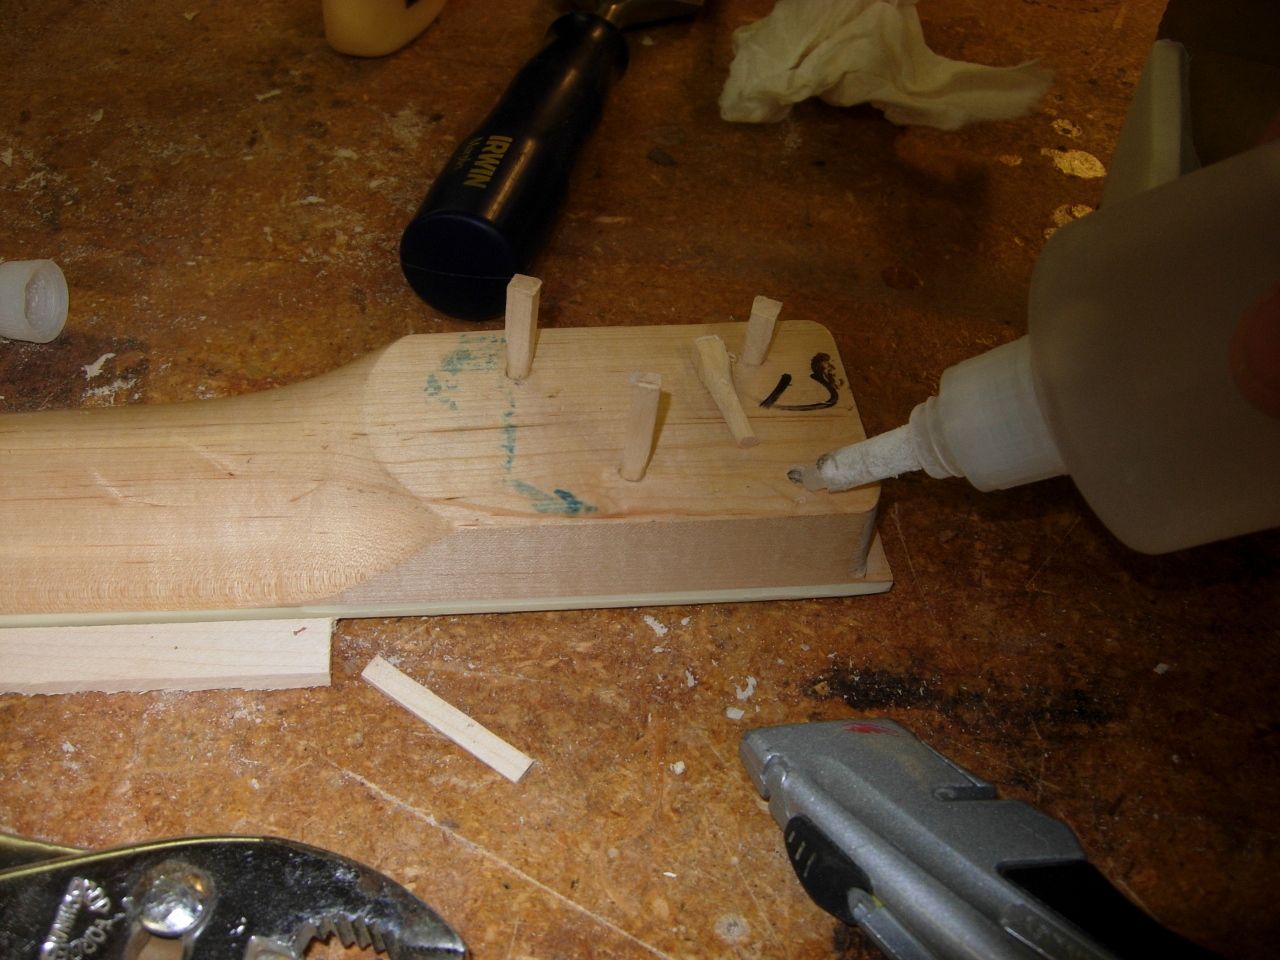
Filling existing neck holes
Before Attaching the neck, I need to fill in the old neck holes. This was easily accomplished with some whittled maple pegs and some CA glue. When they dried, I cut the left-over off and sanded them flush.
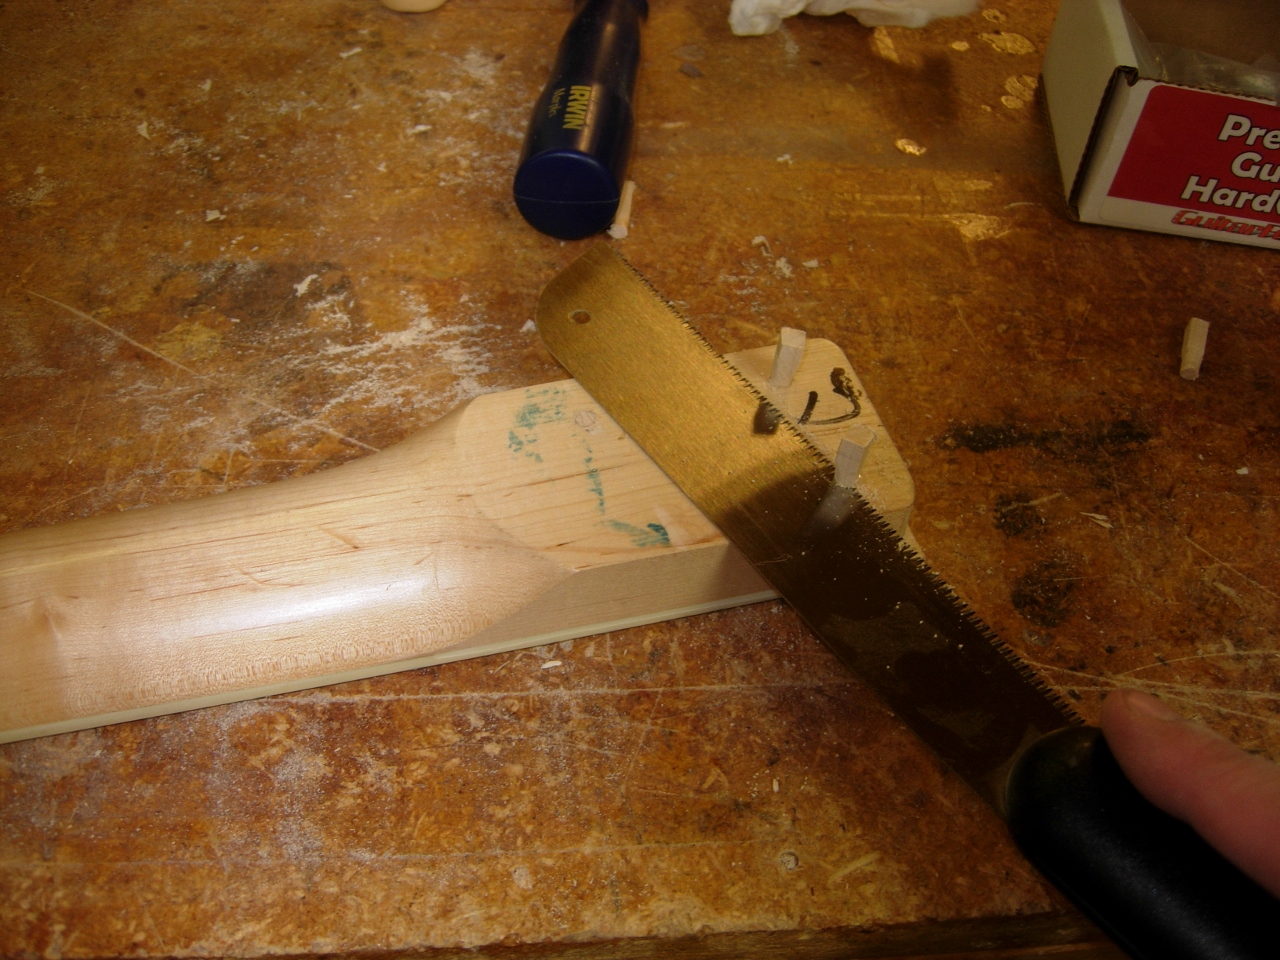
Cutting off plugs
Cut and sanded
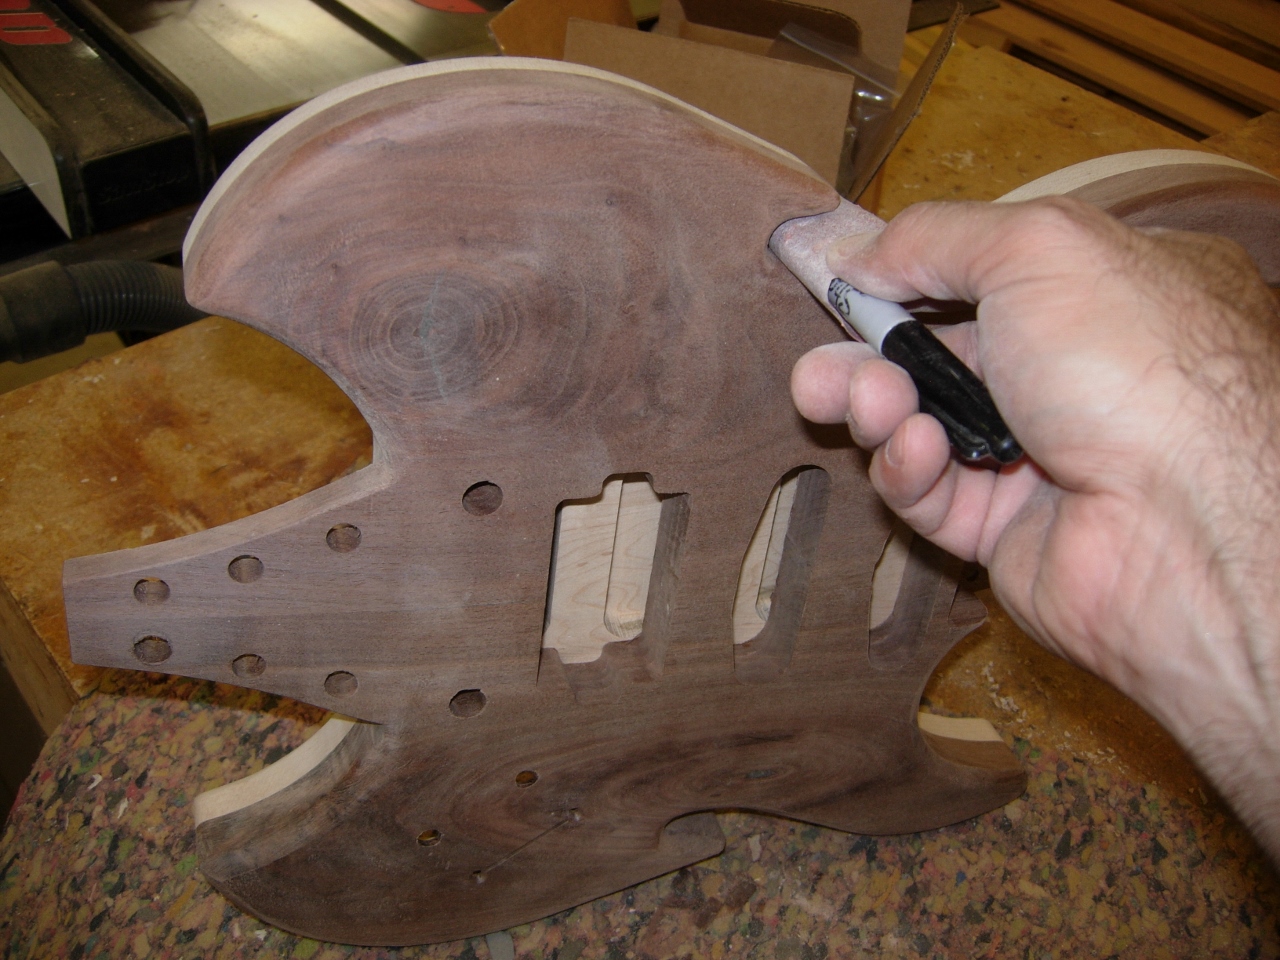
After lining up the neck, I pulled the clamps off the body and drilled out the new hole pattern, on the back of the guitar, matching the standard neck plate, that I had.
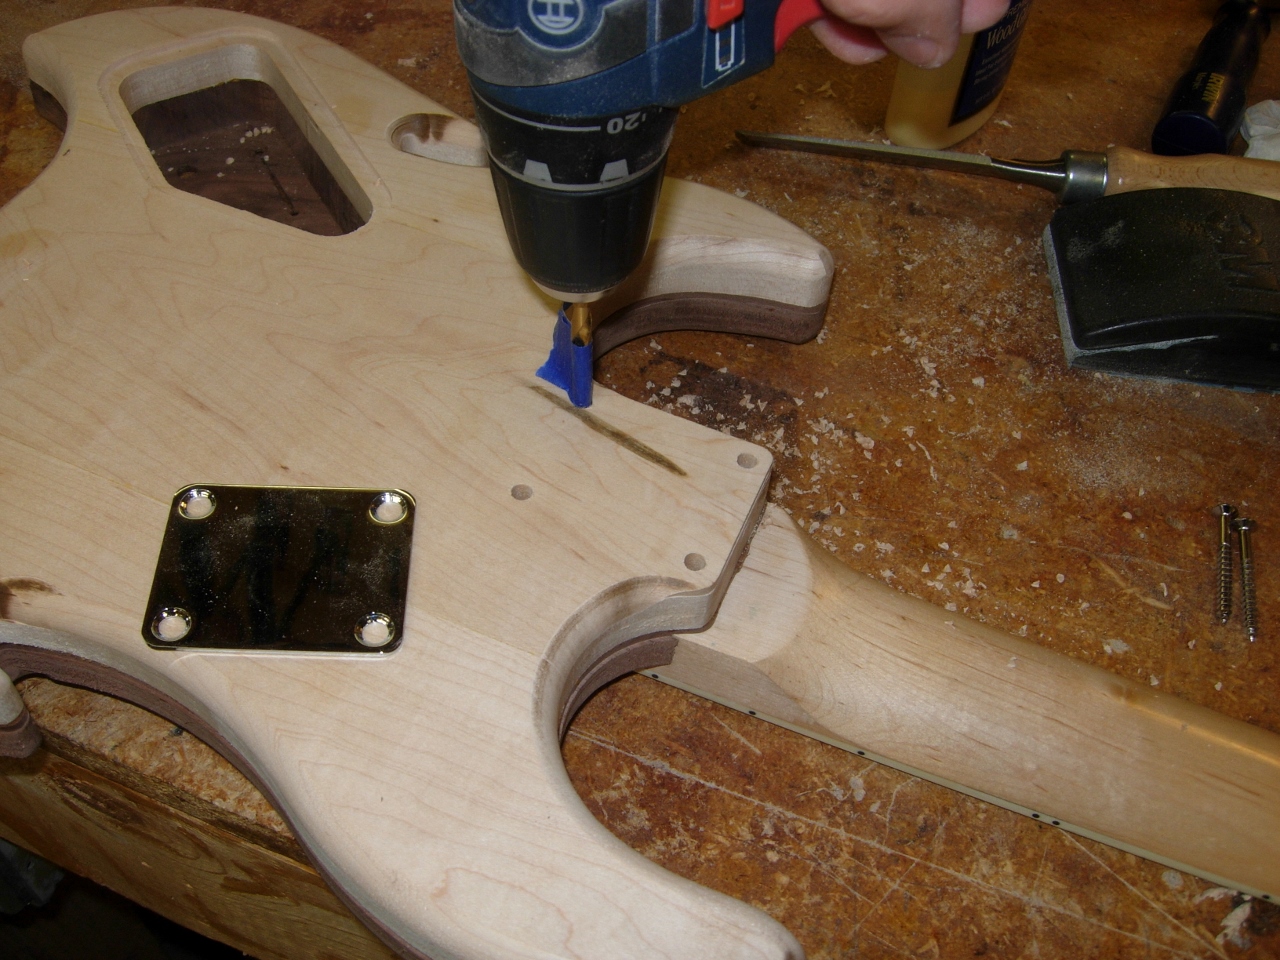
Drilling the body for neck screws
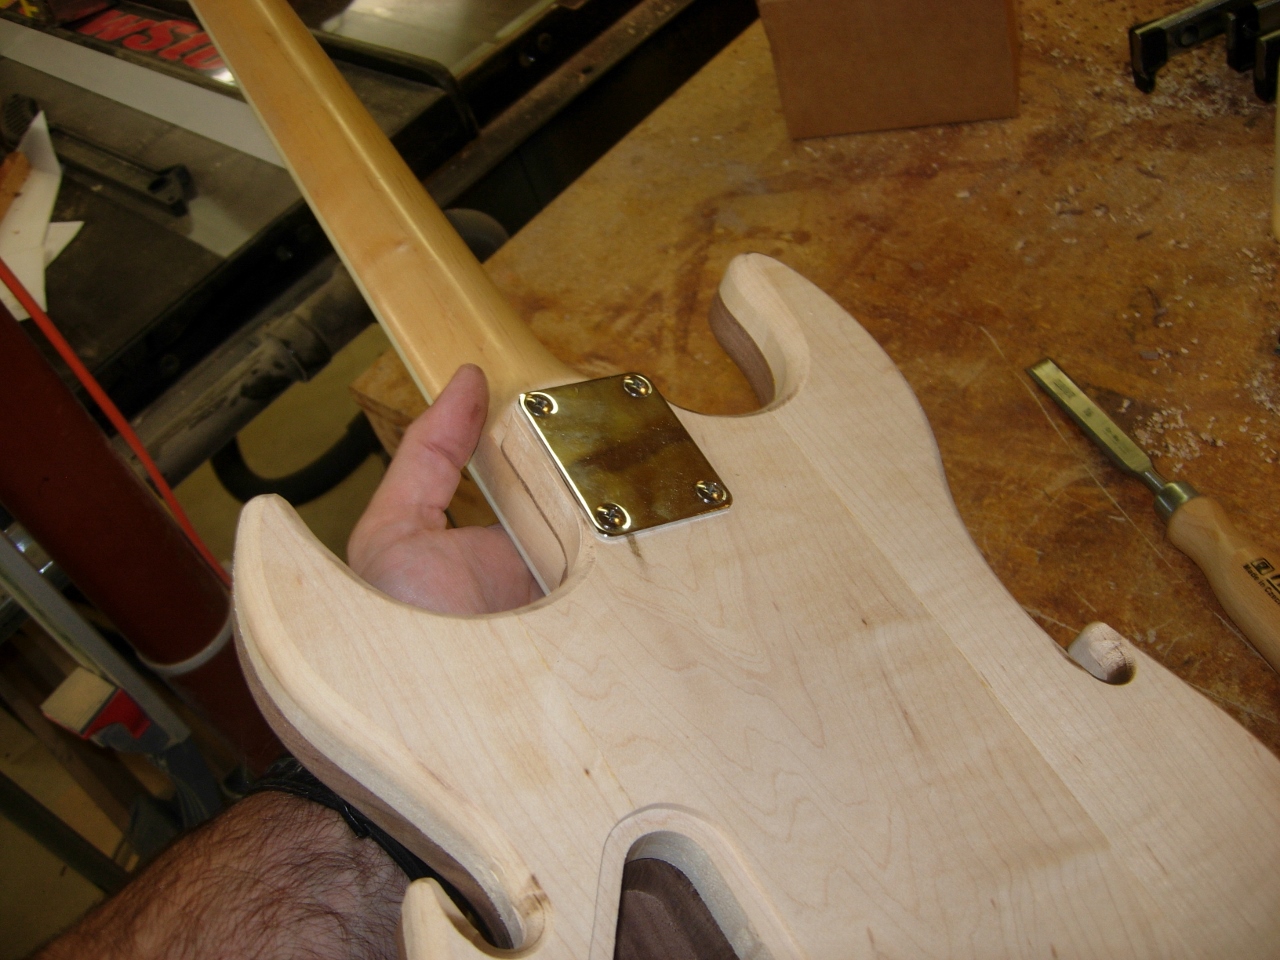
Screws installed
With the neck installed, I thing it looks pretty cool.
Neck attached
Sanding the glue joint
I did as much edge sanding as I could, but I just couldn’t get into the tight spots.
Trying to sand the tight spots
For those locations, I started by cleaning them up with my modelers’ rasp.
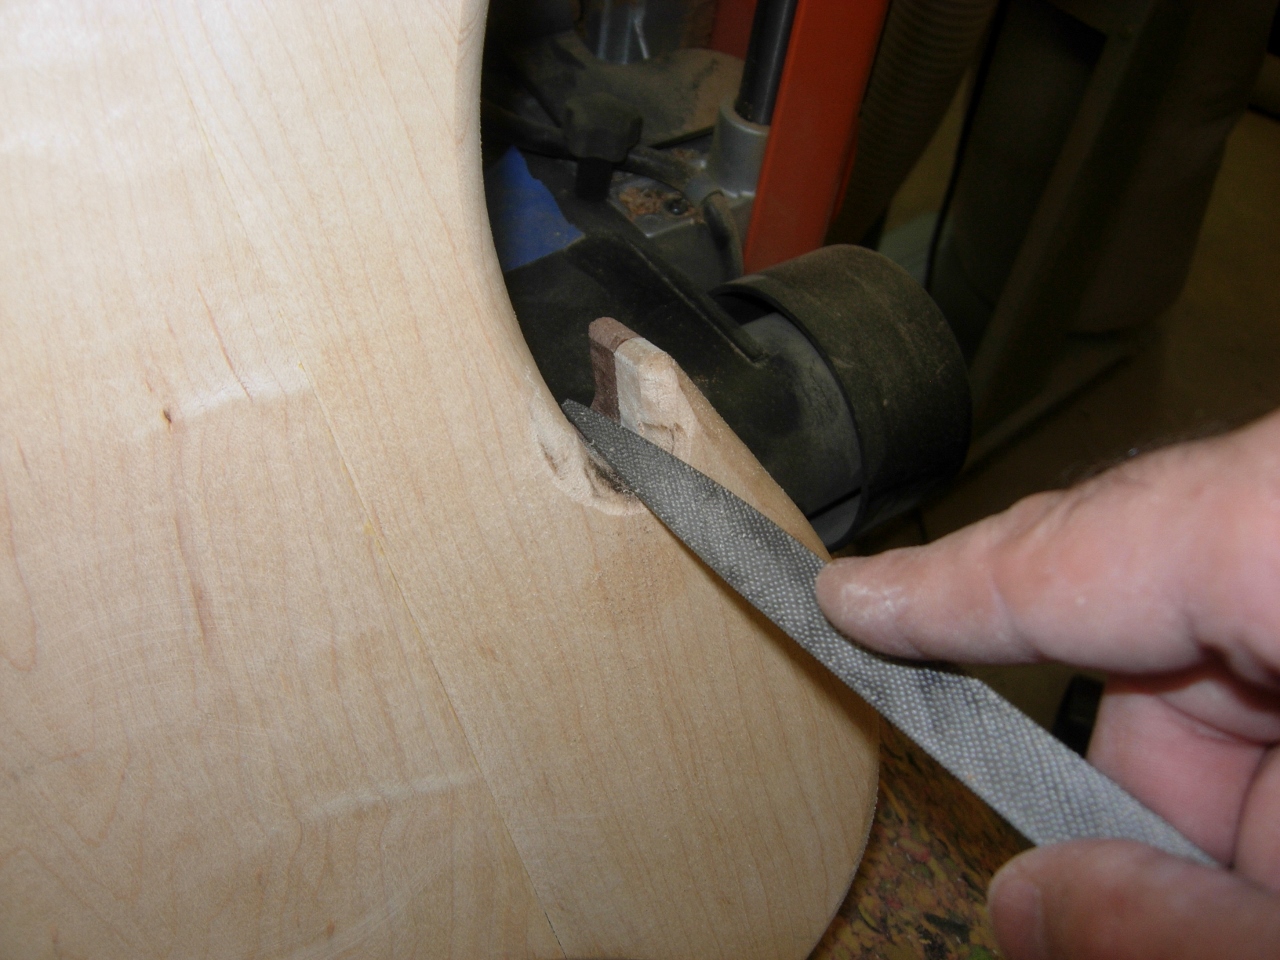
Filing the tight spots by hand
I wrapped some sand paper around a marker to sand the small notches.
Sandpaper wrapped around a marker fits perfectly
I sanded down the entire body working from 80 grit, down to 220.
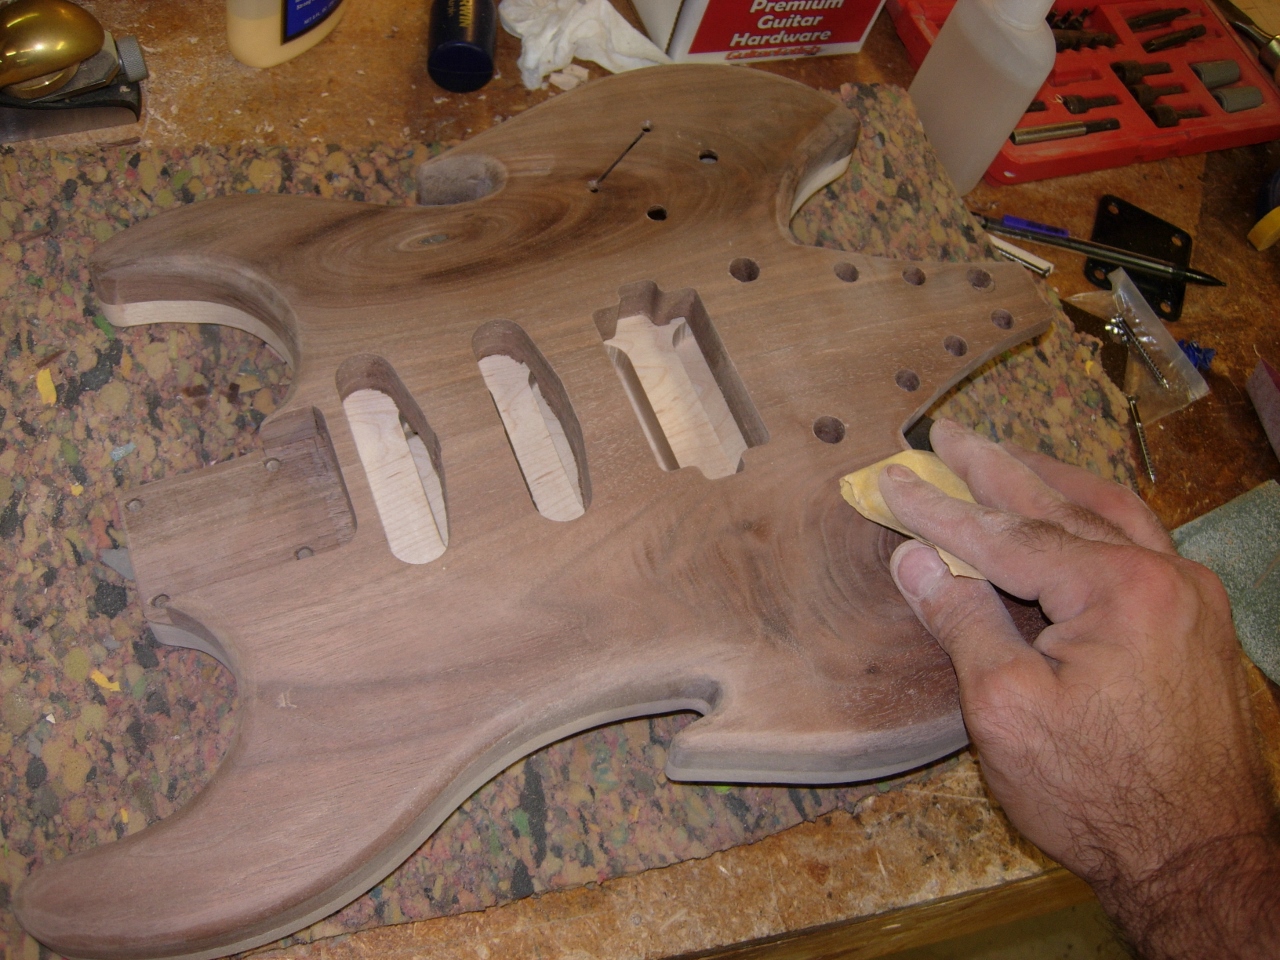
Sanding down to 220 grit
I wiped down the body with Naphtha to clean away the fine dust, and to admire the grain.
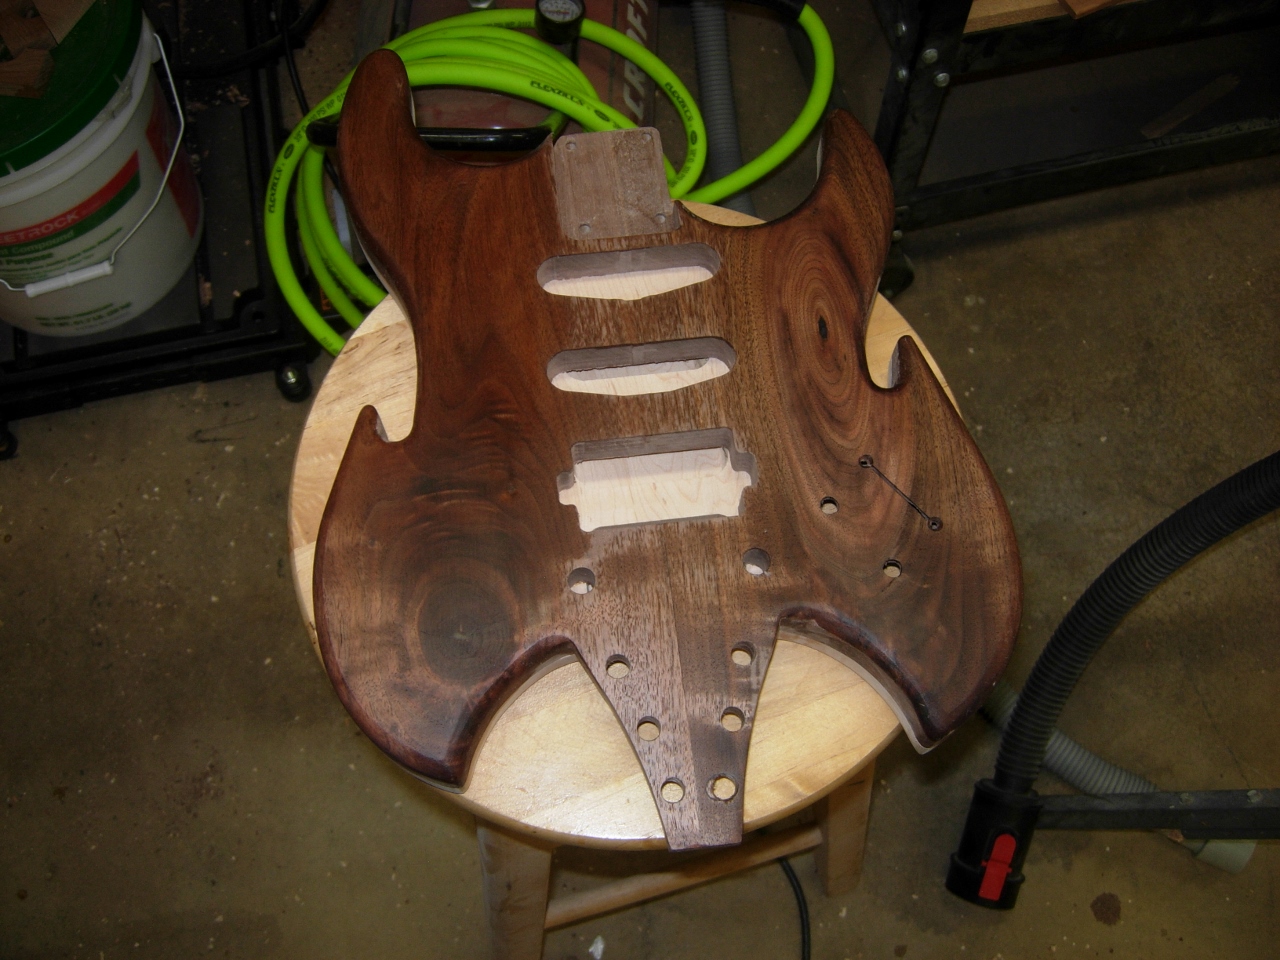
Body sanded and cleaned up
The last item on my list for today is the hole for the jack.
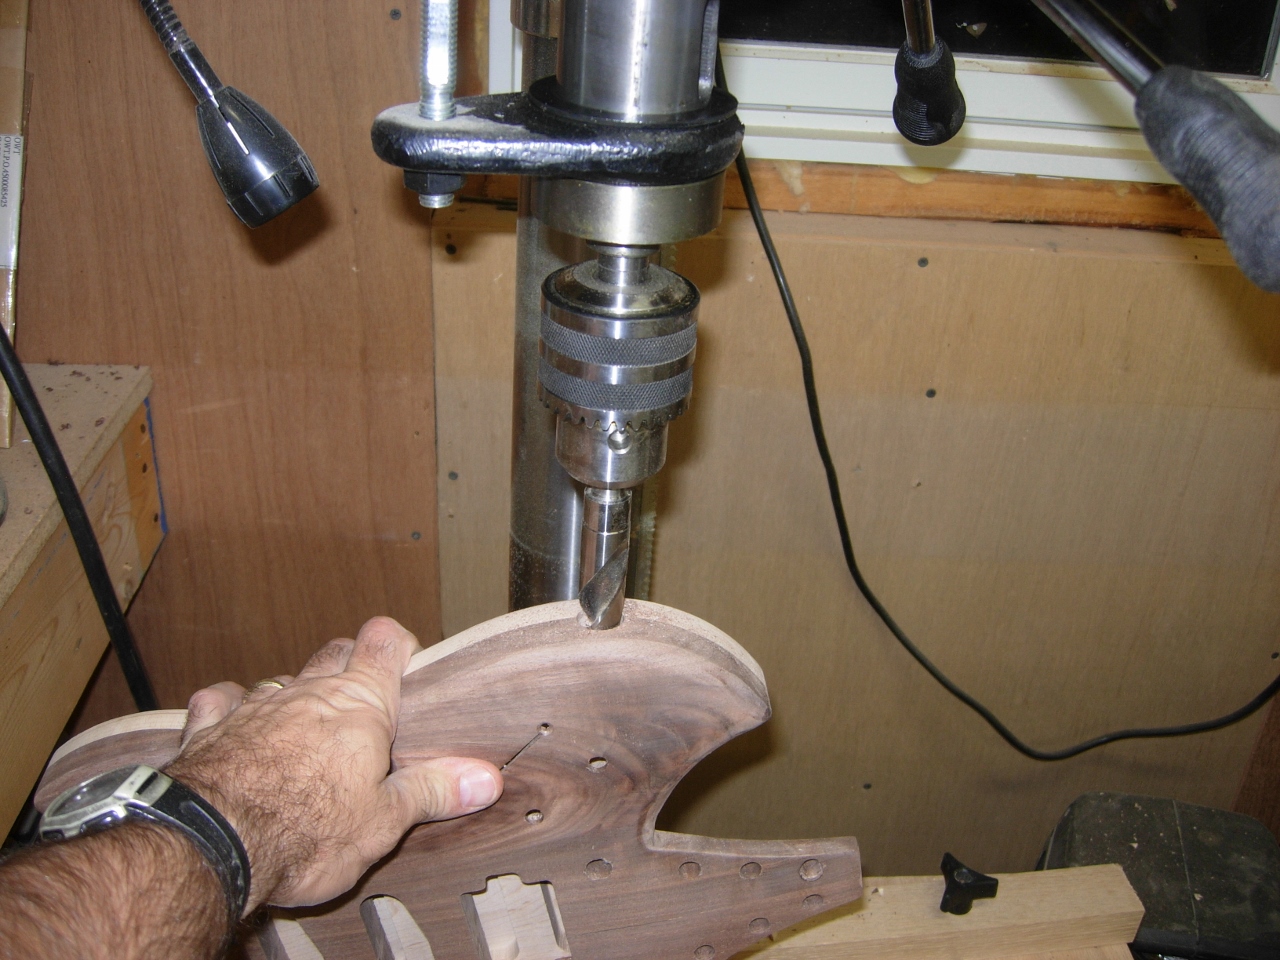
Drilling out the hole for the jack
I held the guitar on edge and drilled a 3/4″ hole through the side into the control cavity.
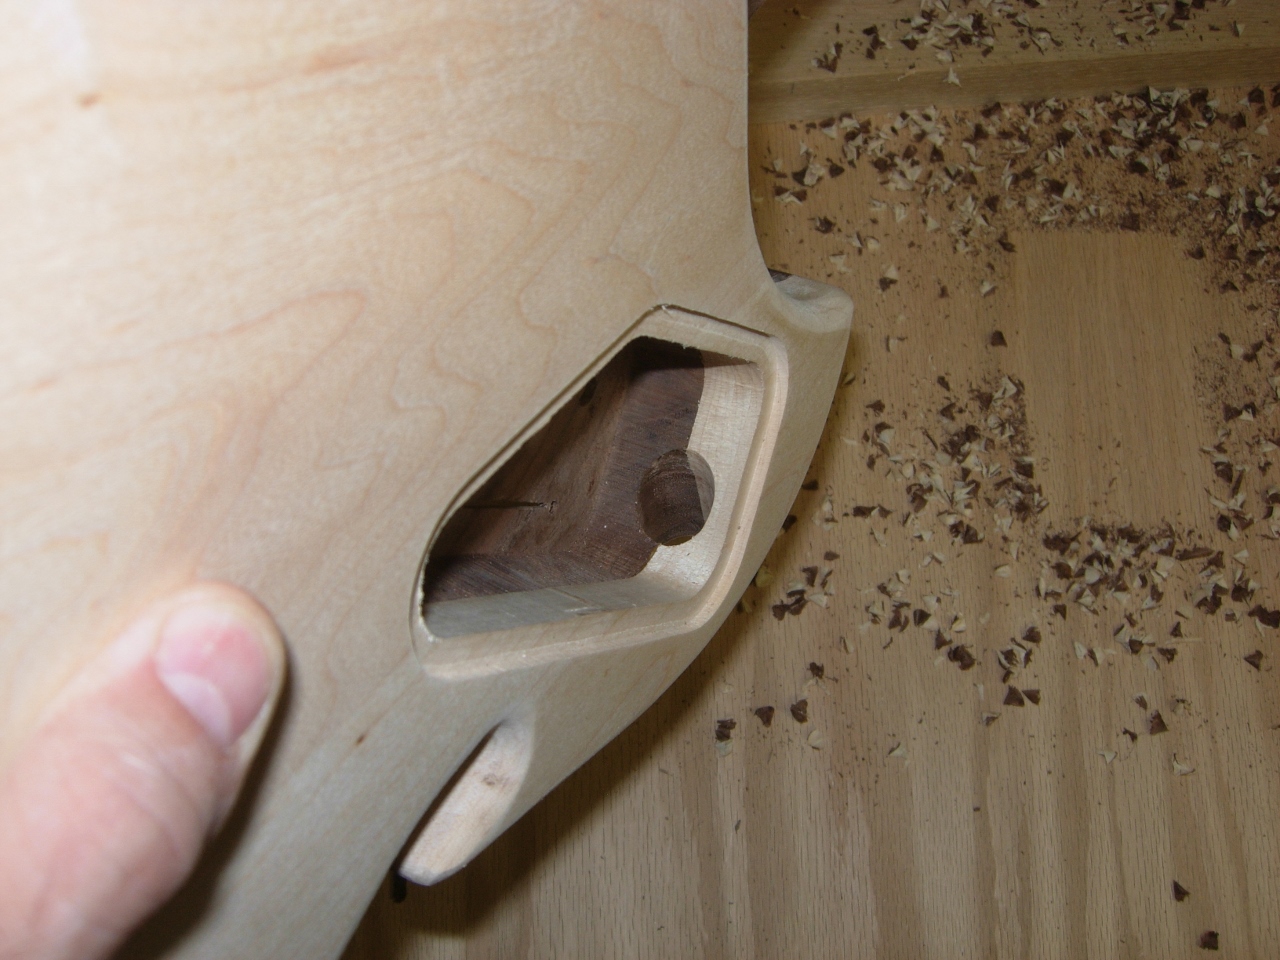
Nice clean exit
Next I installed the plate and drilled pilot holed for the screws.
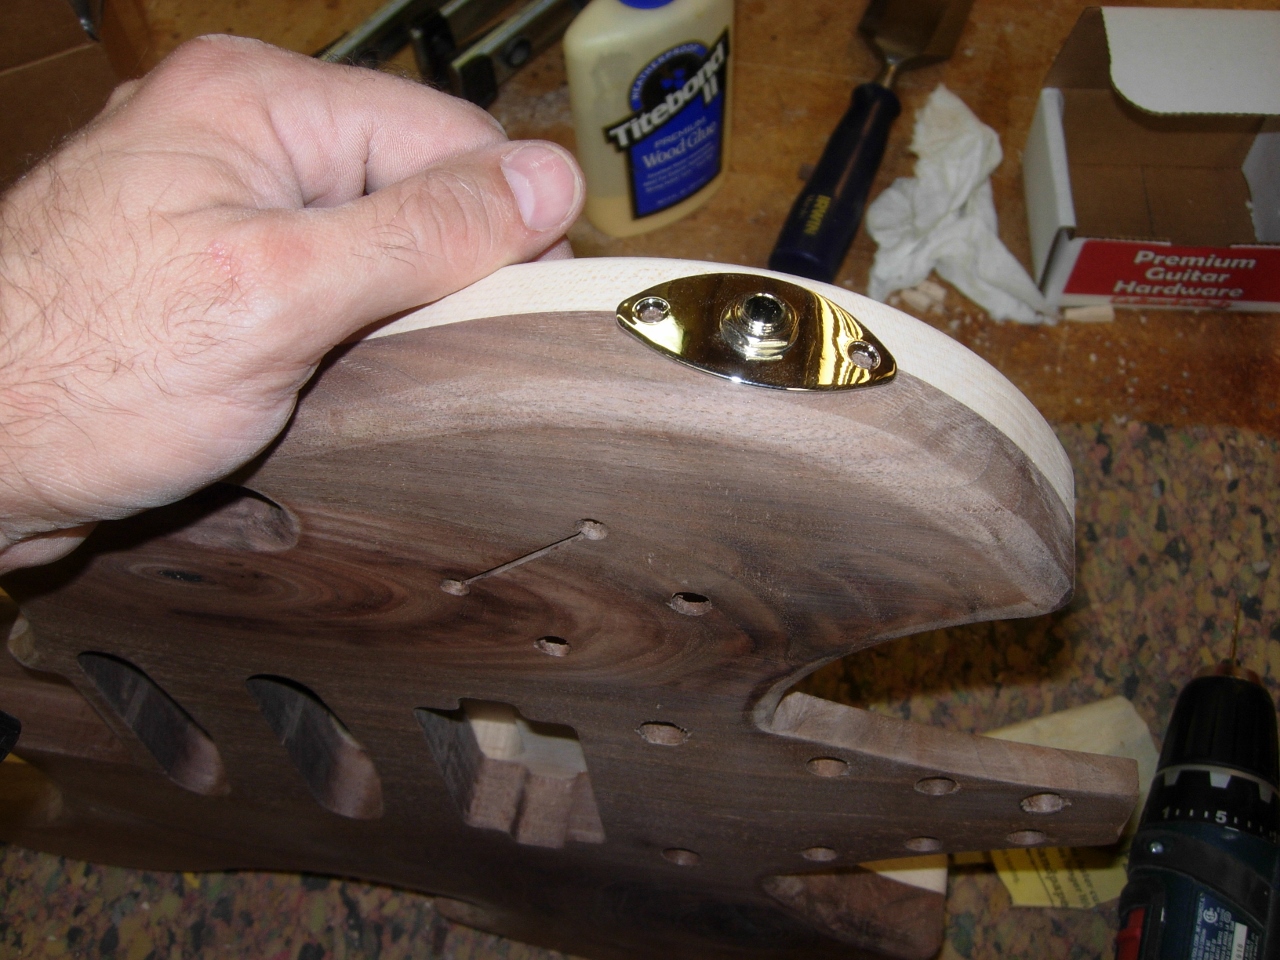
Plate located and mounting holes drilled
Well, it is past 1:00AM again so I am going to bed.
