
72 thinline telecaster guitar carve
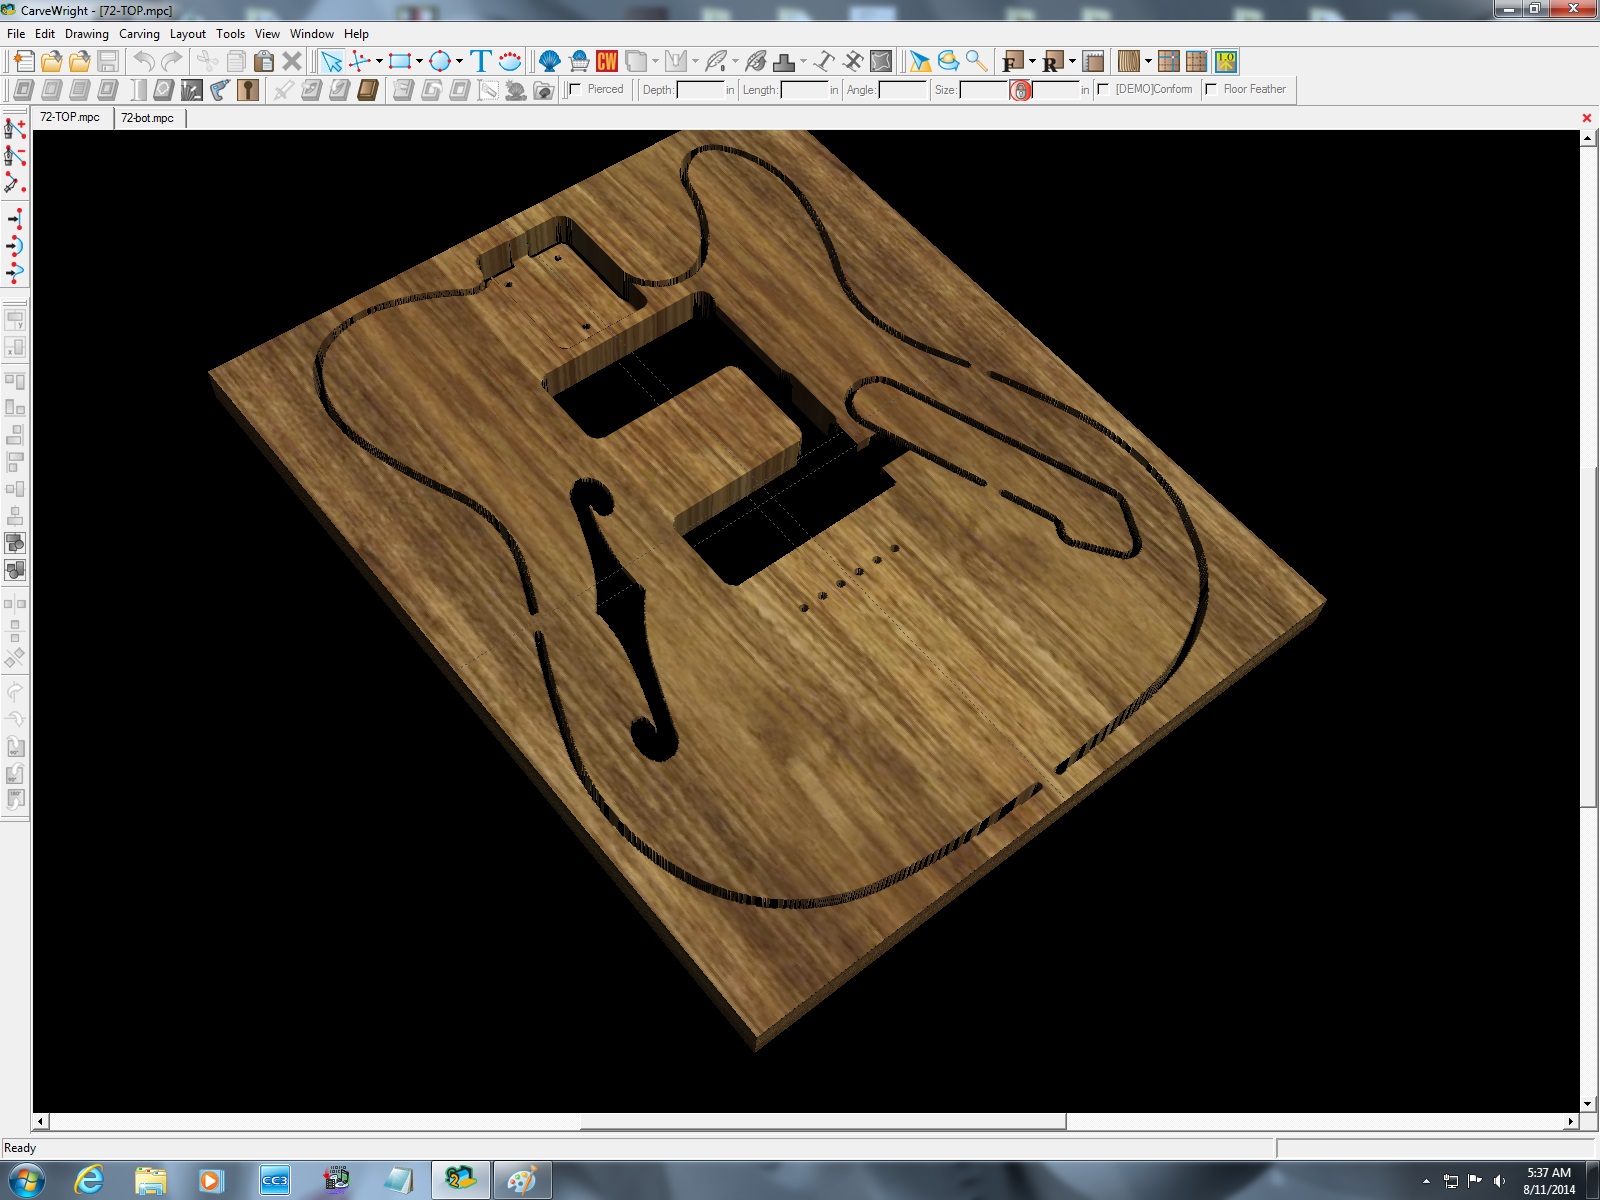
I had a request for another guitar body. This one is a little different from the solid body guitars that I have built before. This guitar body is modeled after a Fender 72 thinline telecaster. Since it is a hollow body, I decided to try creating a program for it on my Carvewright CNC router. I downloaded a few online images of the body’s chamber locations and some overall dimensions. I modeled the entire thing in AutoCAD, then imported the lines into the Carvewright’s software. These are what I came up with.
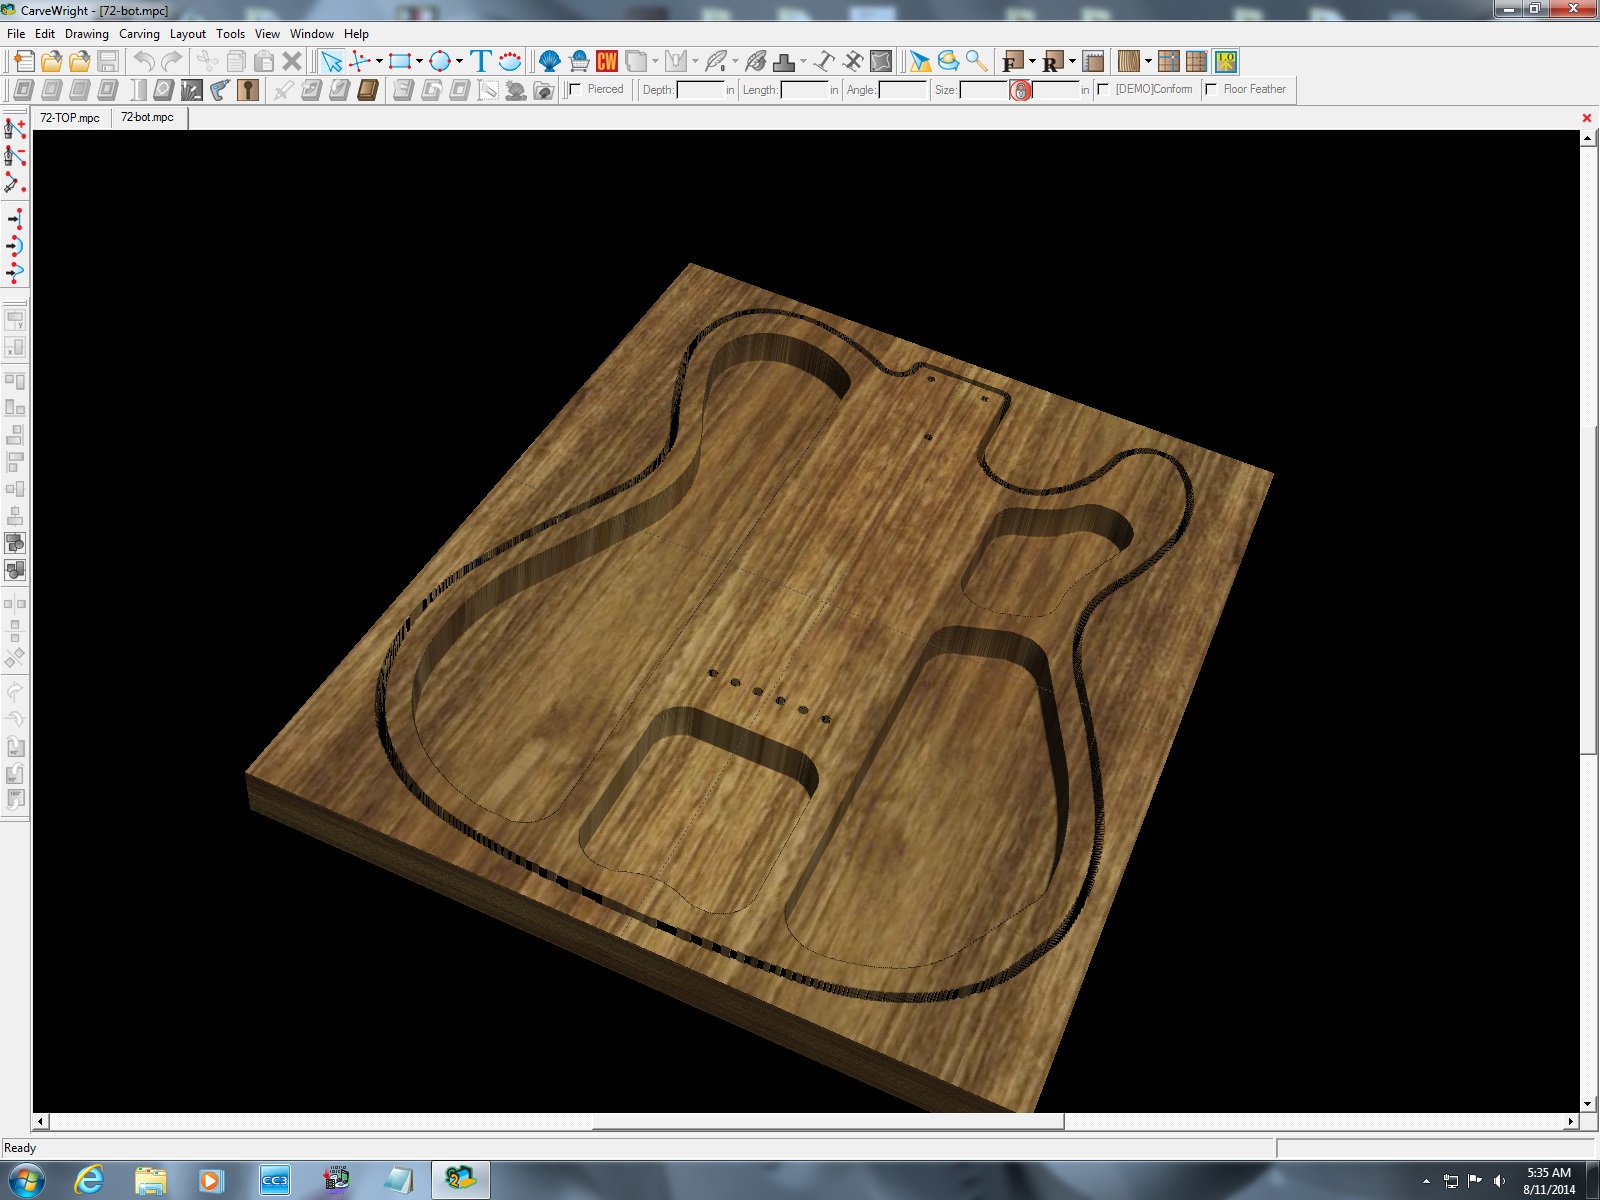
Program for the bottom half

Program for the top half
Back side ofthe top half
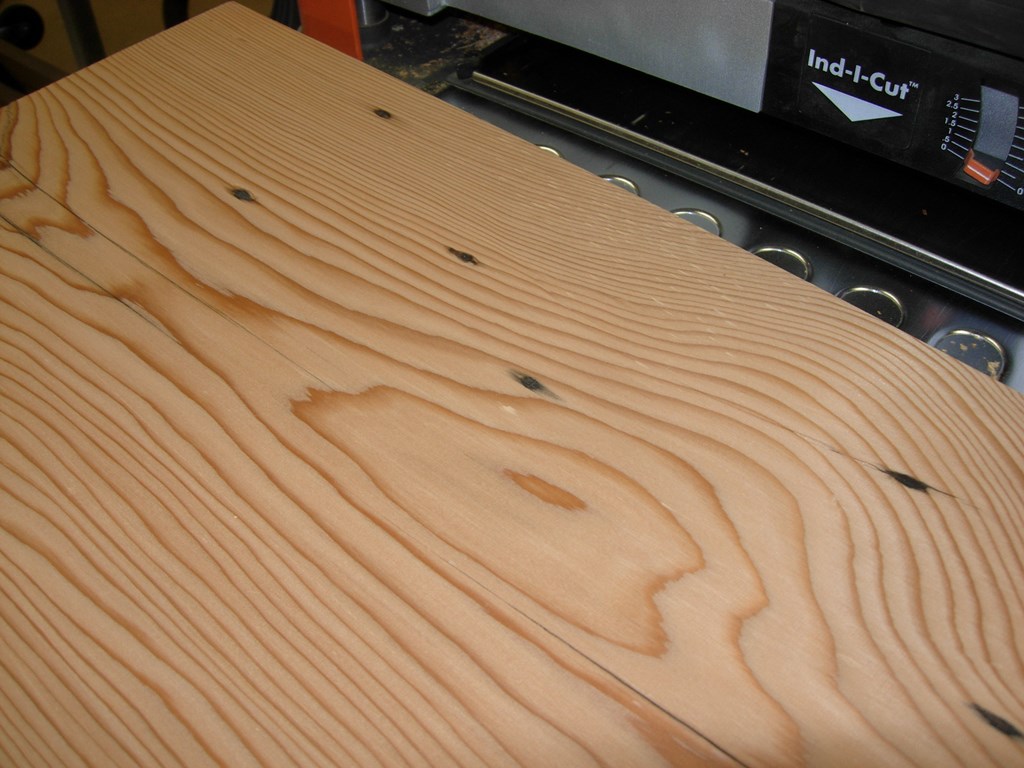
The next interesting part of this project was that the body was to be made from reclaimed wood removed from an old barn. I had access to some old Hemlock that I got from Vintage Lumber, so I thought that I would give that a try.
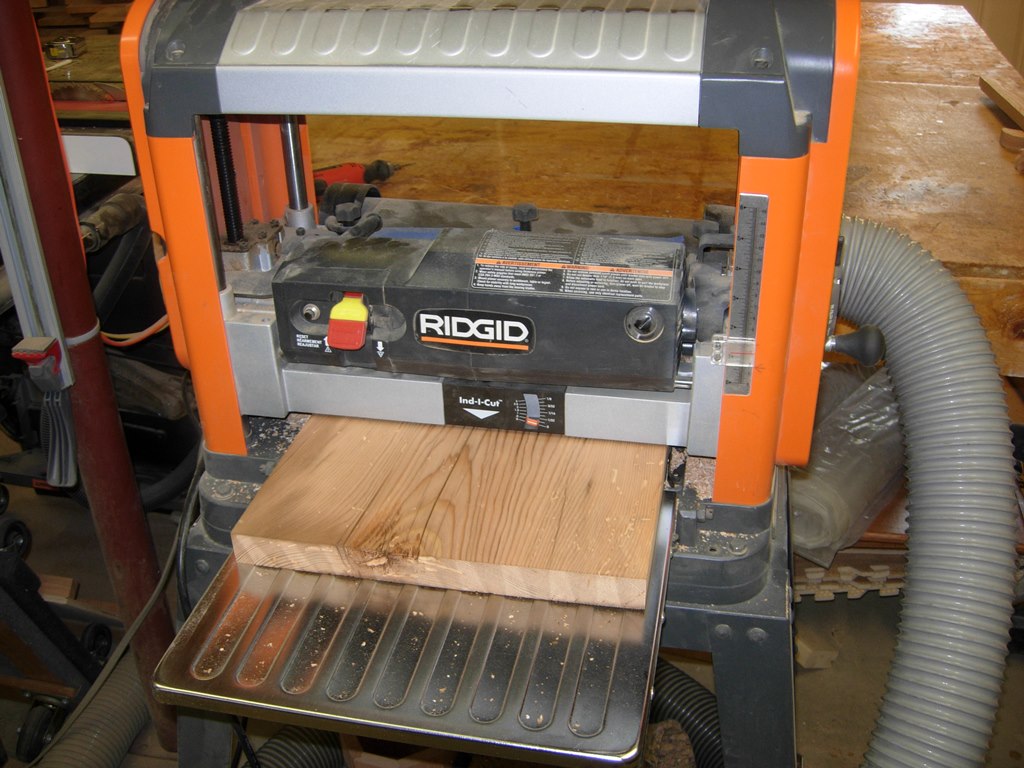
Planing down the hemlock
The guitar body is a little over 12-3/4″ wide and my planer will handle a maximum of 13″. I decided to cut it to fit the planer and take it down to the required thickness, then add side rails to meet the requirements of the CNC. The CNC requires 1/2″ of extra wood on each side of the carve, for the rollers to roll on. Since I can carve up to a 14-1/2″ wide piece on the CNC, I decided to cut two 3/4″ pieces of fir for this purpose.
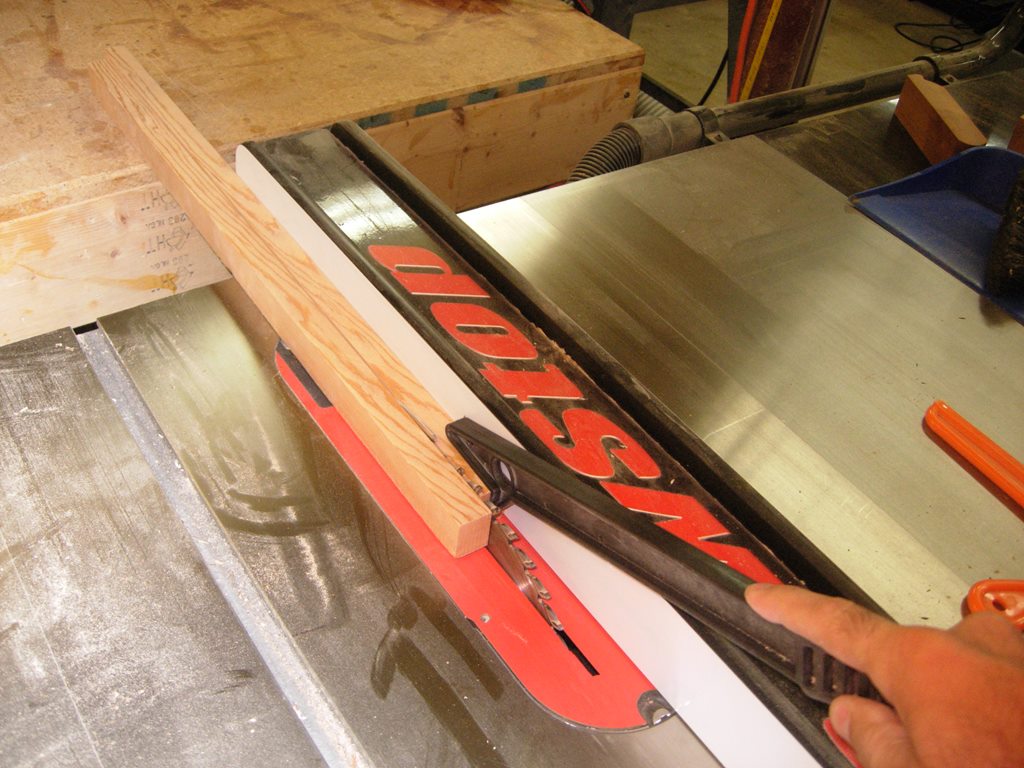
Ripping some fir side strips
I ripped and planed the new strips to match the exact thickness of the hemlock.
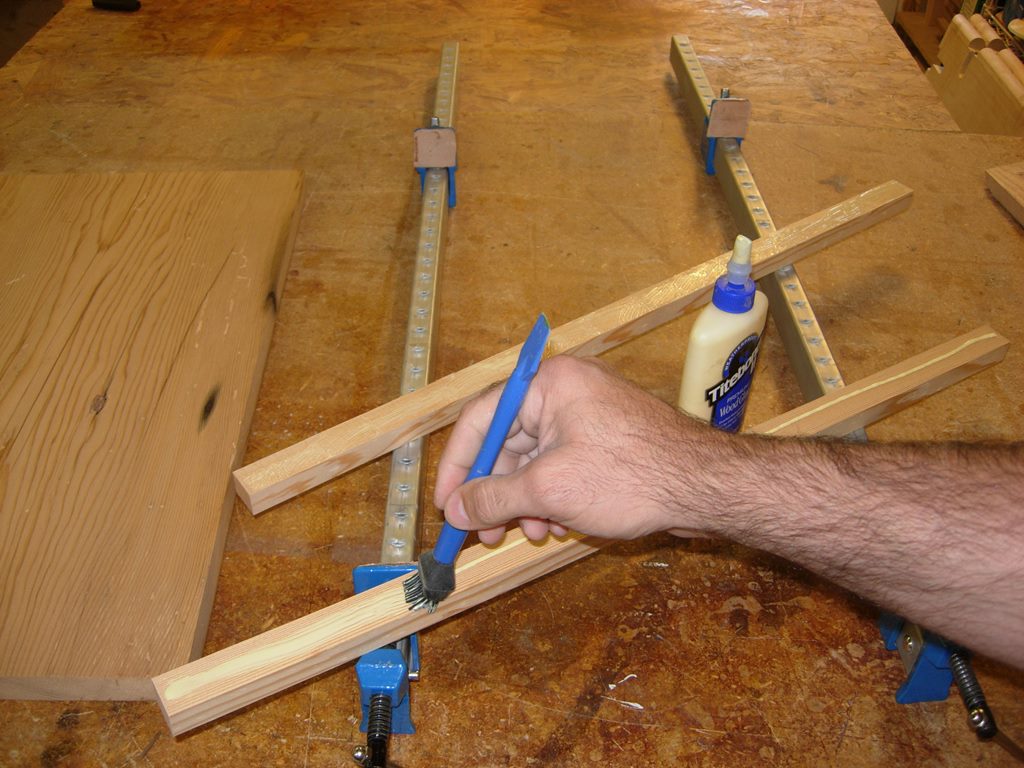
Add a little glue…
I applied a bit of wood glue and clamped it up.
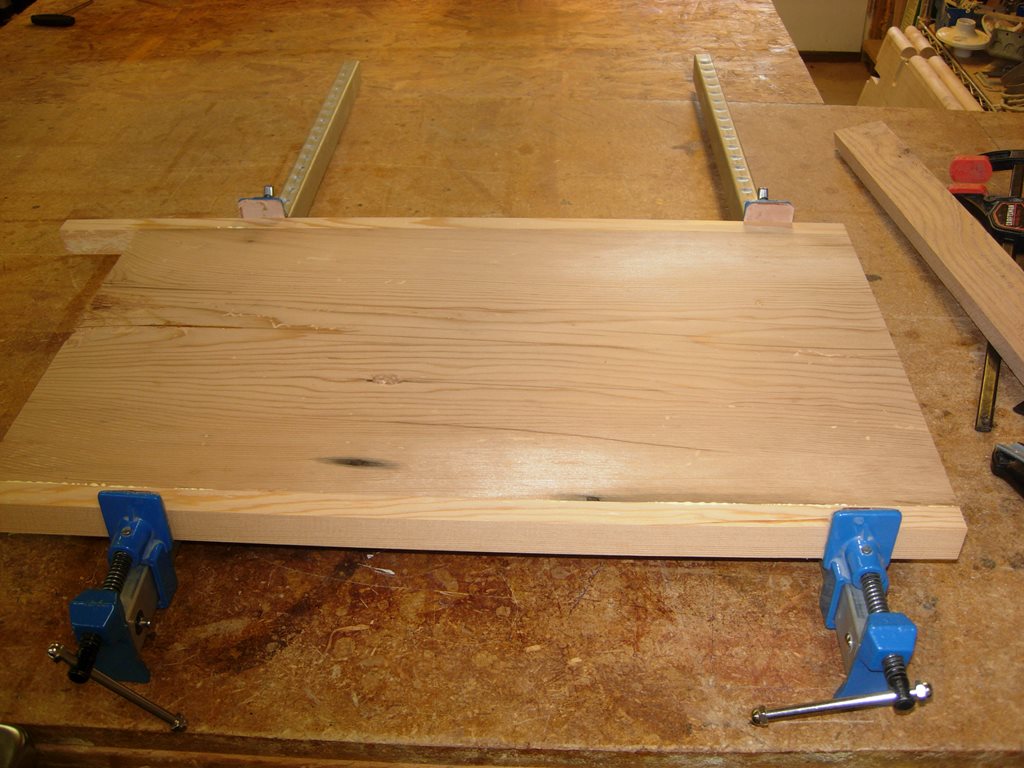
Clamp up for an hour or so…
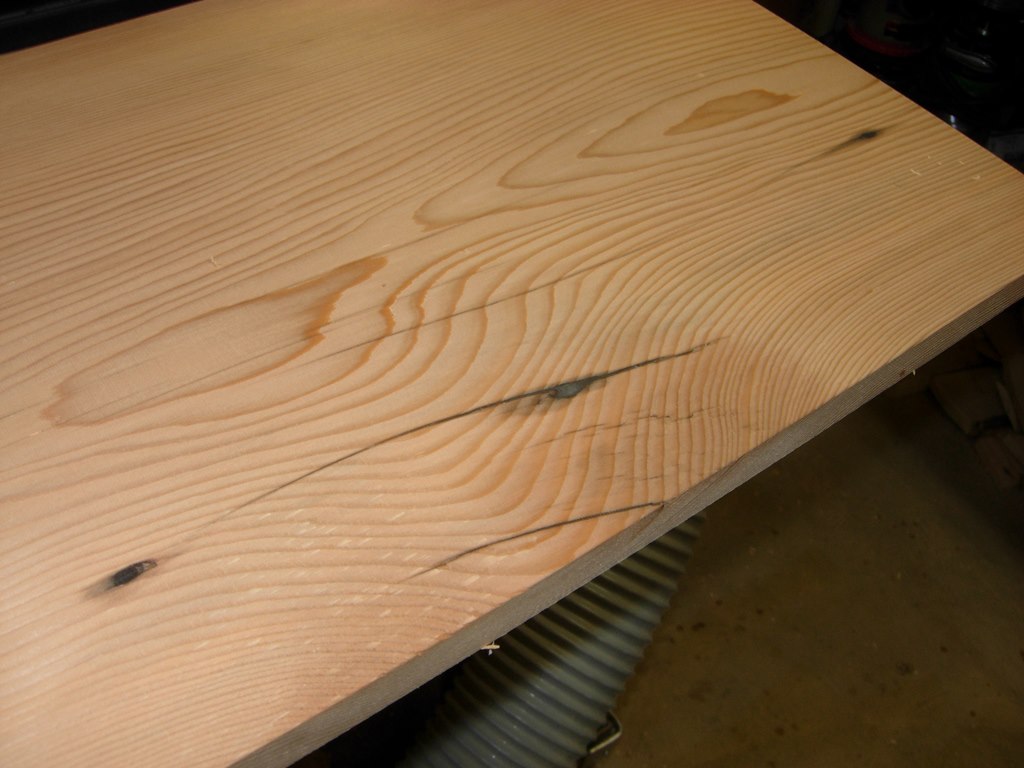
While that was drying, I went ahead and filled any visible cracks, in the hemlock, with CA glue. It dries quickly and won’t be visible when finished.
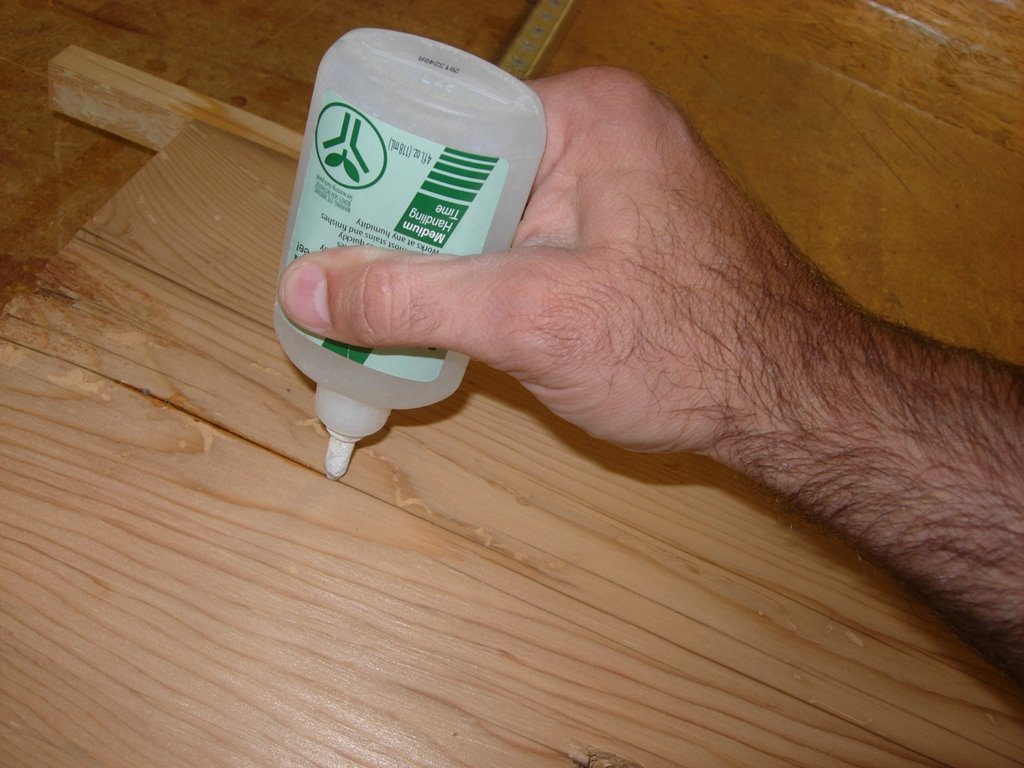
Filling a few cracks with CA glue
About an hour or so later, I loaded the blank into the Carvewright and started the bottom half carving.
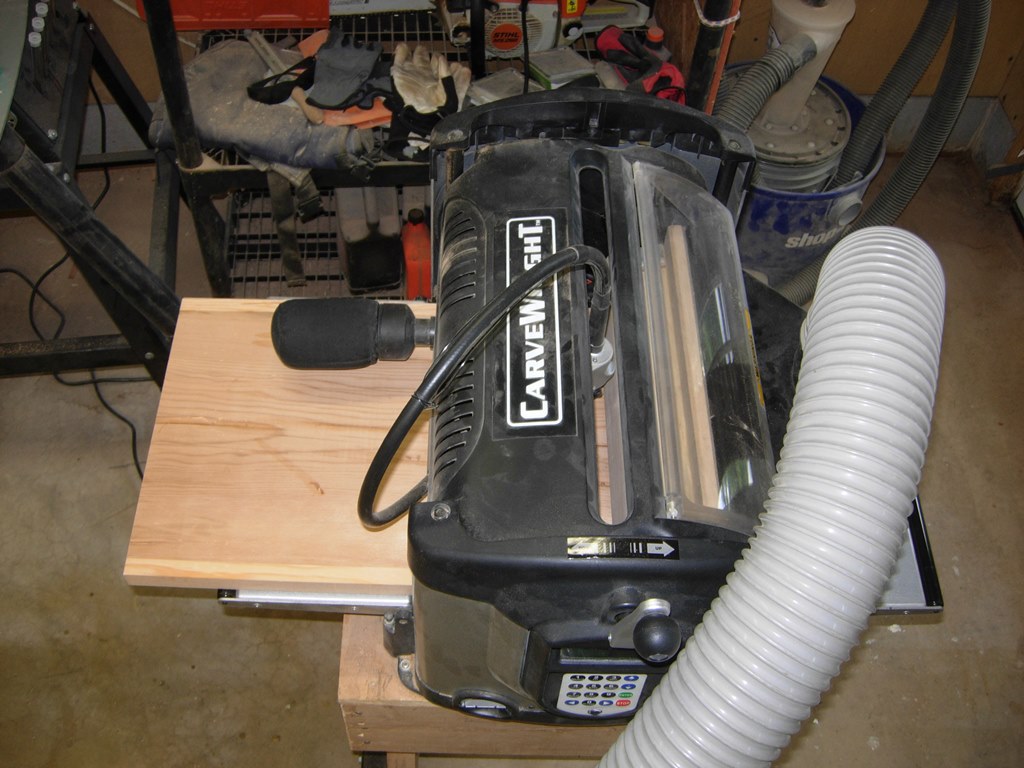
Loaded up and rinning the bottom half
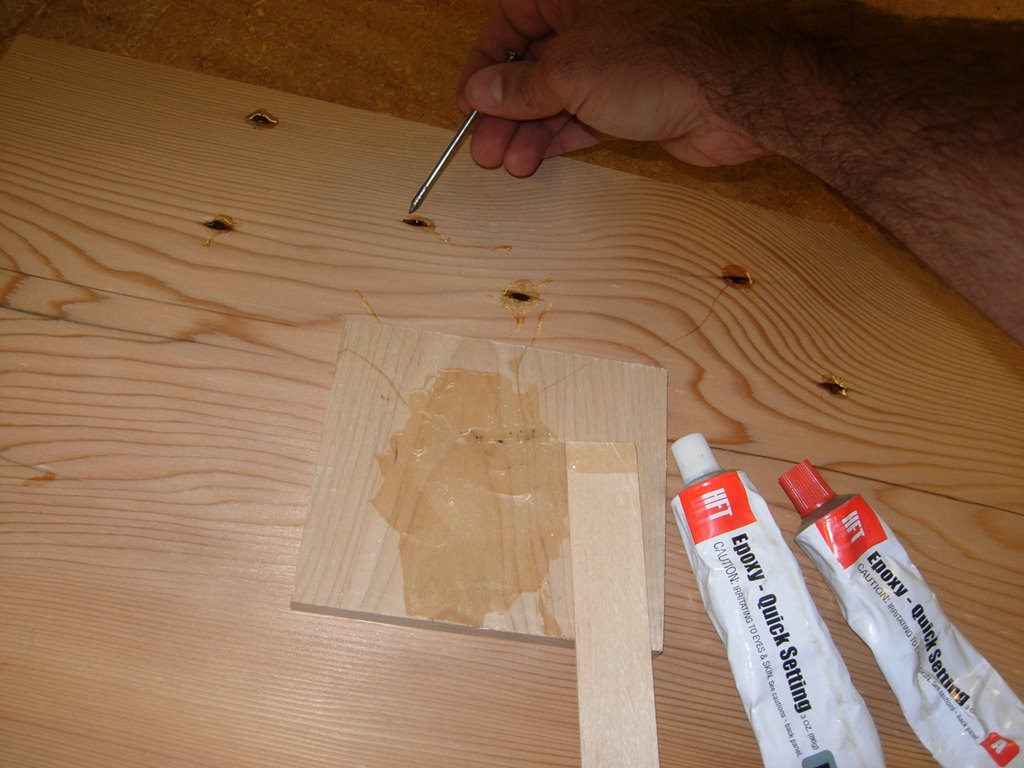
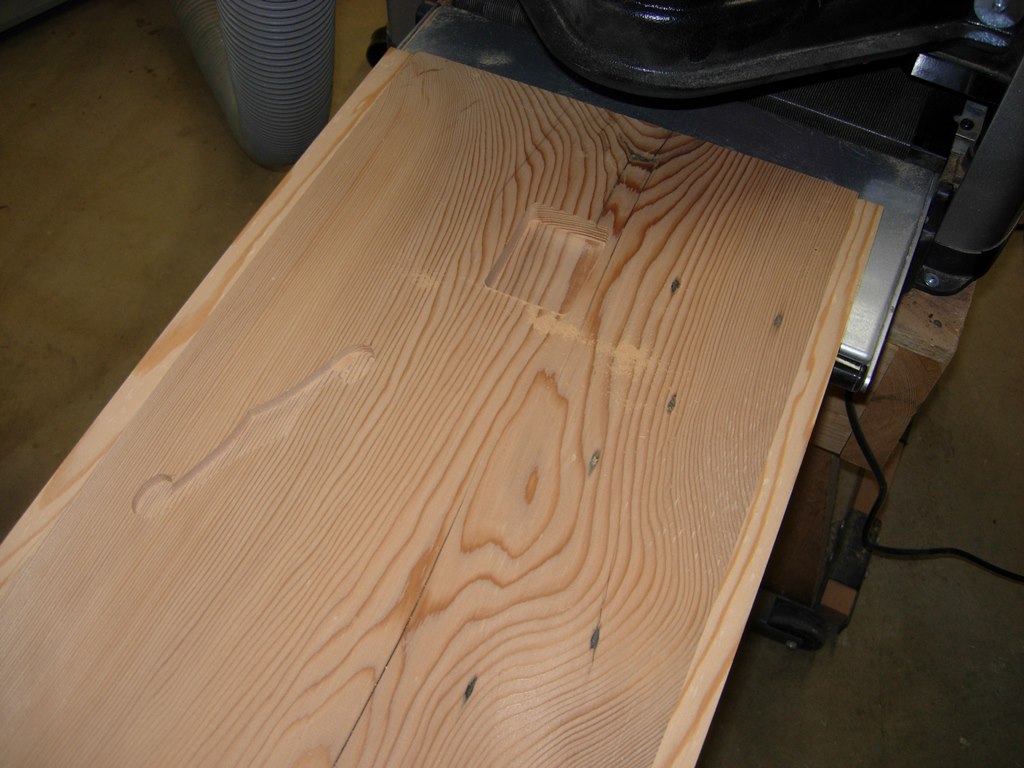
Filling the nail holes on the top half with epoxy
While that ran the 4-1/2 hour carve, I planed down the piece for the top half of the guitar. This piece contained a lot of nail holes and a few larger cracks. I mixed up some quick setting epoxy and filled all the nail holes on one side, using a nail to force the epoxy down deep into the holes. After it set, I flipped the board and repeated the proccess on the other side, and let it set up for the next couple of hours till the other carve was done..
Filling the back side as well
Halfway done the bottom
Bottom carve complete
When the carve was complete, I cut the four small tabs, that held the body to the blank, with my small pull-saw.
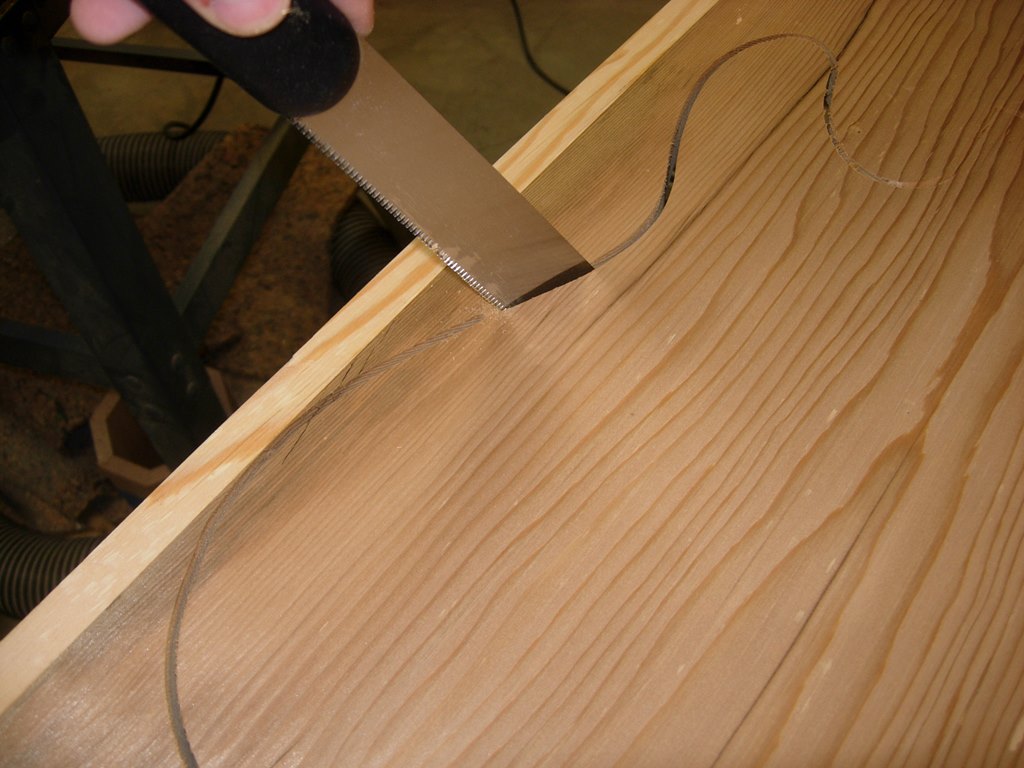
Cutting out the tabs
I filed down what was left of the tabs, and gently sanded down the edges a bit, and the bottom was done.

Cut out and lightly sanded
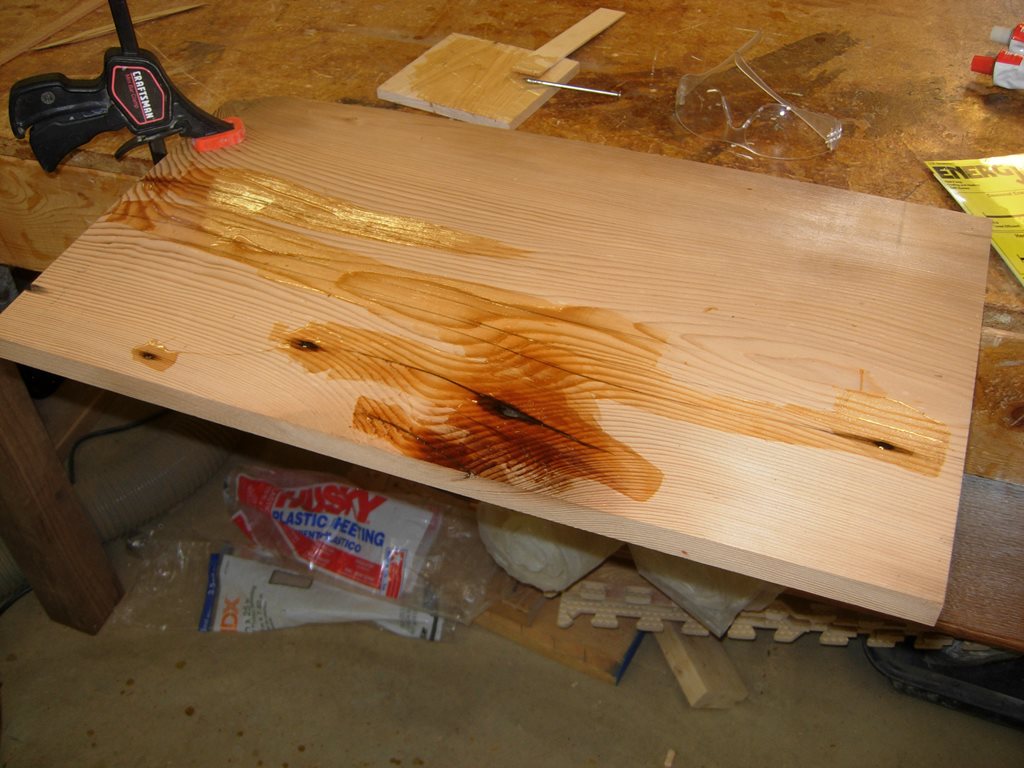
Planed down epoxy, side one
With the quick-setting epoxy cured enough to work, I finished planing down the top piece.
Planed down epoxy, side two
Since I wanted to finish this carve today, I went ahead and attached the side rails with CA glue and clamped it up.

Attached side rails with the CA glue this time
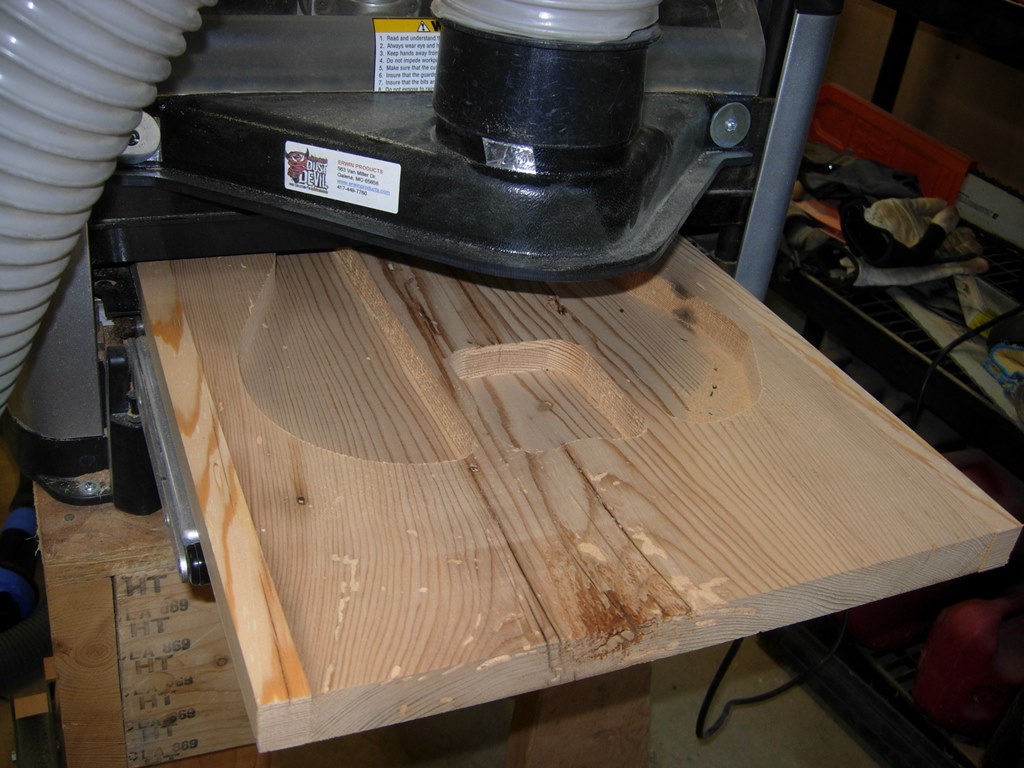
The rails were dry and ready to use in about five minutes so I loaded it up in the CNC and ran the first side of the top piece.
Top, side one carve complete
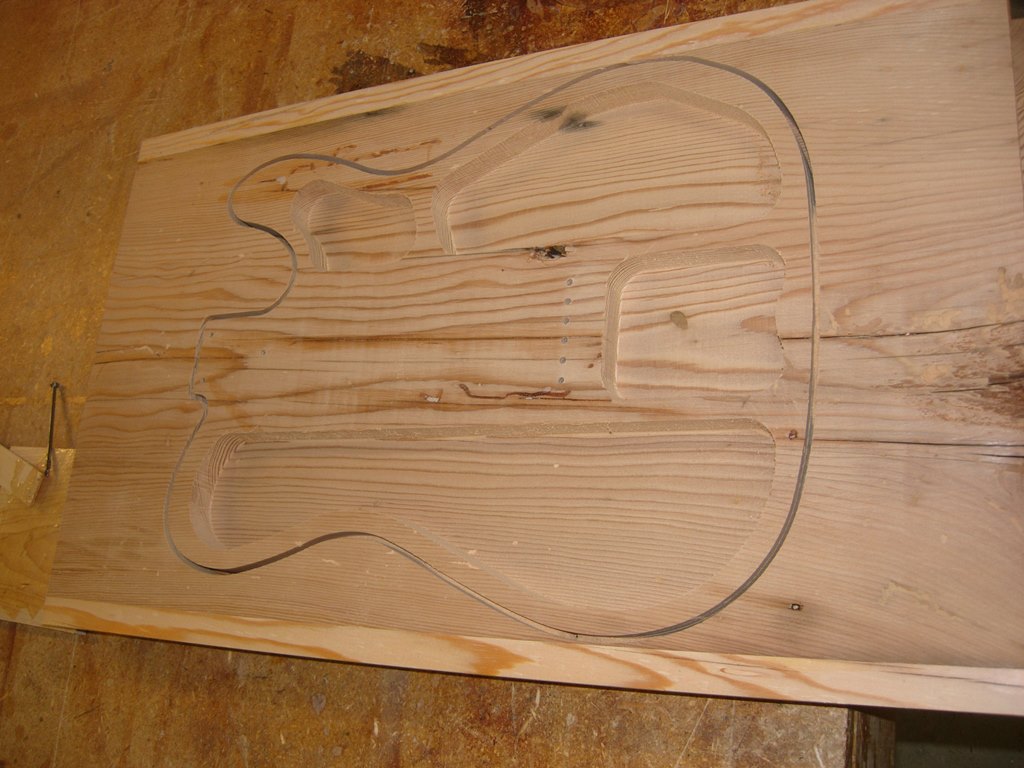
Once that finished, I flipped the board over and ran the back side of the top piece. The entire top piece took about five hours to run. When it finished, I cut all the tabs and released the top.

Top, side two carve complete
After a bit of sanding, I laid it on top of the bottom half, and it looks pretty good.

Both pieces together
I still need to glue it up and sand down the outer edge, but it is well after midnight and I have to go to work in five hours, so I am done for the day.

How much to make me one?