
Laundry room cabinets – day 6 & 7
I don’t find cabinet building to be particularly exciting, so I combined the last two days into one post.
One of the last things I did on Friday was to epoxy a knot hole. I ran it through the planer the next day, after it had time to cure. There were a few bubbles in the epoxy, so the knot hole will be a bit cloudy, but it will still look good when finished.
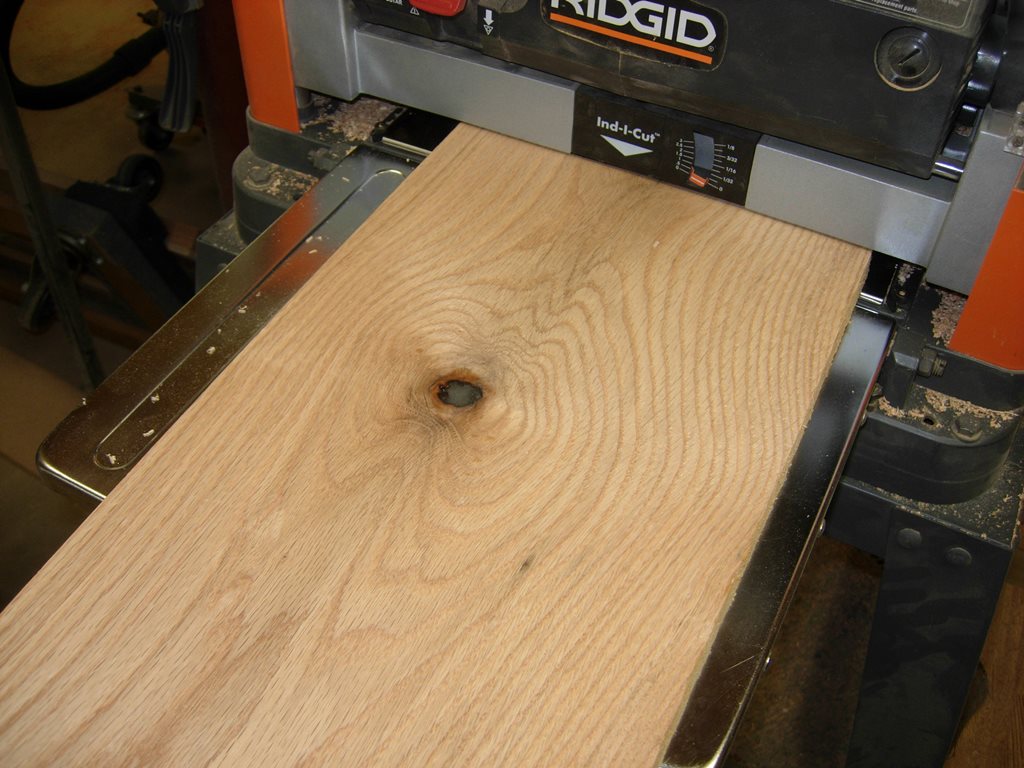
Planing down the epoxied hole
The other thing I started Friday was the long beams for my support frame.

Side support rails
I finished cutting out the parts of the support frame and assembled it with pocket hole screws. I located the studs in the wall and drilled corresponding mounting holes in the side rails.
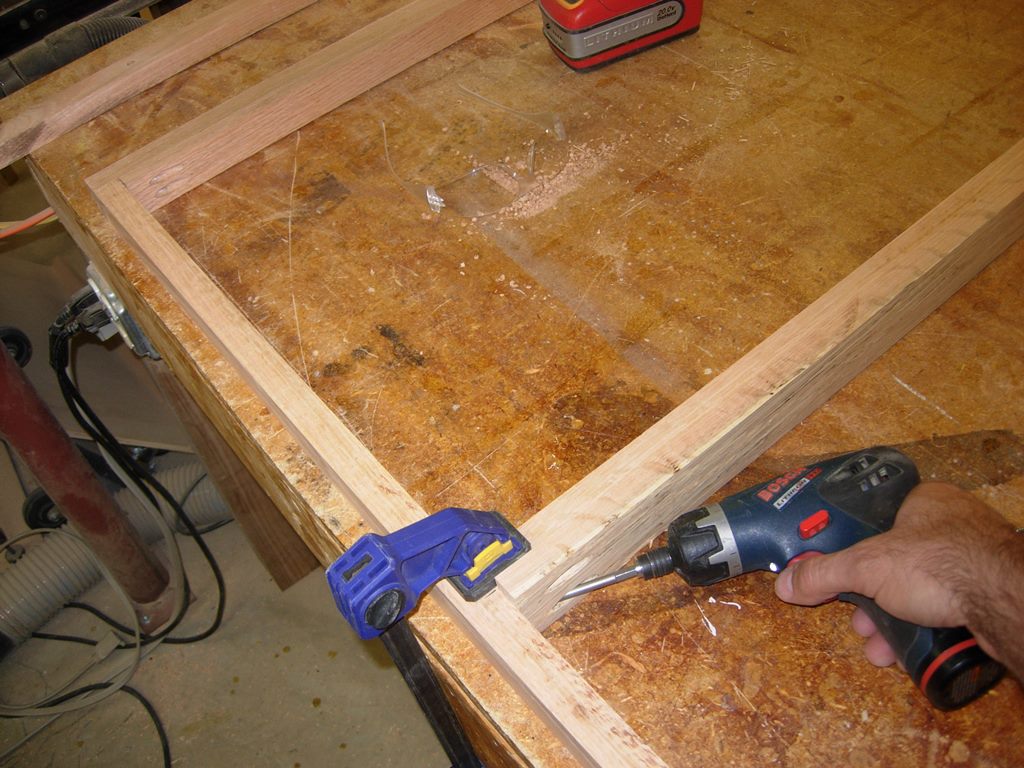
Assembling support rails
I placed flat cross pieces in the middle and on the ends, to have something to secure the cabinets to, after installation. The frame seems thin, but will be strong enough because the three cabinets will also be fastened to each other.
Support frame complete
After the frame was done, I spent a few moments helping Adam get set up for another one of his projects. He got tired of my cabinets taking up all of the space in my shop, so we cleared out a corner for him to work for a while.
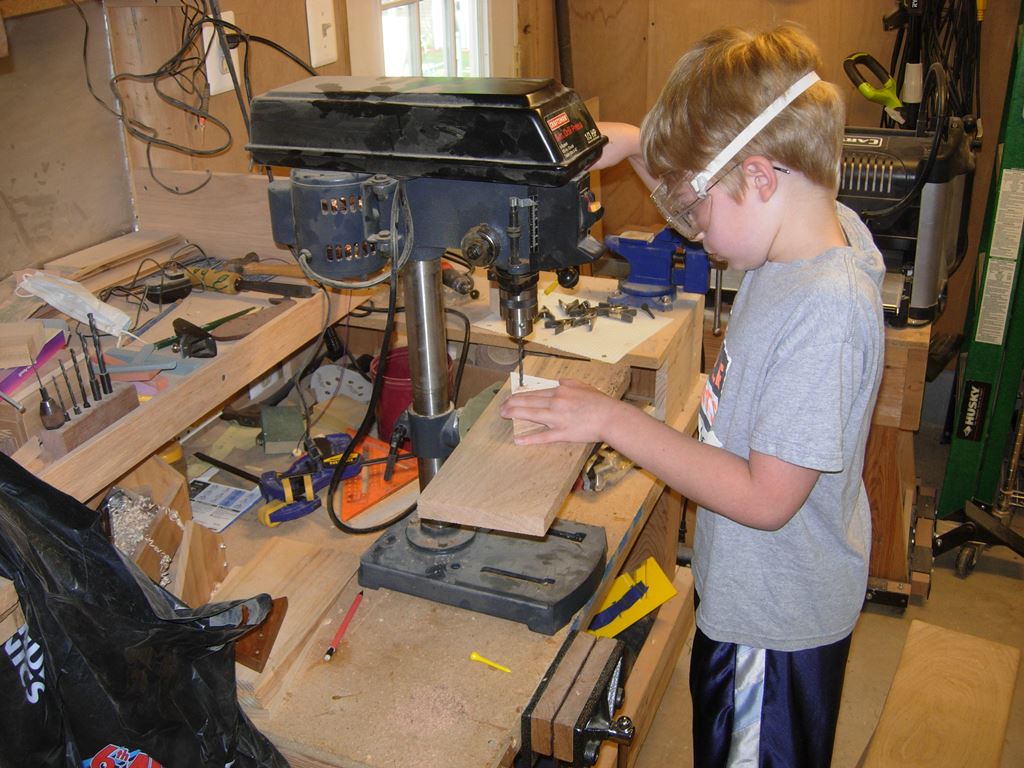
Adam working on a new project
When he let me get back to work, I got started on my doors.
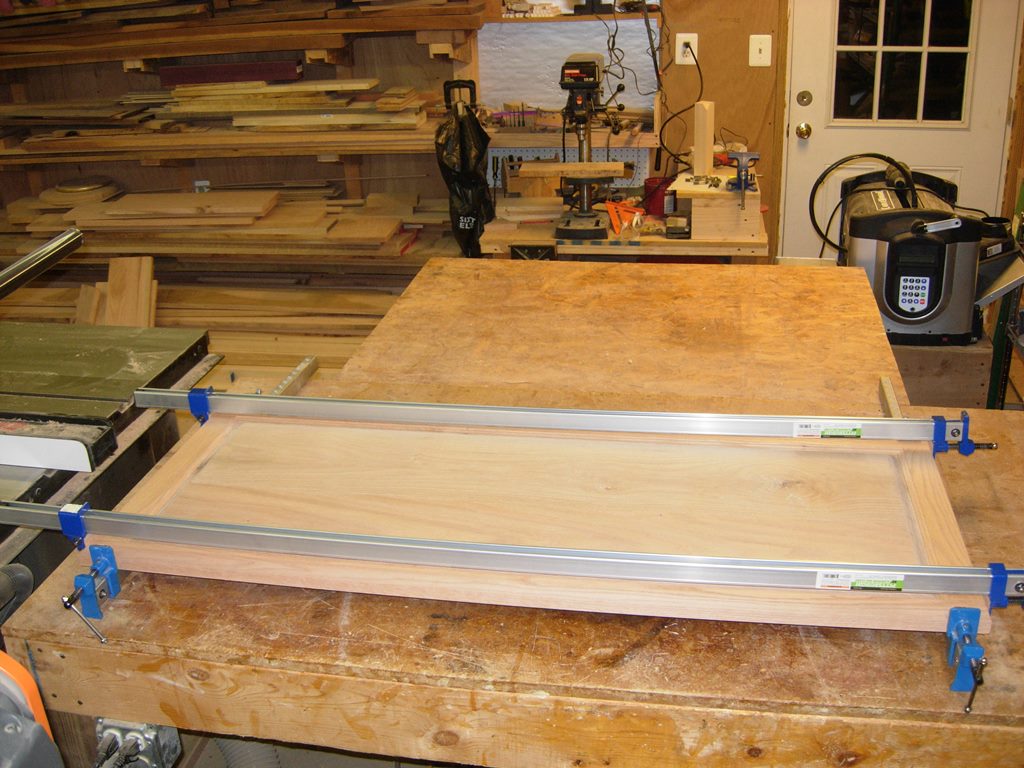
Glueing up the large panel
Since the big door panel is wider than my planer, I planed all the pieces down to their final thickness of 3/4″. I was careful to line up the boards as closely as possible before clamping them up.
Clamped and drying
After the panel was dry enough to work with (about an hour), I pulled the clamps and scraped the Glue joint with a card scraper. The joint was pretty tight so the scraper only needed a few passes to smooth things out.
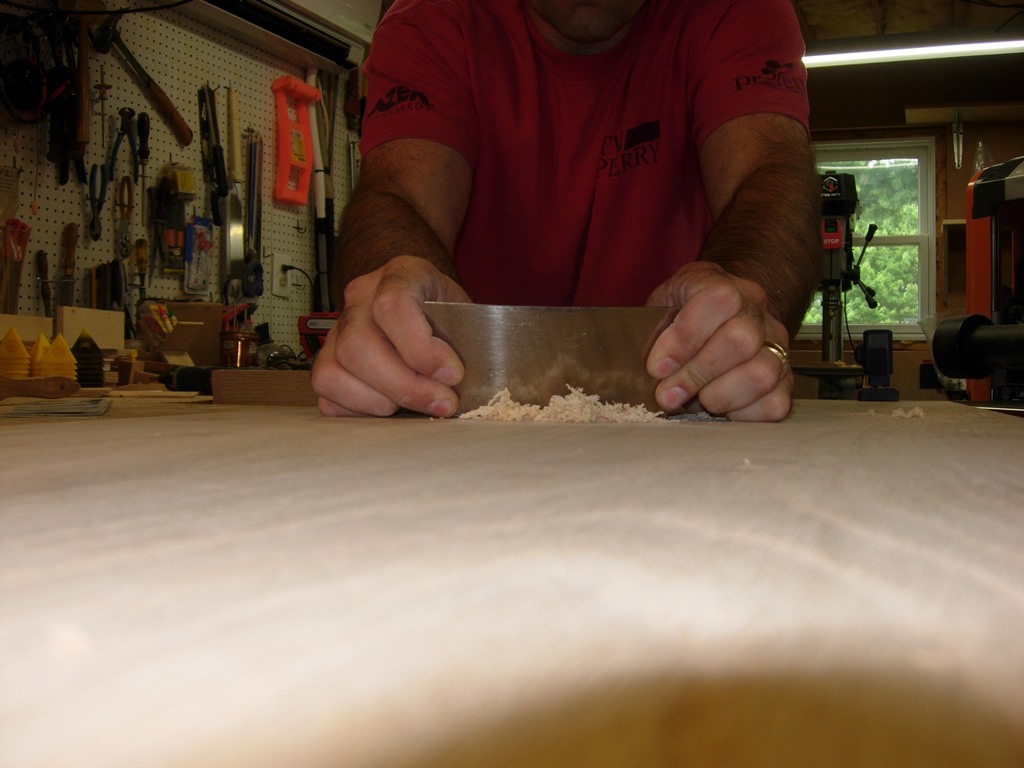
Scraping the joint on the large panel
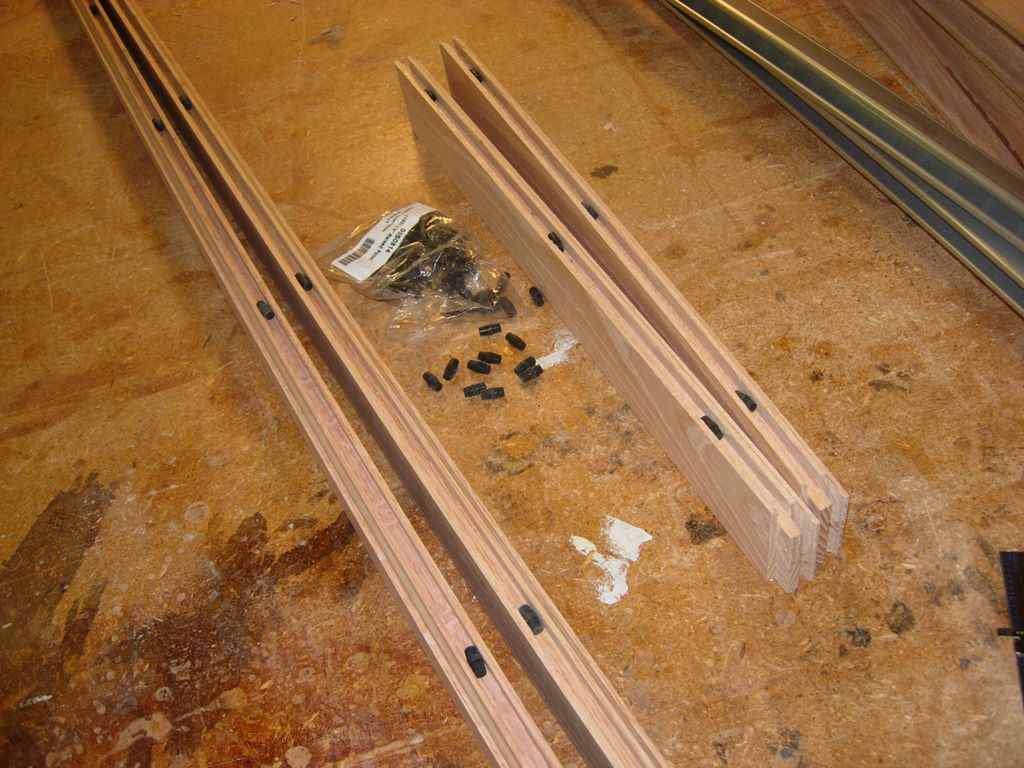
The next step was to root through my off-cuts, and new boards, for straight sections to use for making the rails and stiles.

Ripping the rails and stiles
I ripped them to width on the table saw, then cut them a few inches long on the miter saw in preparation for planing them down.

Marking which are which
Before firing up the planer again, I dumped my second bag, from the dust collector, this project.

Emptied my second bag from the dust collector
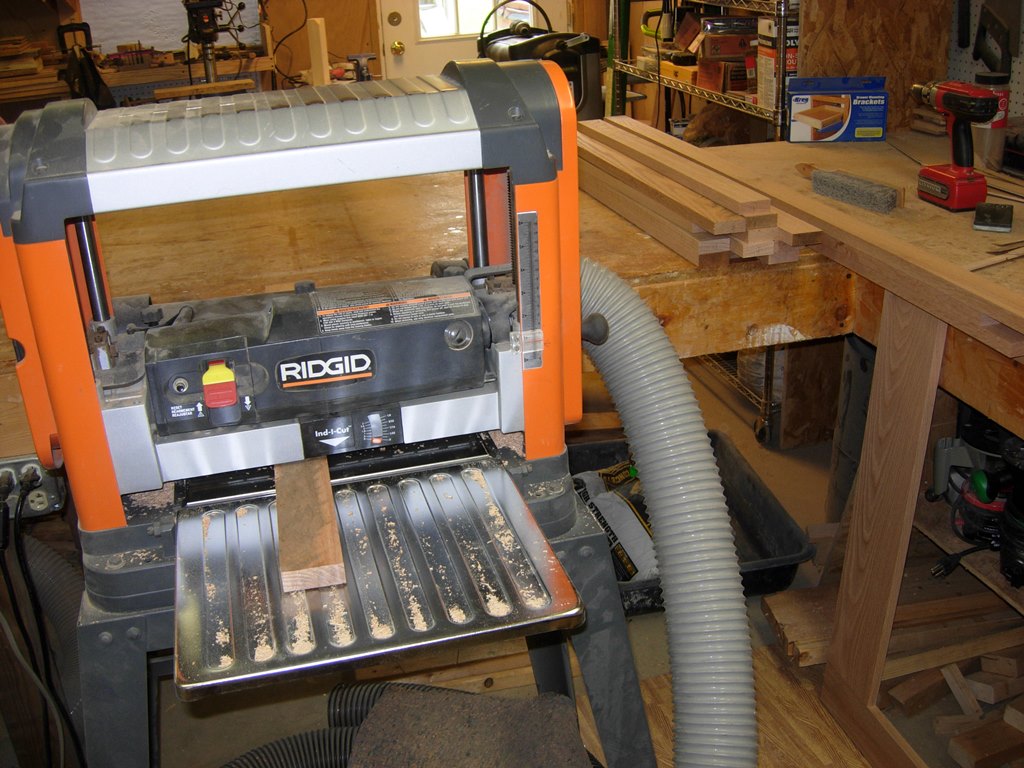
Planing the rails and stiles down to 3/4″ thick
I planed all of the rails and stiles down to the proper thickness then cut them to length on the miter saw. I clamped them together, four at a time, to ensure equal lengths.

Gang cutting the rails and stiles

Ready for routing
When all the pieces were ready, I set up a couple of routers with the mating bits for the rails and stiles. I have a 3/4″ setup block that makes this easy. I also have a couple of test pieces that I made when I first got the bits. I put useful notes on them, like which side should be up, and make end cuts first so the side cuts will clean up the tear out.
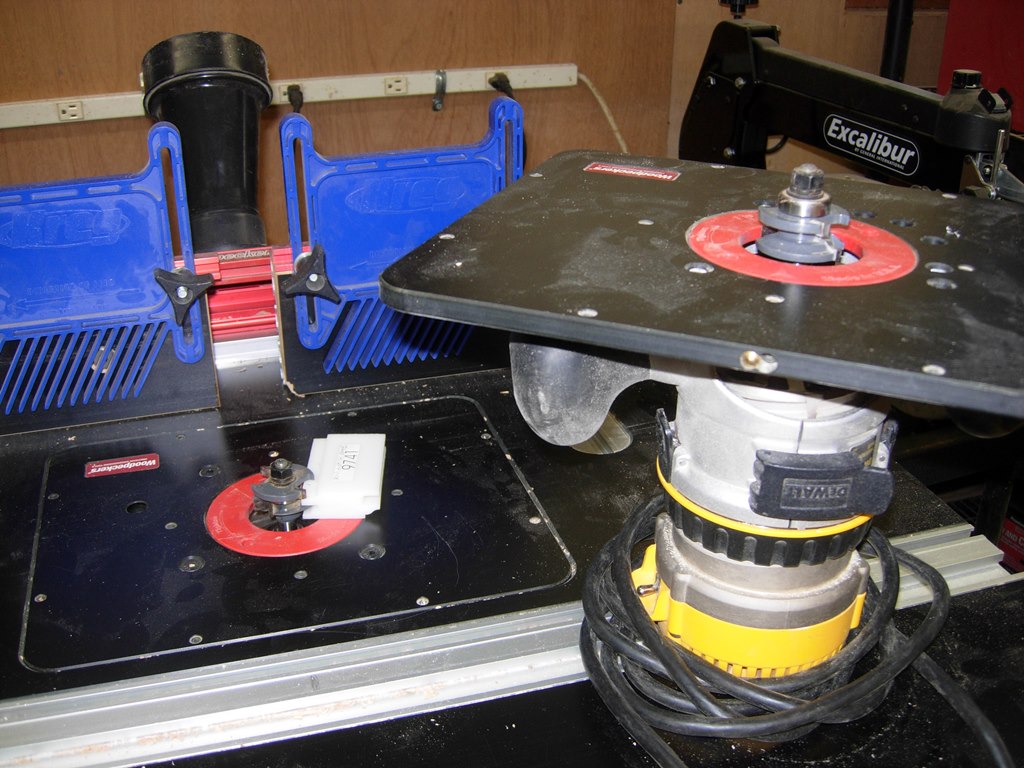
Setting up my rail and stile bits
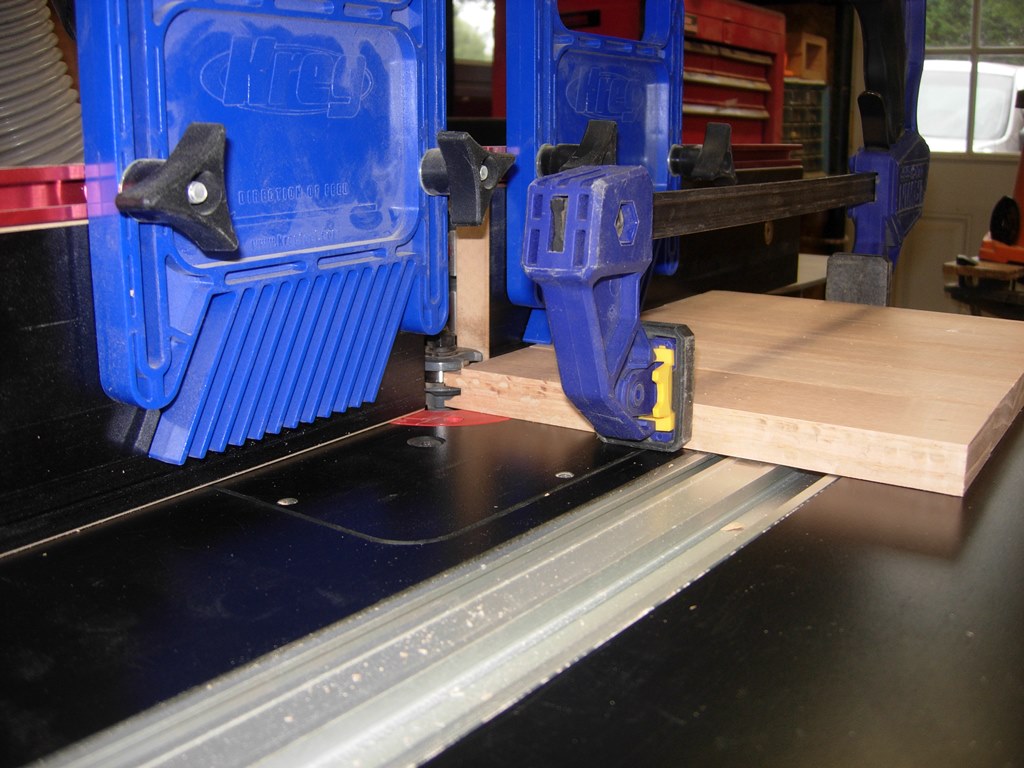
Clamping up multiple boards for end cuts
I use feather boards to hold the work tightly to the table. Since the end cuts can be very difficult on a 2″ wide piece, I like to clamp 4 or 5 of them together, then run them through, using the clamp as a handle. It is safer, and cuts down on the tear out as well.
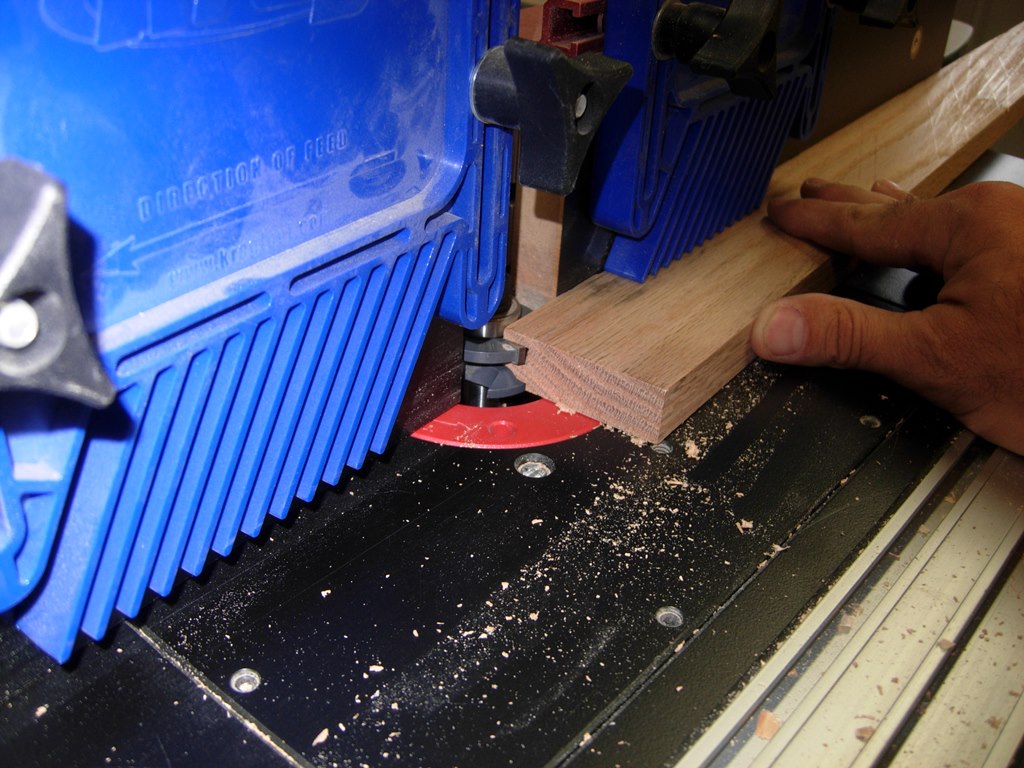
Cutting the long inside edges
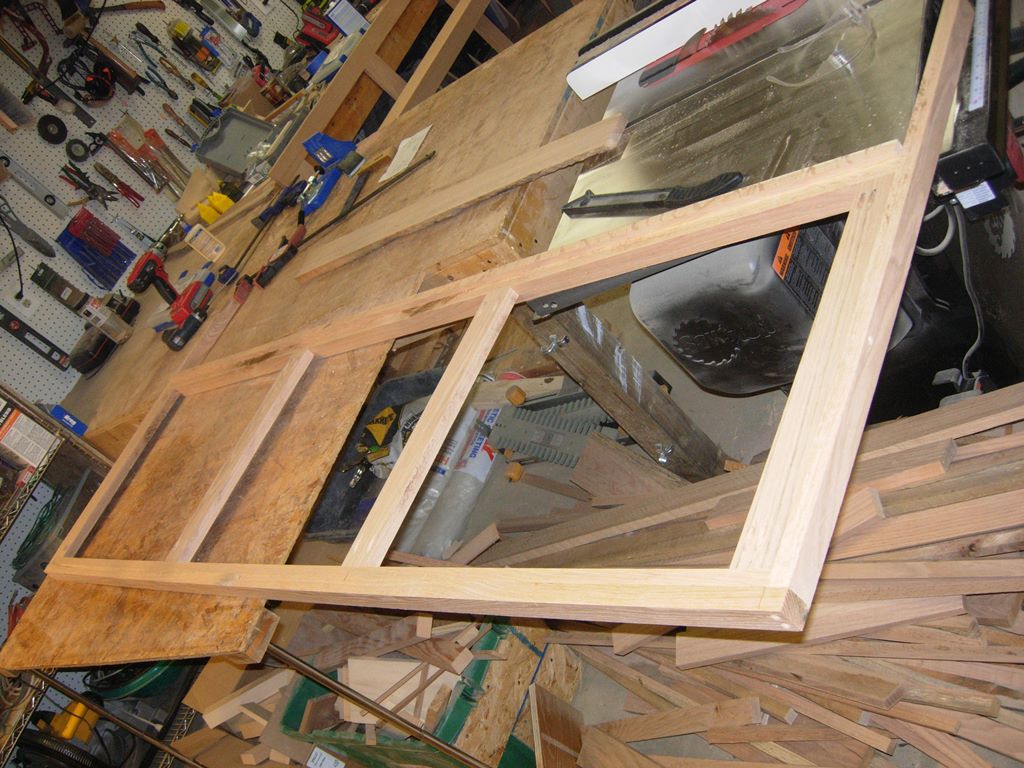
After the ends were all cut, I cut down the grooves in the sides. A test fit shows how accurate all my cuts were. Everything was square and true.
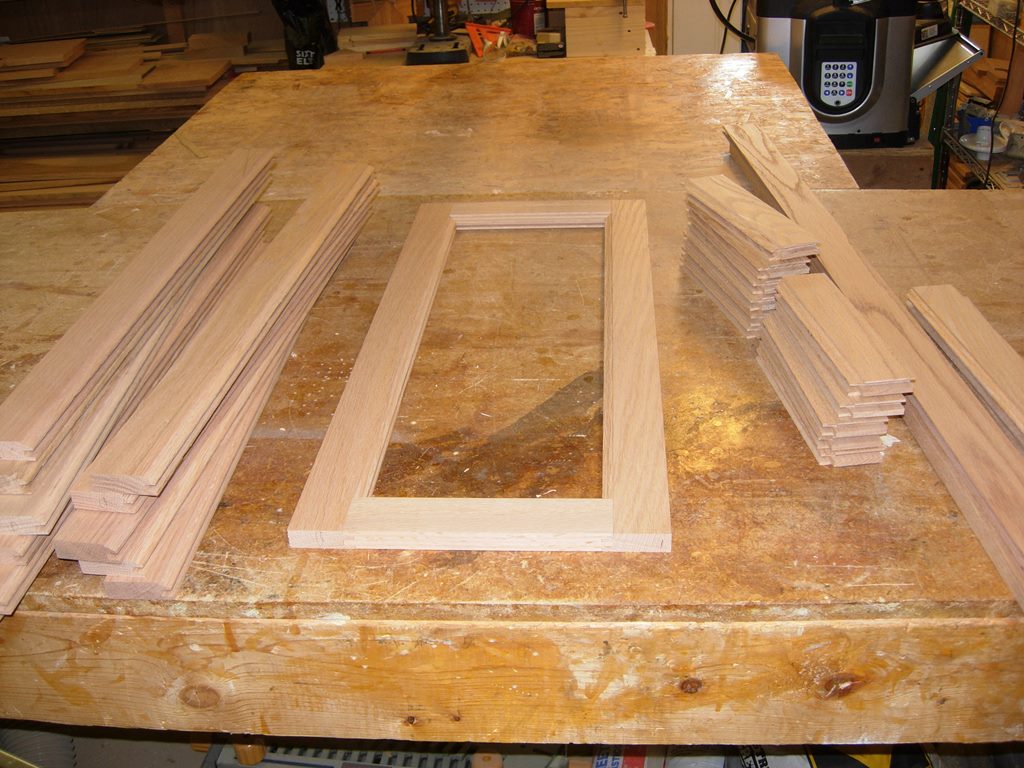
Test fit
Cutting the panels
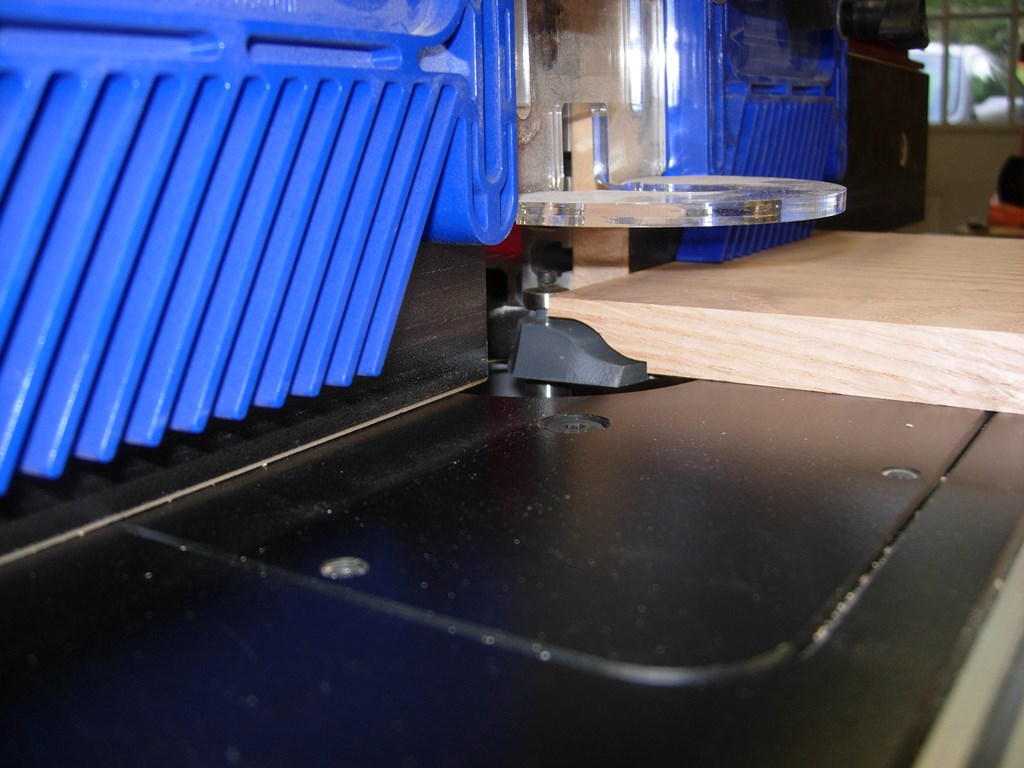
Next, I set up the panel bit, and ran all of the panels through. This took a while, I slowed the bit down to almost my lowest speed, and ran the boards through slowly.

Door panels complete
The bit leaves the ends a bit fuzzy so I ran the orbital sander over the panels to smooth things down a bit.

Sanding all the panels
Inserting panel spacers
To keep the panels from rattling in the doors, I inserted rubber spacers every 8″ or so. I sized everything so that the rubber spacers will compress about 1/16″ when the panel is assembled. This will allow a bit of room for expansion as well, should the panel decide to grow a little. Since the cabinets will be in the laundry room, I expect a small amount of growth from moisture.
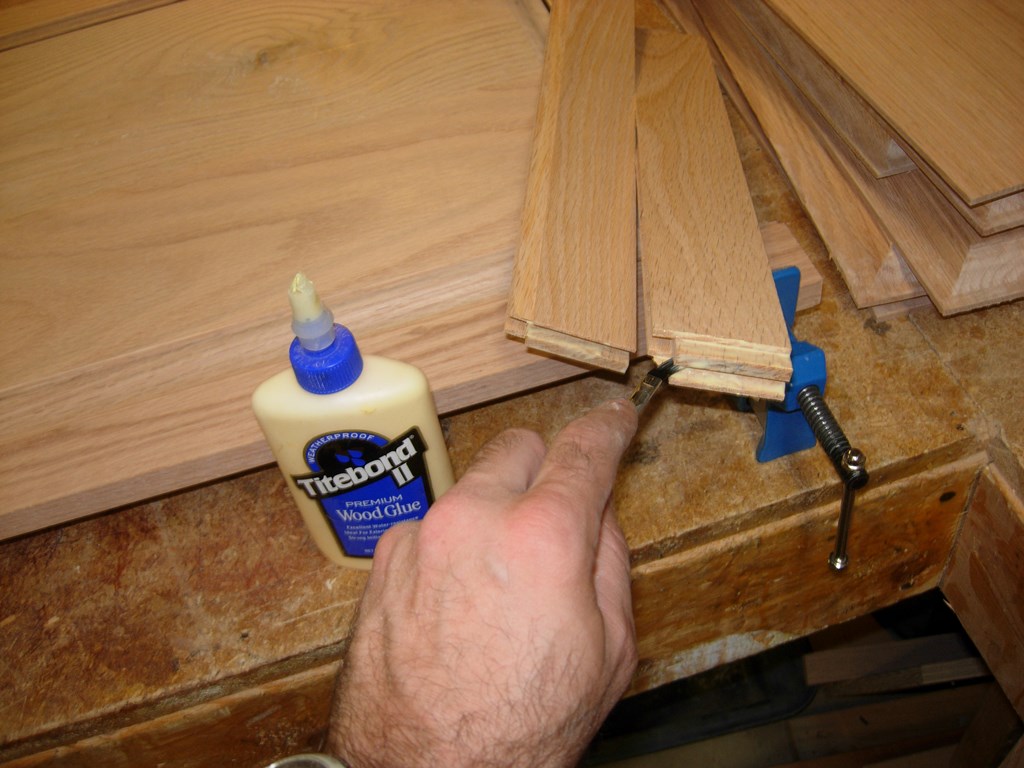
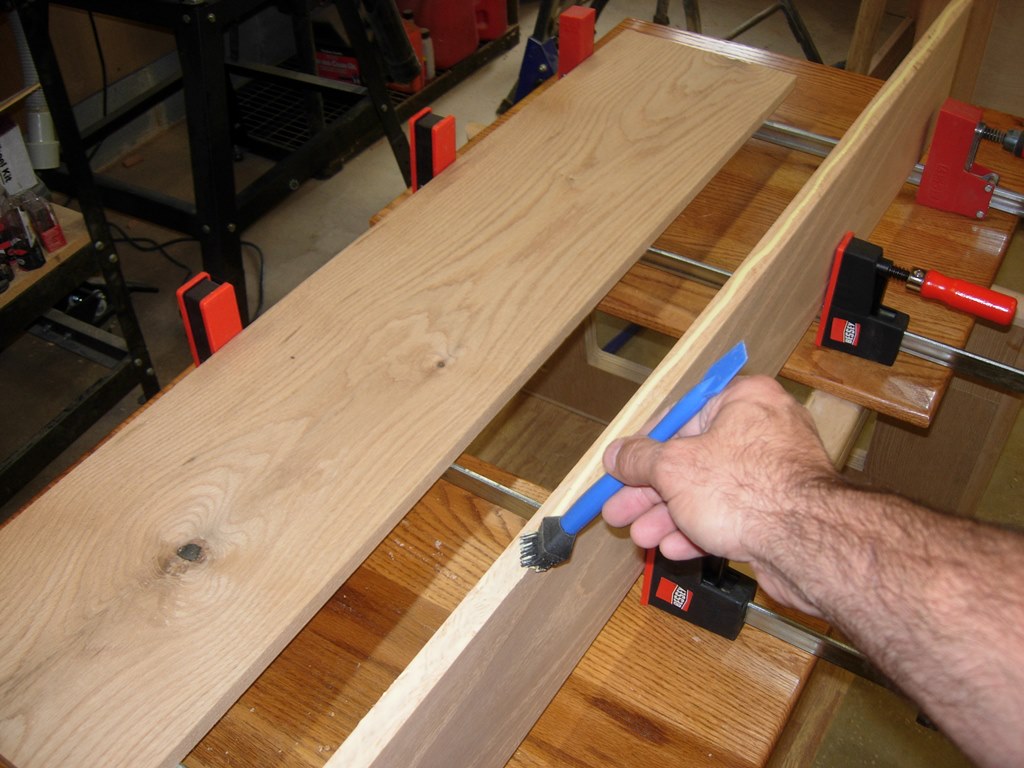
Applying glue to the rail ends
The only glue required to assemble these doors will be in the grooves on the rails. I apply it with a small brush, giving it a thin even coat of water proof wood glue.
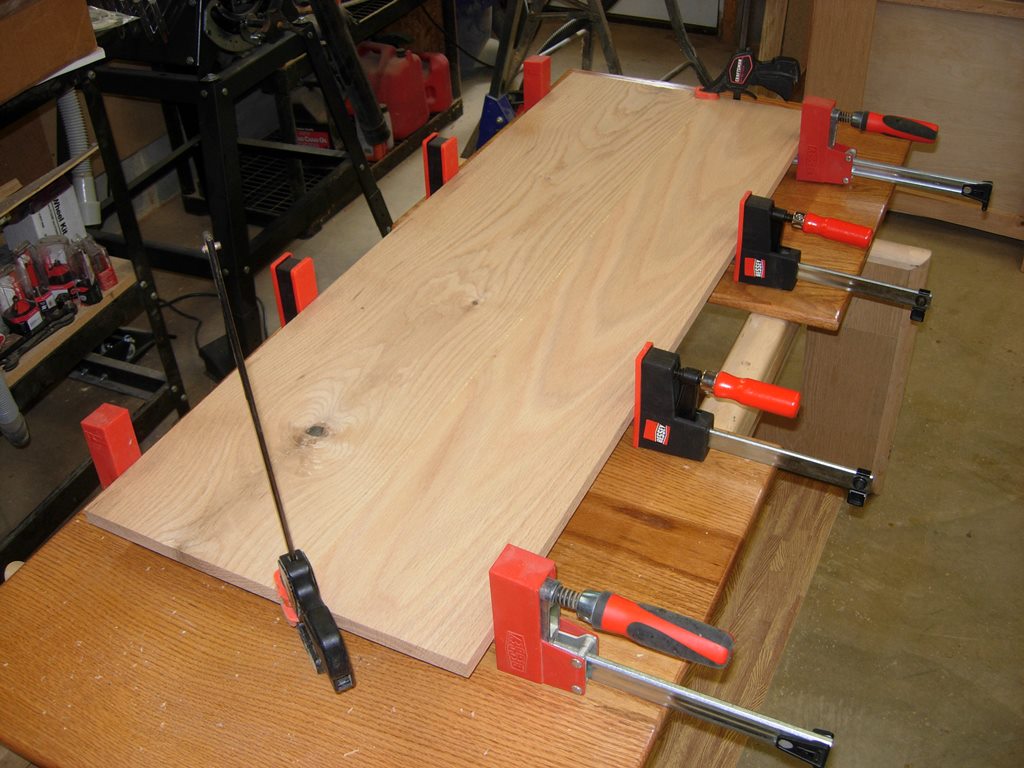
Clamping up the large panel first
I clamped each panel by pressing the sides into the rails. I also used clamps applied at the joints, in the long direction, to squeeze the rails into place flush to the ends of the stiles. Once everything is set, I tightened the first two and removed the second two.

Panels clamped and drying
This process was repeated for all of the panels. I noticed that I had a fairly big knot of one of the smaller doors when I was glueing it up, so I mixed up a bit more epoxy and filled the knot hole. I will plane this down with a hand plane when I pull the clamps.

Filling a knot hole that I missed
That is where I am stopping for the weekend. I only have a few more items left before finishing the cabinets. Mainly setting the hinges and routing the outer edges of the doors.
