
Laundry room cabinets – day 5
I finally found some time to get back in my shop and work on these cabinets. I really want to get them done so I can find space to walk around in my shop again.

Ripping down the face frames
I assembled the boxes for the cabinets a couple of weeks ago. Today I worked primarily on the face frames. It took longer than I had planned because this batch of wood had a lot of surprises in it. Big knots, twists, tension wood, you name it. I spent a lot of time just picking through it to make sure I had enough straight boards for the longer stuff before I could even think about cutting the smaller boards.

Cutting all the pieces 4″ too long
I ripped everything nearly to width. I left it 1/16″ over-sized so I could joint the edges later. I also left an extra 2″ on each end of the boards to account for any snipe or tear-out on the ends.

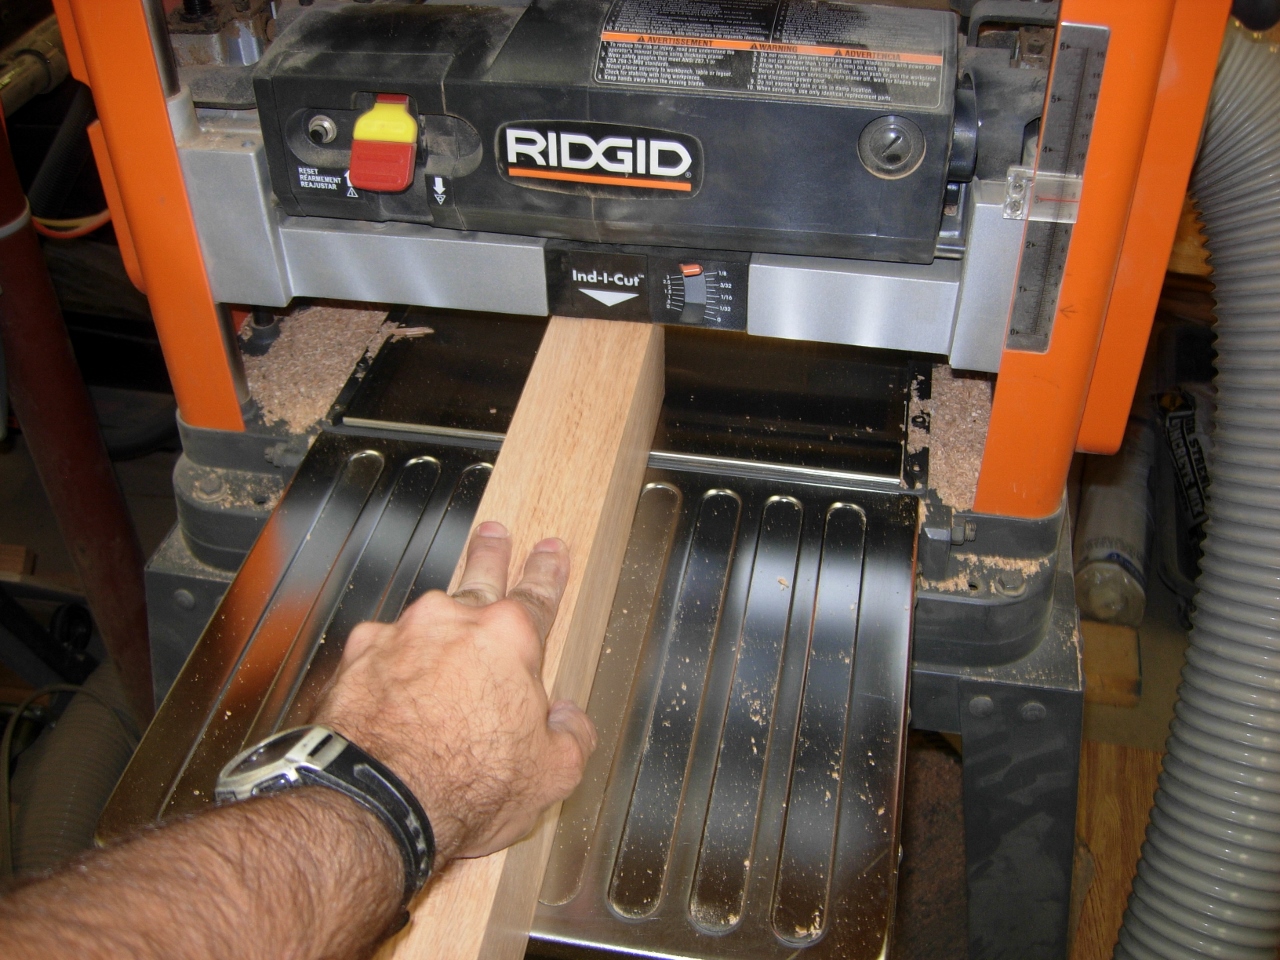
All planed down to 3/4″
I planed all the boards down to 3/4″ thick, then organized them into stacks by size, and ran them through the planer on edge. I have found this to be a rather efficient way to joint my boards, as long as I leave extra on the ends. The planer will grab the boards and dig in a little extra, sometimes.
Gang jointing face frames
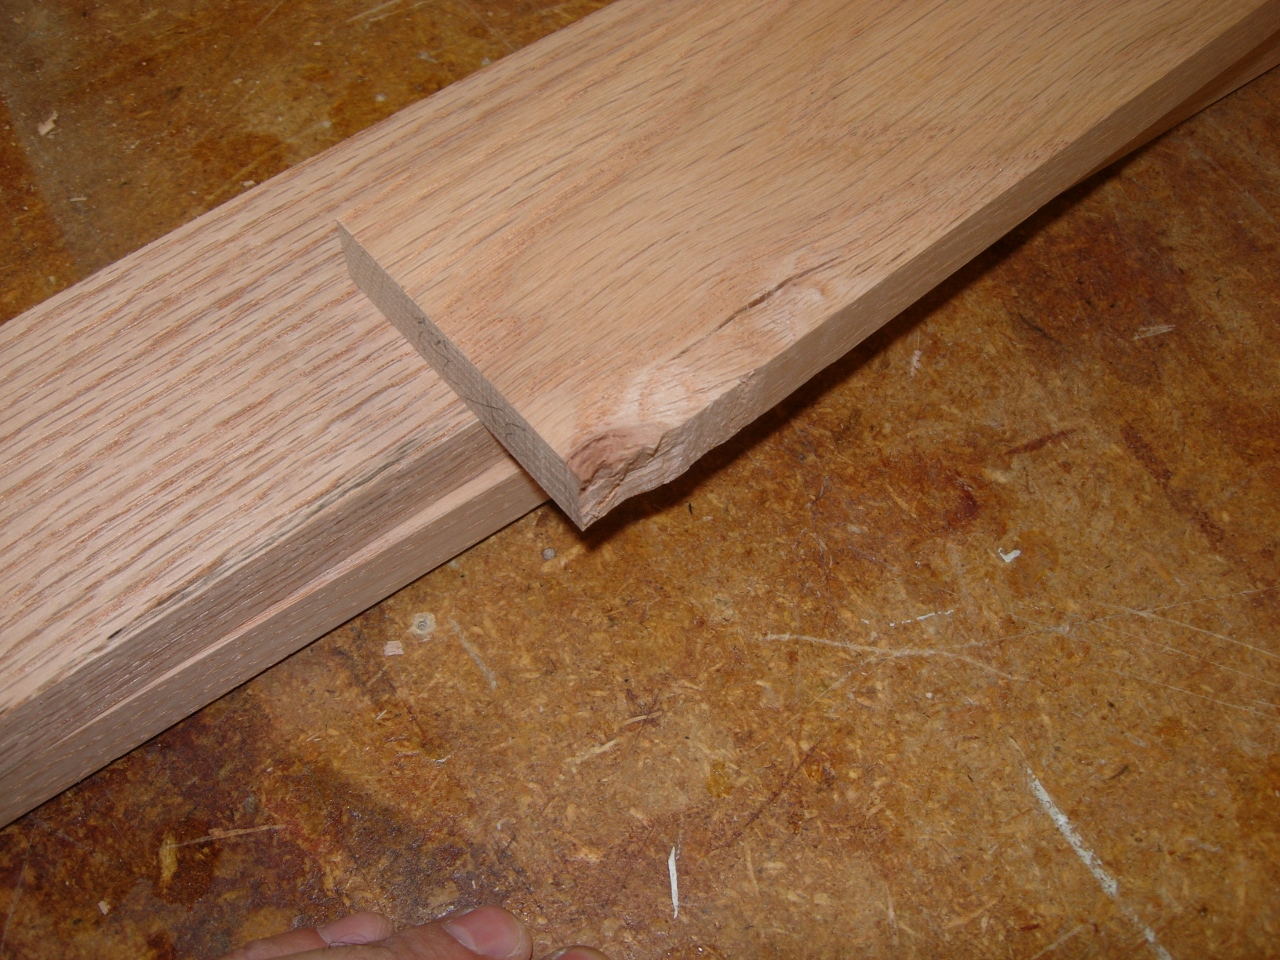
A little tear-out
You can see what I mean by the picture above.

Cutting all the pieces to the correct length
Once everything was planed and jointed, I cut all the frame boards to exact length. I clamped all the verticals, that needed to be cut to the same length, to ensure they matched perfectly.

Match cutting the length of all my
verticals

Marking pocket hole locations
Next step was to mark the locations of all of my pocket holes. I did this on my plans first, then transferred the locations to my boards.

All boards marked and ready for pocket holes
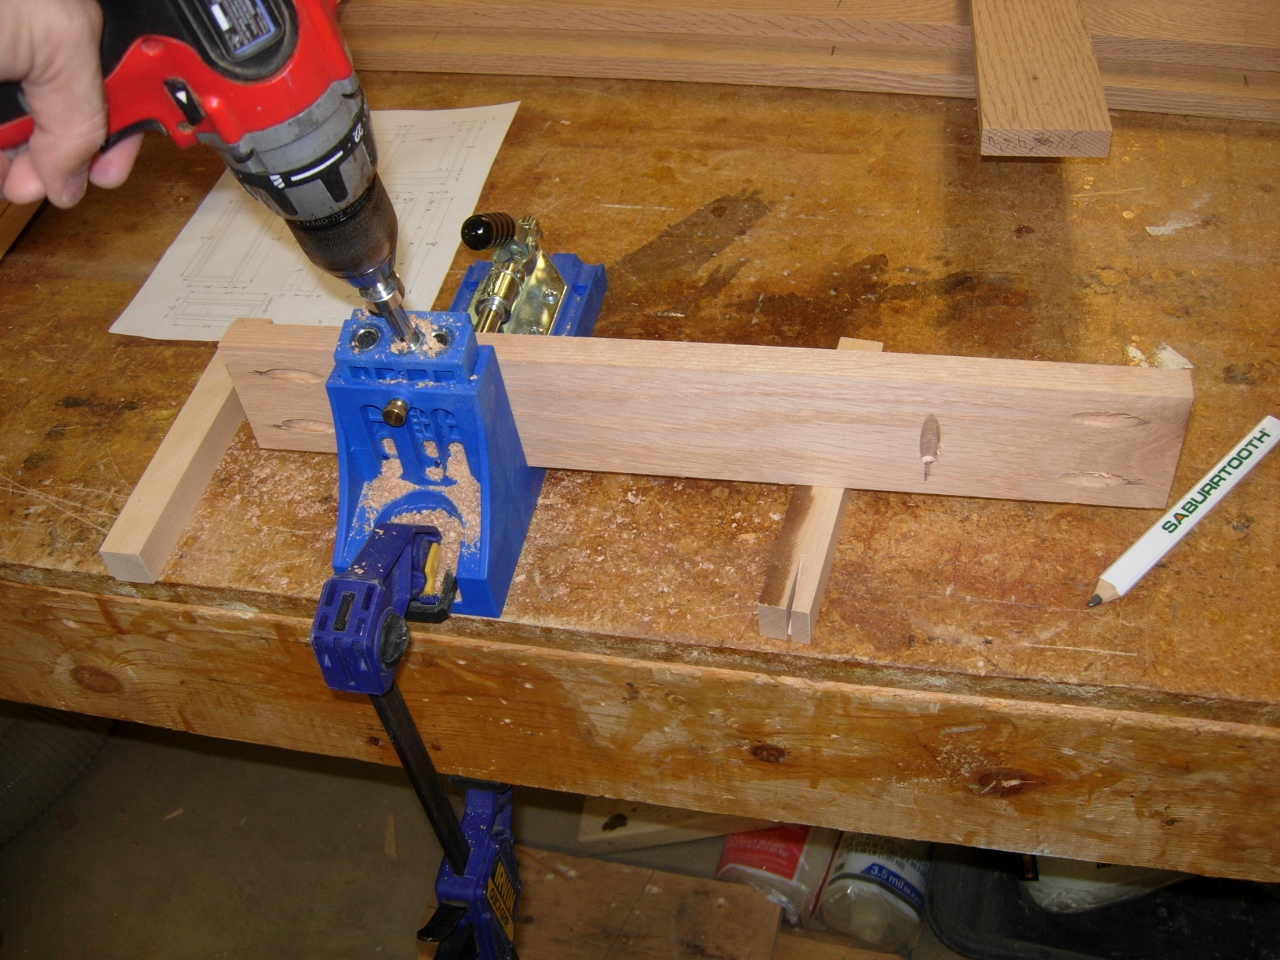
Drilling the pocket holes
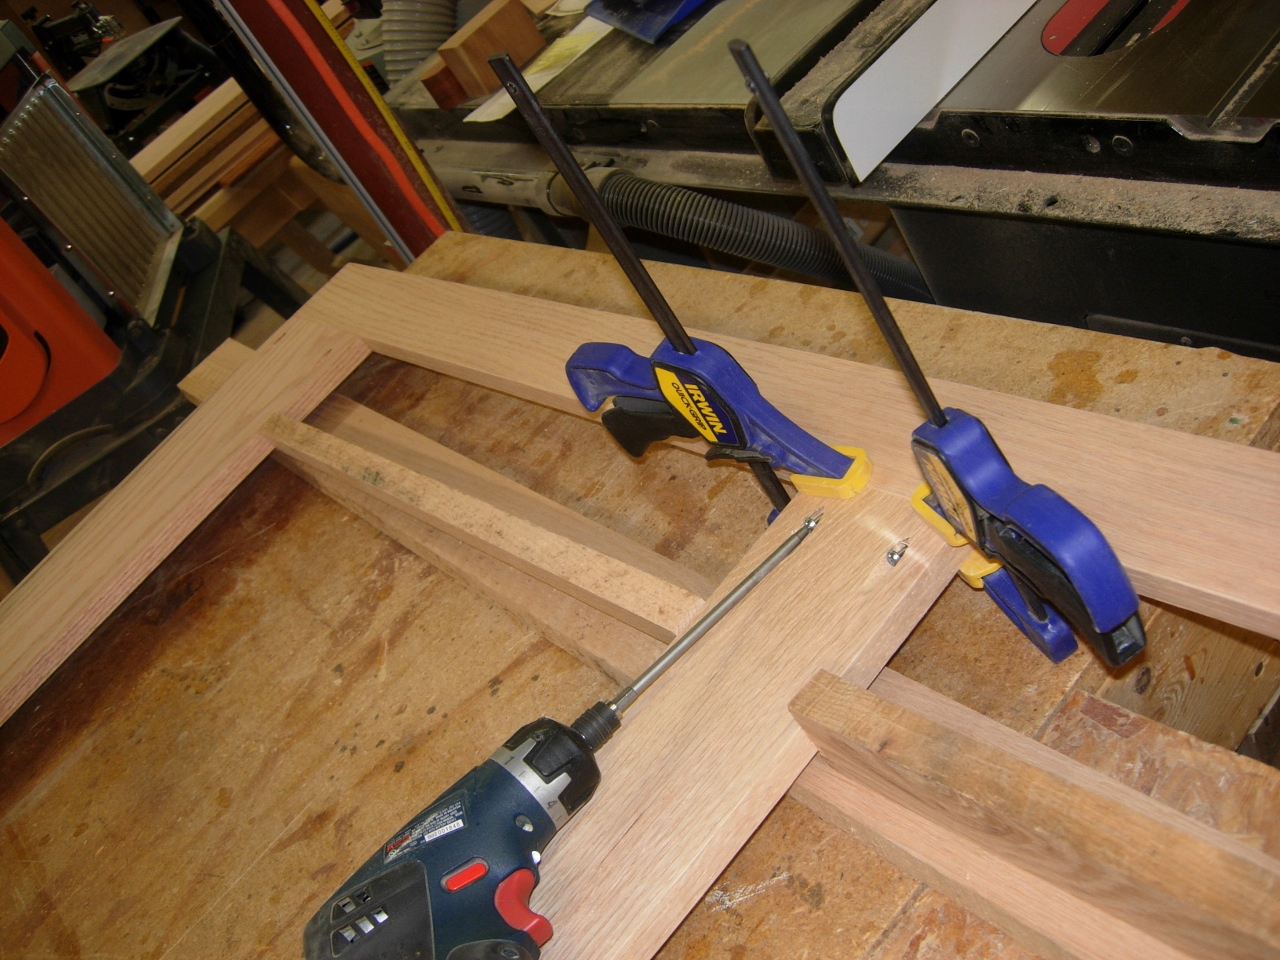
I drilled all of my required pocket holes, then assembled the lower portion of the cabinet frame first.

Assembling the frame with pocket screws
The lower section is only a front with a door, so I also added return stiffeners along the sides. this will serve as an appliance garage more than a cabinet. Since it is also near a water source, I didn’t want to block access with a full cabinet.

Lower cabinet frame assembled
Assembling the upper cabinet frame
I assembled the face frame for the upper cabinet next, then attached the two together. Without the cabinets to mount to, the frame would be too weak to stand up, so I did the test assembly face down on my bench. Everything squared up beautifully so I separated the top and bottom to set aside for finishing.
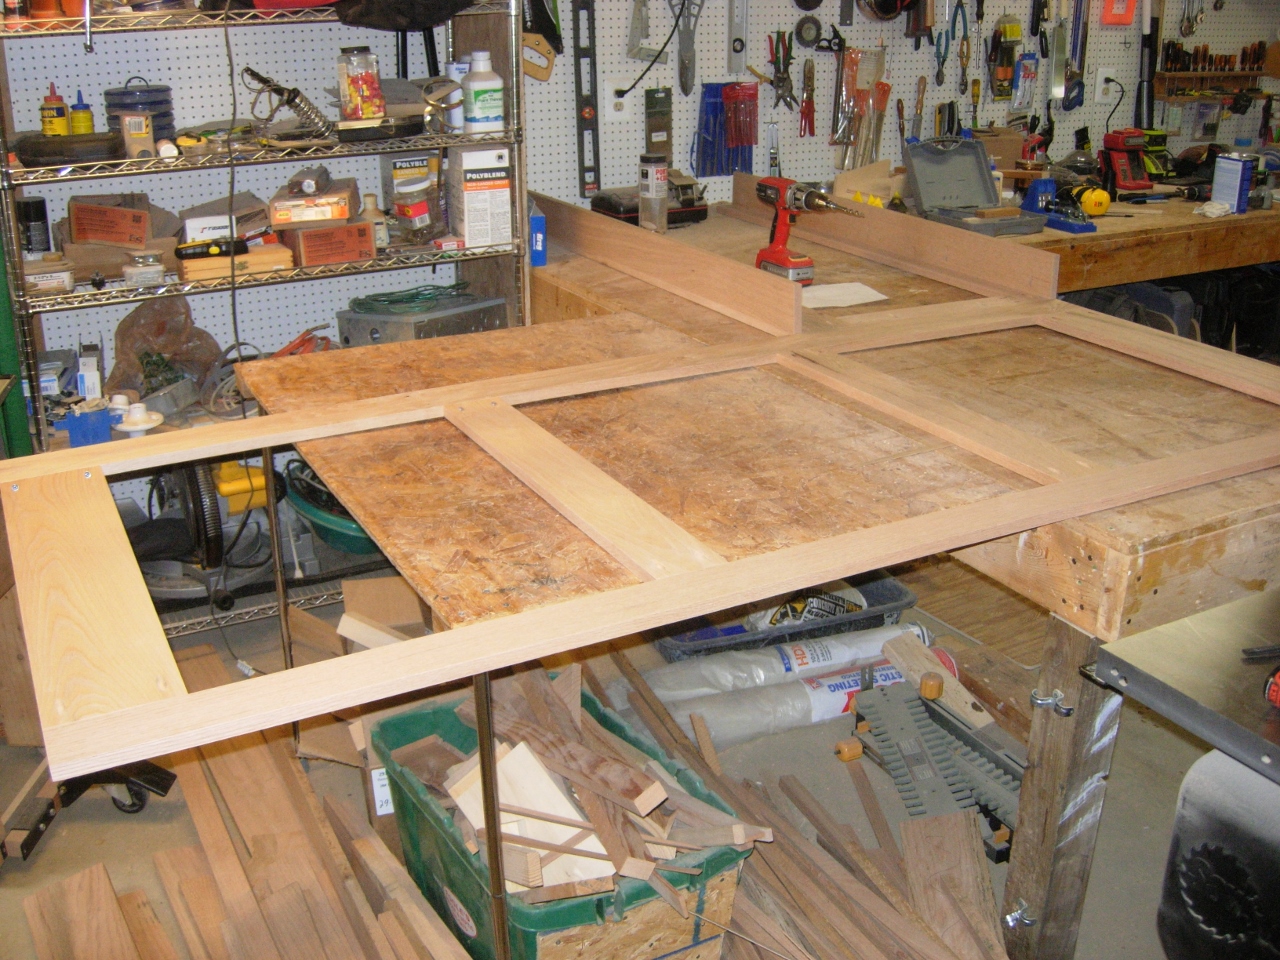
Attaching the two together
Here is a face view of the upper cabinet frame.

Front face of the upper cabinets
I sorted through my wider stock of wood and found boards wide enough to make all the raised panels from single pieces. All except the large lower door, that is. That one will be a two piece glue-up. I went ahead and cut all the panels down to size so I wouldn’t accidentally use those boards for something else.

Ripping down the door panels

Mixing two-part epoxy
One of the door panels had a large knot hole that went all the way through. I mixed up some quick-setting two-part epoxy and filled in the knot hole. I applied painter’s tape to the back of the knot hole to keep the epoxy in. When this is dry tomorrow, I will plane the panel down and the hole will be filled and ready to continue being worked on.

Filling a knot hole in the lower door panel
I went ahead and planed down the rest of the door panels as well.

Planing down the door panels

Laminating front and rear support beams
The last thing that I am working on today are the front and rear beams that will span the room and support the cabinets. I am making 1″ thick rails that will bolt to the wall, and attaching these beams to them. I am laminating together a 1″ thick piece to a 3/4″ thick piece for each. this will keep them straight and significantly add to their support strength. I will be making cross pieces as well, but that will be tomorrow’s fun.
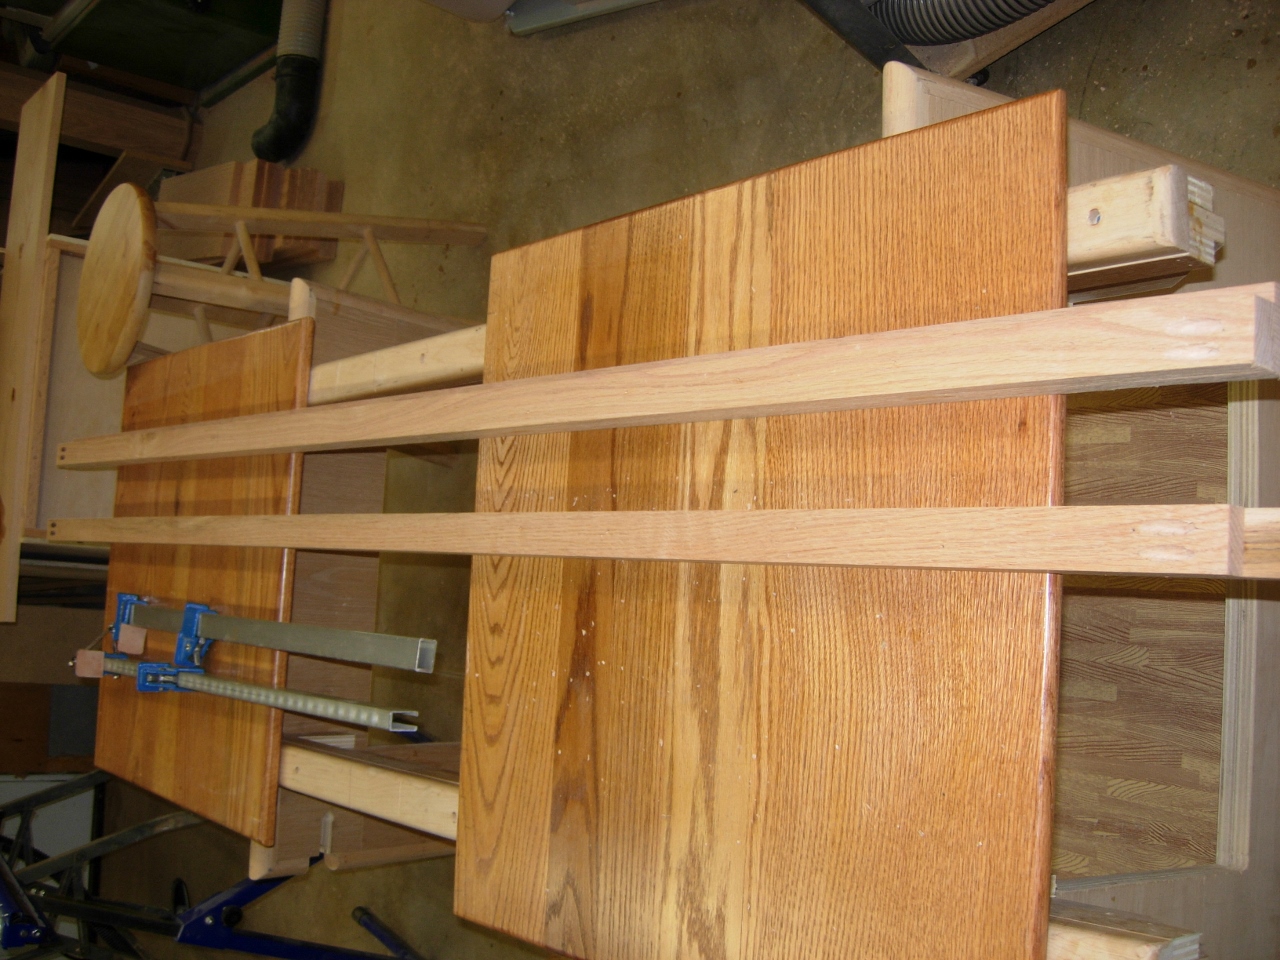
Support beams complete and pocket holed
Hopefully I will be able to finish the support rails as well as the doors tomorrow.
