
Park bench slat questions
I have gotten a lot of inquires from people wanting to buy replacement slats. If you would rather buy them instead of building your own, check out my friend Bryan: Atkins and Sons park bench slats. Anyone interested in building your own, please continue reading.
I got an email from a reader the other day asking how to make park bench slats with a hand-held router. The slats I created were rounded on a router table. It is a little more difficult to do by hand, so I thought I would put up a post showing a couple of points. Hopefully this will help answer some of John’s questions.
First off, my router table is a relatively new addition to my shop. I have only been using it for about a year and a half. Prior to that, hand-held routers were all that I used. The table, with its fence, is safer for most operations, but I love free-handing with the router. I got my first router when I was a teenager and I made tons of signs and trim for all sorts of projects. I now have five of them and they all have their uses.
The first thing to think about is how fast the bit is turning. You need to secure your board before even thinking about touching the router to it. One method is to clamp the board down, route part of it, move the clamps, and route the rest. Another method, that I favor, is working on old carpet padding. The wood doesn’t slip when you hold the router down on it, and you don’t have to work around the clamps. Also, your bit can extend past the bottom of the wood without hitting your bench top.
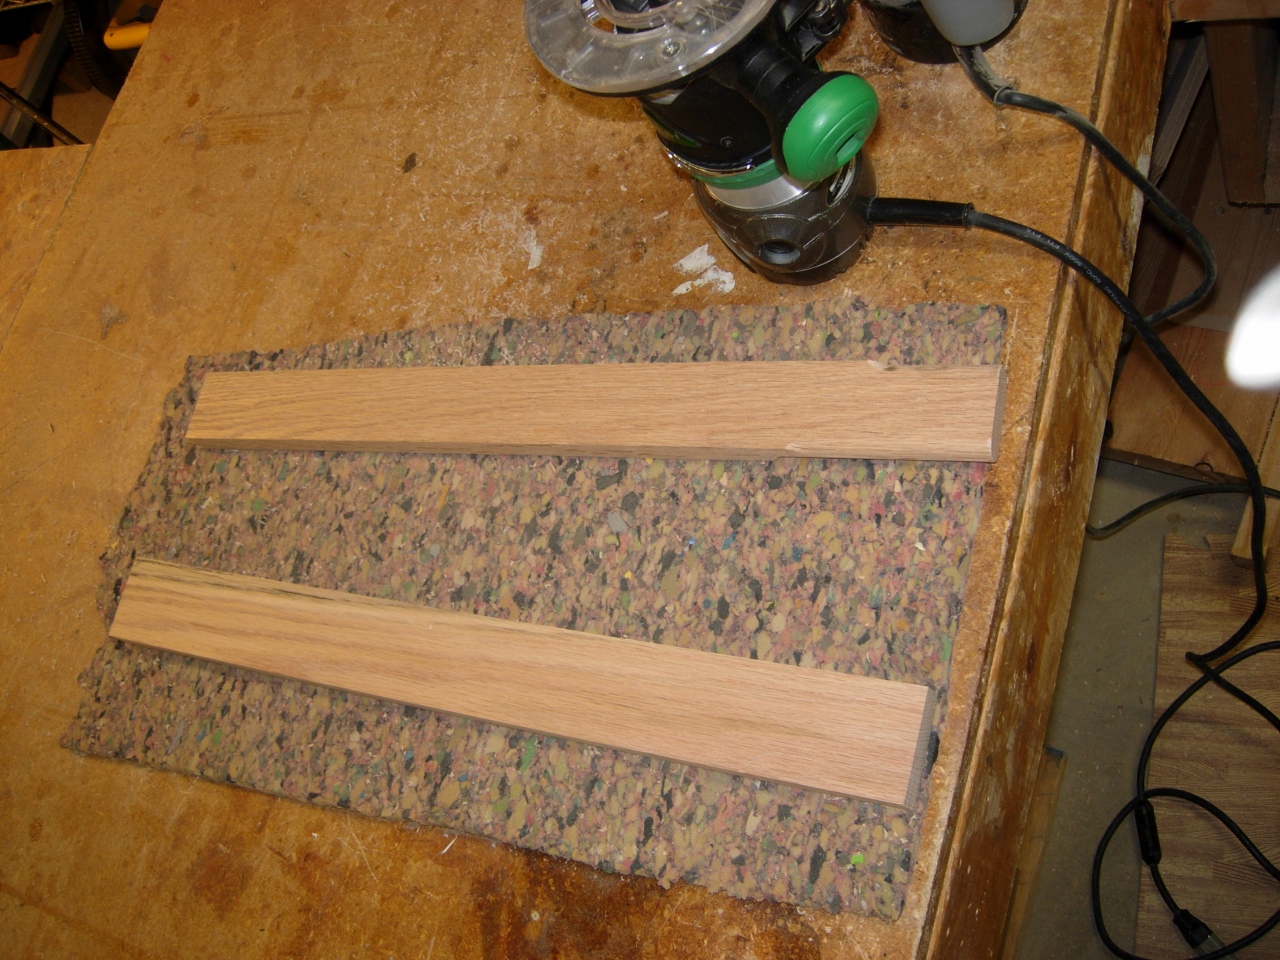
I like to use carpet padding
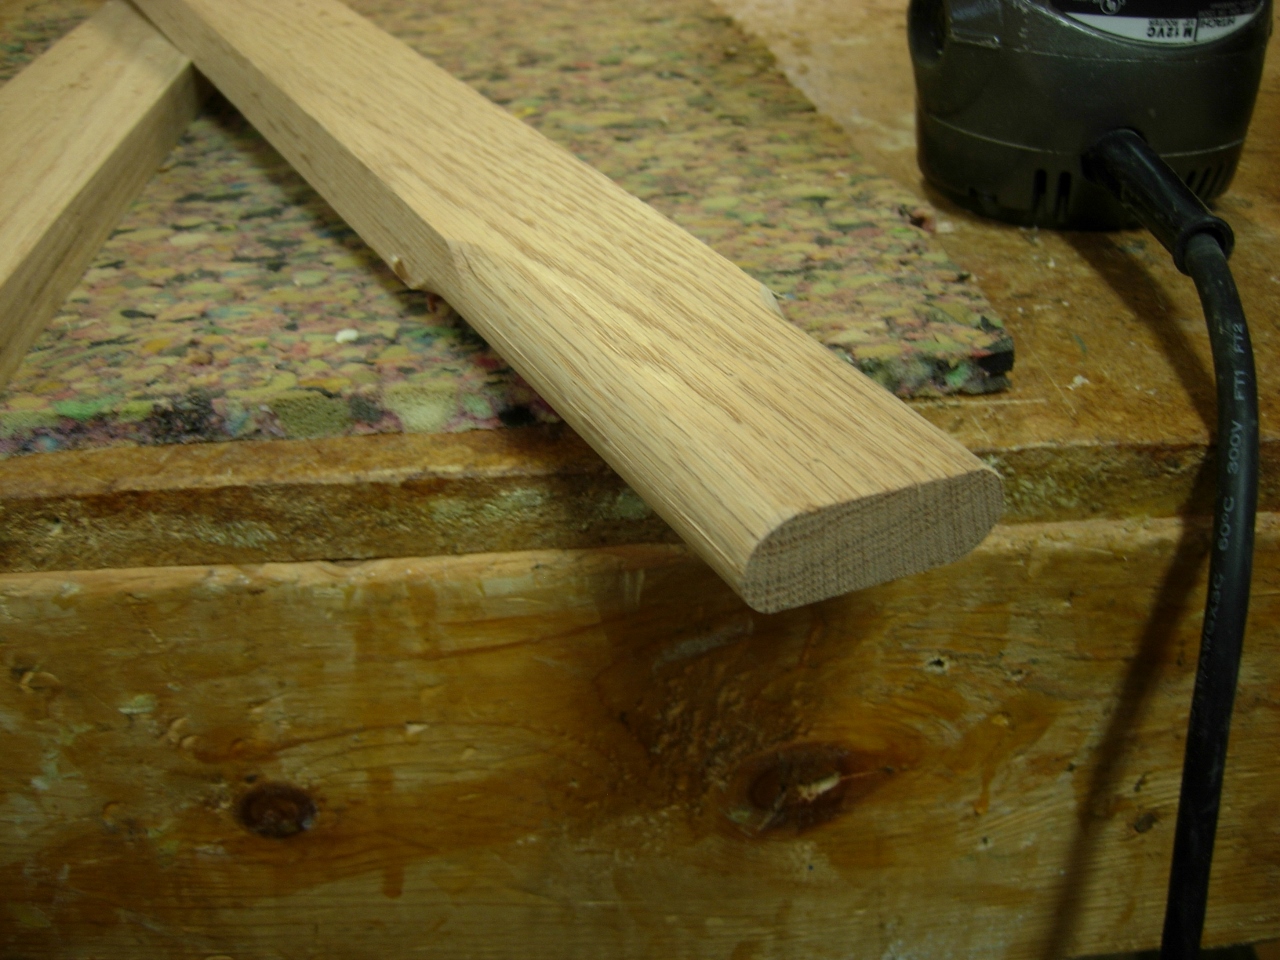
John purchased 1×4 material for his slats. That means that they are probably 3/4″ thick. He asked what bits were used to make the bull nose. I used a carbide 3/8″ round-over bit, run down both sides to create the bull nose. My slats were made from white oak, that I had around the shop. They were 5/8″ thick not 3/4. I would recommend to anyone replacing their park bench slats, to verify the thickness of the slats. 3/4″ may not fit through the existing slots so some material may need to be removed.

3/8″ & 1/4″ round-over bits
When you start using a router, start with a test piece. It helps you to make sure that you set the bit at the correct depth. It also helps you to figure out what direction to route in. the bit spins counter-clockwise at several thousand RPMs. It will climb cut if you go in the wrong direction. Be aware of this when you do your test cuts and the router won’t get away from you…

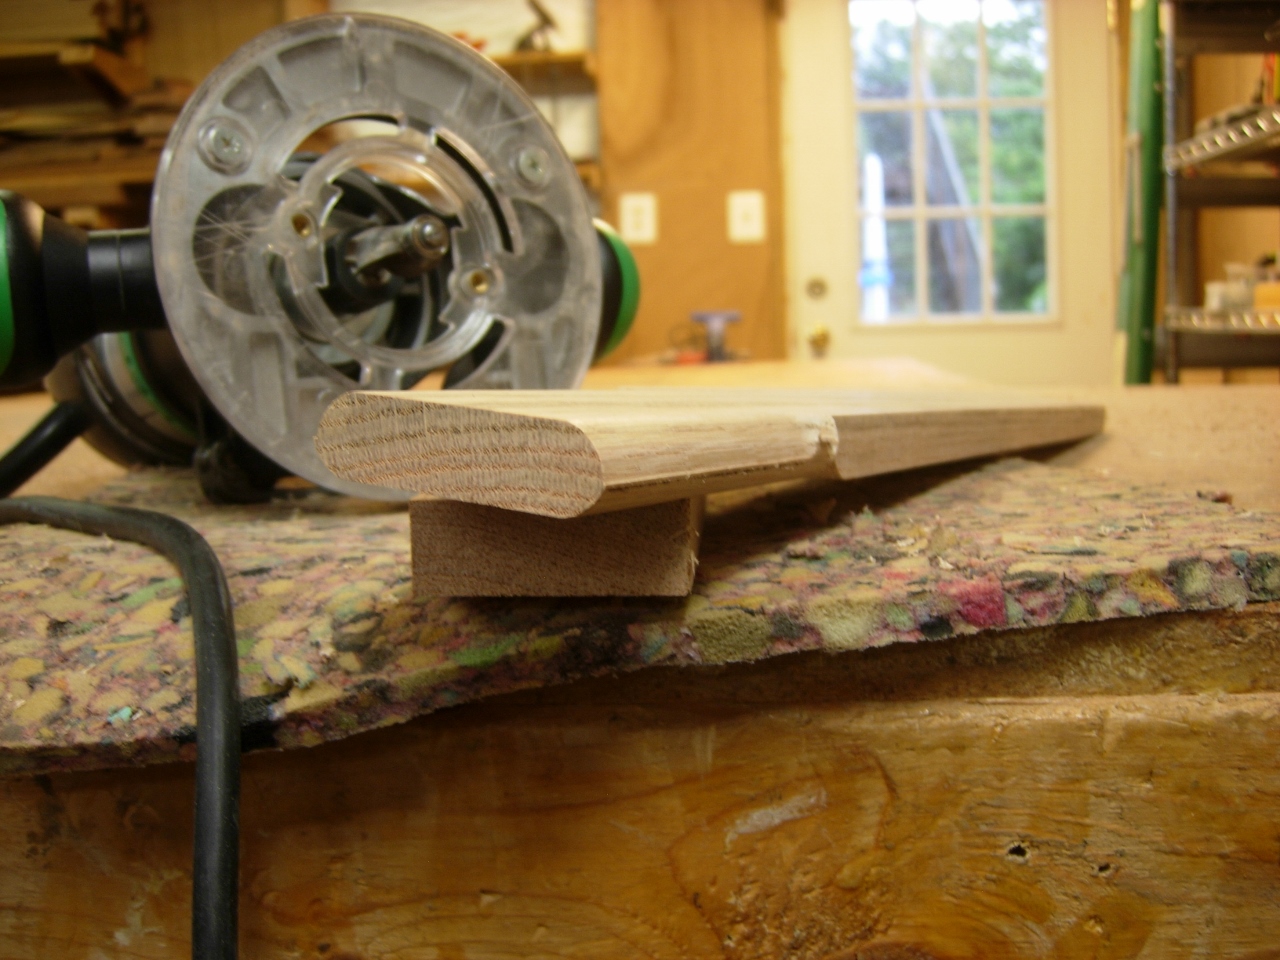
Supporting your router base
If you are unused to balancing the router base on a narrow piece, use a second piece, of the same thickness, as outboard support (see picture above).

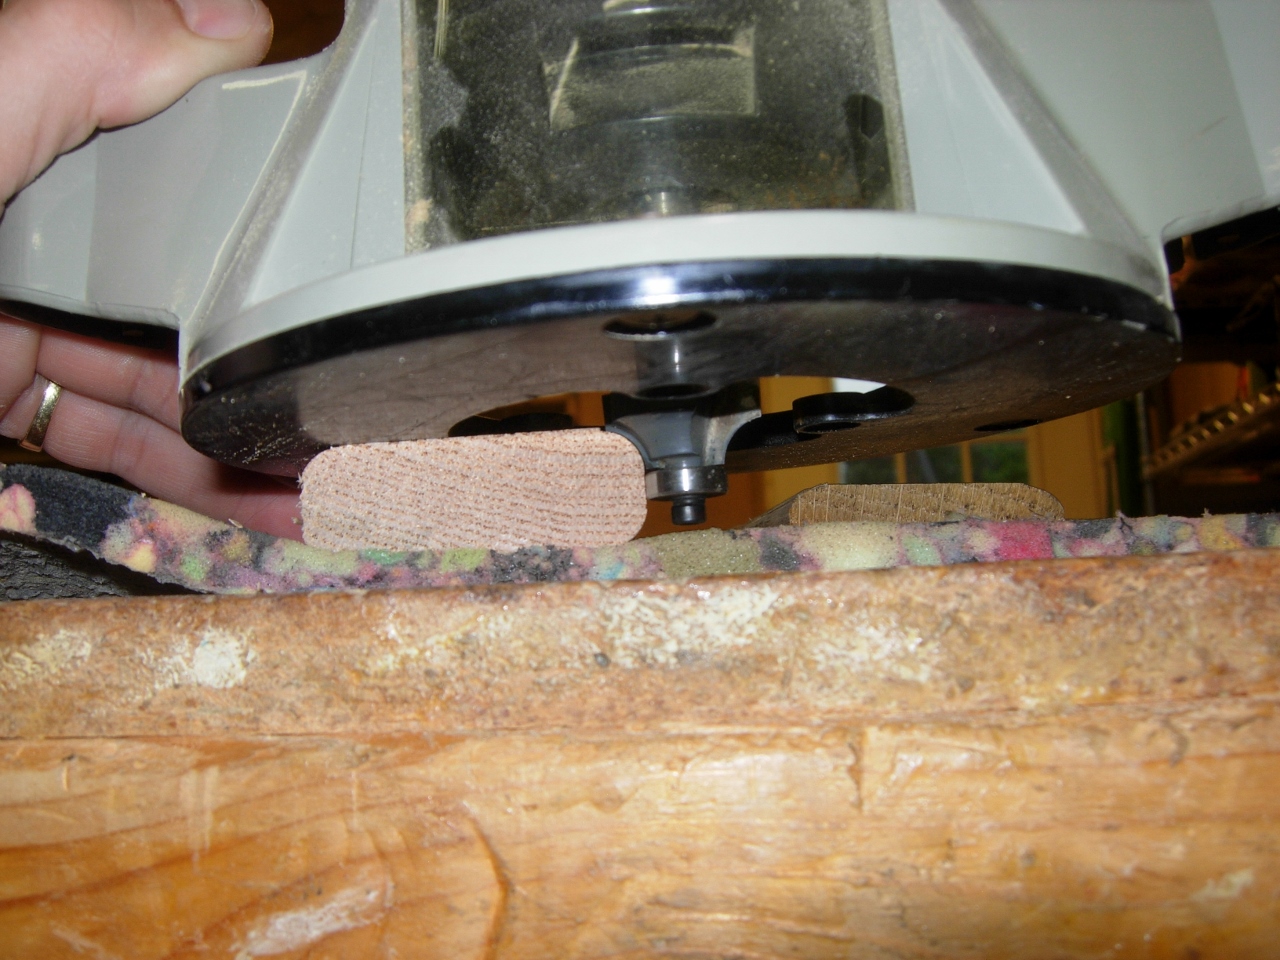
Stacking doesn’t help
Something that I told John that could be an issue, is where the bearing has to ride on the second side. When you route the first side, you have a vertical side to ride the bearing along. When you flip the board, that vertical side is replaced with a rounded one. John asked if he could clamp it to a second board for the bearing to ride, but the bearing wouldn’t reach the second board (see picture above).
Double 3/8″ round-over on a 3/4″ board
If the board is 3/4″ thick, It shouldn’t be a big deal, the bearing steps in slightly, leaving a small step on the side that can easily be sanded away.

Double 3/8″ round-over on a 5/8″ board
You run into a real problem when the board is thinner, like the 5/8″ board that I used. The bearing really steps in leaving a much larger step.
Note the seam
While it is still possible to sand out, I would recommend stepping down to a 1/4″ round-over bit.

Double 1/4″ round-over on a 5/8″ board
You leave at least 1/8″ of flat space on the side which is perfect for the bearing to ride on.
Double 1/4″ round-over on a 3/4″ board
One more thing to think about. If you purchase 3/4″ thick material and find that you need it to be thinner, to fit the bench, and you do not have the ability to plane it down. Round over the 3/4″ thick piece then merely trim down the last inch on each end of the board, to the required dimension to slip into the slots on the bench. This could easily be done with a table saw, hand plane, chisel, or even a crap load of sanding.
Also I recommend buying the slightly more expensive carbide bits with bearings on them. The cheaper, high-speed steel ones dull and leave burn marks. The carbide lasts longer and require far less sanding.

Pingback: White oak park bench slats | Midnight Woodworking
Thanks, just what I was looking for. I replaced the slats on an old bench (they bolt on to the legs, not slip in like you mention) and the slat edges were not rounded making the bench uncomfortable. I have now bought myself a plunge router for Christmas and plan to round over the slats. All the videos I could find on YouTube show using a router table and I was sure I’d need some info on safely using a handheld router to do this job. This article gives me all the info I need.
I am so glad this was helpful to you. Thanks for letting me know.