
New mini-split heat pump
I have been prepping, for the last several days, for the installation of my new shop heat pump. Up until now, I have had only minimum conditioning of the air in my shop. The walls are insulated with R-19, but I only have one duct tied to my shop from the house heat pump, and no return. This gets me a little AC, but no circulation. When it is really cold out, the shop is bearable, but still too cold for finishing and glueing. When it gets really hot, it gets humid quickly. Neither of these conditions are fun. I finally decided to get a separate heat pump for the shop. I decided on a Fuji Mini-split heat pump. 26 SEER, 16,000 BTU, ultra-high efficiency. It is small and quiet, and large enough to heat/cool my 500 square shop as well as the garage behind it, if I choose.
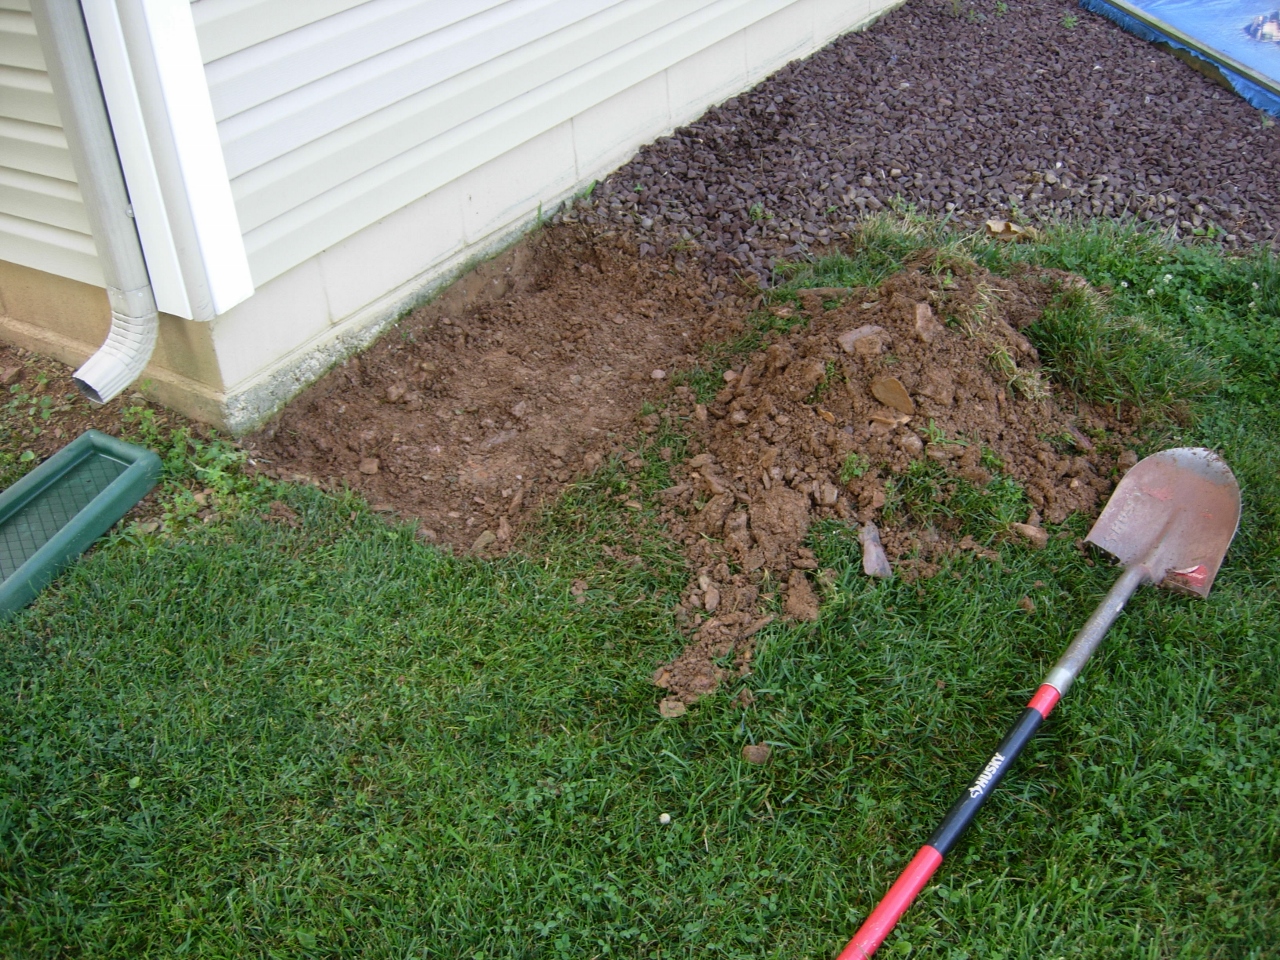
Excavating the pad location
To prep for the install, I had a couple of tasks to do, before hand. I needed to install a concrete pad to mount the outdoor unit to, so I excavated a 2’x3′ level area, then staked in some forms.

Assembling the form

Mixing the concrete
I mixed and poured (3) 80# bags of concrete.
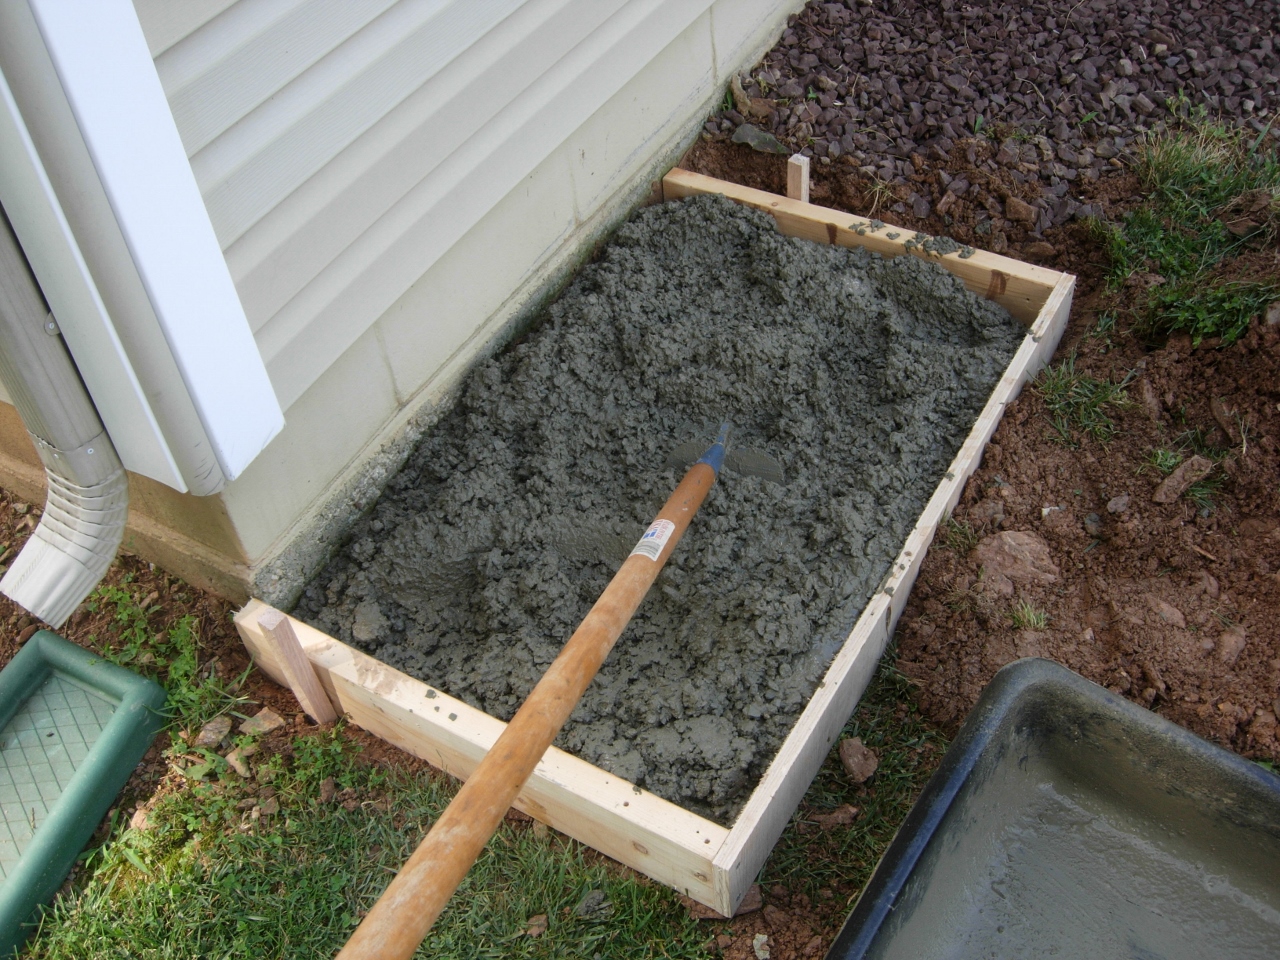
Filling the form
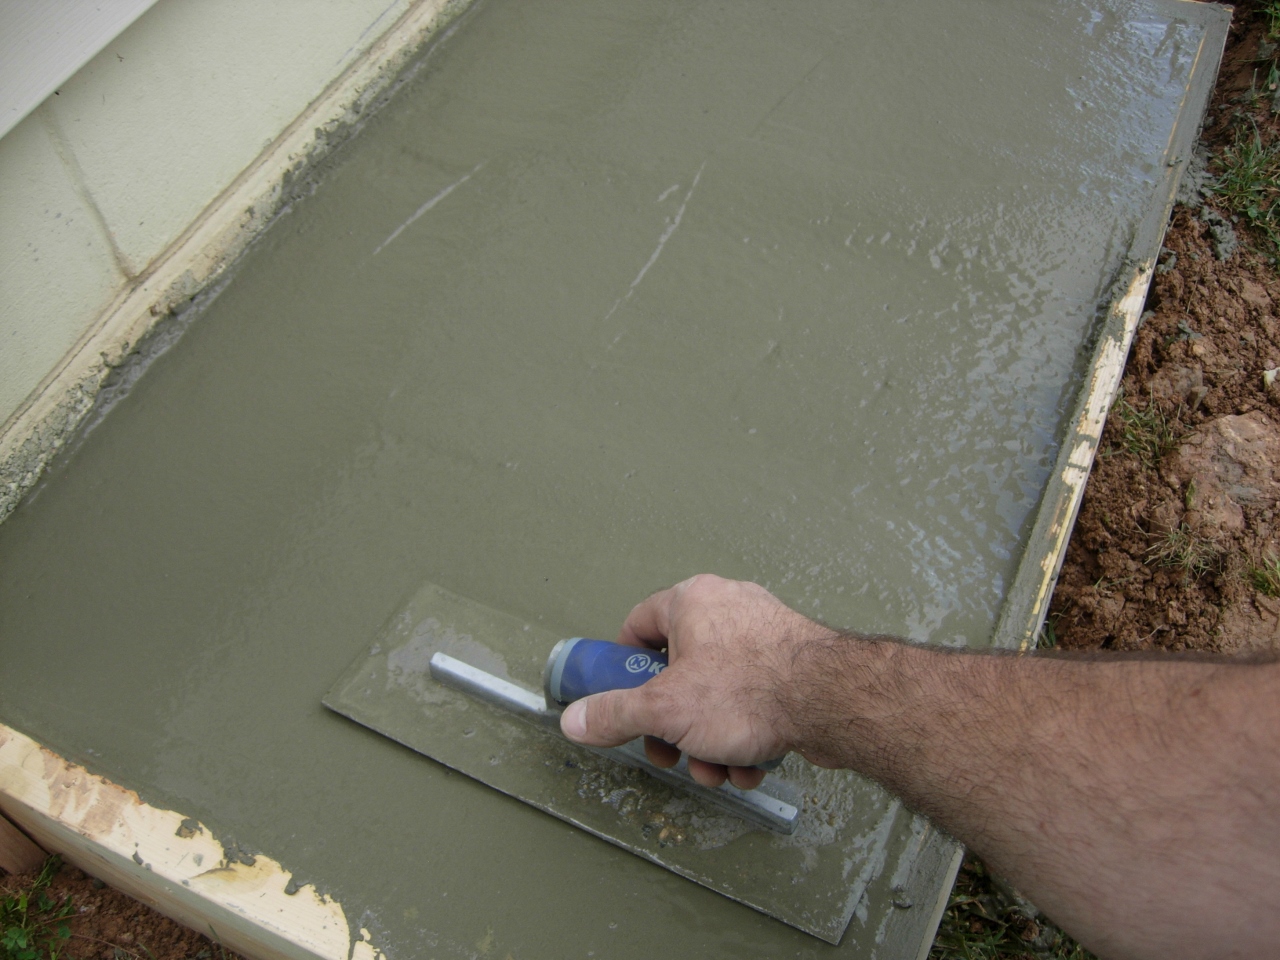
Troweling it smooth
I troweled it smooth, then decided to form a sloped area in the center for condensation to drain away.
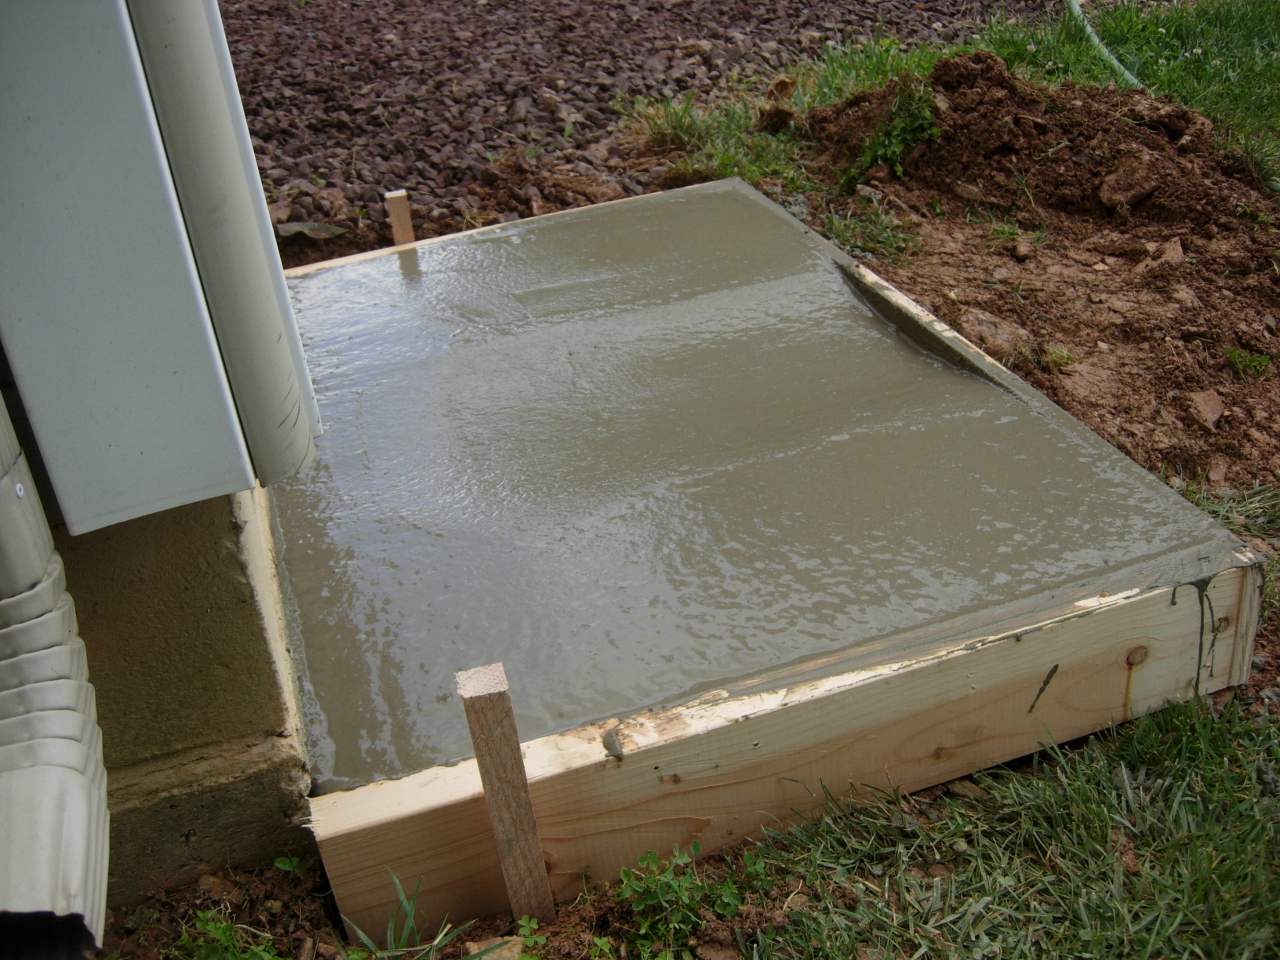
Grooved center for drainage
Old sub-panel
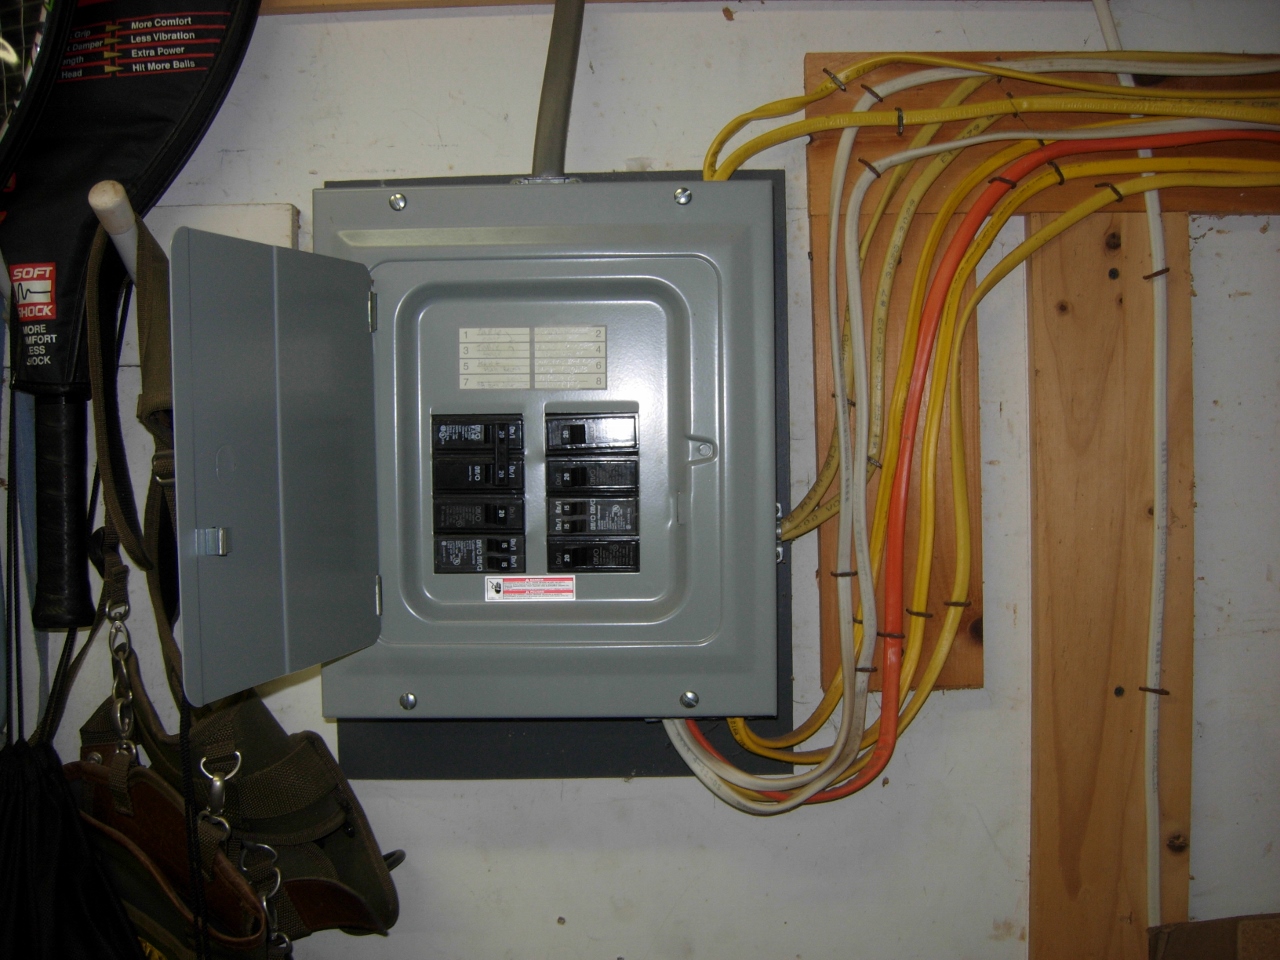
While that cured over the next day, I started in on the next challenge. My sub panel for the shop and bedroom above was maxed out. I had even placed some double breakers in it to gain space. Since they are no longer code compliant and I was out of space, I decided to buy a 20 space load center and replace the old panel.
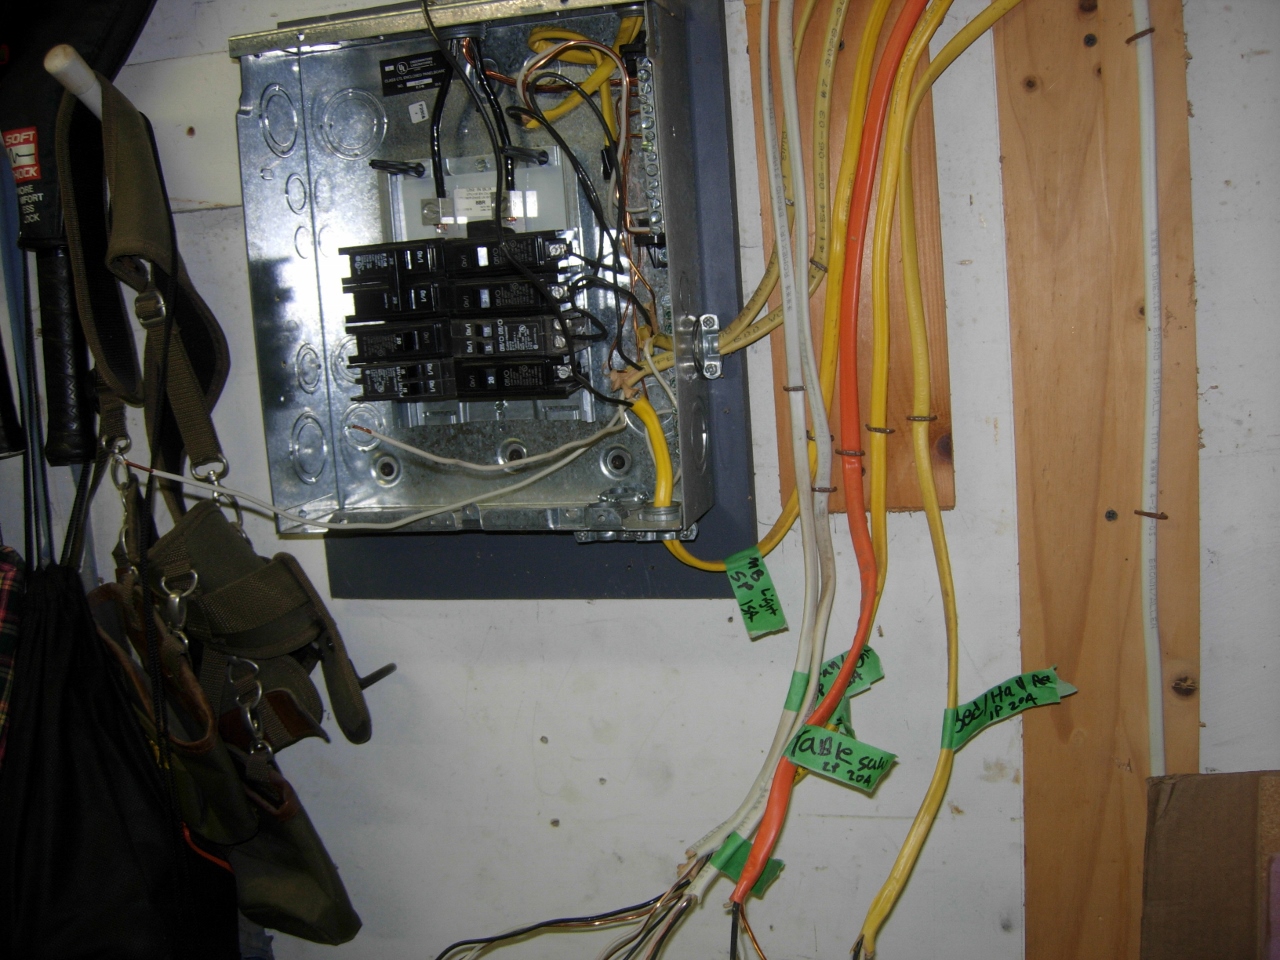
Marking and removing the old lines
I shut off the breaker, in the main panel, that fed this sub-panel, and carefully traced and marked each circuit. I installed the new, larger panel (praying that my wires were long enough…).
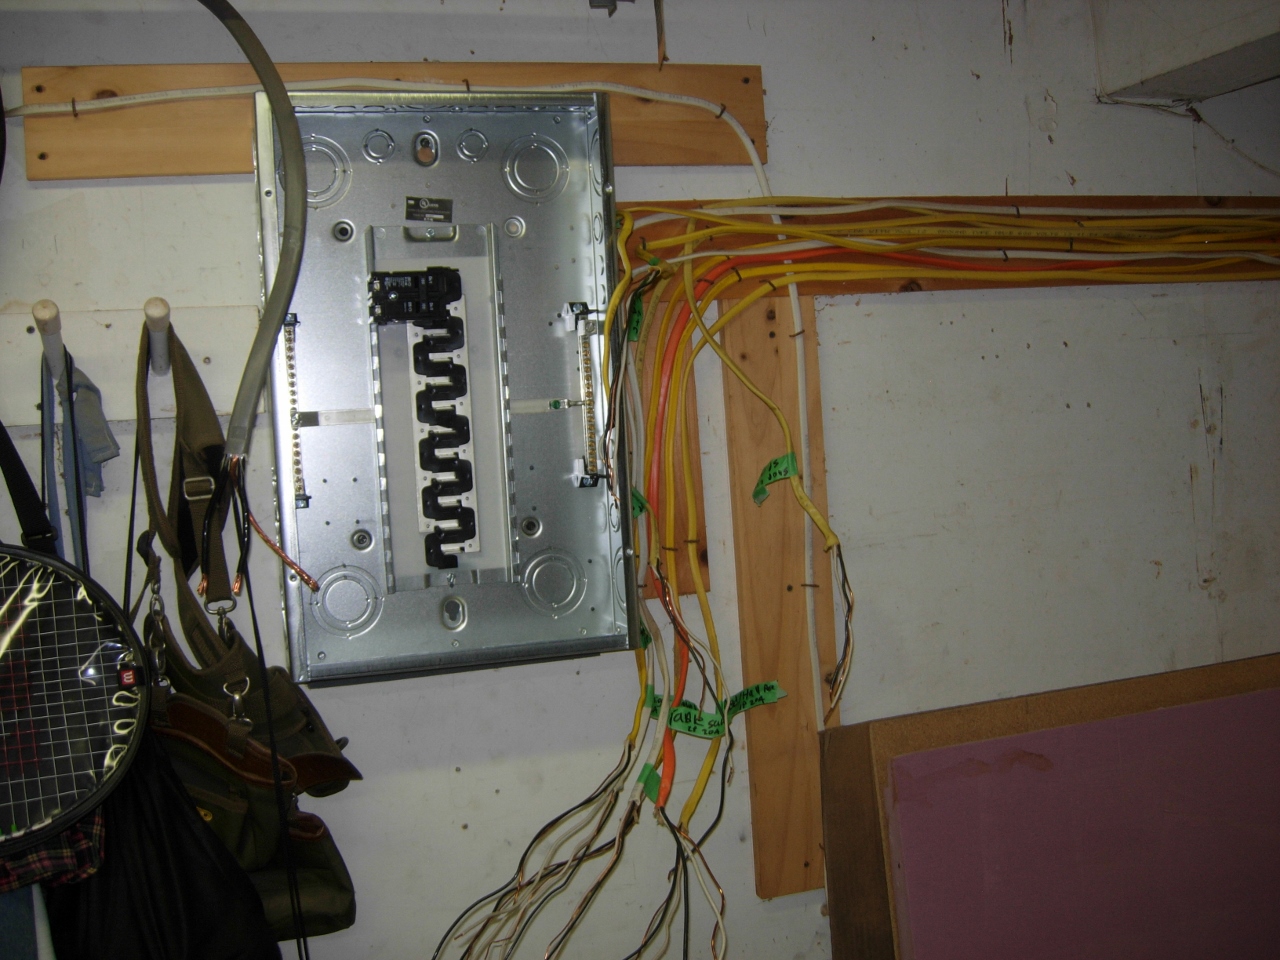
New load center panel installed
I am not the neatest at wiring up a panel, but the county has passed all of my electrical inspections so far.

Panel all wired up
I wired up and tested all of the old circuits, and with one or two minor adjustments, everything was working as well as before.
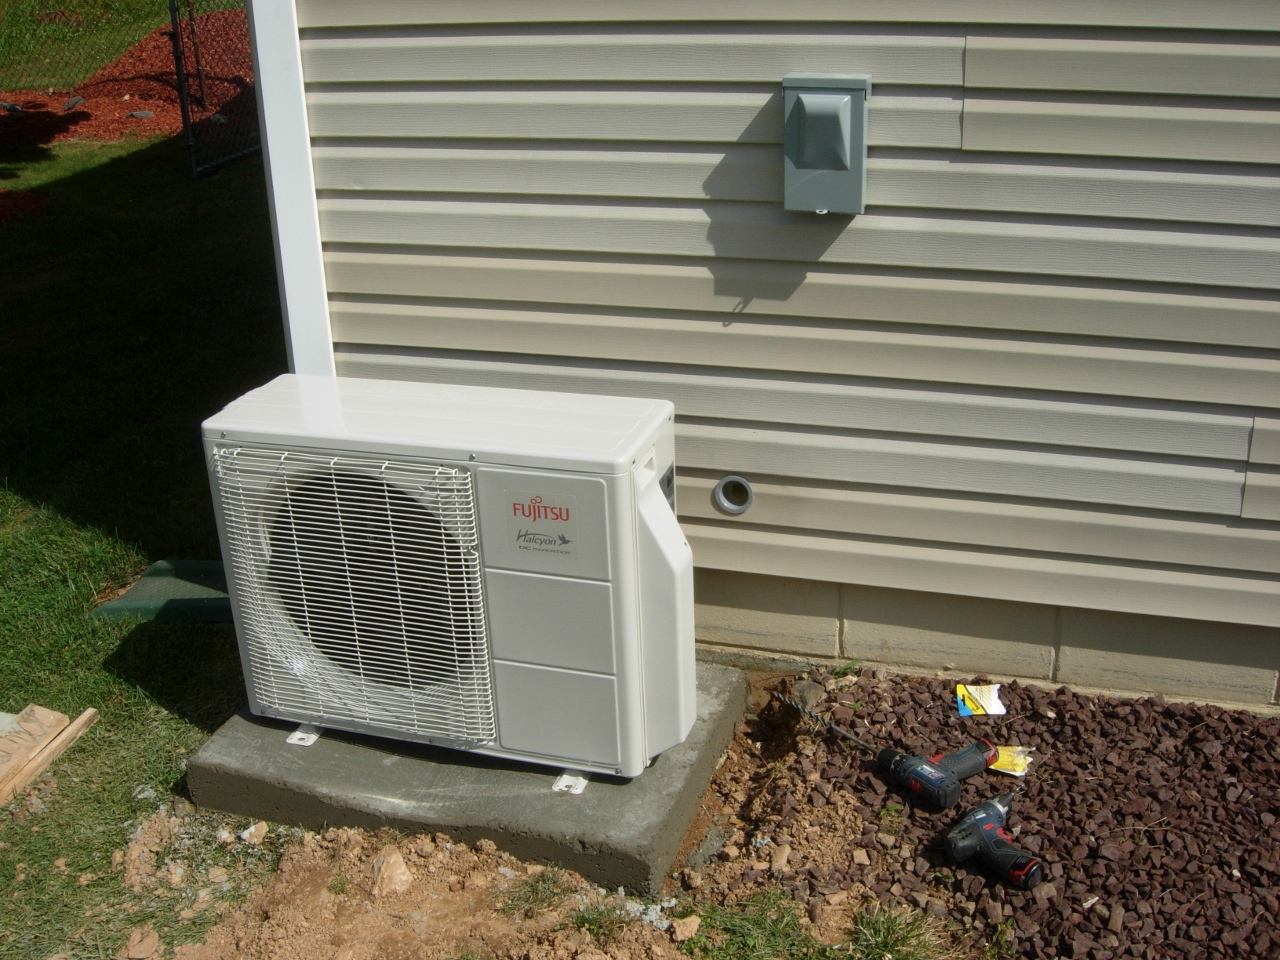
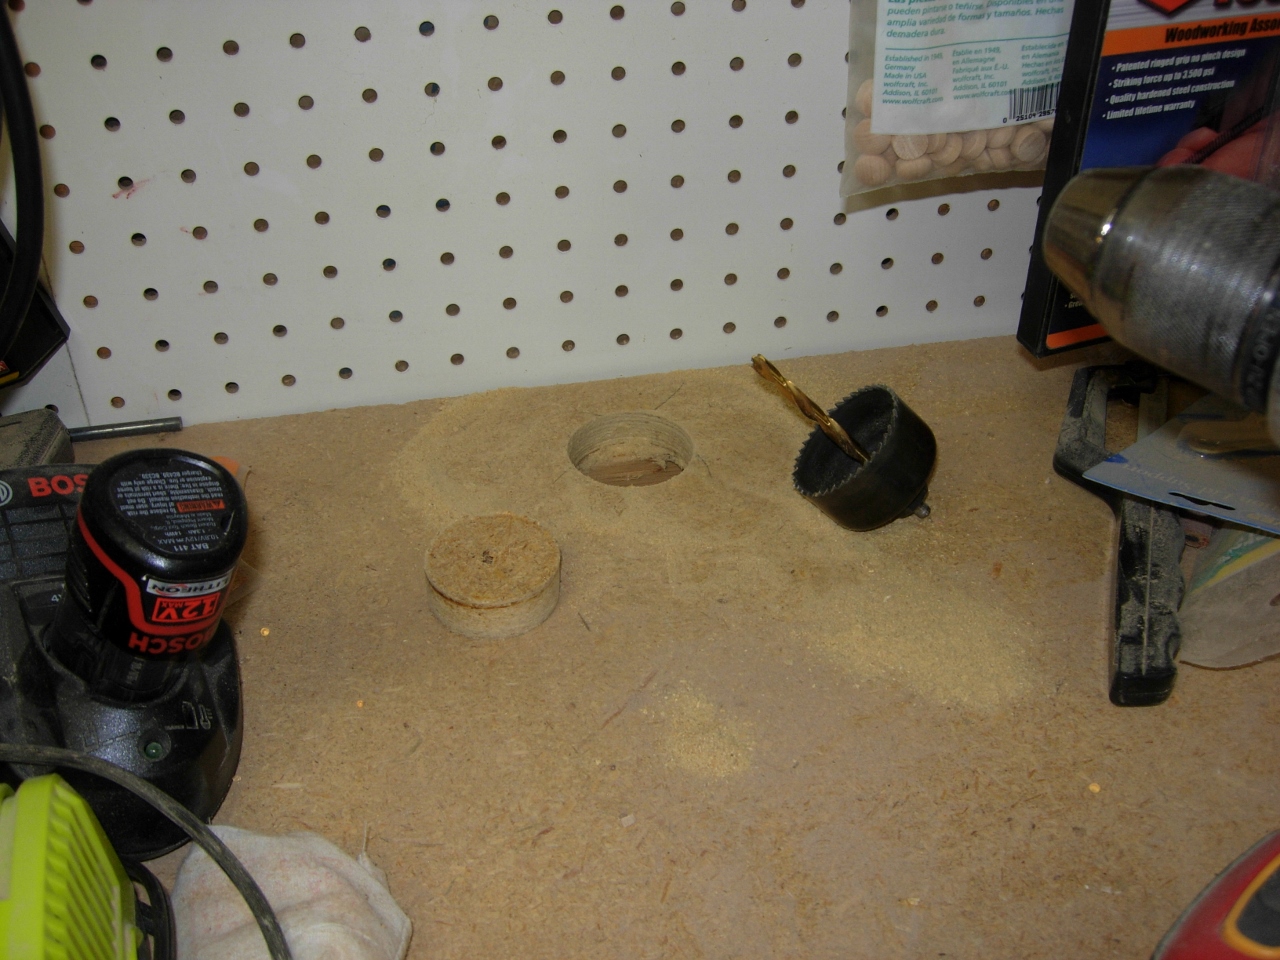
Heat pump set in place and hole cut in outer wall
I set the unit in place, outside, and located the disconnect. I jig-sawed a hole in the wall and sleeved it with a 2″conduit. This will be the hole the power, refrigerant lines, and condensate drain line use.
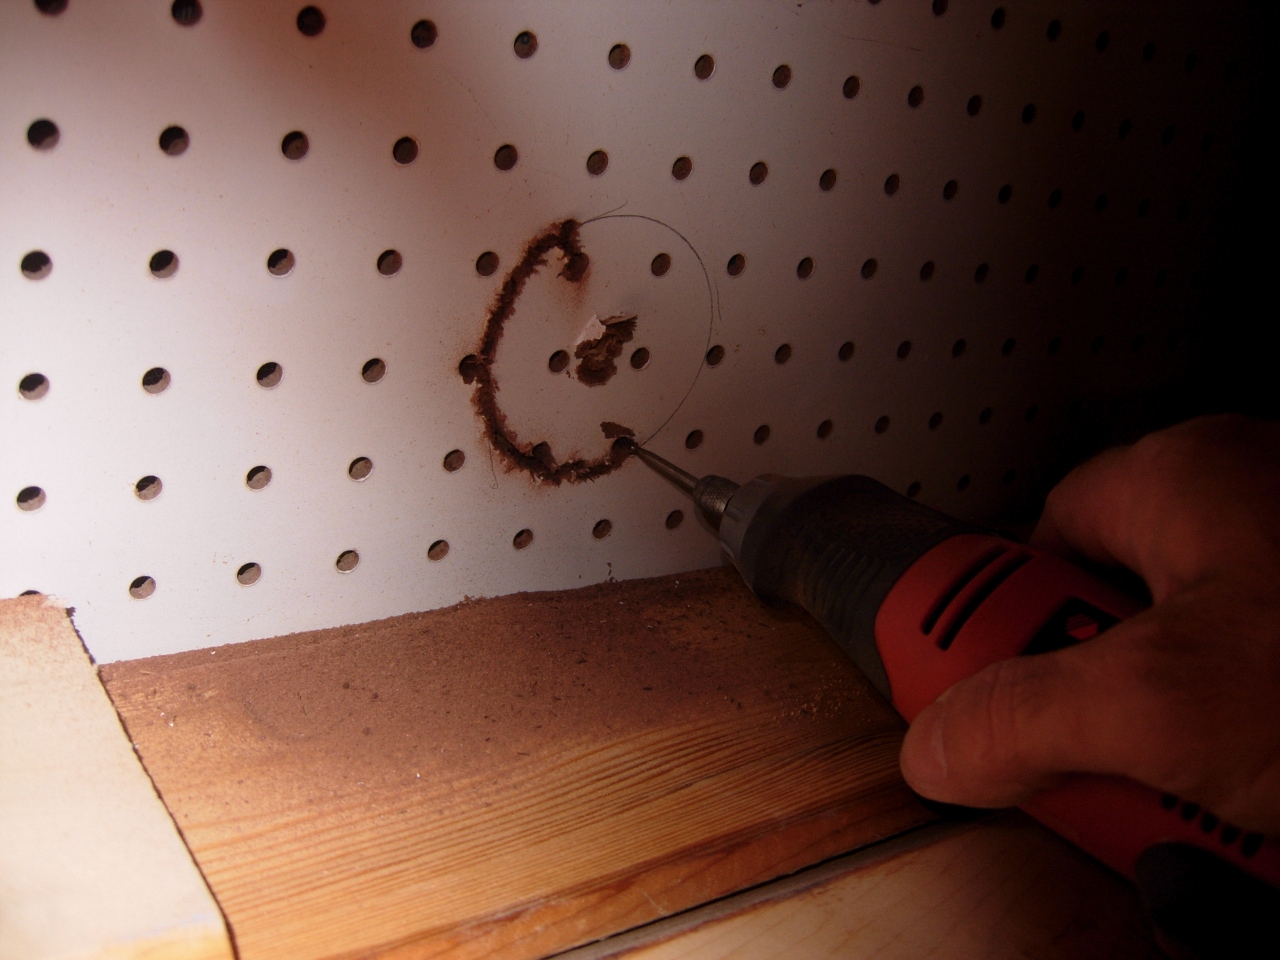
Cutting the penetration on the inside wall
Inside the shop, I cut out the inside penetration hole. It was under my bench in a hard to reach location. I opted to use a dremel tool to do the cutting. A little messy, but effective.

Inserting a conduit sleeve
I installed the sleeve and glued it to the coupling on the outside wall. Next I drilled a hole in the bench and I was ready to run the lines.
Drilling a hole in my bench
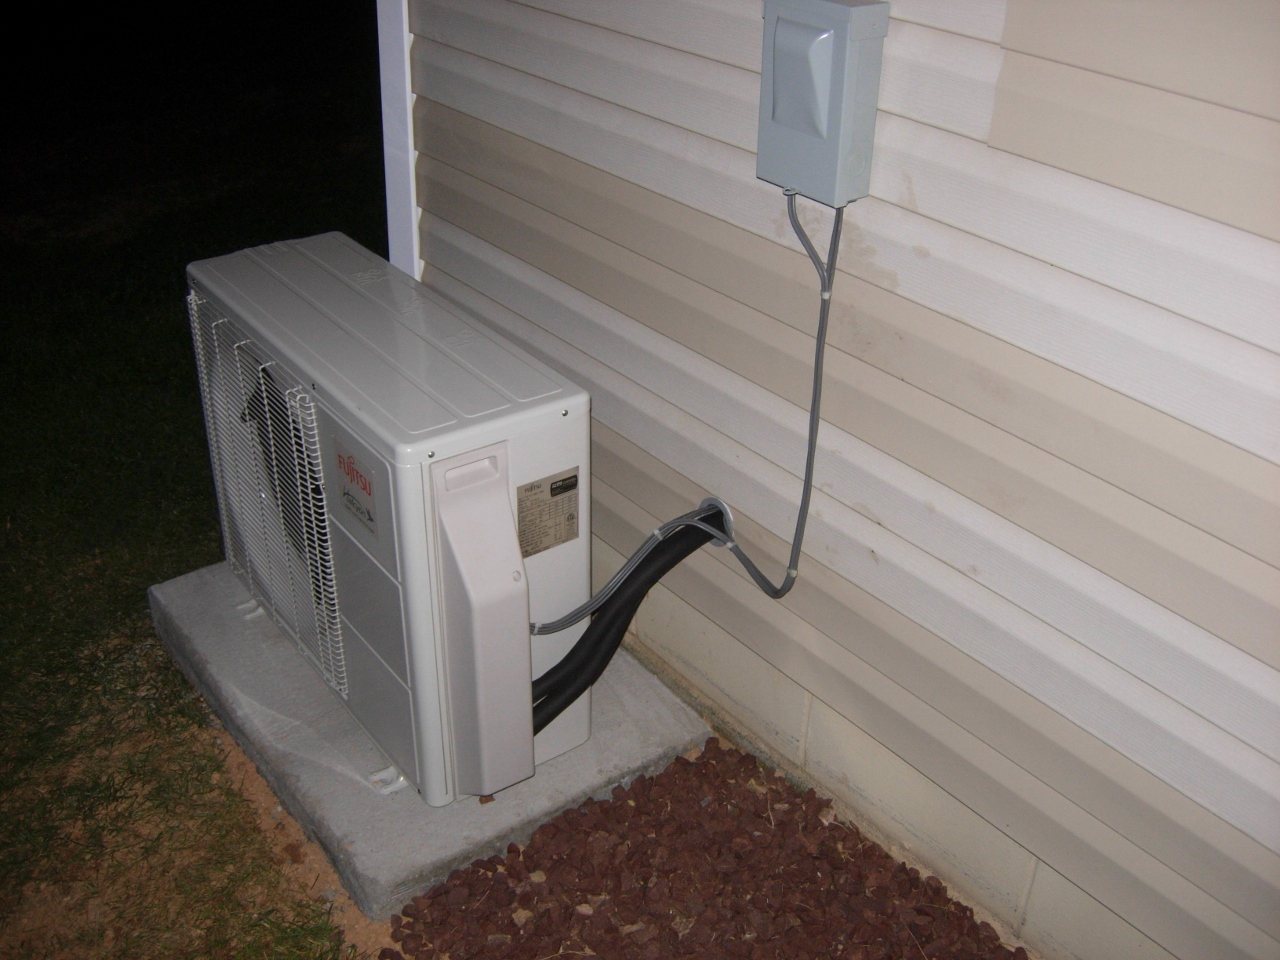
Refrigerant lines and power connected outside
My buddy Dave came over to do the hook up and get everything running last night. The only thing that we forgot to get was the condensate drain line. I will drain it into a bucket today just to test everything out…
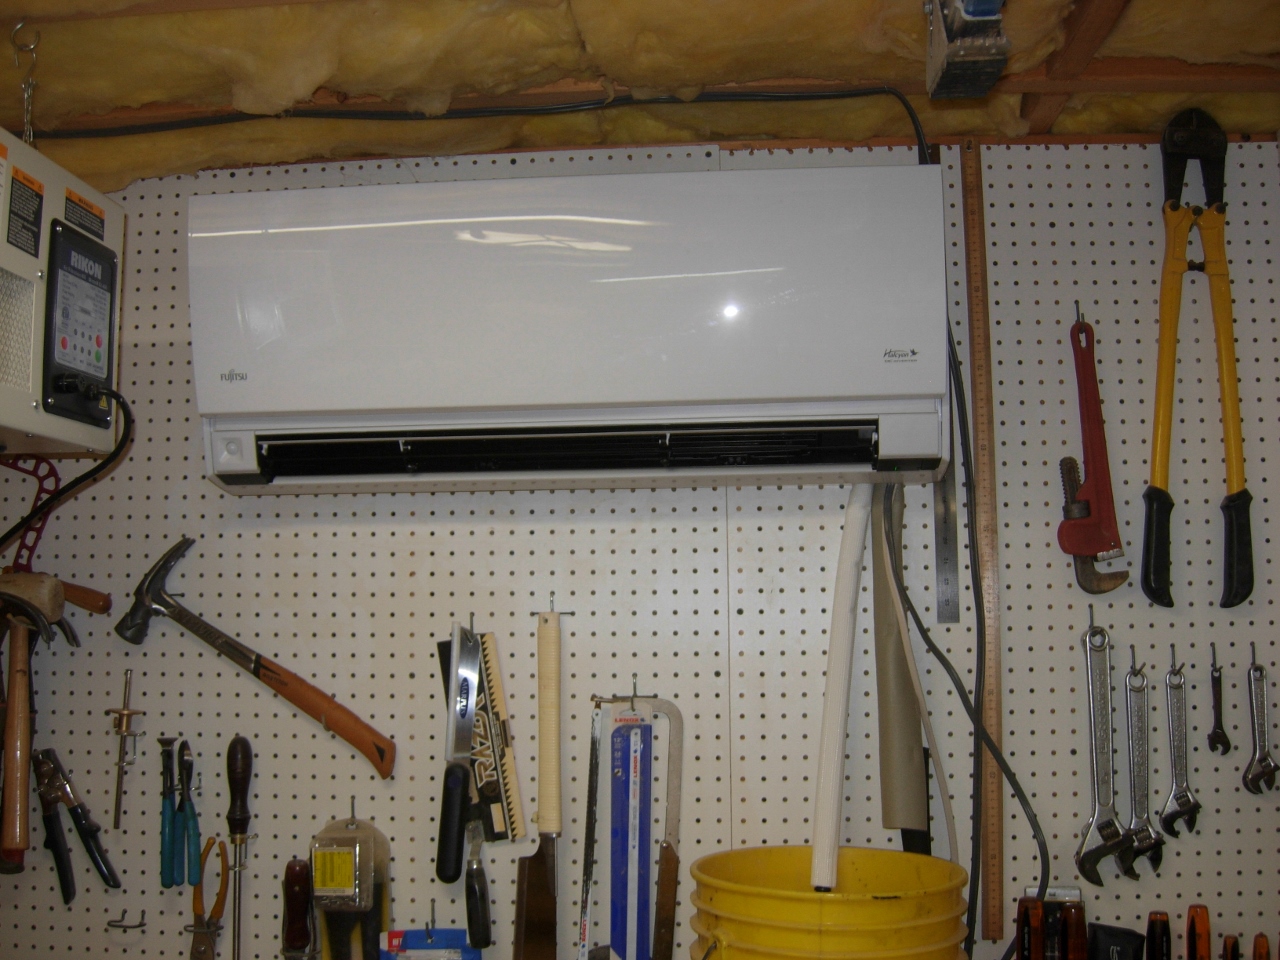
Inside unit connected and running great
I fired this baby up and could barely hear it running. I set the temp to 72 degrees, and within minutes the shop was cooling down. I walked outside to check the outdoor unit, and I couldn’t even hear it running. I still need to connect the drain line, then spray foam the wall penetration, then I think I will box in the lines and wires, running down the wall, and I am done.

Great project, Lawrence. Color me jealous.