
Tabernacle build – day 8
Today I spent several hours working on the banding for the columns. Yesterday, I set up a sacrificial work table and fence on my 12″ miter saw. This tool is way too big to safely cut these little pieces of trim, so I needed the zero clearance functionality of the fence.
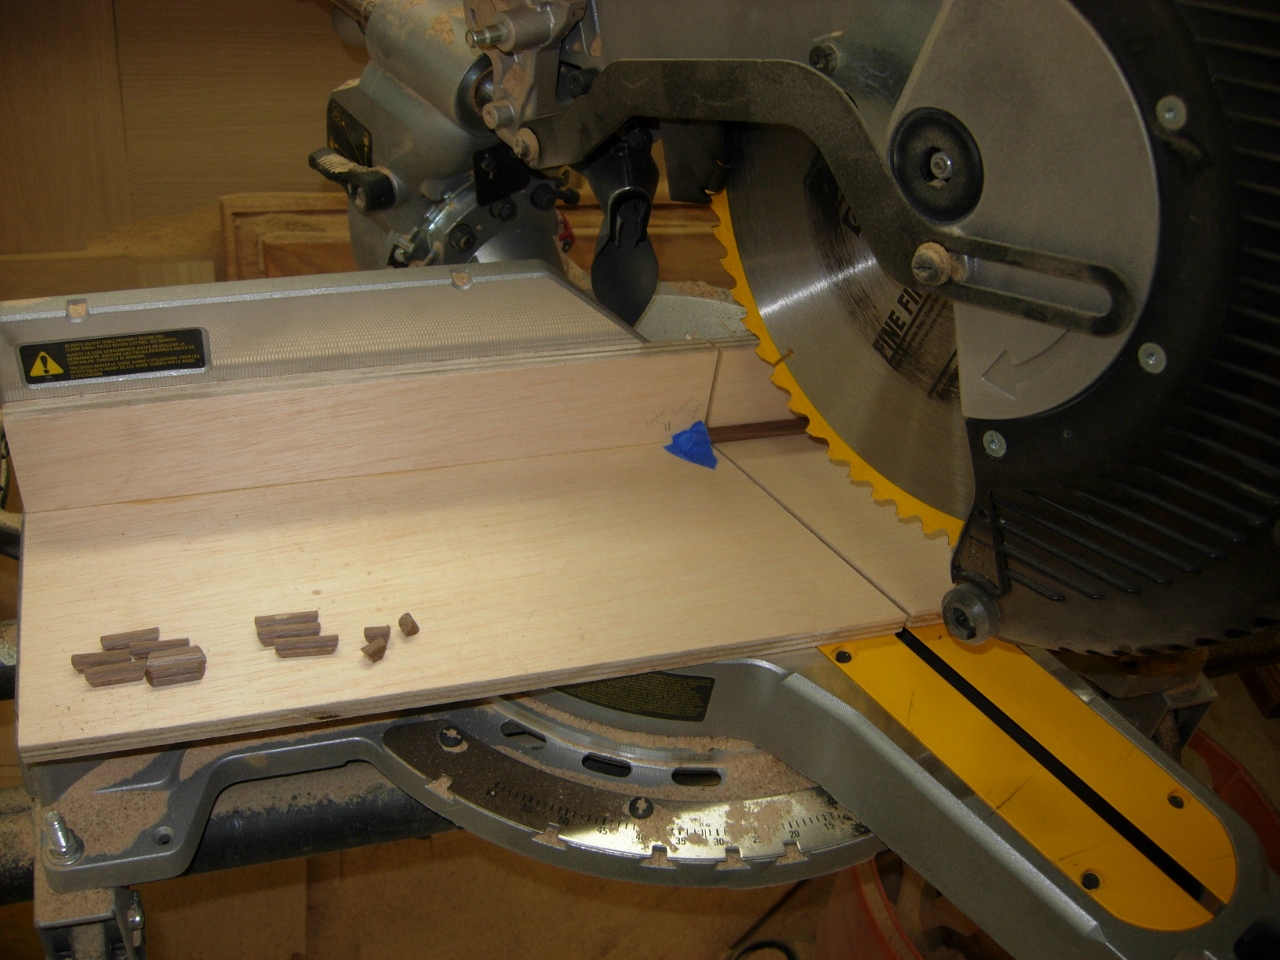
Cutting the banding
I marked the individual lengths on the fence, so it was easy to line up the banding to cut it to the correct size. I wouldn’t use a stop block because it would hold the work too tight to the blade and it would more than likely just kick the piece out. Instead, I used painter’s tape to hold the tiny cut-off pieces loosely in place. I held the longer side of the banding while cutting. Without the tape, the tiny pieces kept shooting away and disappearing.

Tape to retain the little pieces
When I had all my banding cut out, I glued and nailed the three long sides up against the stop block that was clamped on the end.

Pinning the three larger pieces

Micro adjusting the bevel…
I used a sheet of 150 grit paper to micro adjust the length or angle, of the small pieces. Then I applied a drop of glue and held them in place till they set. I think a pin nail would split these. Some of them are down to less than 1/8″ in the inside face.

Press and hold

A dab of CA glue
I added a drop of CA glue to the back side of each column, hoping the glue would seep into the pores and help hold the banding ends on.
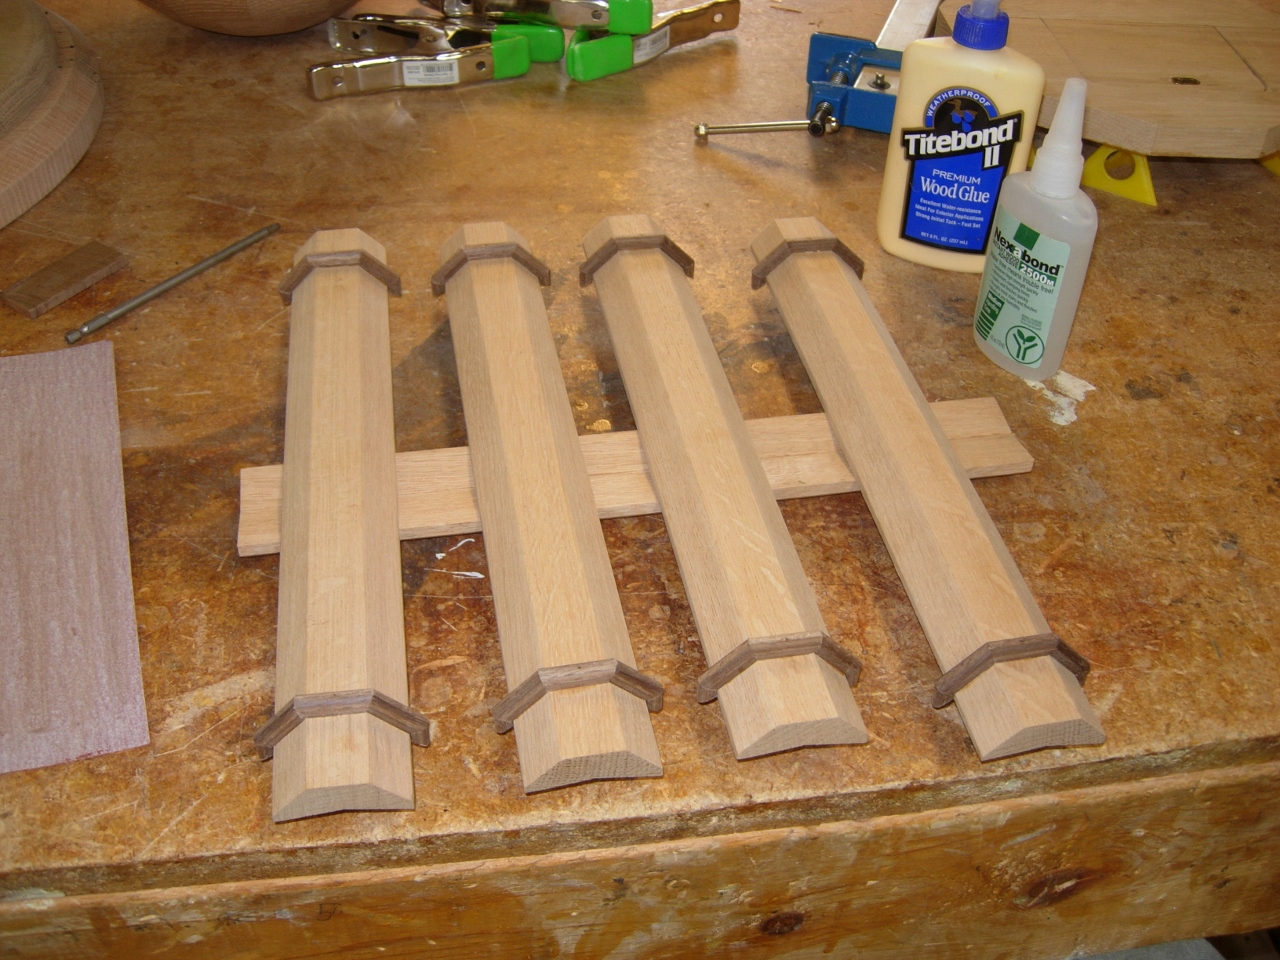
All my columns done
When all four columns were complete and drying, the 22.5 degree angles, I cut on the end of the banding, did not match the radius of the cabinet body. I merely laid the sheet of sand paper on the body and ran the entire half column back and forth until the proper radius was sanded into place.

Sanding the banding to match the curves
I am honestly surprised that I was able to cut these tiny pieces of banding and apply them. They turned out pretty good. Tomorrow, I plan on finish sanding the banding joints, and maybe attaching the columns.
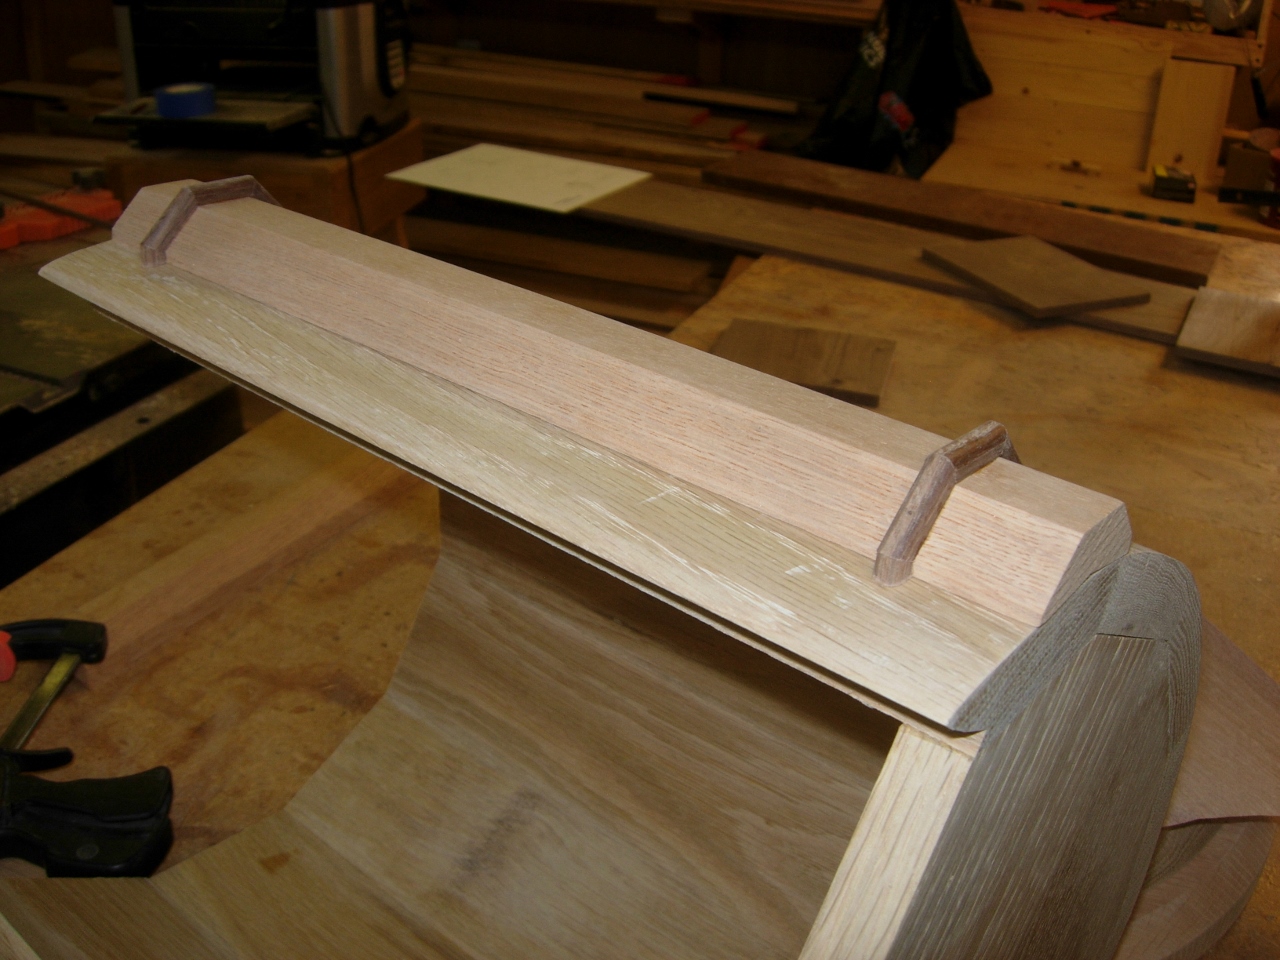
Nearly perfect fit
When I got tired of working on columns, I sat down at the computer and started working on the door panel. After a couple of hours of wrestling with the software for the Carvewright CNC router, this is what I came up with.
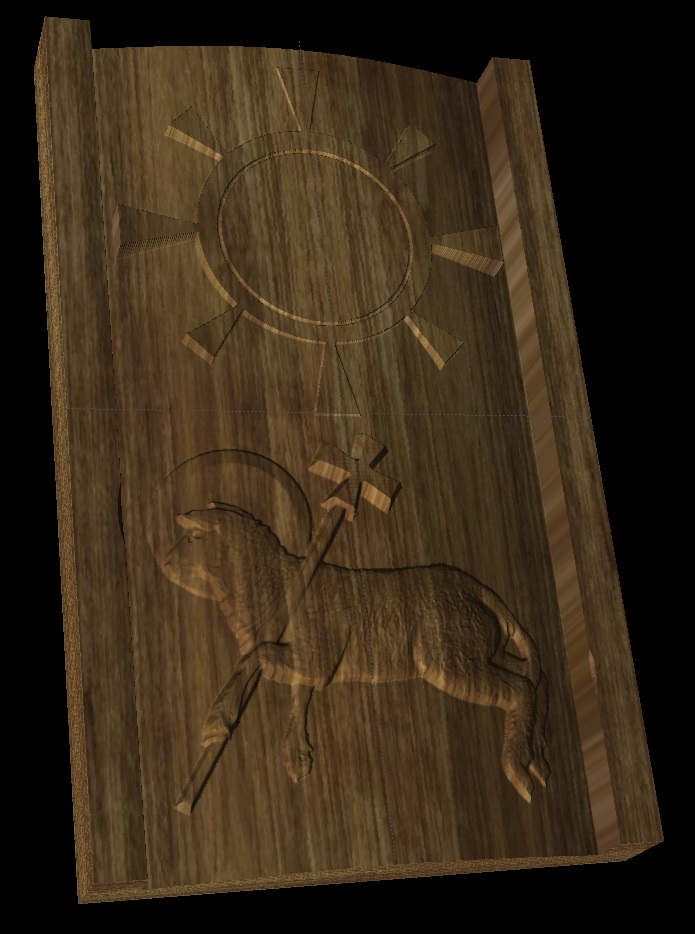
My current door concept
I plan to join up a 1-1/2″ thick panel and carve the relief and the door radius, all in one program. It will take about 6 hours to carve it on the CNC.
