
Tabernacle build – day 5
I started the day trying to figure out what to do with the ugly inside of the dome. I didn’t feel comfortable trying to turn the inside. With the outside turning out so nice, I really didn’t want to mess anything up.
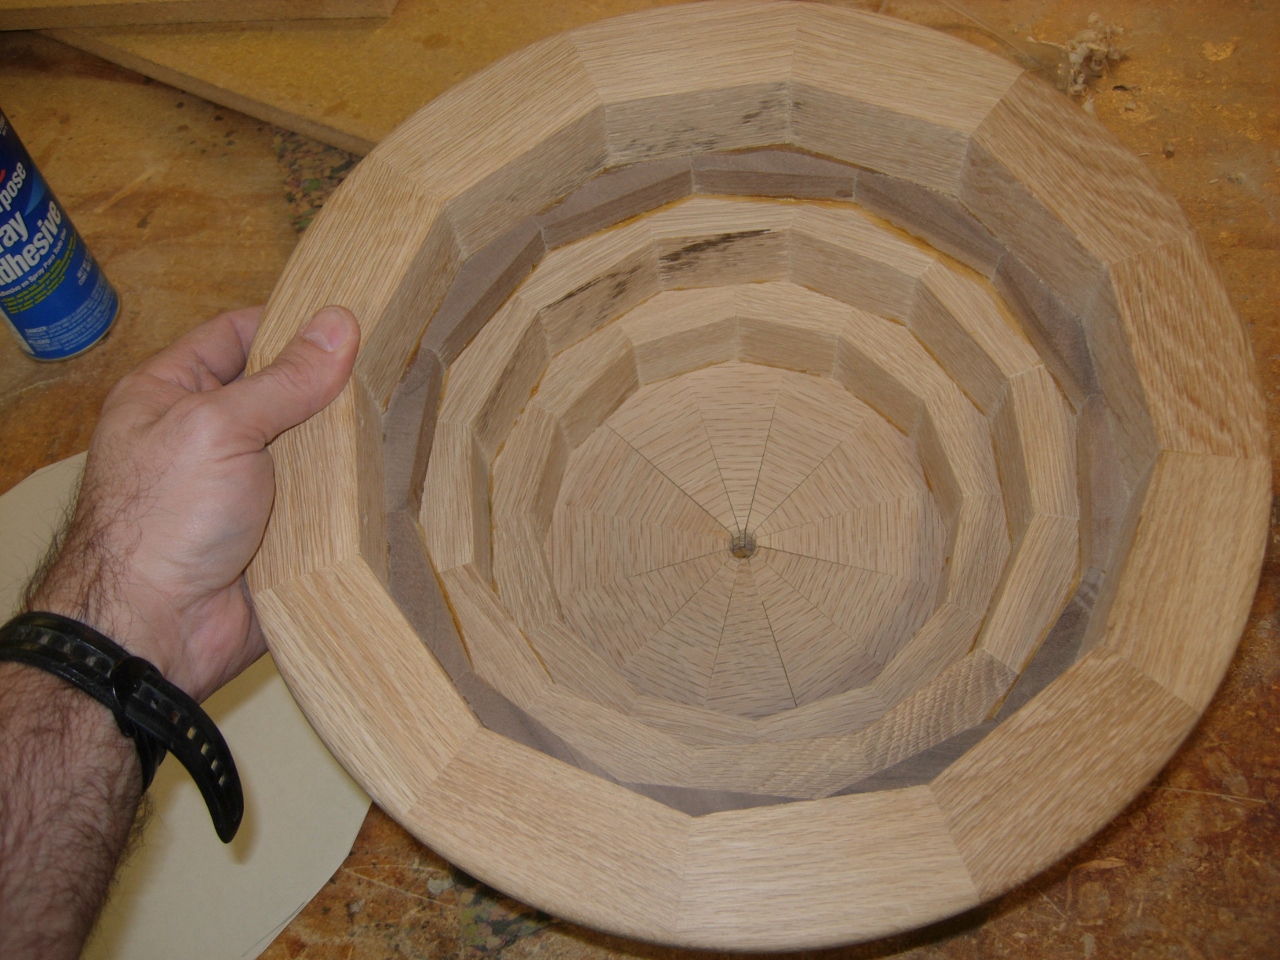
Unattractive inside
I decided to plate off the opening and install a small door with a lock. Everybody needs a hidden compartment, right?
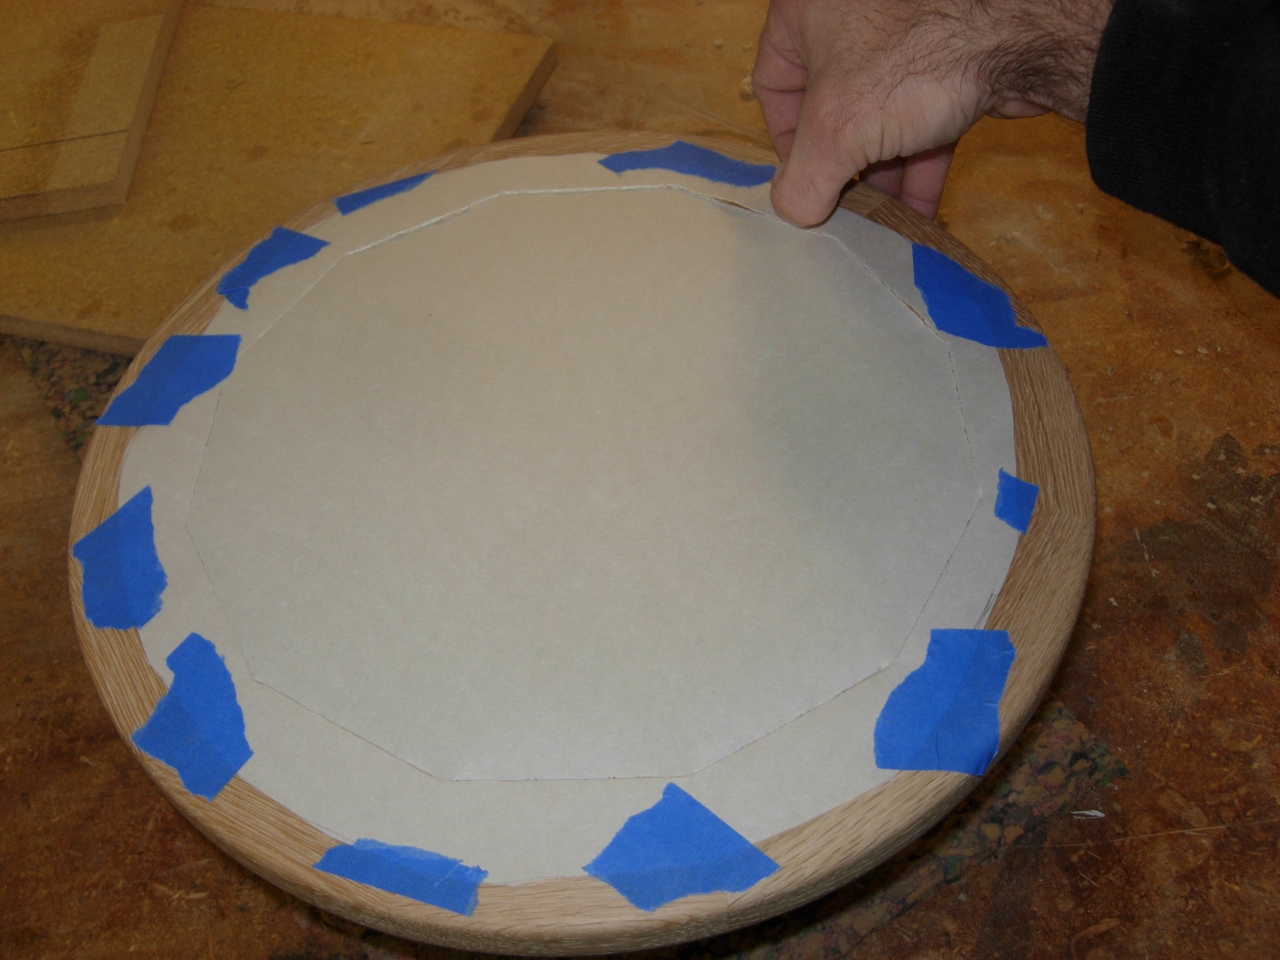
Making a pattern
Since I can’t trace the inside of the dome to get a pattern for the plate, I taped a piece of paper tightly across the mouth and traced the inside edge with a moderately sharp finger nail. This cut the paper into a pattern, exactly the size of the inside of the opening. I set that aside for now because I need to glue up some boards for the base and the plate for the dome.
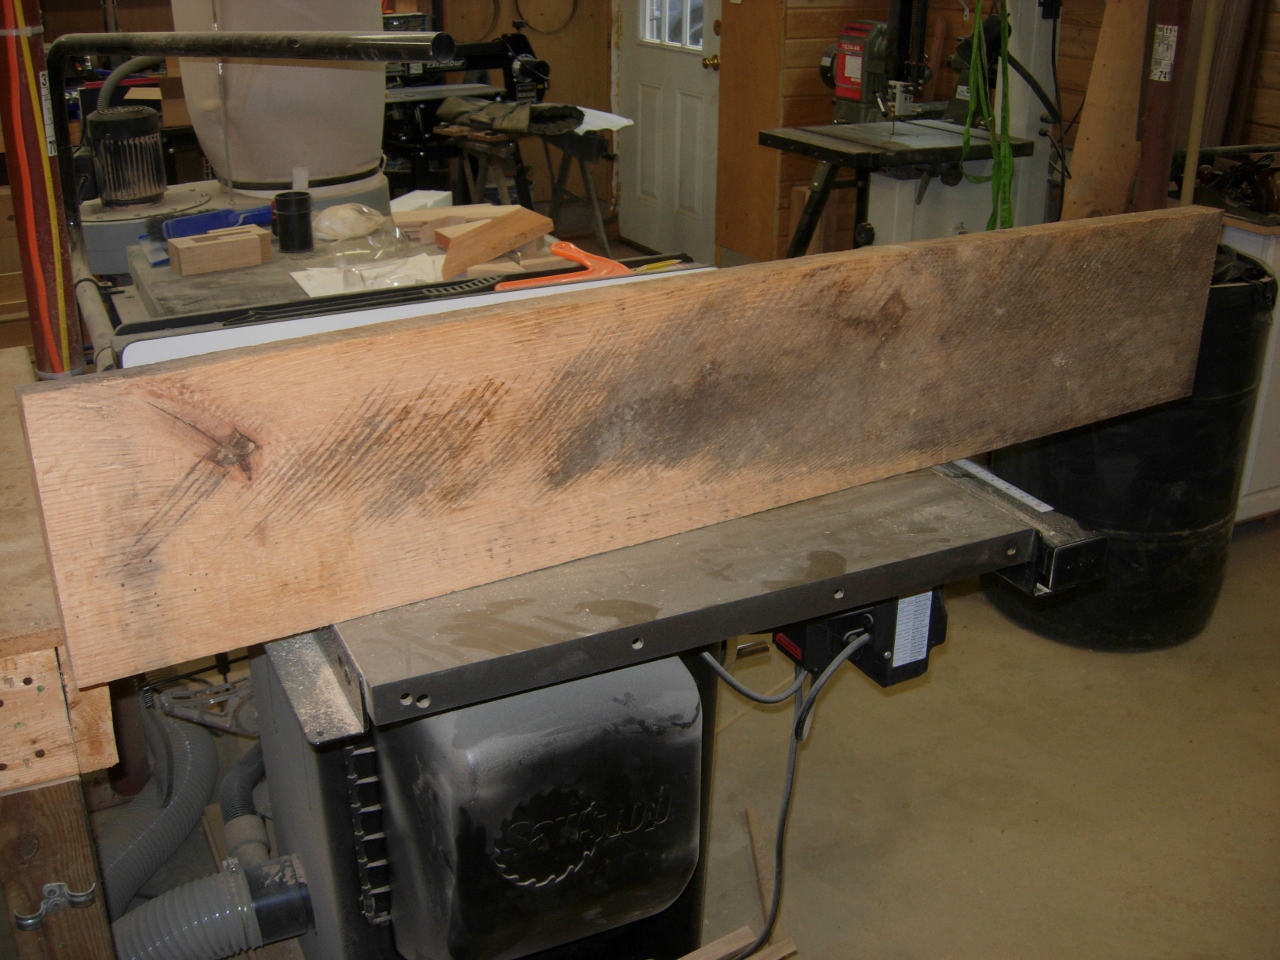
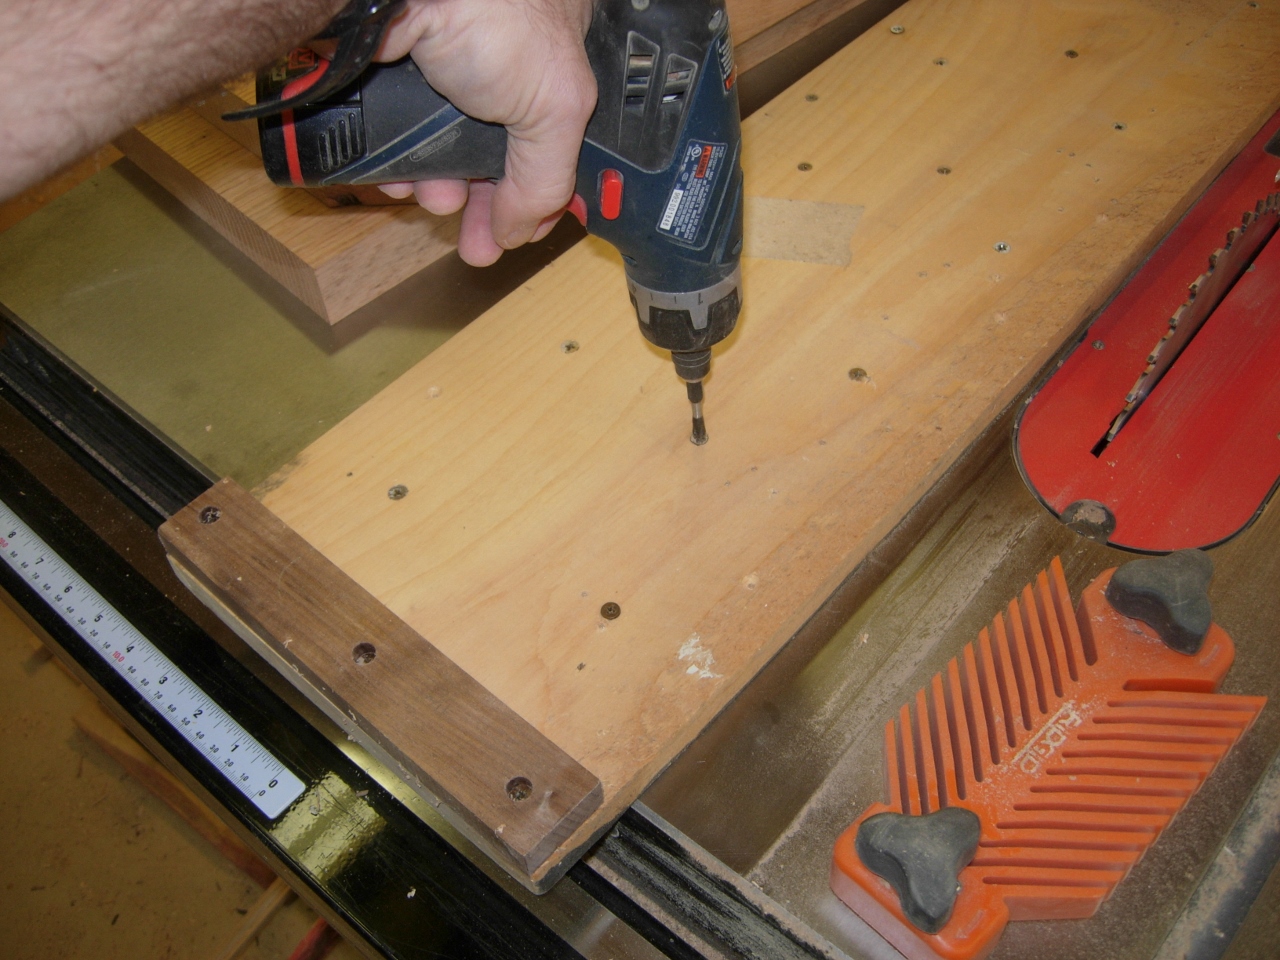
Ugly piece of 6/4
For the lower base, I combed through my wood pile until I found a small piece of 6/4 oak. It was a bit ugly, but that is what the planer is for. I ran it through the table saw to clean up the edges, then cut it in half and ran both pieces through the planer.
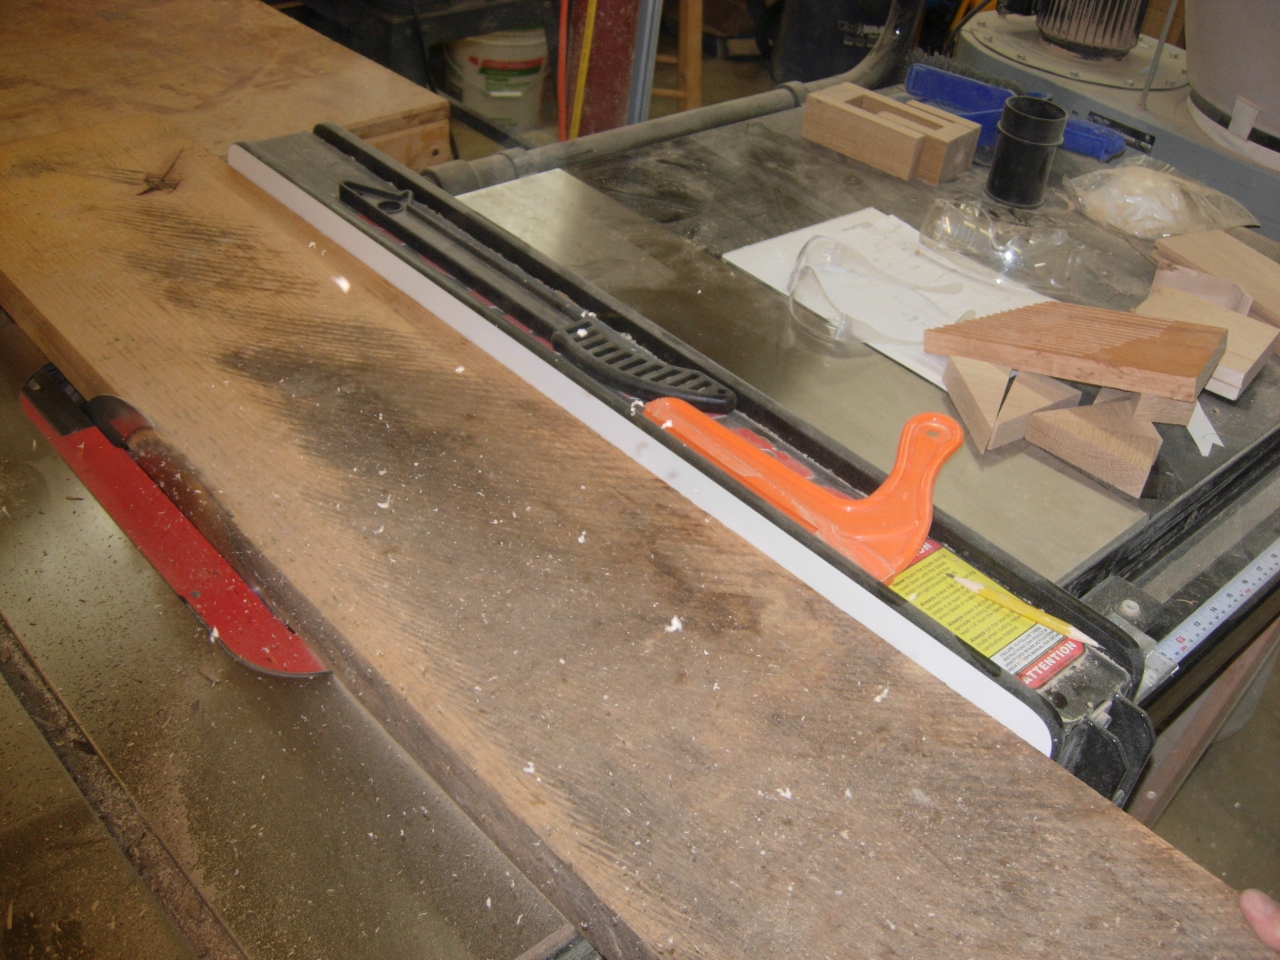
Cleaning up the edges

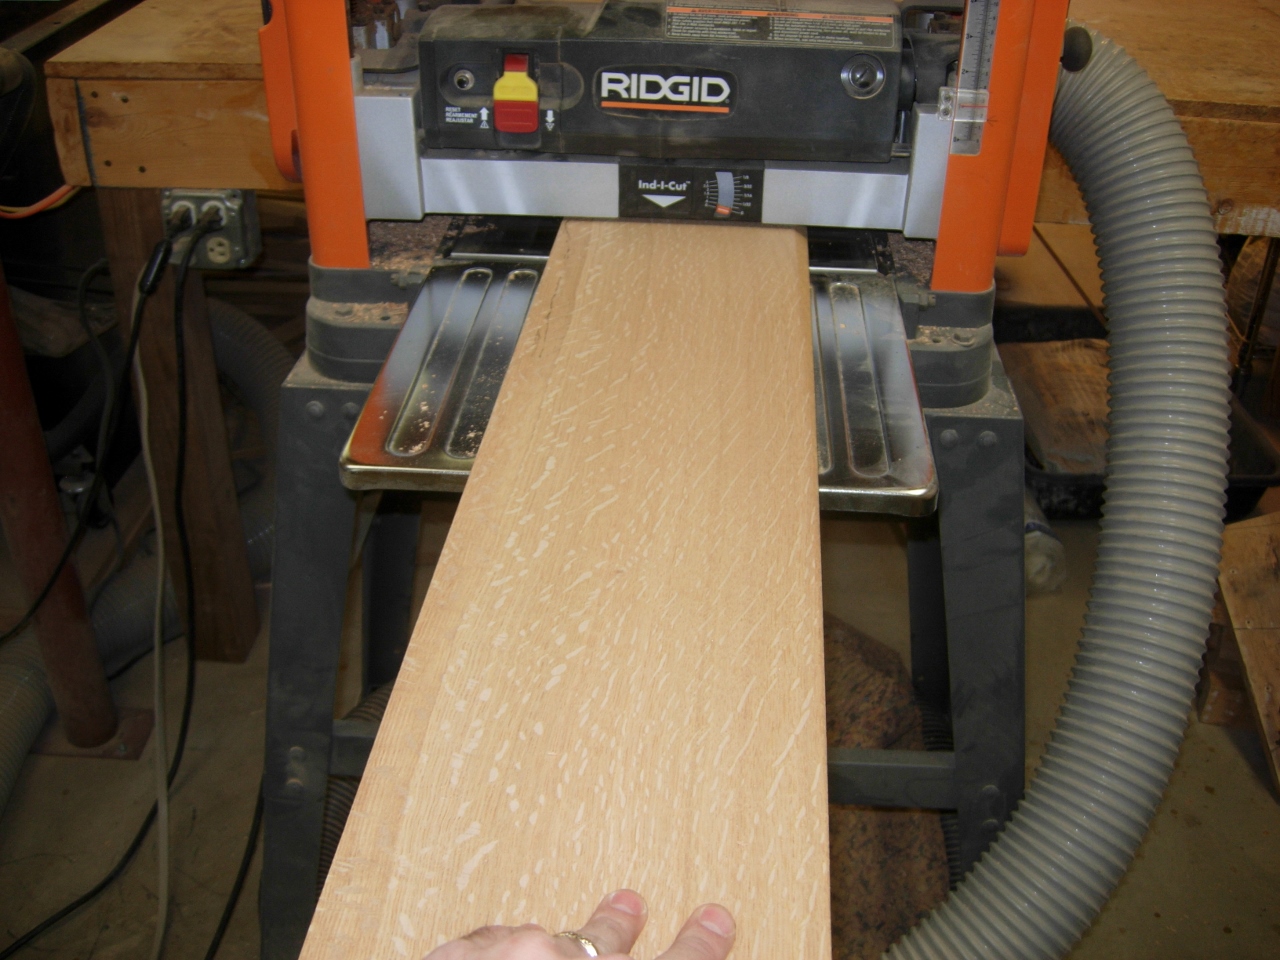
Planed, but not flat
When I laid them together, I noticed that one had a twist. I have dealt with this problem before. I have a home-made sled with a bunch of screws in it at random locations, and a cleat at the end. I found the low points on my board and adjusted the screws to meet them.
adjusting the sled elevation points
This supports the board so the rollers, in the planer, don’t press the bend out of it. It forces the high spots to stay up and get planed off. After a pass or two, one side is flat. Then it is a simple matter of flipping the board over and running it through, without the sled, to flatten the other side.

Planing the board flatter
The board is a lot flatter now.

Much better
While I was planing, I planed down a 1″ board for the upper base.
Planing a piece for the second base layer
I also cut two boards to eventually glue up to make the plate for the dome.
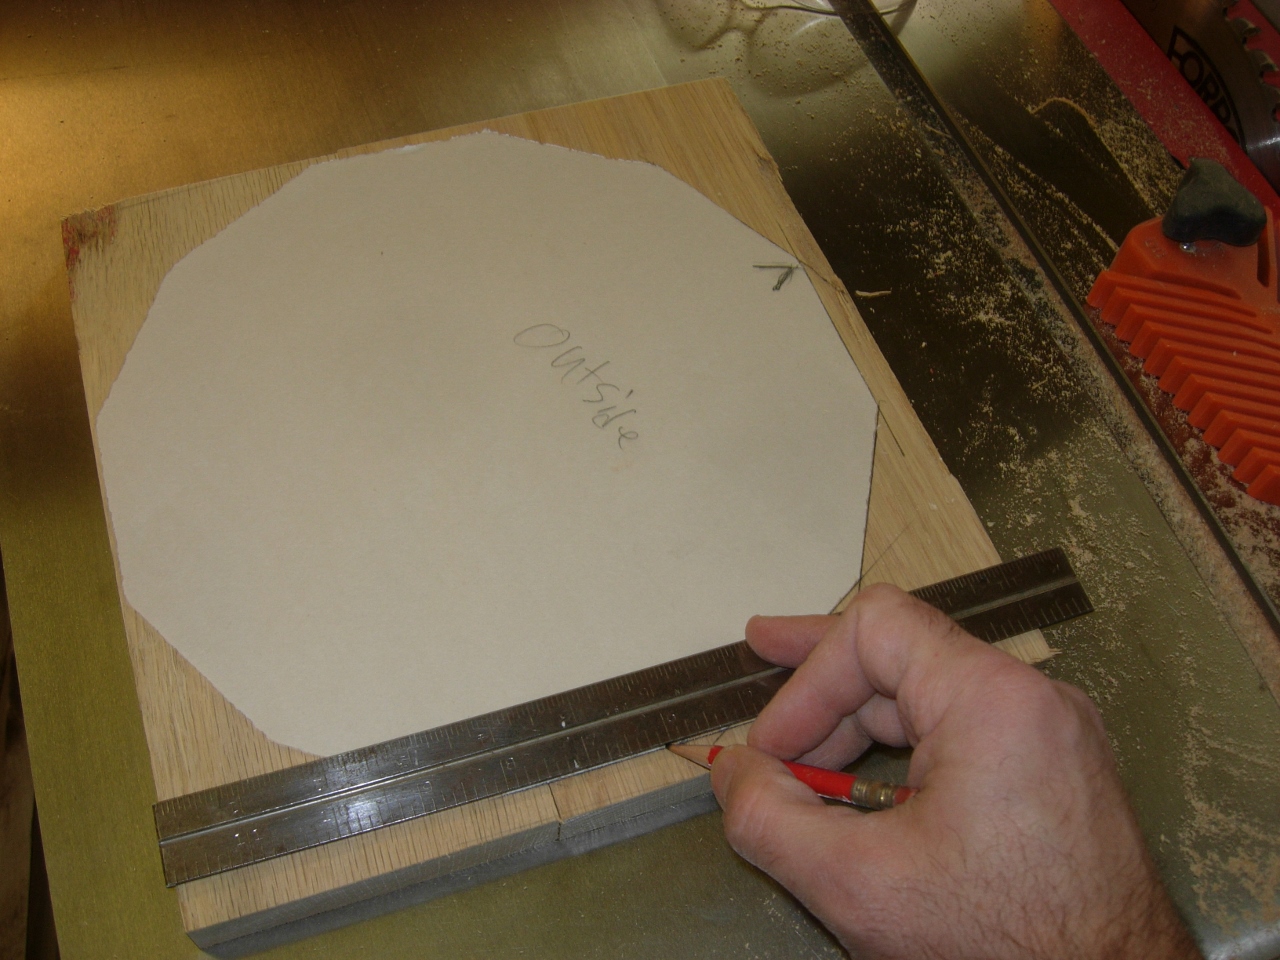
Tracing the pattern
Using a straight edge, I laid out the polygon for later cutting.
Glueing up the lower base
I glued and clamped the base pieces, but not the dome plate.

Both bases clamped and drying
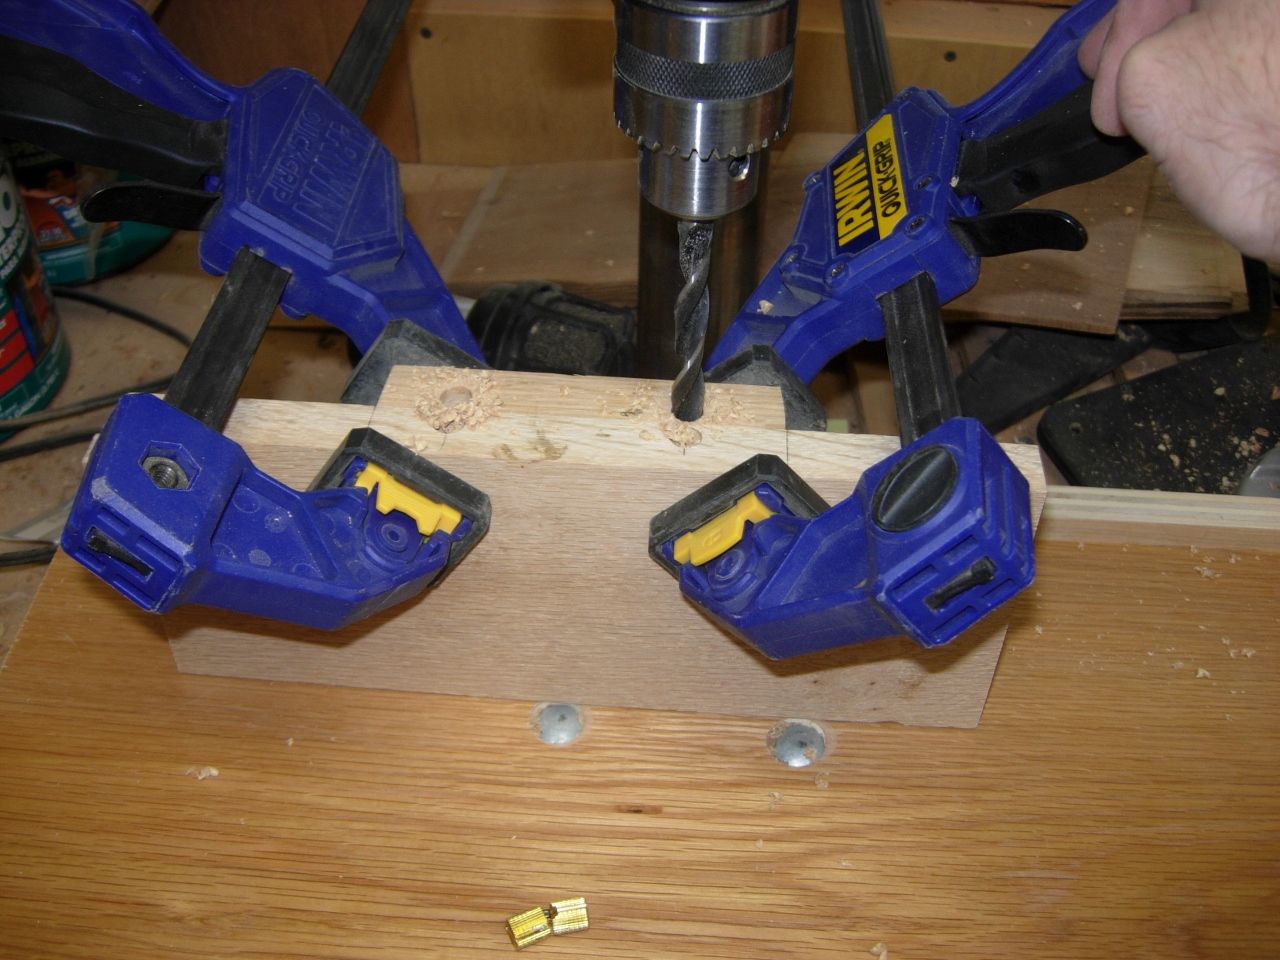
I took out the hardware, that I had, for the hidden door. I laid it out to get a feel for the size of the door. After drawing the door onto the larger of the two boards, I took it over to the new scroll saw.

Hardware for the hidden door

Using the Excalibur for the first time
I cut the door out, staying fairly close to the line… I was amazed at the finish of the cut. It was as smooth as anything that has come off of my plane. No sanding required at all.

Cuts so clean, no need to sand

Cutting a back angle
Since this door will swing open, I decided to cut a back-angle around the edge. This should allow the door to open and close without leaving a large gap. The Excalibur has a cool feature, the cutting arm rotates, not the table.
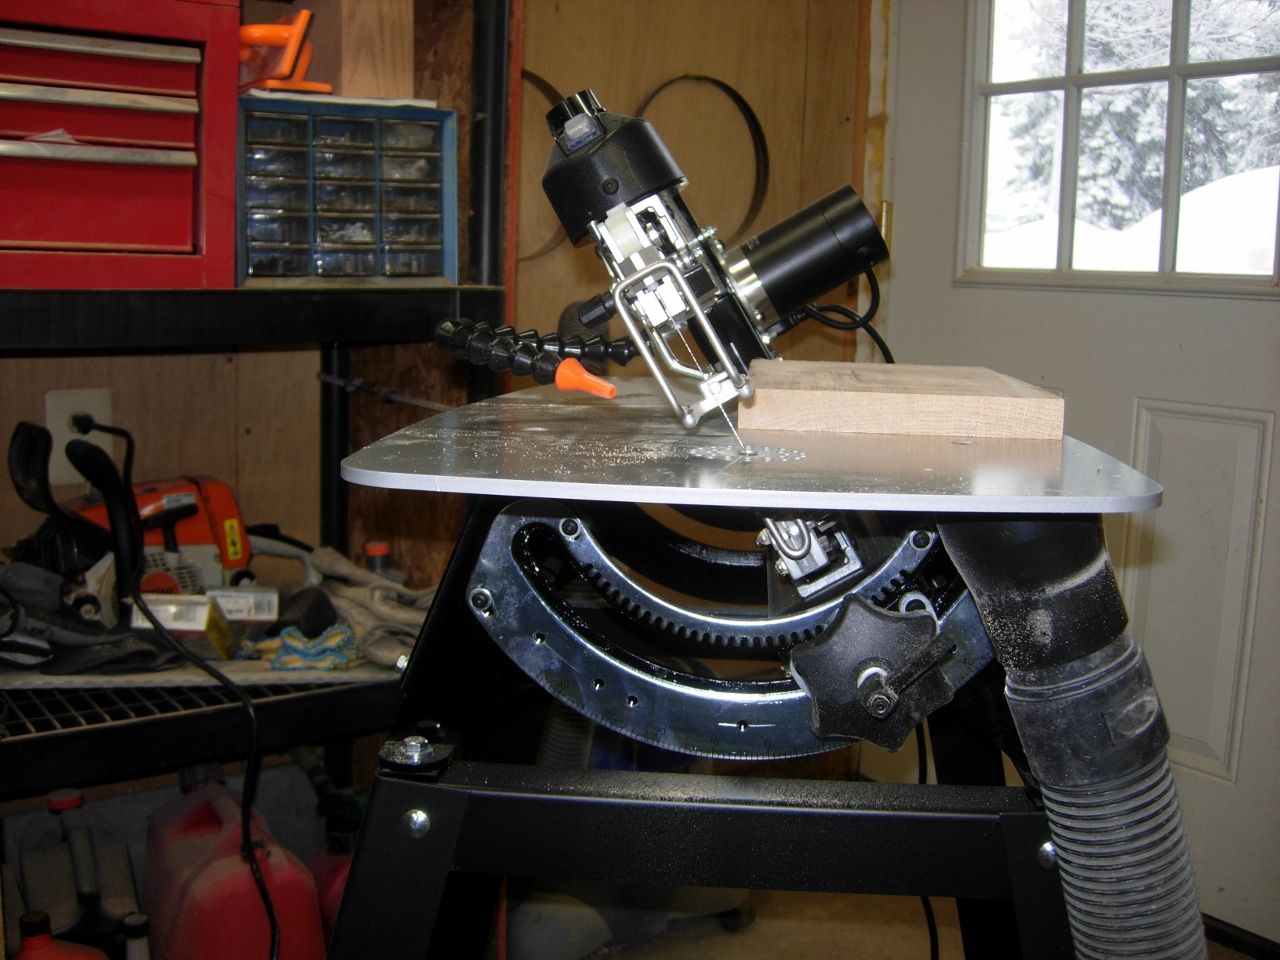
Head tilts, not the table

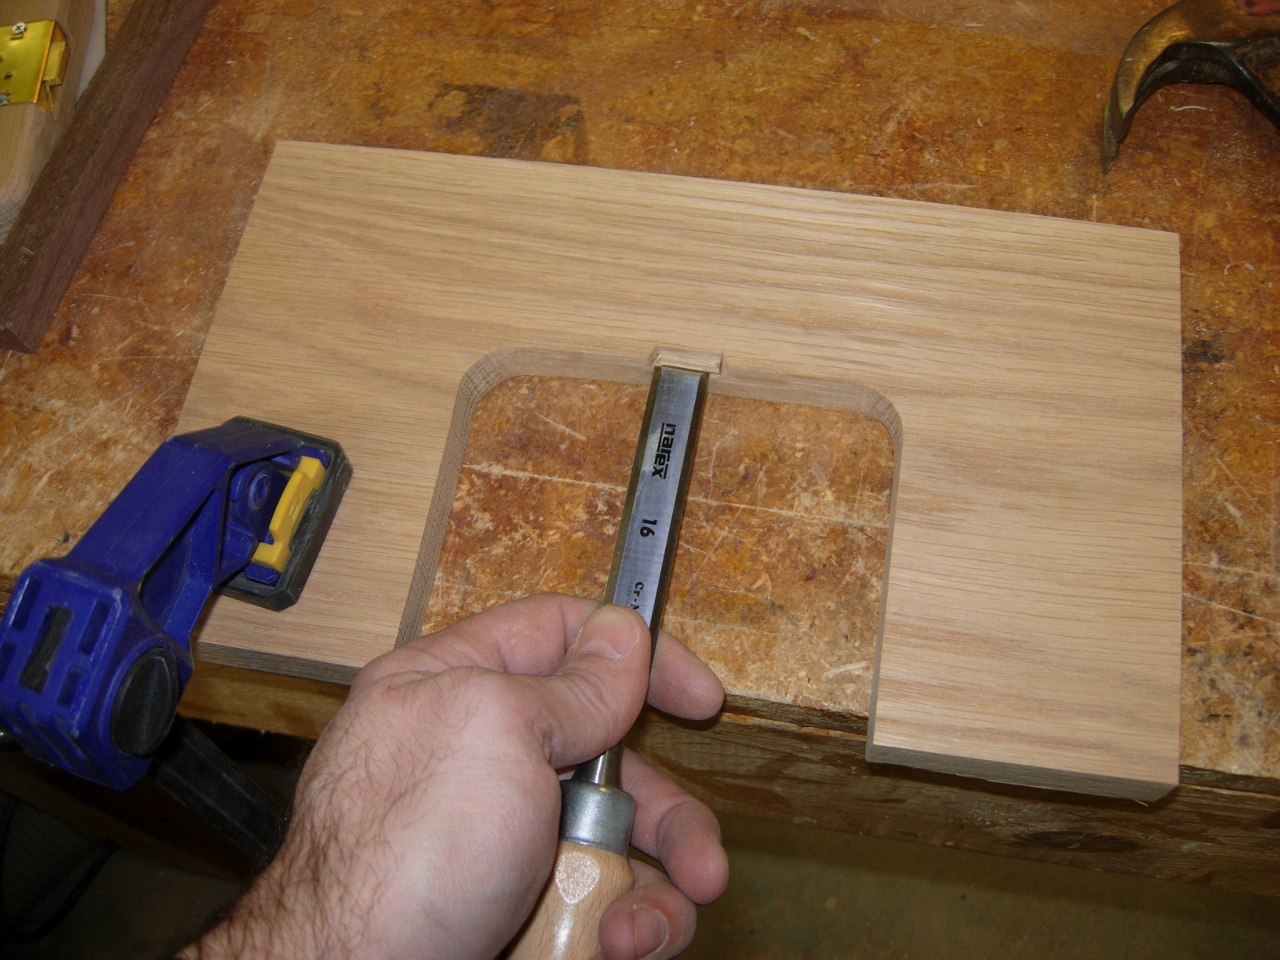
Cutting the lock pocket
I traced the lock out on the bottom side of the door and slowly chiseled out the pocket.

Pocket cut out
After drilling the center of the keyhole, I flipped the door over and drilled out a pocket for the escutcheon.
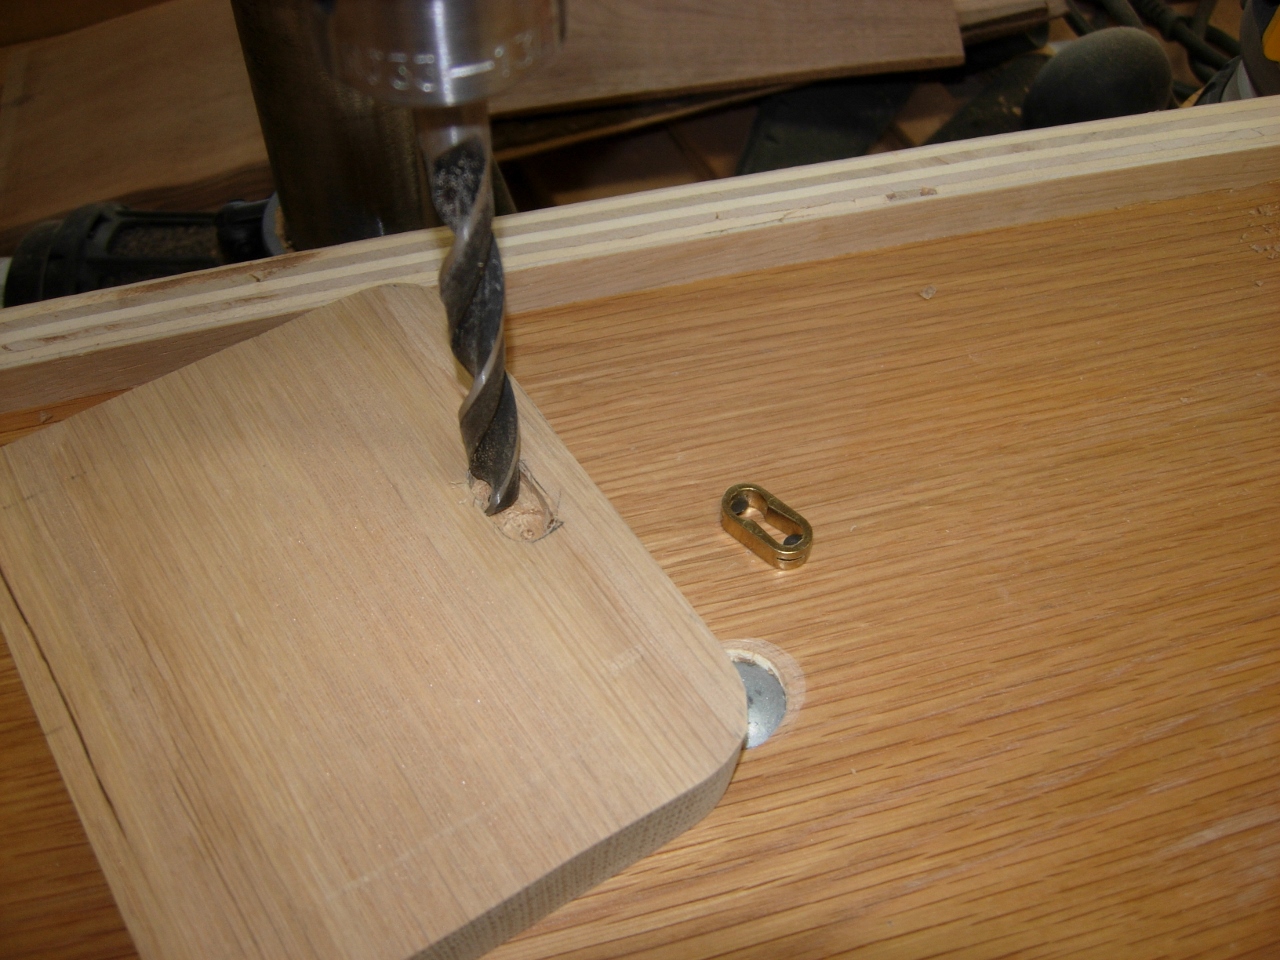
Drilling out the escutcheon pocket
Crap!
Unfortunately, I placed it backwards. I can’t flip the lock around, so I had to extend the slot, then make a plug to fill the side that I messed up.
Cutting a plug…

Plug glued and drying
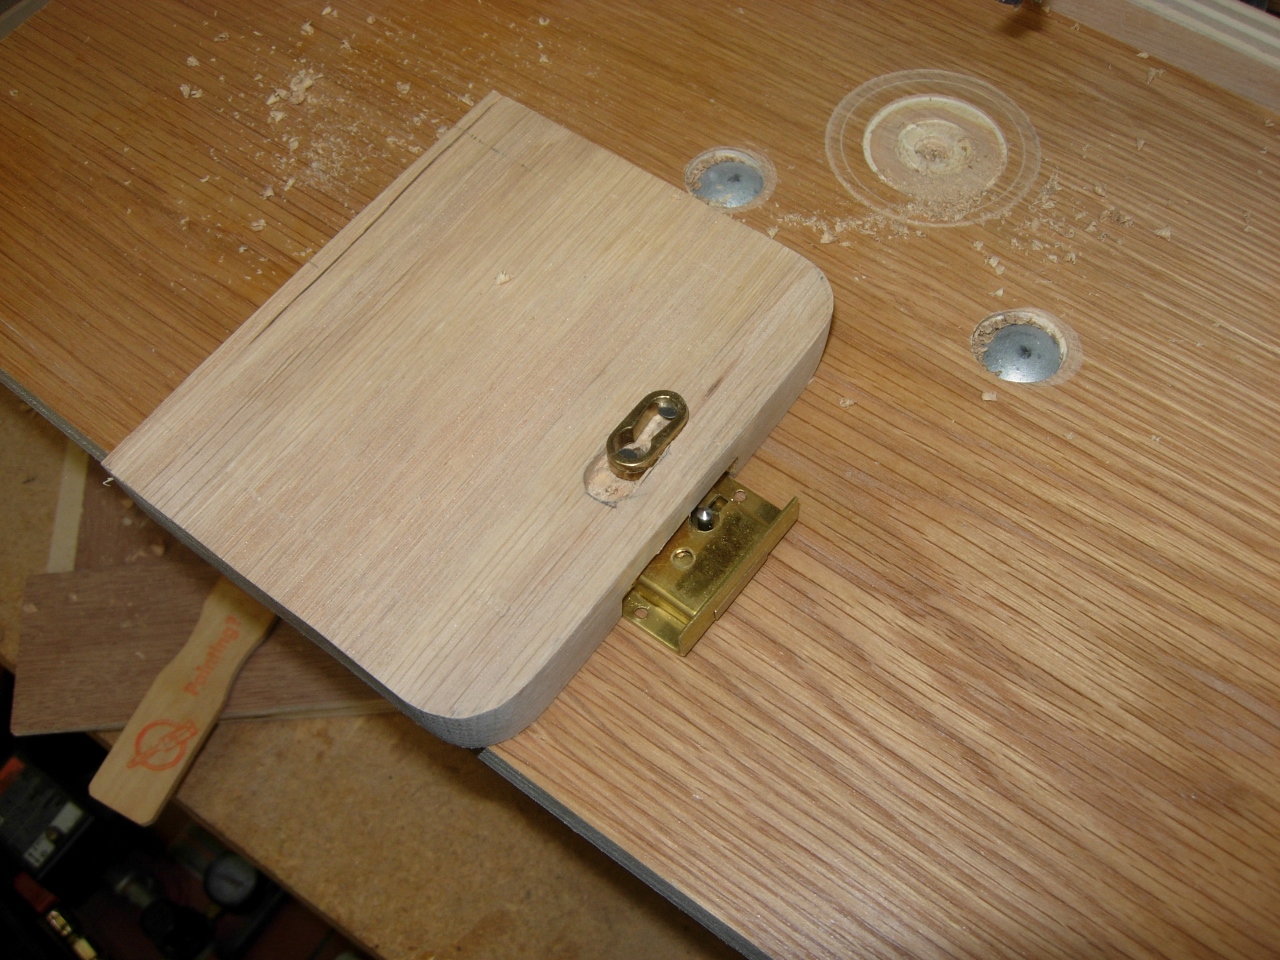
I glued the plug in, clamped it, and let it dry. I cut it down with a flush cut saw, then installed the escutchion. I would probably remake the door if this was in a highly visible area, but it will be inside the tabernacle, and seldom seen.

Passable repair for a hidden door
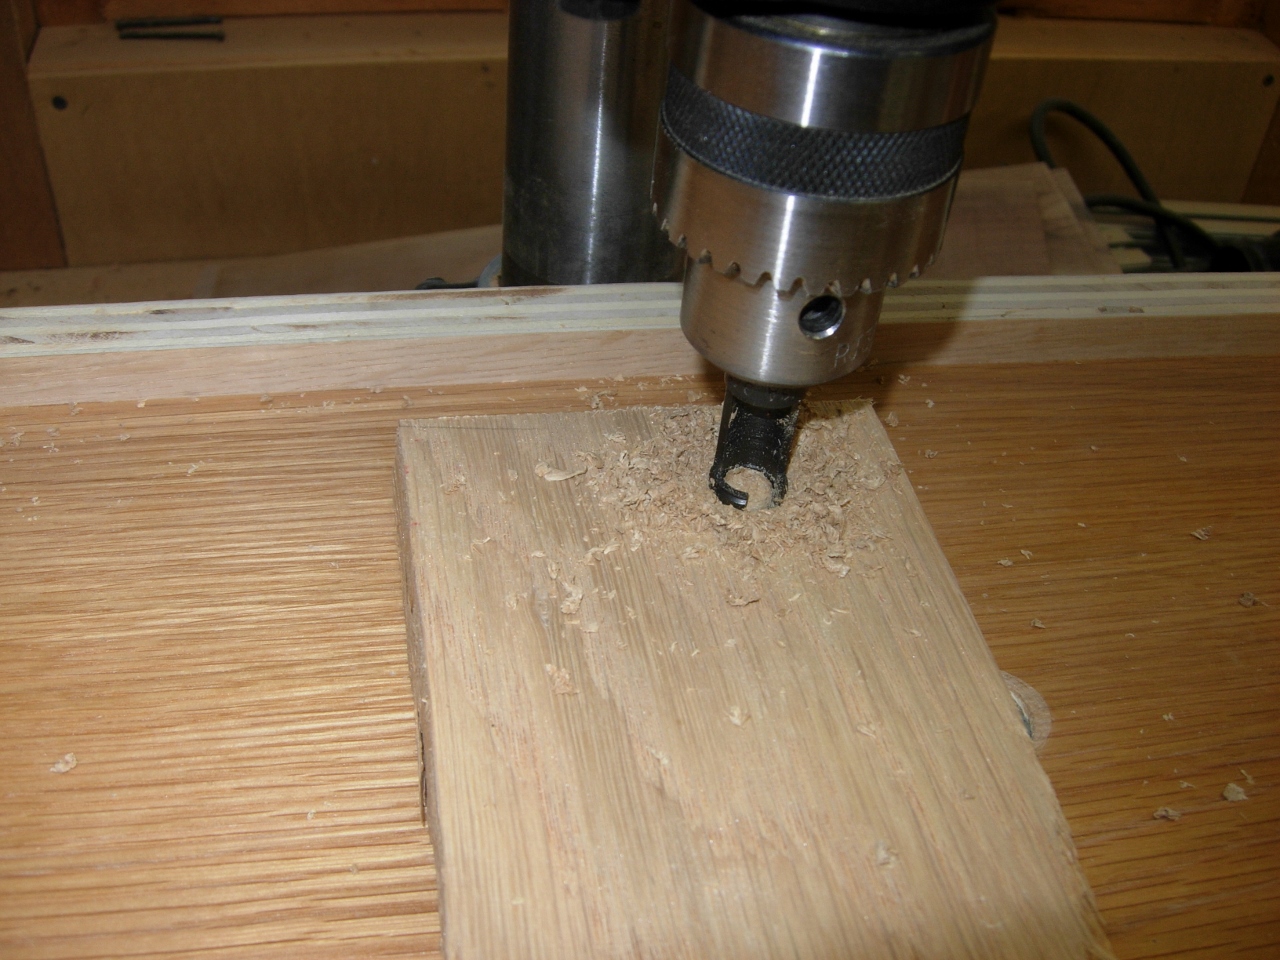
Drilling pockets for barrel hinges
I have never used barrel hinges before, but this seemed like a good location to try them. After translating the metric dimensions to english, I determined the pocket locations and marked them. I clamped both sides together so I could flip the board around and have the holes drilled at equal distance to the mating edge.

Hinges installed
After a bit of trial and error, and practicing on a piece of scrap, I managed an acceptable installation. The door swings pretty good. I clamped the two panel pieces back together to test the door. It was still a little snug, so I opened the hole a bit with a rasp, until I had the desired amount of clearance.

Widening the opening slightly
Cutting the bolt pocket
Since the latch bolt was really close to the outside edge, I didn’t even bother trying to mortise a pocket. I just cut it in from the back side then cut a backer strip and glued it over the notch.

Covering the back side
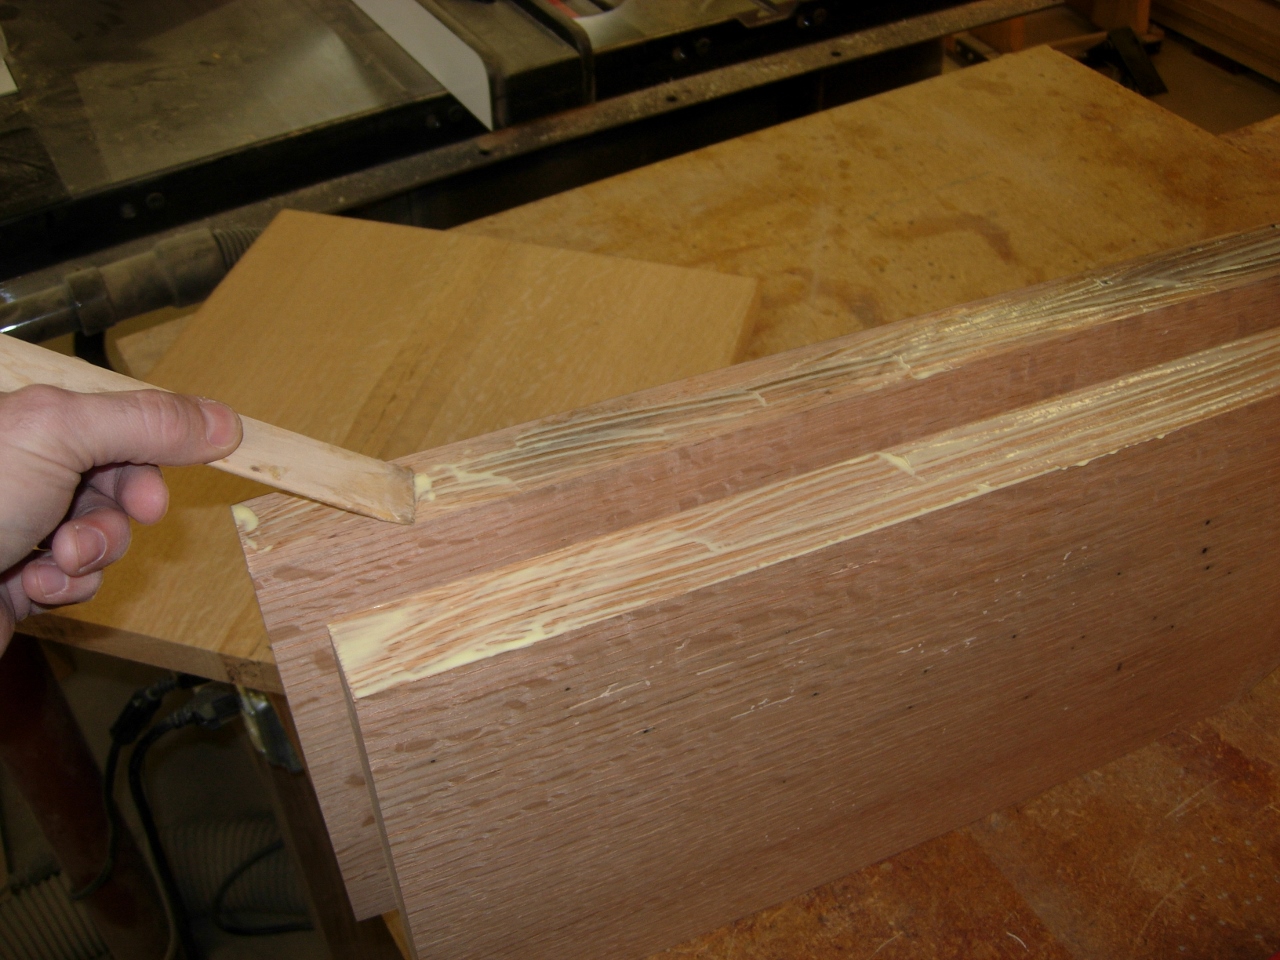
I then proceeded to glue the plate together. If you are wondering why I didn’t cut out the shape of the panel first, it was to leave something for me to attach my clamps to. It is hard to clamp a twelve-sided polygon.

Glued and clamped

Laying out the base circles
While that was drying, I moved back to the base pieces. I marked my circles with my paint stick beam compass and cut them out on the band saw.
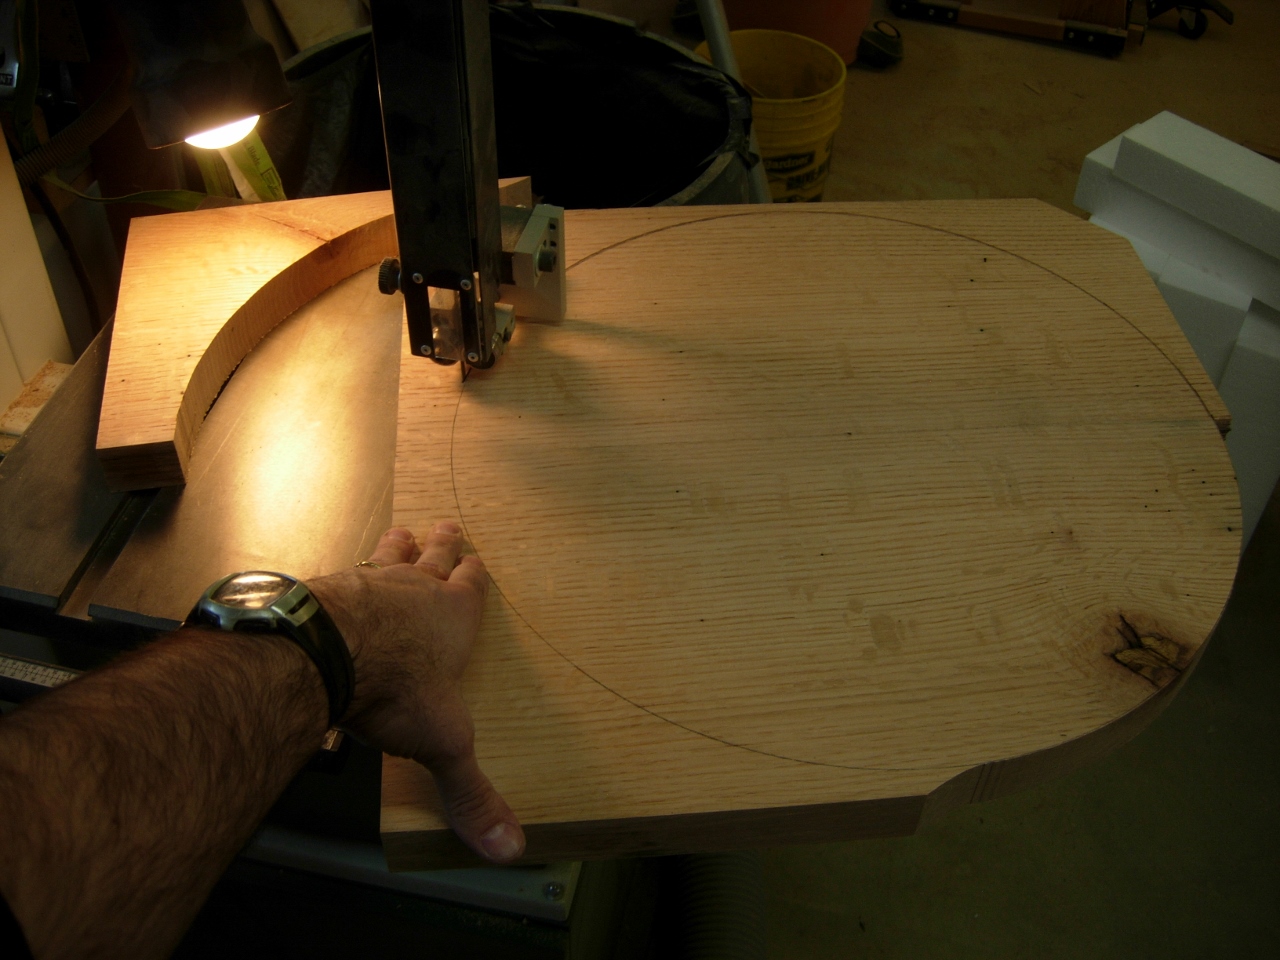
Cutting the circles
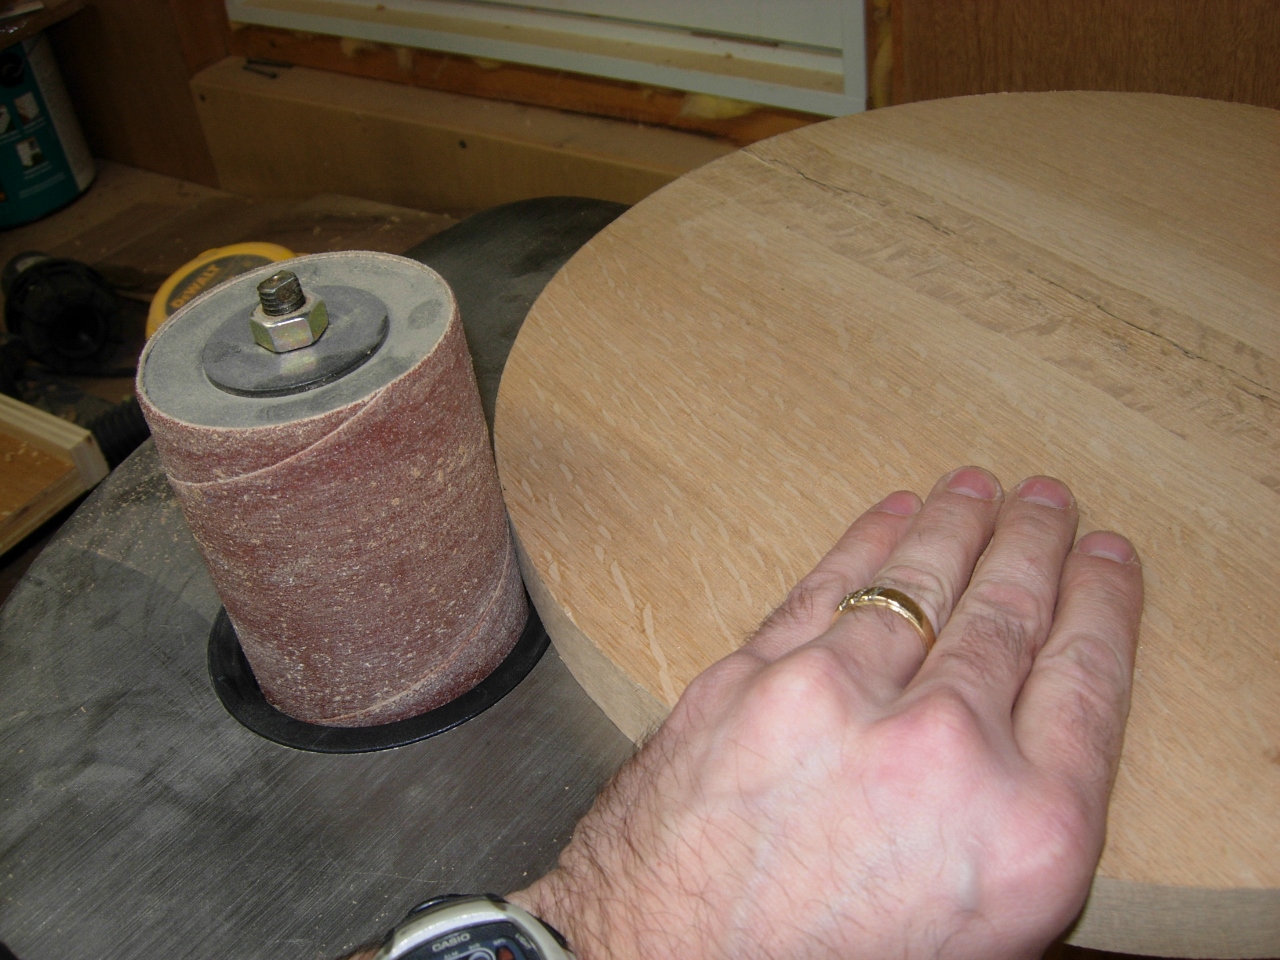
Spindle sanding the edges
I sanded the edges smooth on the spindle sander.

Both circles complete
I set a 3/4″ chamfer bit in the router table and cut a chamfer all the way around the larger, lower base.

Chamfer on the lower base
Then I set the 3/4″ round-over bit in and radiused the edge of the upper base.

3/4″ round-over on the upper base
Upon completion I did a dry-fit. I was pretty happy until my wife pointed out that I no longer had room for the half columns that I intend to place around the outside. I accidentally made the diameter of the upper base too small. I am just glad she noticed it before I glued it up. I will be making another base tomorrow…

Dry fit

Adding spacers
Moving back to the door panel, I taped on some spacers that match the thickness of the latch bolt plate. This will keep the plate level when I flip it over to cut out the polygon, on the other side.

Cutting out the door panel
After cutting it out on the band saw and cleaning up the edges on the spindle sander, I test fit the door. It slid in smoothly. I won’t glue it in place until I have placed some stand-offs inside to keep it flush. I also intend to pre-finish the inside first.
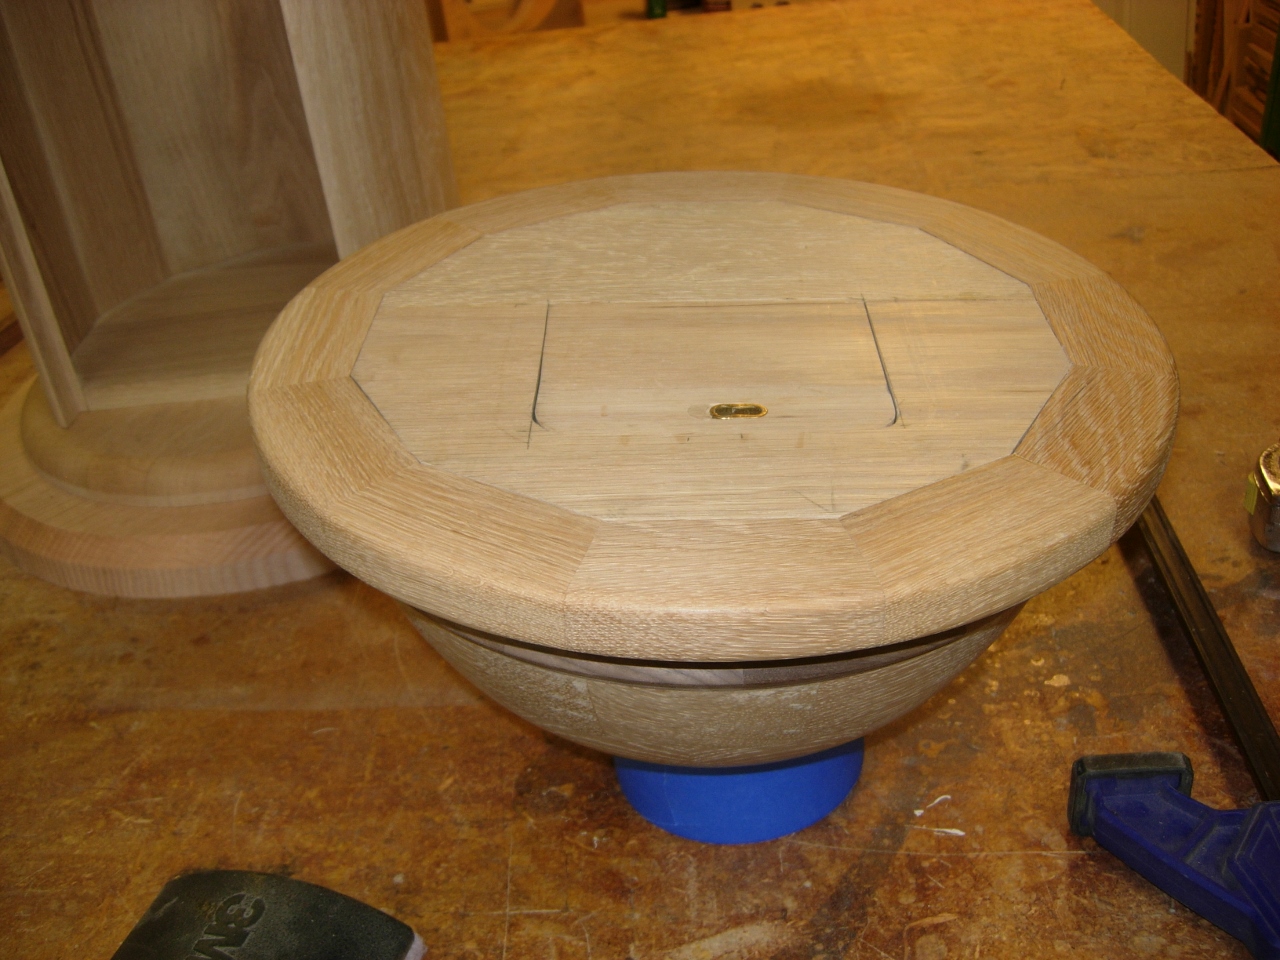
Dry fitting the panel
Oh well, enough for today.

Very ingenious sled for flattening boards. It is quicker to use than just knocking it with a plane?
Its quicker for me… Hand planes and I don’t get along as well as I would like. Actually, once the sled is built, it took no more than a minute to adjust the screws and run it through the planer. Since the board was so thick, I only needed to adjust two screws, one at each corner, to even out the board.