
Tabernacle build – day 4
I pulled the clamps on the dome and started making a cross-brace to go across the bottom.
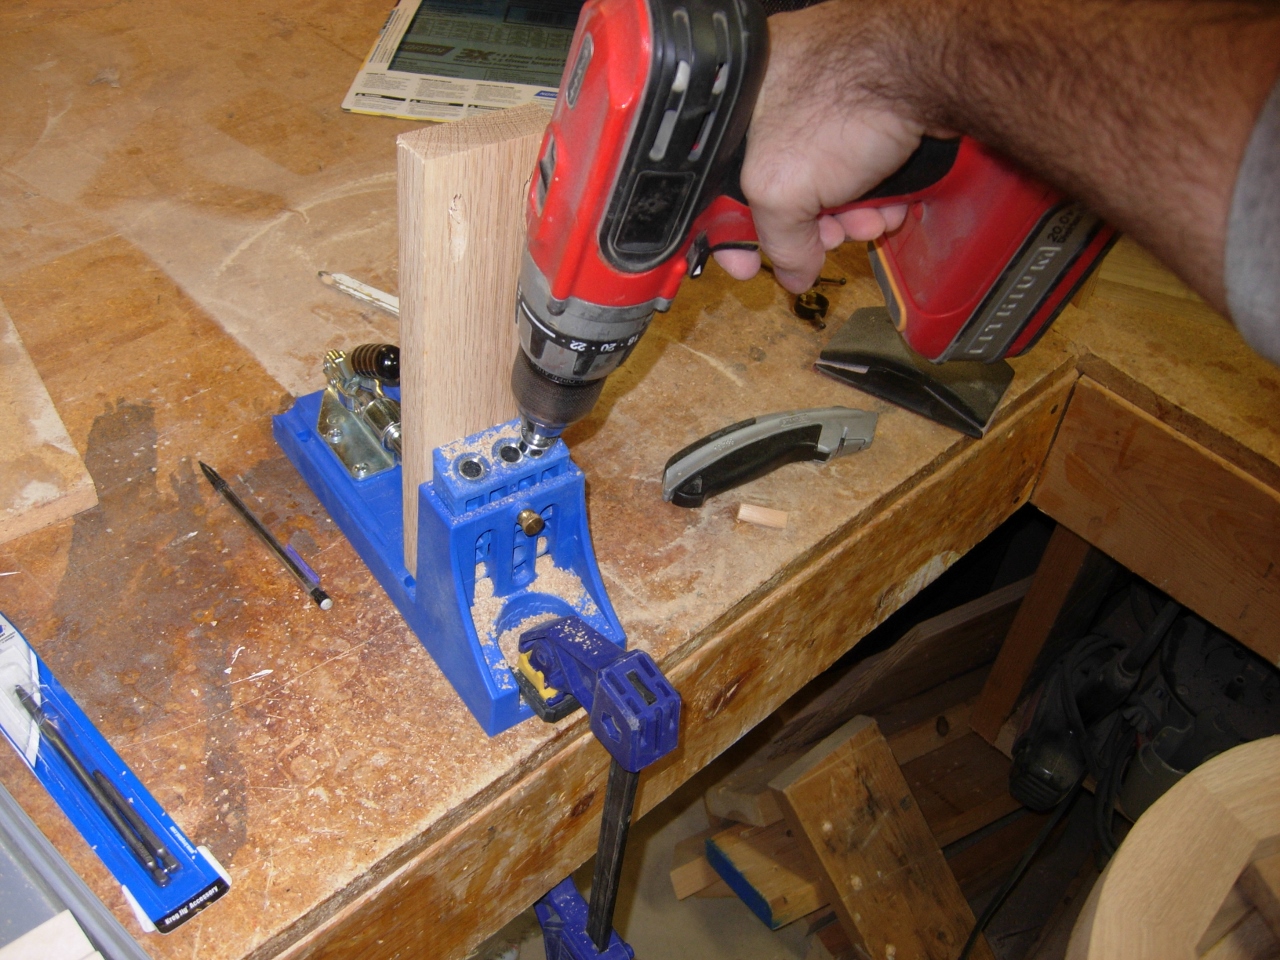
Drilling holes in the cross-brace
Since the bottom flange will not be getting much smaller, I used pocket hole screws to attach the brace securely.

Attaching cross brace
I attached the lathe face plate to the sacrificial piece on top. I actually had to move it three or four times before I got it centered. I attached it with a couple of drywall screws, then threaded it onto the lathe and set the tailstock in place.

Mounting the face plate

Set up and ready to turn
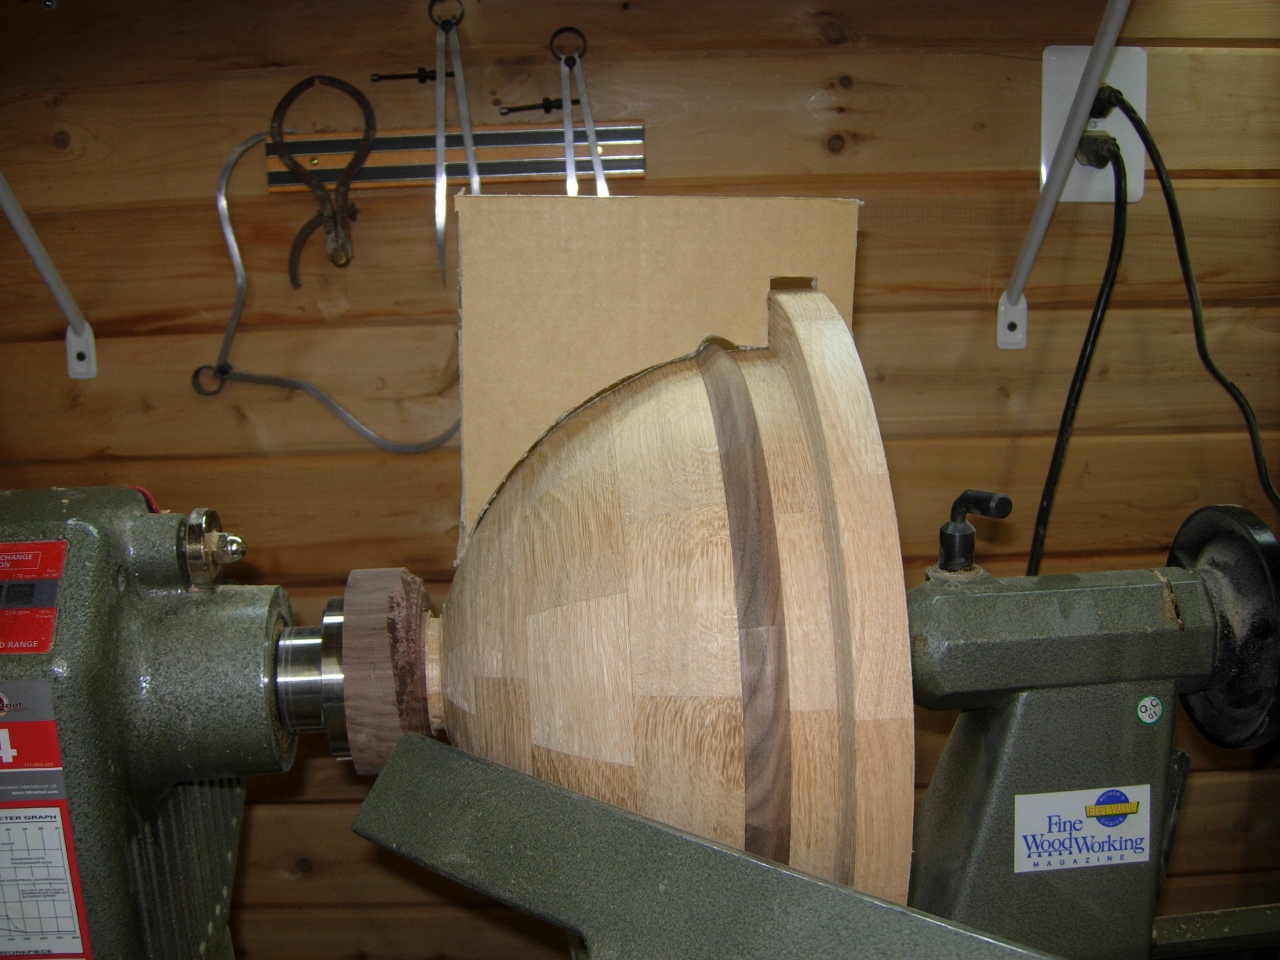
Before I started cutting, I printed out a profile to use as a guide. I glued it to a piece of cardboard and cut it out.
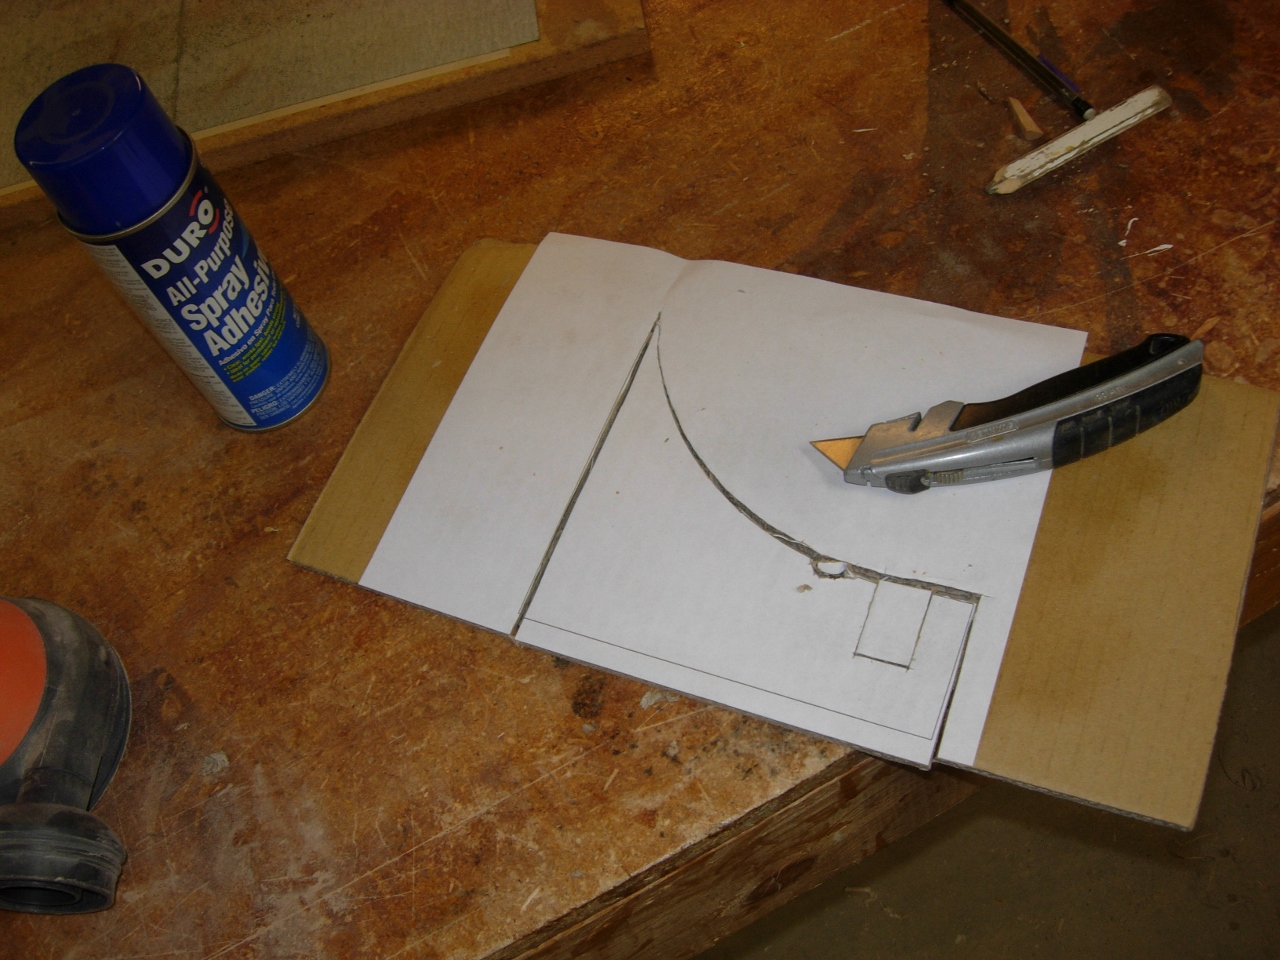
Cutting out a profile template
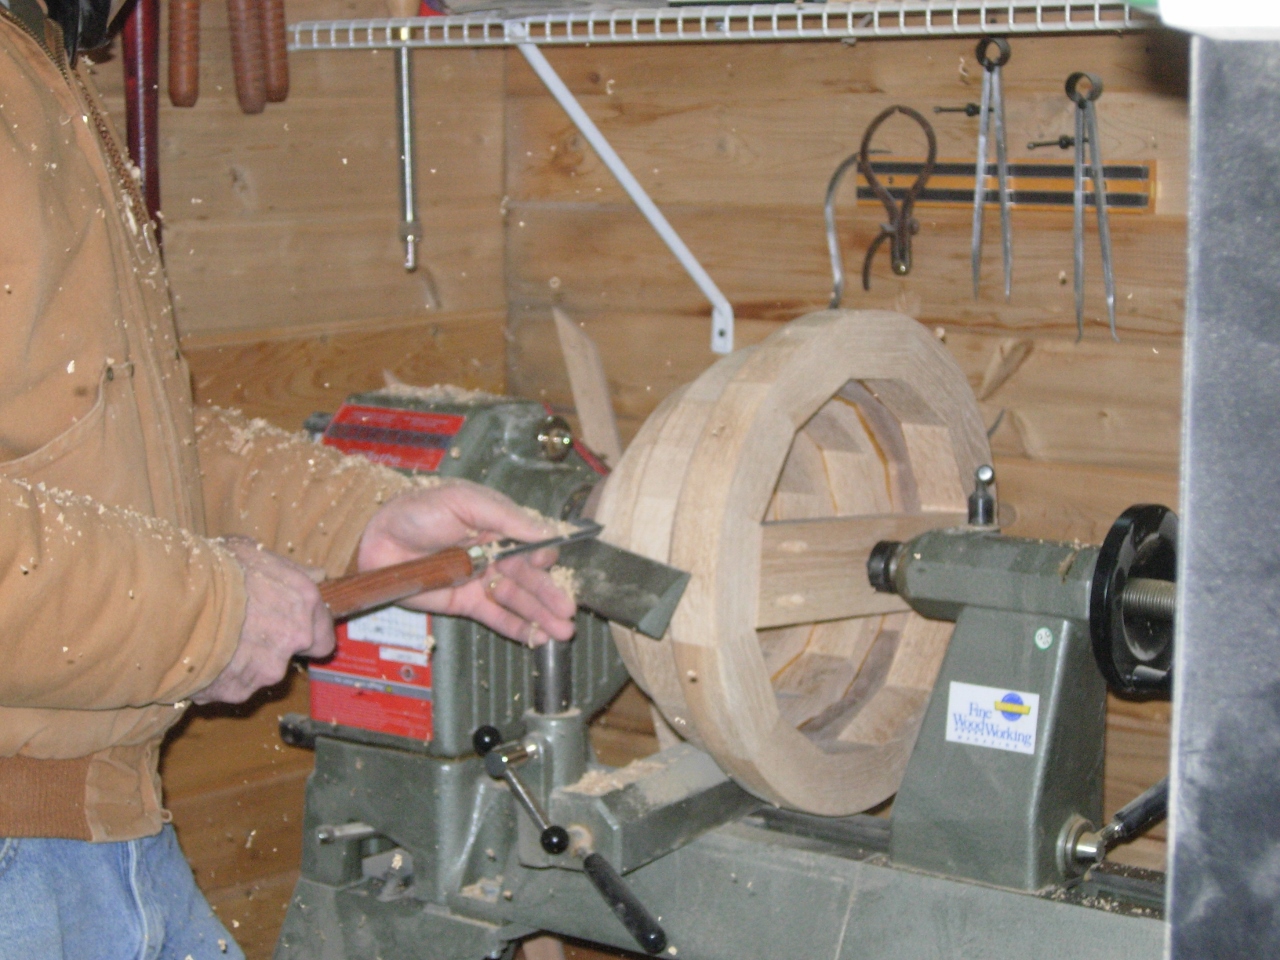
Start with a roughing gouge
I don’t use my lathe too often, and this is the largest thing that I have tried on it. So I really didn’t know what to expect. I put on my heavy winter coat in case this assembly blew up like the last one that I tried. (A little extra cushion can’t hurt…) I also put on my glasses and face shield.

Starting to take shape
I started turning at the lowest speed I could. I used my roughing gouge. At first I was tearing out some fairly large chunks, and I was starting to worry that it wouldn’t smooth out. Eventually I removed the sharper edges and the shape started to even out. I sped it up one notch, when the shape was finally rounded out and things got a bit easier.
Getting there…
Detailing the walnut
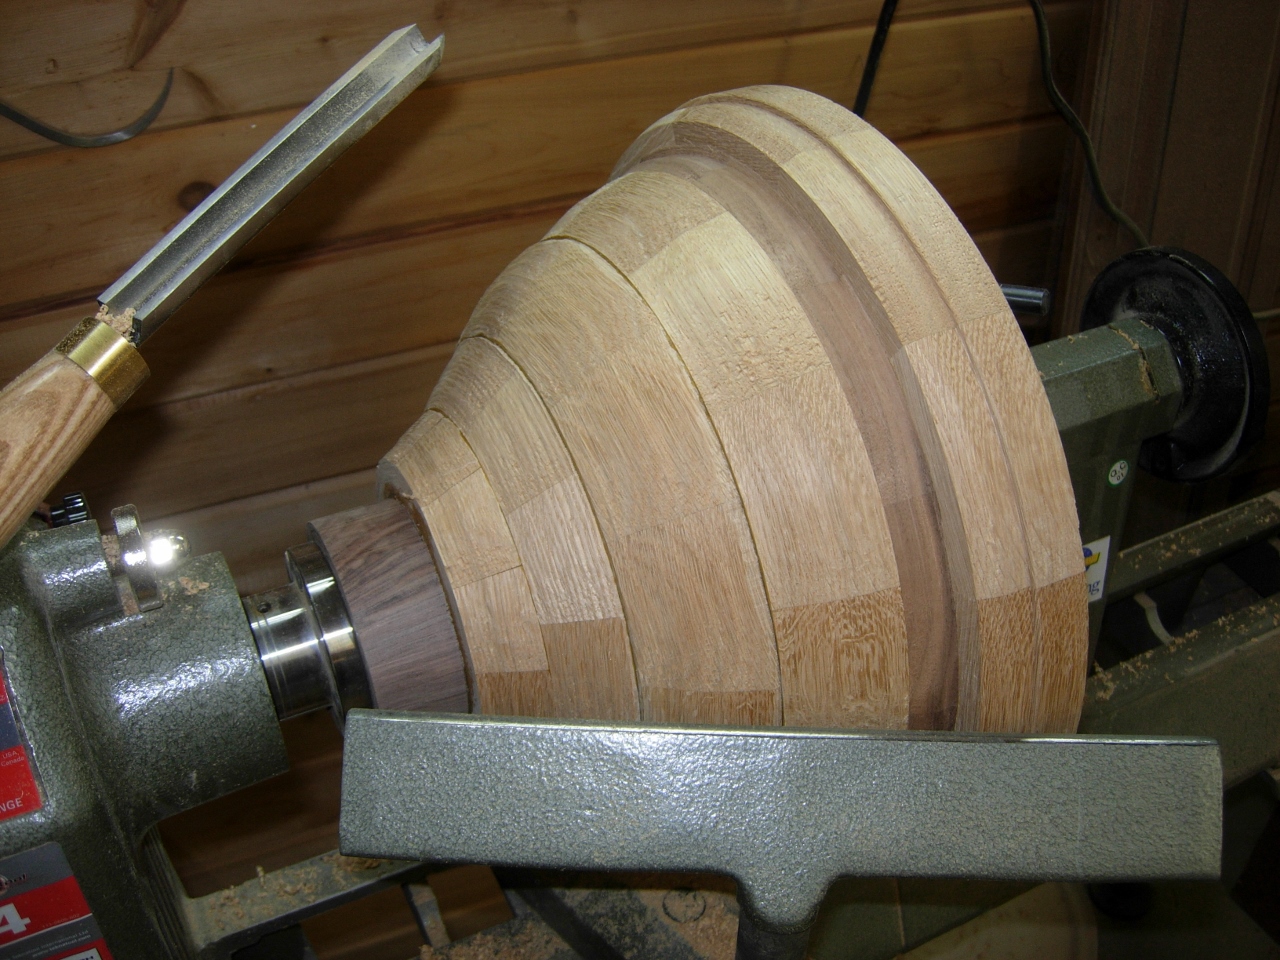
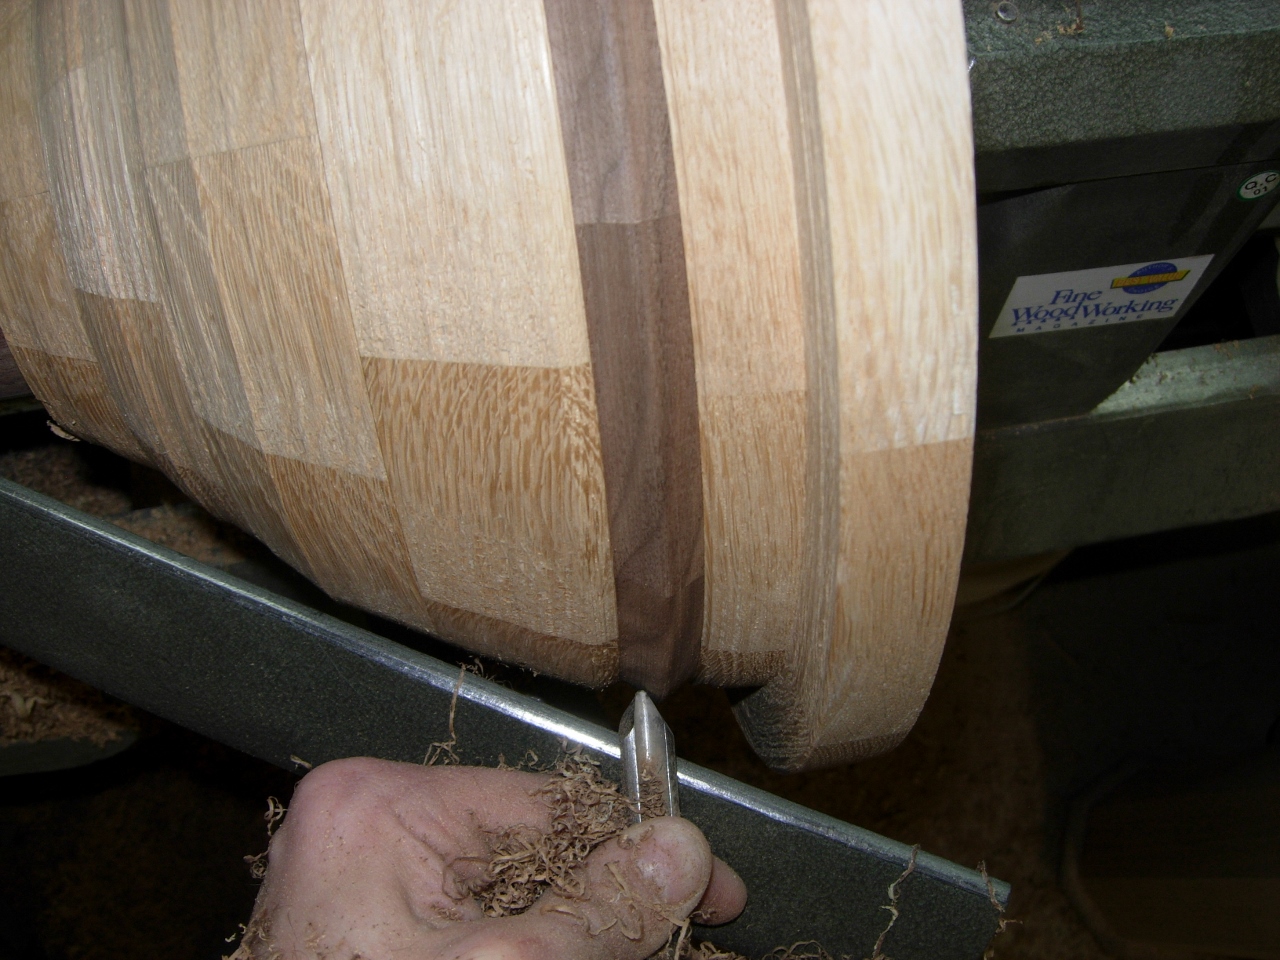
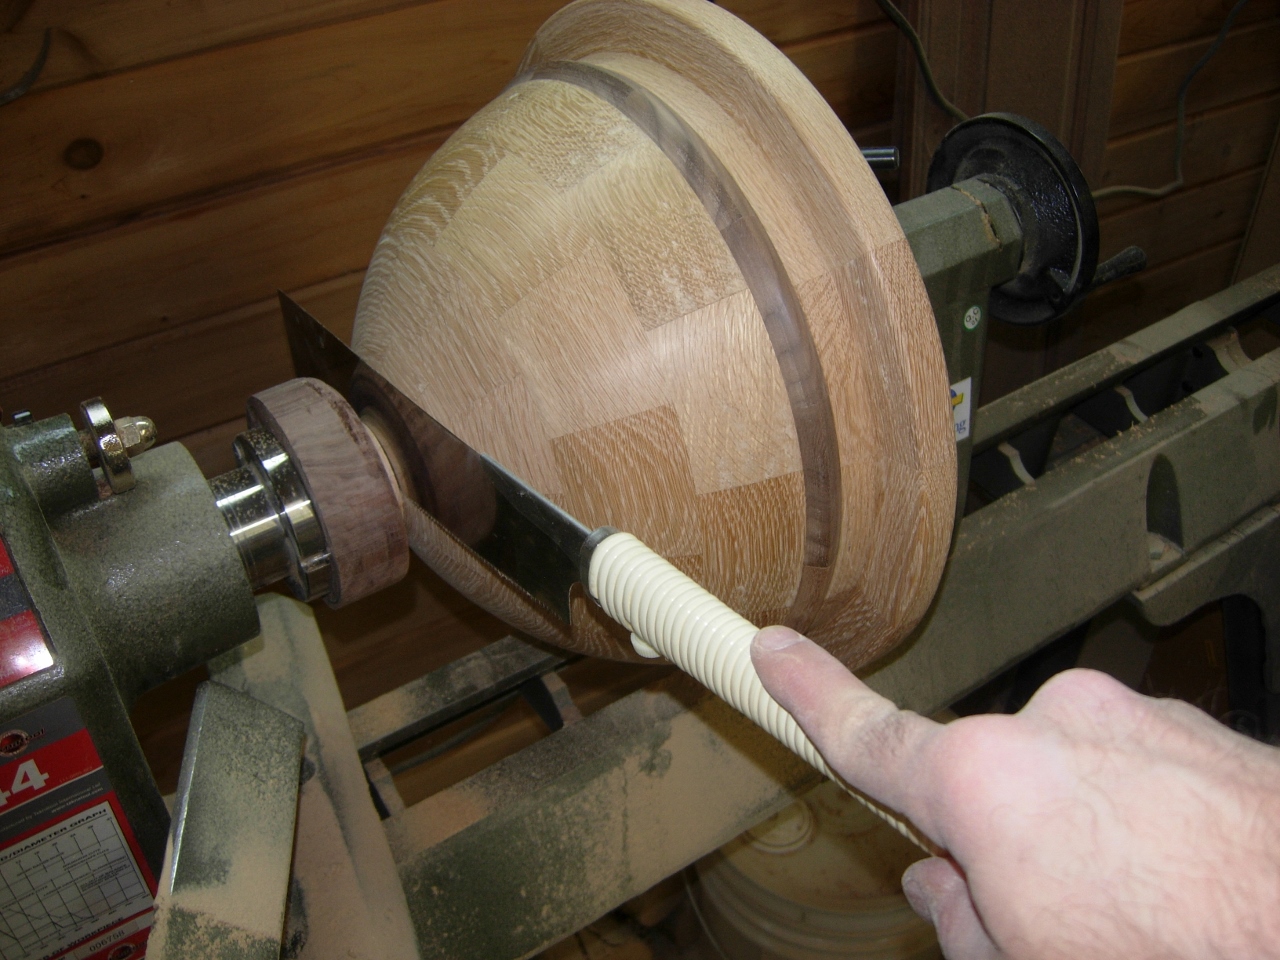
I tried using one of my small spindle gouges to detail a bead where the line of walnut was, then used my template to see how far I had to go. It was actually very close to where I planned. I was a little surprised…
Nearly match the profile

Look at the mess…
I took a few moments to clean up the ankle-deep pile of shavings when the turning was done.

Starting with 80 grit sandpaper
Next I sanded the dome down, starting at 80 grit and working my way down to 320 grit. When it was sanded to my satisfaction, I cut the dome away from the sacrificial section that was still mounted to the lathe.
Cutting away the sacrificial portion
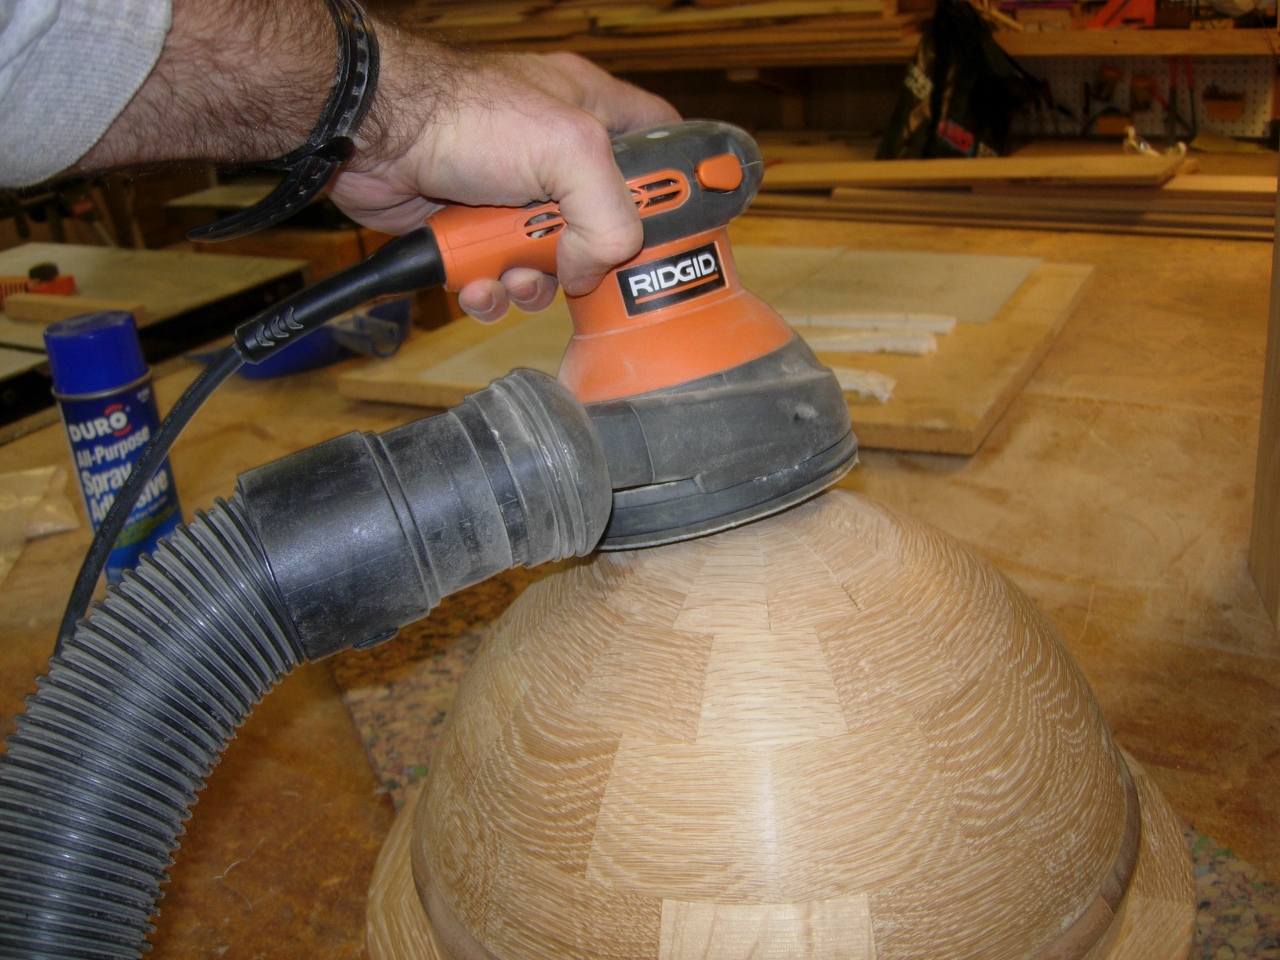
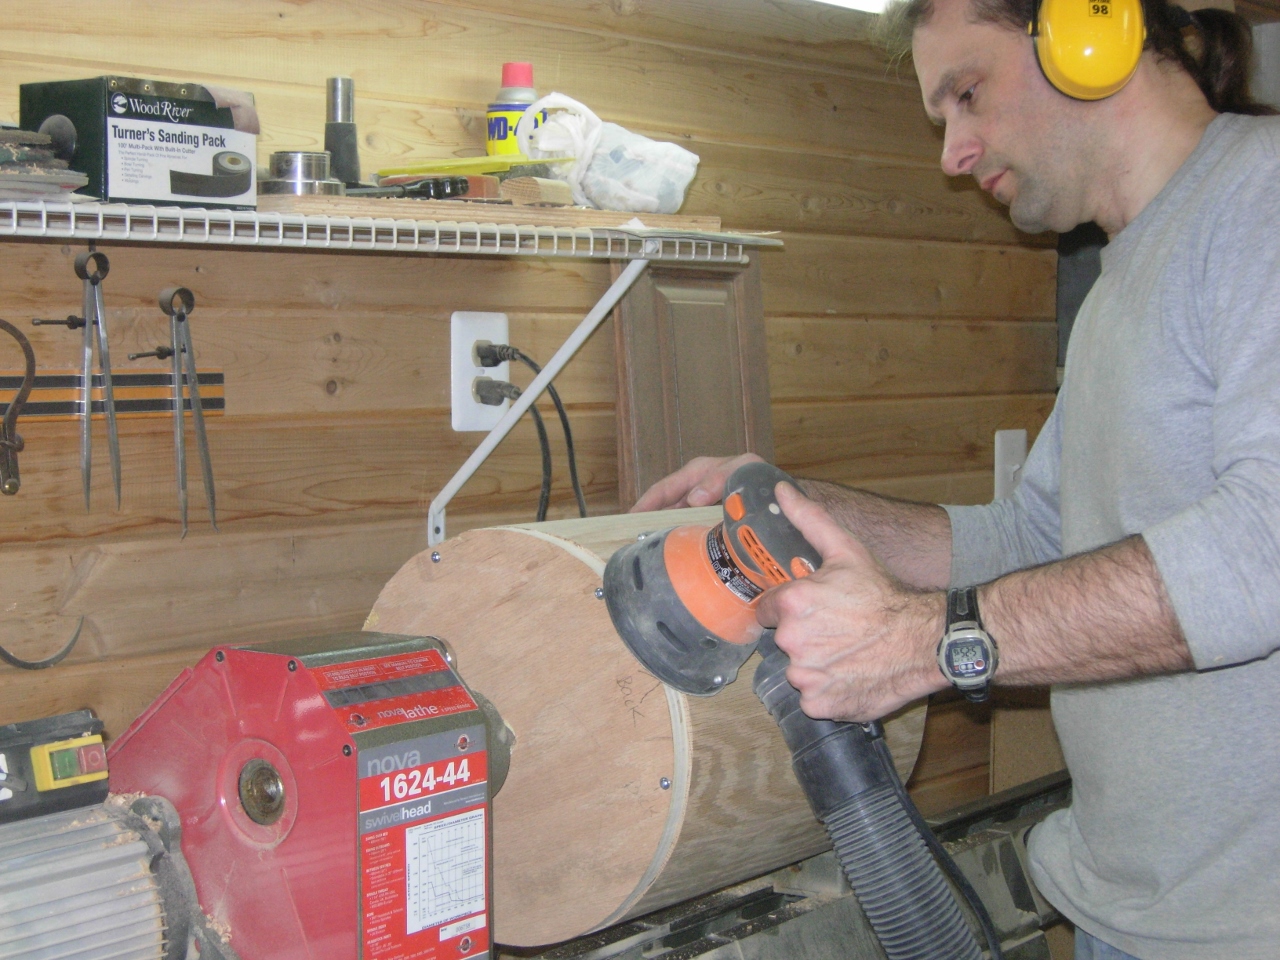
Sanding the top round
I worked my way through the different sand paper grits, on the orbital sander this time, rolling the sander back and forth to round the top to match the rest of the dome.
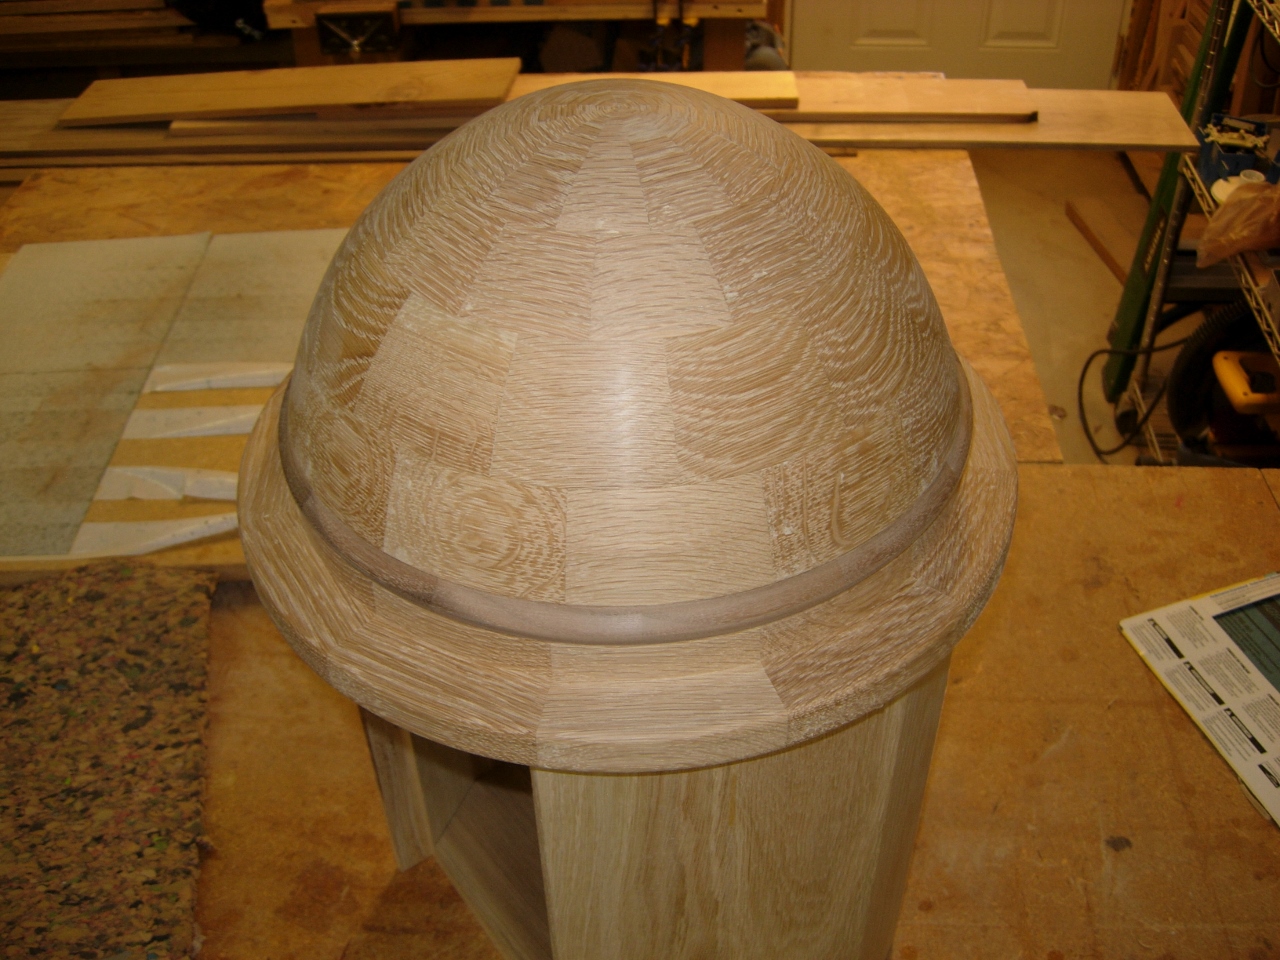
All shiny
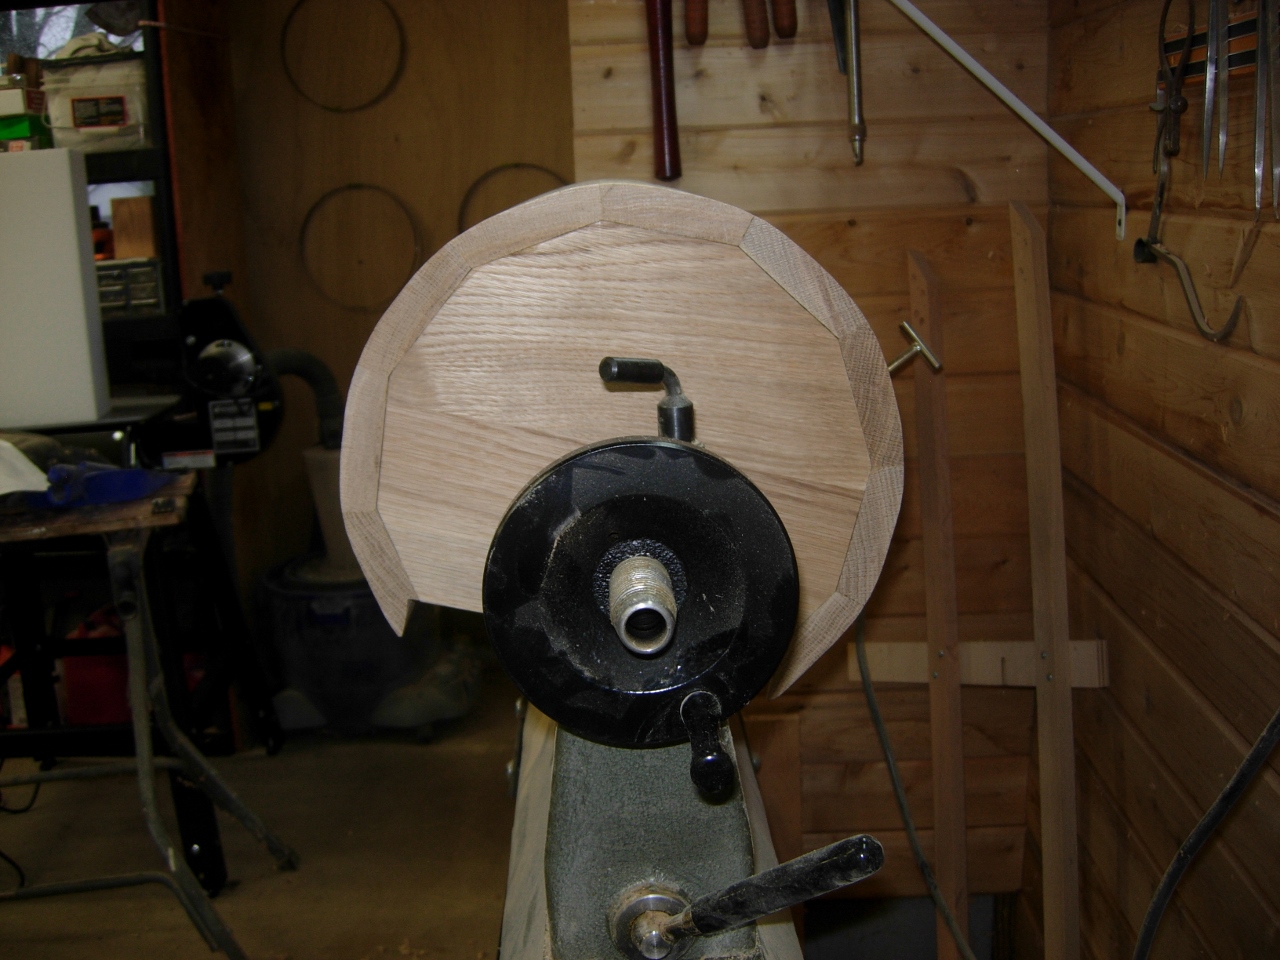
With the dome-shaped and sanded, it is time to round the body of the tabernacle. I started by tracing the top on a piece of plywood and creating a circle that would represent my finished shape. This I attached to the top, in place of the dome, and went over to the lathe to see if I could turn the body. If I could get it centered and mounted well, I intended to build a plug for the doorway and turn the shape.
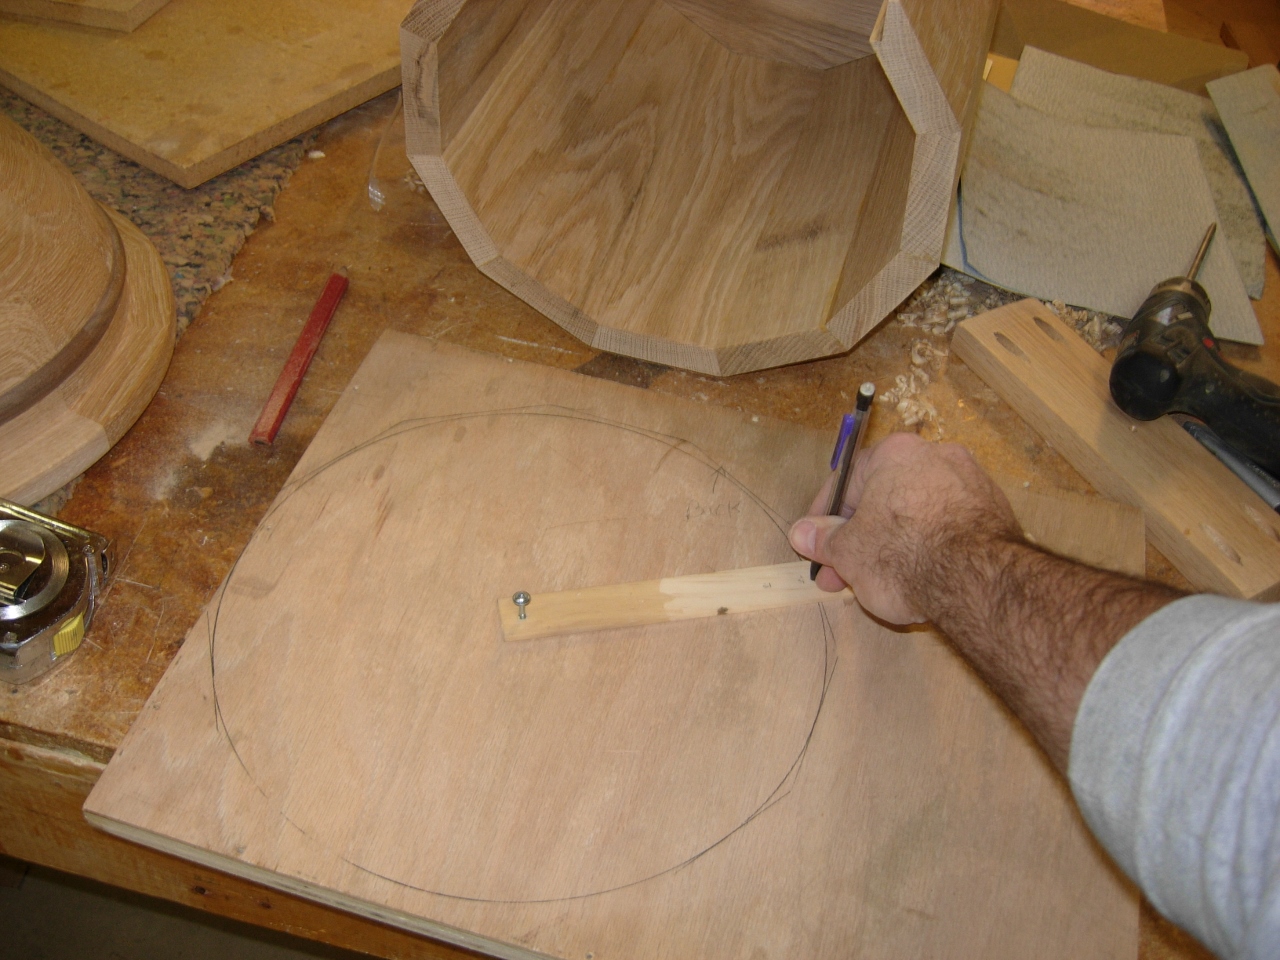
Making a temporary top
Unfortunately I didn’t plan well enough. The body was too wide to fit the tool rest below. I am not crazy enough to turn without a tool rest, so I moved to plan B. I got out my dad’s old Baily #5 jack plane that I refurbished and set to work creating a series of facets that could be sanded down to a round column.

Can’t use the lathe the way I planned
I left the body in the lathe because it had an indexing head that I could lock in place with each joint pointing up. This actually worked a lot better than trying to hold it down on my bench.
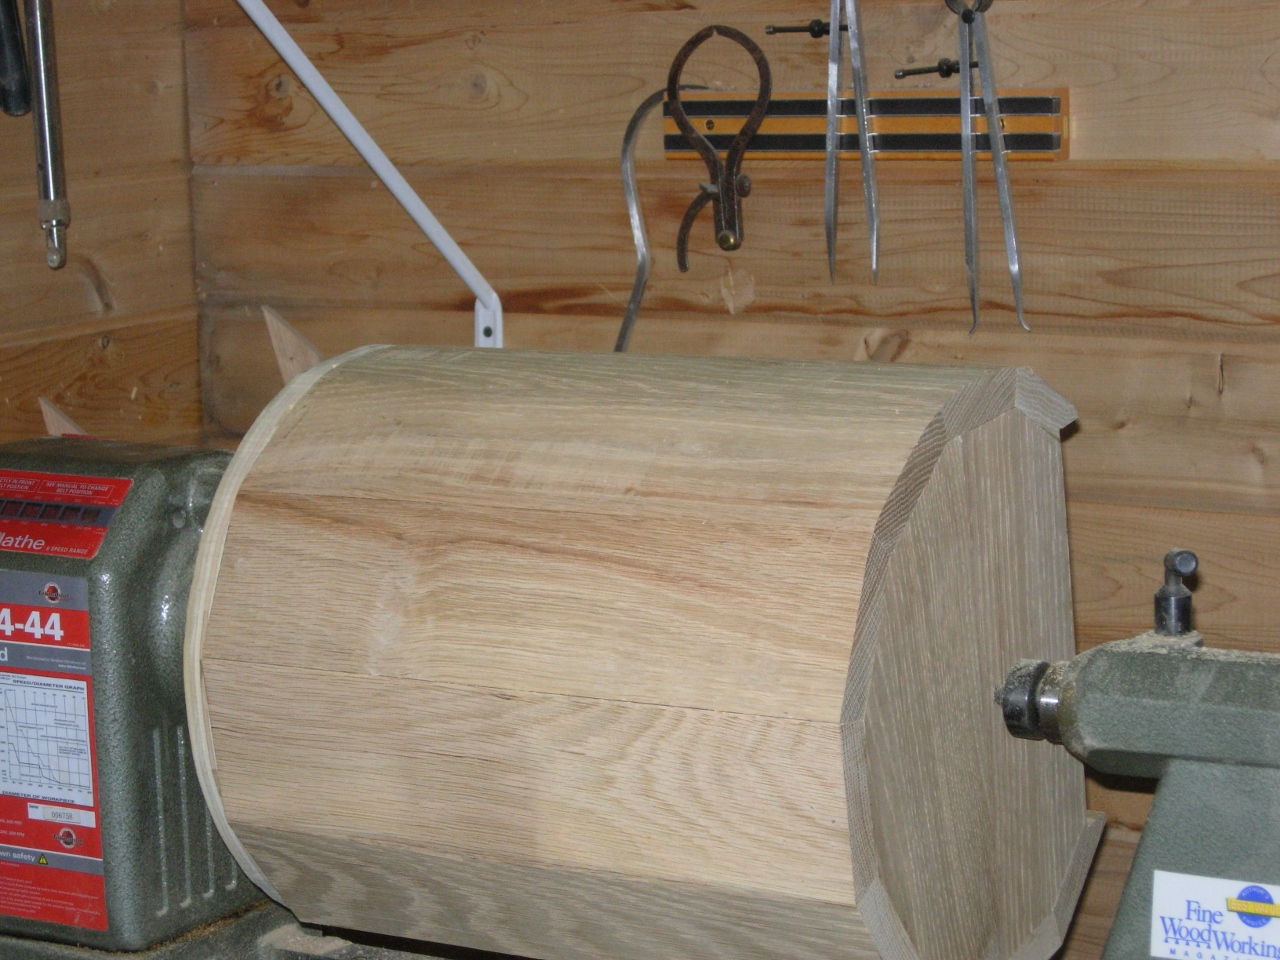
Rounds pretty good with the plane
I probably spent a good hour or so, taking the polygon down to a column. Had I planned a little better, I would have aligned the grain of the slats so I could plane in one direction for the entire thing. I didn’t, of course, so I had to switch back and forth to avoid tearing out chunks by planing against the grain.

Halfway there…
The body looked pretty good when I was finished. I was surprised again. I had planned on a lot of sanding…
The planing is finally done
I used the orbital finish sander, working from 80 grit, down to 220 grit.
Sanding the body smooth
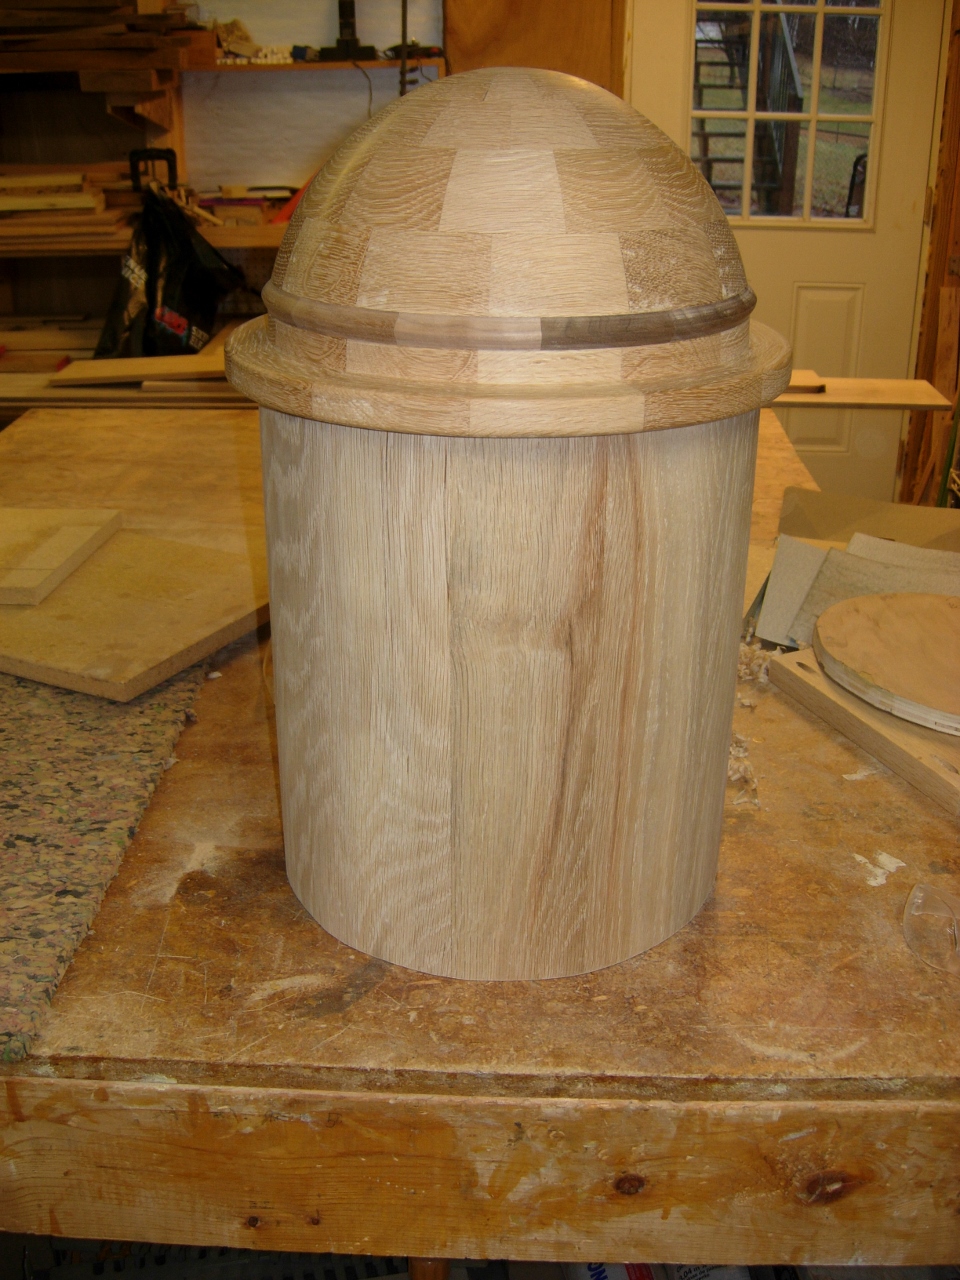
When finished, the body was amazingly smooth.
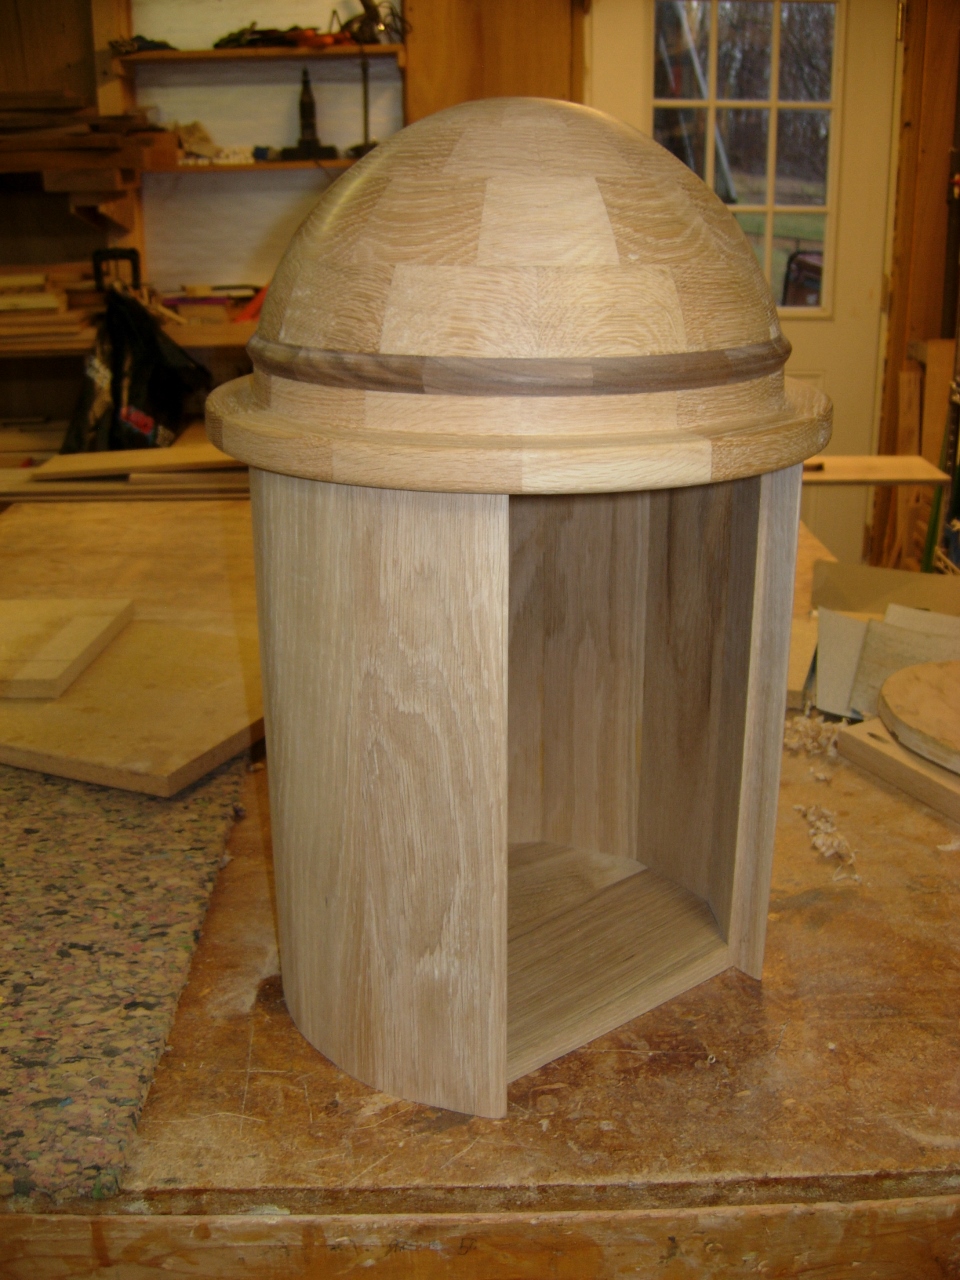
Finished front
Well the hand planing wore me out, so I am going to quit for the day. I guess I will be working on the base next.
Finished rear

I Like the way you solve problems and get the job done, this is really shaping up
Thanks, I did consider leaving it faceted, but I figured I could build a new one if I screwed it up. (Large pile of scrap…)