
Tabernacle build – day 3
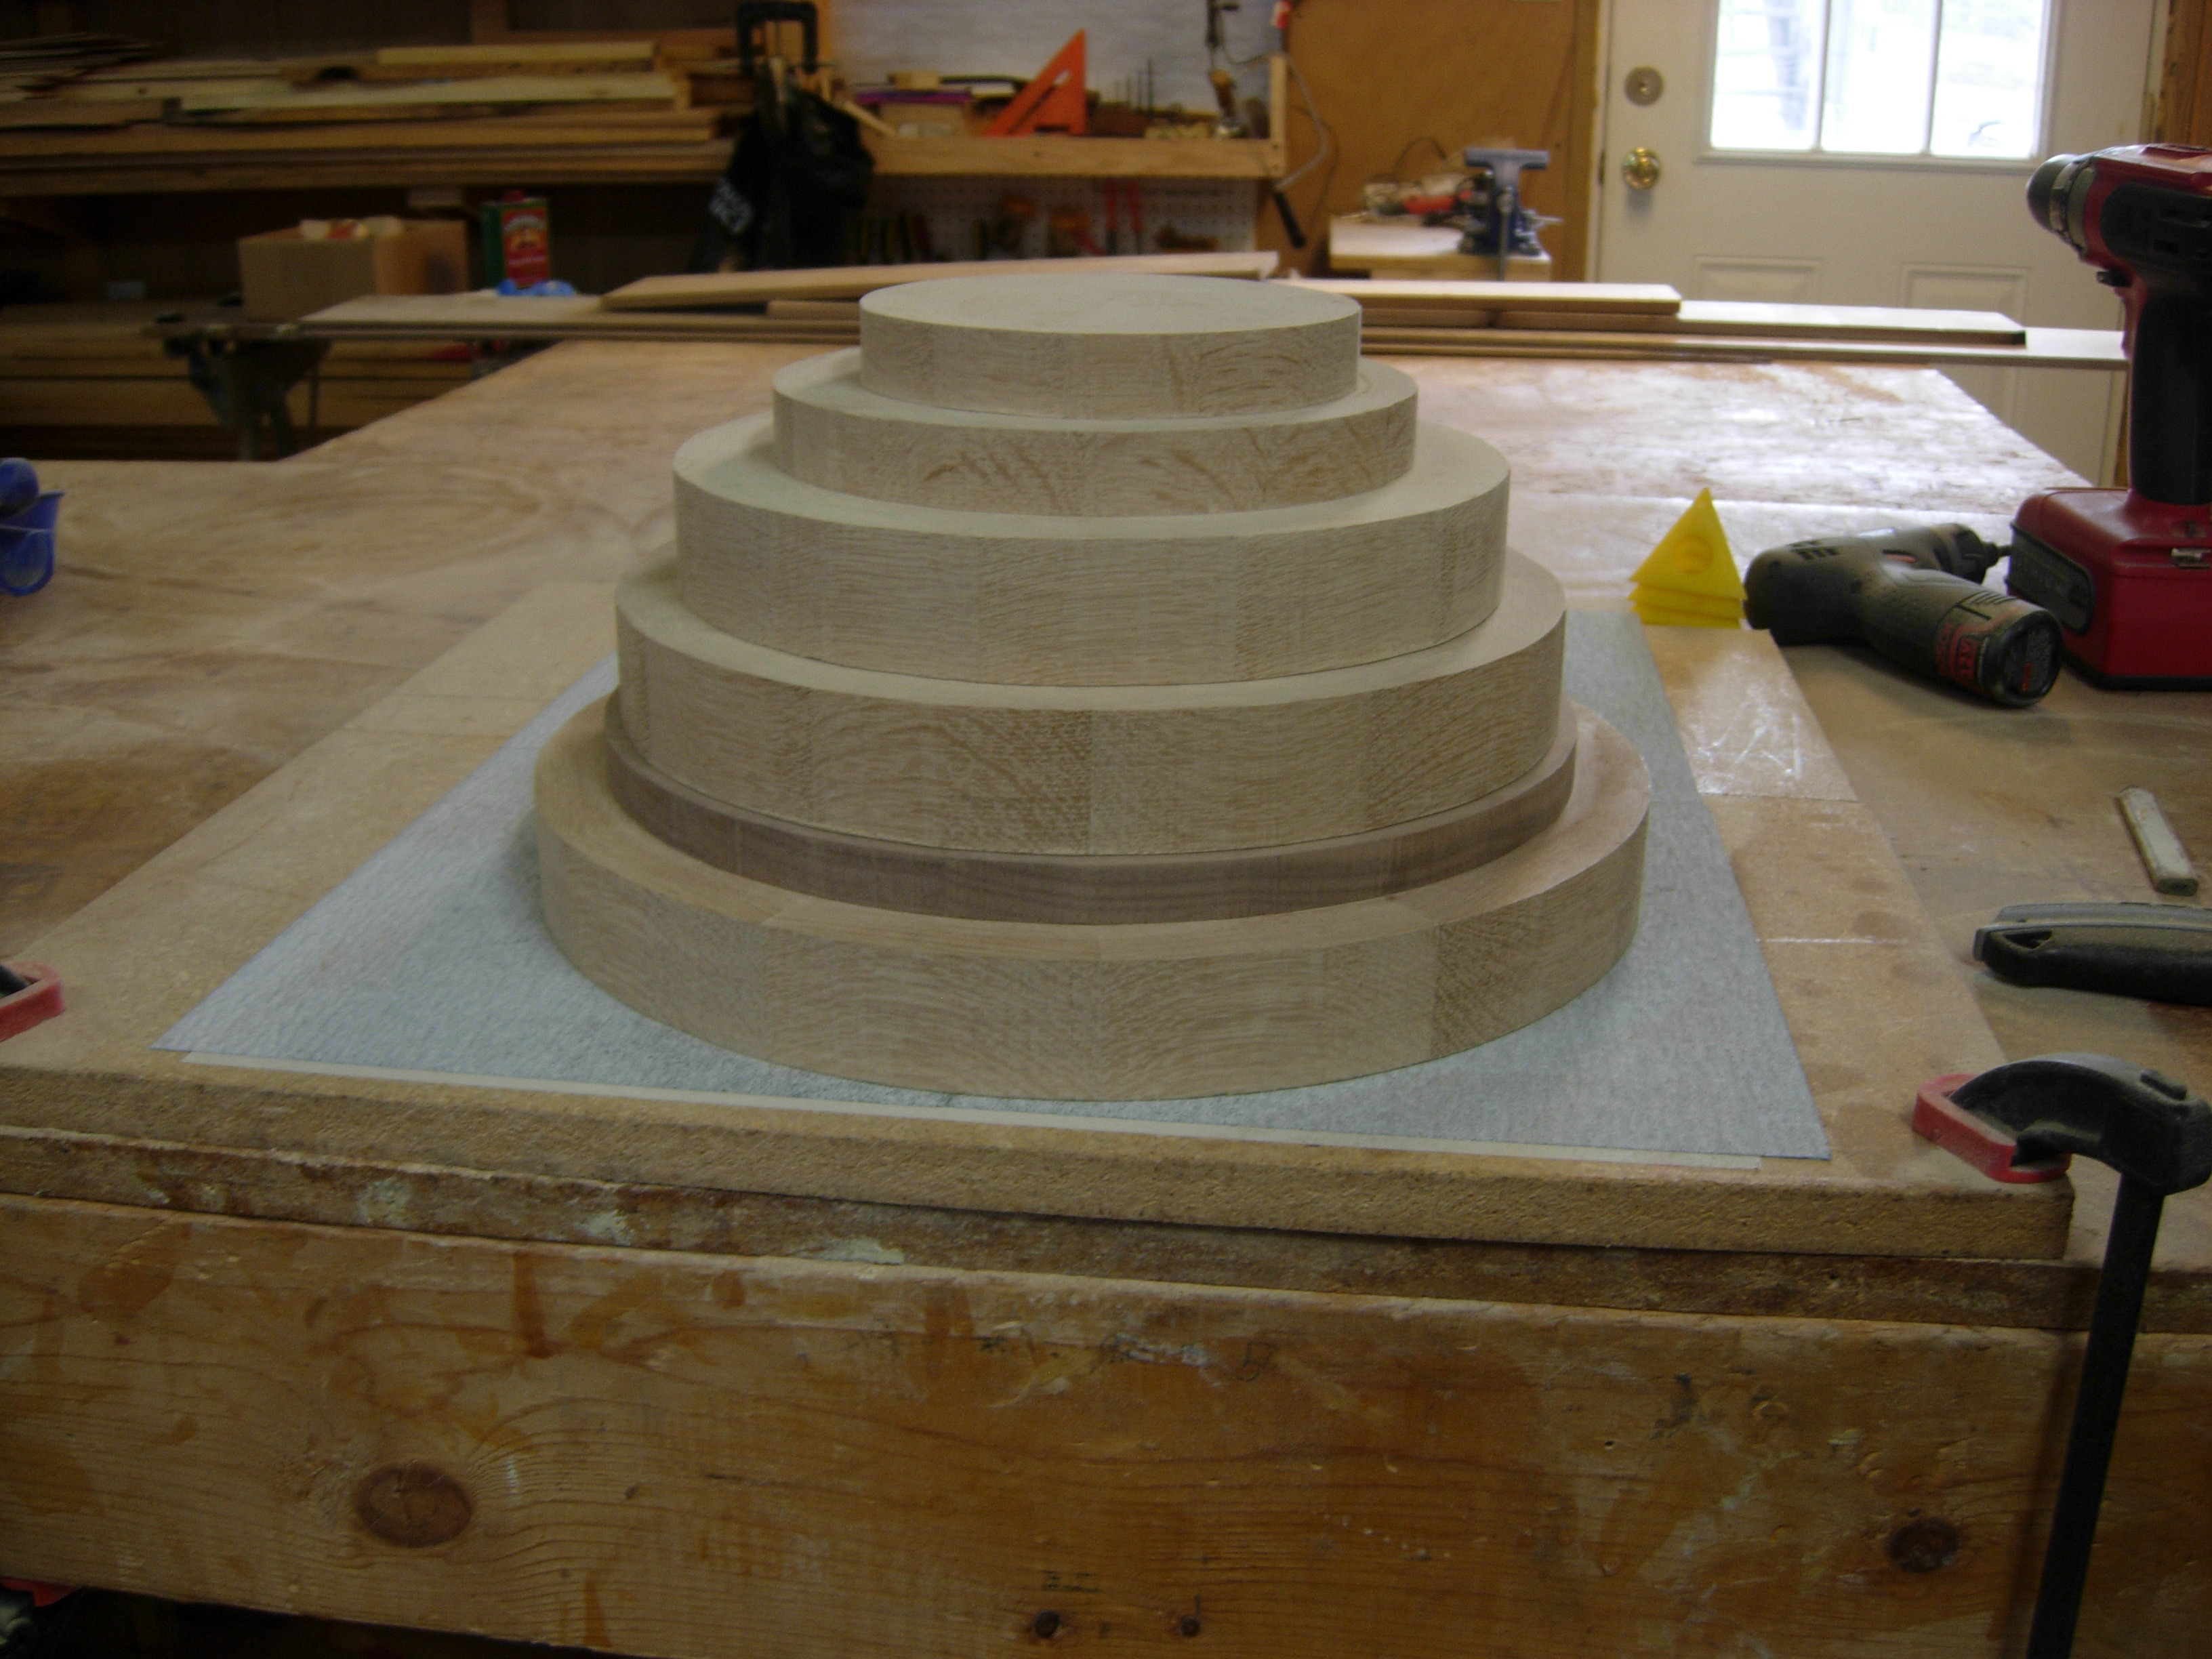
With all the faceted layers glued up, it is time to assemble them. To make life a bit easier, when turning the outside of the dome, I marked my required radius on each layer to be cut into a circle. The larger solid layer had a rough hole on the center so I cut a plug out of fir and pressed it into the center to hold my compass point.
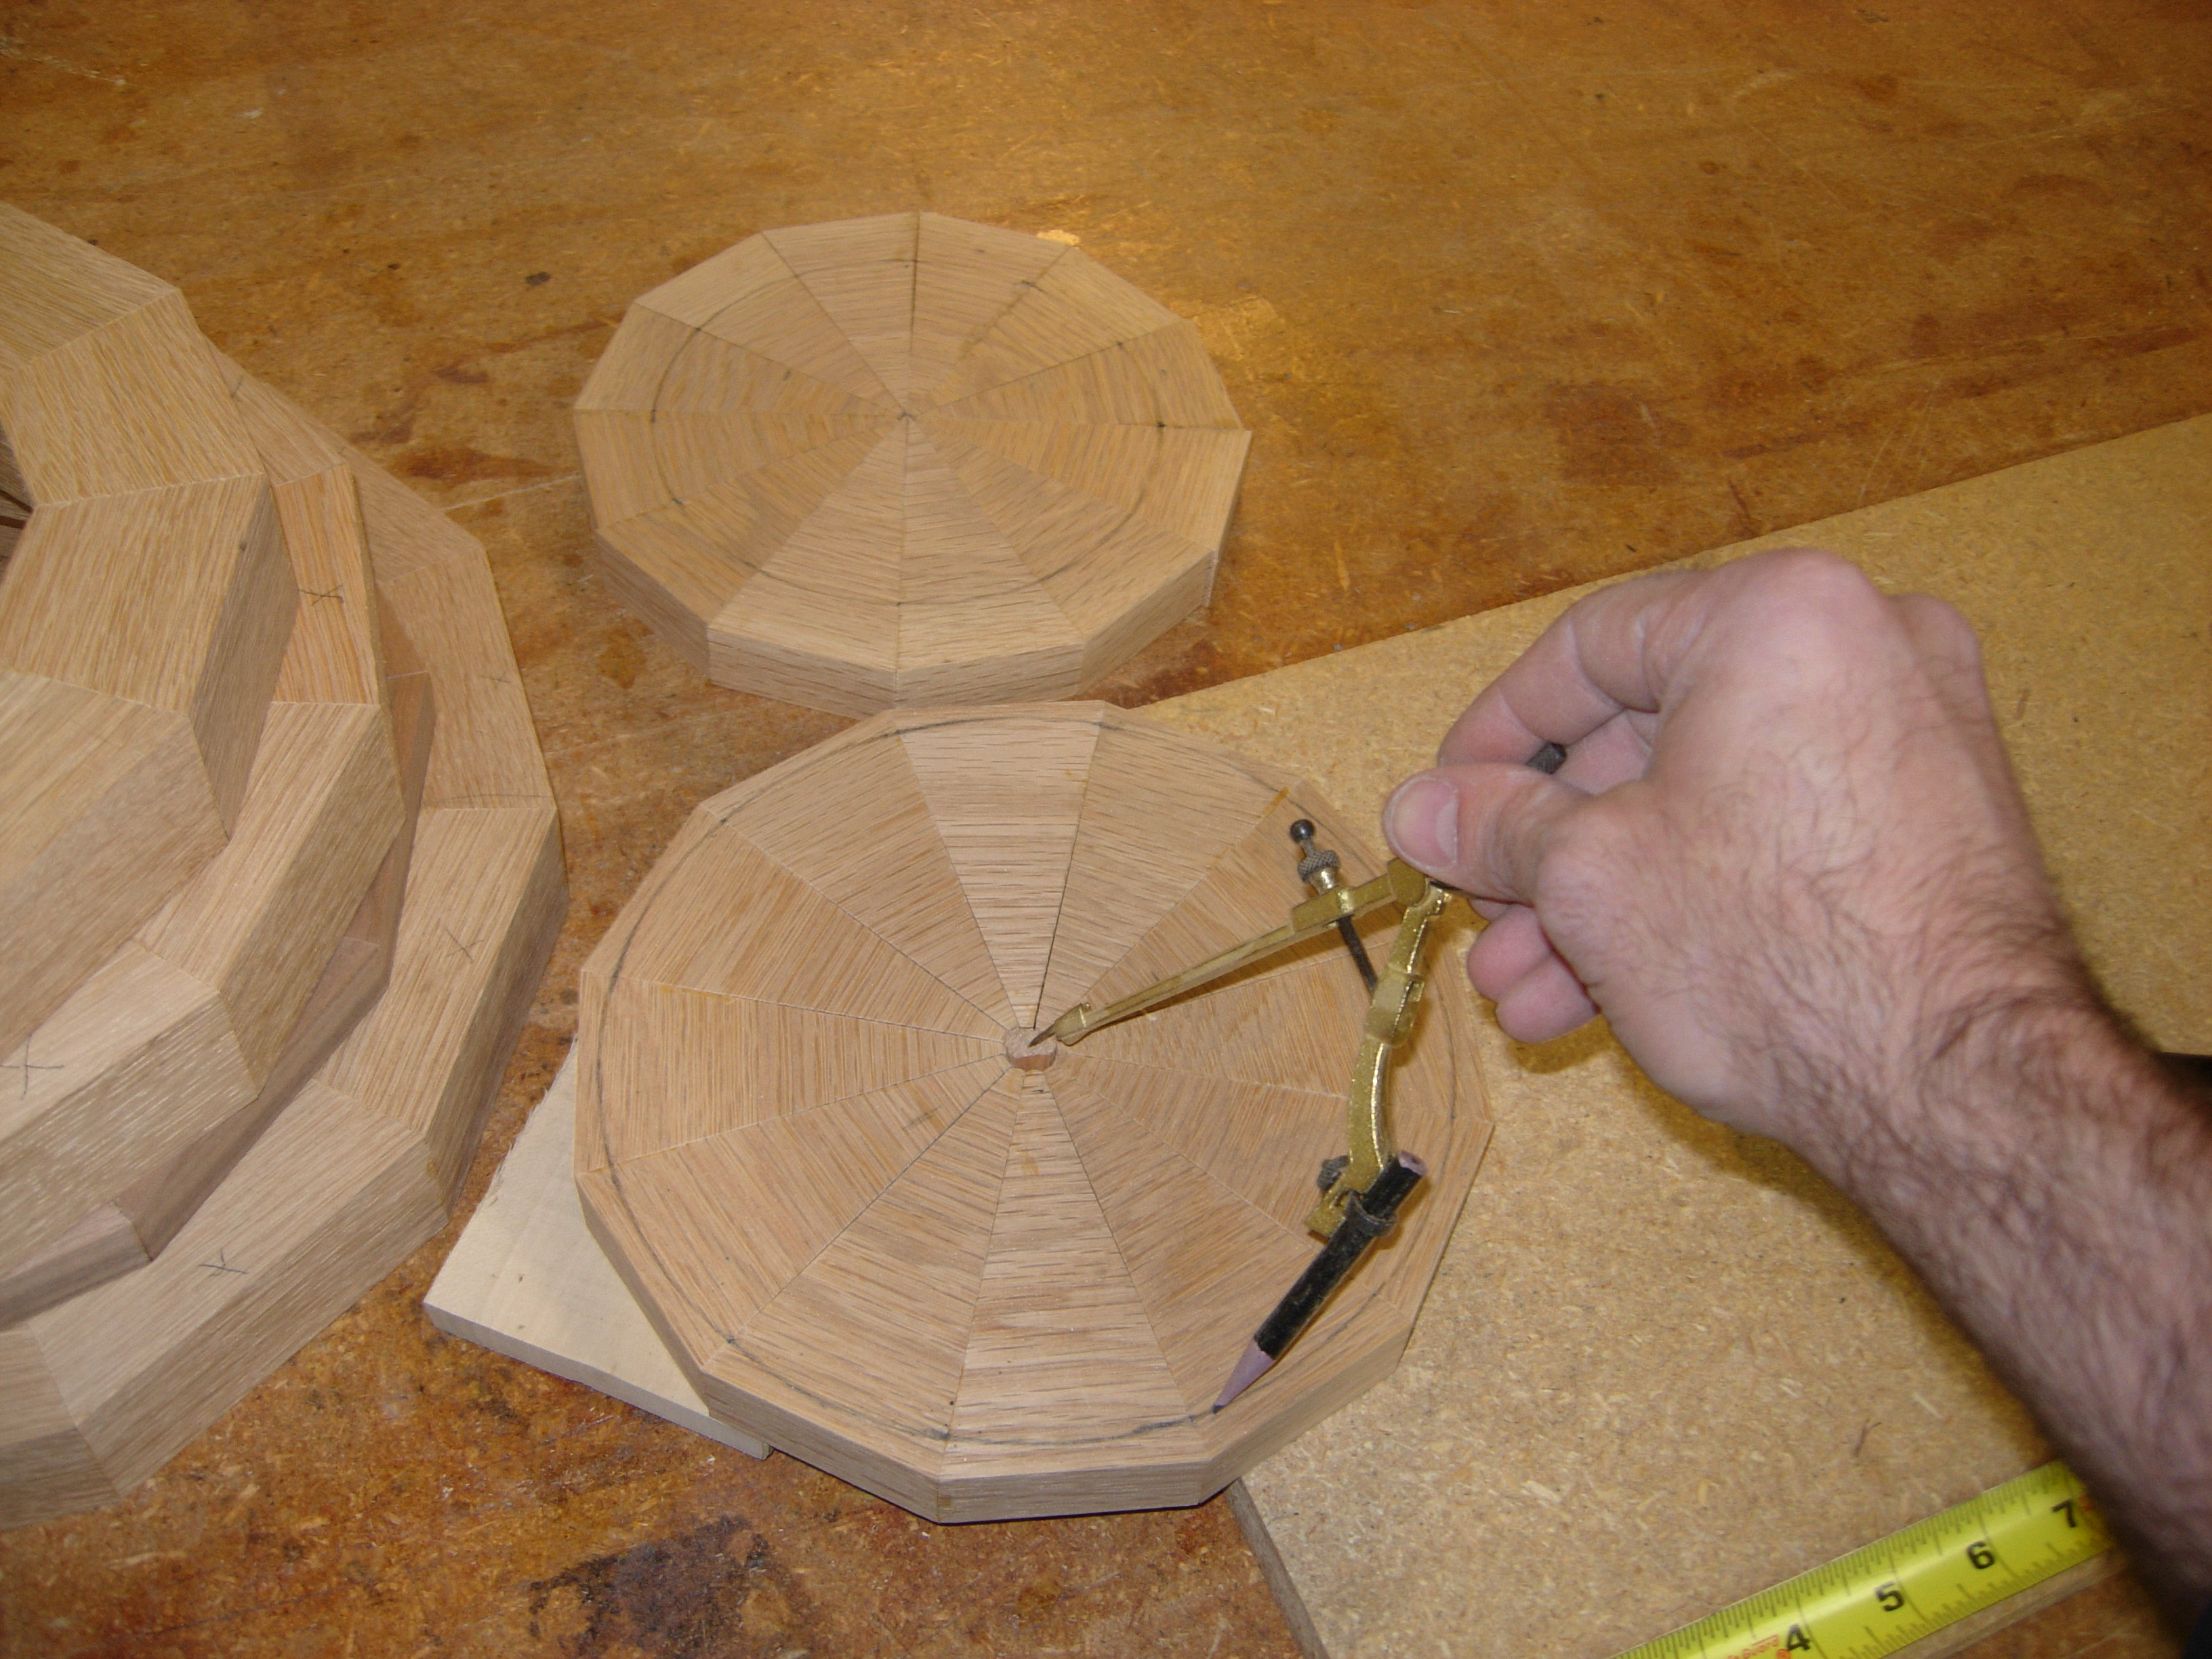
Marking the cap pieces
Since the compass was only large enough to mark the two smallest circles, I constructed a simple beam compass using a paint stick and a #6 screw. I cut press-in spacers to span the center of each hoop and marked the center to attach the screw from the compass. Next, I drilled a small hole at the outside edge of the hoop and ran a pencil point around the hoop, through the hole.
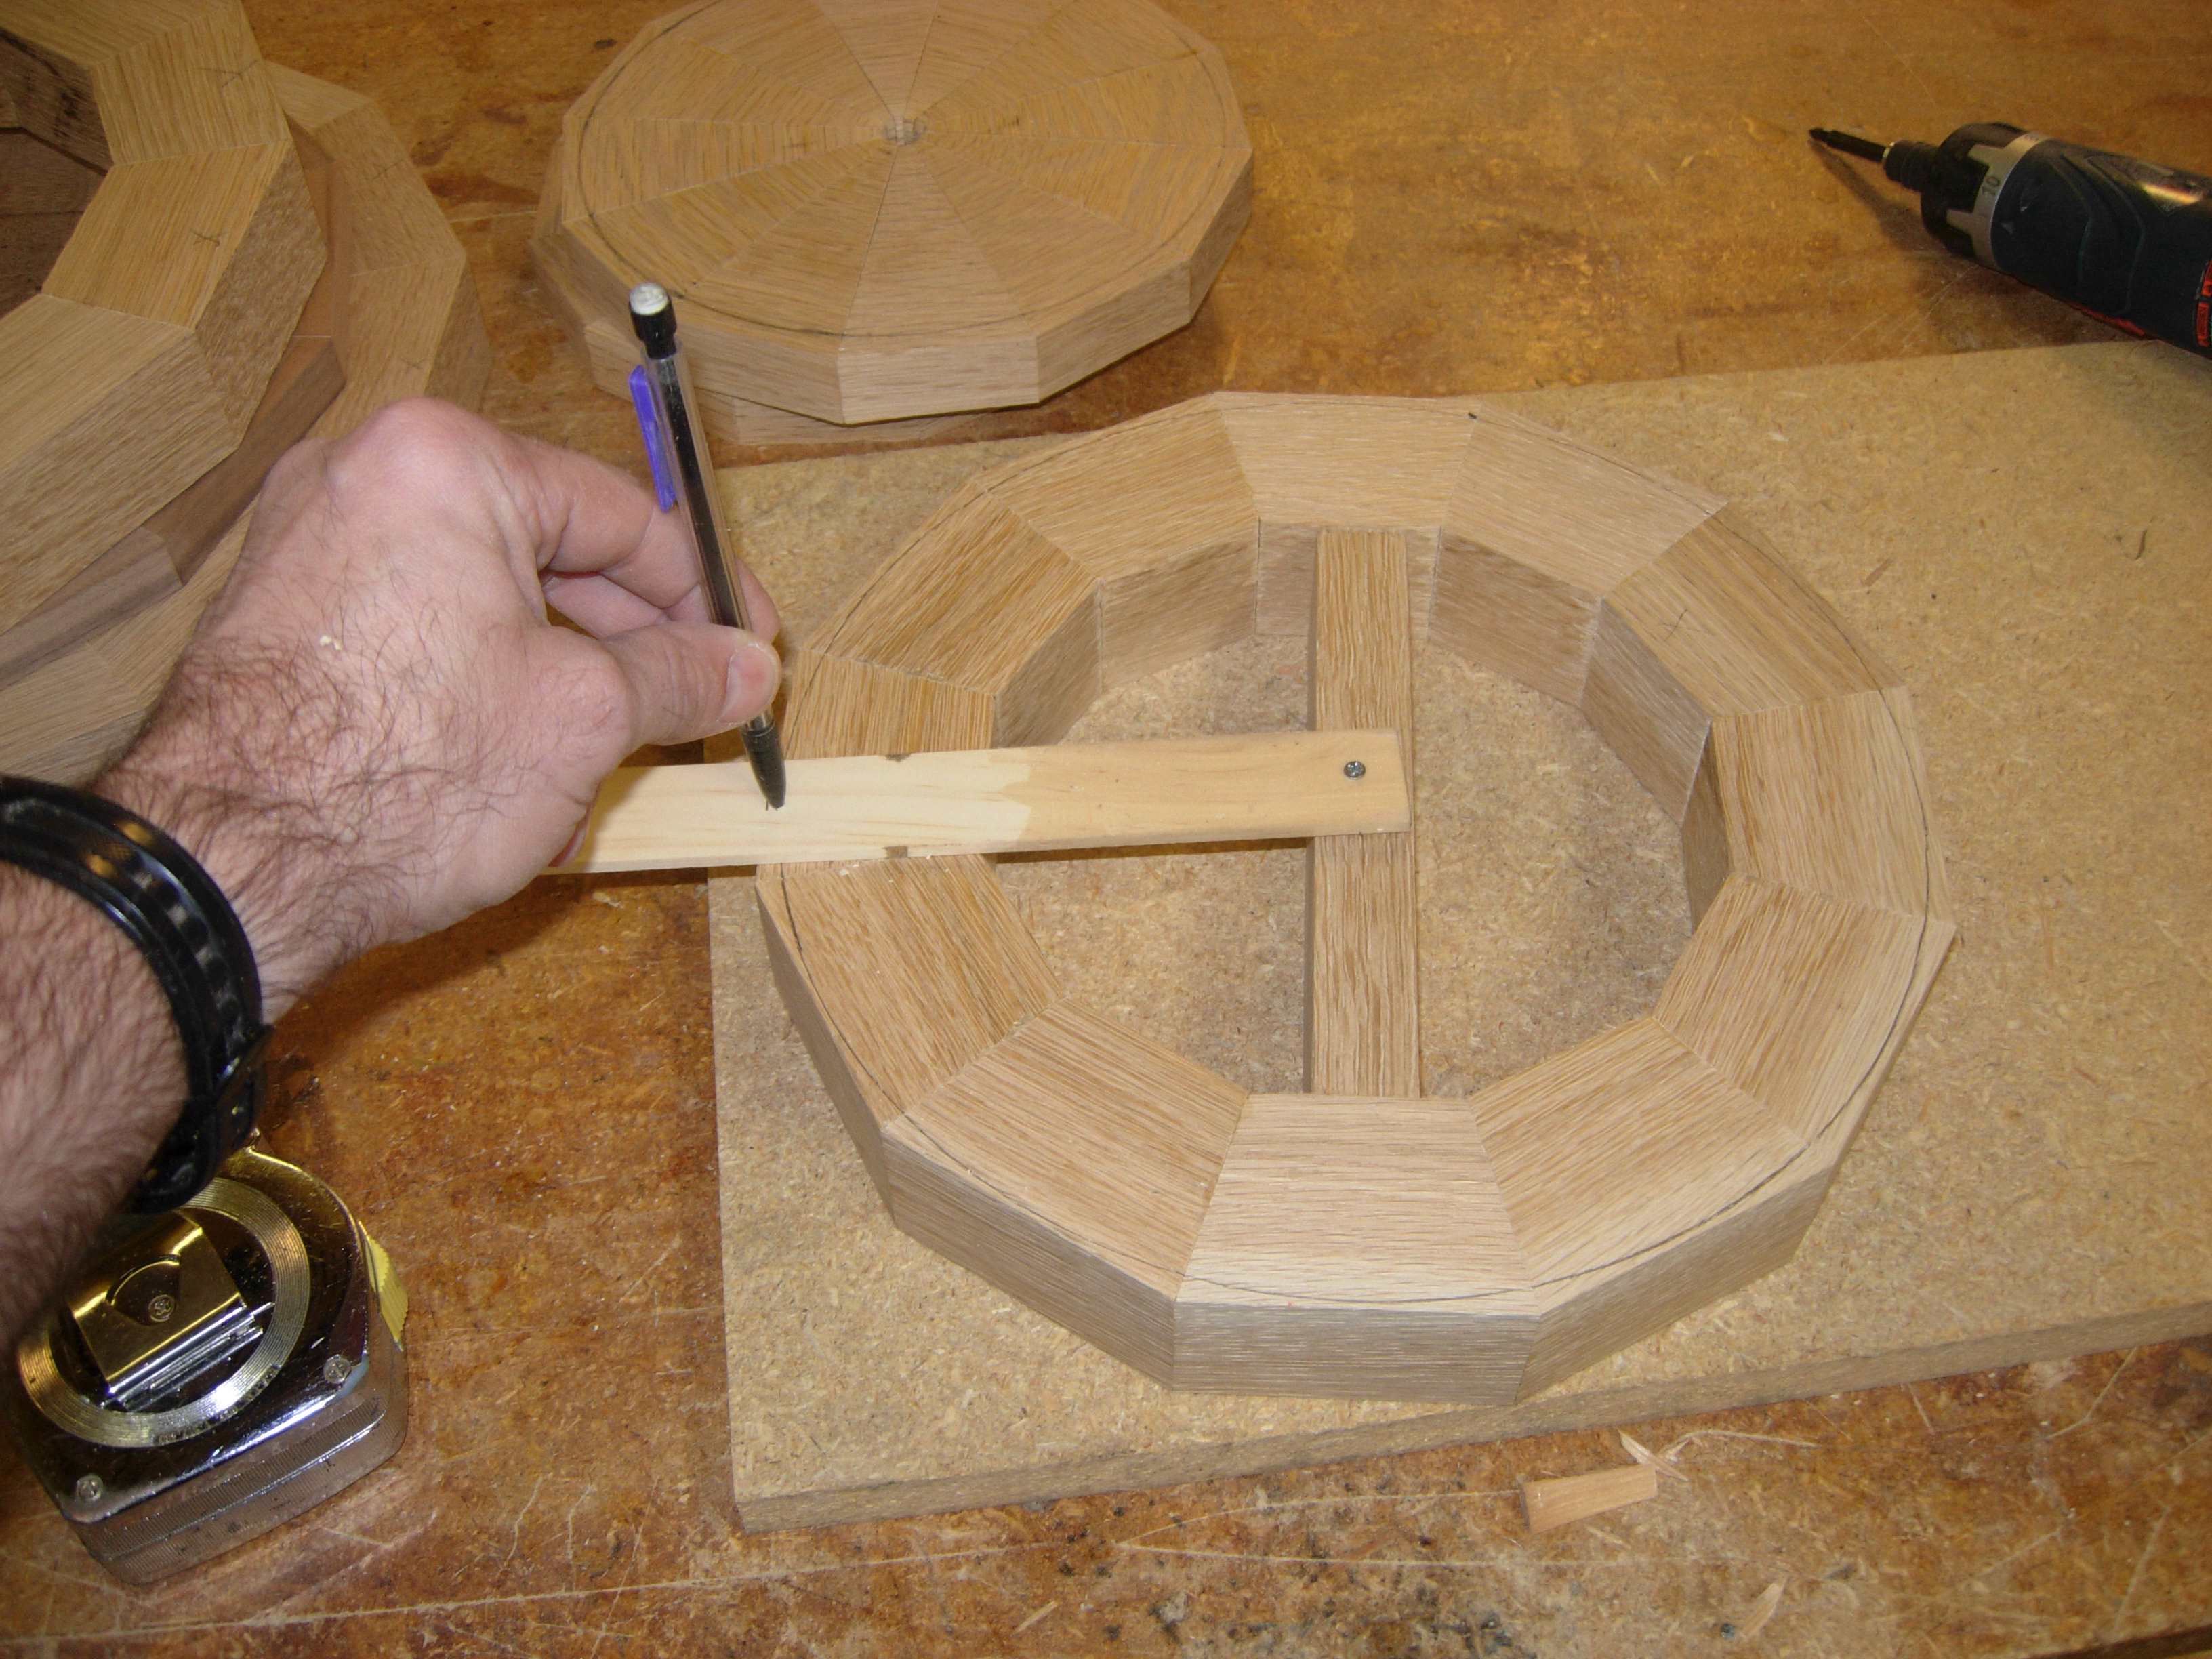
Improvised beam compass
With all of the layers marked, I cut rough circles out on the band saw.
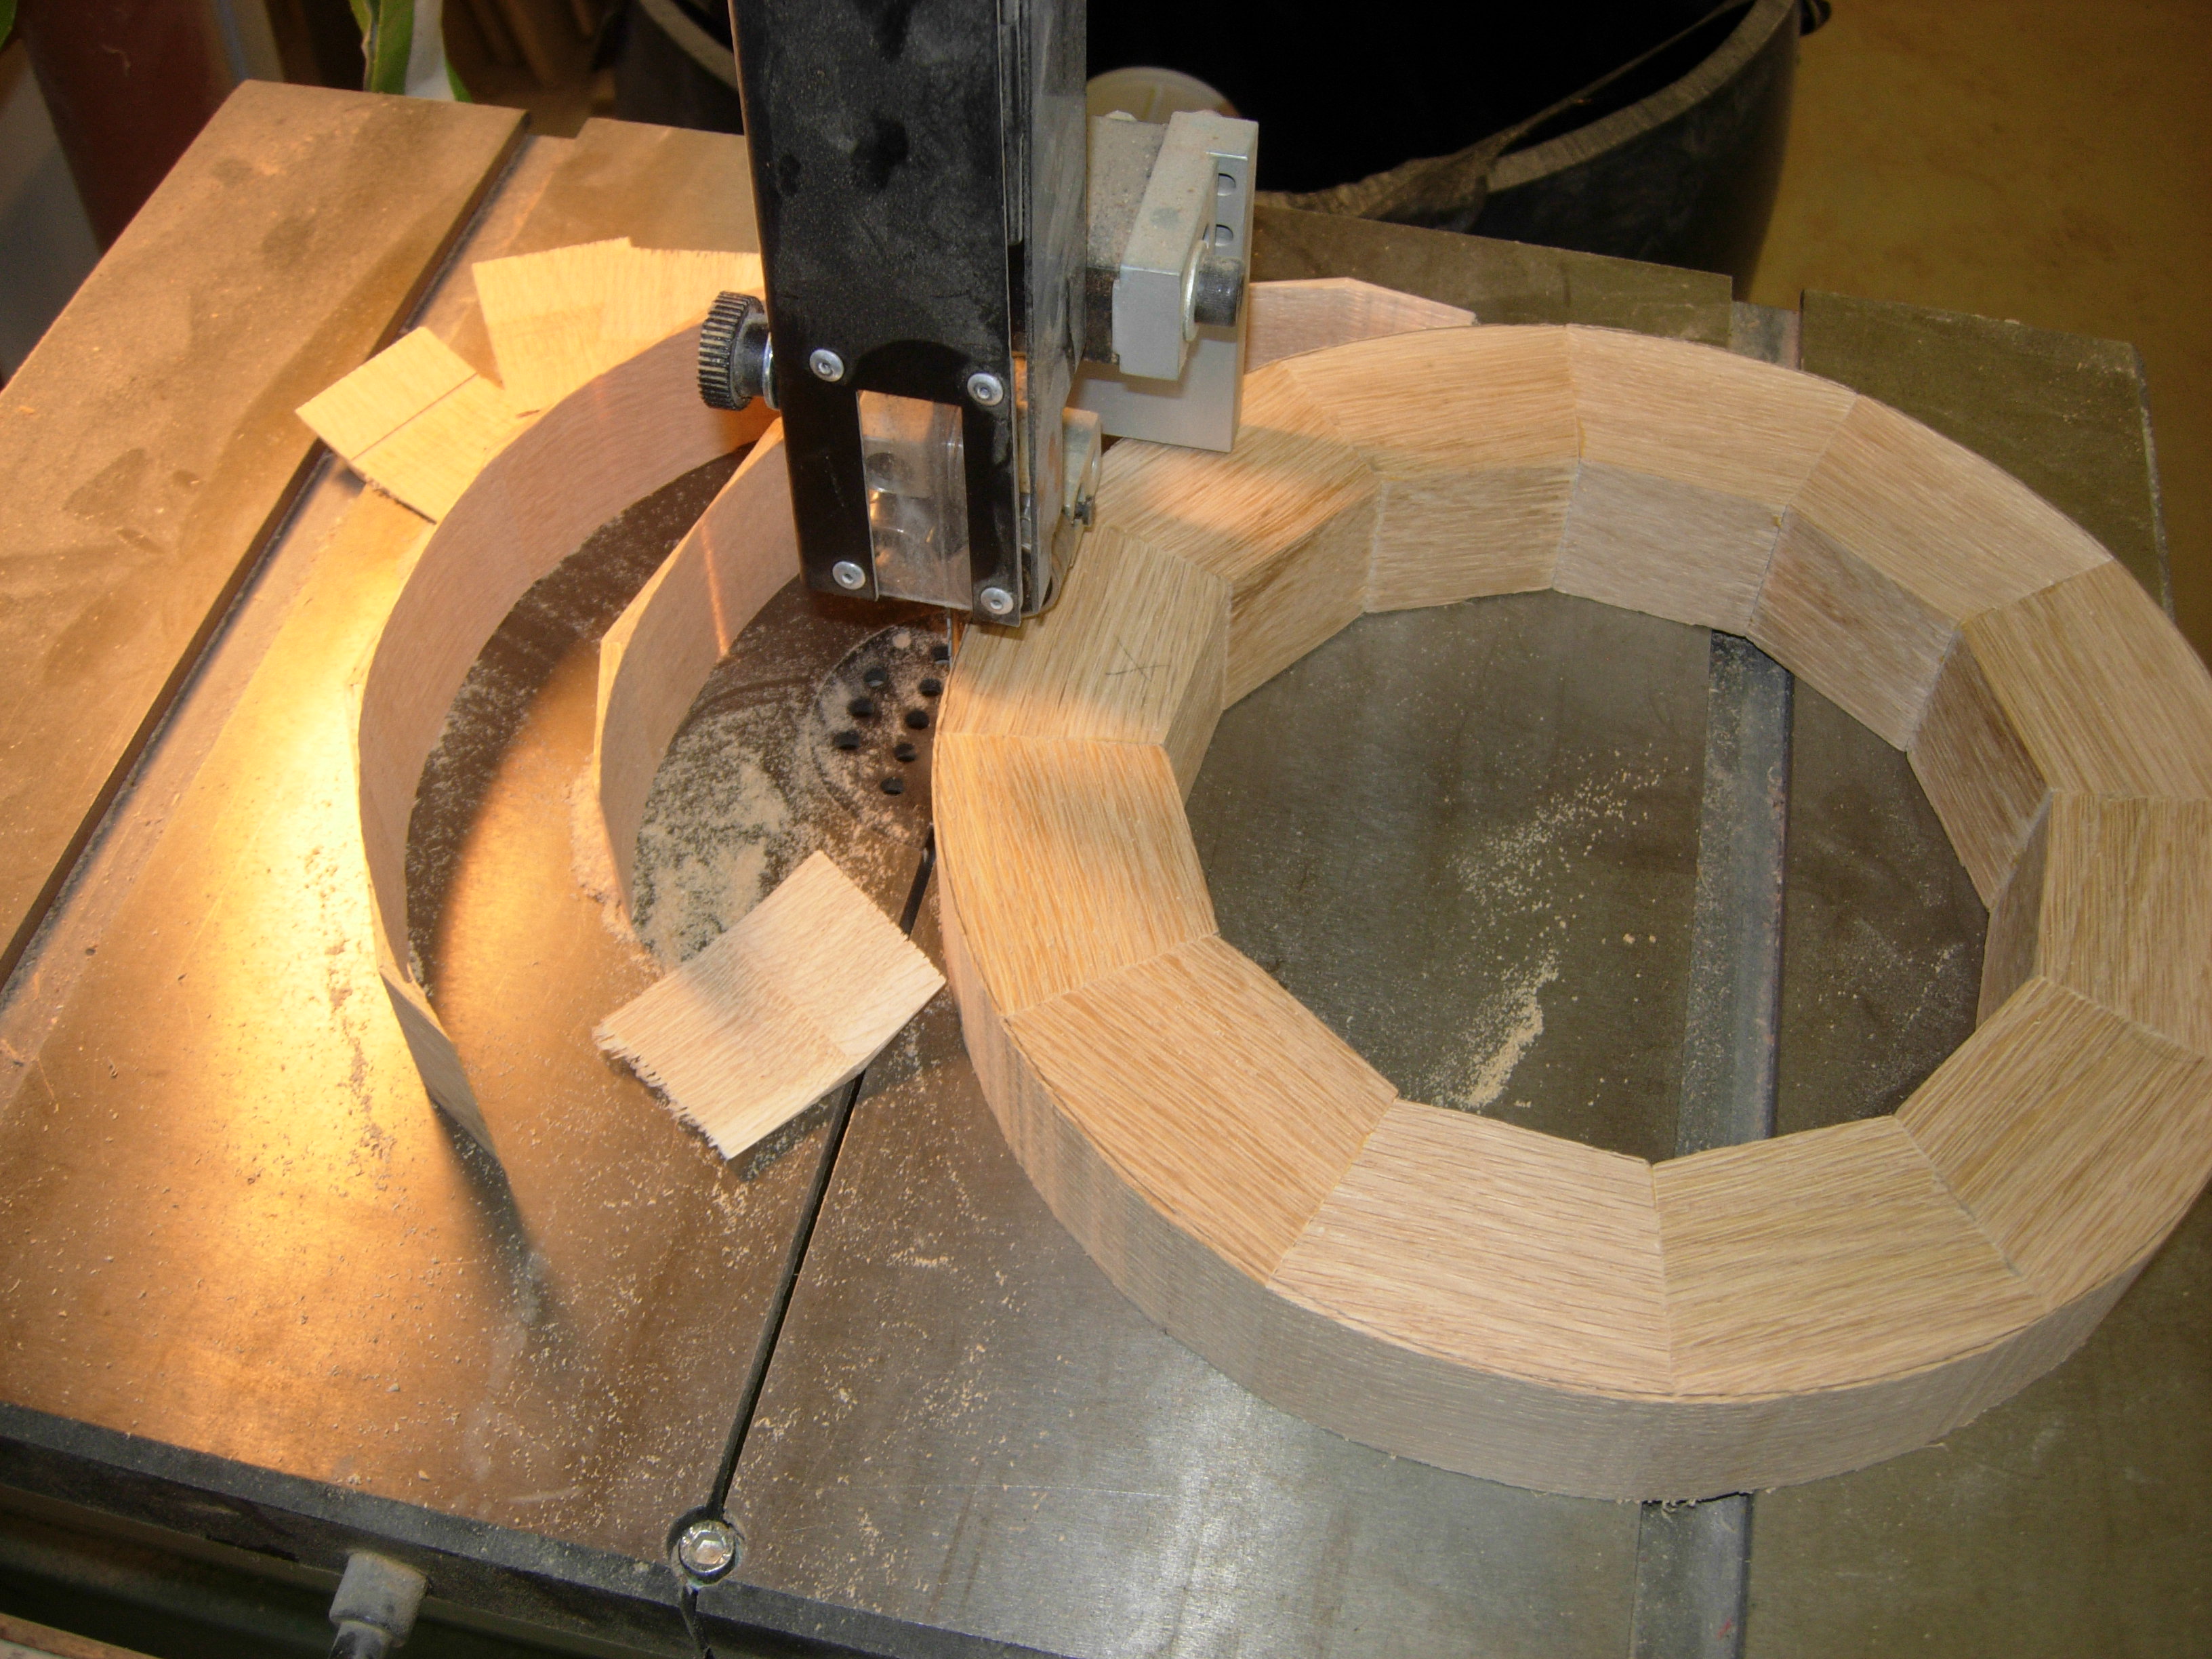
Cutting all the edges round
Since the glue, holding the hoops together, is currently all on the end grain of each facet, the glue joints are really weak. If I dropped one of these, it would break apart. All of the strength will come from the face glue-up of the layers, staggering the seams as I stack them. To get a really good bond before trying to cut them on the lathe, I need the faces to be perfectly flat.

Building a quick sanding table
Since I don’t own a drum sander (yet!), I decided to build a flat sanding table and sand the faces the hard way. To do this, I found my flattest piece of scrap, a piece of particle board. Then I applied several layers of double-sided tape and attached two sheets of 80 Grit paper, side by side.

Sanding until all the marks are gone
Sliding the hoops around in random patterns, I slowly flattened them down. To insure that I got the entire side flat, I scribbled all around the face with a pencil, then sanded until all of the marks went away. After the smaller hoops were done, I added a second piece of particle board and two more sheets of sand paper.

Still sanding
To keep things rolling along, I had to sweep off the dust often. This kept the paper from getting clogged. When it clogged, it barely sanded anything.
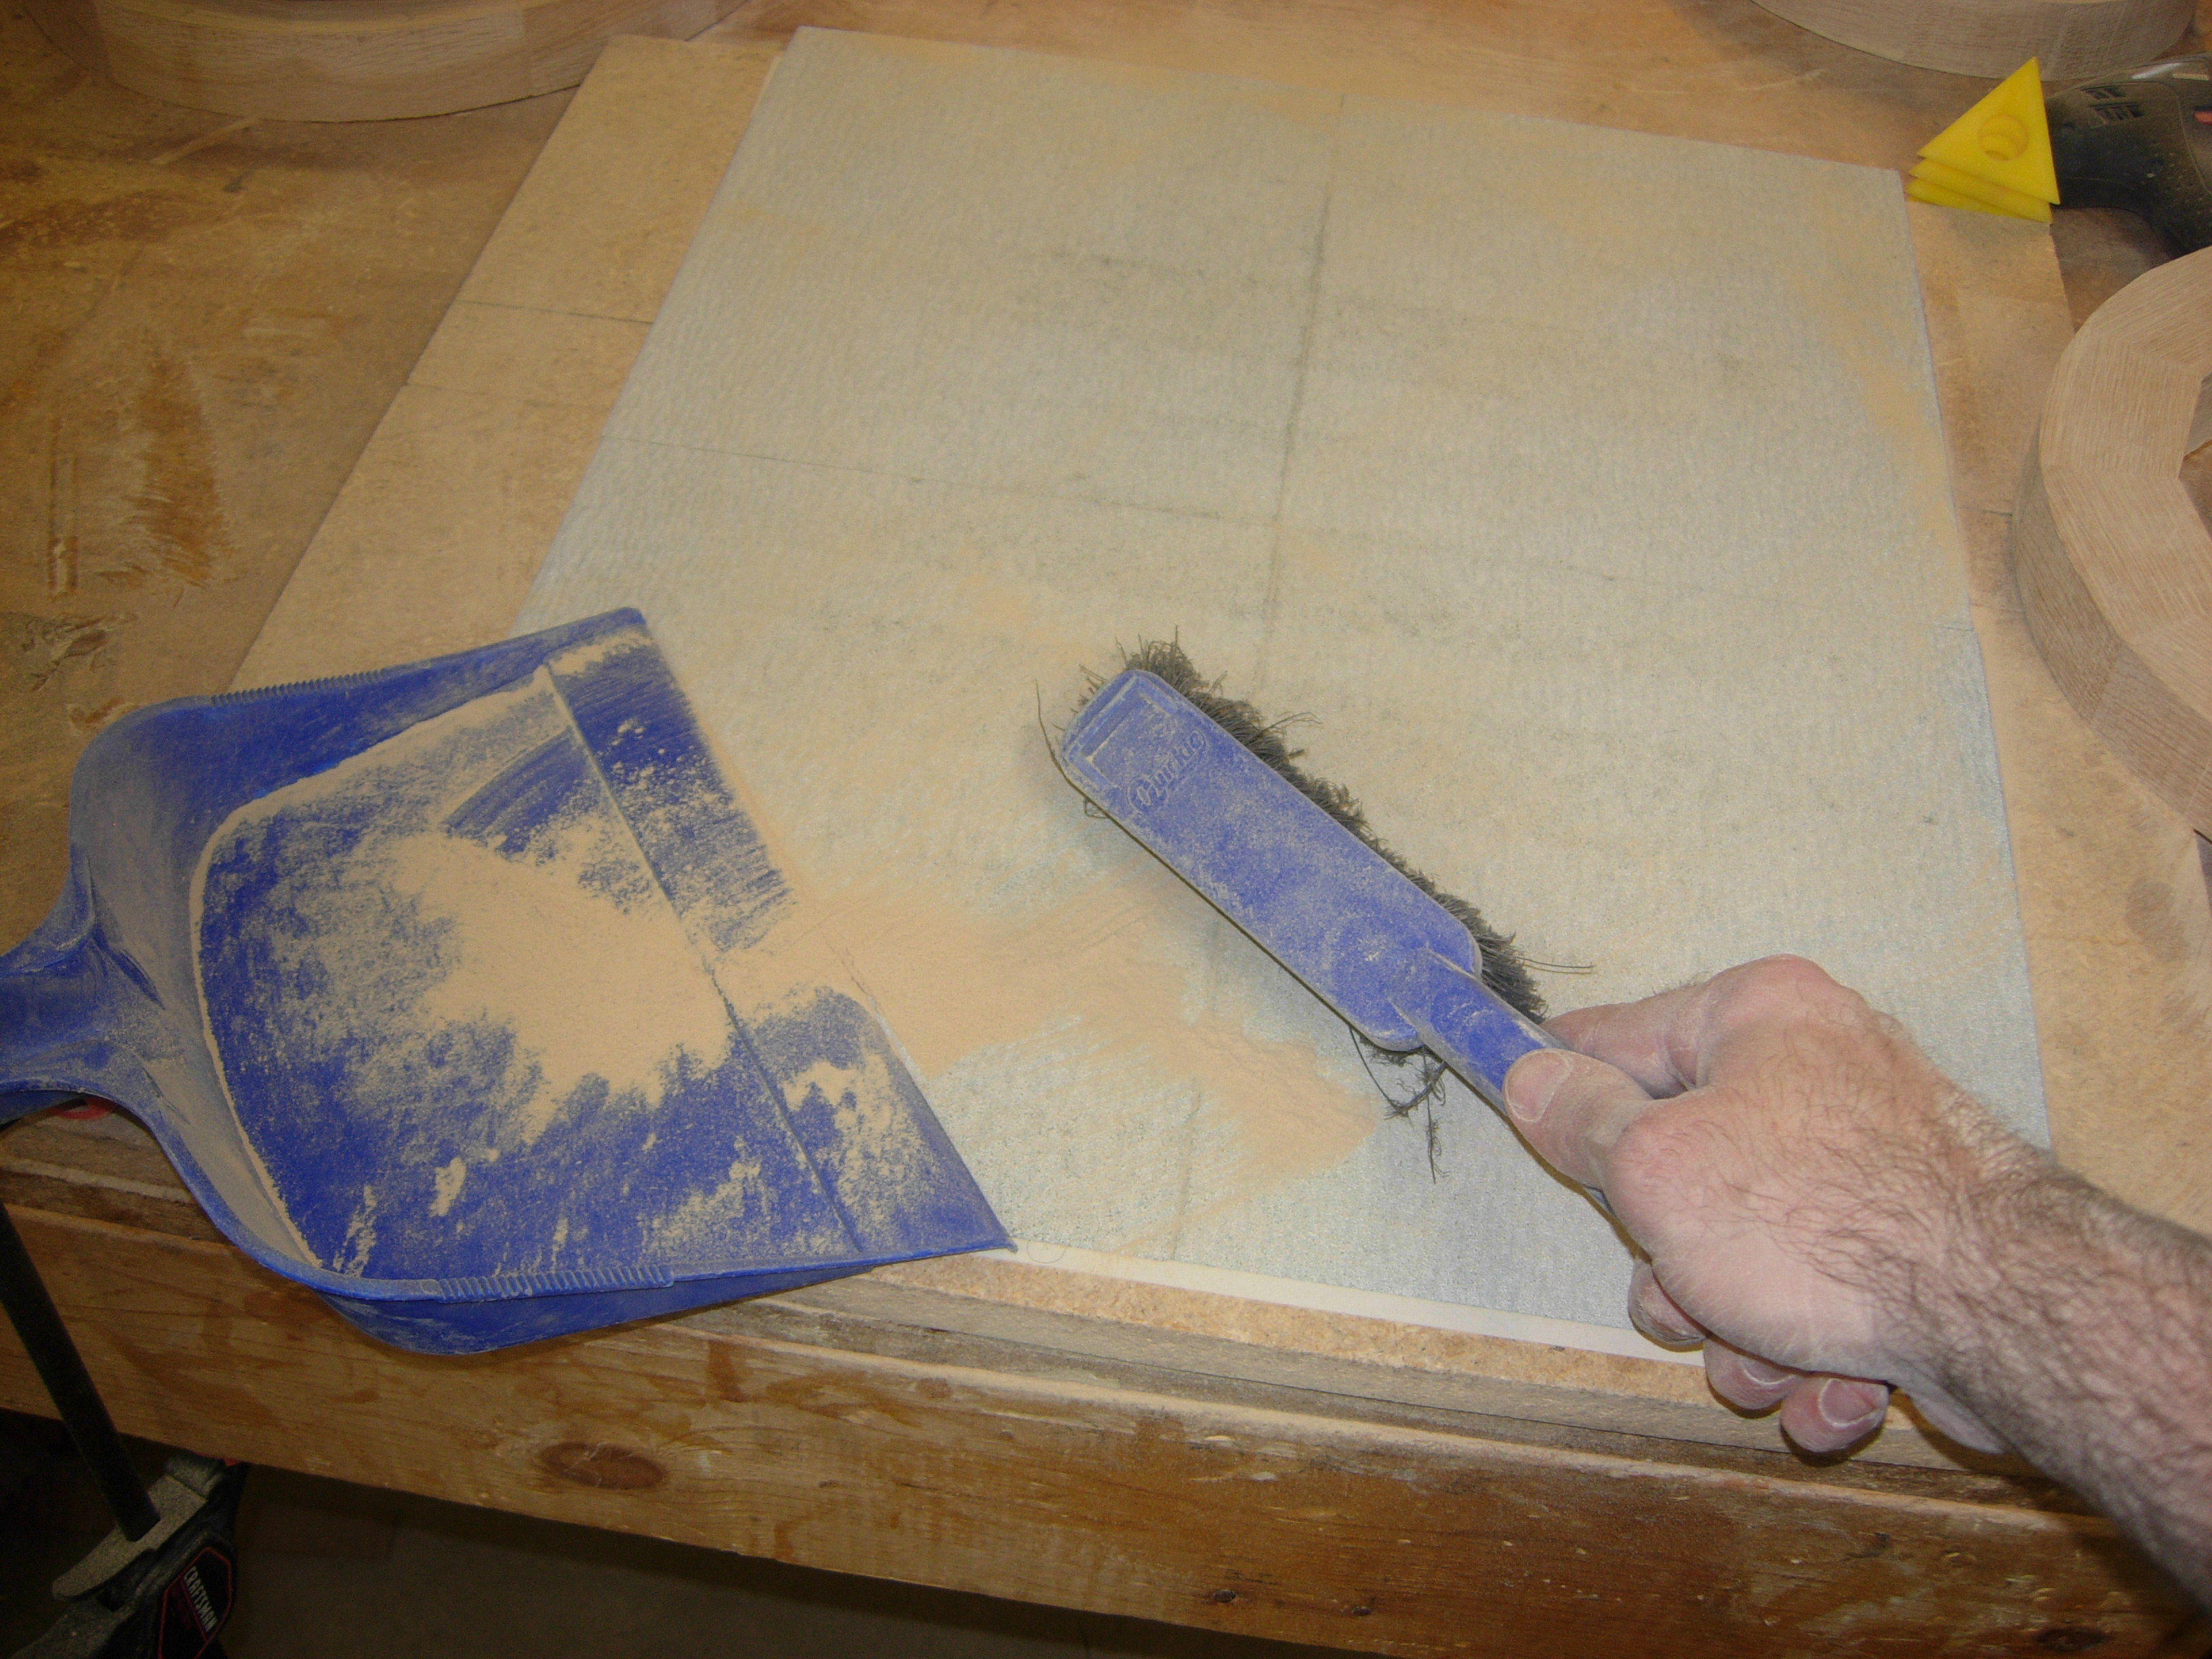
Keeping the paper free of clogs
I saved all of the dust in a bag. This stuff is great to use as wood filler, when mixed with the right glue. I will probably need it to fill gaps in the dome once it has been shaped on the lathe.
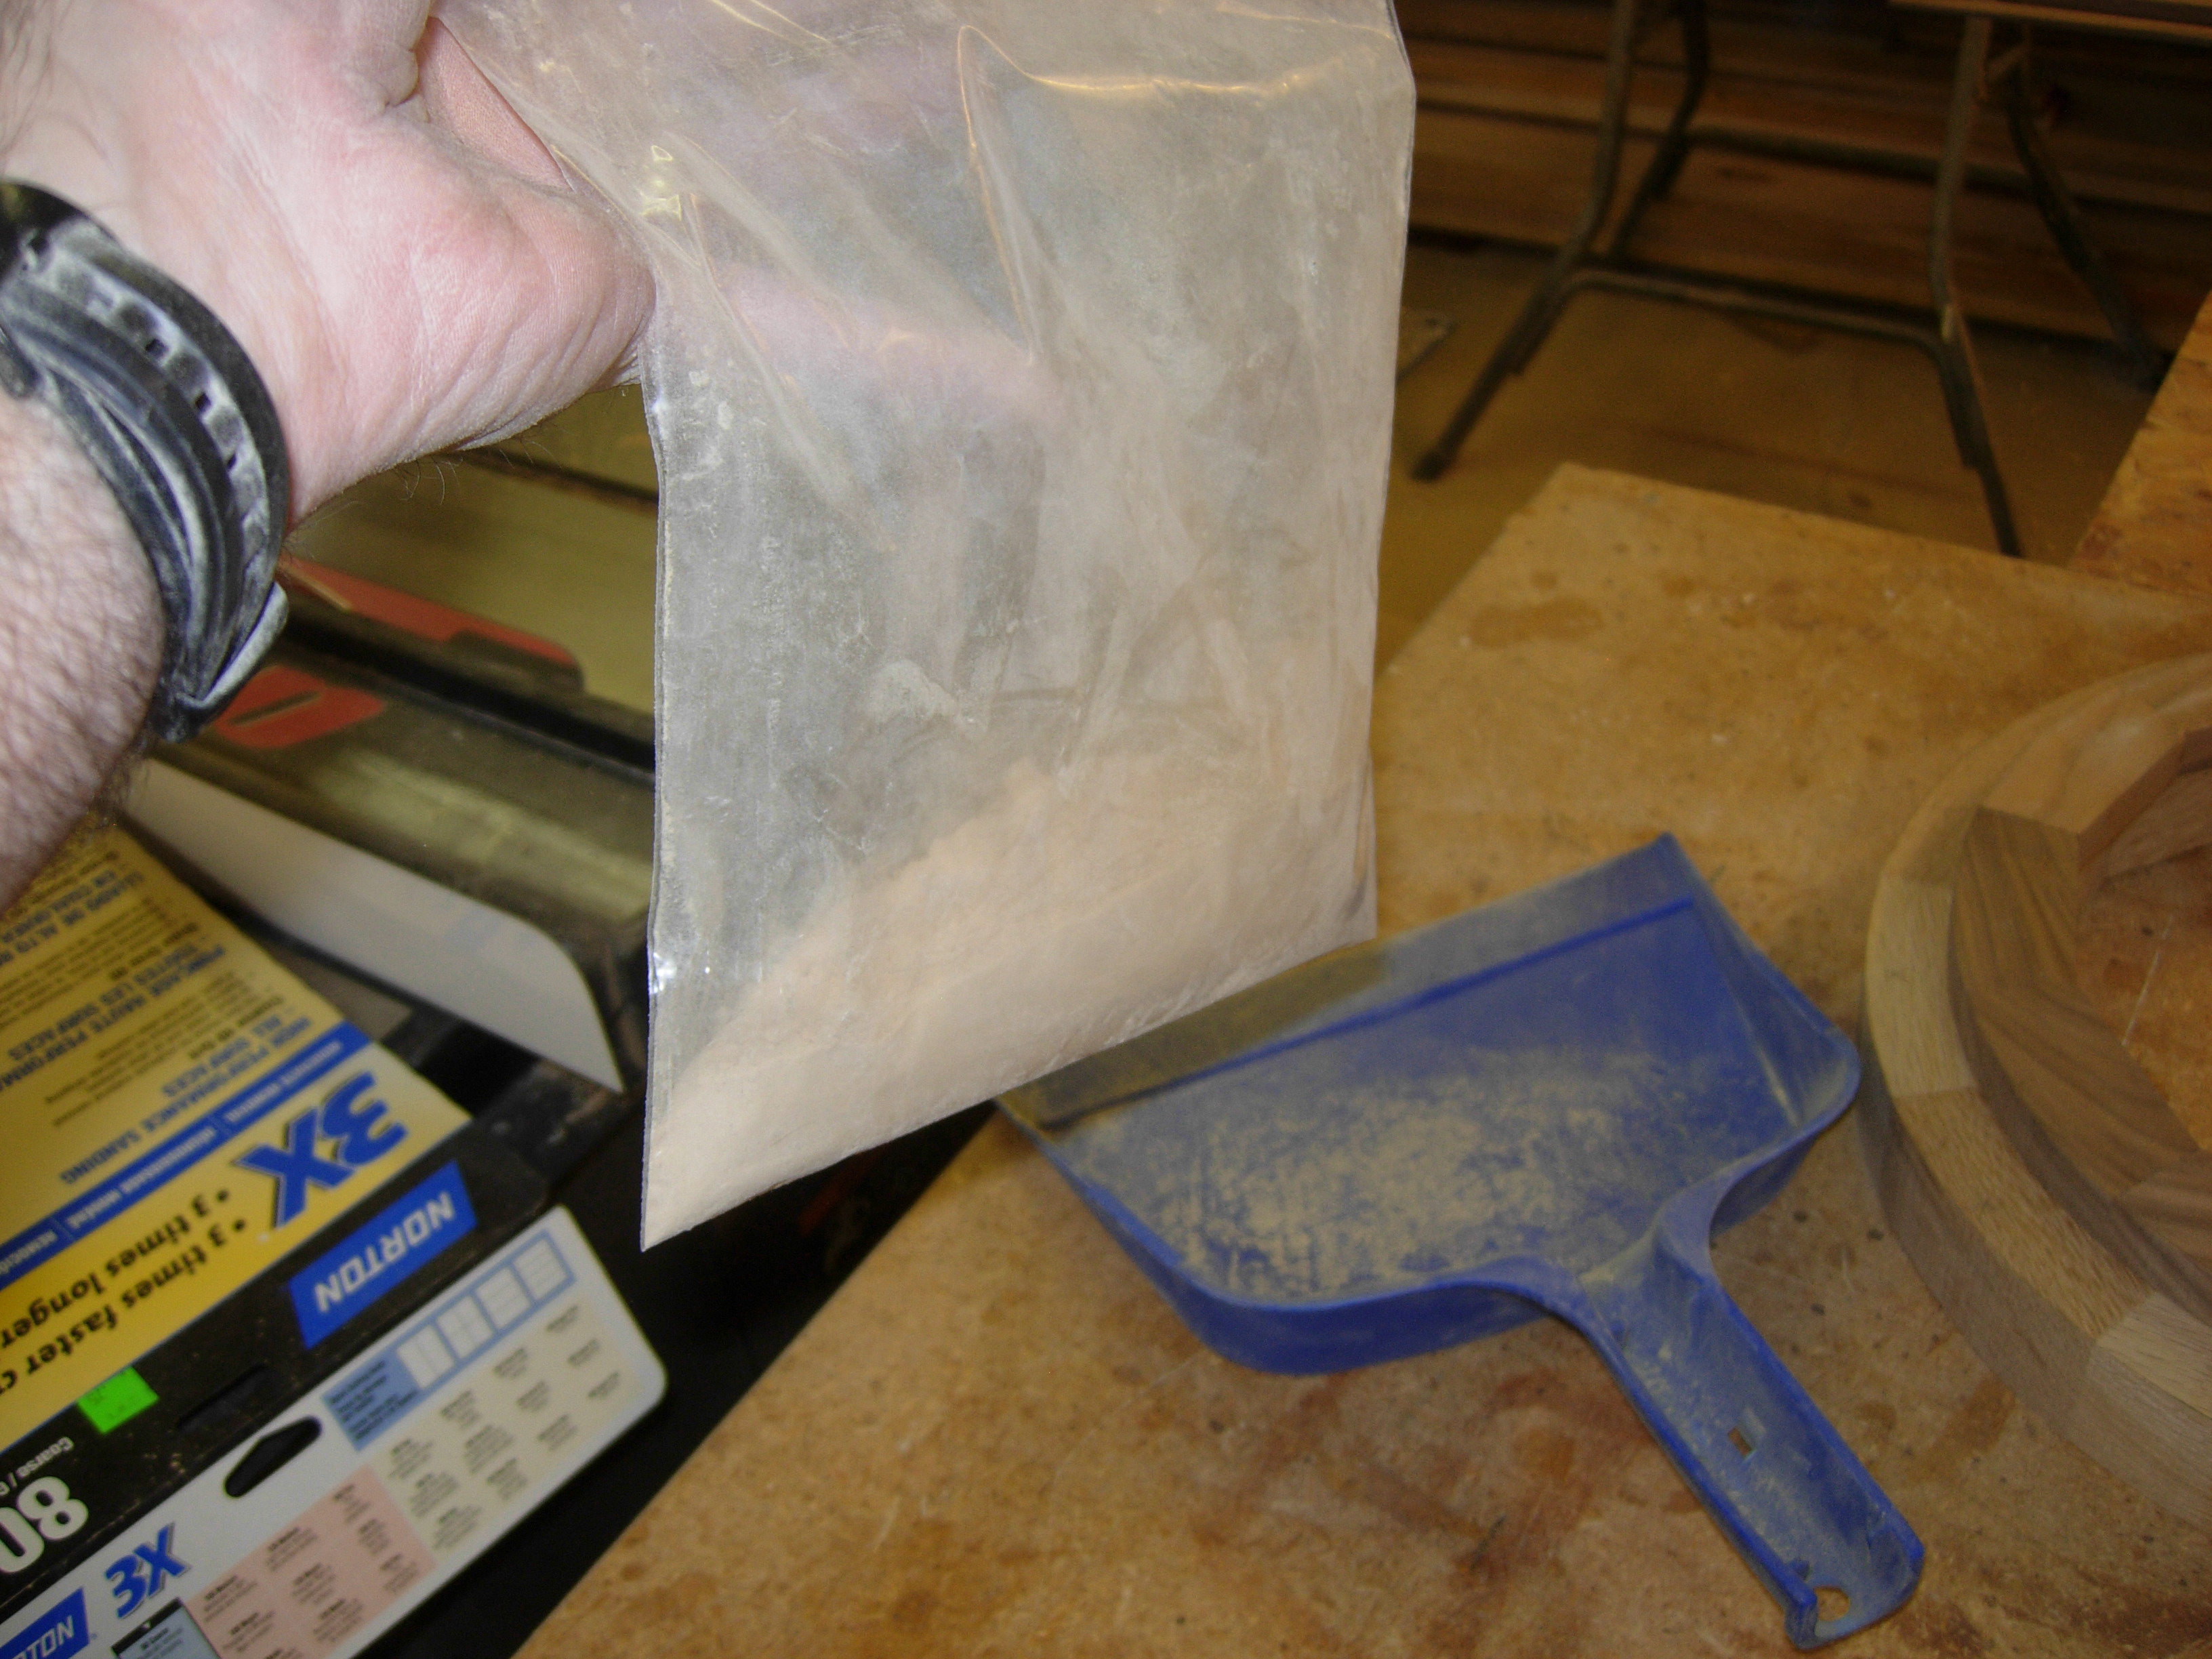
Saving the dust
After what seemed like half the day, all the faces were as flat as I could make them. There were no visible gaps that the clamps wouldn’t be able to overcome.
Three hours later…
The next step was to add glue to all of the contact surfaces.
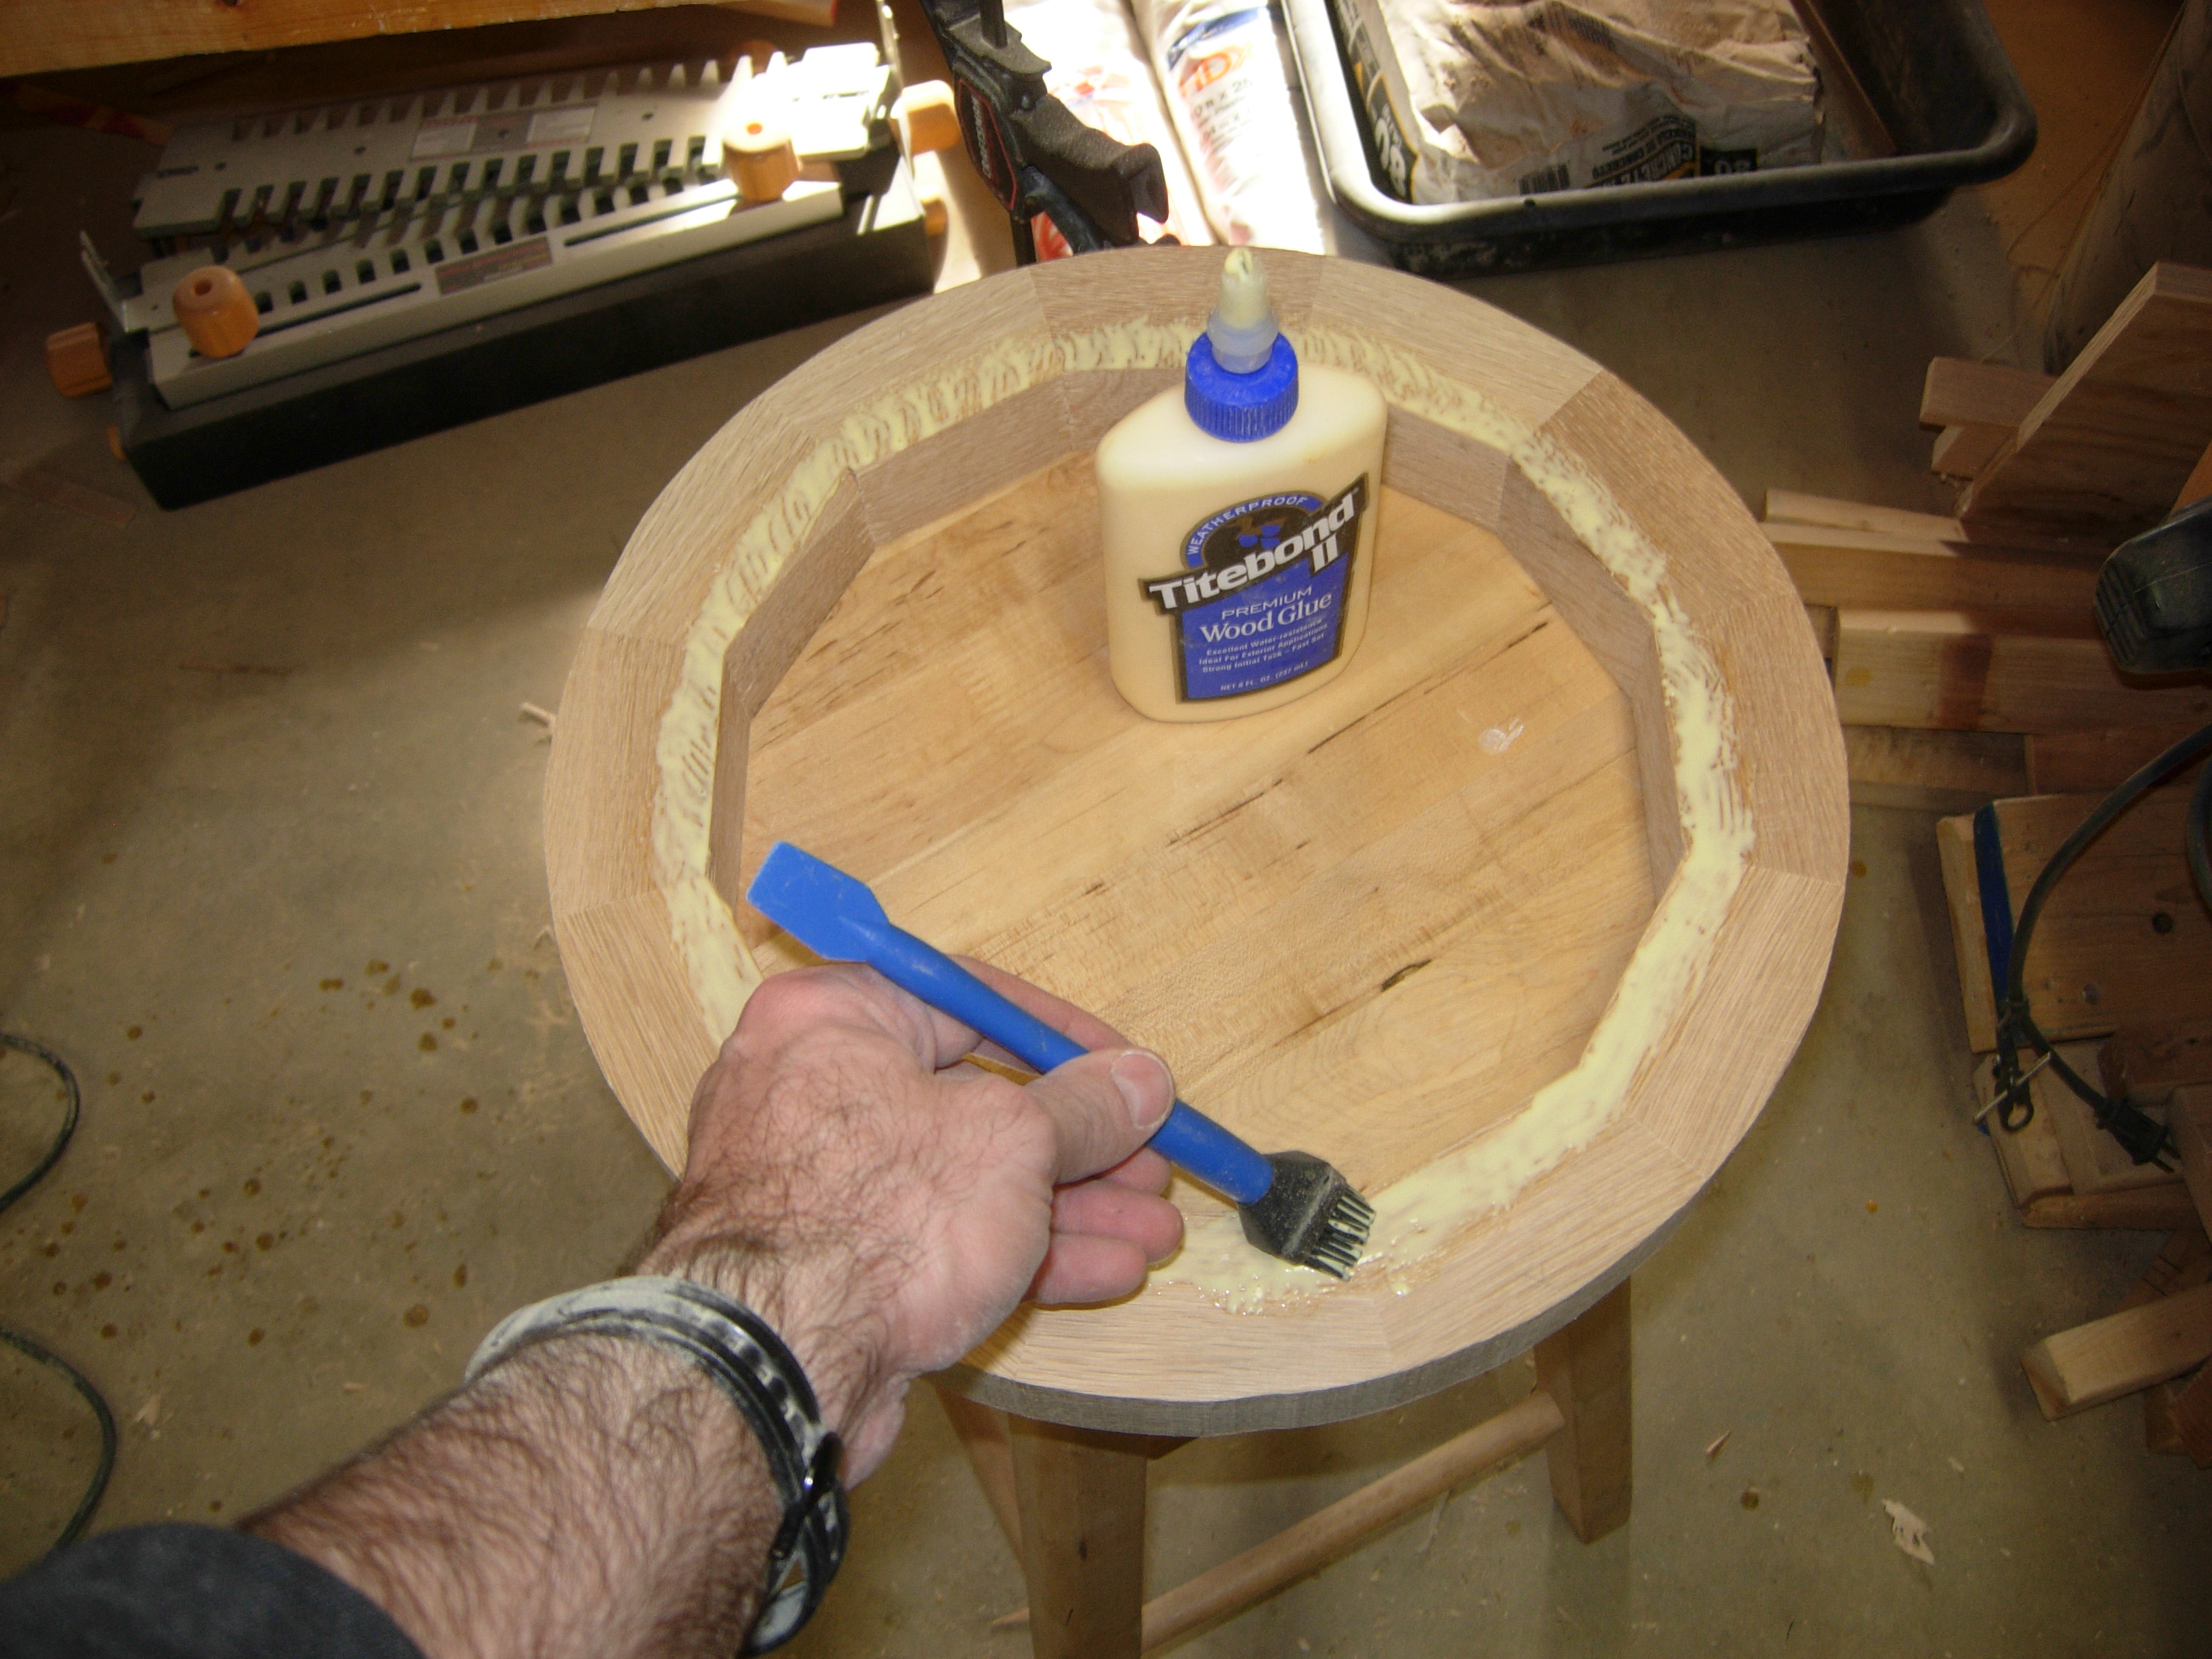
Starting the glue-up
I centered the circles on top of each other using blocks that were approximately the same size as the step. I rotated them around the hoop, opposite each other, to make sure the spacing was the same, all the way around.
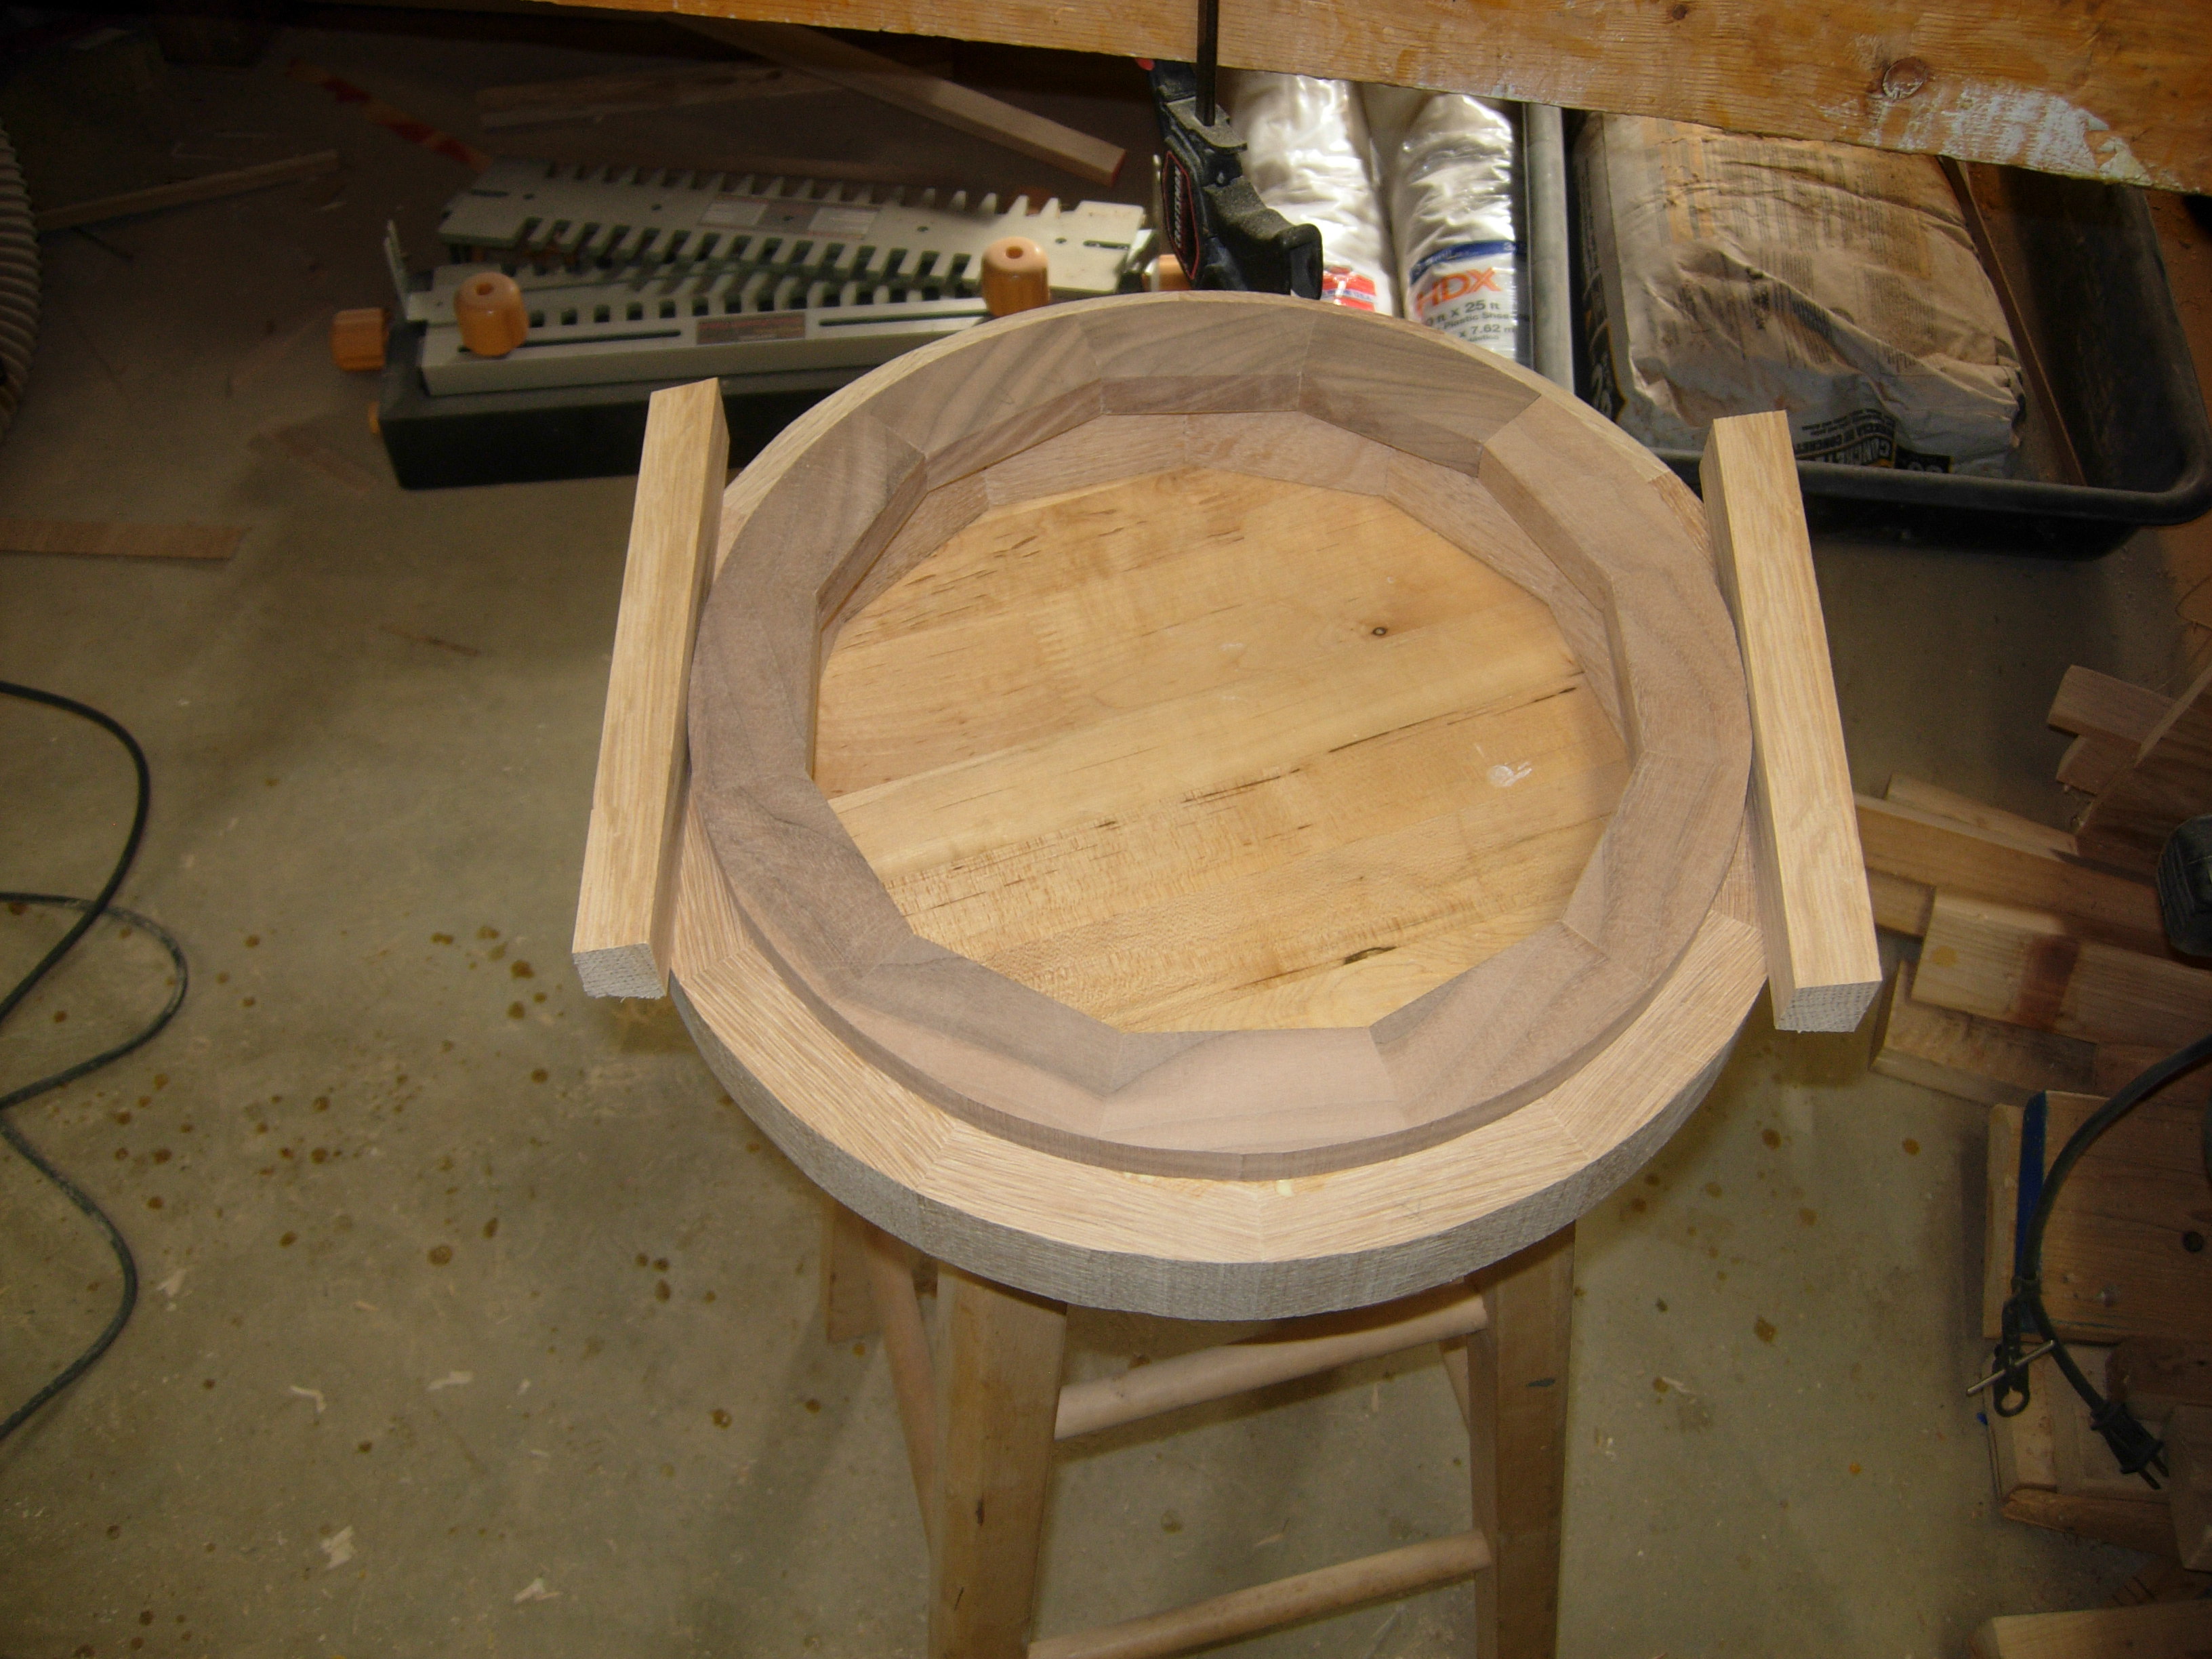
Using blocks to center the hoops
I set the larger, lower three layers on my shop stool and clamped them down to its flat surface, for the glue to dry.

Lower three hoops glued and clamped
Since I don’t have any really deep clamps, I cantilevered blocks out across the smaller three layers, in order to get more clamping pressure across the surfaces.
Upper three glued up as well
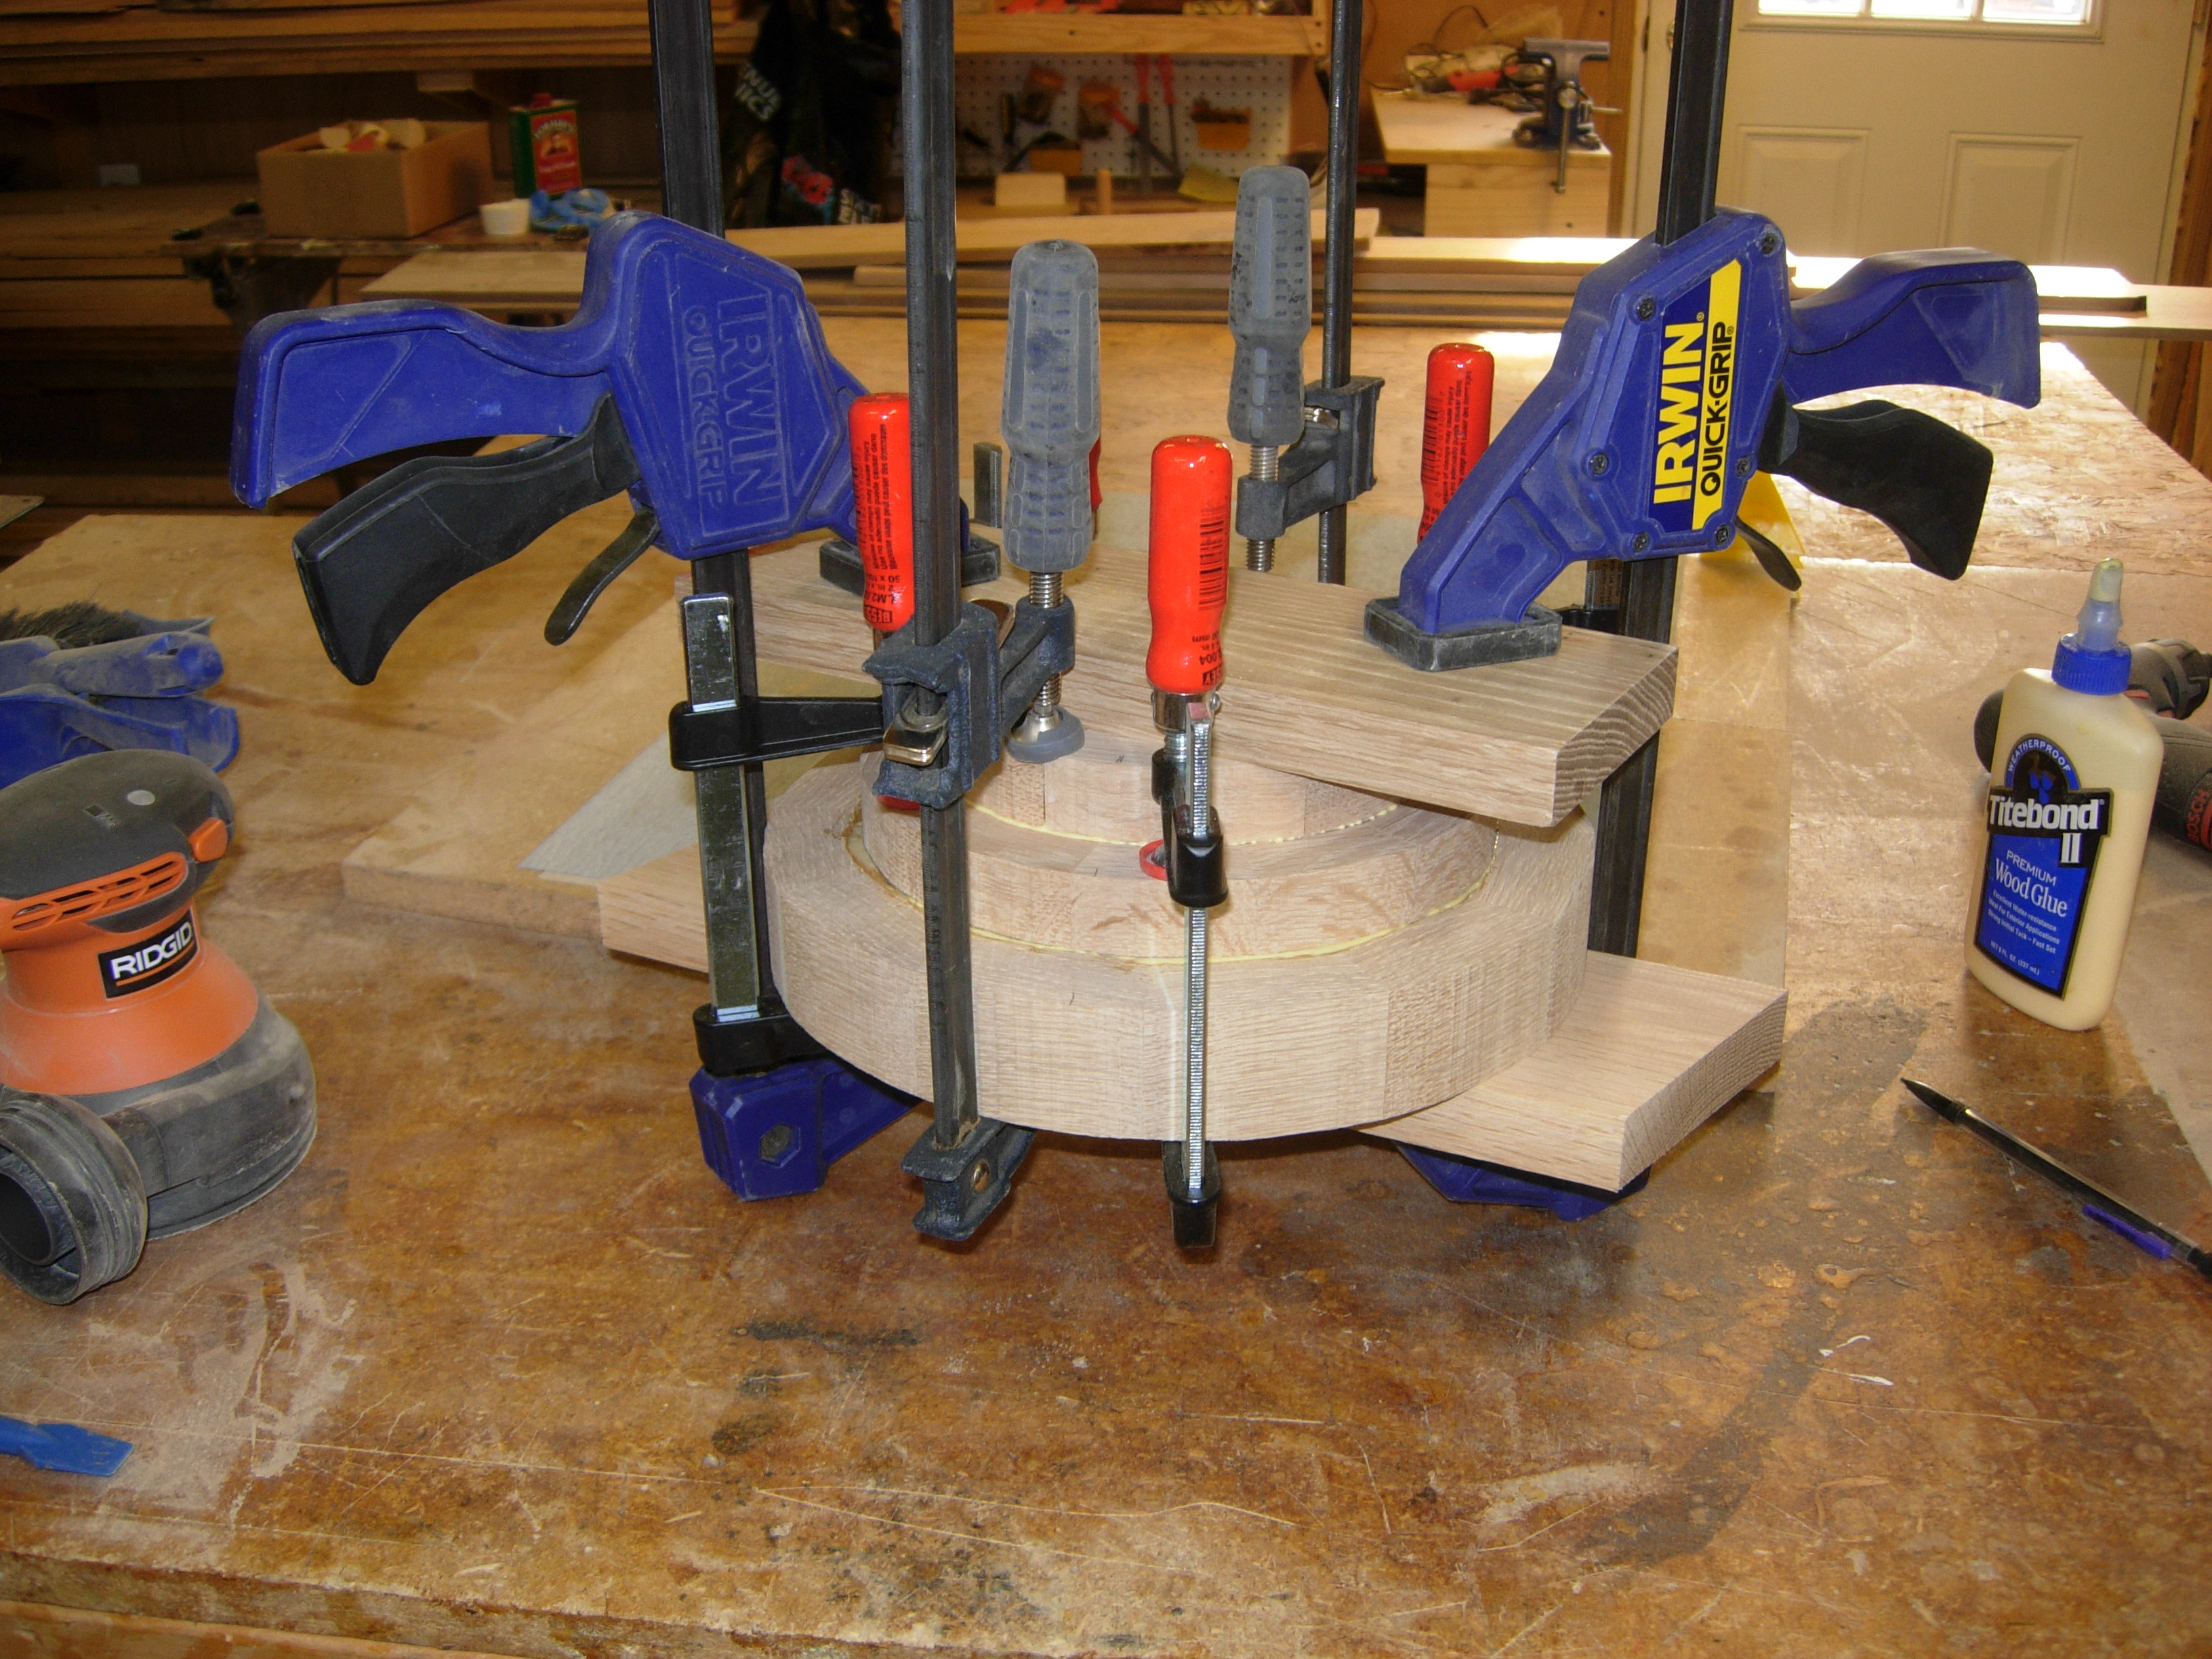
Three hours later, I pulled the clamps. I applied more glue and stacked the upper section upon the lower, then added a piece of 6/4 walnut to the top, and clamped it up.

Full stack-up with sacrifical end piece
The chunk of walnut is a sacrificial piece that the lathe’s face plate will be mounted to. That will enable me to work on the inside of the dome, if it survives me turning down the outside.
