
Tabernacle build – day 1
I got a request for a new church project yesterday. I knew this project was coming and I have passively been working on a concept to draw together elements from the altar, that I built, and the tabernacle behind the main altar. The kicker is the request came with a deadline. They want it before Holy Thursday. That gives me a little over three weeks. Father actually asked for a fairly simple box shape, but boxes are boring. I suggested making the tabernacle round with a domed top, and a thick circular base instead. Possibly with a carved relief on the door if there is time. Why? Because it is all stuff that I haven’t done before. Like I said, boxes are boring. Of course, the last time I tried making a round column, it blew up into my chest. Oh well, this one will be different, I plan to let the glue dry all the way this time…

Tabernacle concept
This is my concept drawing. I haven’t had a chance to draw up actual plans yet, because I keep changing my mind on the details. To make the project a bit more challenging, I decided to build with as many of the materials, coming from my scrap pile, as possible. The last three cabinets have left me with a huge pile of scrap that is getting in the way…
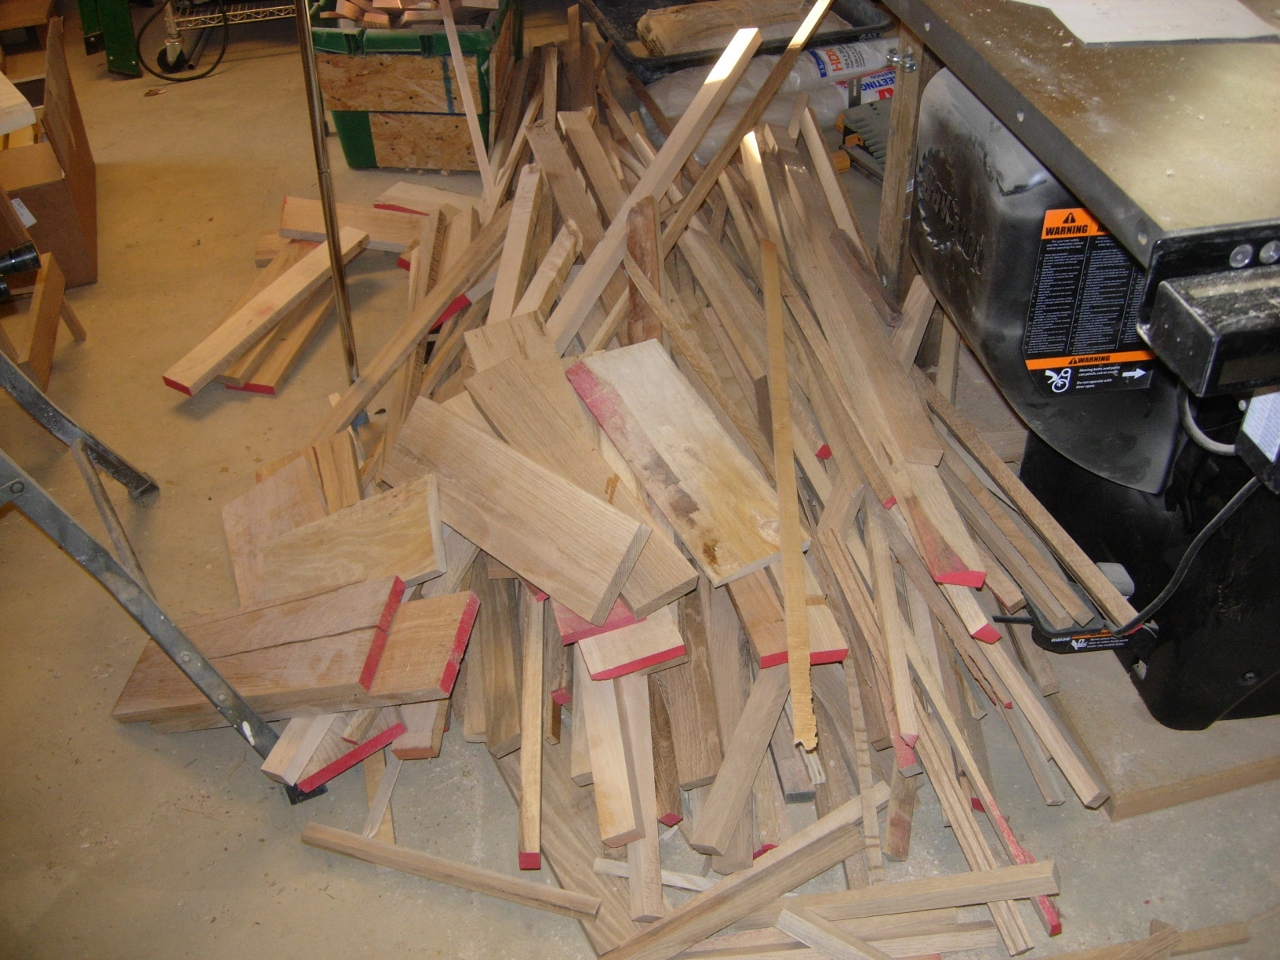
My waste pile from the last three cabinets

My carefully detailed plans…
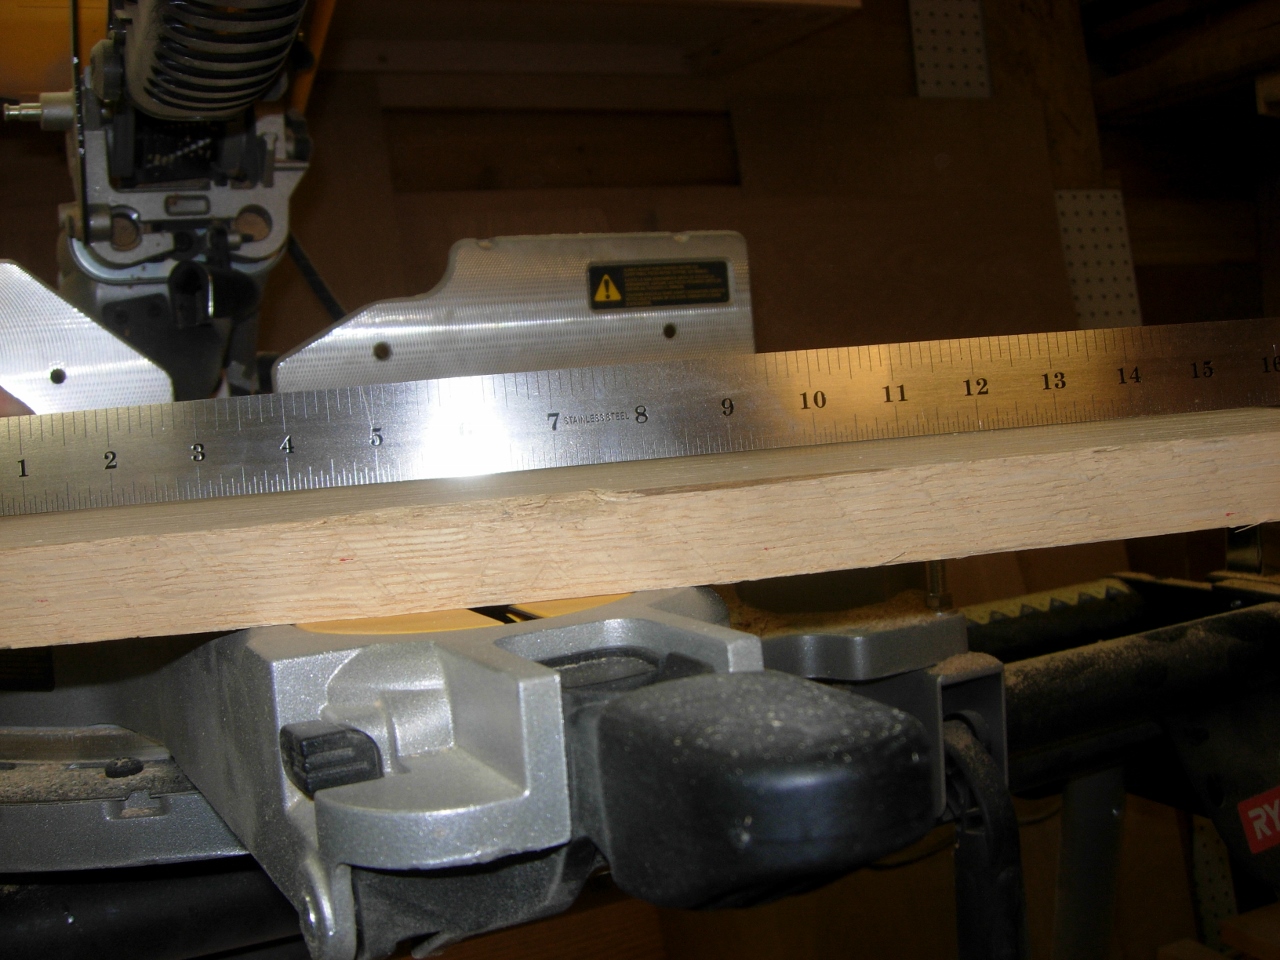
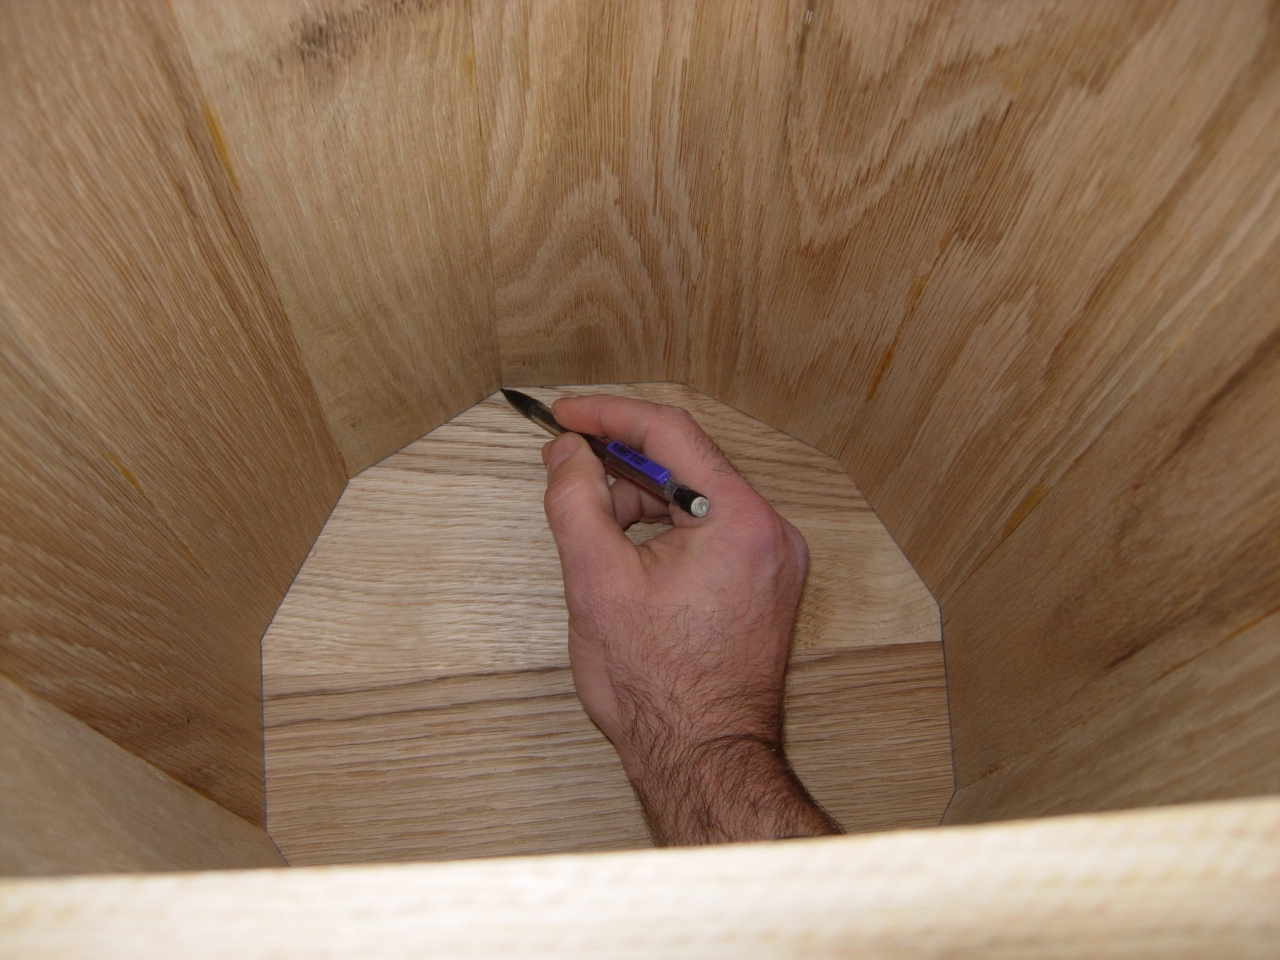
These are the plans that I am working from, to start. The main body will be constructed like a barrel with angled staves. I will be leaving out three of the staves to insert a flat door. That should make turning the column more challenging. Since it will be difficult cutting the door opening out after assembly, I am cutting the required notches out first. I calculated the opening on the computer, so I know the angles, but I cut out full size pieces to make sure I am cutting everything right.
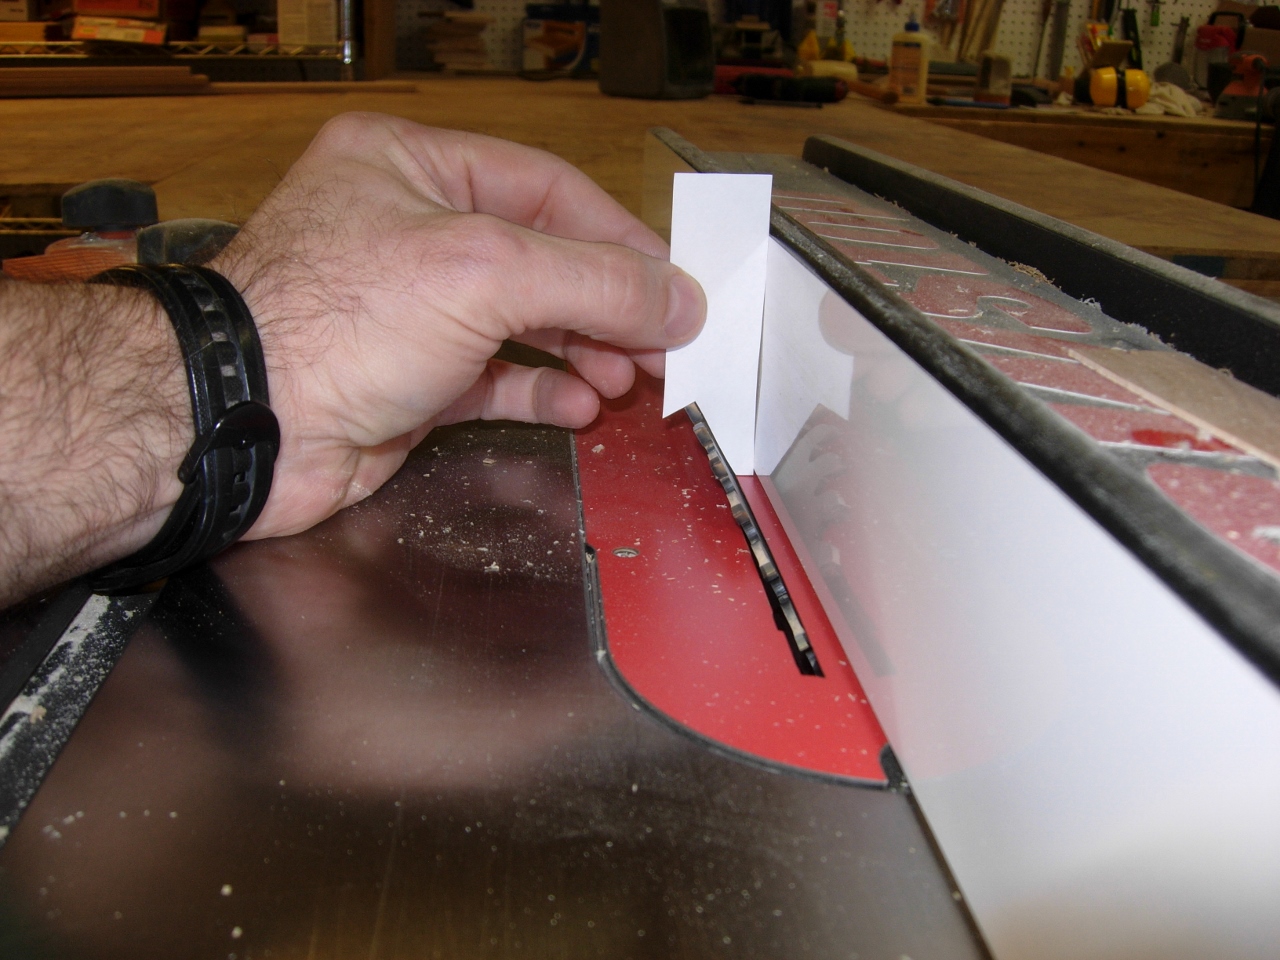
Verifying my angle
I verify before and after each cut. One screw-up and these pieces will be back in the scrap pile…
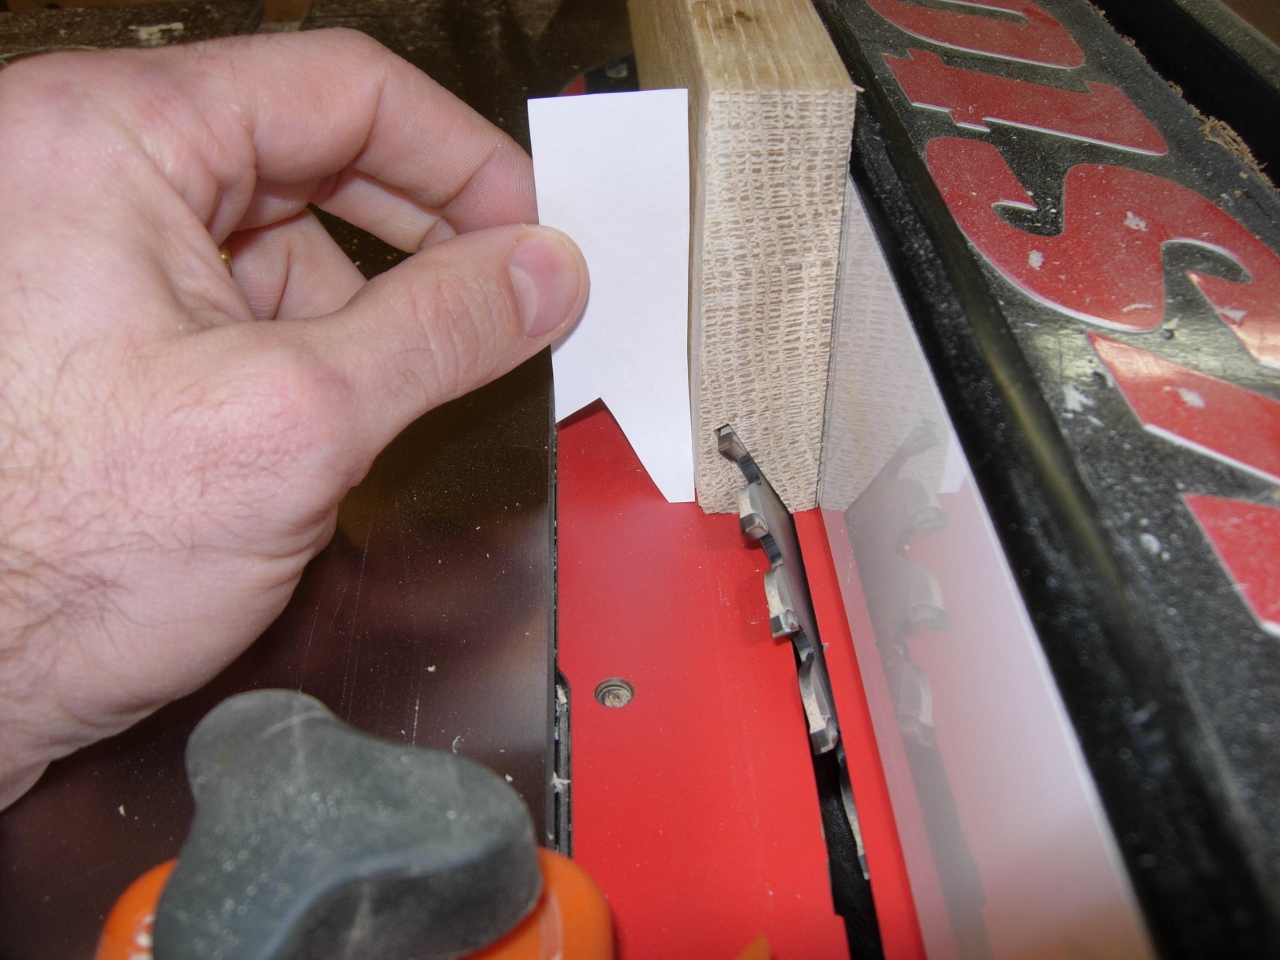
Just double-checking…
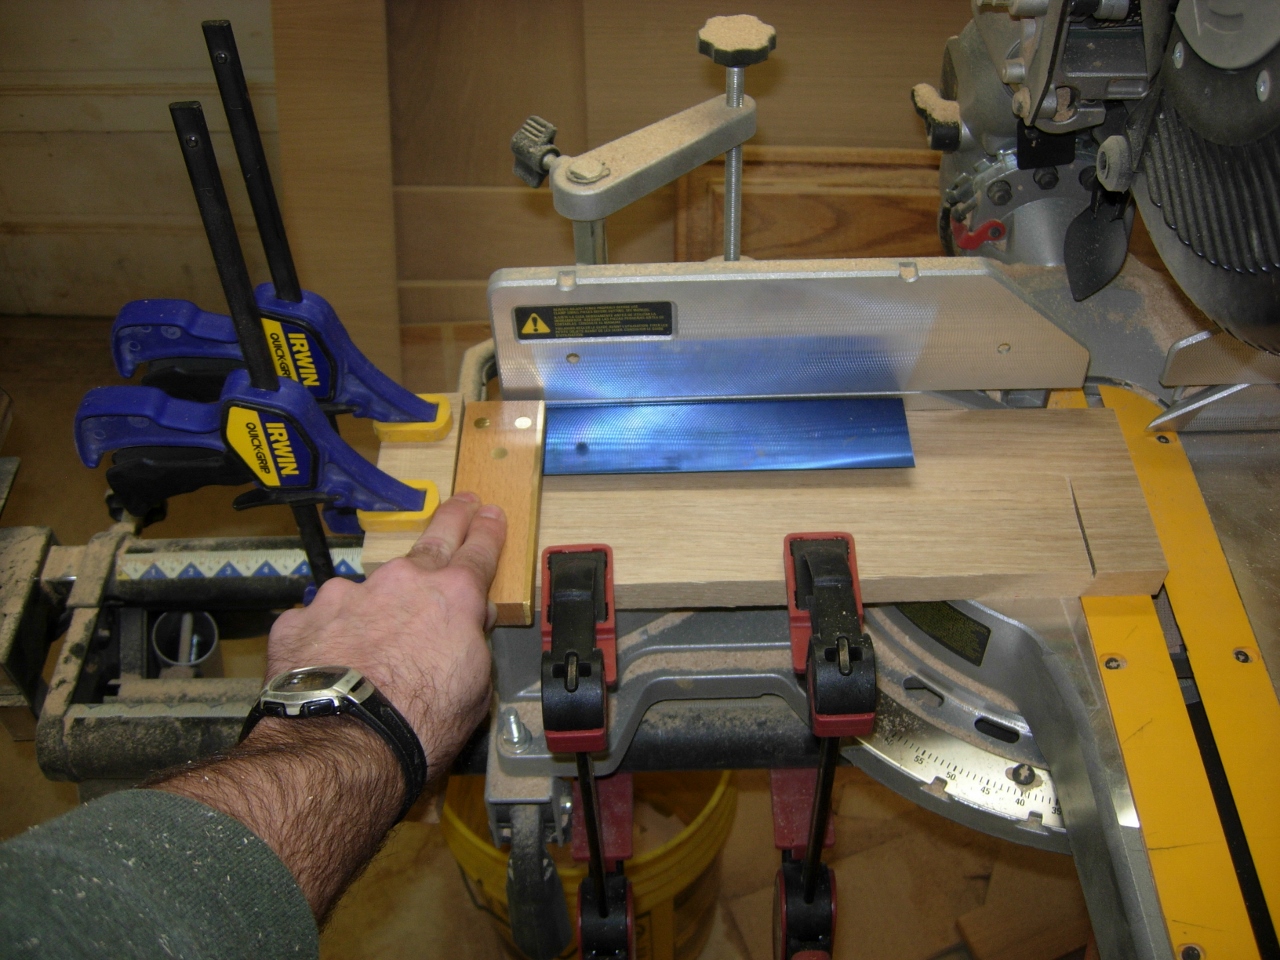
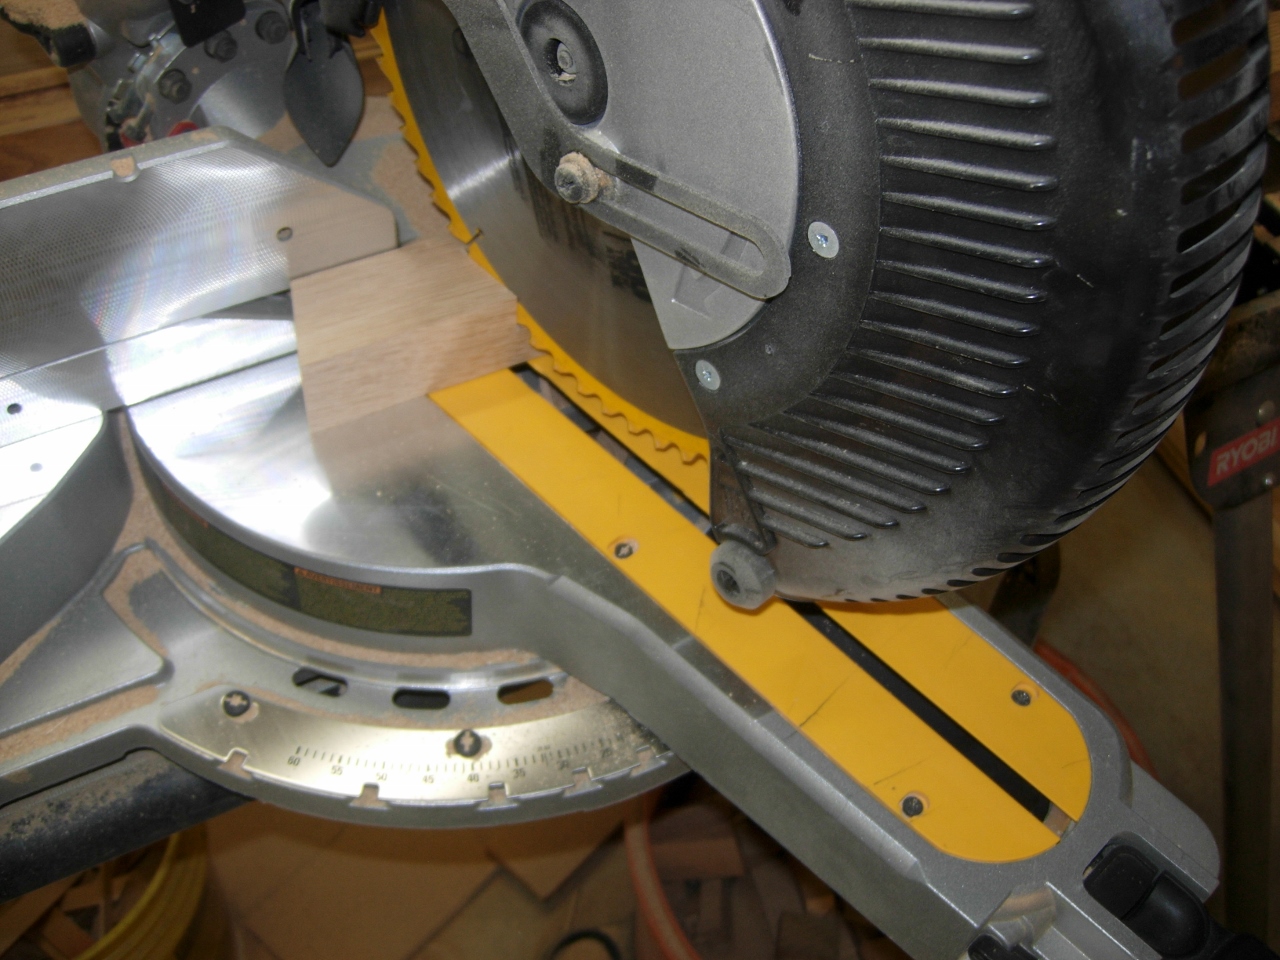
Making the second cut on the notch leaves a very likely opportunity for kick-back so I stand well to the left. I have had slivers embed themselves in the door behind my saw. I try not to stand in the way.

Standing aside to avoid the kickback
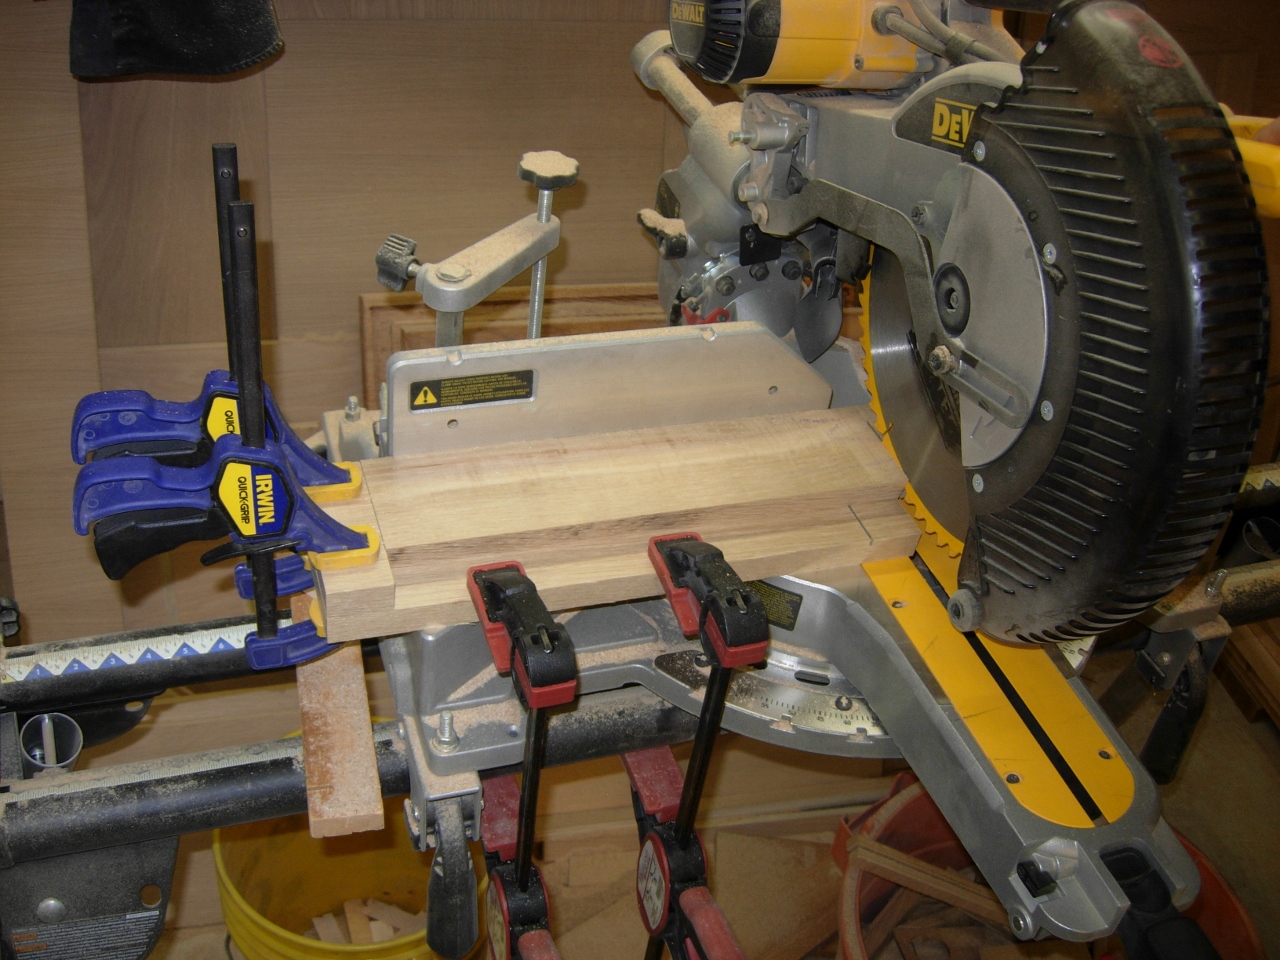
I flipped the piece over and cut the last back-angle, and the opening pieces are done.
Cutting one more angle
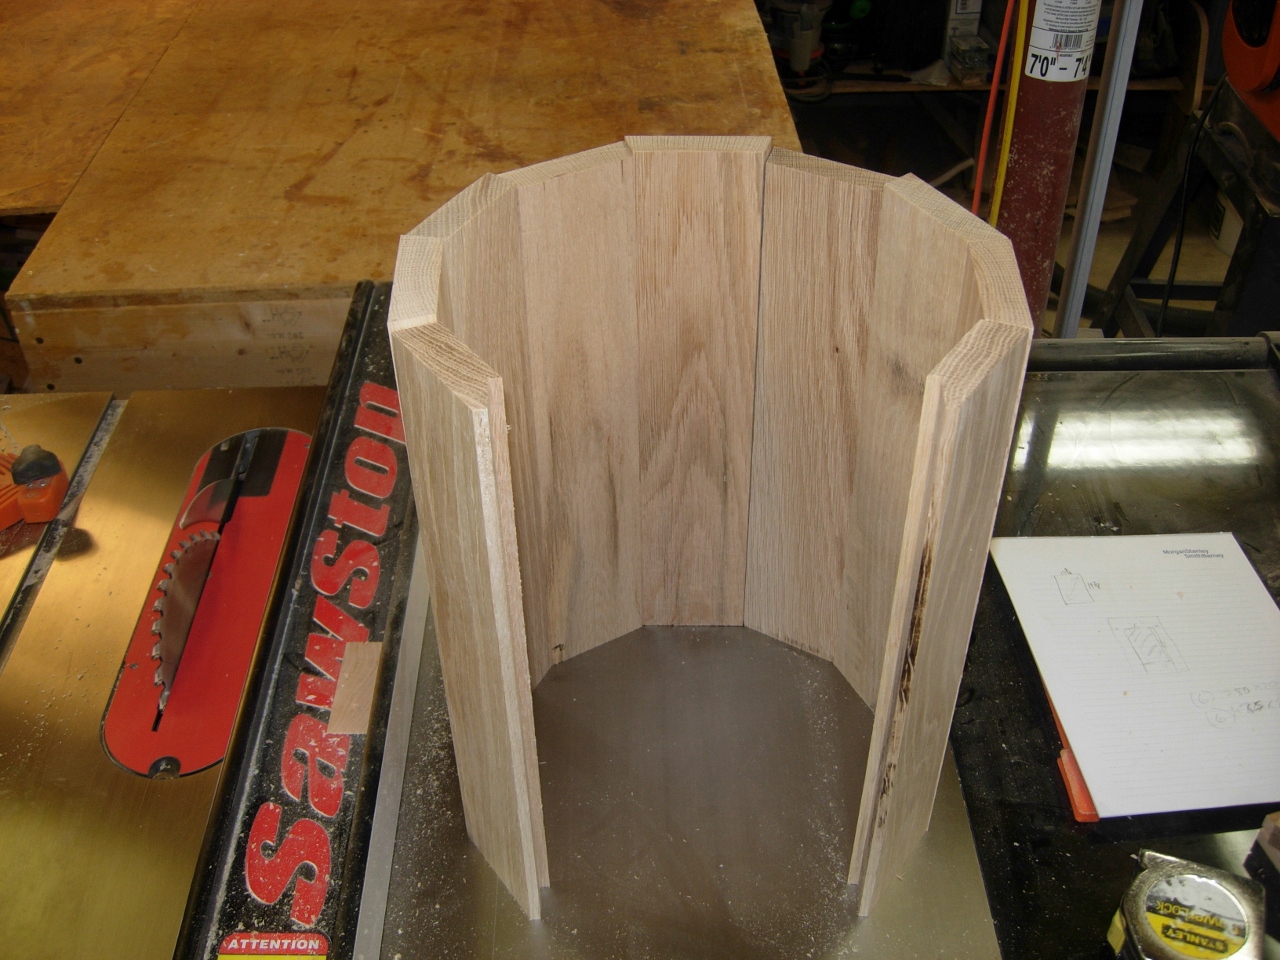
This is how the door should set in the notch, when complete.

This is the mouth for the door
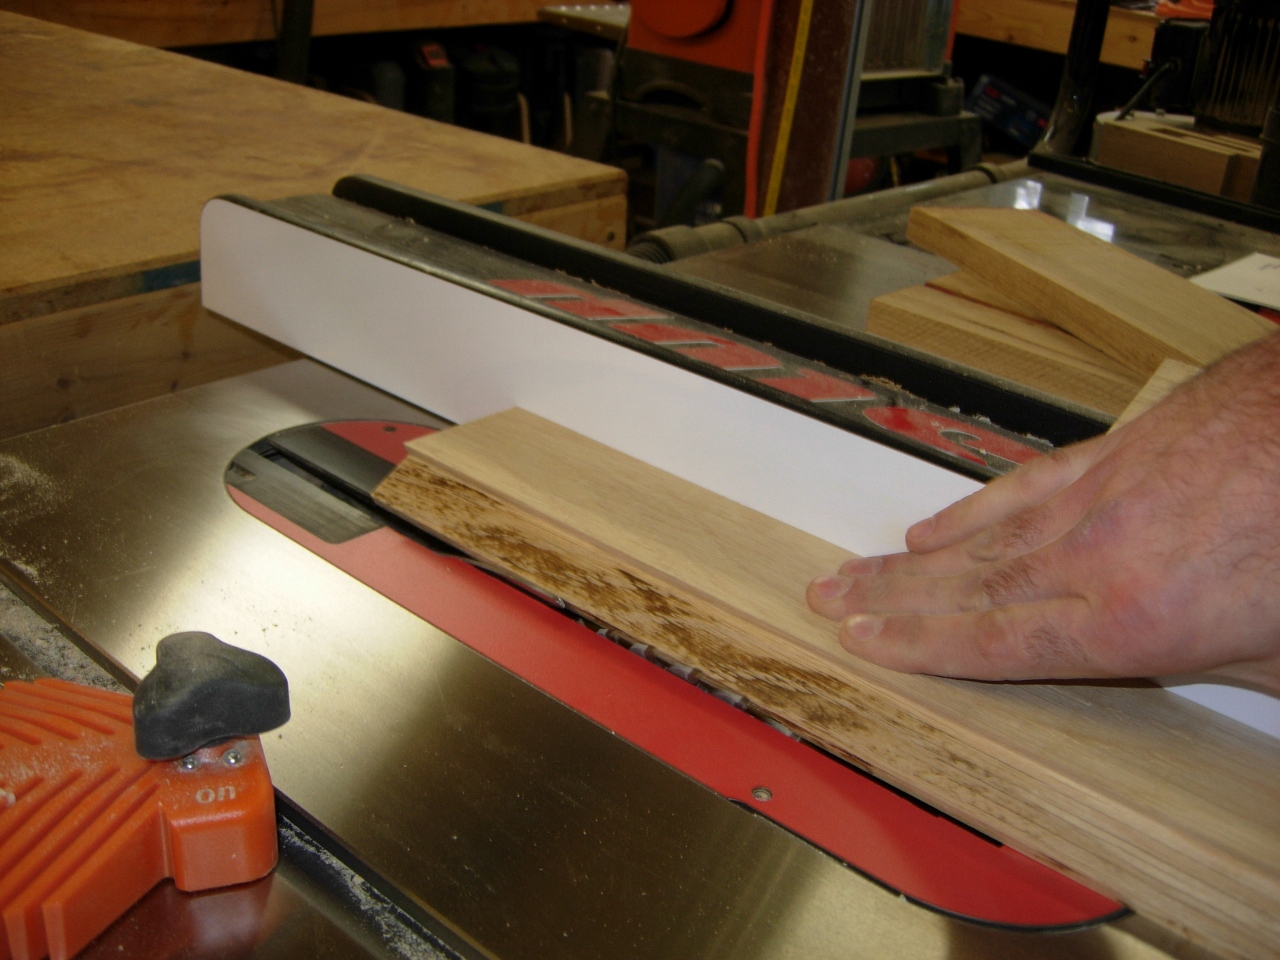
To do the next seven barrel staves, I select pieces that are completely straight. I rough cut them to 15″ in length and take them to the table saw.
Making sure the side pieces are dead straight

Cutting the barrel staves
Since this column will be based on a 12-sided polygon, I divide the 360 degrees of the polygon by the twelve sides to get 30 degrees, then divide that in half to get 15 degrees off of each side of the boards. When I put two 15 degree sides together, they create my 30 degree angle. I cut each stave 3-1/4″ wide, with the angle on each side, then fit them together.
Fit check
The lengths were rough, so I built an extended stop on my miter saw.
Setting up an extended cut-off stop
Cutting all the staves to 14-1/4″ long
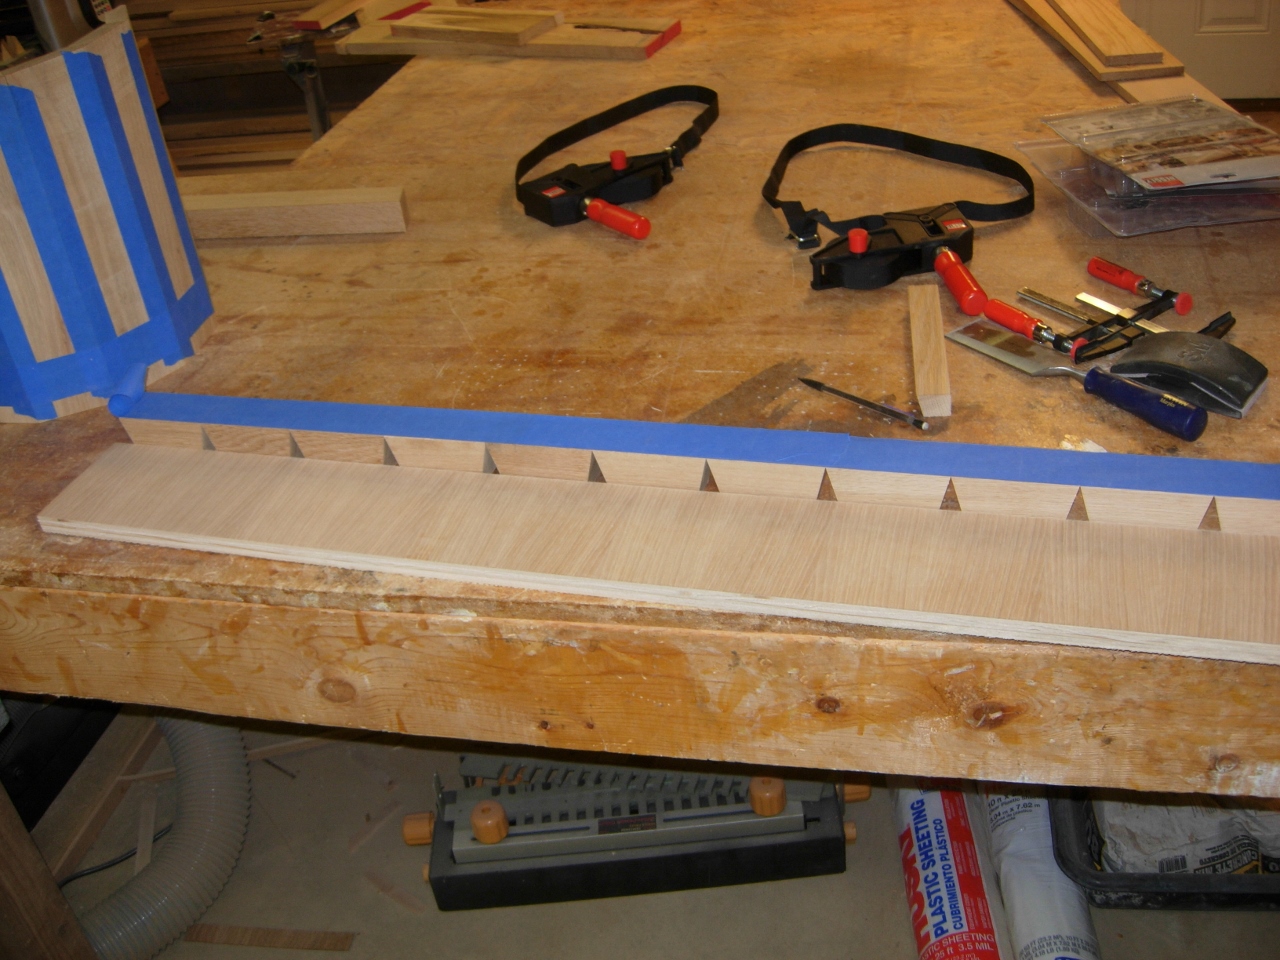
After chopping each stave to 14-1/4″ long, I laid them all face down on my bench and lined them up on a straight edge.
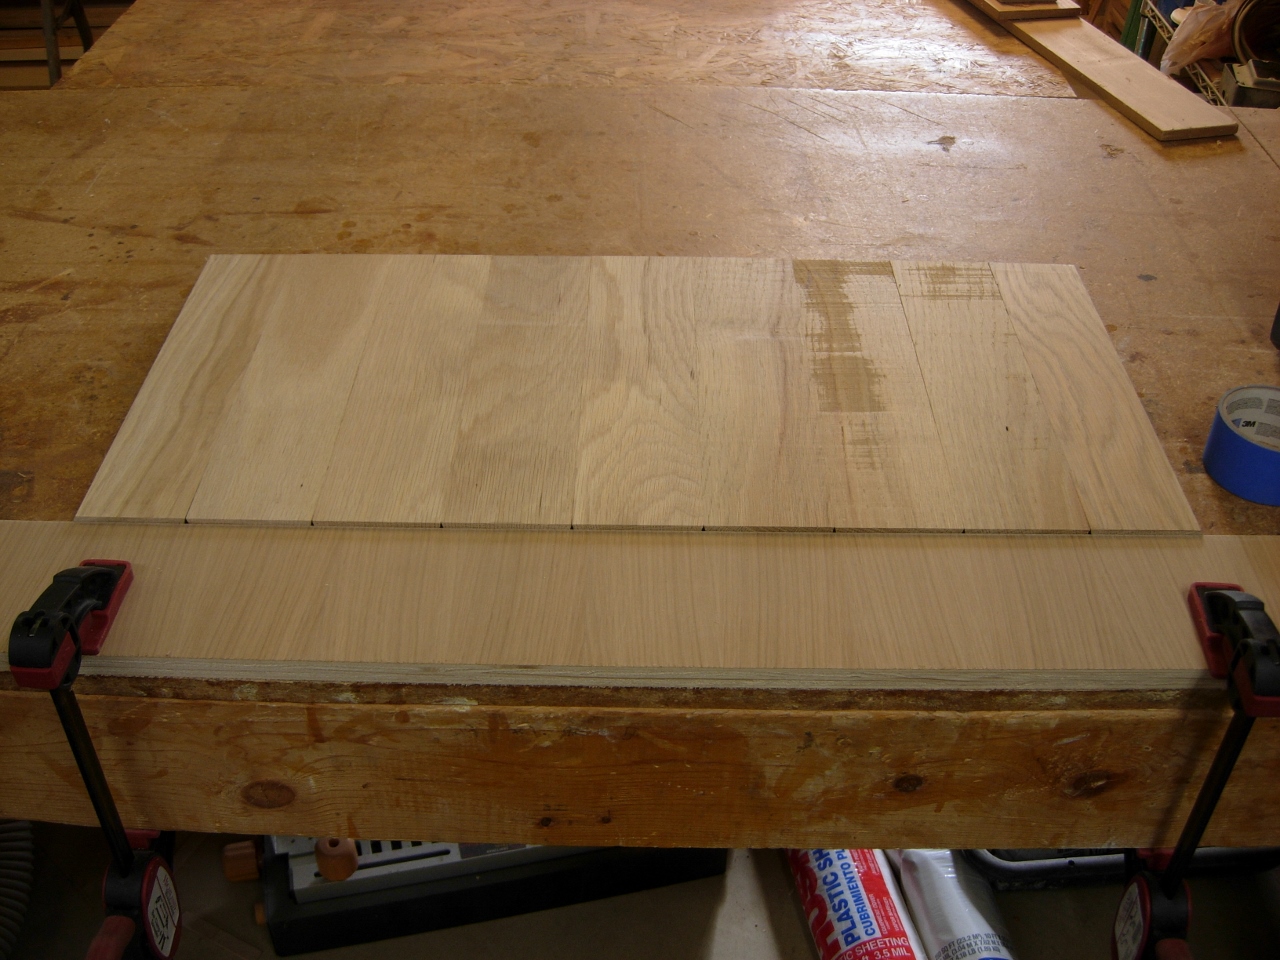
Lined up against a straight edge
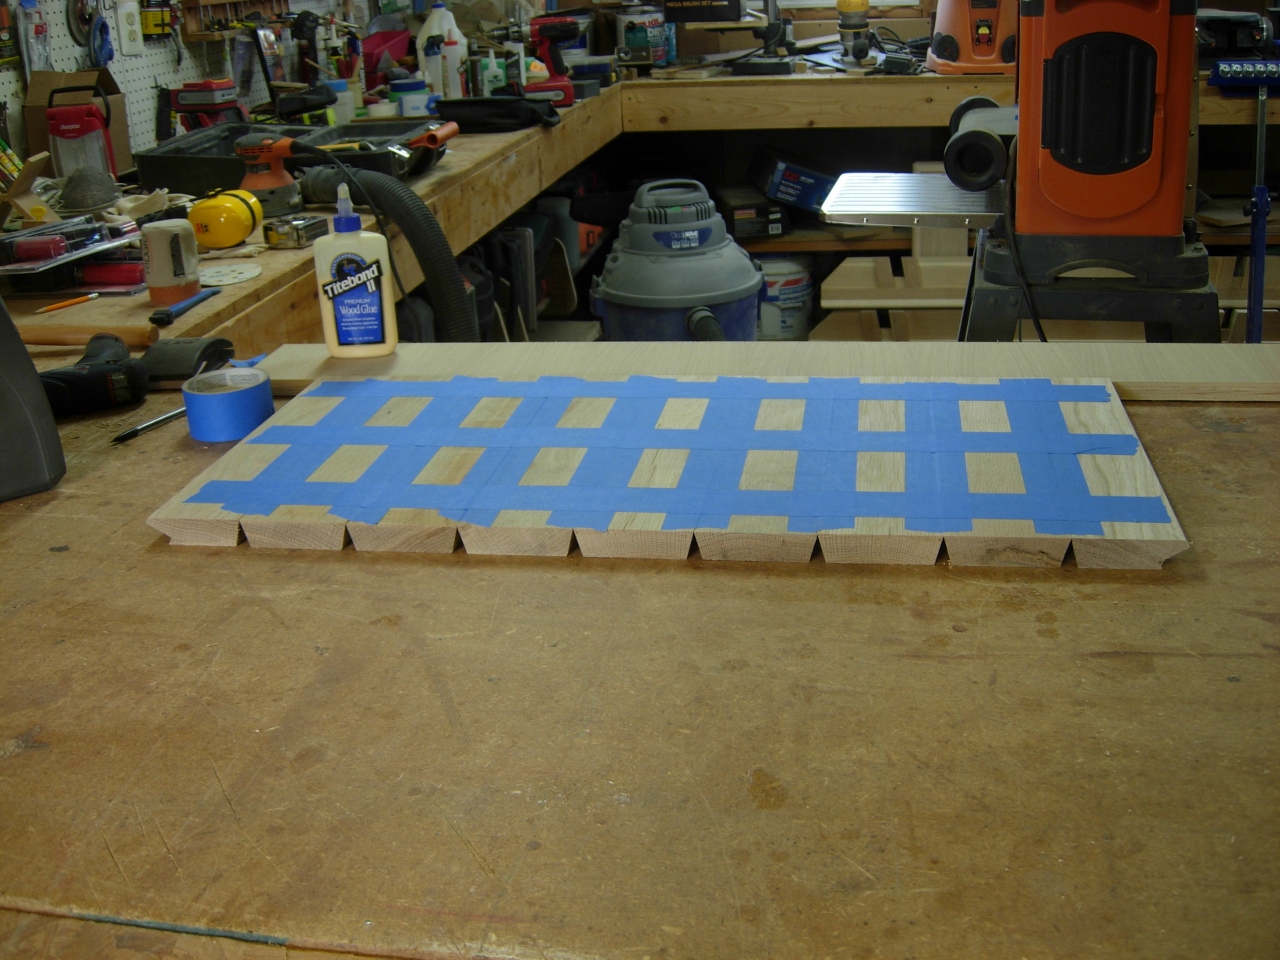
One side taped
I applied a 2″ wide piece of painter’s tape to each seam, then ran three strips perpendicular for strength. I flipped the assembly over and applied a thin layer of glue to the angles.
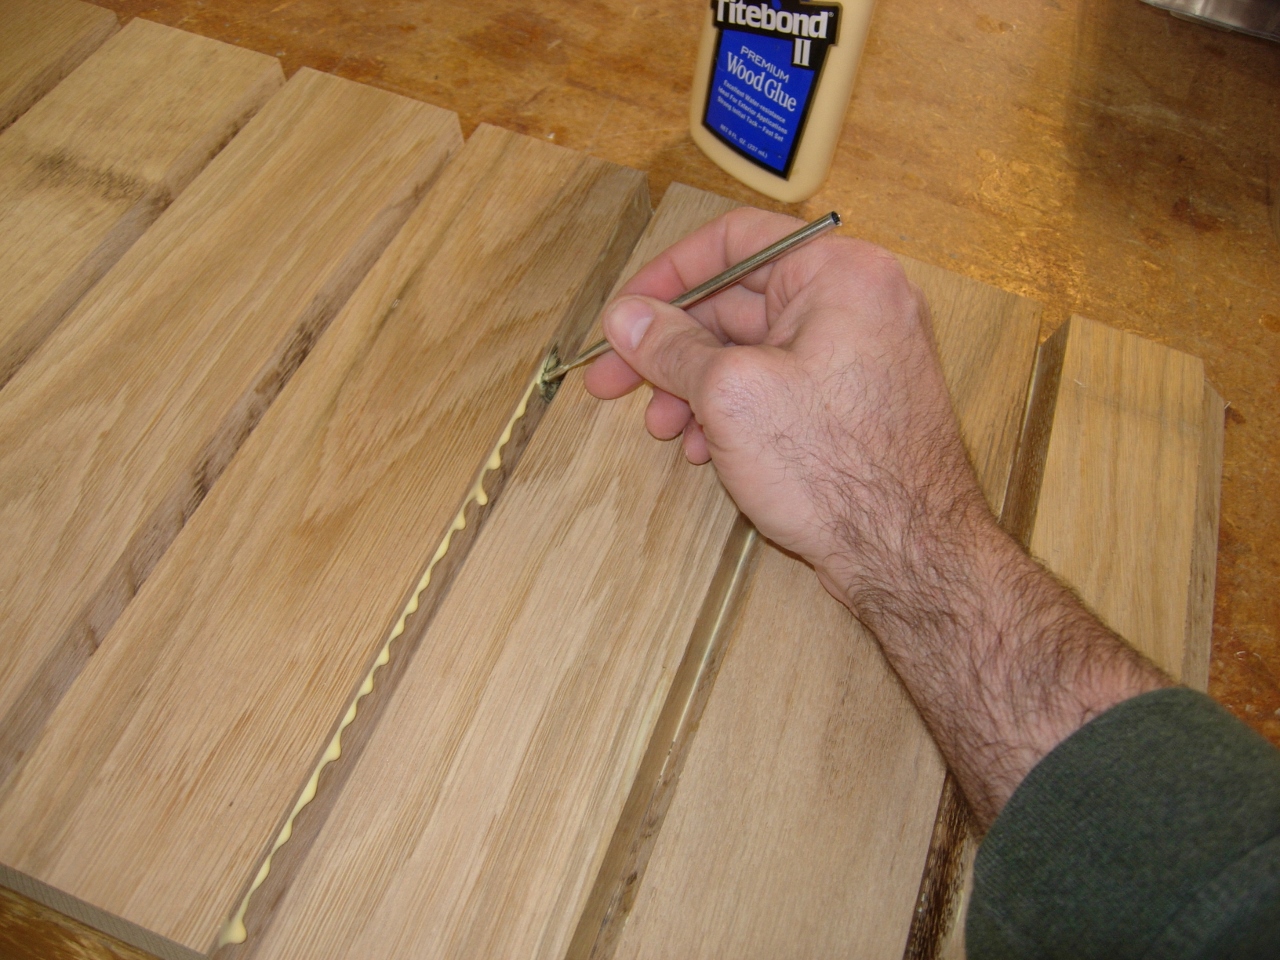
The other side glued
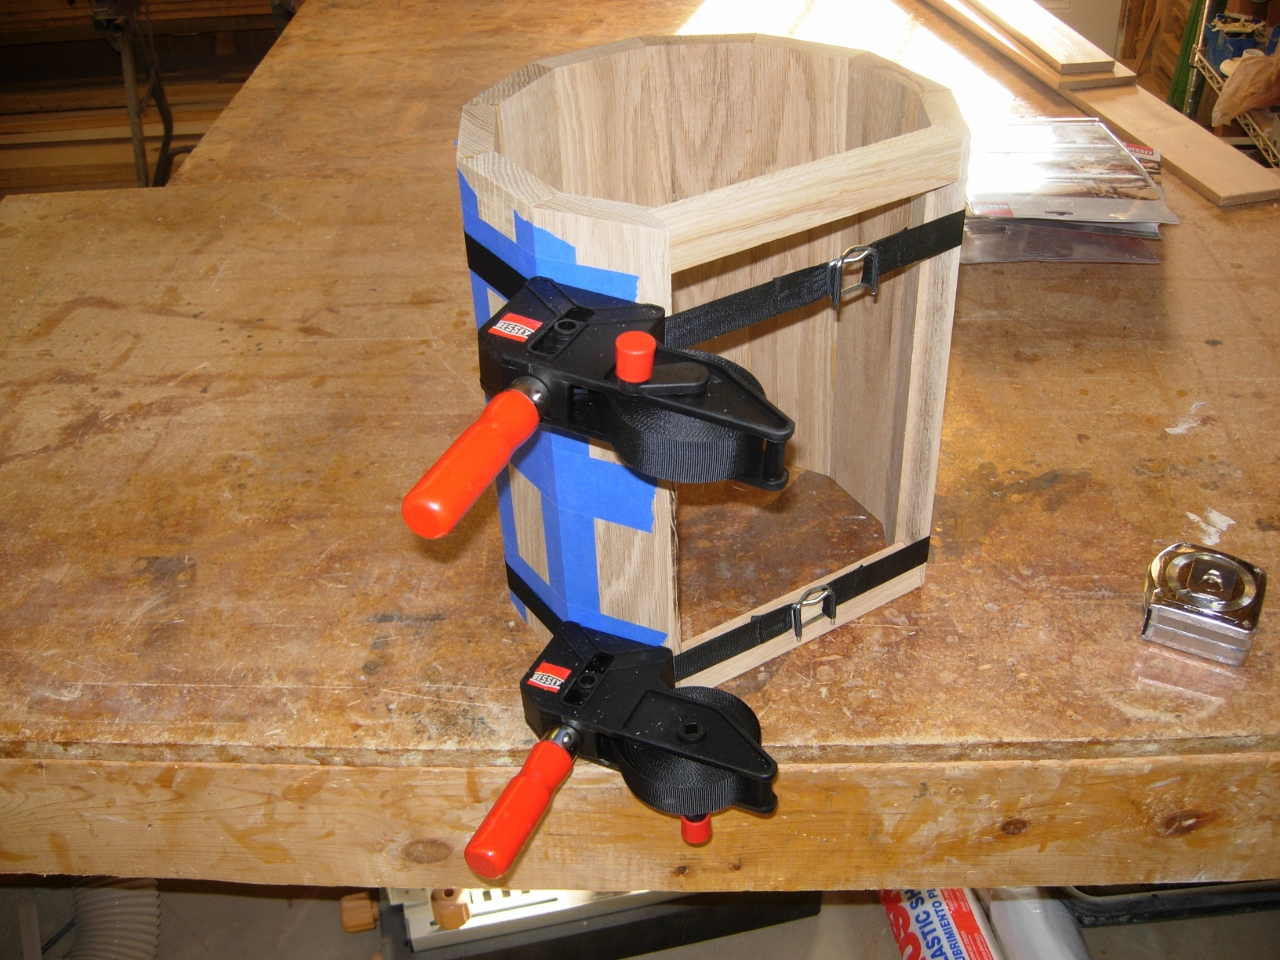
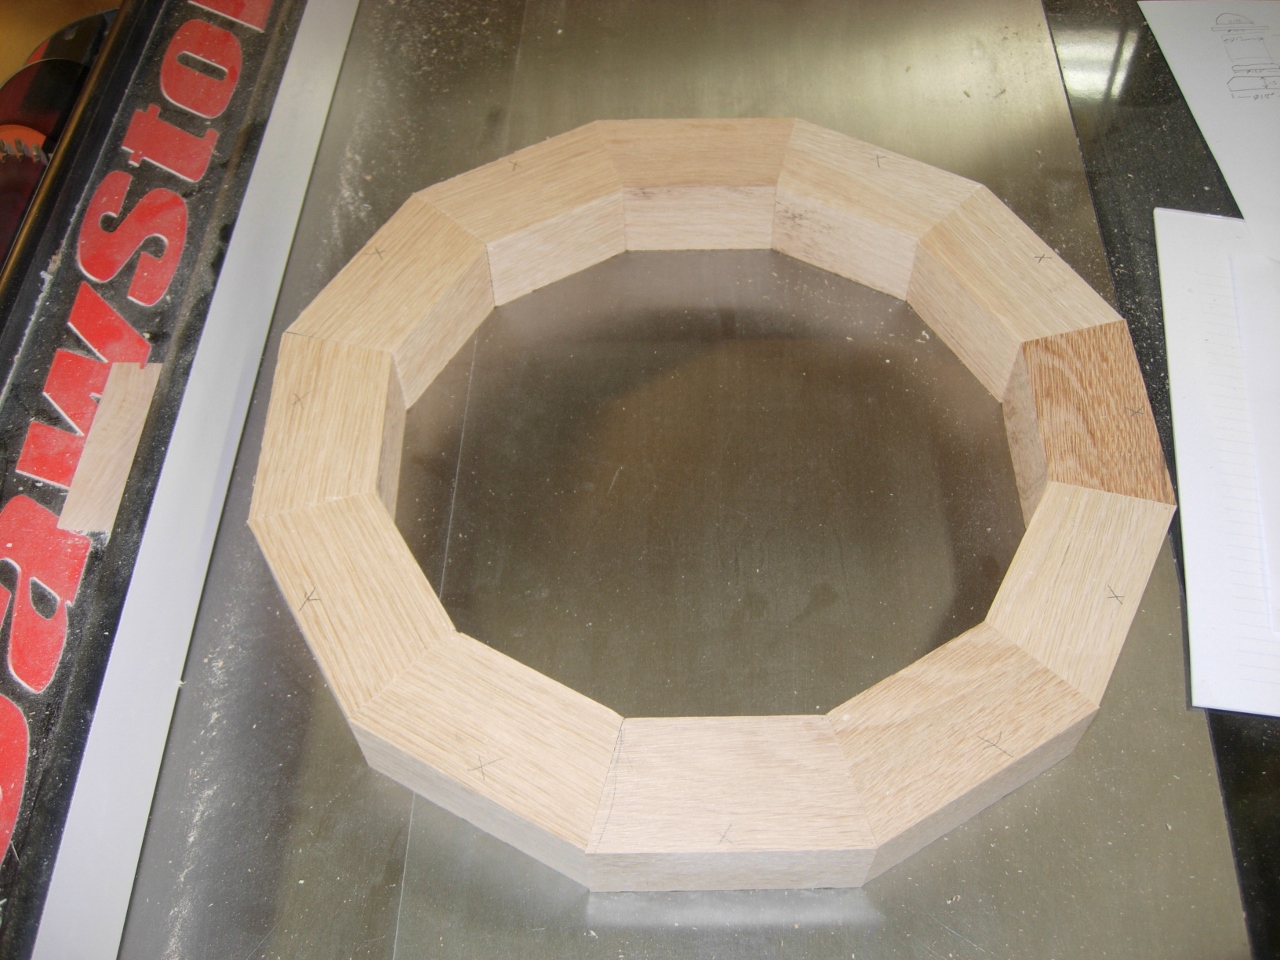
Strapped up to dry
I rolled the whole assembly together and placed two spacers in the door opening to keep it from collapsing past the width of the door when I strapped it tight.

Making a panel for the bottom
While that was drying, I made a small plate for the bottom. When it was dry, I planed it down and traced the bottom on it.
Tracing the bottom

Cutting the sides on the bandsaw
I cut the odd shape out on the band saw and applied glue to the edges.
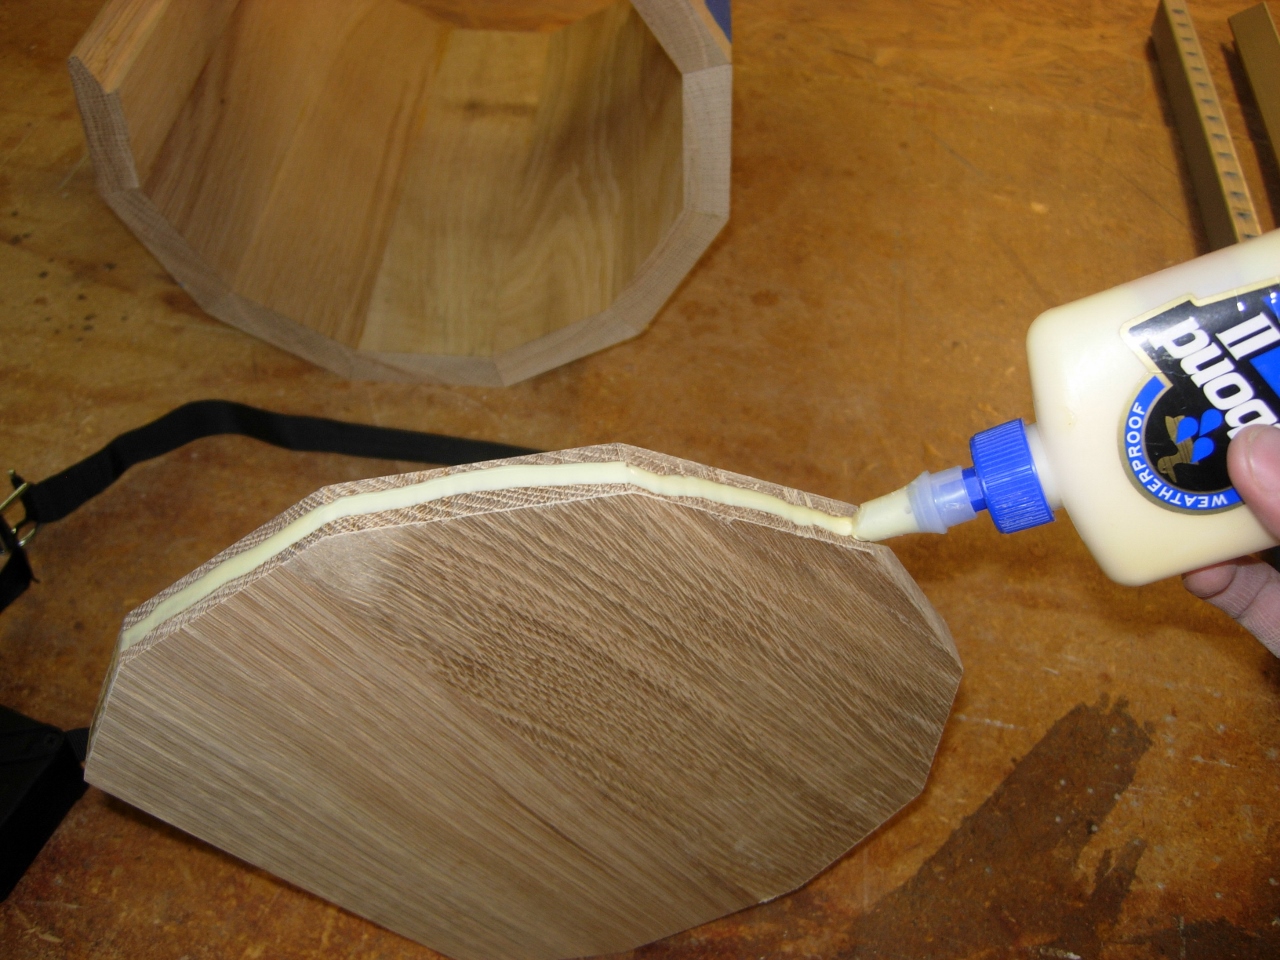
Applying glue
I clamped it in place and left it to dry.
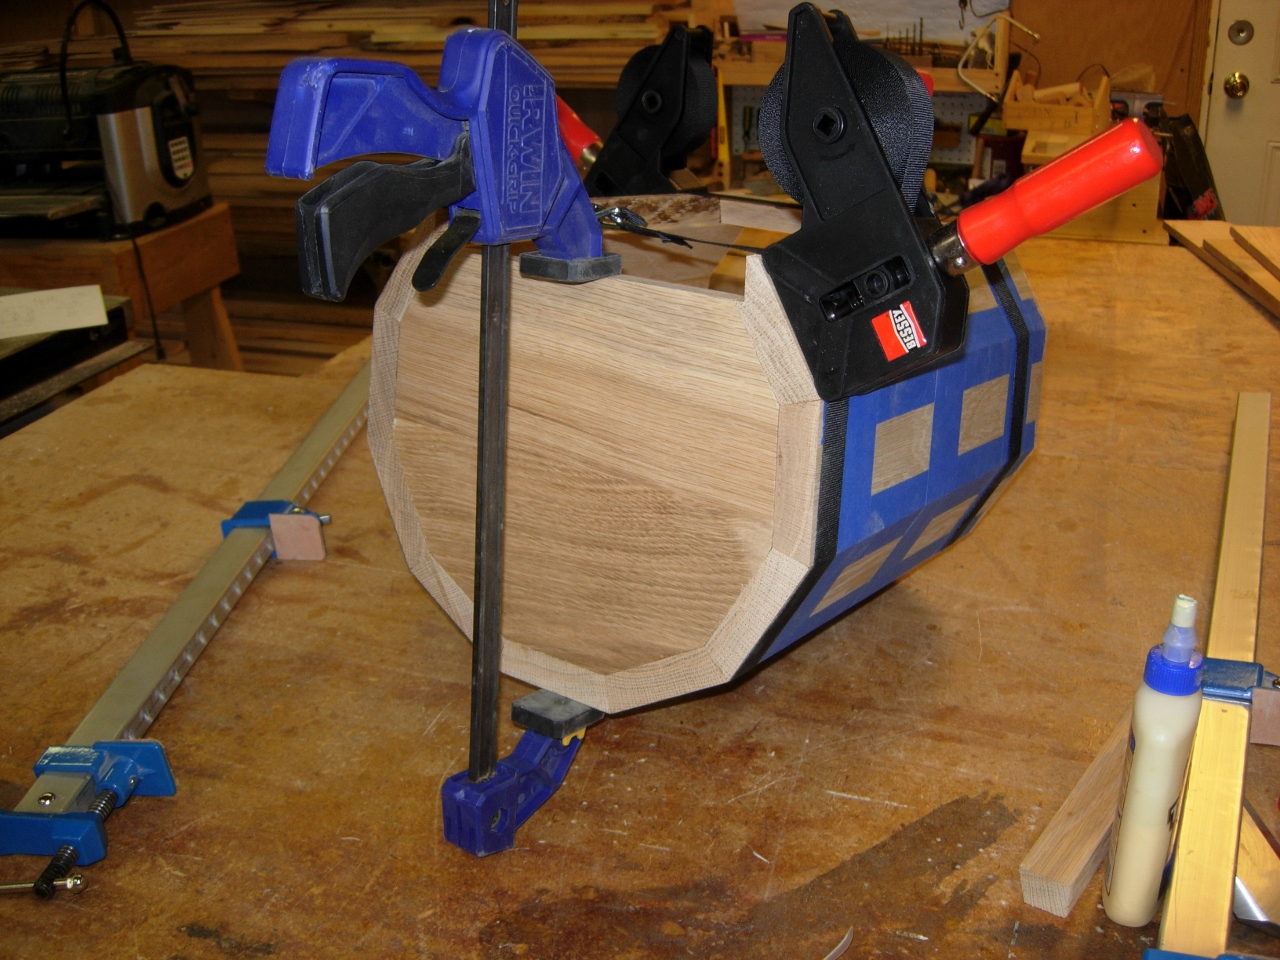
Clamping on the base to dry
Cutting segments
The next challenge is the dome. I was considering turning a large block of wood, but finding a block of oak that was 12″ in diameter and 6″ tall, that had not cracked, would be difficult. I also really didn’t want end grain showing. I decided to build up a segmented bowl form instead. Look up “segmented bowls” on Google, you will see some beautiful examples.
First layer cut
I sat down at the computer and figured up what width and depth each segment would need to be, and started cutting little mitered blocks out of 1-1/2″ thick white oak.
Lined up and taped
What seemed like hours later, I had 12 nearly identical blocks with their 15 degree miters.

Applying more glue
Following the same routine as the column, I taped, glued, and strapped the first segment together.

First one strapped up
I made a second one with slightly smaller pieces for the next level up. Since it is late and I only have the two straps, I will leave them to dry.
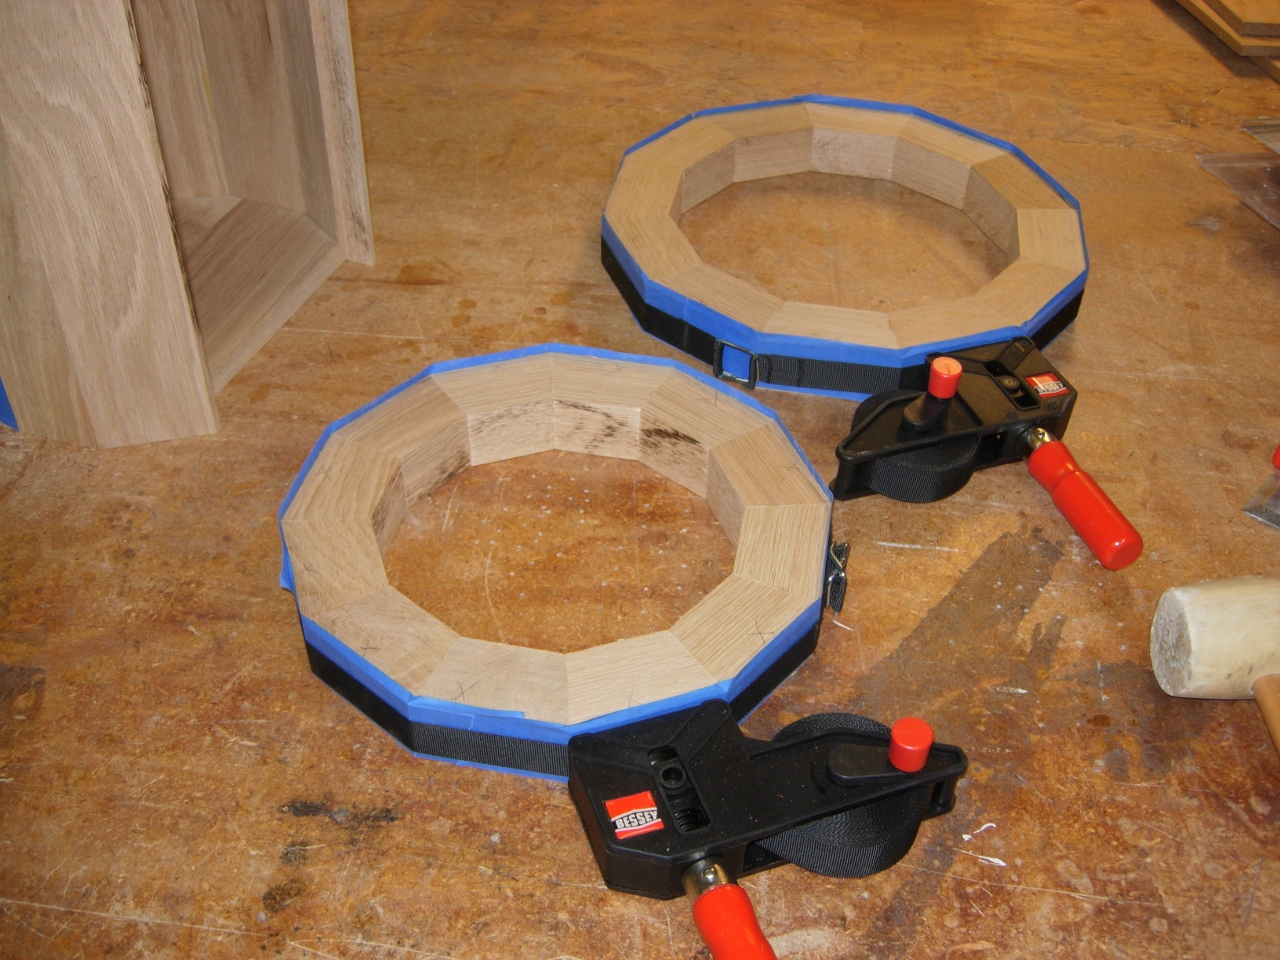
Second one down
I have four or five more layers to go, so it may take a couple of days to finish the pieces. When complete, they will be stacked and glued to form a bee hive shape that will be turned smooth on the lathe, like a large bowl. Each layer will be rotated so that the seams do not line up.

Nice work, and great blog.