
Tabernacle build – day 2
It has been an interesting day today. My friend Tom Iovino from Tom’s Workbench put a link to my blog in his blog post, and I have had more traffic today than I have had in the last three months. I have also picked up some new followers today. So if you are a new follower, Welcome. The post today is a part two to my last post, please feel free to read that one first, (or at least look at the pictures…) because this one picks up where that one leaves off.
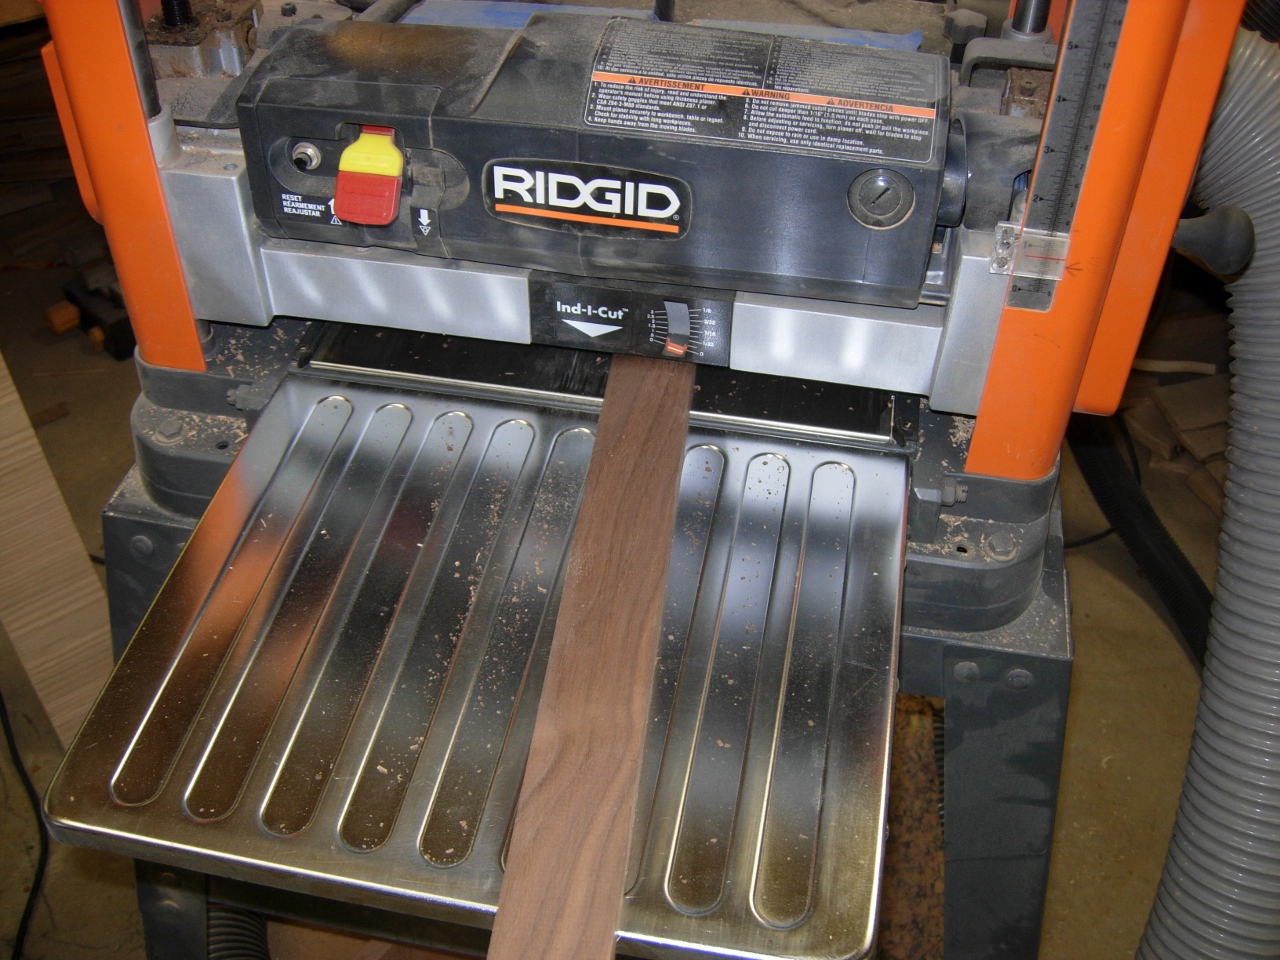
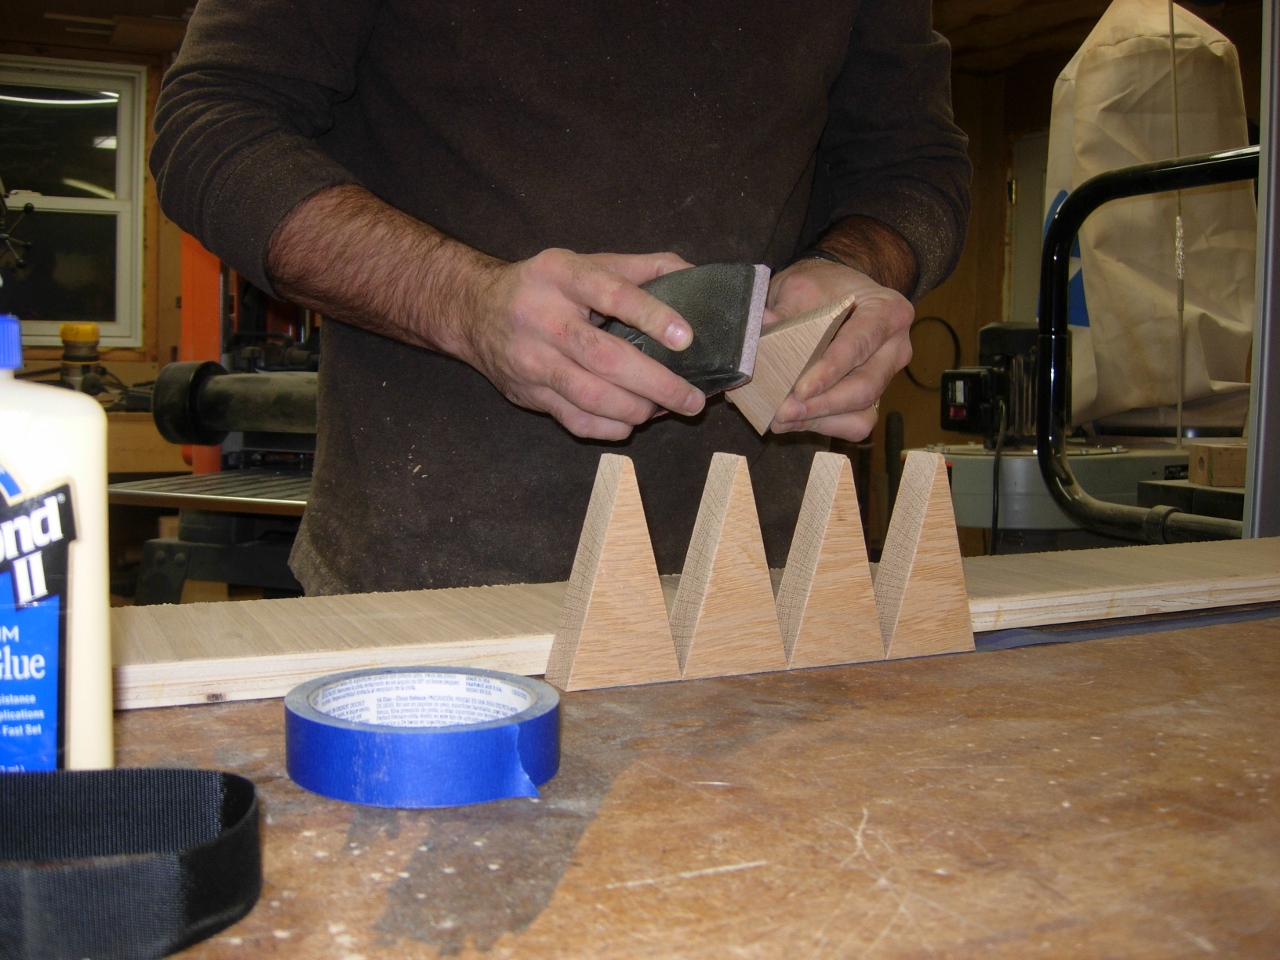
Planing a piece of walnut
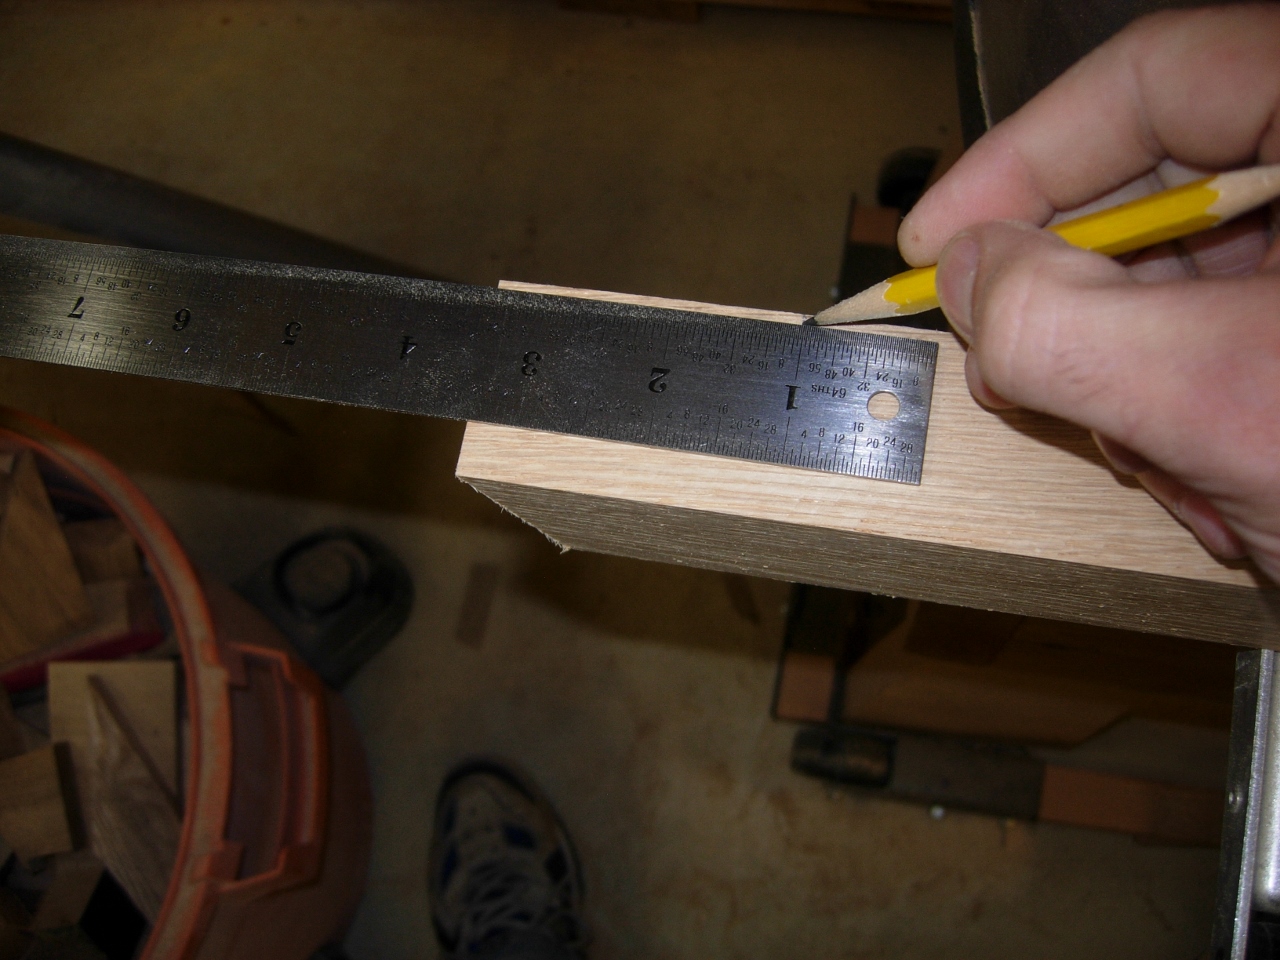
Today I am working on the next couple of levels to the domed top of the tabernacle. I am attempting to layer it together and turn it on the lathe like a segmented bowl. I started today by planing down a piece of walnut to make a stripe around the dome. I cut 15 degree bevels on both sides of twelve equally sized pieces.
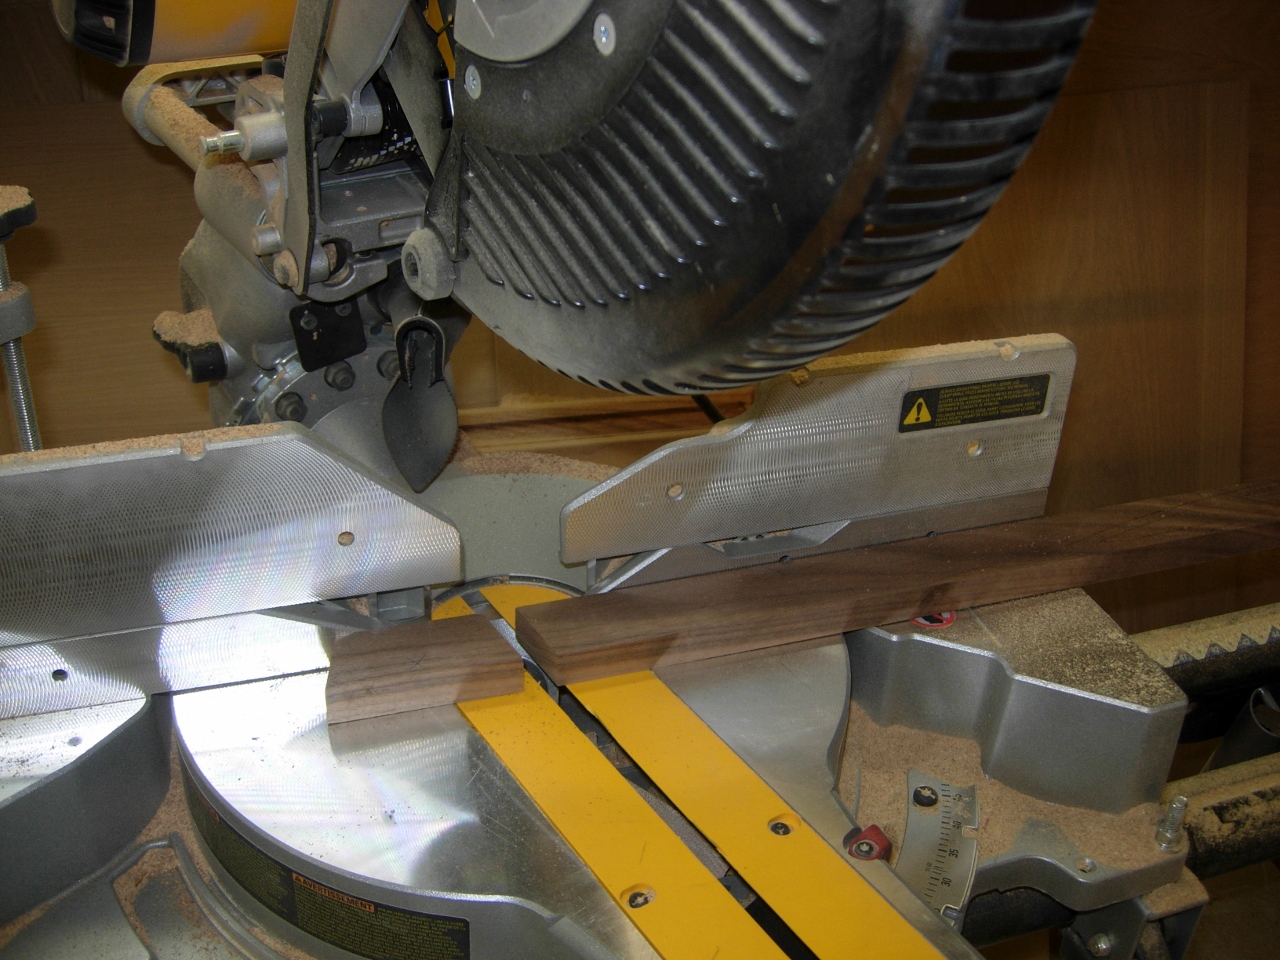
Cutting the 15 degree miters
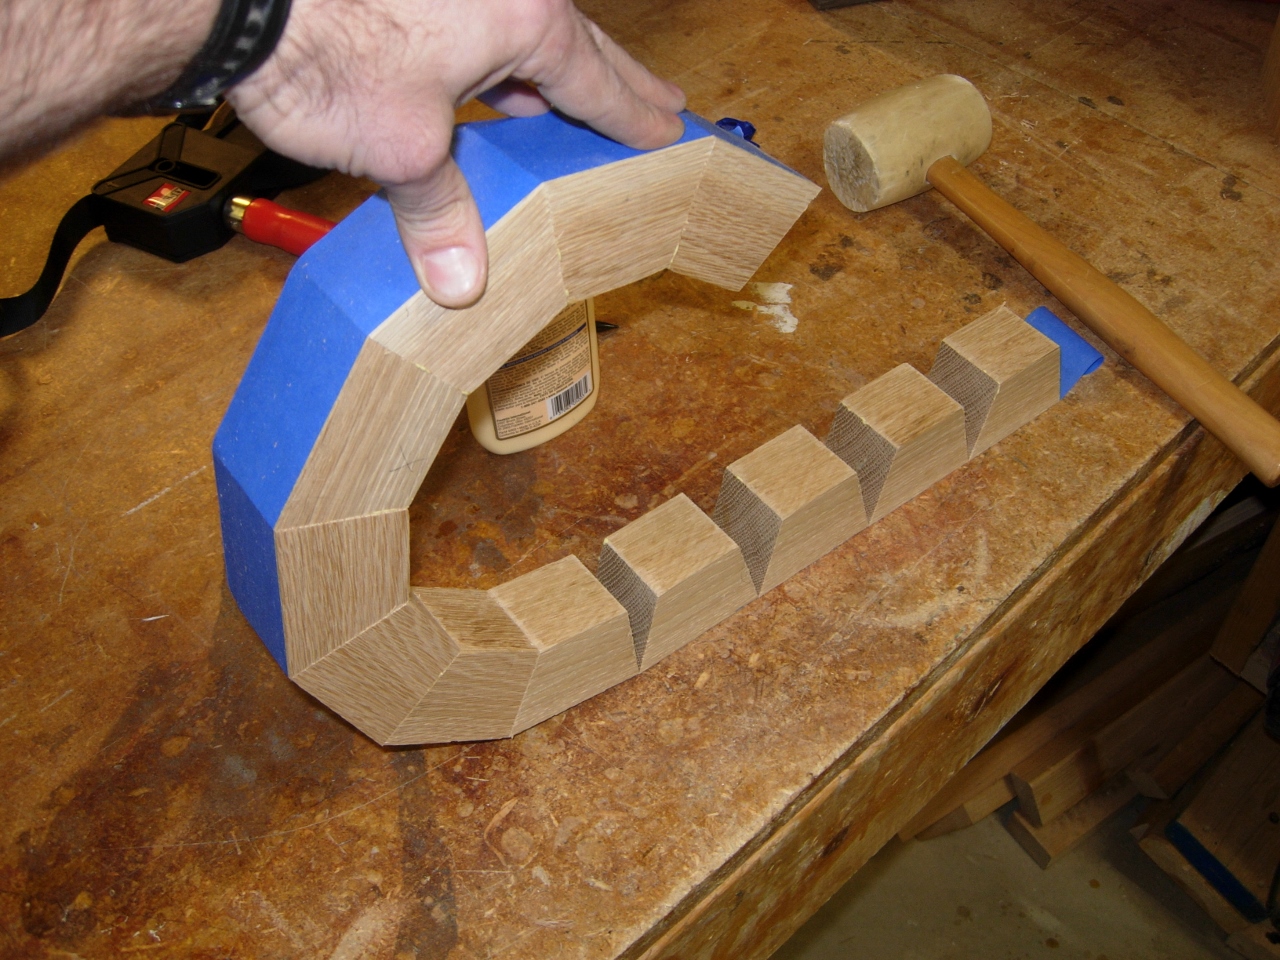
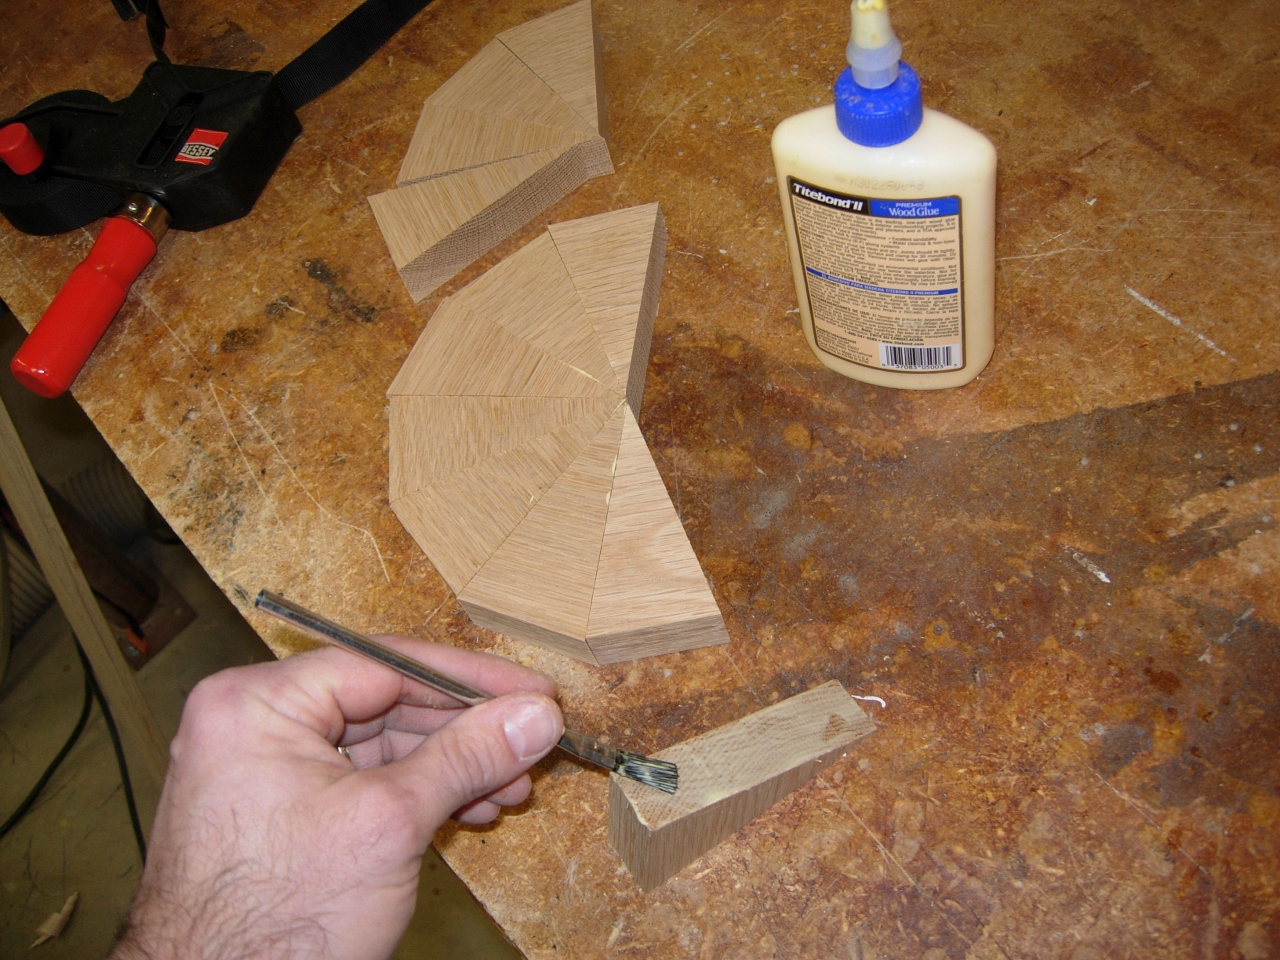
I taped them together, end to end, and flipped them over to apply glue to each beveled section.
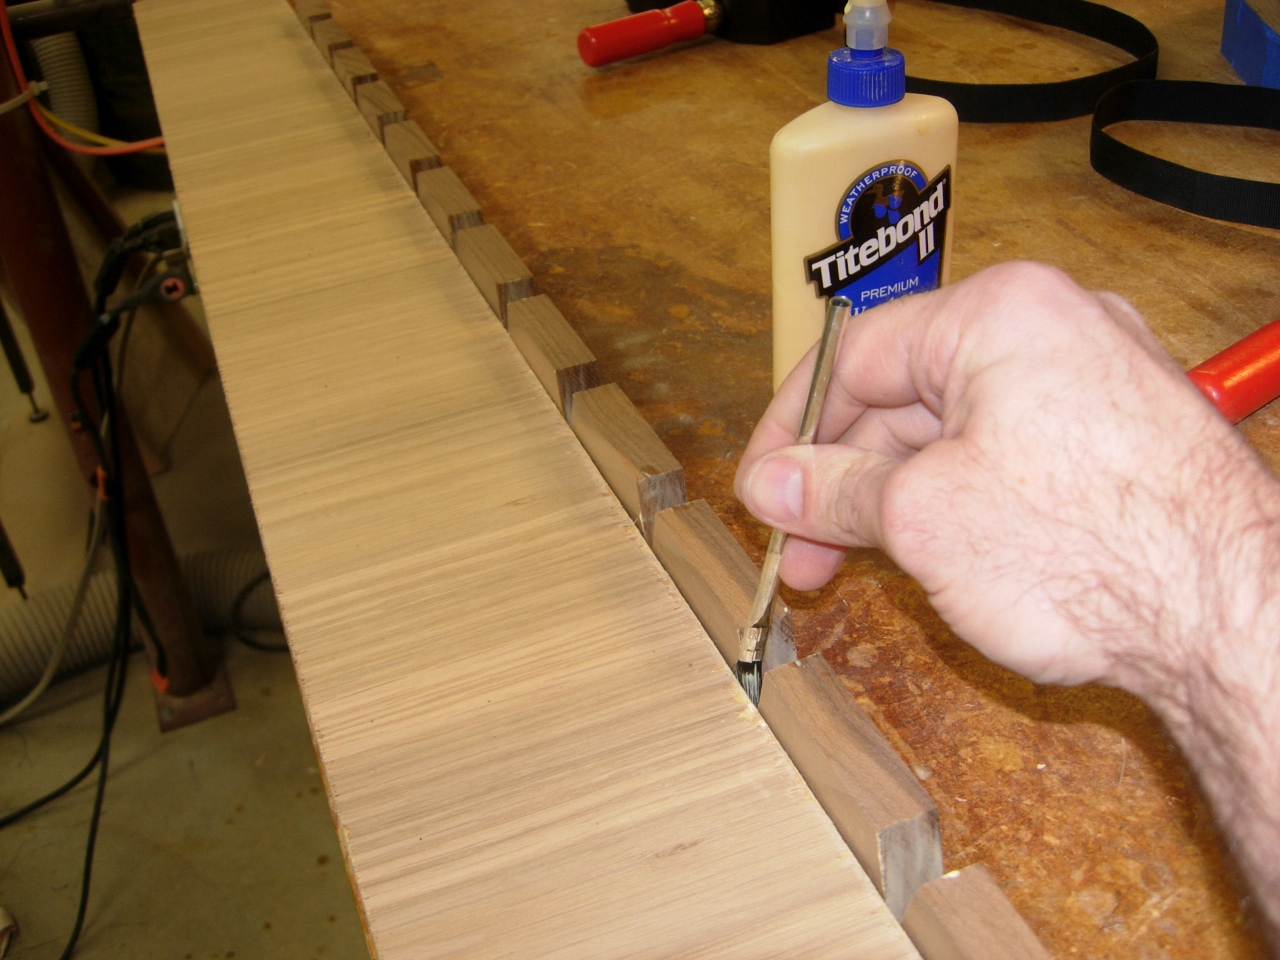
Lined up and glue applied
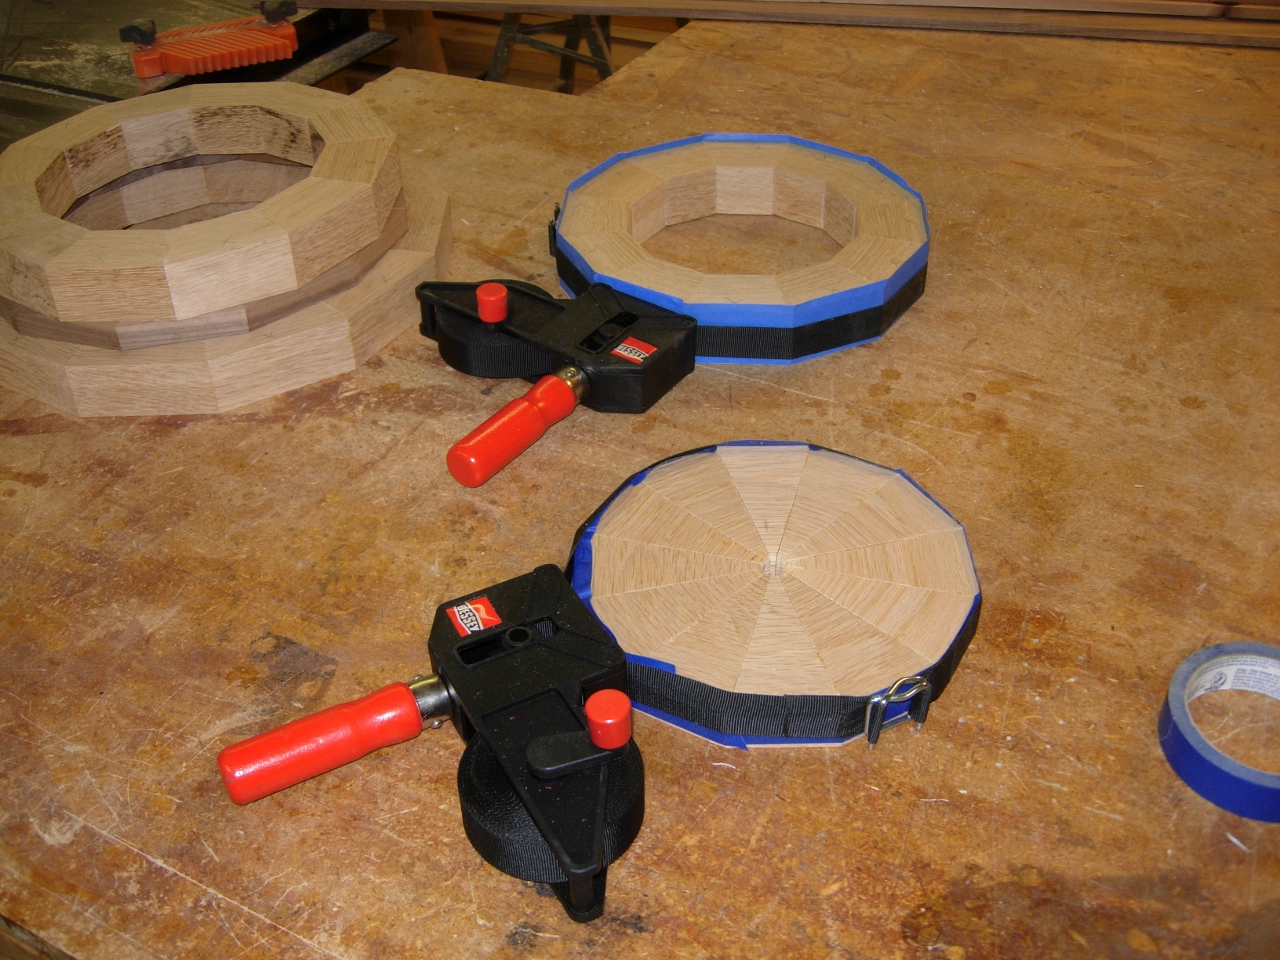
The tape held them together so I could bend them around and clamp them up.
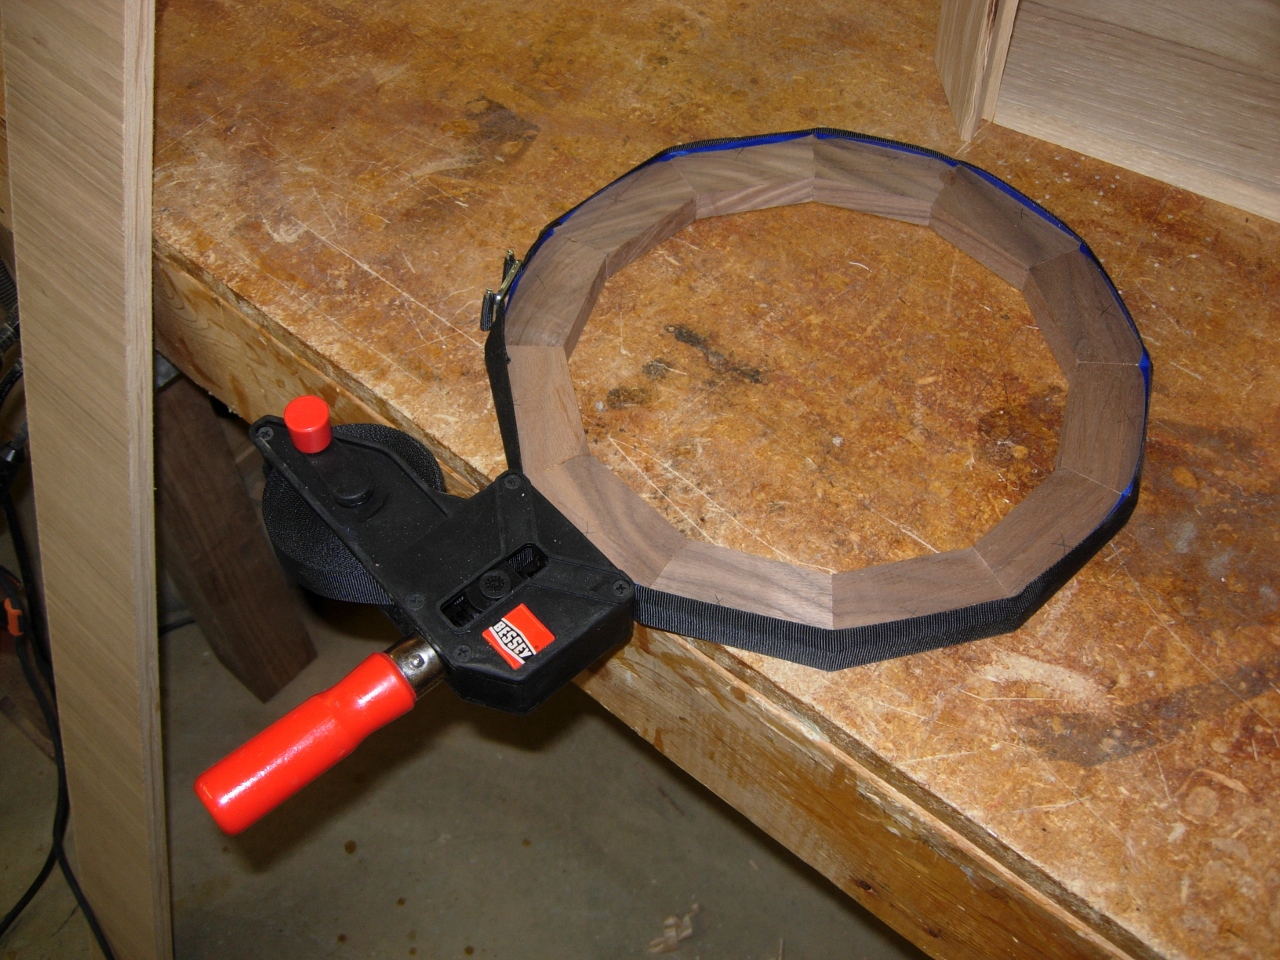
Strapped and drying
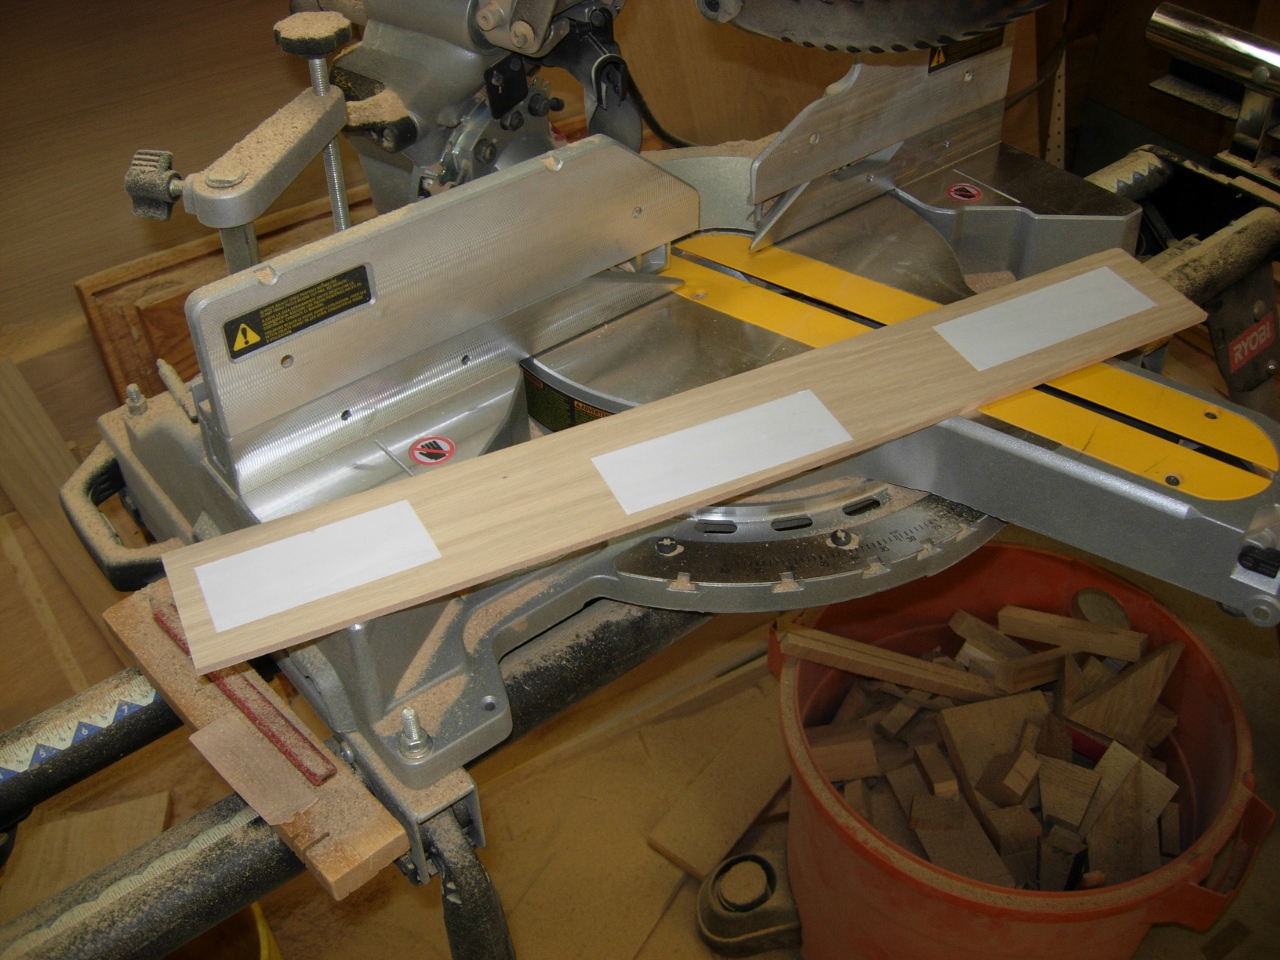
After the walnut layer was done, I started on the next layer, made from 6/4 white oak.
Starting the next layer of 6/4 oak
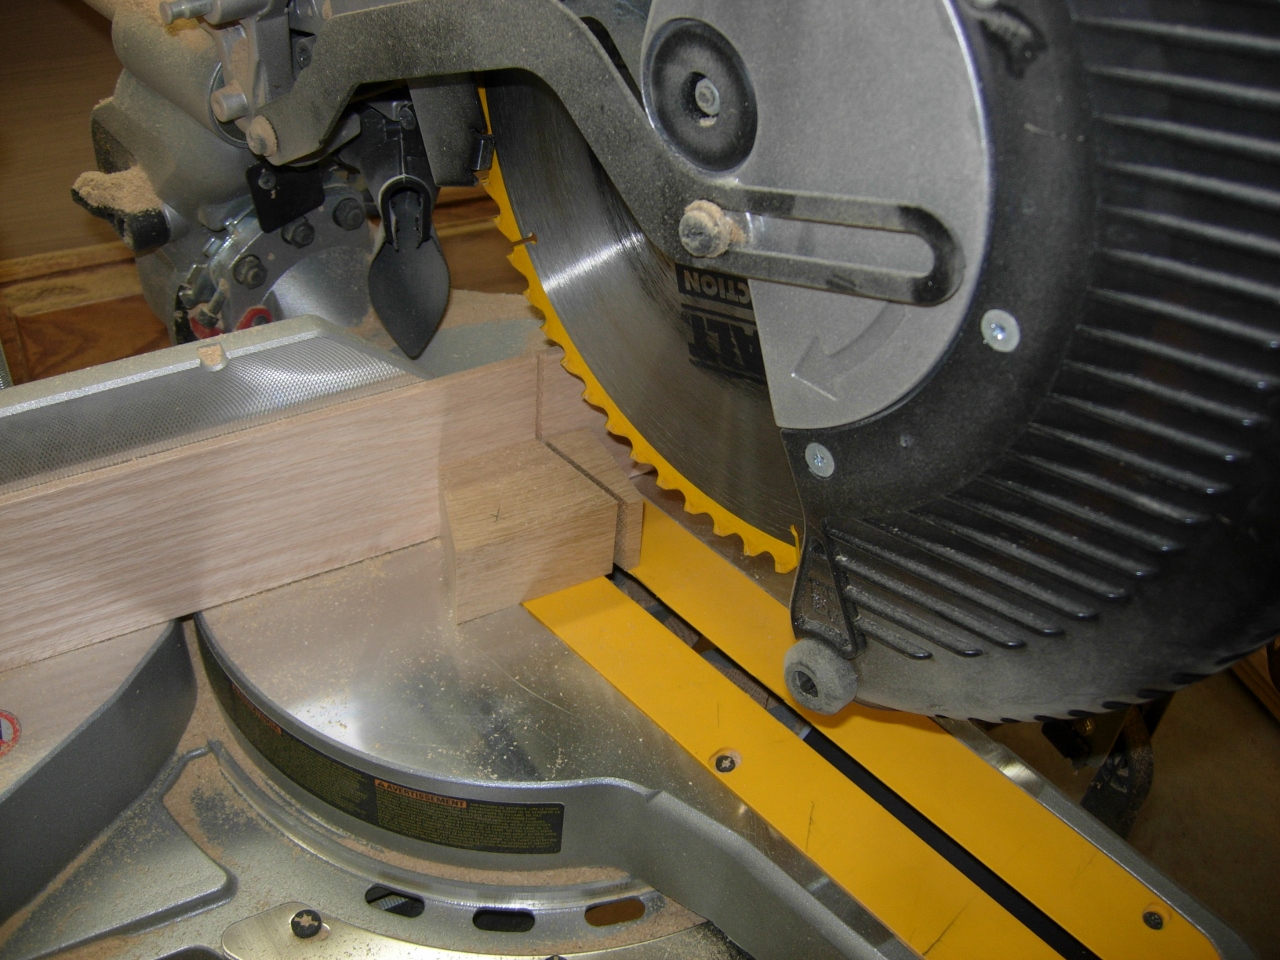
As I got down to the end of my piece of oak, I decided to pad my fence with a piece of 1/4″ plywood. the large gap in the fence is too big for the 3-1/2″ piece that I had left to trim. I applied some double-sided carpet tape to the plywood and attached it to the fence.
Padding the fence for safety
The last time I tried to cut something this small with that large gap in the fence, it ripped the chunk of wood out of my hand and shot it into the saw. Needless to say, I will try to avoid doing that again…
A lot safer cutting the last piece
The new temporary fence worked great. It even prevented the small bit of tear-out that I had been getting. I think I will leave it there for a while. I repeated the tape, glue, and roll-up, then clamped it up and moved onto the last two layers.
Repeating the process
Glueing up the second to the last level
These are thinner and longer, coming nearly to a point. My angles seem to be ever so slightly off because there is a hair-line gap or two. I think they won’t be a big problem in this application because I will be glueing the faces together as well. There will be a lot of surface area getting glued.
One to go
Since I had a dozen off-cut pieces from cutting the last one, I just glued them up and strapped them together. They were all roughly 4″ long and the wedges for the top only needed to be 3″ long, so I just let then jut out if they were longer. I will trim it down to size on the bandsaw later.
Glueing up my offcuts for the last one
I clamped a couple of square blocks across the face of the last two to try to flatten them as much as possible.
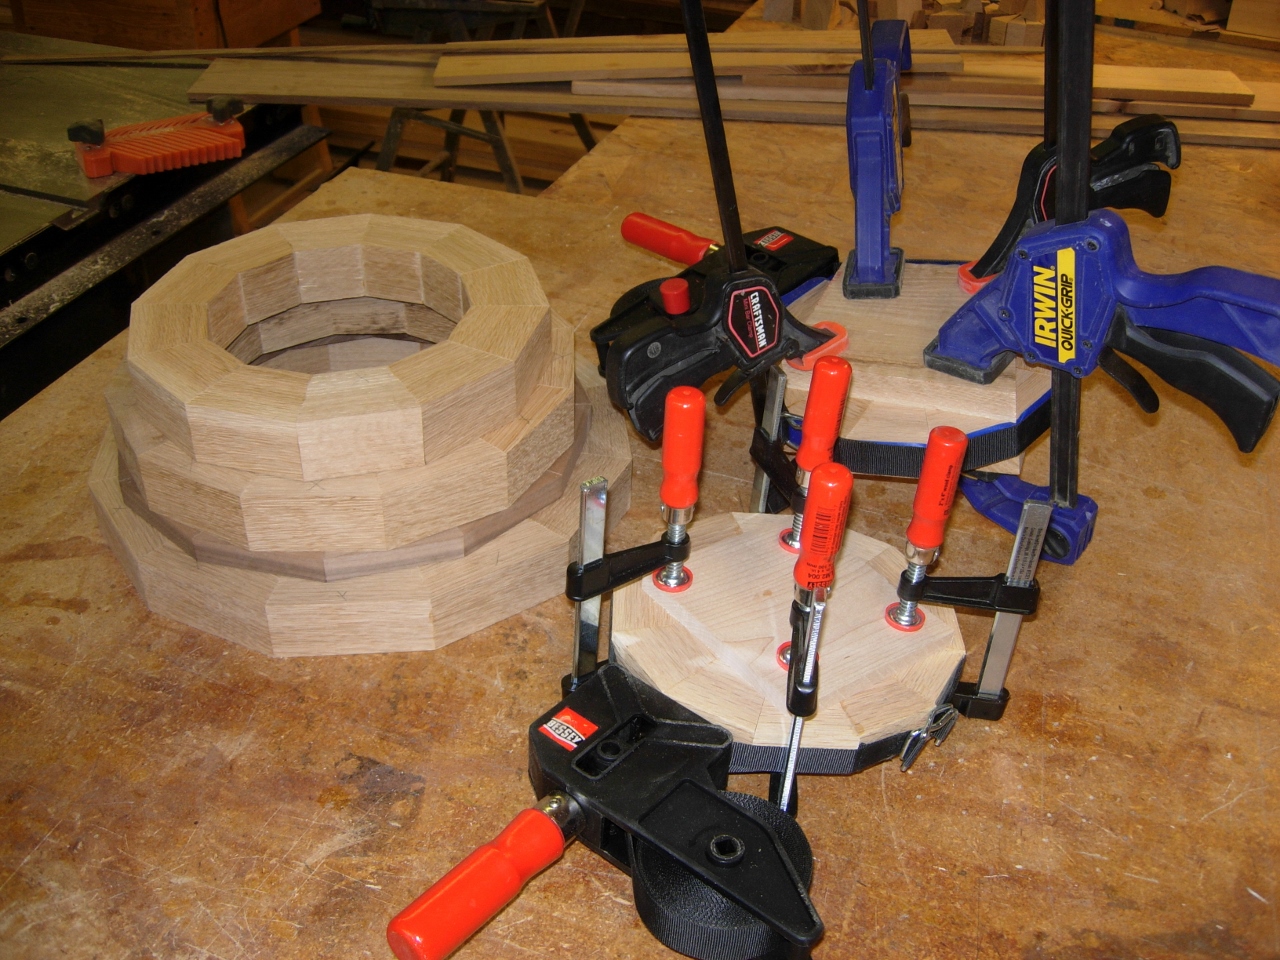
Last two layers drying
Cutting and glueing each layer takes about an hour each. This kind of worked out to my advantage since I only have the two band straps. By the time I finished cutting and glueing the third and fourth layers, the other two had an hour or two for the Titebond wood glue to set up. That was enough to allow me to pull the clamps. They will still set at least 24 hours before I put them on the lathe. Oh well, it’s almost 11:00PM and I have been at it for a while, so I think I am going to knock off early this evening…
