
Column test build
I have a new project coming up that will require some 8″ diameter columns. Since I have never done columns before, I will be experimenting a bit to find a way that works with the tools and materials I have. This is my first stab at it, hopefully it will be successful.
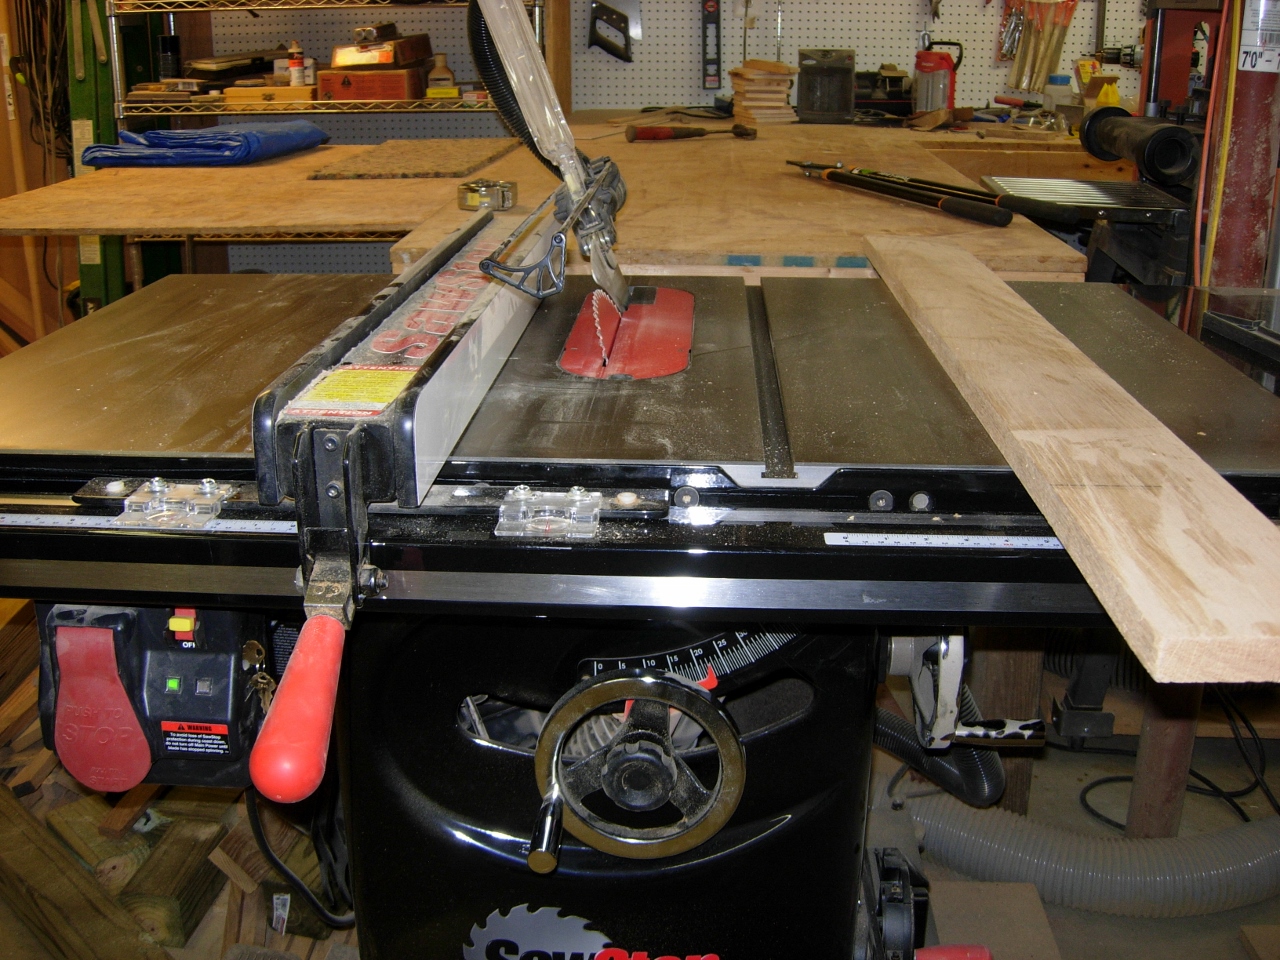
Setting the blade angle
The material that I usually get supplied with, for my projects, is typically 3/4″ thick white or red oak. I am going to attempt to work around that size initially. Ultimately I want to make a round column. Since I have a lathe, I am going to start by building an octagon then turning it down on my lathe. So I start by dividing 360 degrees by 8 for the 8 sides of the octagon. I come up with 22.5 degrees. I moved the fence on my table saw to the left side of the blade, and rotated the blade 22.5 degrees. I set the fence 3.25 inches away from the blade and made the first cut on a 4.5″ wide piece of straight white oak. Then I flipped the board around and ran it through again.
First lesson learned: The fence is raised slightly above the table. this means that the angled edge now slides slightly under the fence, effectively ruining the 3.25″ spacing. Oh well, my test column will be slightly under 8″.
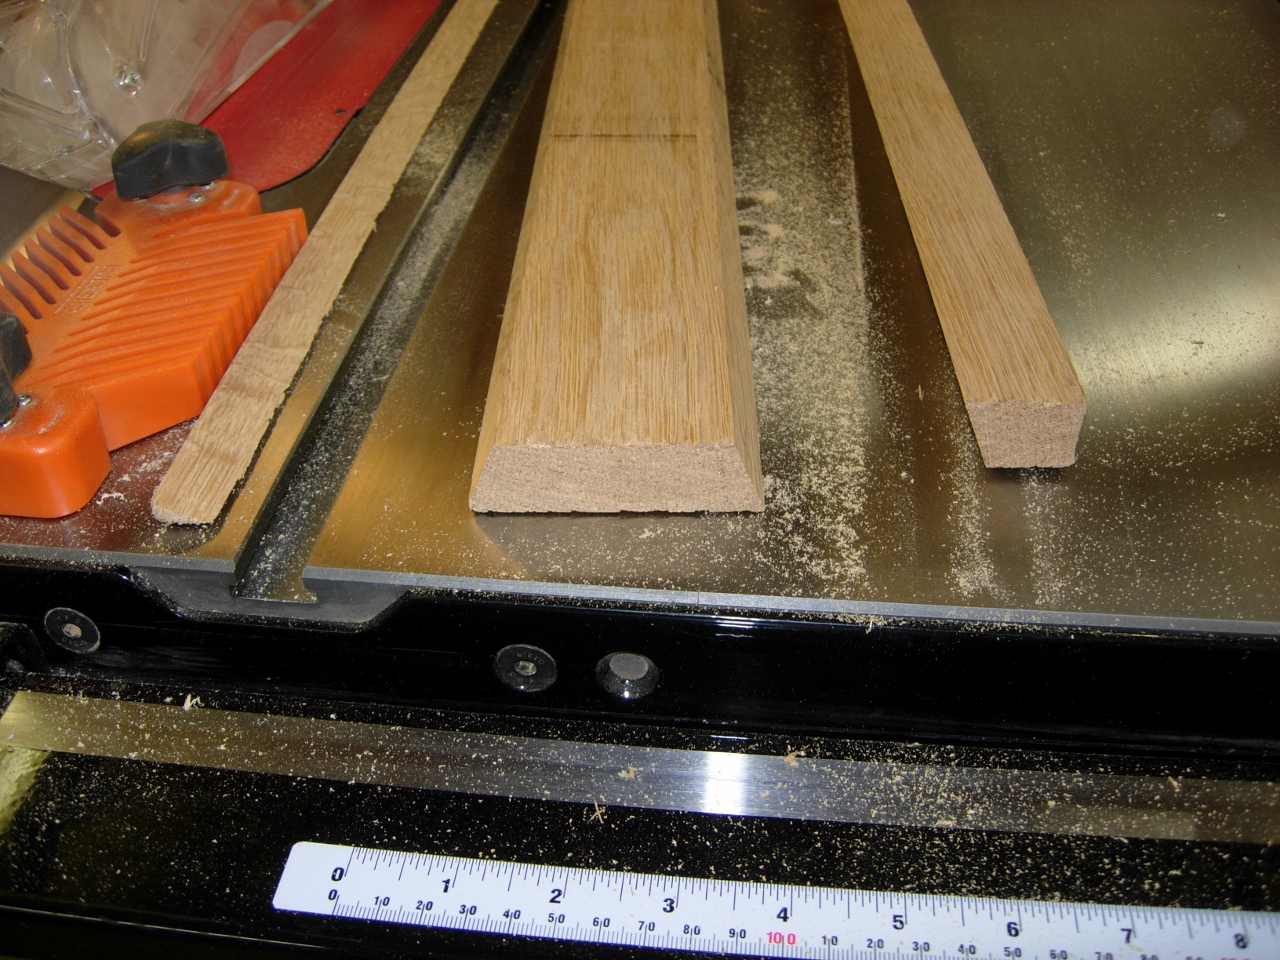
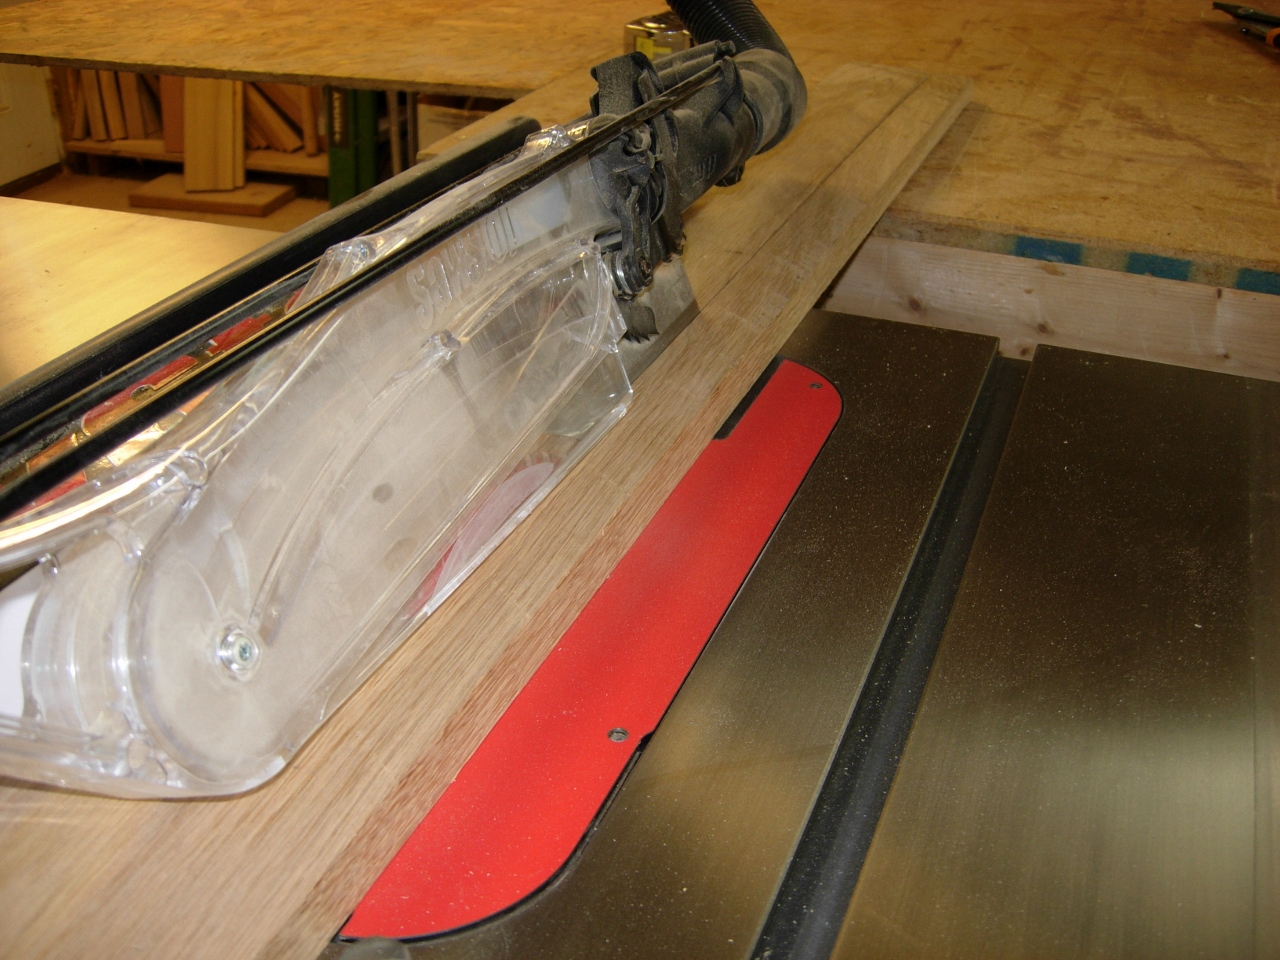
Both angles cut
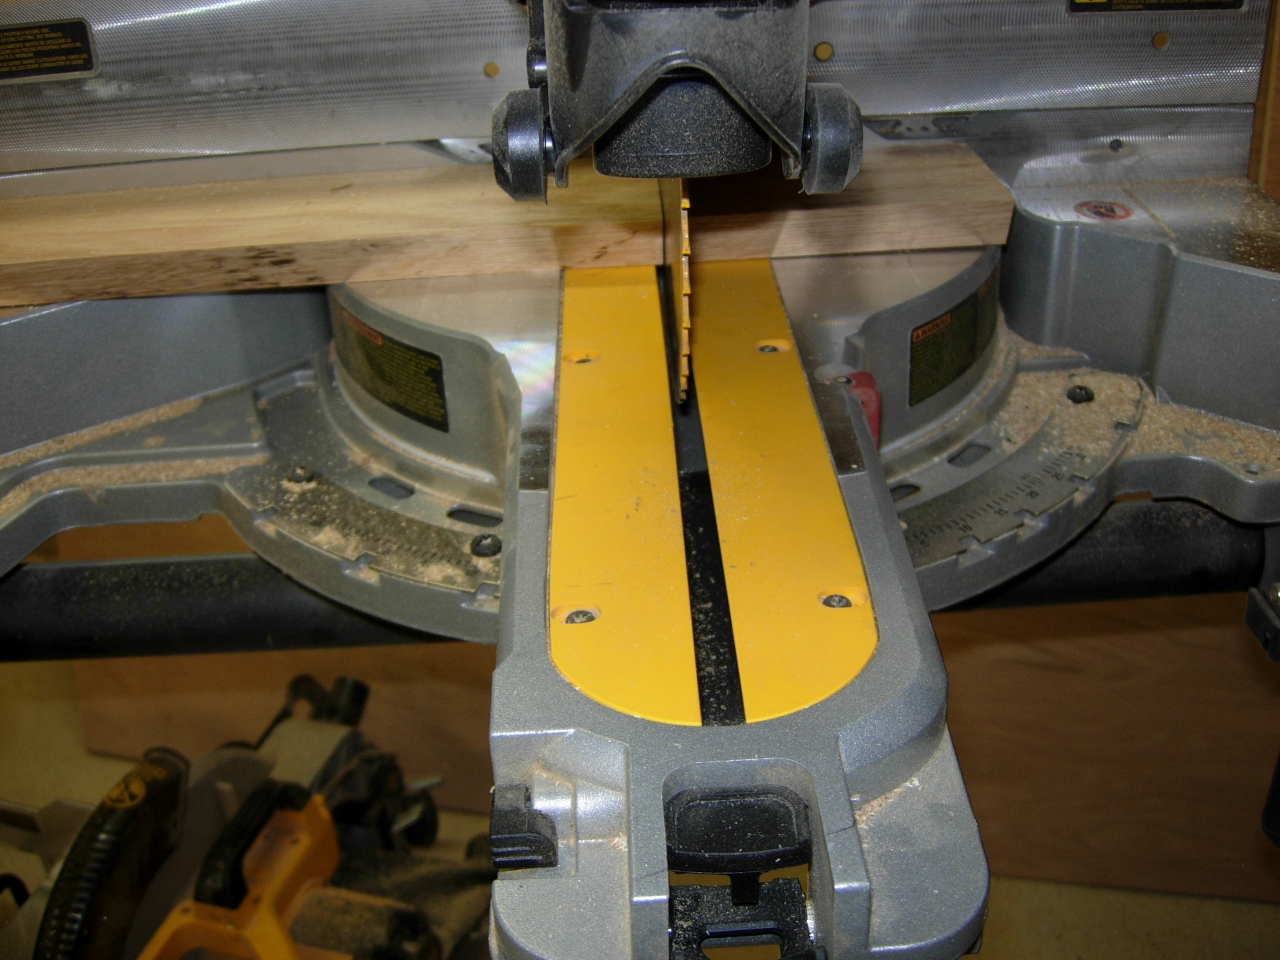
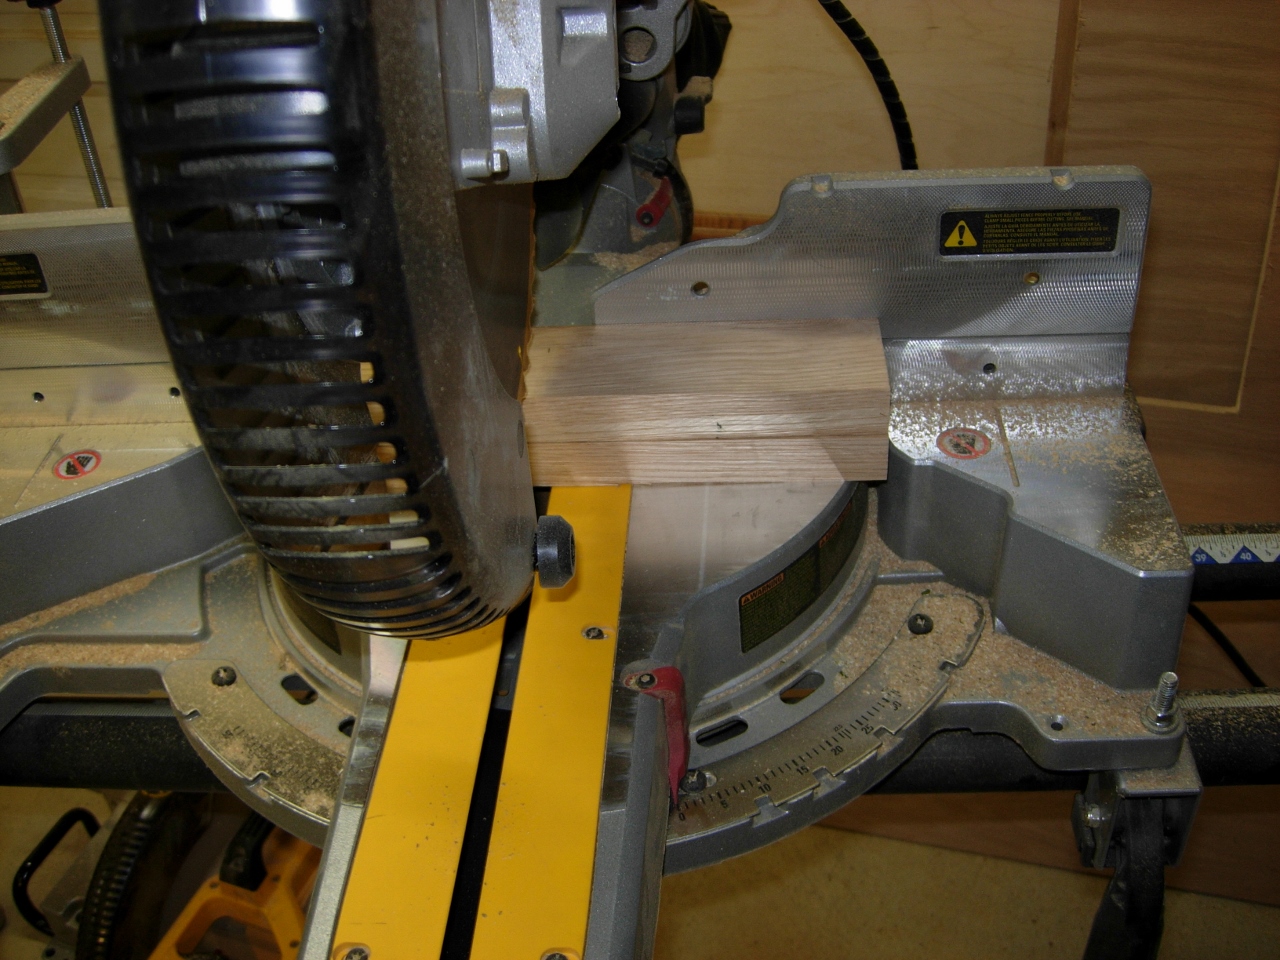
Cutting test sides
Since this is a test, I am only making the sides 6″ long, not the full 36″ I will eventually need. I set the newly beveled piece in the chop saw and cut (8) 6″ long side pieces.
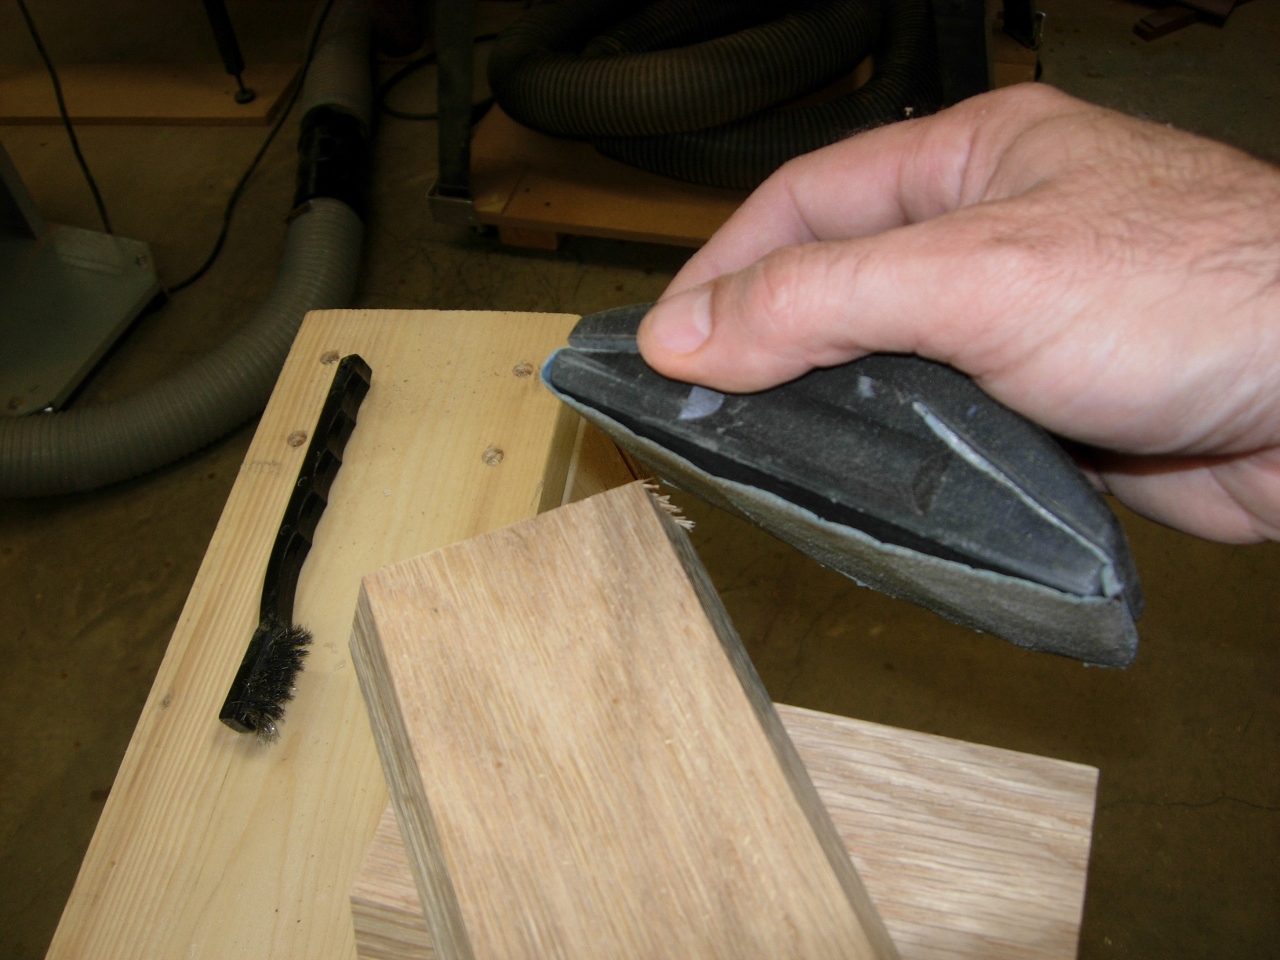
Cleaning up the edges
I cleaned up the splinters with a few quick swipes of my sanding block, and did a dry-fit.
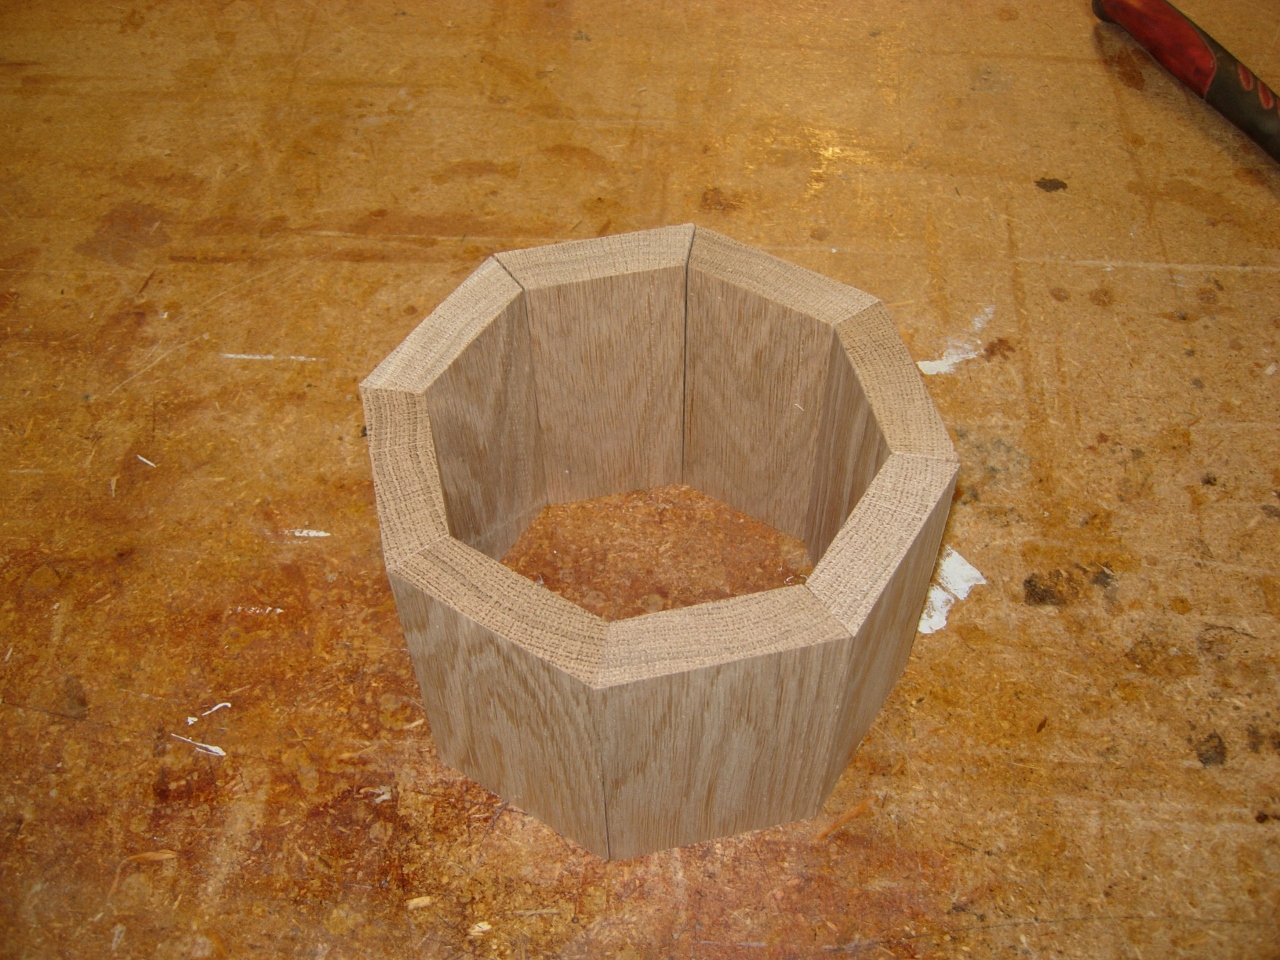
Dry fit
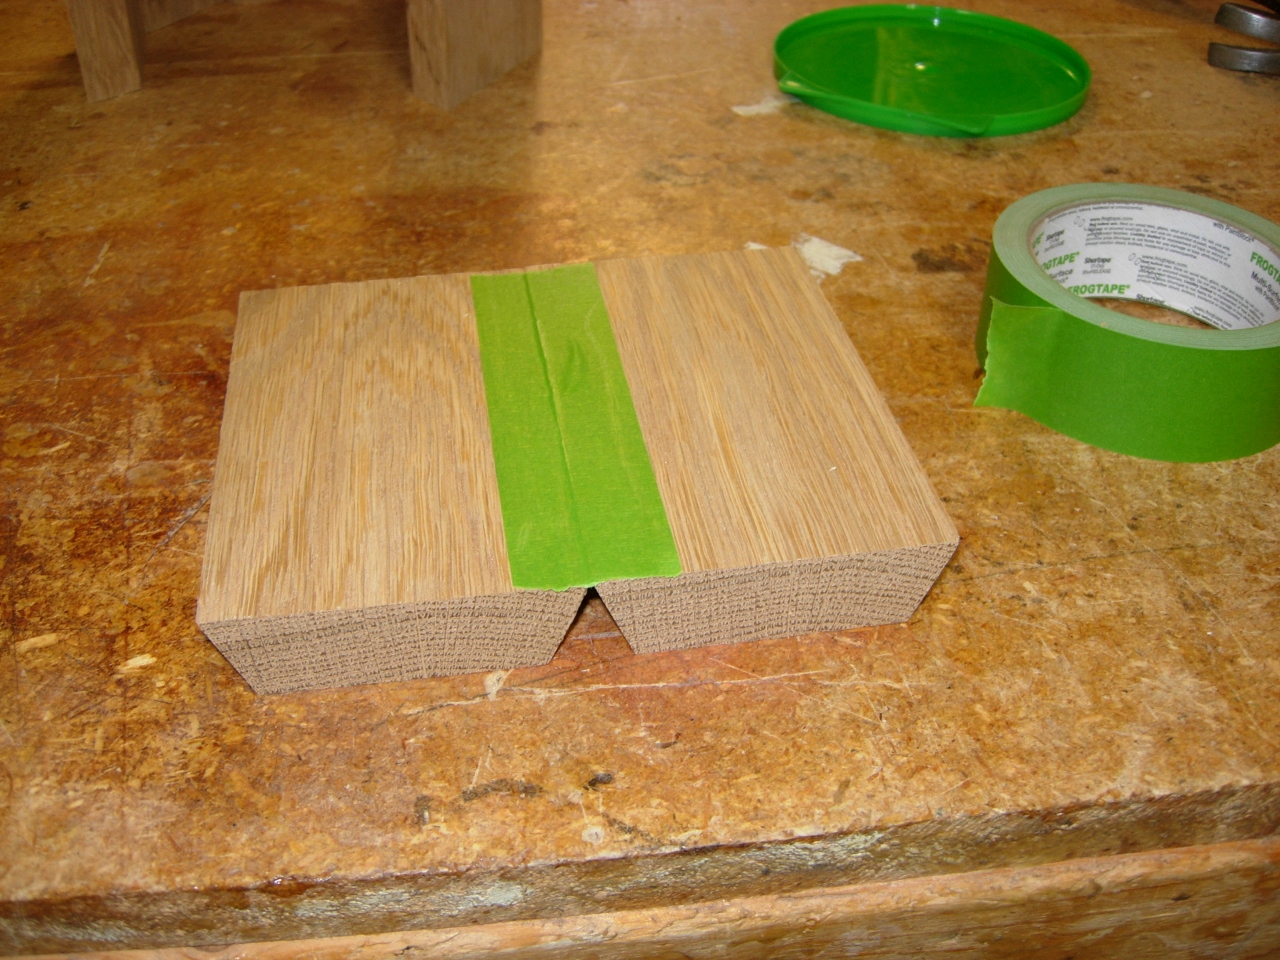
Taping the joint
Since everything lined up perfectly, I flipped all my pieces bevel side down, lined up the grain, and taped them all together in the flat. The beveled edges were butted together, just barely touching. I used painter’s tape so it could be easily removed later.
All butted edges taped
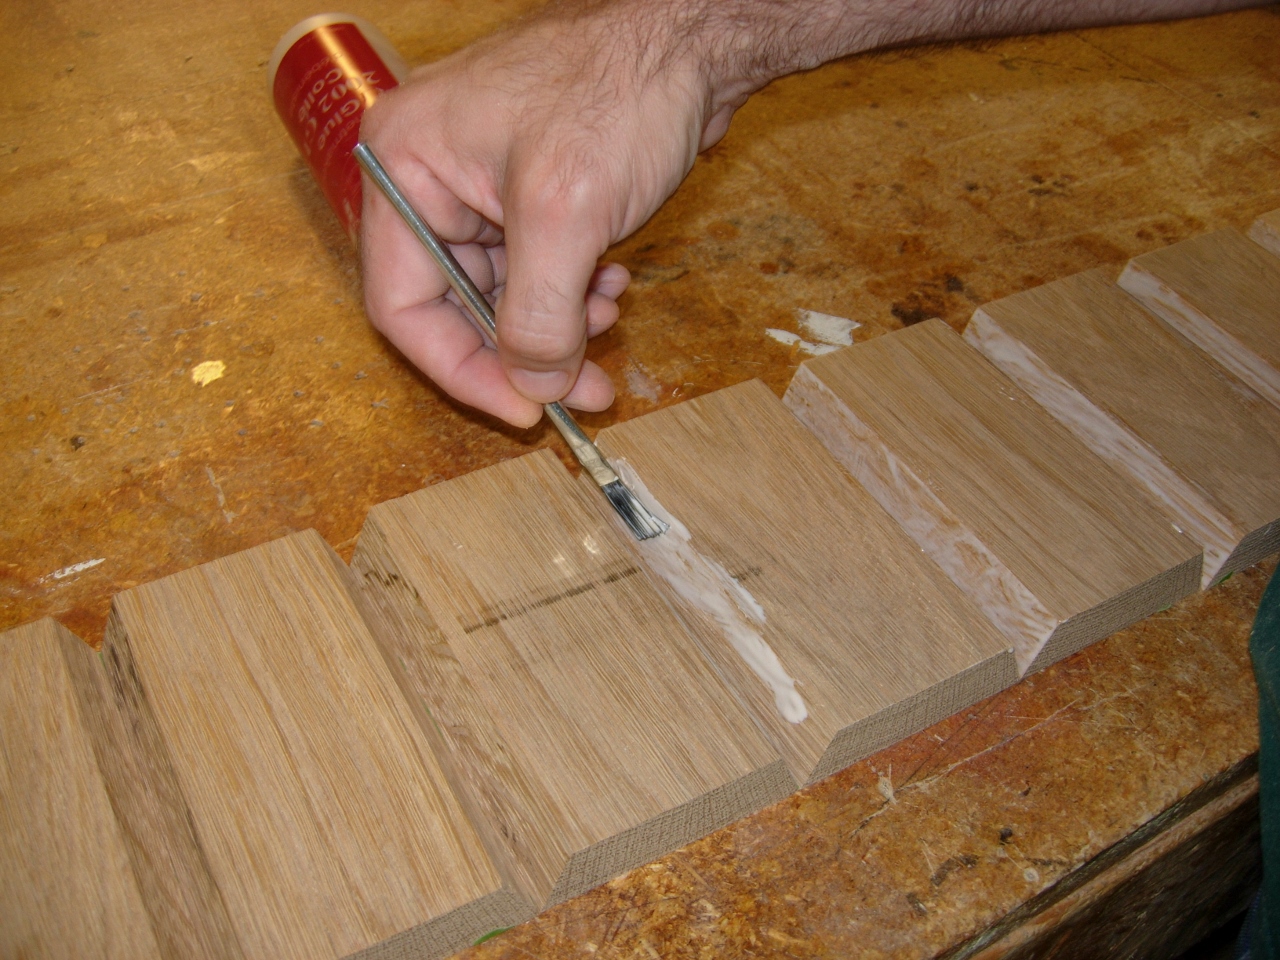
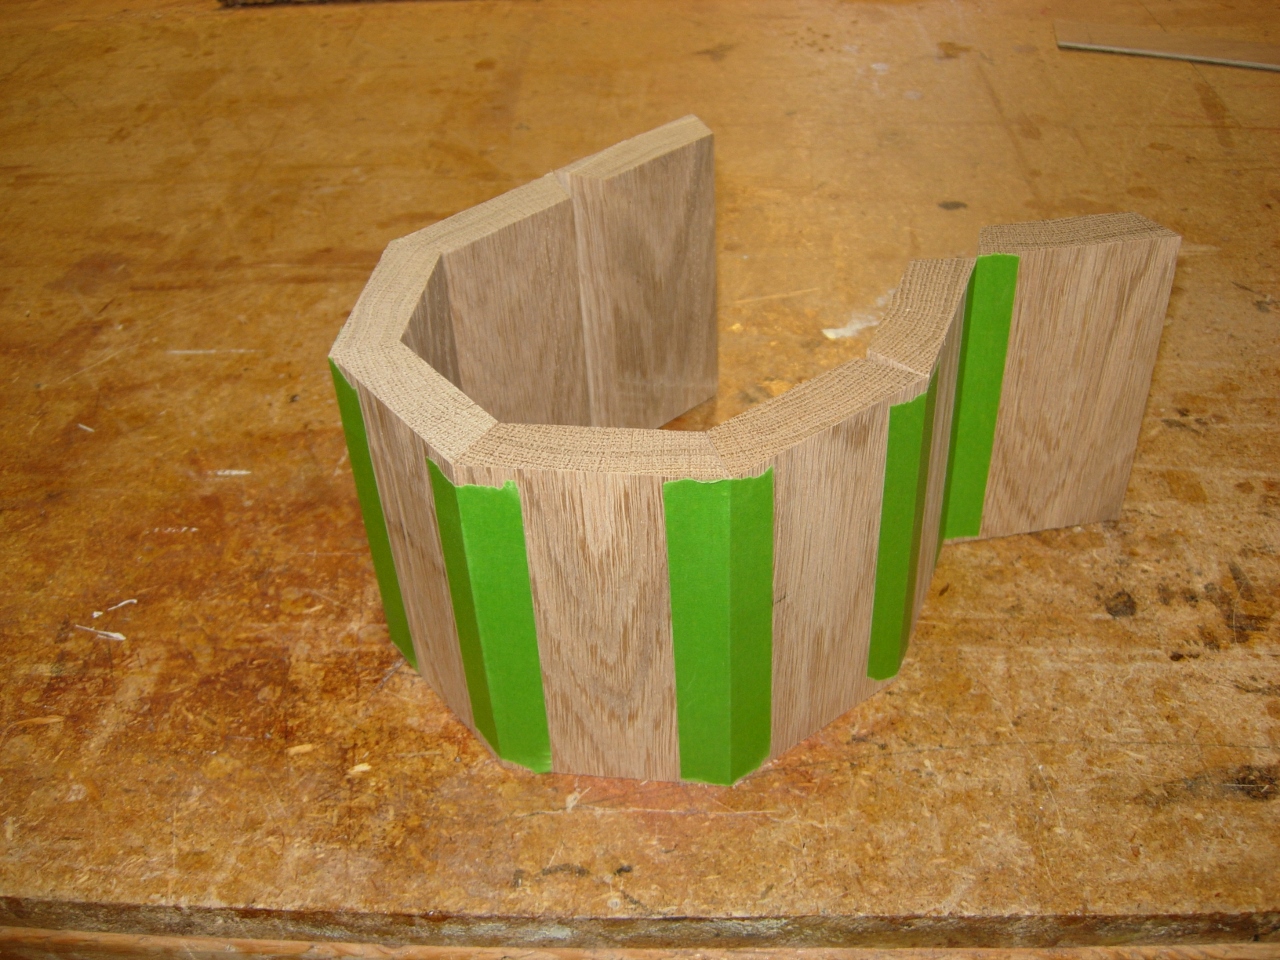
Glueing the beveled edges
With the edges taped, I flipped the whole thing over and brushed a thin layer of yellow glue on both sides of each bevel. With all edges glued, I rolled it together and applied a piece of tape to the final joint. Next I ran a piece all the way around just to make sure none of the other pieces of tape separated.
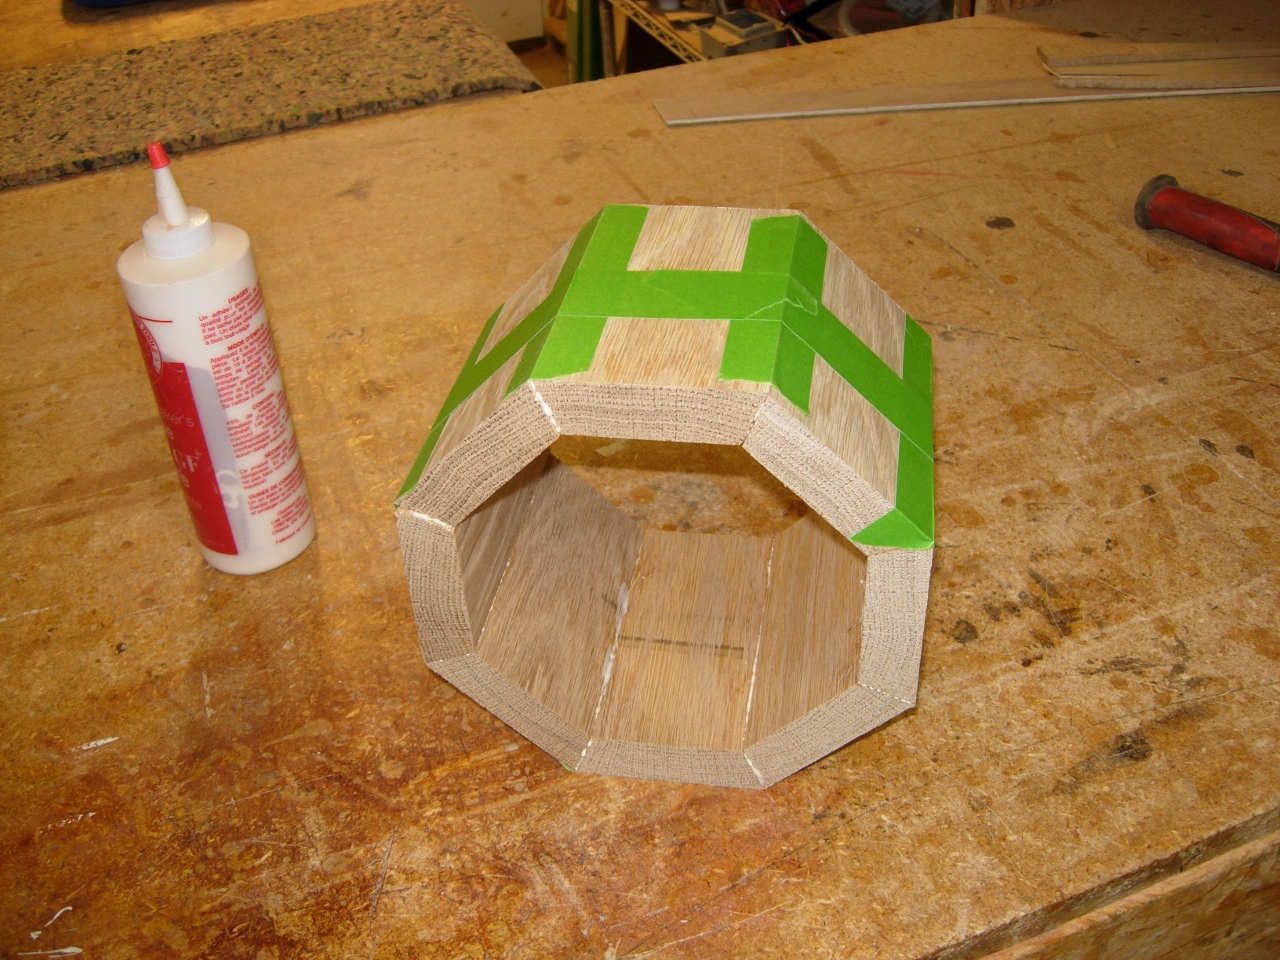
All taped up
Cutting end pieces
I measured the inside dimension of one of the side pieces and the distance across the inside. I cut a block to match those dimensions as closely as I could.
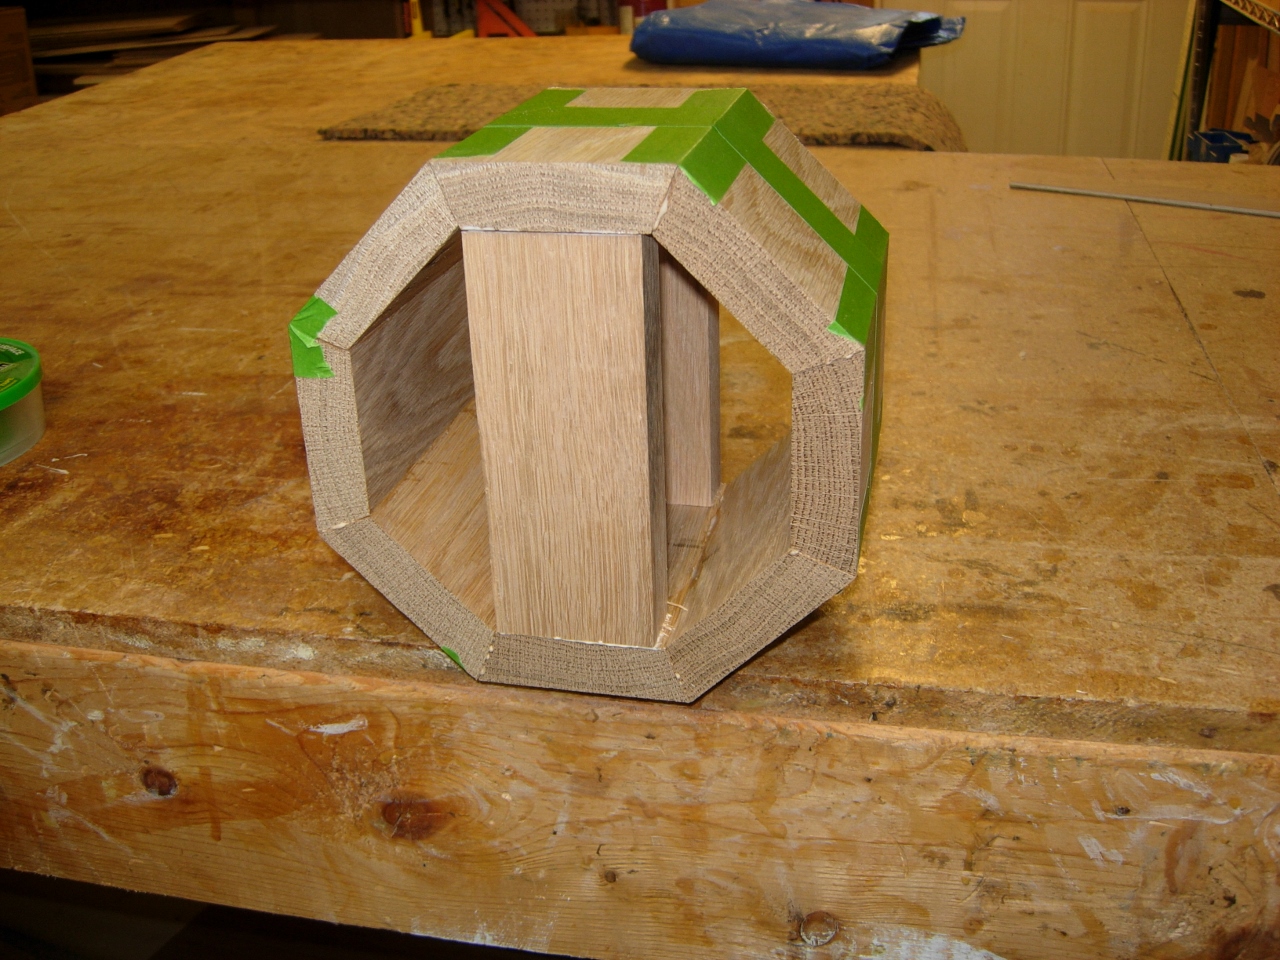
Glueing end pieces in place
I glued those end pieces in and shot some short brads into each end for a little extra holding power. I used 1 1/4″ brads, so hopefully they won’t go through far enough to bother my lathe tools.
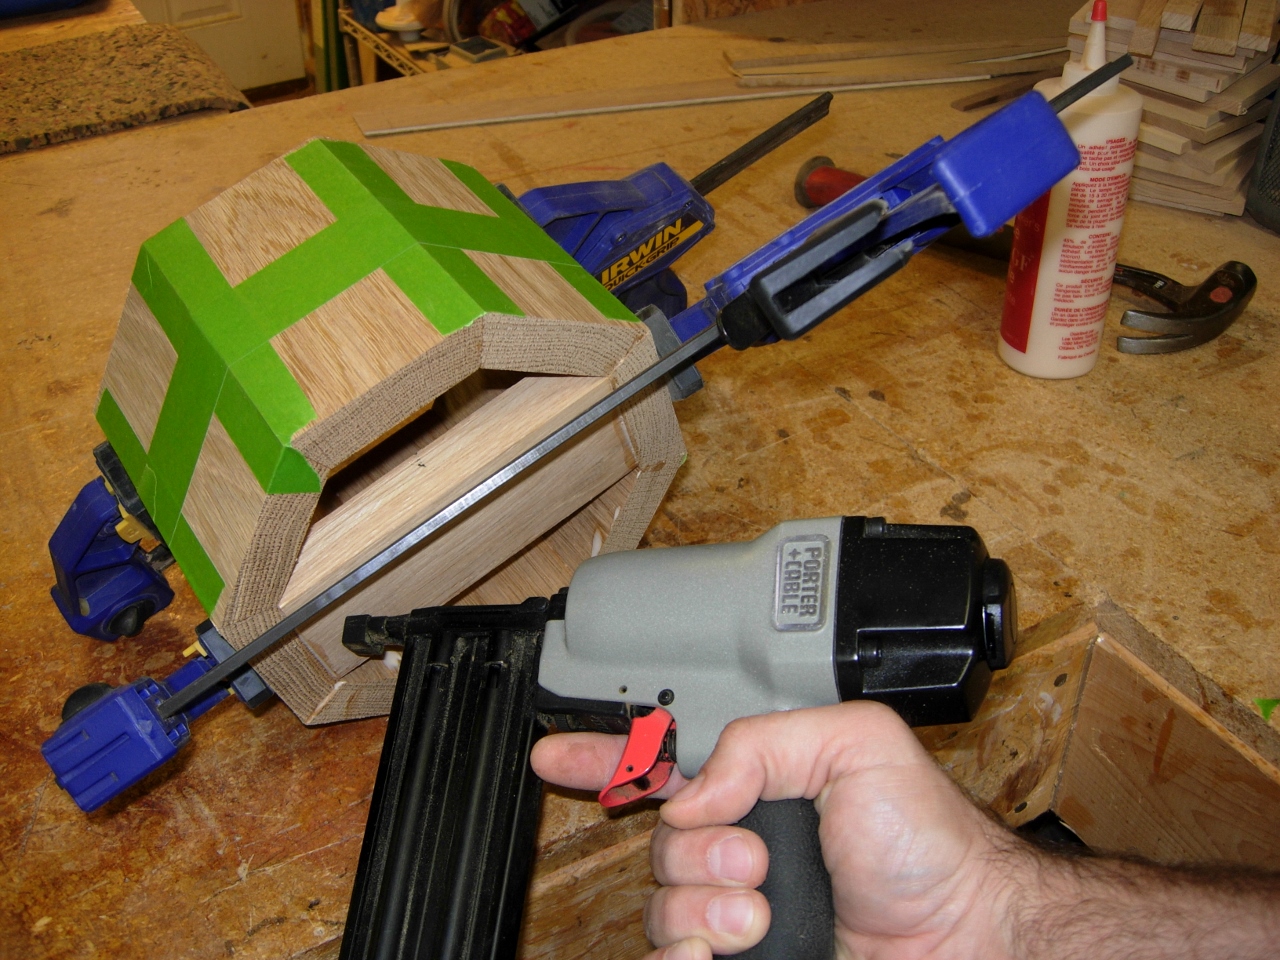
A little additional holding power

Mounting the face plate
Next, I mounted my lathe face plate in the center of one side, then mounted it on my lathe. I gave it a spin to see if there was any wobble. Since there wasn’t, I brought the live center, from the tail, into the opposite side for some additional support.

Column set in the lathe
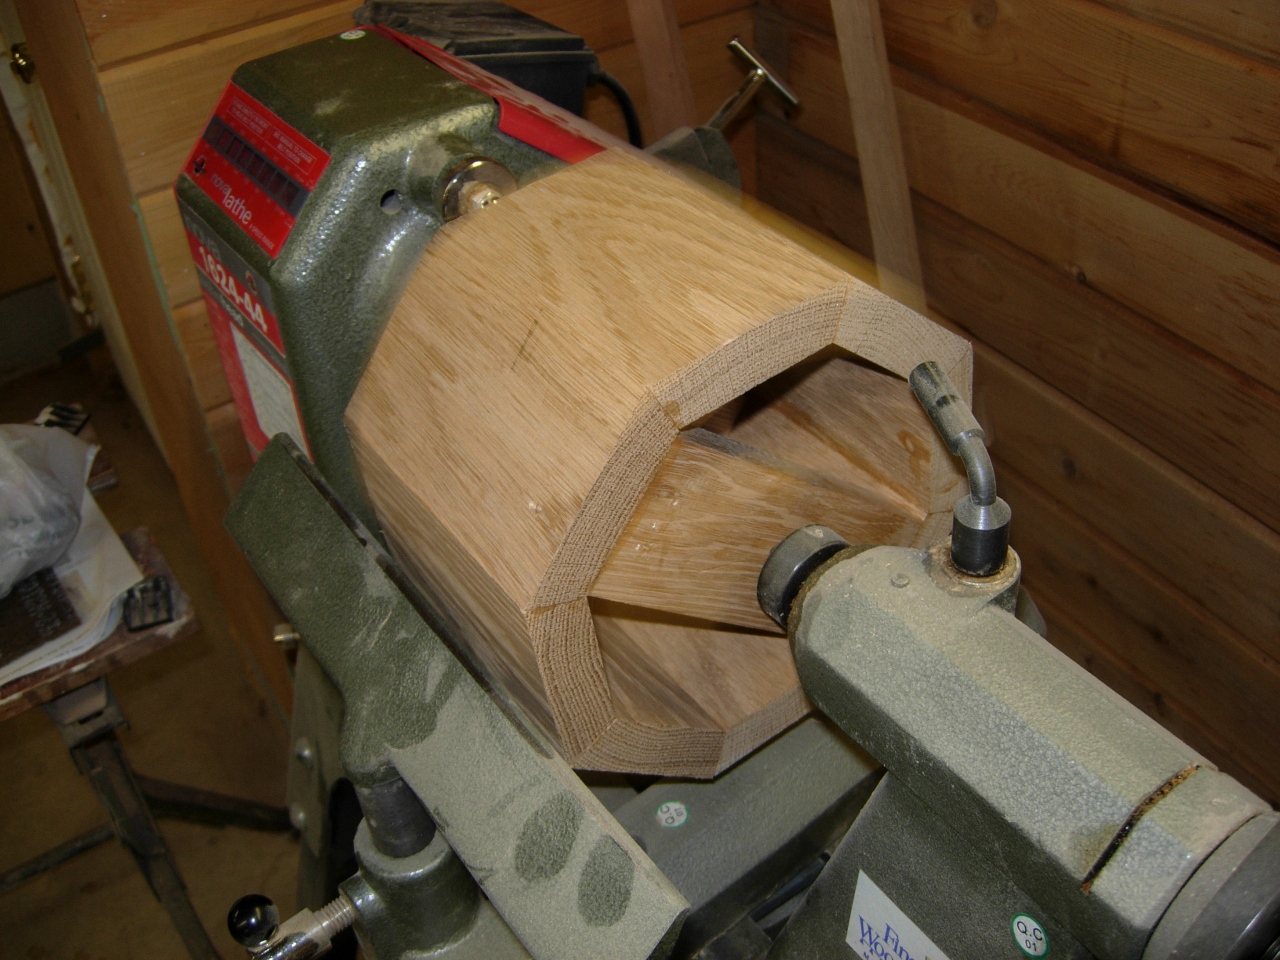
Ready to turn
A couple of hours later, I removed the tape and started turning. I started out on a low speed and gradually worked my way up as it got smoother.
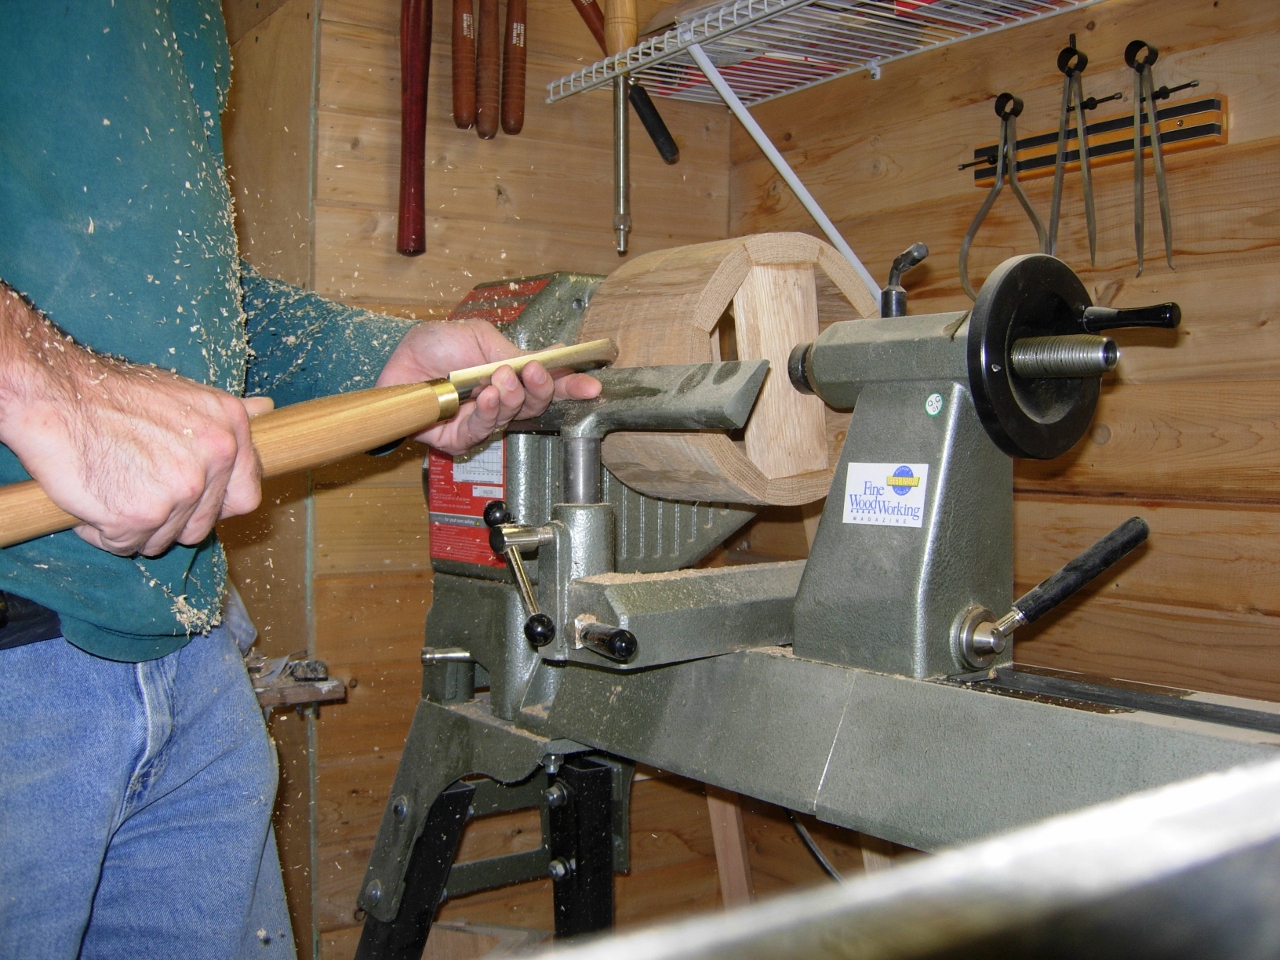
Nearly finished
Apparently this design has a speed threshold. As I sped it up one more time and started my final clean-up, it blew up into the wall and my chest. It seems to actually have broken at an imperfection in the wood, not on the glue joints.
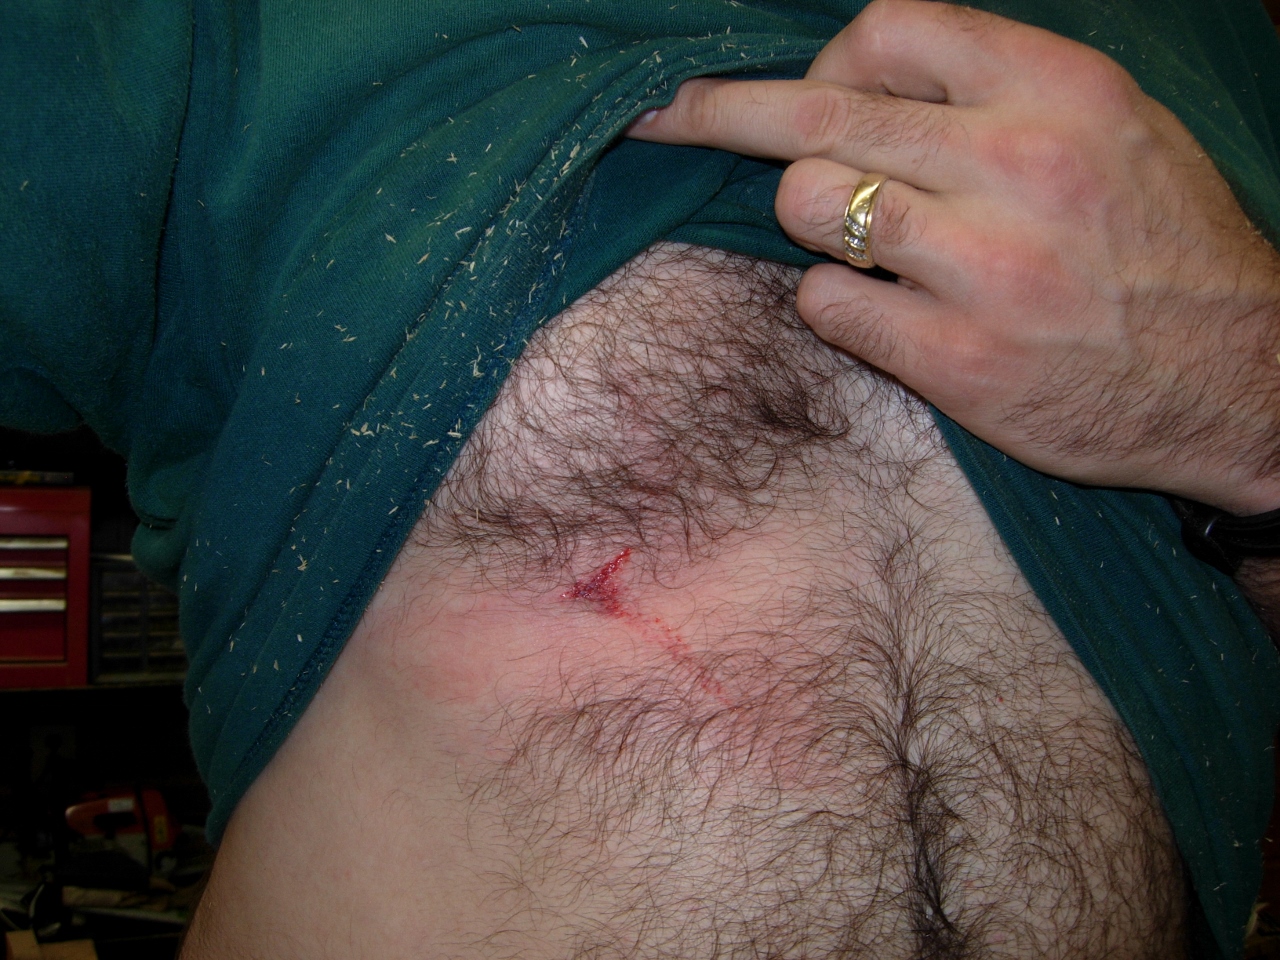
Ouch!!!
It knocked the wind out of me, but no permanent damage, accept to a pair of calipers that I had hanging on the wall. I spent about 15 minutes looking for all the pieces of the column. One of the sides is still missing. I found one piece about 10 feet away. Oh well, I think I will scrap this design and move on to a thicker material…
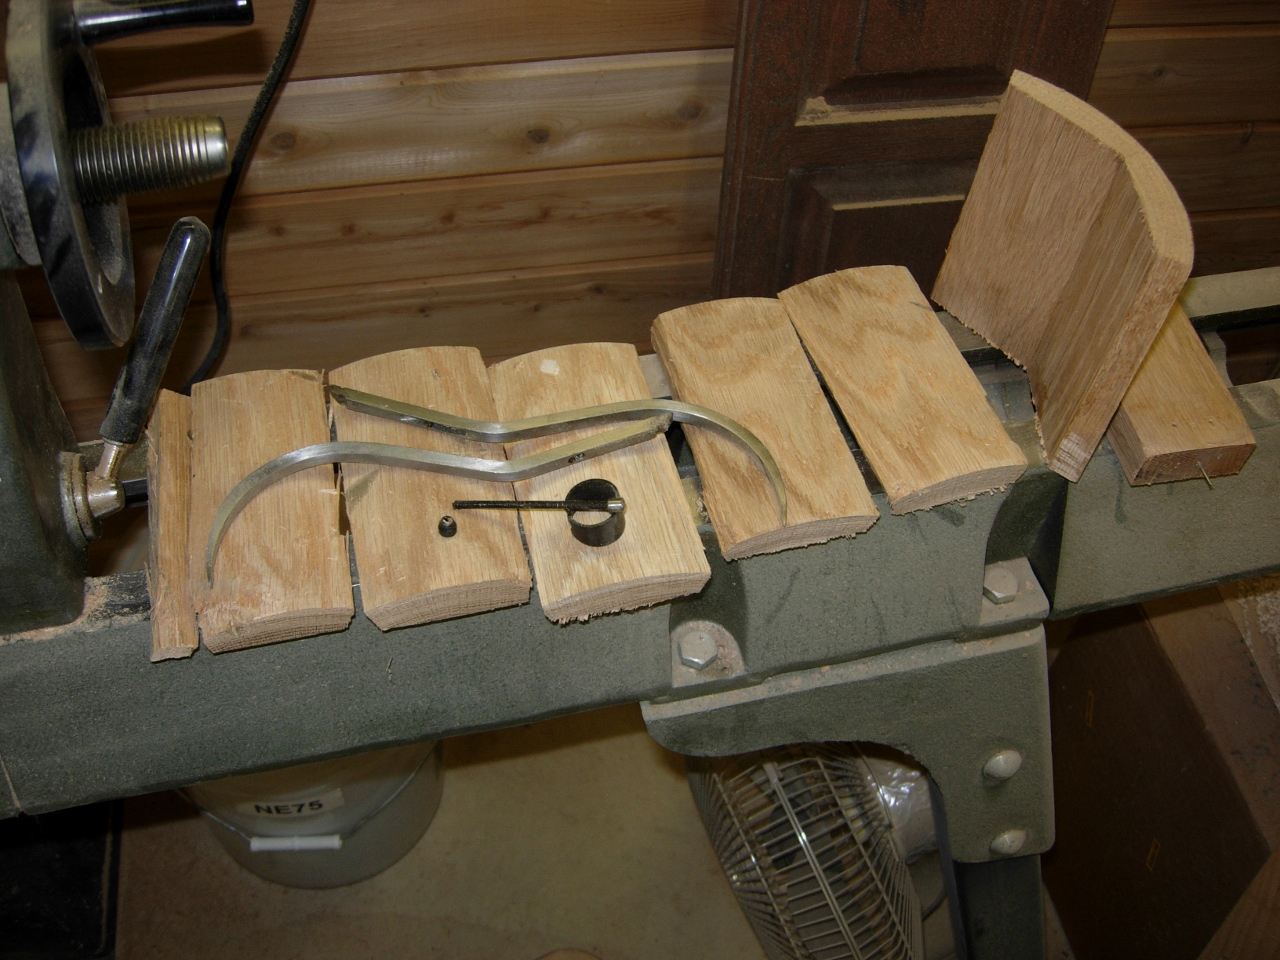
What is left…

Just glad your not hurt. Got to appreciate a guy that shows us his mishaps as well as his successes. I don’t know the answer to this as I do very little turning, so I will be following what you do.
Thanks Dave, the main purpose for this blog is to show people how I would do something. It only makes sense to show how I won’t be doing things if I find a reason why…
Pingback: Tabernacle build – day 1 | Midnight Woodworking