
Shop cabinet doors, with a view
I built a shop cabinet a few weeks ago, with the intent of having a place to store my new Earlex sprayer. I am running out of room in my shop, so I replaced the shelf behind my miter saw with this new cabinet. The big problem is that the miter saw manages to throw dust in every direction. That means my sprayer and all of it’s components are now covered in dust.
I have a few hours to kill tonight while everybody else is watching American Idol… So I decided to whip up a couple of cabinet doors. I noticed a left-over piece of Lexan lying around, so I thought it might be nice to have windows in the doors as well. I decided to make the doors, in a similar fashion, to the doors I just made on the oak storage cabinets. There was no need for decorative raised panels and frilly trim just for shop use. The only thing that I didn’t like was using my table saw to cut the grooves in the door frame. The teeth on my blade were angled leaving a lot of clean-up for me to do by hand. My Lexan is only 1/8″ thick and that would be too small a groove to clean out with my 1/4″ chisel. So I took the plunge and bought a high-end saw blade for my table saw. One that leaves a flat bottom to the cut.
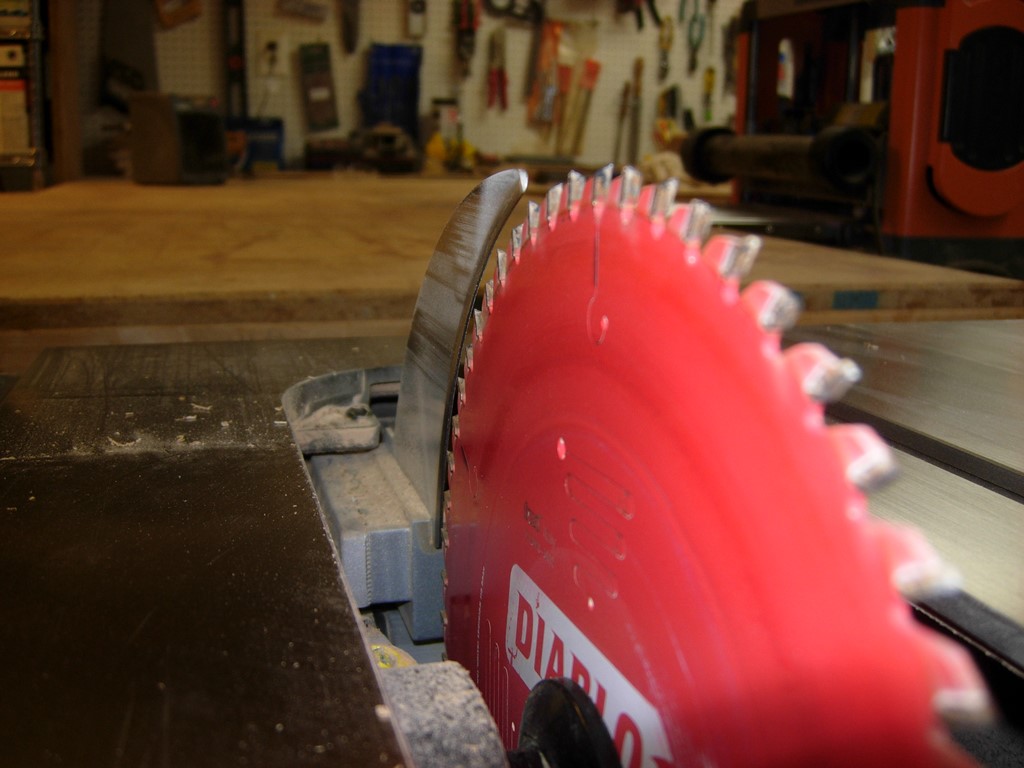
My old Diablo blade
I removed my $25 Freud Diablo blade, that works great for most of my work, and installed the new $135 Forrest Woodworker II blade. I hope it will be worth the expense. I do know that it is sharp. I managed to slice a finger, just installing it…

My new Forrest blade
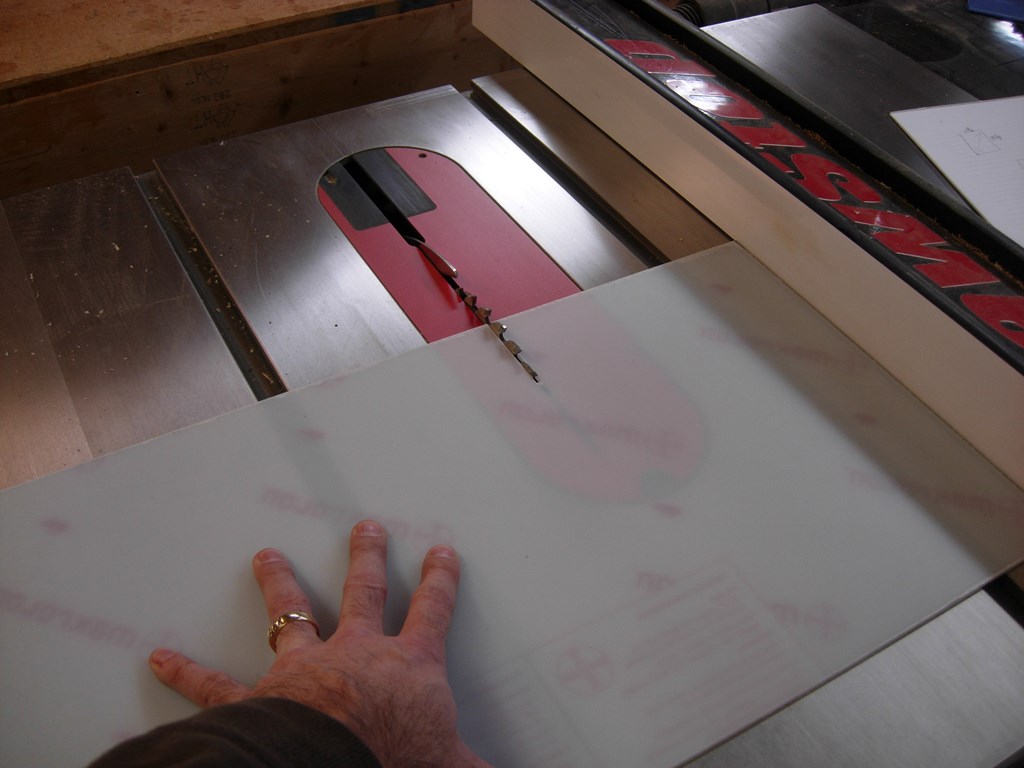
With the new blade installed, I ran a test cut on a knotty piece of hard maple. Not bad, a clean cut, and a lot less burning than the Diablo blade.

Clean test cut
Cutting the lexan
I decided to cut my piece of Lexan into three equally sized pieces so I could then figure out the size of the frame. I cut the Lexan on the table saw, just like a piece of wood. It cut with no problems, leaving a clean edge.

Ripping the door frame
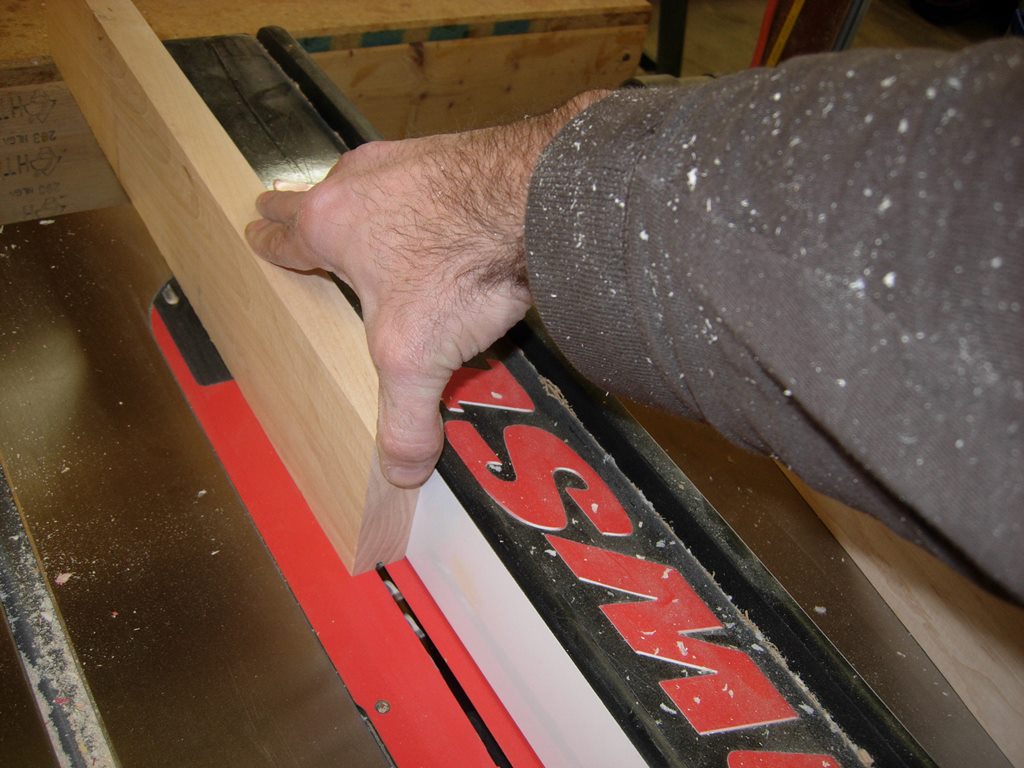
Next, I ran the rest of the frame pieces through the table saw and the miter saw, to get them close to size. I am making it slightly over-size with the intent of trimming the entire panel down to fit the door opening.

Cutting to length
Cutting the groove in the frames
I cut the tounges and grooves on the table saw. I opted to use 1/8″ tounges and grooves to match the Lexan thickness. Normally I would prefer a larger tounge so not as much of my glue area is to end grain, but between the hard maple and the new saw blade, the ends of the horizontal pieces are glass smooth and should bond well enough.
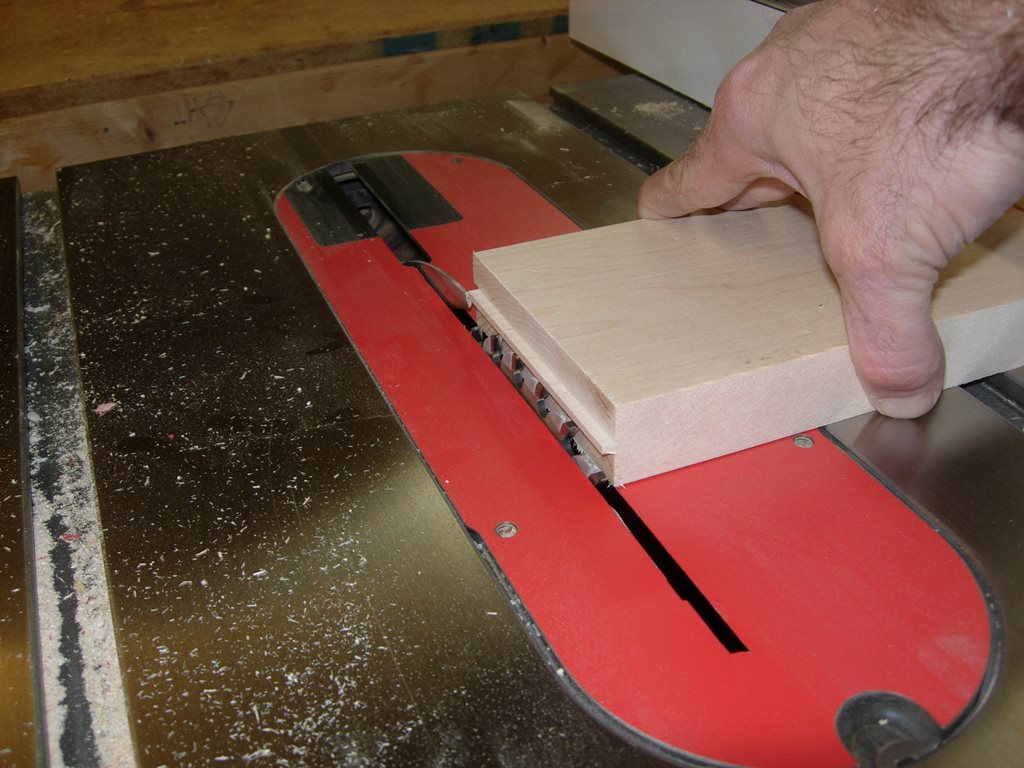
Cutting the tounges

Cleaning up the faces and edges
After a quick pass with the sander, I did a dry-fit. The tounges require a slight trim with my block plane, but everything fit snug.
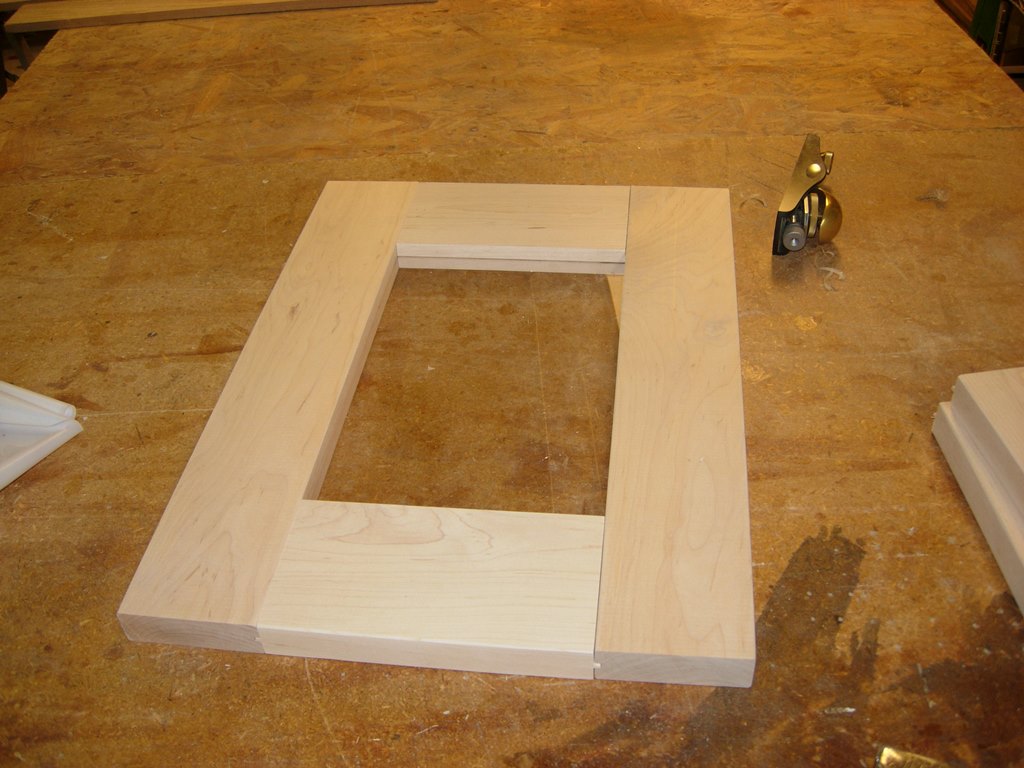
Dry-fit

Applying a bit of glue
I applied glue to the ends of the top and bottom frame pieces and clamped them up.

Clamping up the panels
I now have three panels ready for my cabinet, after only about two hours of work. When they dry , I can trim them up and add some hardware, and my cabinet should be dust-free.
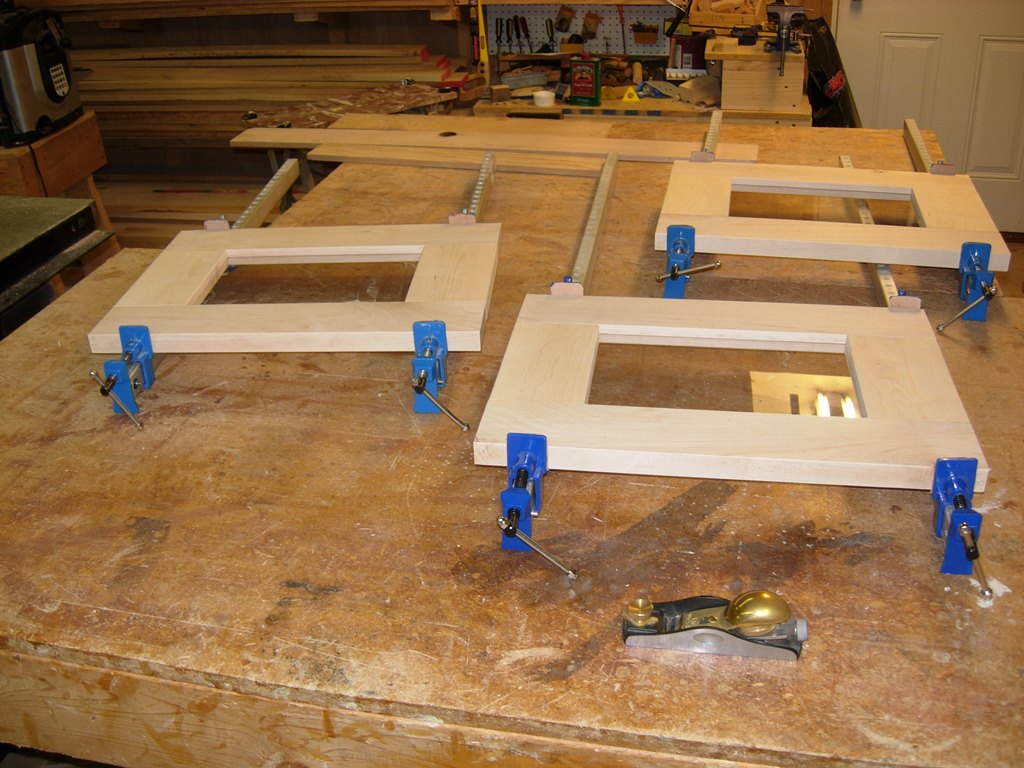
Clamped up and drying
