
Shop cabinet
I am running out of room in my shop. I need to build a couple of large cabinets for St. Josephs, but I don’t have any floor space. So I am going to take come of the scrap strips of maple from Rob’s end tables, and some plywood left over from the altar, and build a quick shop cabinet. This will give me a place to store my sprayer and a few other things that I want to keep off of the floor, and free of dust.
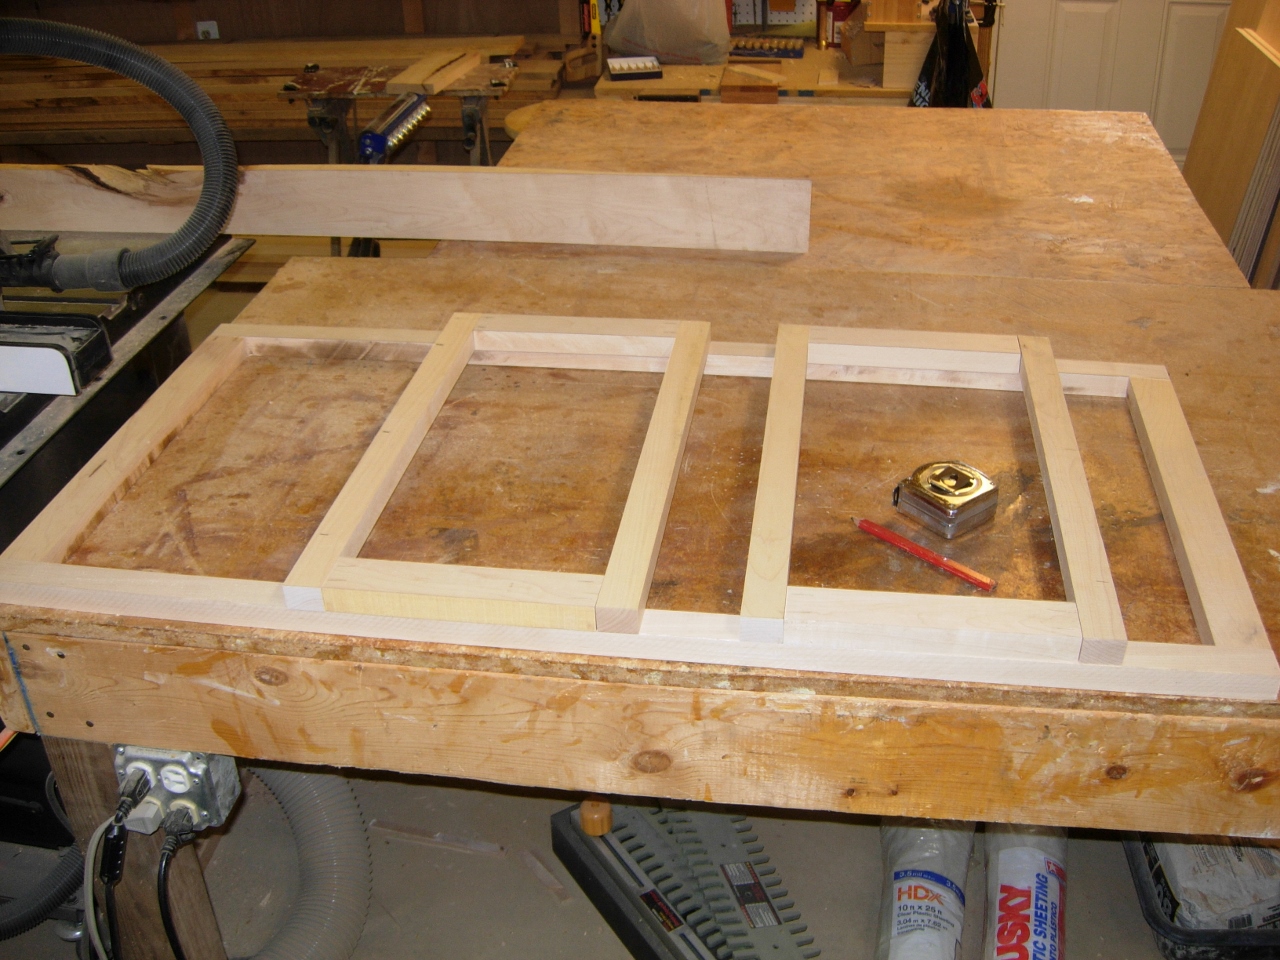
Laying out the frames
I have a lot of scrap hard maple in 1″ to 2″ wide pieces. I pick through them and select a couple of 2′ and 4′ long pieces. I ripped them down and cut them to length on the miter saw.

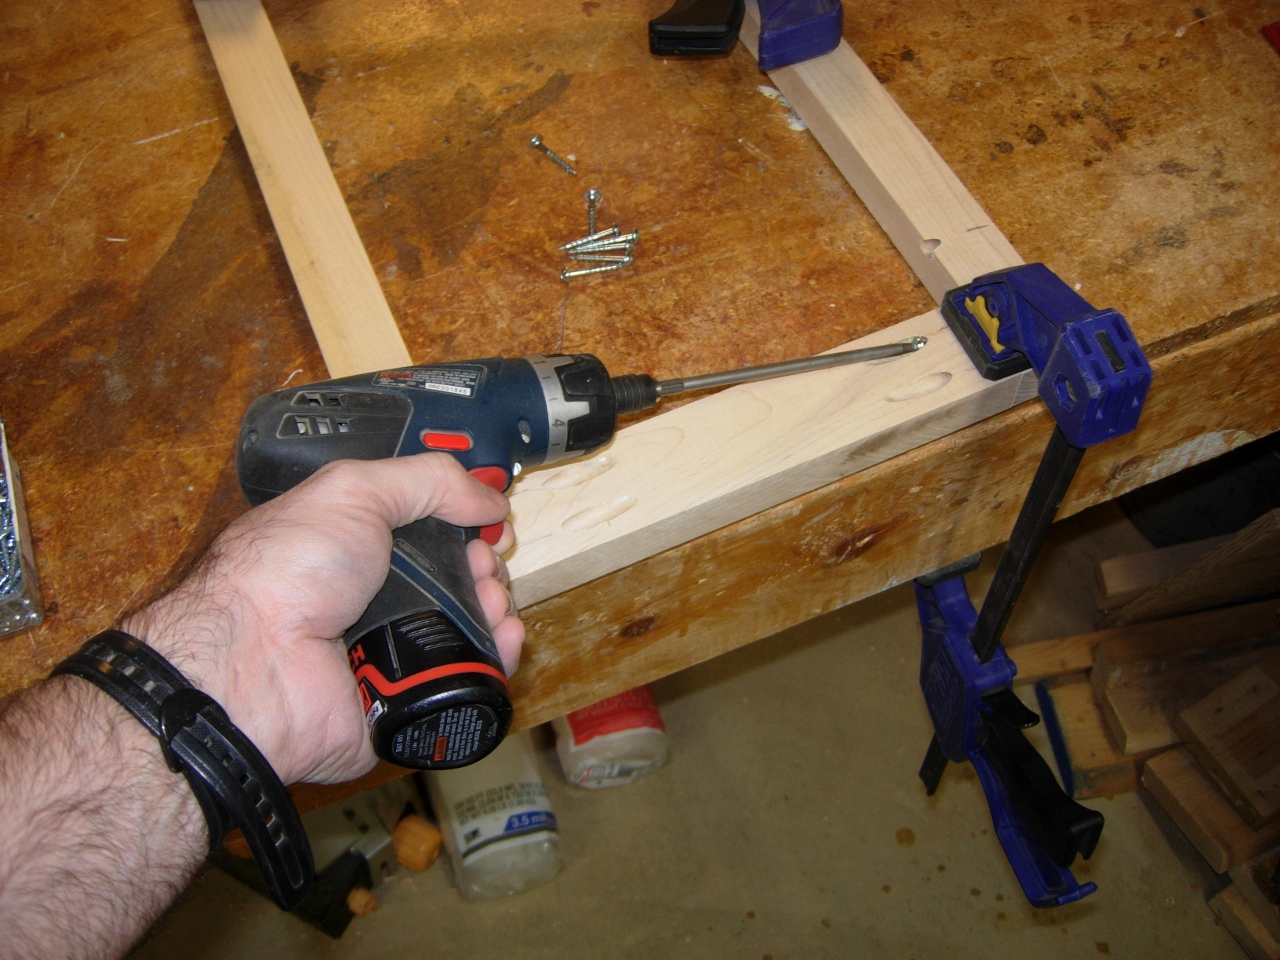
Drilling the pocket holes
I drilled picket holes in most of the boards, then assembled them.
Assembling the frames
I started by making the back and side panels, then attaching them together with pocket hole screws.

Attaching the frames
I use the pocket holes to hold everything tight and square. I really don’t intend to ever pull this cabinet apart, so I glue and nail a few support strips along the sides to support the bottom.
Adding support rails

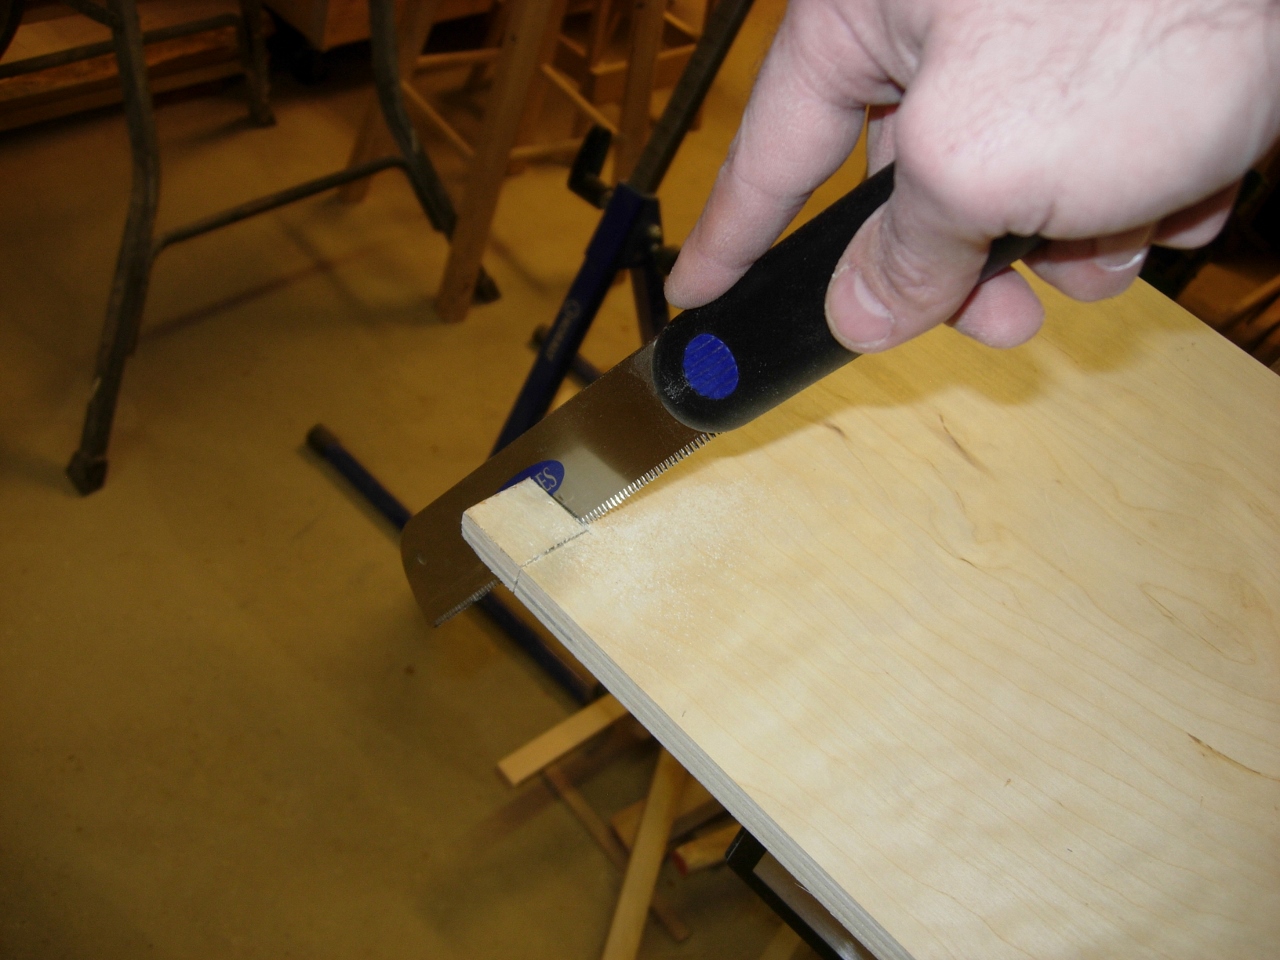
Ripping the top and bottom
I ripped down a piece of 1/2″ wide birch plywood, and cut two pieces from it. The top and the bottom. I notched the rear corners of the bottom to avoid the frame.
Notching the corners
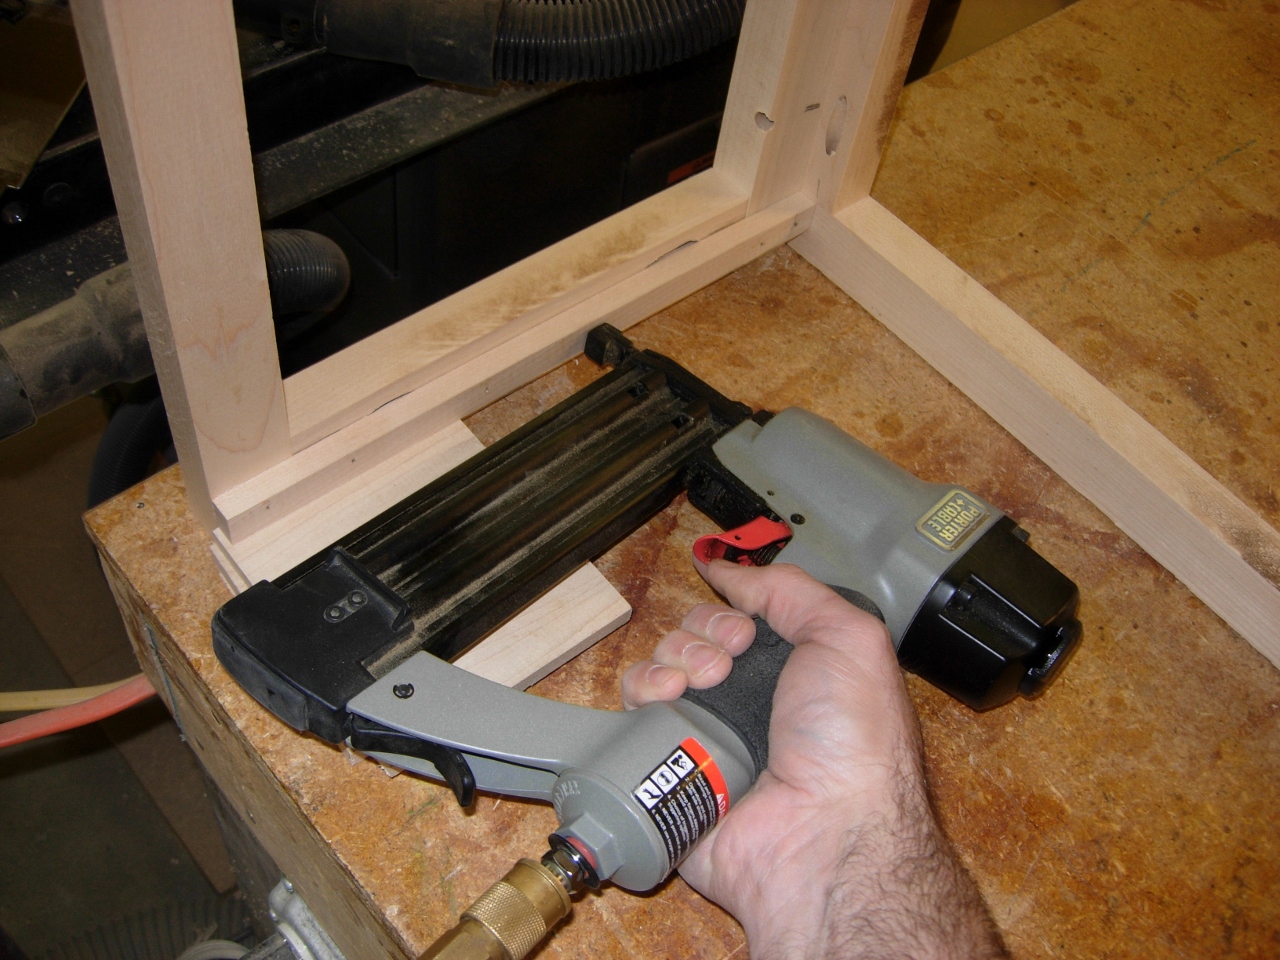
The top and bottom panels were attached with brad nails.

Attaching the bottom
I had some 3/4″ plywood left over as well, so that got cut down for the sides.

Attaching the sides

Building the face frame
With the basic box built, I used more scrap maple to create the face frame for the front of the cabinet.

Applying glue
This was also glued and nailed in place.

Attaching the face
I attached a support strip to the front frame below the top and bottom panels.
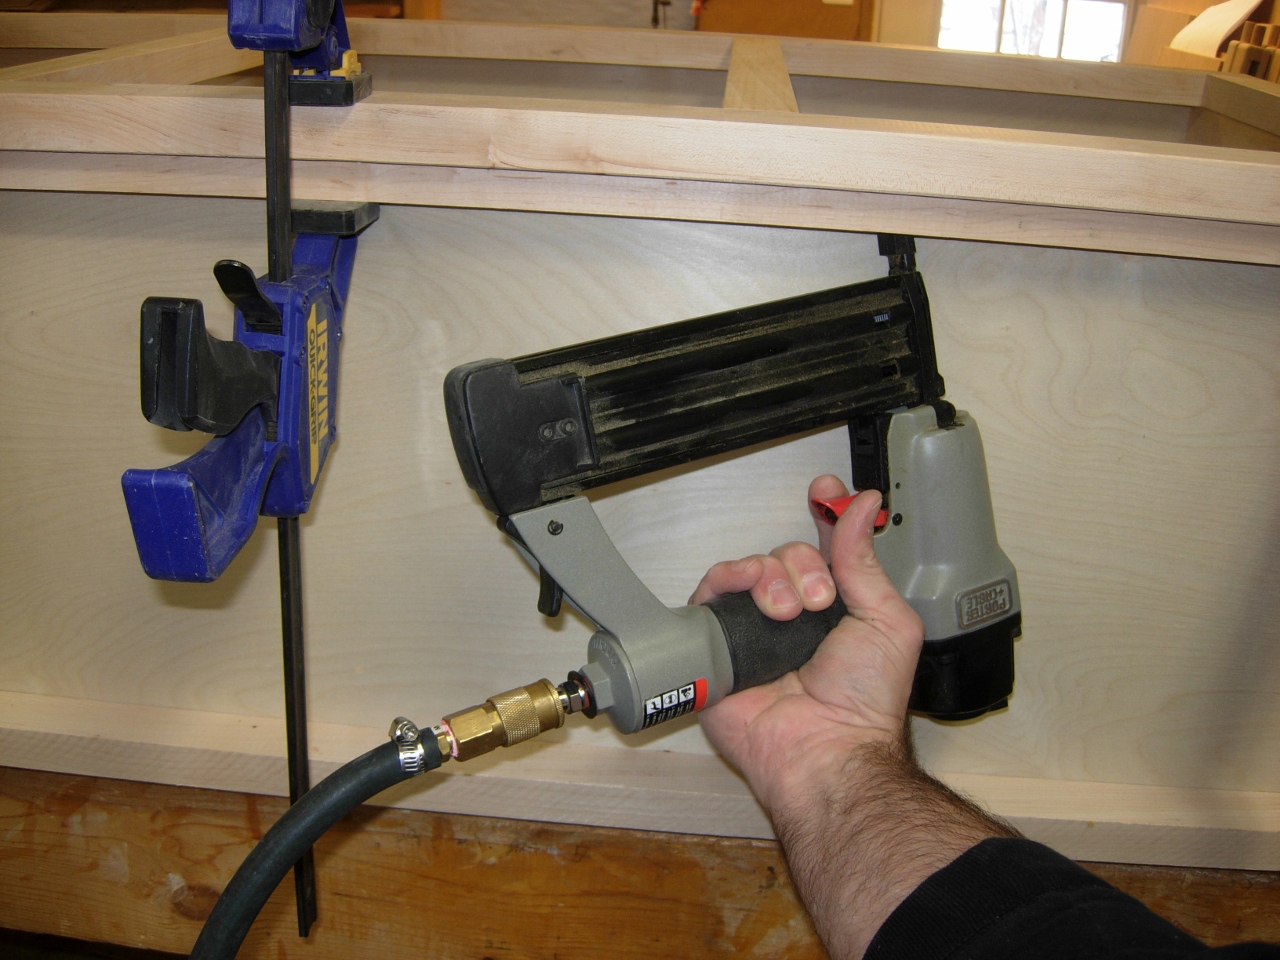
Adding support rails to the top and bottom

Pre-drilling the mounting holes
I measured the locations of the studs in my wall, then marked and pre-drilled counter-sunk through holes to use as mounting holes.
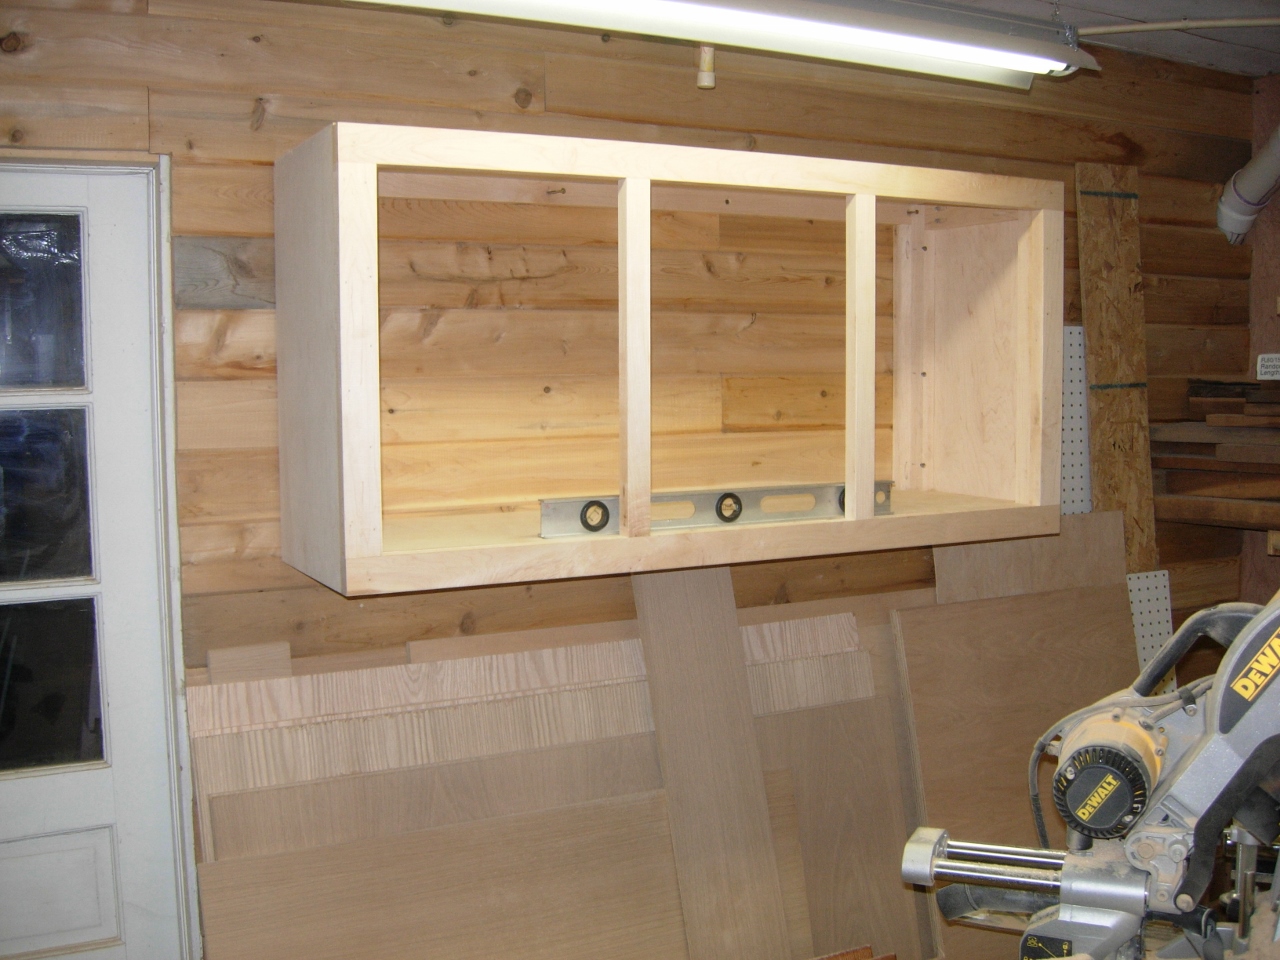
Checking for level
I set the first screw on the top strip, and rotated the cabinet until it was level. Then I screwed in the other seven screws.
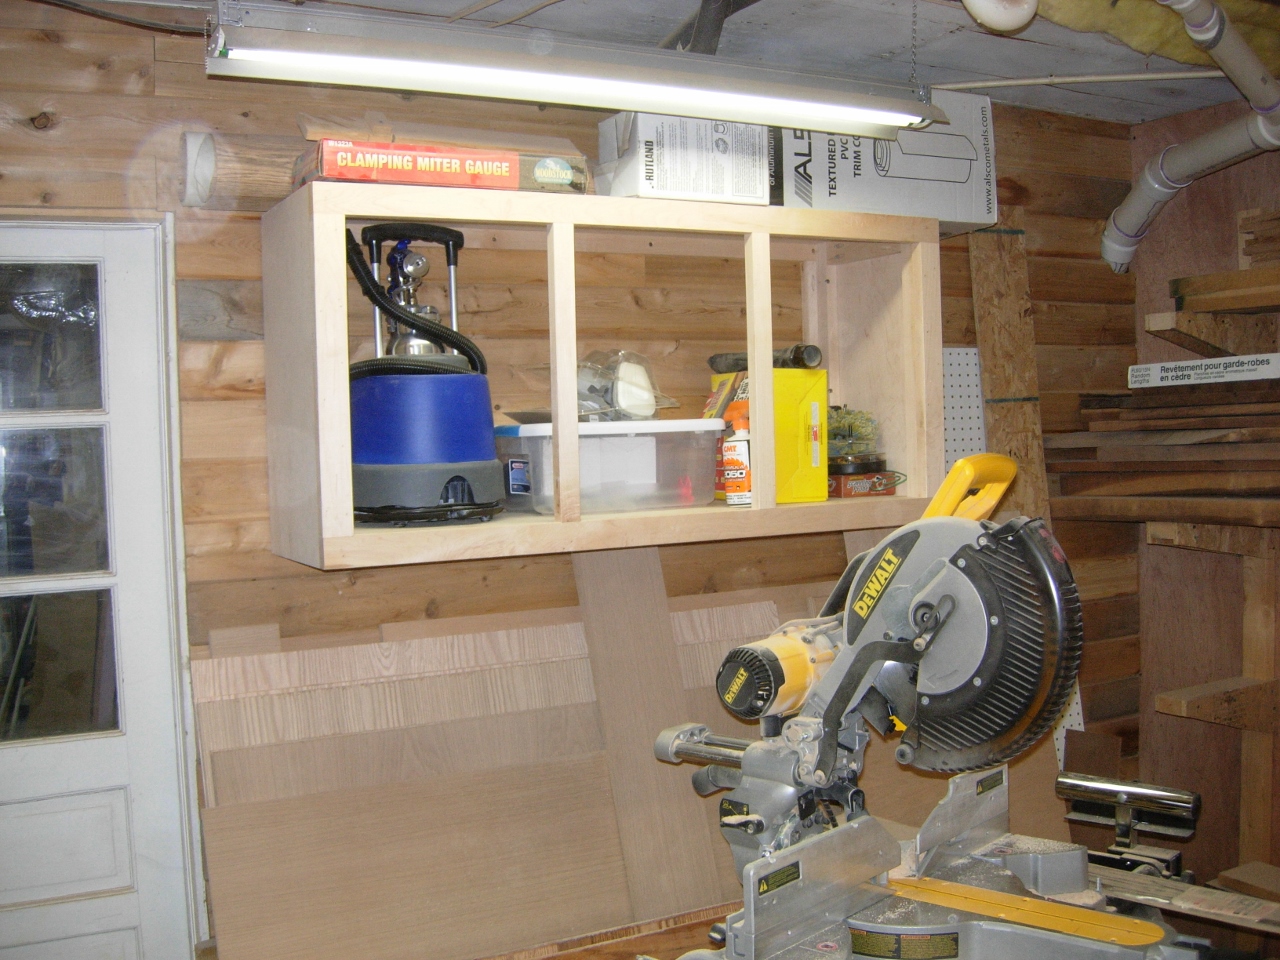
Loaded up and ready for doors
At some later date, I will add doors to keep the dust out, but for now, this will keep some of my stuff off of the floor, and out of the way.

Pingback: Shop cabinet doors, with a view | Midnight Woodworking