
Altar cloth and storage cabinets – day 3
I didn’t work in the shop at all last week due to the weather. The ice storm took down the power lines for a couple of days, and it took the shop a couple more to warm back up.
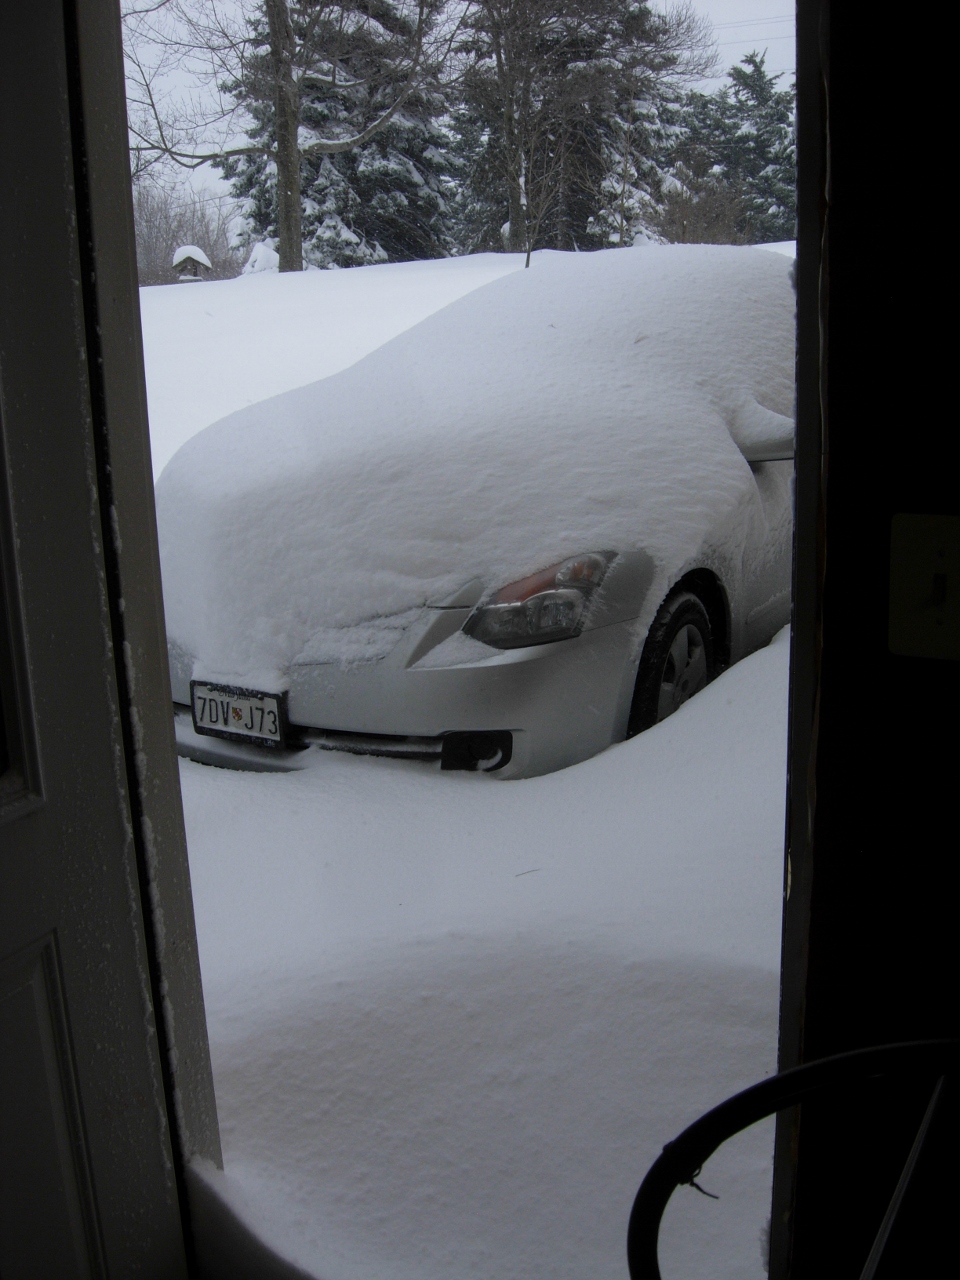
No work today!
Ironically, thanks to the weather, this week I will have a few extra days that I can spend in the shop. We got about 20″ of snow this morning, and we are expecting more tomorrow. The power is still on, so after shoveling, I will be working on some cabinets. I created some drawings with overall dimensions of all of the faces of the cabinets. Now I basically have a cut list for all of my oak.
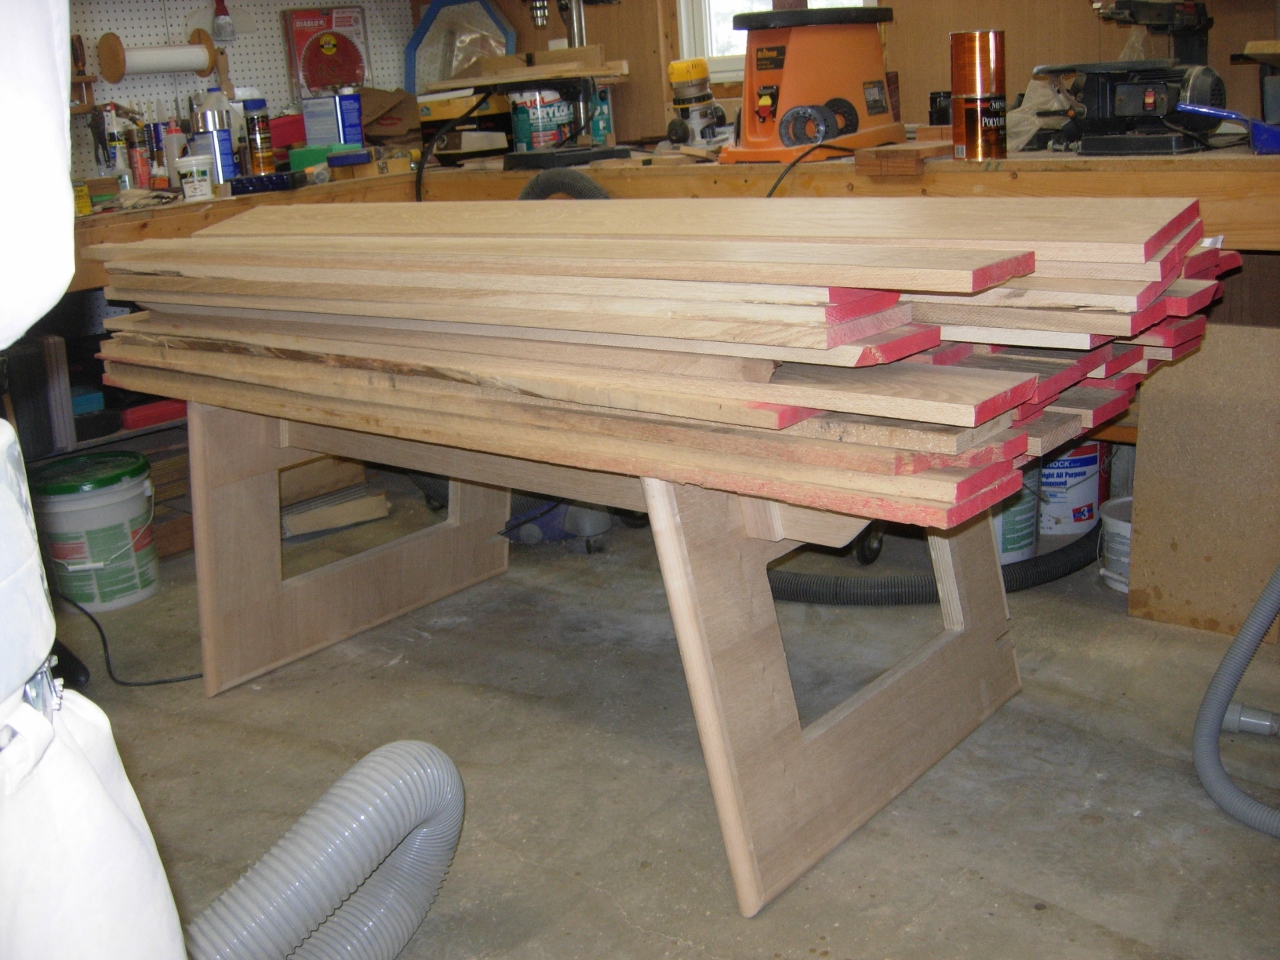
Knock down work bench can take a load
I put my knock down workstation to the test, and loaded all of my oak on it.
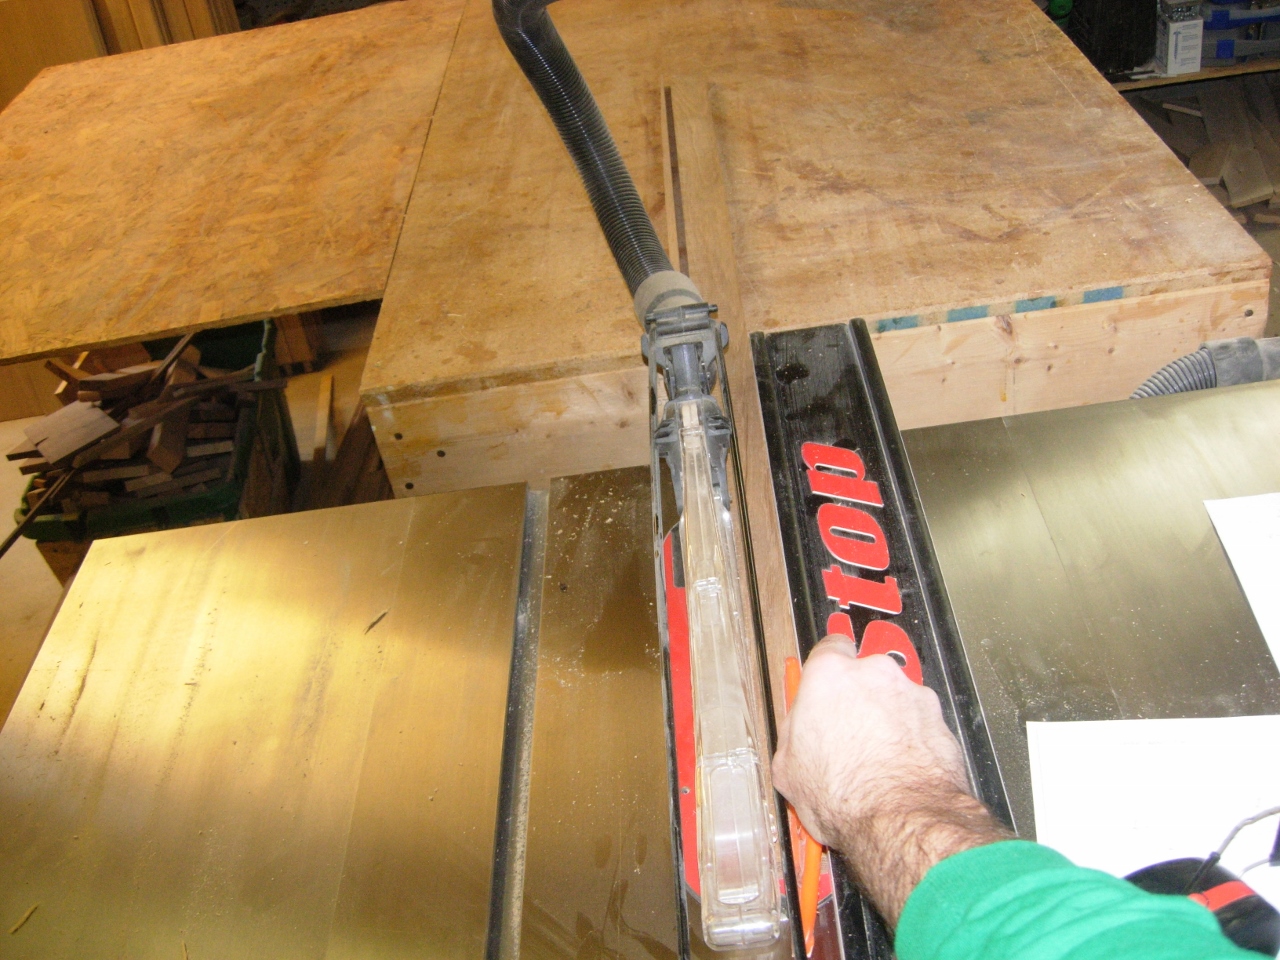
Cutting down the sides
Since I try to maximize my wood usage, I decided to step through the different faces and do them one or two at a time. Normally I try to cut everything at once, but I feel like making some progress. Cutting and milling all day long is just boring. And since some of these boards have bad spots and cracks, I need to go through carefully if I don’t want a lot of waste. There are a lot of boards in the pile that are 5′ long and were intended to be used for a shorter board. Those boards may be notched or split severely at one or both ends. This was intentional, I usually give a cut list to Alex at Vintage Lumber, and they make sure that everything that I need is in the pile, I may just have to cut my way down to it. This makes the wood a bit cheaper since I am not having them do all of the milling.
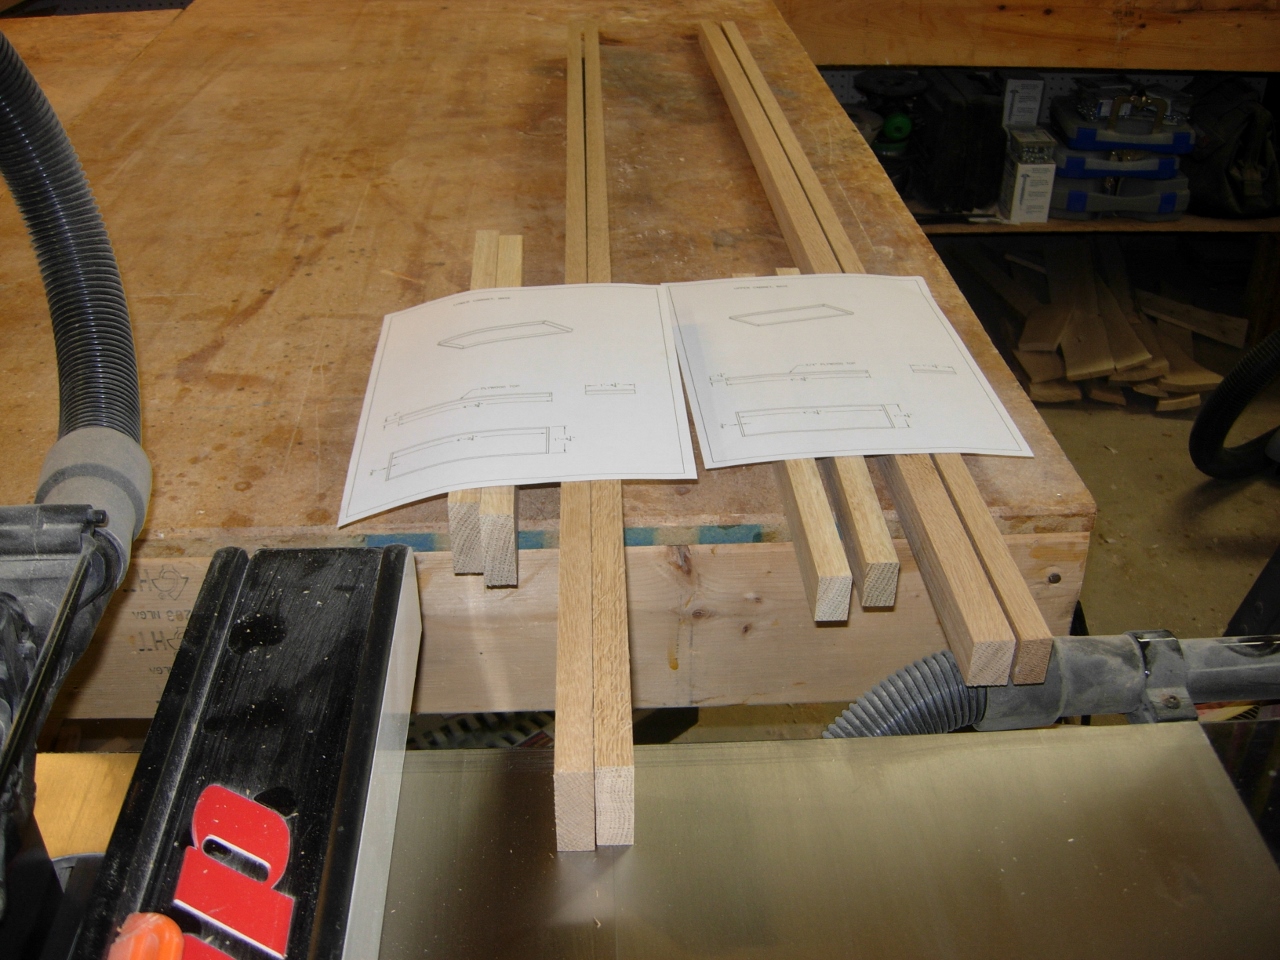
Working through, one assembly at a time
I decided to start on the tops and bases for both cabinets. I ripped them to the desired width, on the table saw. Then cut them to length on the miter saw. The exact width is not critical on the bases since they won’t be visible, so I only planed the boards until they were smooth, not to 3/4″. The top of the upper cabinet will be visible, so I made them all a uniform thickness.

Planing to smooth them out

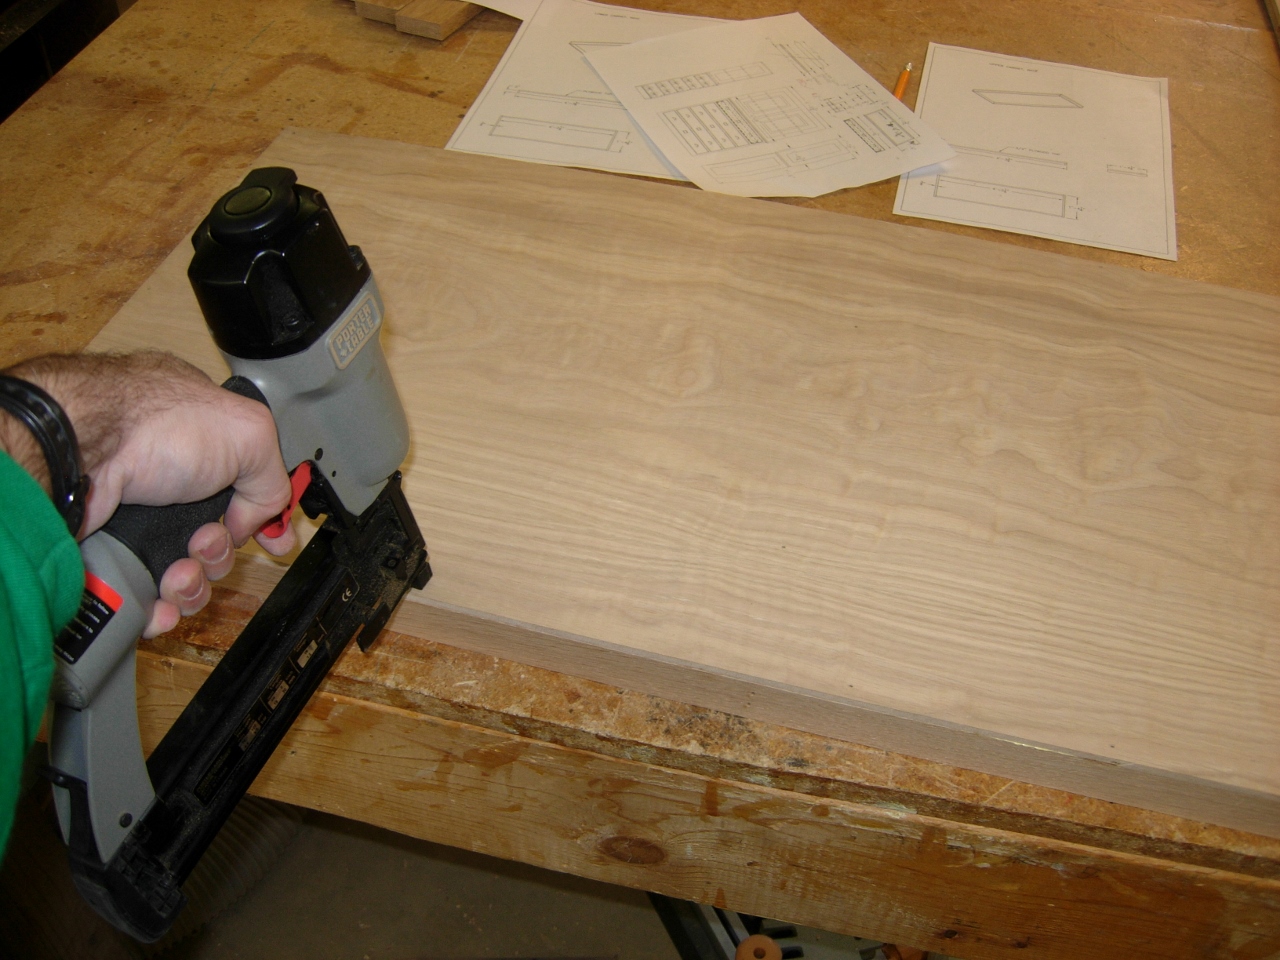
Assembling with brad nails & glue
The bottom cabinet’s base only has a 1/4″ thick panel on top, so I decided to add a couple additional rails in the middle. I glued the ends of the boards that would butt into another, and nailed them with my brad nailer.
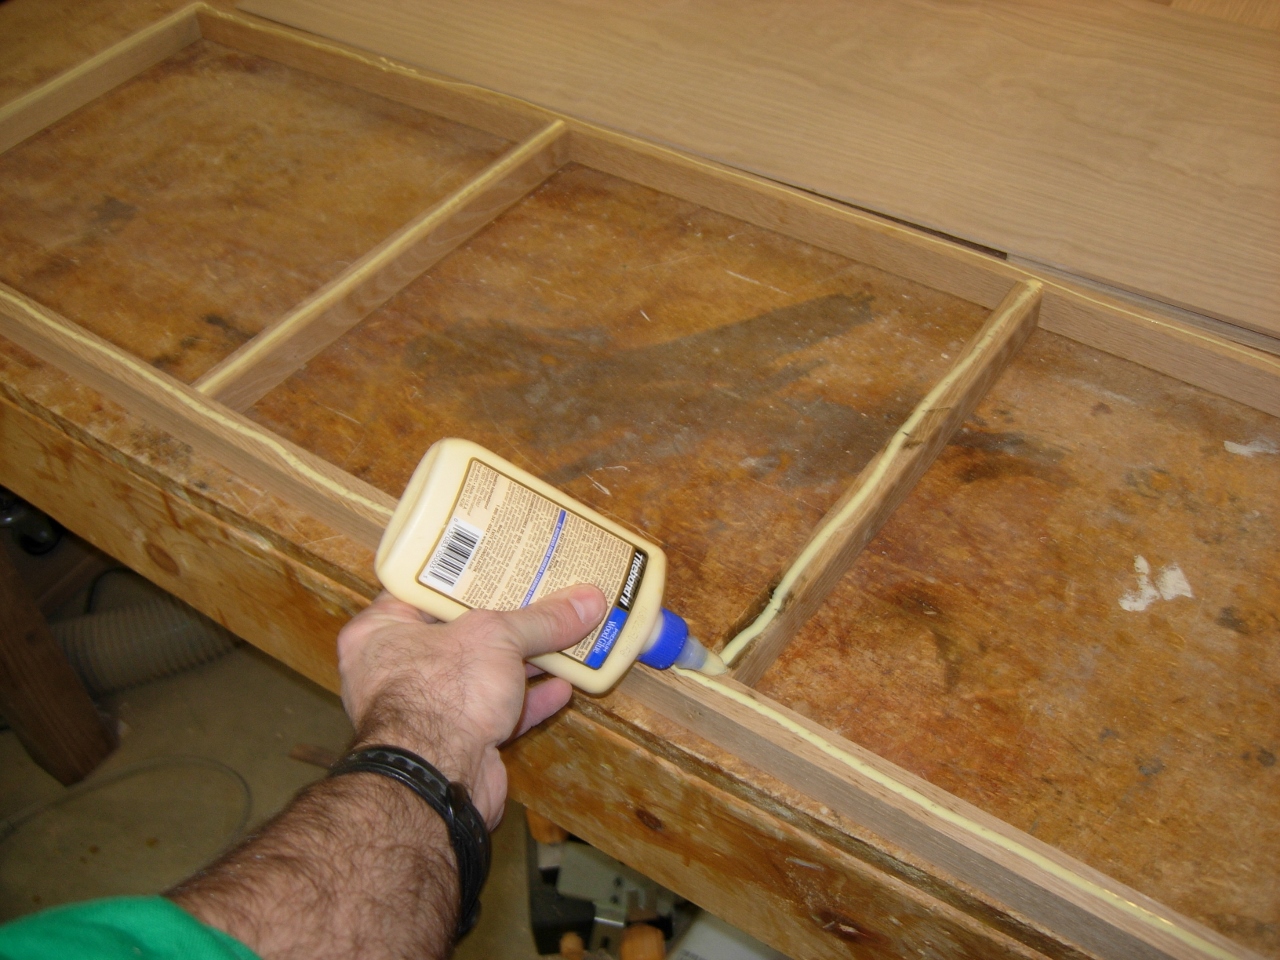
Applying glue for the panel
I then applied a bead of glue around the top and attached the panel with the nailer as well.
Attached with a few more brads
I got the two bottoms and the upper cabinet’s top done, then moved on to the solid panel for the top of the base cabinet.

One top and two bottoms
It will be a total of 56″x19″ so I am going to glue up two 4″ and two 6″ boards into a panel, then cut it to size.
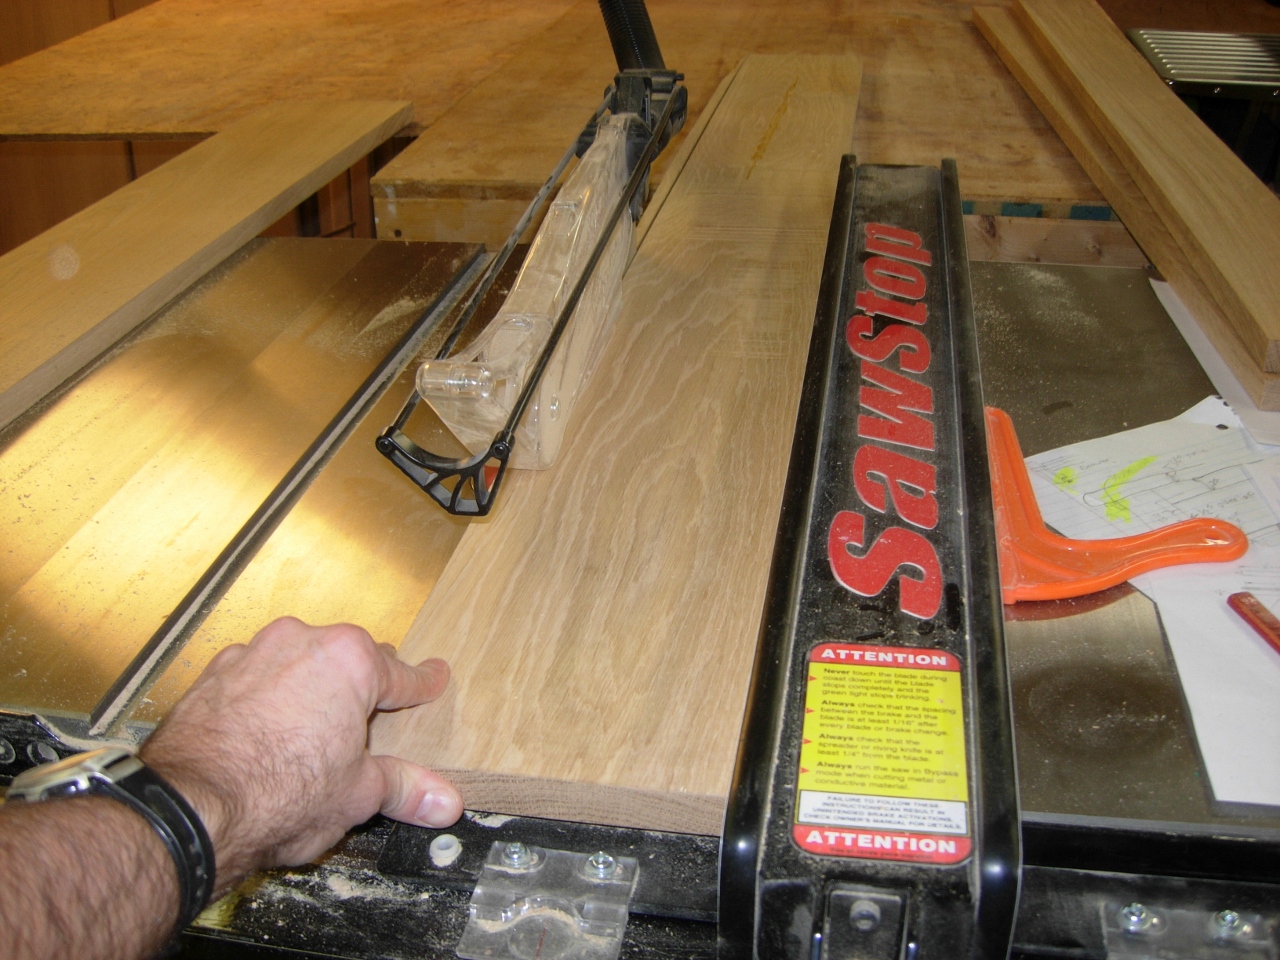
Ripping four solid pieces for the top of the base cabinet
Since my planer is only 12.5″ wide, I will be glueing up one 6″ and one 4″ piece to form a half of the panel. Once the two halves dry, I will run them through the planer and take them down to their final thickness before glueing the two halves together to form the whole panel. This way, I only have to clean up one joint by hand, not three.

Planing them down
I ran all four individual boards through the planer to clean them up, then applied an even layer of glue to one edge.
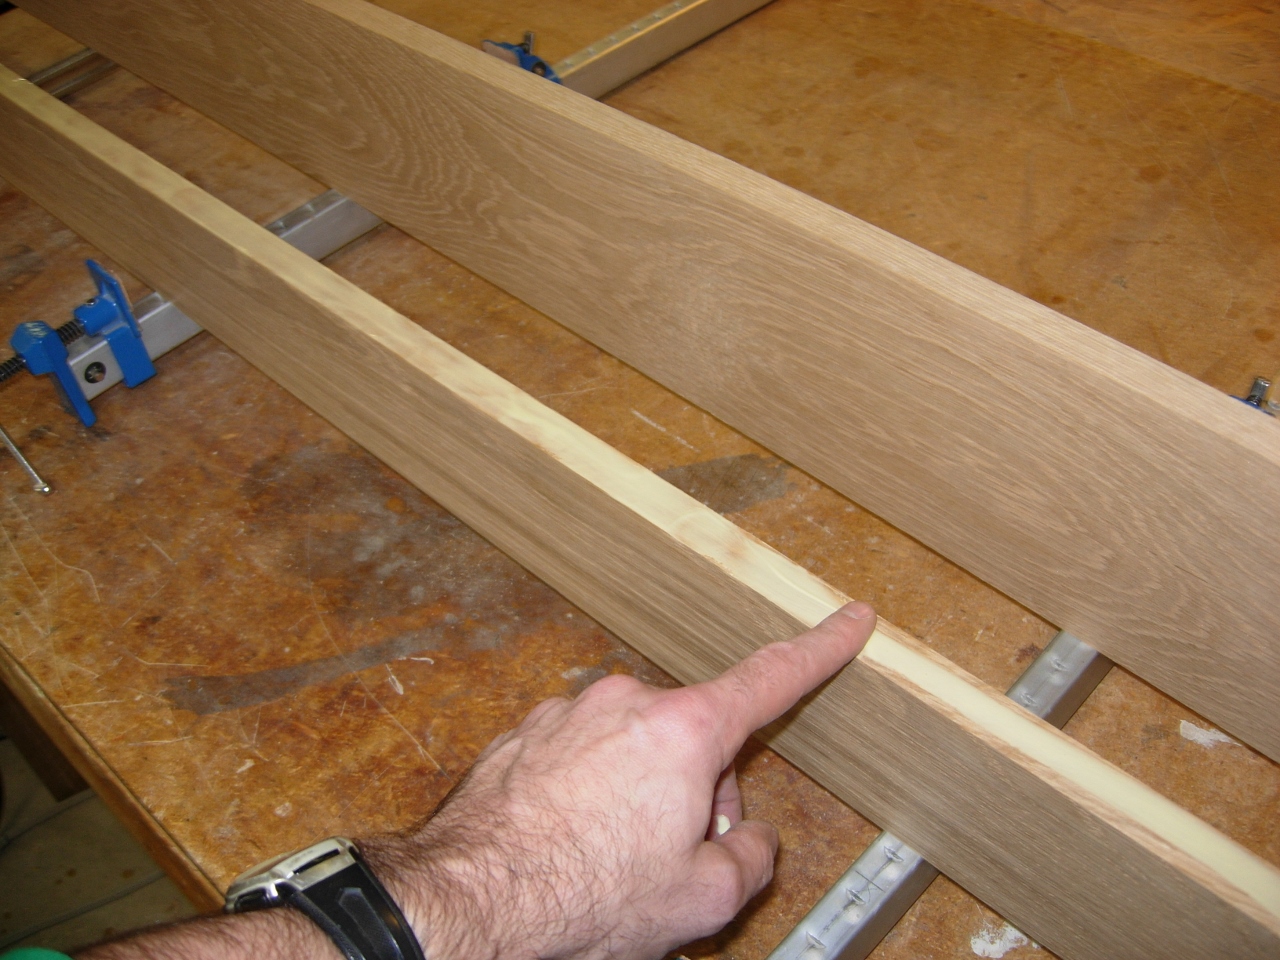
Spreading the glue
I lined the boards up to get the best grain match, then clamped them in place.
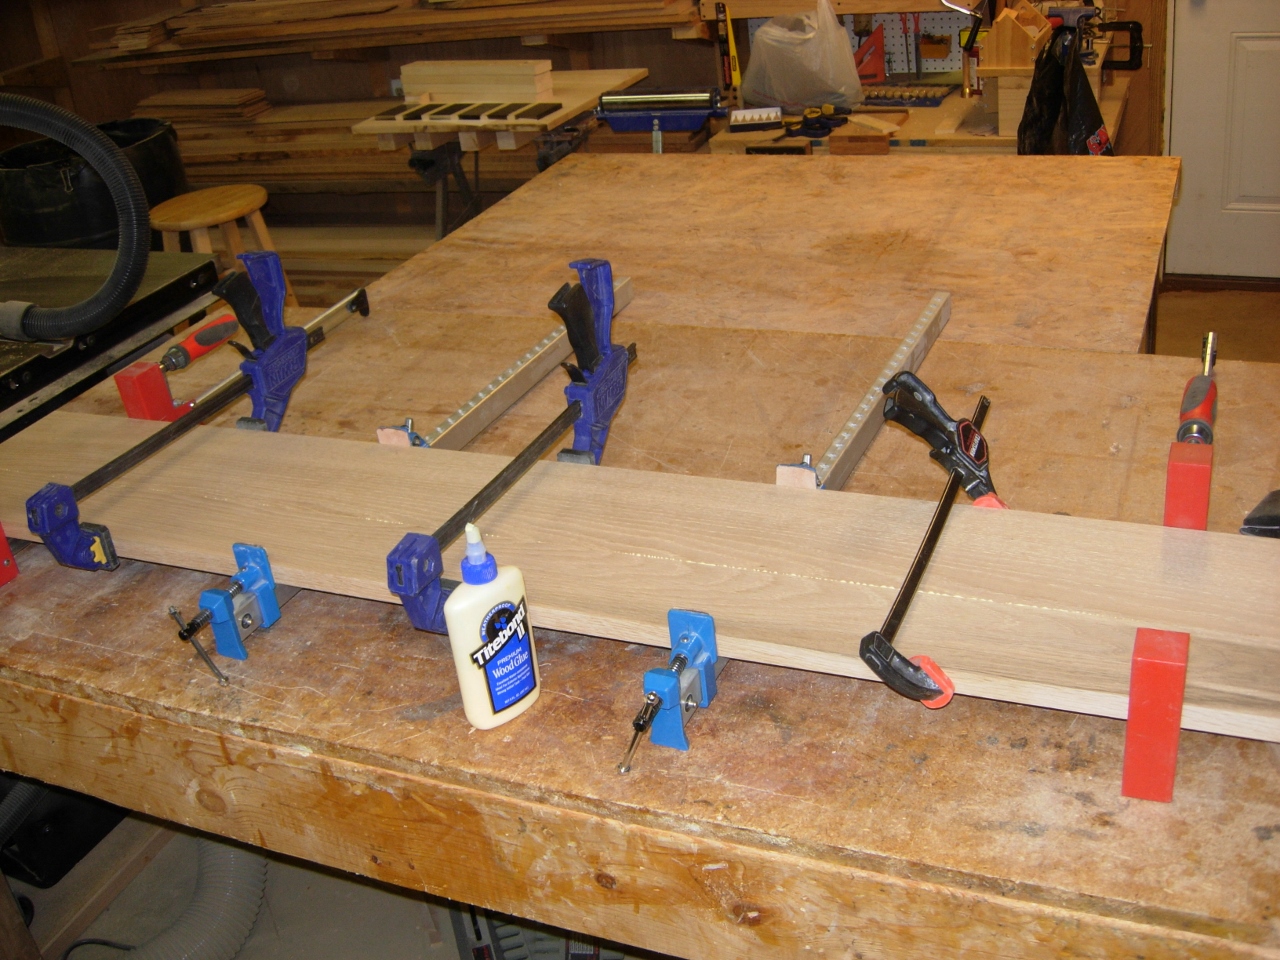
Clamping up the halves of the panel
That is enough for one day, hopefully my shop is warm enough for the glue to cure tonight.
