
Altar cloth and storage cabinets – day 4
The panels I glued up in the last post are dry, so I pulled the clamps and scraped off any glue squeeze-out.

Scraping the glue joints
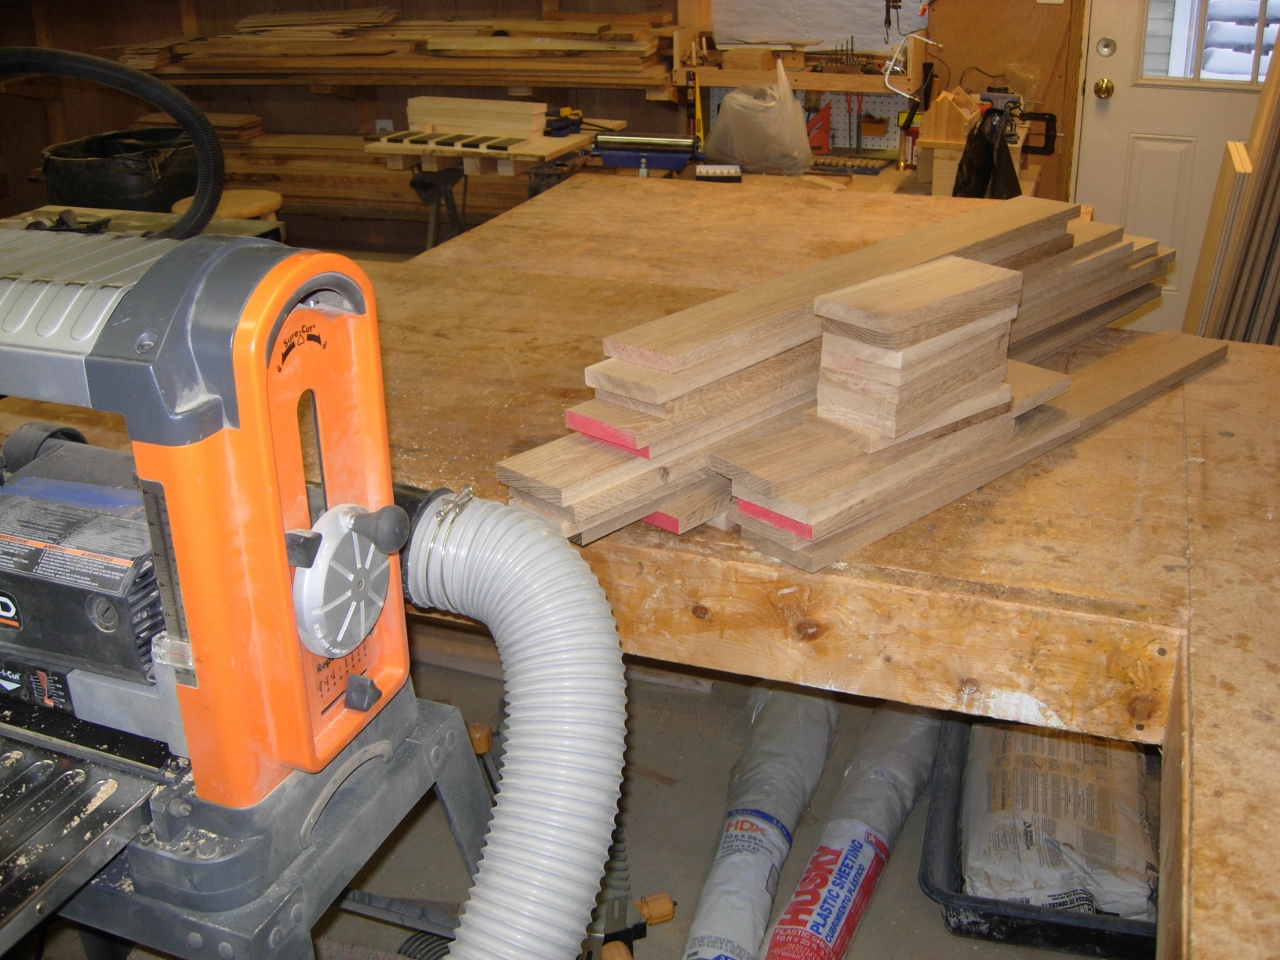
I ran the two glued up halves of the main panel through the planer. I took them down to the finished size of 3/4″.

Planing down the panel halves
Next, I clamped the two halves together and cut them to the correct length. Clamping them together will ensure that they are both exactly the same length.

Cutting each half to length
I spread glue on the center edges and carefully clamped them up holding them as flush as possible.

Full panel glue up
When the panel was dry, it was almost perfectly flush. I used 80 grit paper on my orbital sander to smooth out the center seam, then sanded the entire panel down to 220 grit.

Sanding down the panel
With the board smooth and flat, I ran it through the table saw to take the width down to 19″.

Ripping to size

Routing a double round over
I need a full round-over on the front and right side. To do this, I use a 3/8″ round-over bit in my router. I ran it along the two sides, then flipped the board and ran it along the same two sides. I ran my orbital sander back and forth along the radius to smooth over anything that the router didn’t get.

Finishing the radius with the sander
I tucked that panel off to the side and ripped some boards for the door panels. Since these panels will be roughly 15″ wide, they will also be to wide for the planer.

Laying out the door panels
I decided to glue up two of the panels and plane them down, then cut them to length like the large panel that I just completed.

Glueing up two of the panel boards
I repeated the process of cleaning up the glue. Before I cut the panels to length, I planed the boards down to 5/8″ thick.

Full panel glue up
After the boards were dry, the clamps were pulled and the door panels were sanded down.

Both door panels complete
I set those aside for now and spent some time ripping and planing all of the trim boards for the sides and the boards that will make up the door frames.
Door frames and cabinet sides
After all of today’s planing and cutting, my dust collector is quite full. I emptied it out, and set it back up for tomorrow. All of the planing has given me a headache, so I am going to quit for the day.

Today’s load of saw dust
