
Altar cloth and storage cabinets – day 14
I am really close to finishing this cabinet. I just had a few details left.
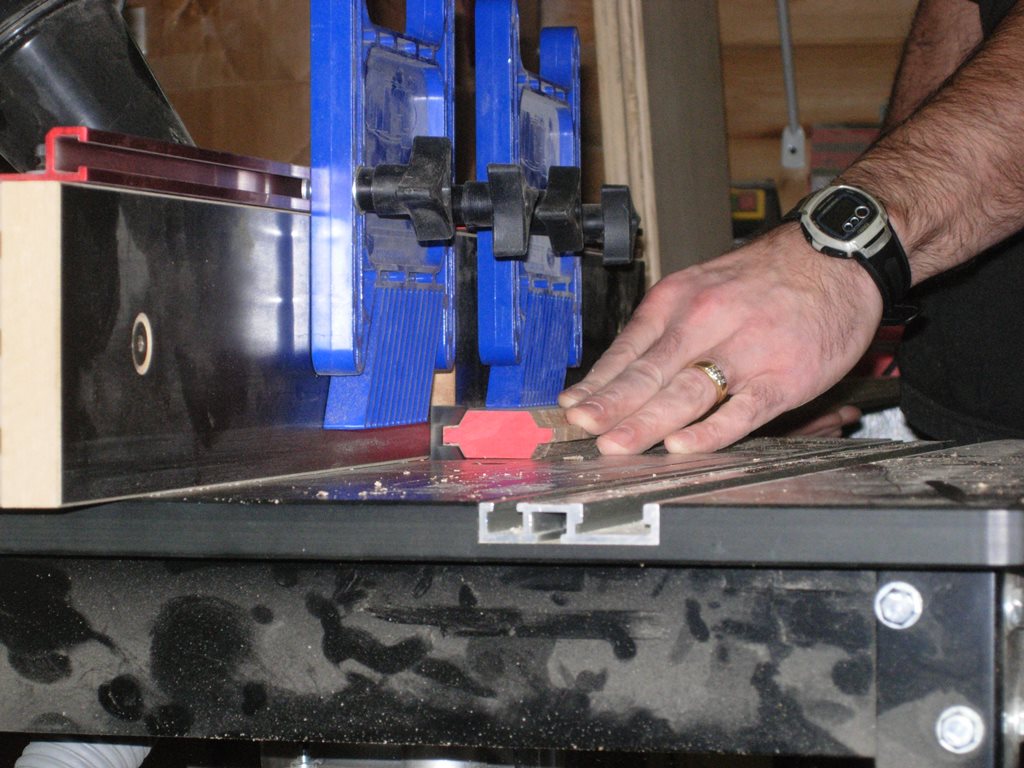
Routing a piece of edge banding
I started with the edge banding on the shelves. I grabbed a 2″ wide piece of oak and planed it down to 1/16″ thicker than my shelves. I set up the male edge banding cutter in the router table and ran the board through on both sides.
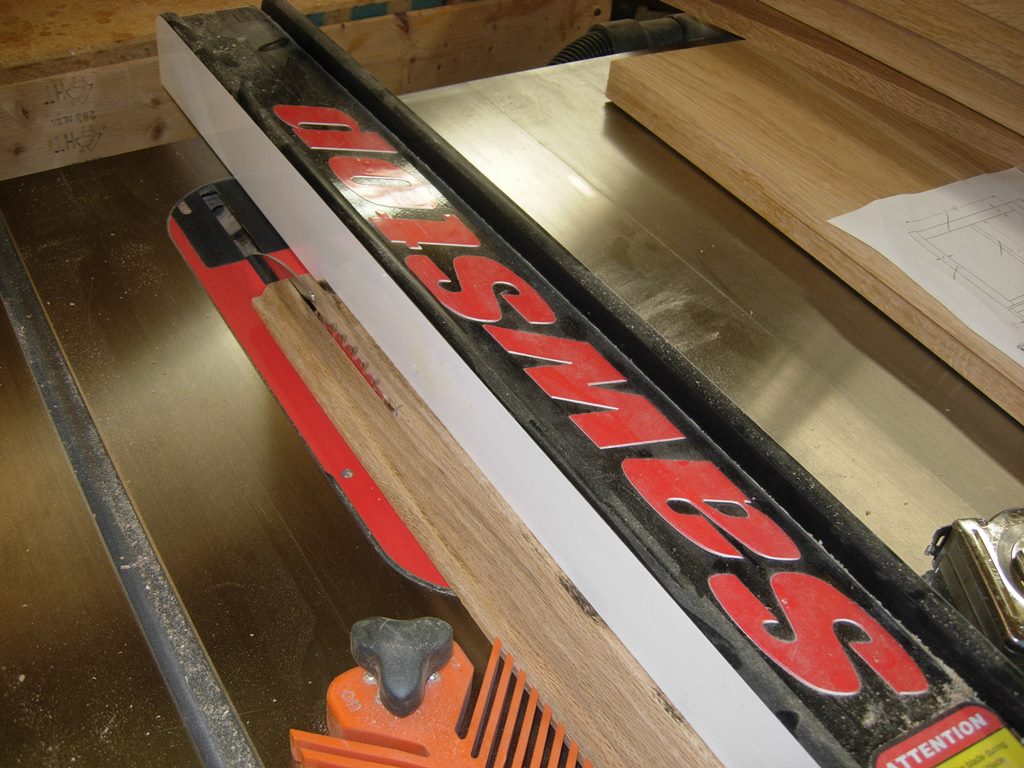
Rigging into two pieces
I then cut that board in half so I had the two shelf edges that I require. It is usually safer to cut your trim from a wider board, then rip it to size later. The next step was to load the female cutter and cut the receiving slot in my shelves.

Cutting the receiving groove

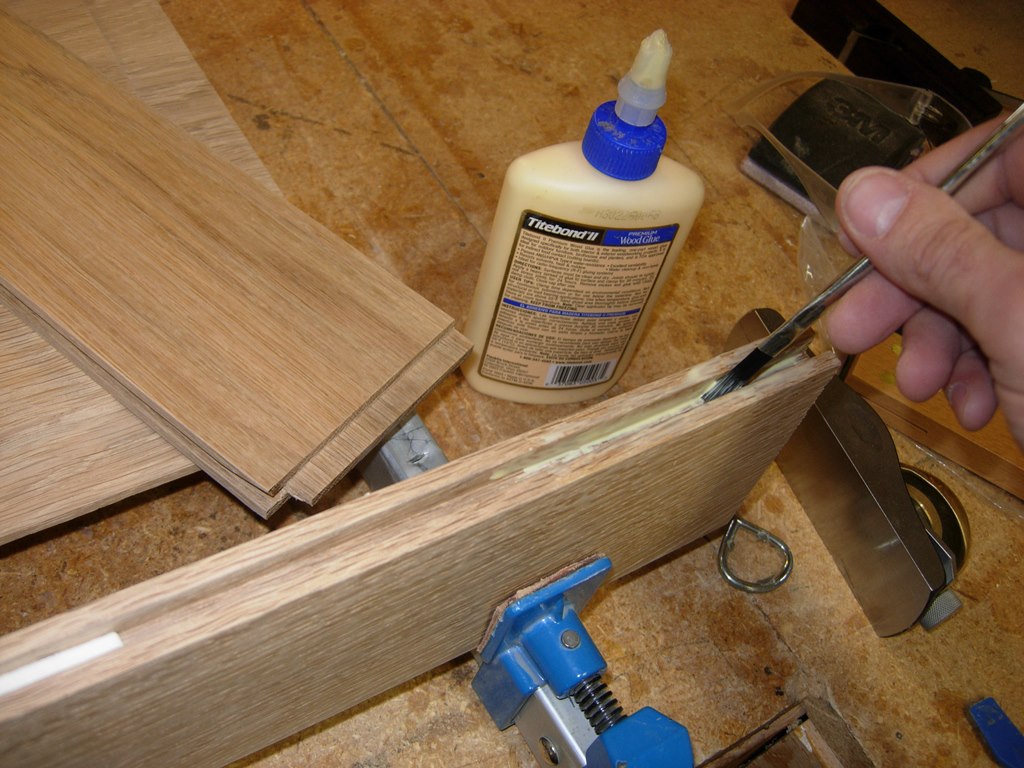
Applying glue
I brushed glue evenly into the groove and clamped the trim into place.
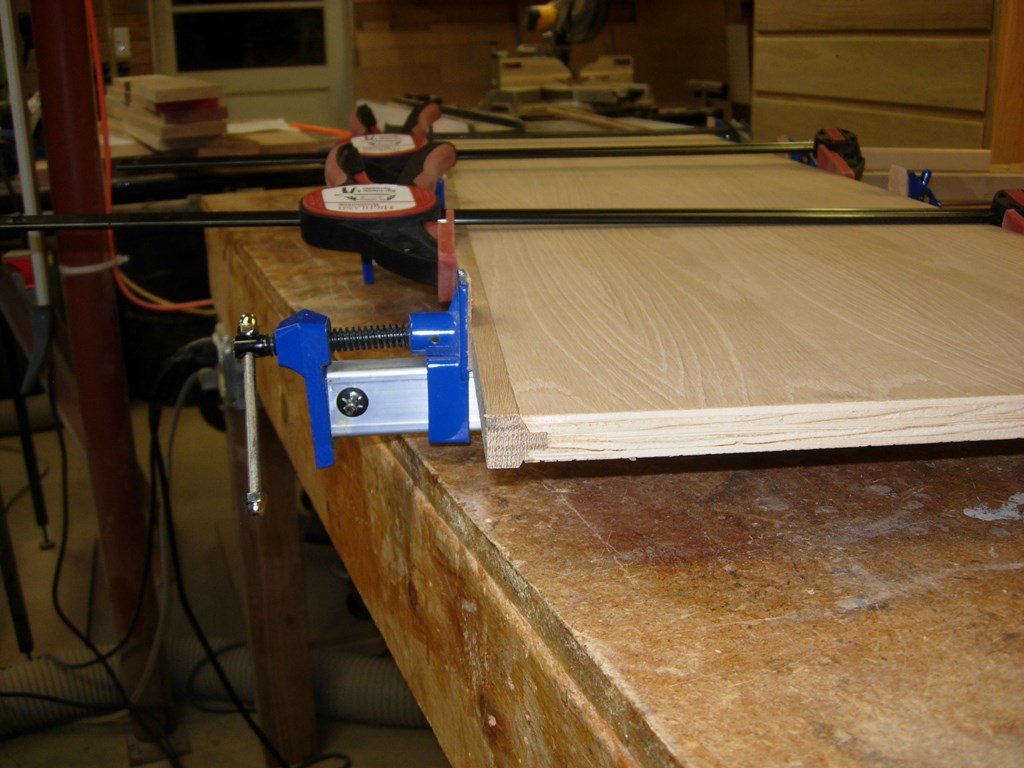
Clamping up the shelves
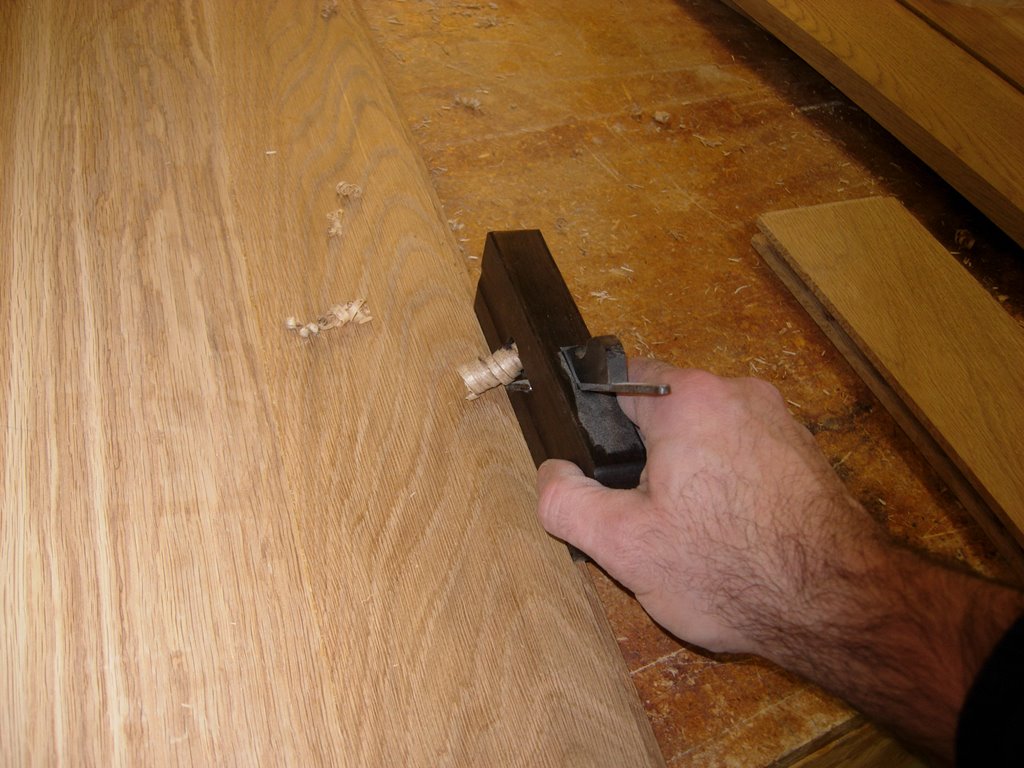
When it was dry, I trimmed the wider edge band flush to the face of the shelf.

Trimming the face
I also put a 1/8″ round-over bit in and rounded over the edges.
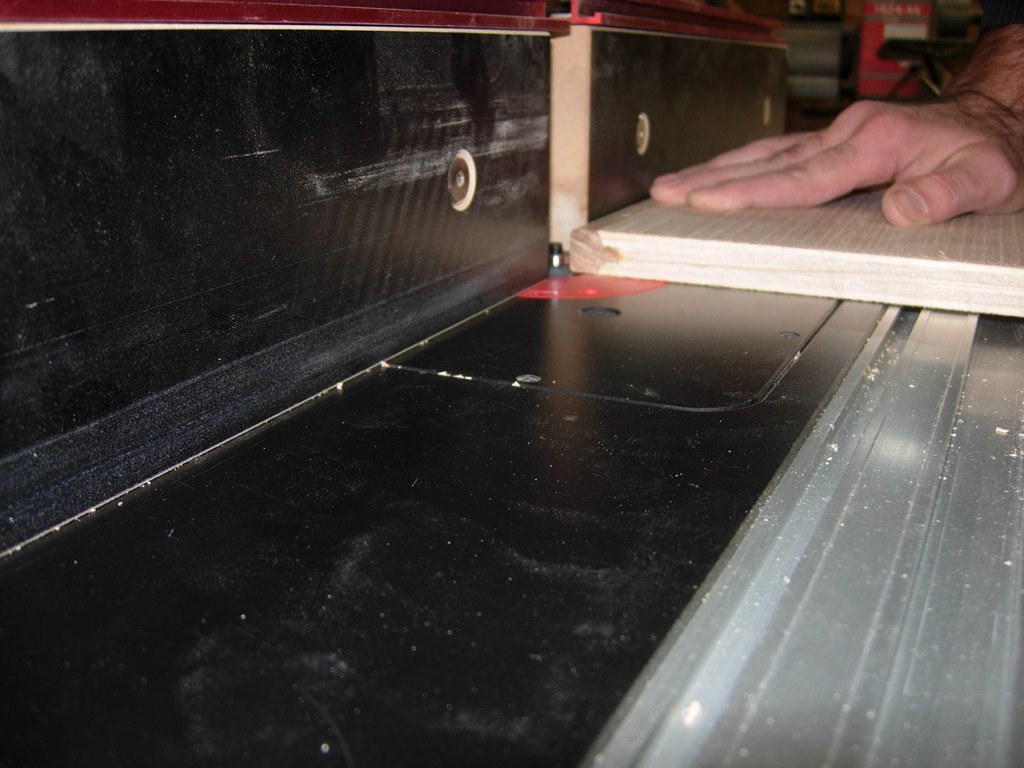
Adding a small round-over
The shelves fit perfectly. The openings for the doors are just barely big enough to angle the shelves in. I did attach the center support with screws just in case they wouldn’t fit, but everything seems to work fine.

Shelves installed
Cutting the center groove for the door frames
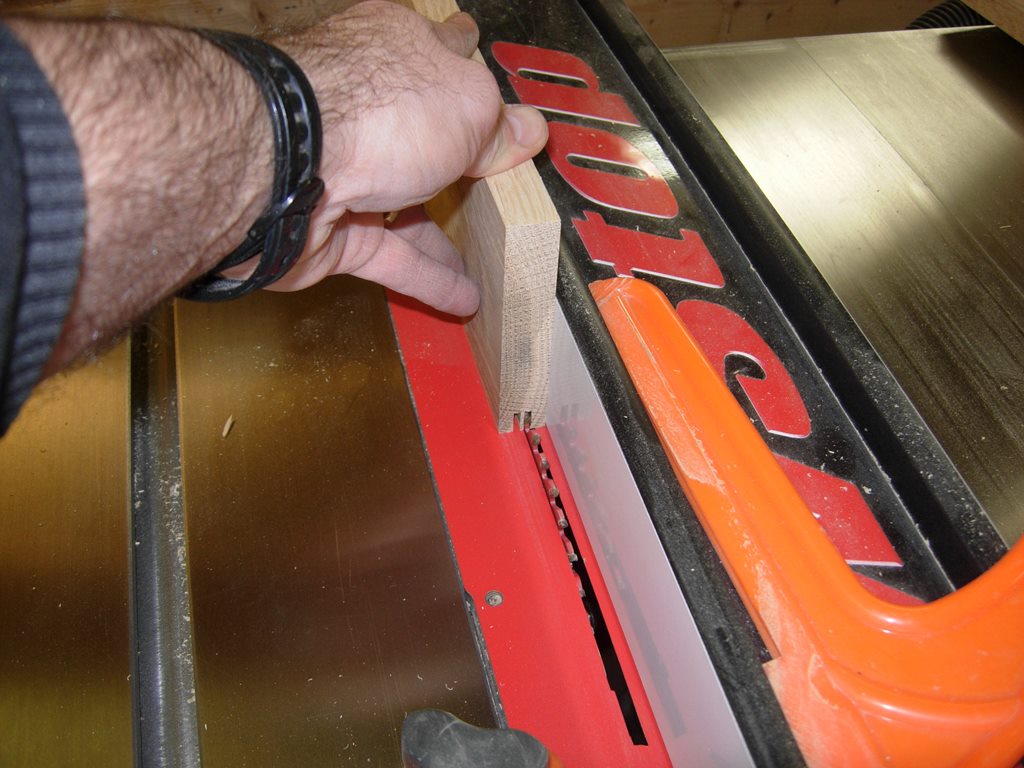
The last things to build are the doors. I ripped a 1/4″ wide groove along the inside edge of all of the frame pieces, on the table saw.
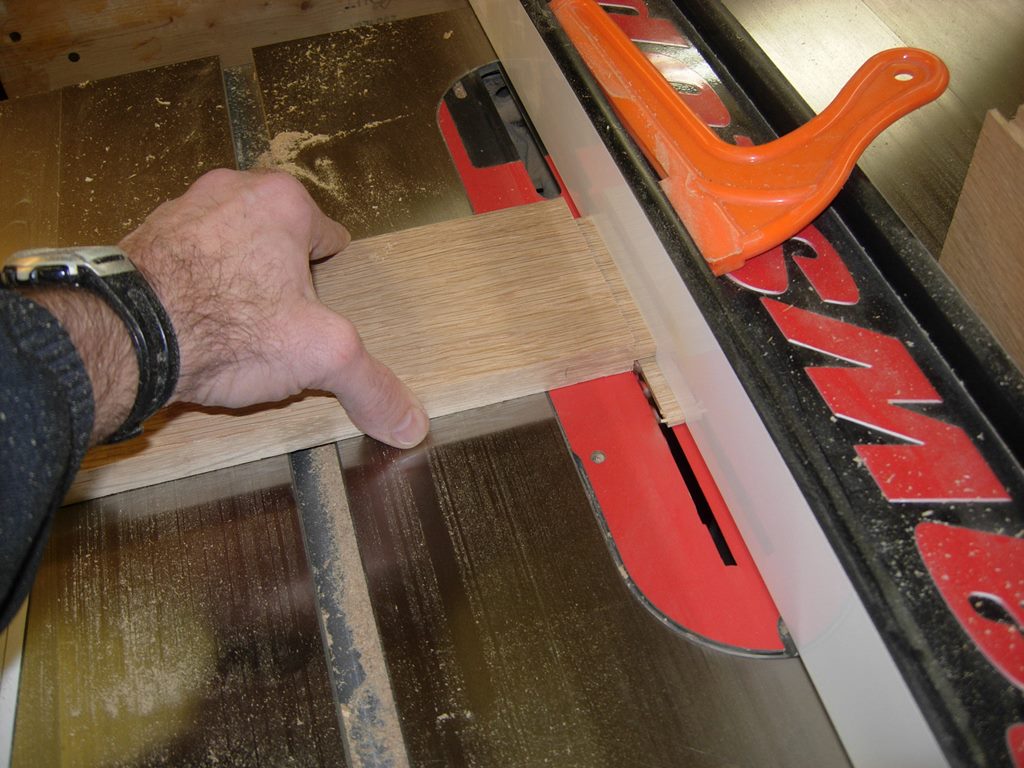
Cutting the tounges
Then I cut the tounges on the horizontal pieces to fit that slot.
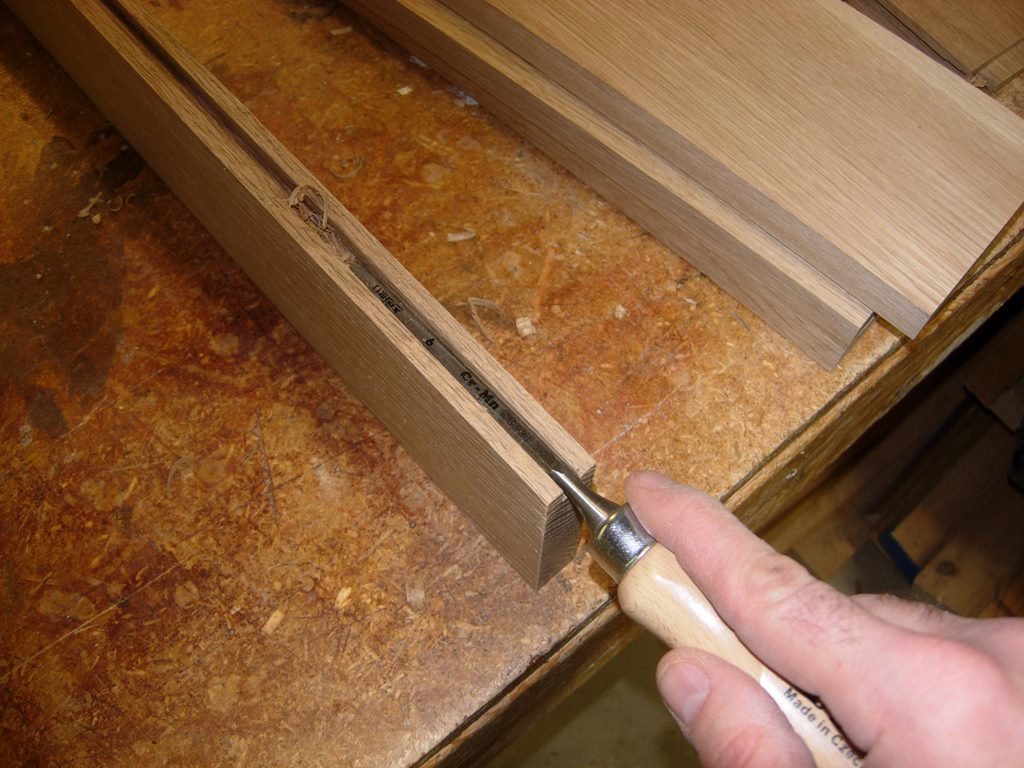
Cleaning the groove
I cleaned the grooves with a narrow chisel and planed the tounges of the mating pieces to get as close a fit as possible.

Adjusting for perfect fit
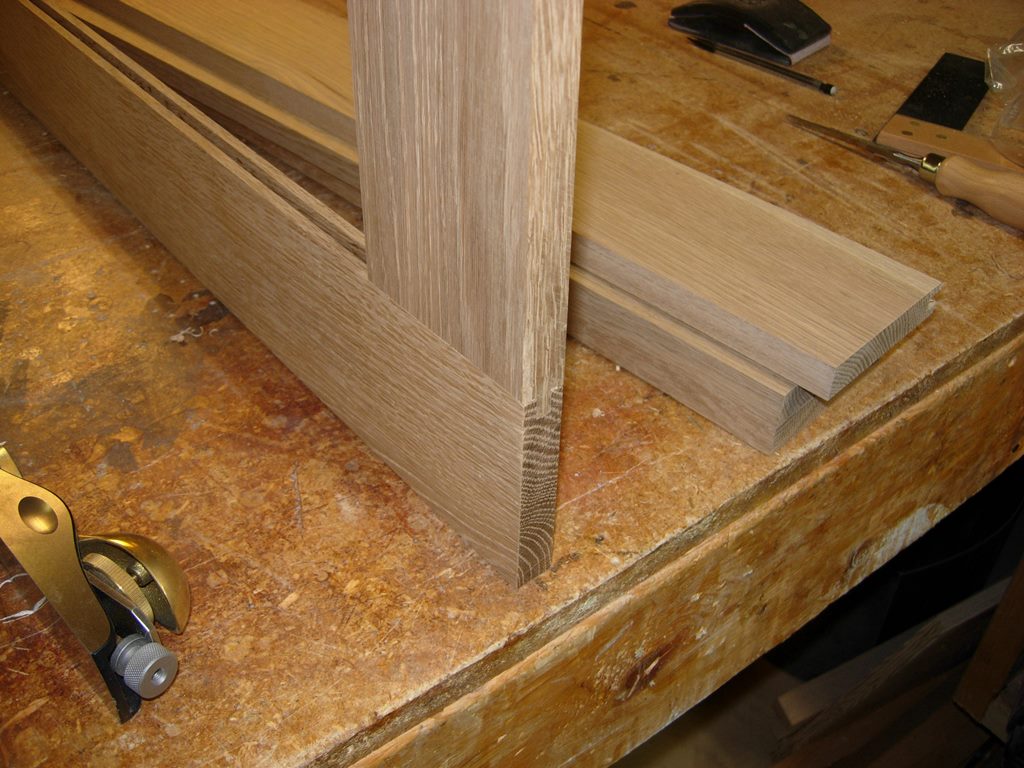
Perfect fit
The dry-fit looks good, so I moved on to the center panels.

Frames cut

Cutting the raised panel
I cut a 3/16″ deep x 1-1/2″ notch around the front of the panels.

Cutting the shoulder of the face notch
Then I cut a 3/16″ x 1/4″ notch on the back.

Front and back cut
Cleaning and squaring
I cleaned up the notches with my shoulder plane then dry-fit the panels.
Panel dry-fit
They were a bit snug, but went together well. Snug is good because I still had to sand them down to get rid of the burn marks.
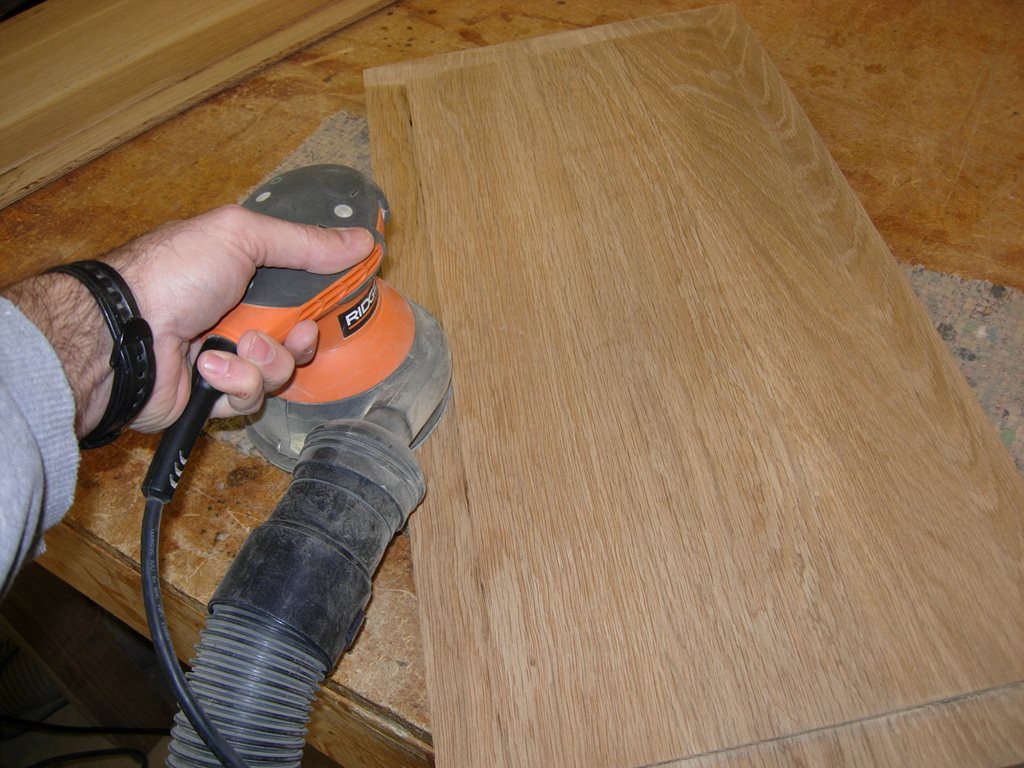
Sanding all of the faces
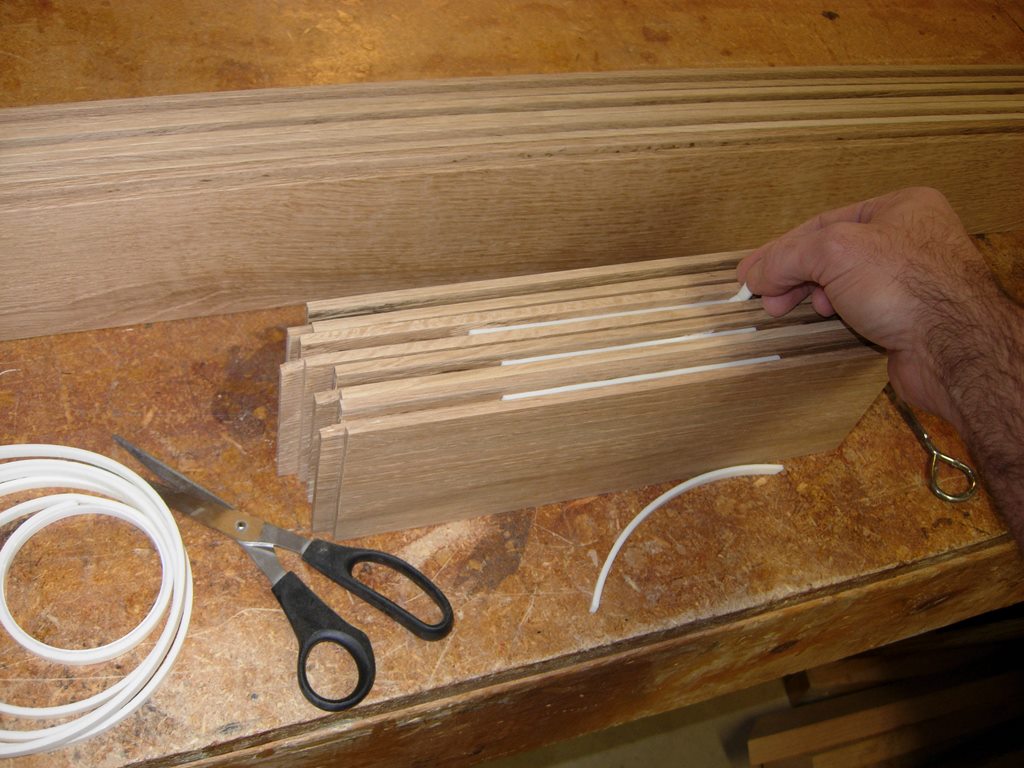
Installing spacer foam
Once everything was sanded, I installed spacer foam to keep the panels from rattling, then applied glue to the last 4″ of each side groove.
Applying a bit of glue on the ends
I reassembled the doors and clamped them up.
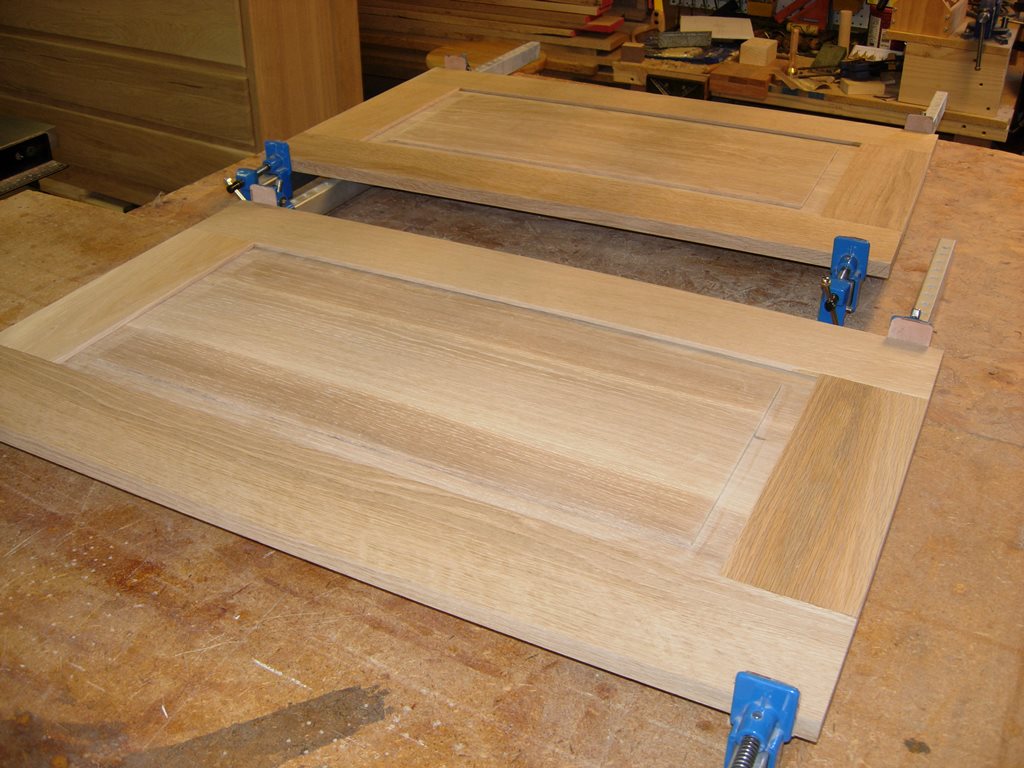
Clamping up the doors
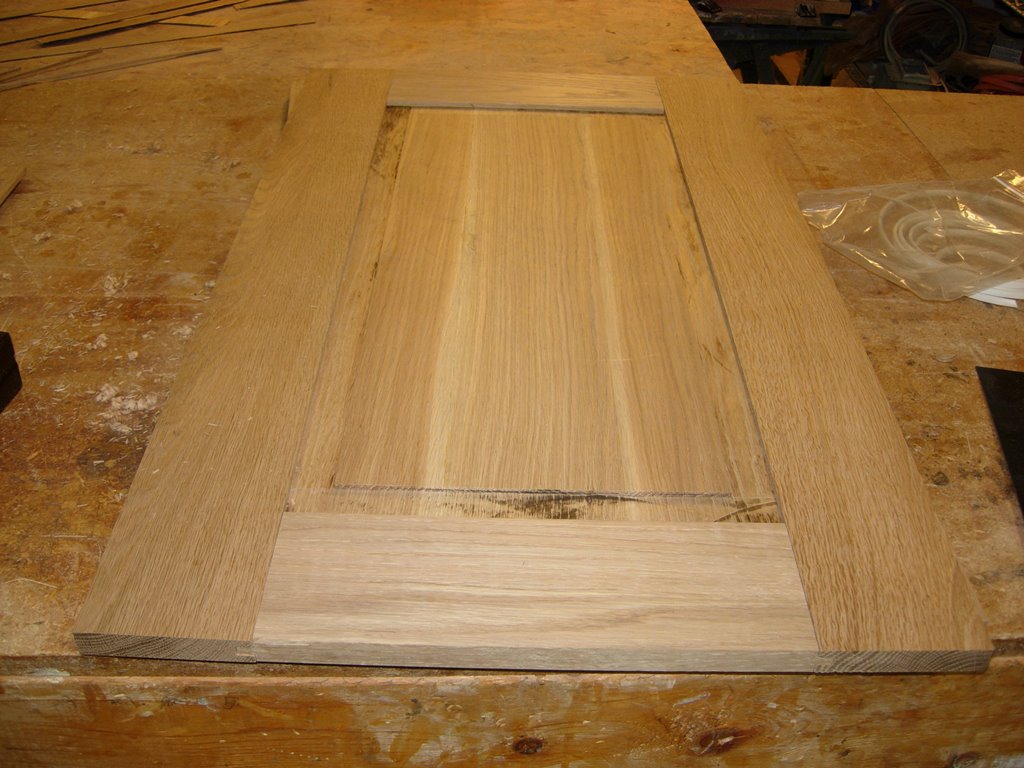
I ran into a bit of an ego check when I placed my perfect doors into their homes. Holy crap, they were 2″ too narrow. I went back to my plans and immediately found the problem. The center panels were supposed to be 1′ 2-3/4″ and I made them 12-3/4″. Oh well, I wasn’t fond of that 2″ center support anyway…
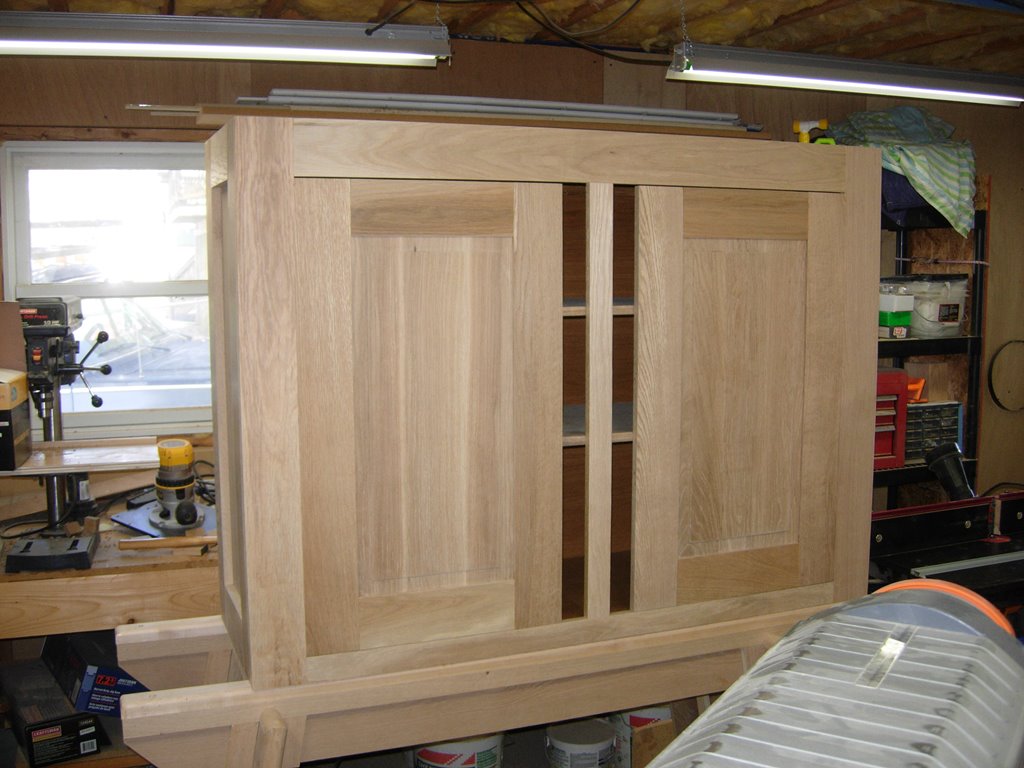
Holy crap!
I dug through my pile of oak until I found a 6-1/2″ wide piece and quickly milled it down to size and cut a groove for the shelf standard on the back side. After drilling out four pocket holes on each end, I attached the new center support.
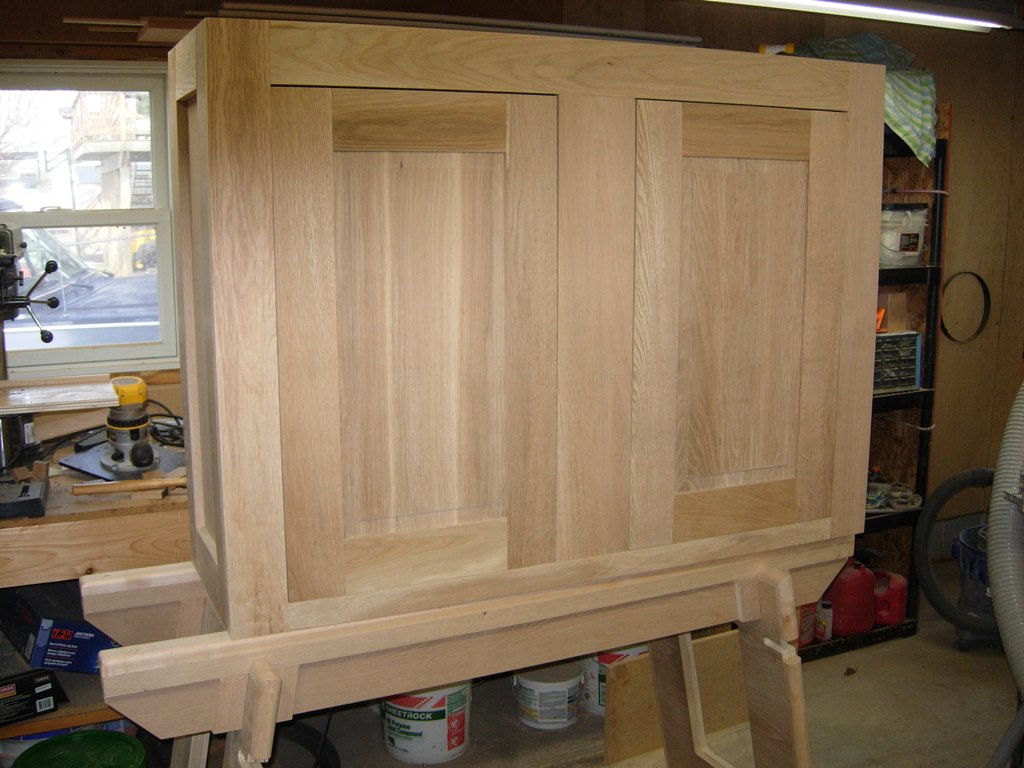
A new center support…
Thankfully it looks like it was designed to be there…
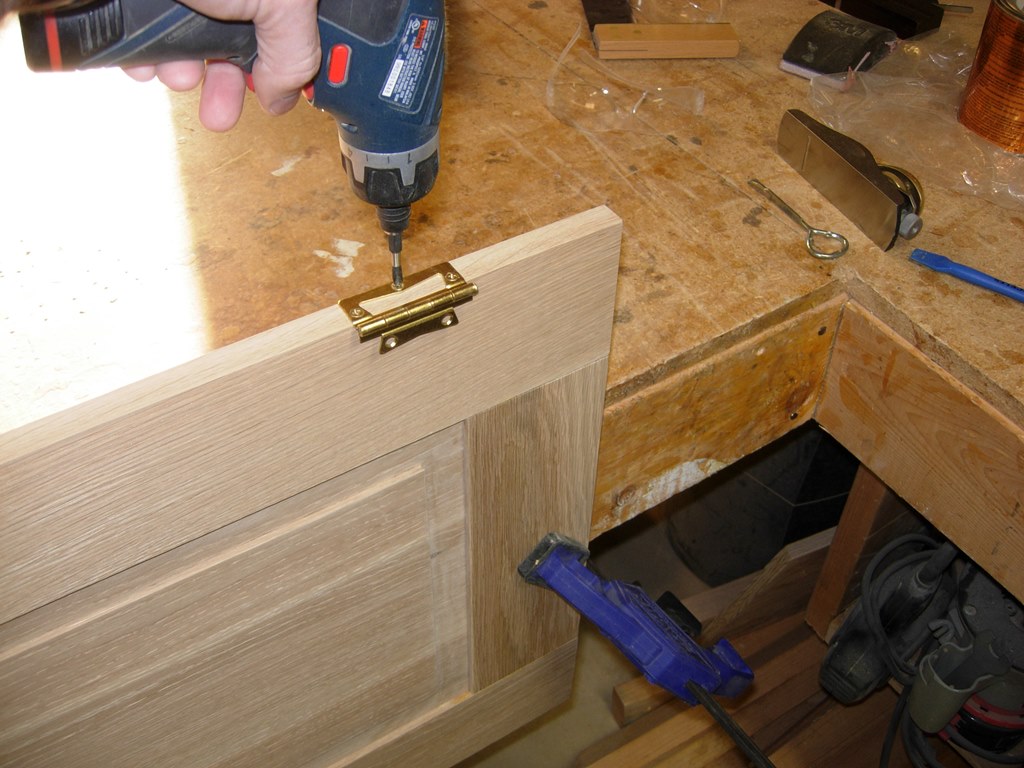
Installing the hinges
With that small crisis averted, I moved onto door hardware. After installing the hinges I noticed that the doors rubbed slightly upon closing. I want them to look tight so I planed a slight back-angle to the side that faces the center support. Now it swings freely but looks tight to the frame.
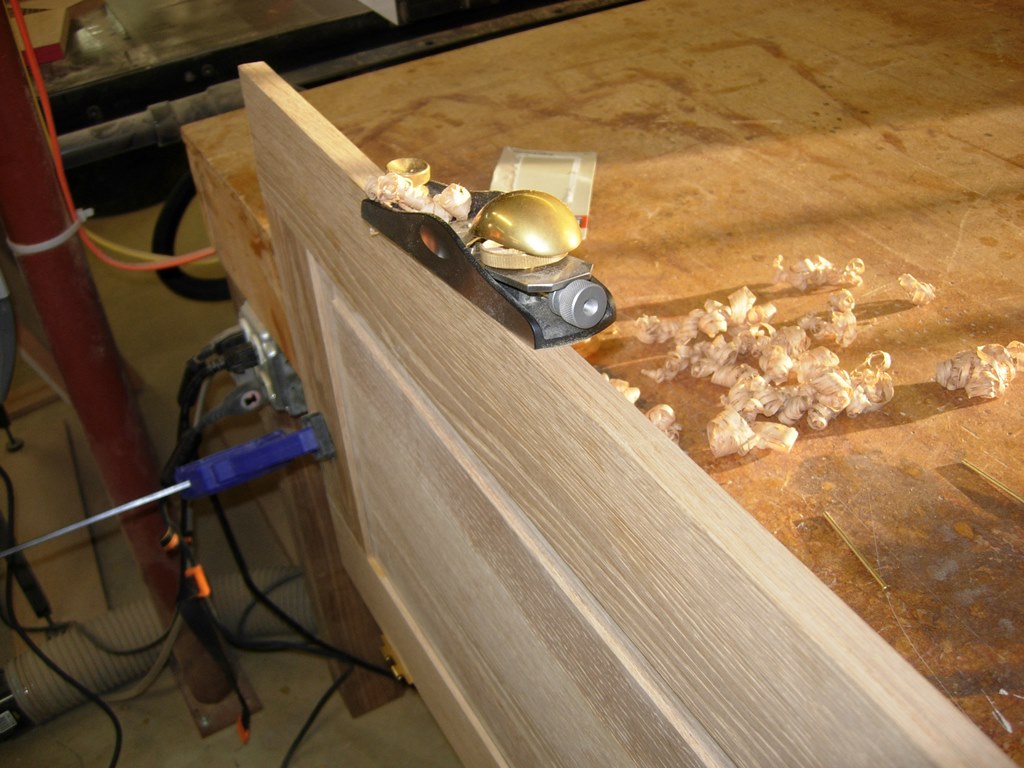
Planing a slight back angle

Hinges installed
After the door was hung, I attached the handles and the catches. Even installing the screws by hand and using pilot holes, I still had several screws break. Luckily I could move things around just slightly so the broken screws were not visible.

Attaching the catches

Doors installed
Finally everything was complete and ready for finish. Since I had so much trouble with the screws, I decided to mask off the hardware that was on the pre-finished areas, to prevent any more problems.

Masking the hardware
I did have to pull the hardware from the doors to apply urethane though.
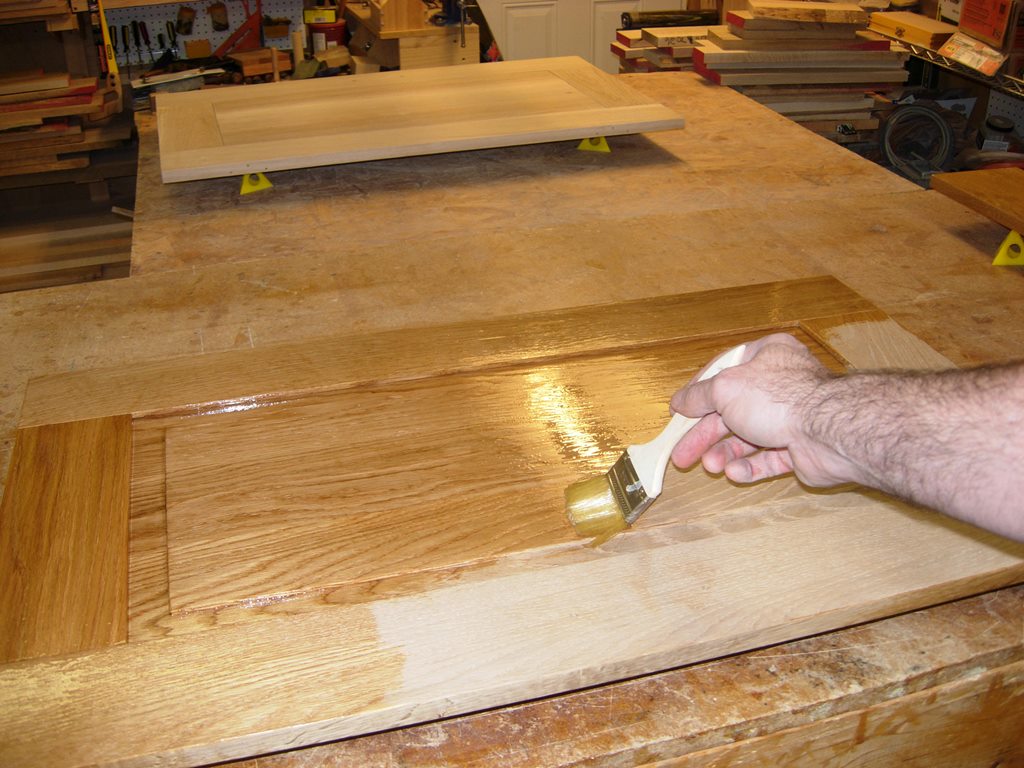
Applying a coat of finish to the doors
Since I won’t have room to spray everything at once, I decided to do a few of the smaller pieces by hand. I laid out the doors and the new center support an applied the first coat. Hopefully the finishing will get done this week and I can make plans for delivery.

Done for the day
