
Altar cloth and storage cabinets – day 13
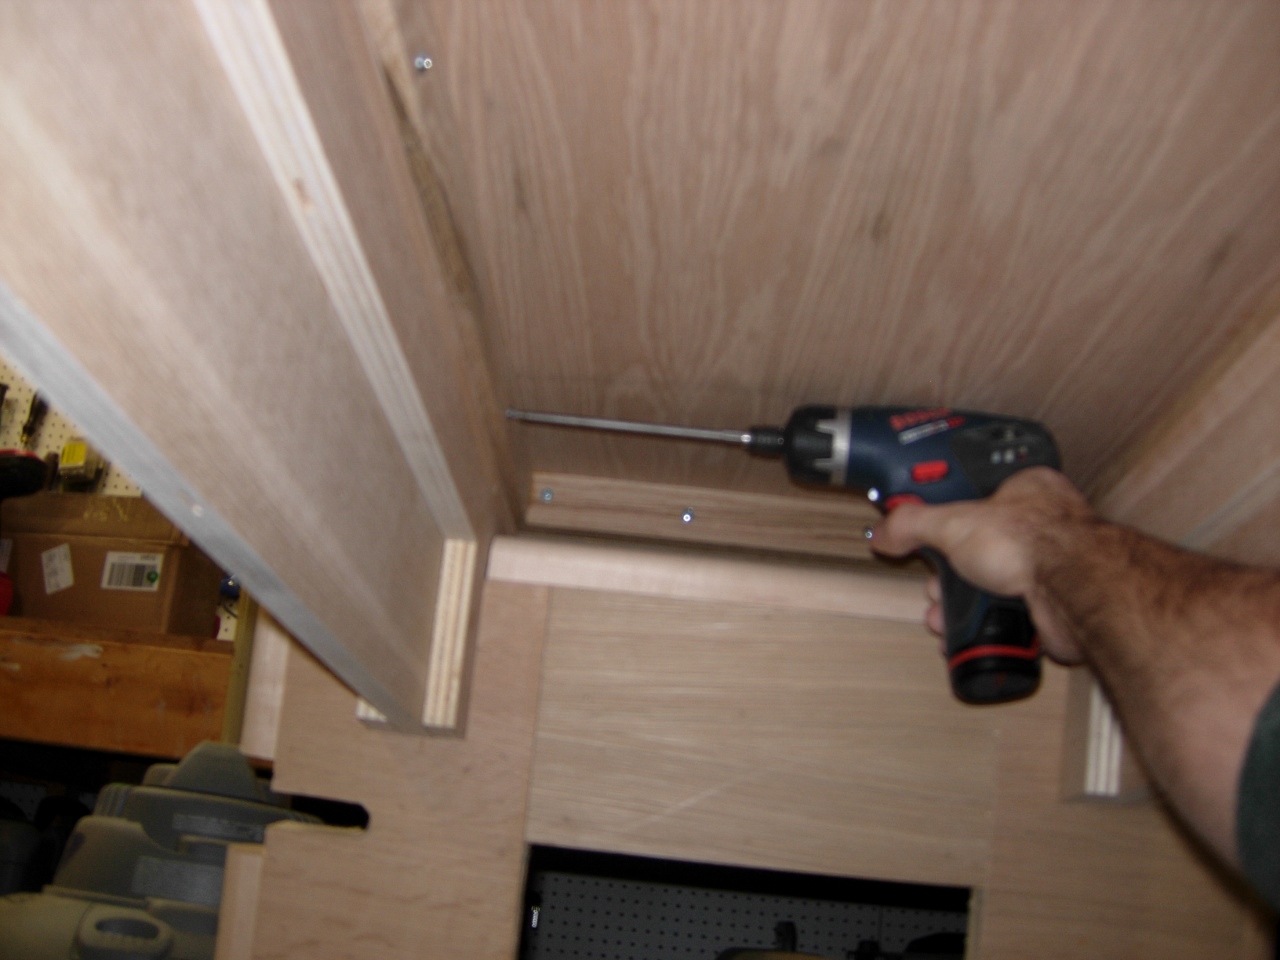
The shelf standards are 4″ shorter than the sides of the cabinet. I want to locate them at the top of my 2″ base piece, so I cut a 2″ long block and clamped it flush to the bottom of the cabinet. Starting the standard at this point, I Install it with some 1/2″ long #6 wood screws. I repeated this on the front center support as well as the rear panel.
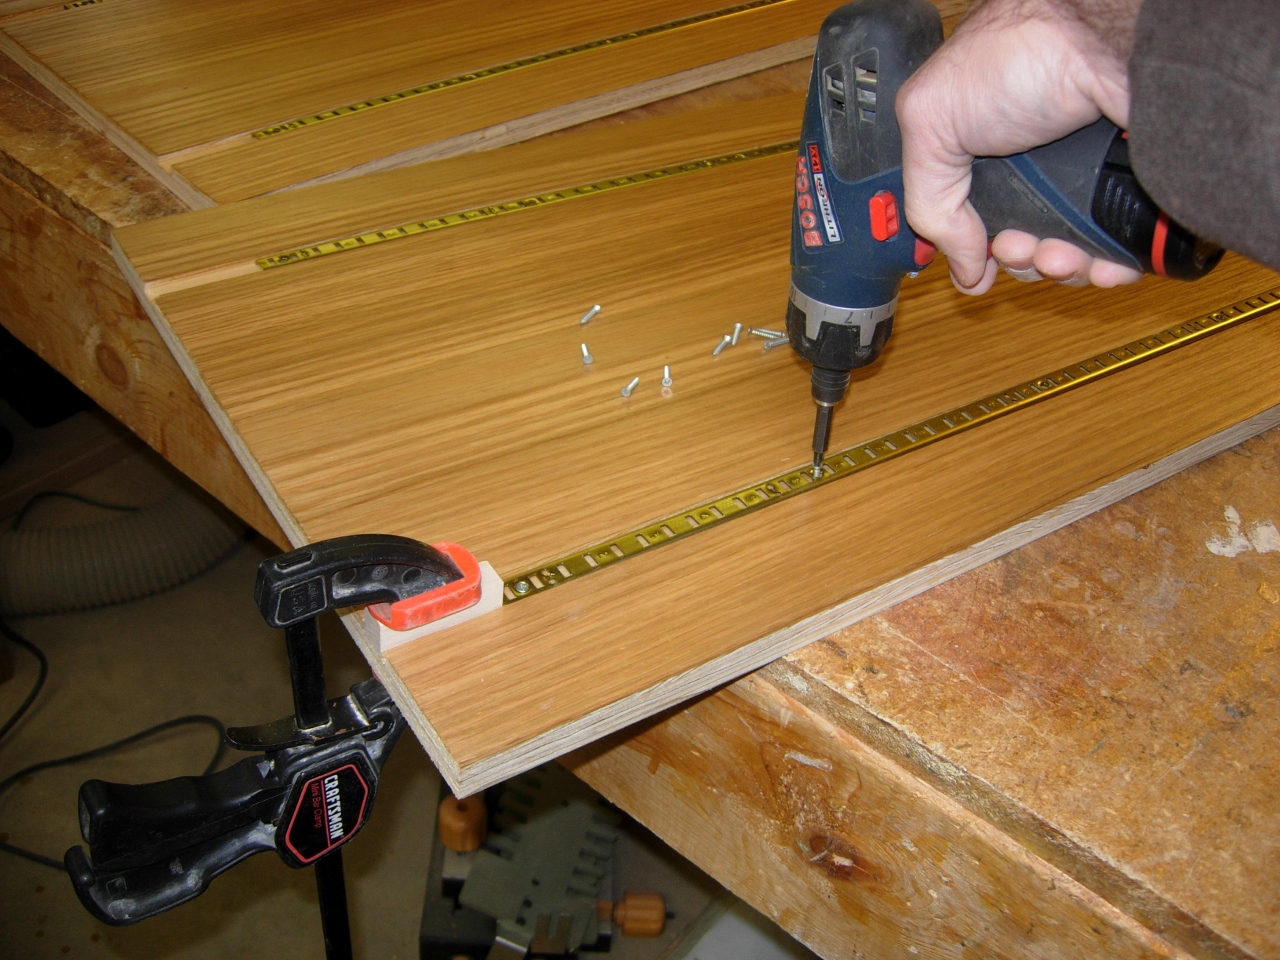
Locating and attaching shelf standards
I set the sides up in my pocket hole jig to give me some attachment points to the face frame. I placed two pocket holes in the front edge of the sides.

Drilling pocket holes in the sides
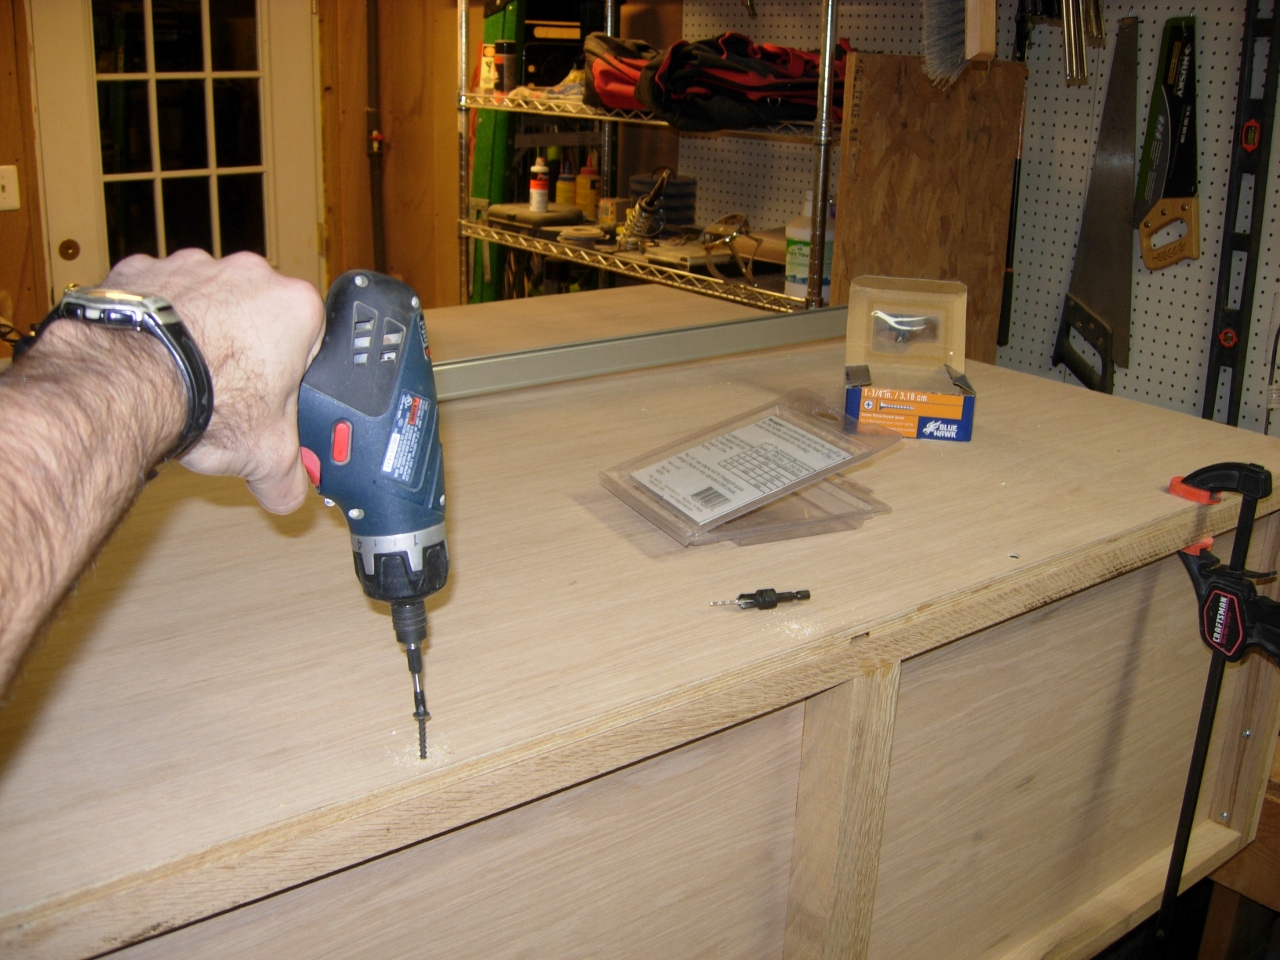
I clamped the sides to the base and ran screws from inside of the base.
Attaching the sides to the base
I attached the sides to the top, from the outside, with counter-sunk wood screws.
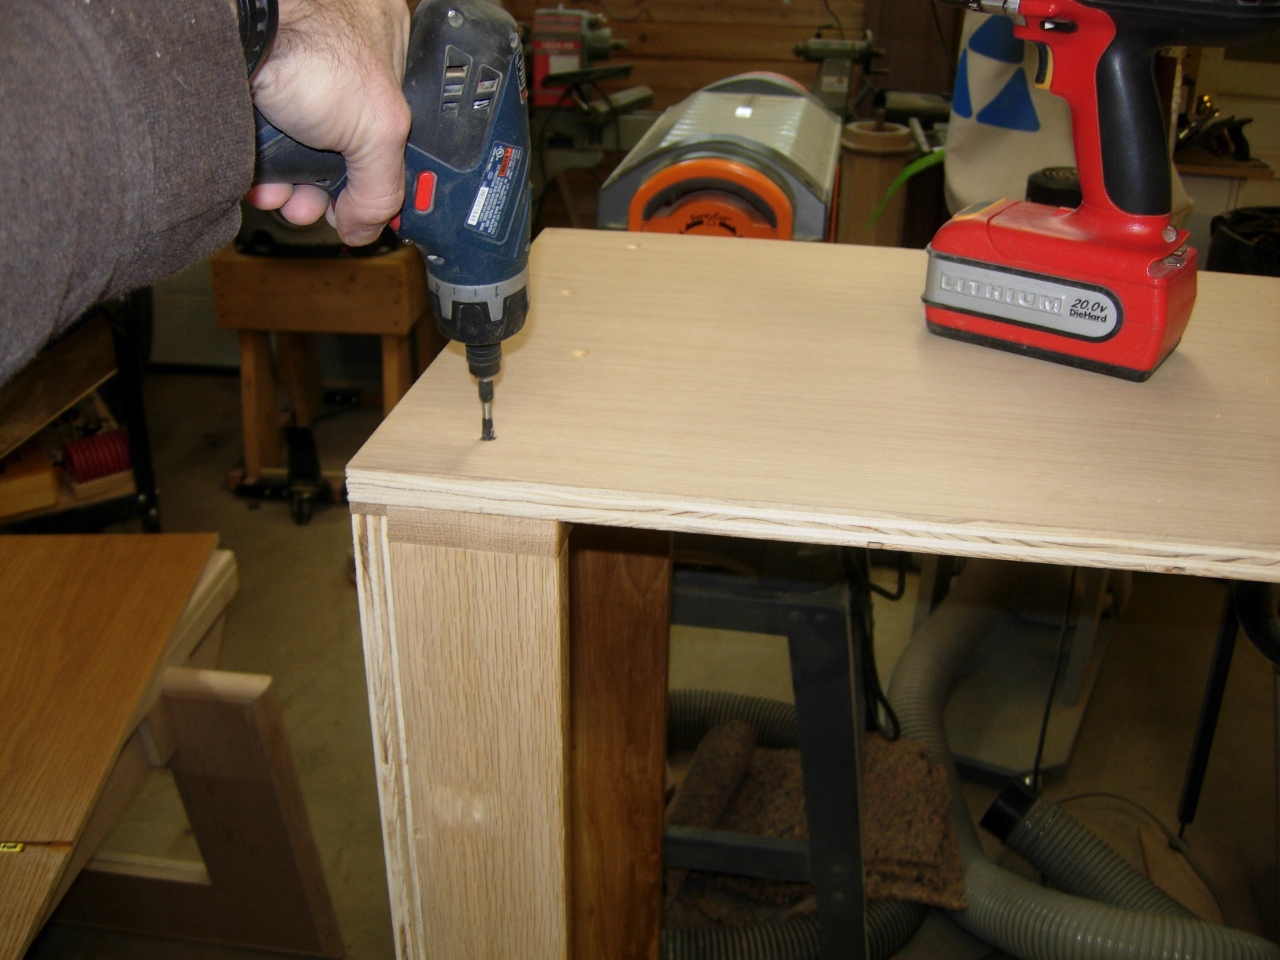
Attaching the top
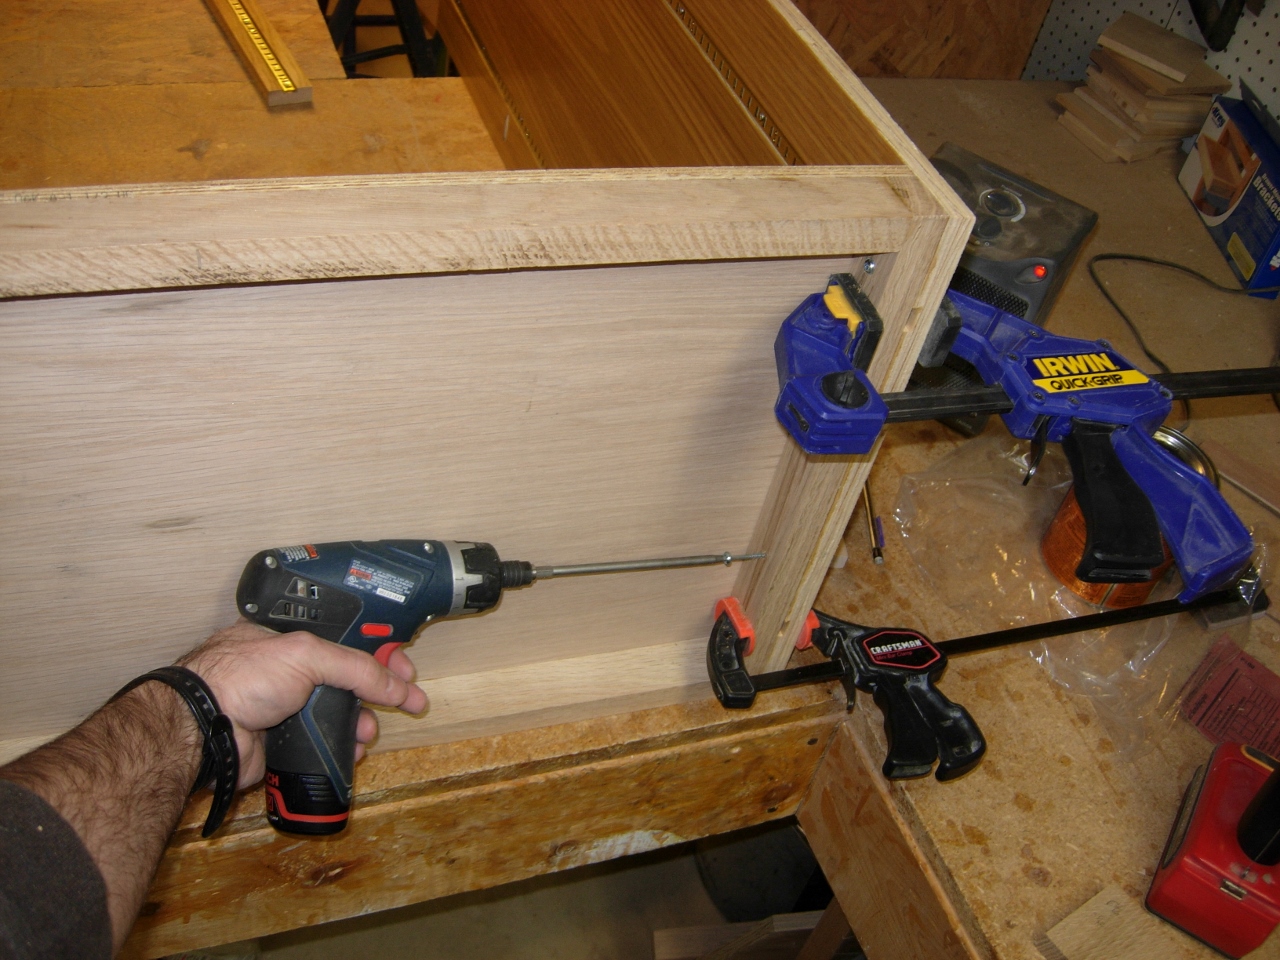
I also countersunk the holes in the rear panel to attach it. I made sure to hold the cabinet square as it was attached.
Attaching the back panel
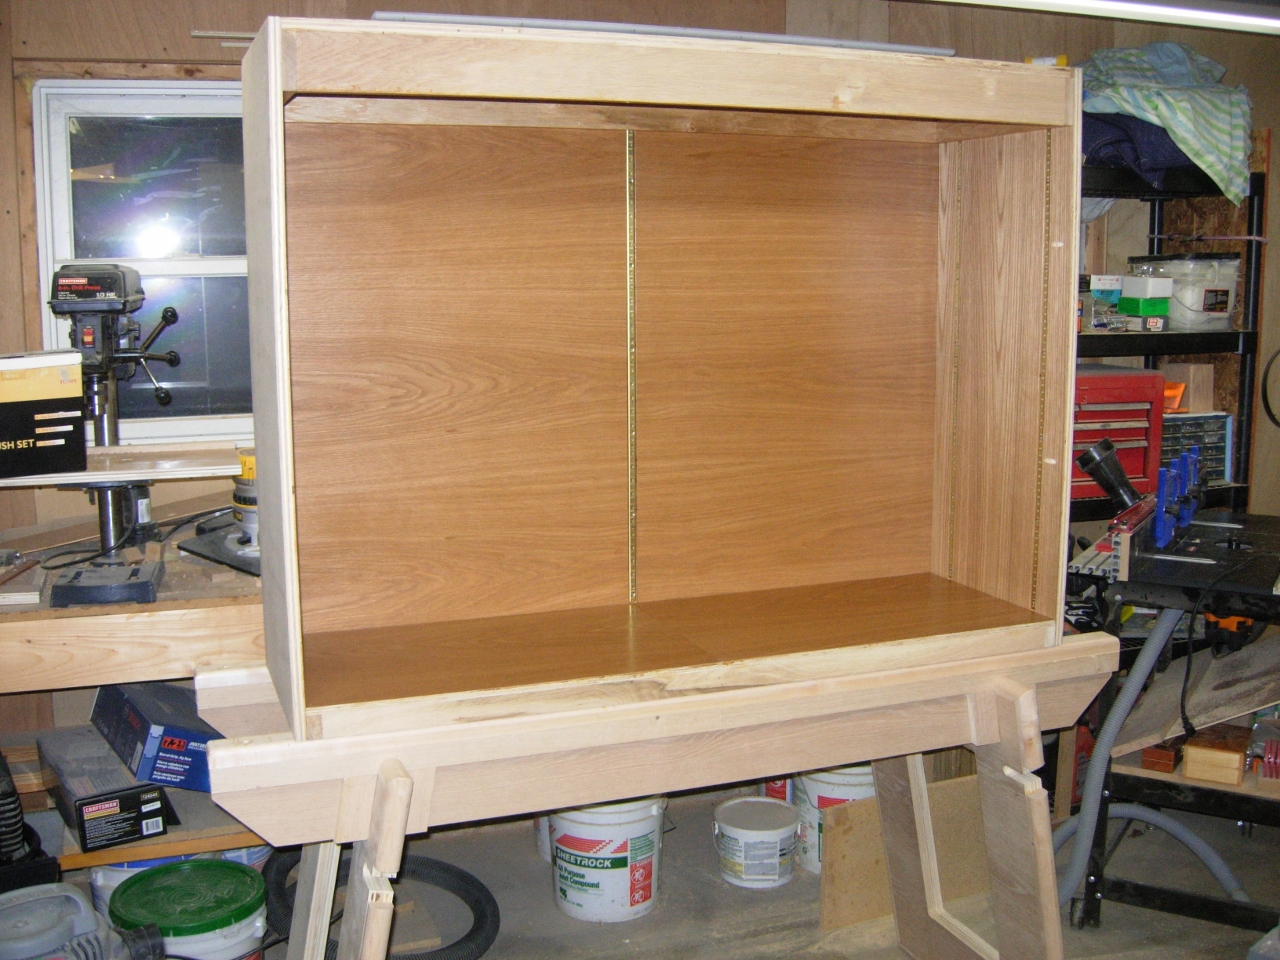
Cabinet body assembled
Once the body of the cabinet was assembled, I flipped my knock-down workstation around to the narrow side and placed the cabinet on top. This clears my workbench so I can assemble the face frame.
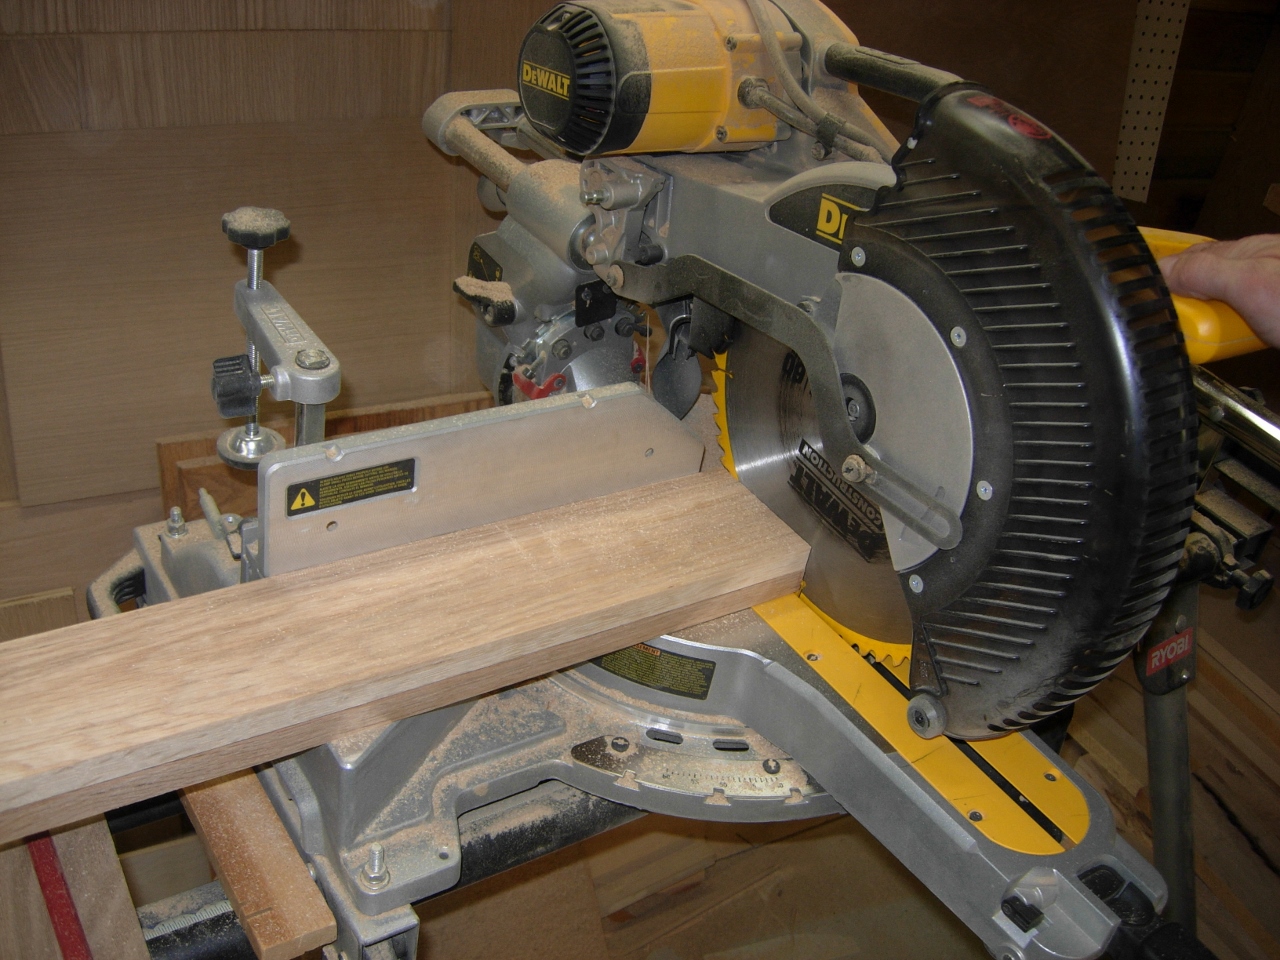
Cutting face frame pieces to length
I milled all of the remaining trim pieces a week or two ago, so I started by cutting all of the face frame pieces to length.

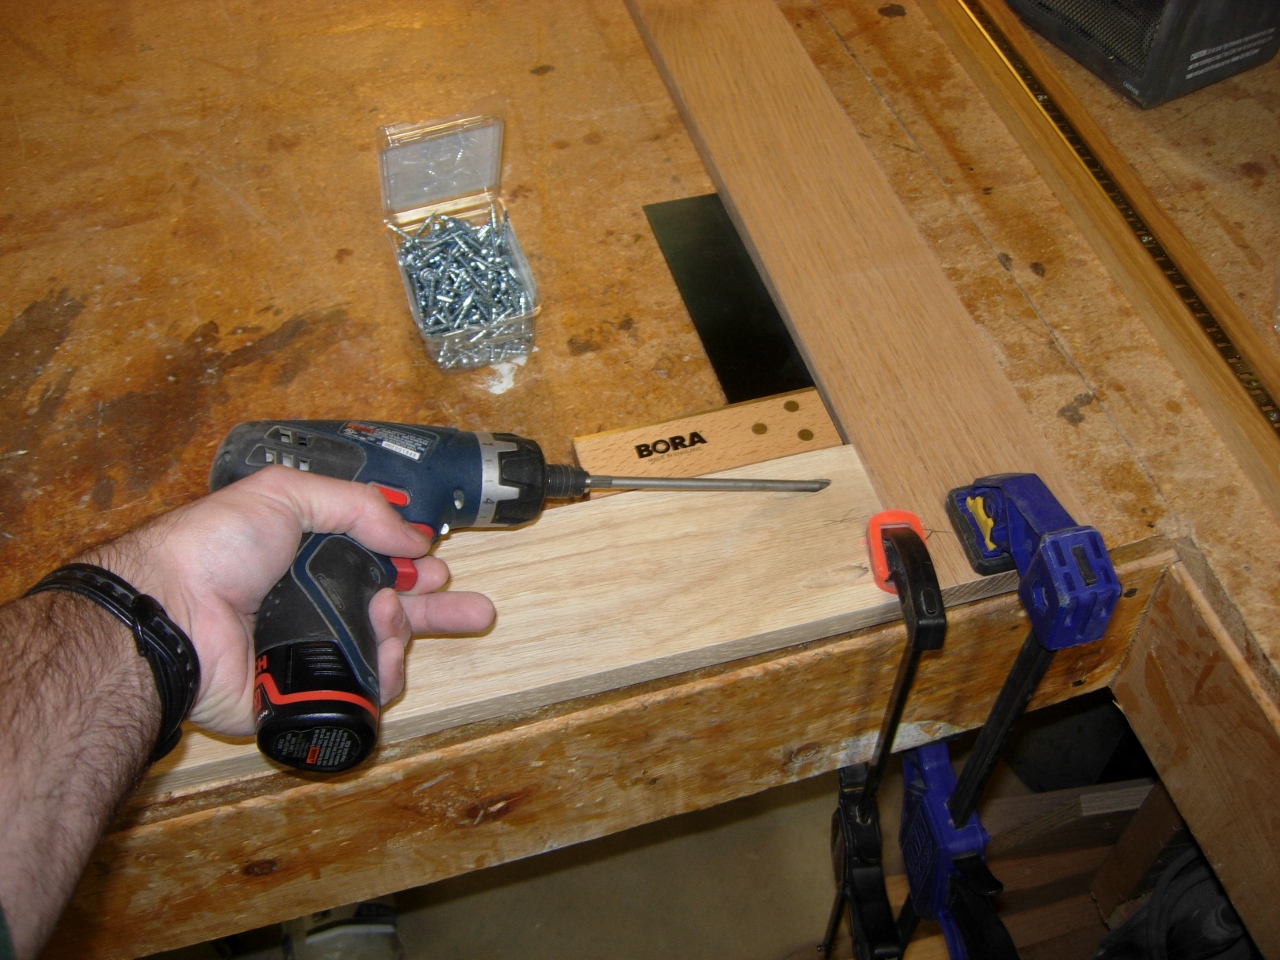
Drilling pocket holes in frame
I drilled pocket holes in the center support and the horizontal pieces.
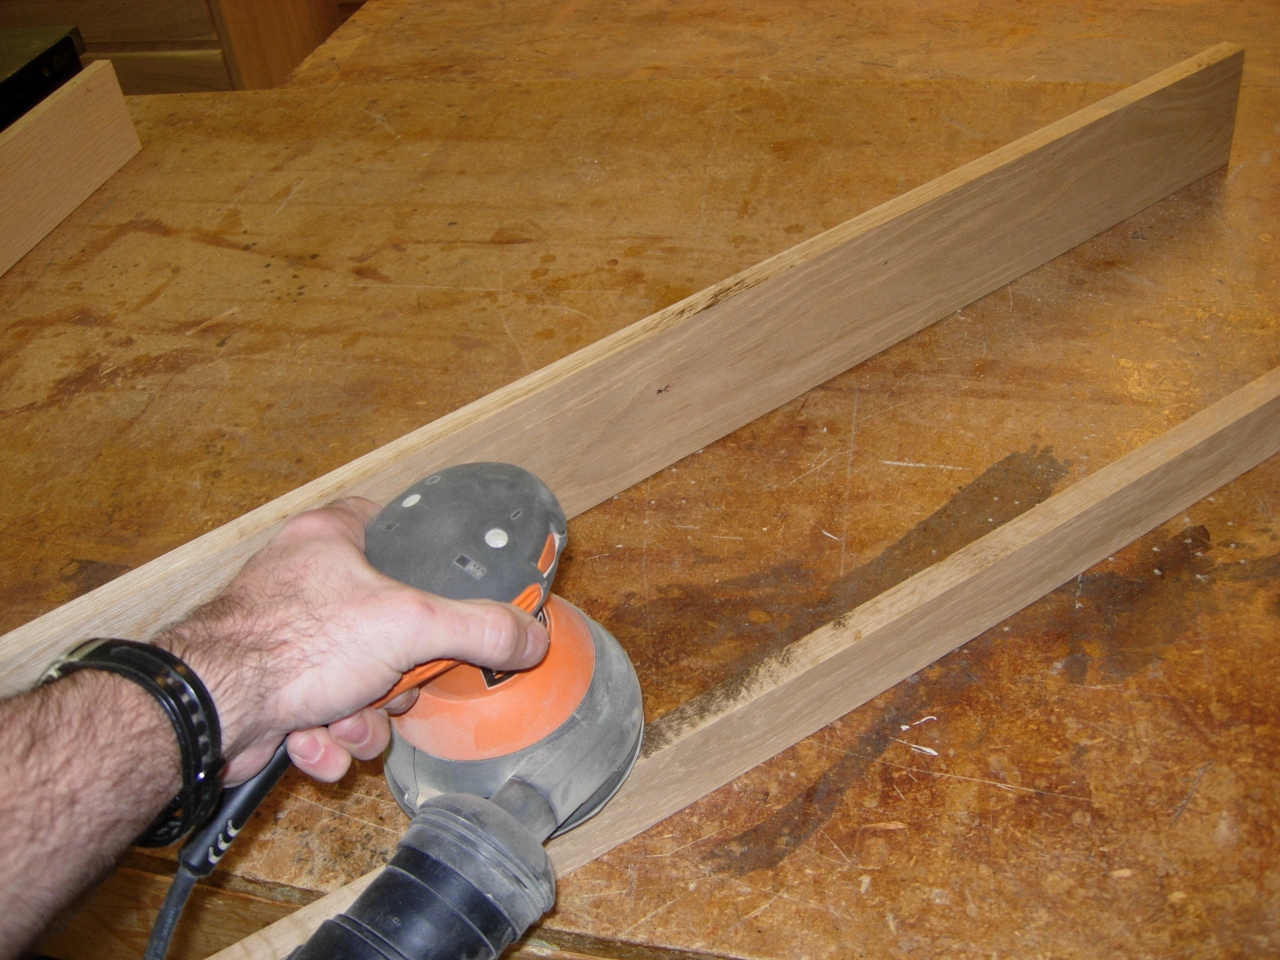
Sanding down frame pieces
I sanded all of the frame pieces down, and clamped them to the table to assemble everything with pocket hole screws.
Assembling the frame
To clamp the middle support, I added another board below and clamped the whole assembly together, making sure the support was dead center.
Creative clamping for the tee section

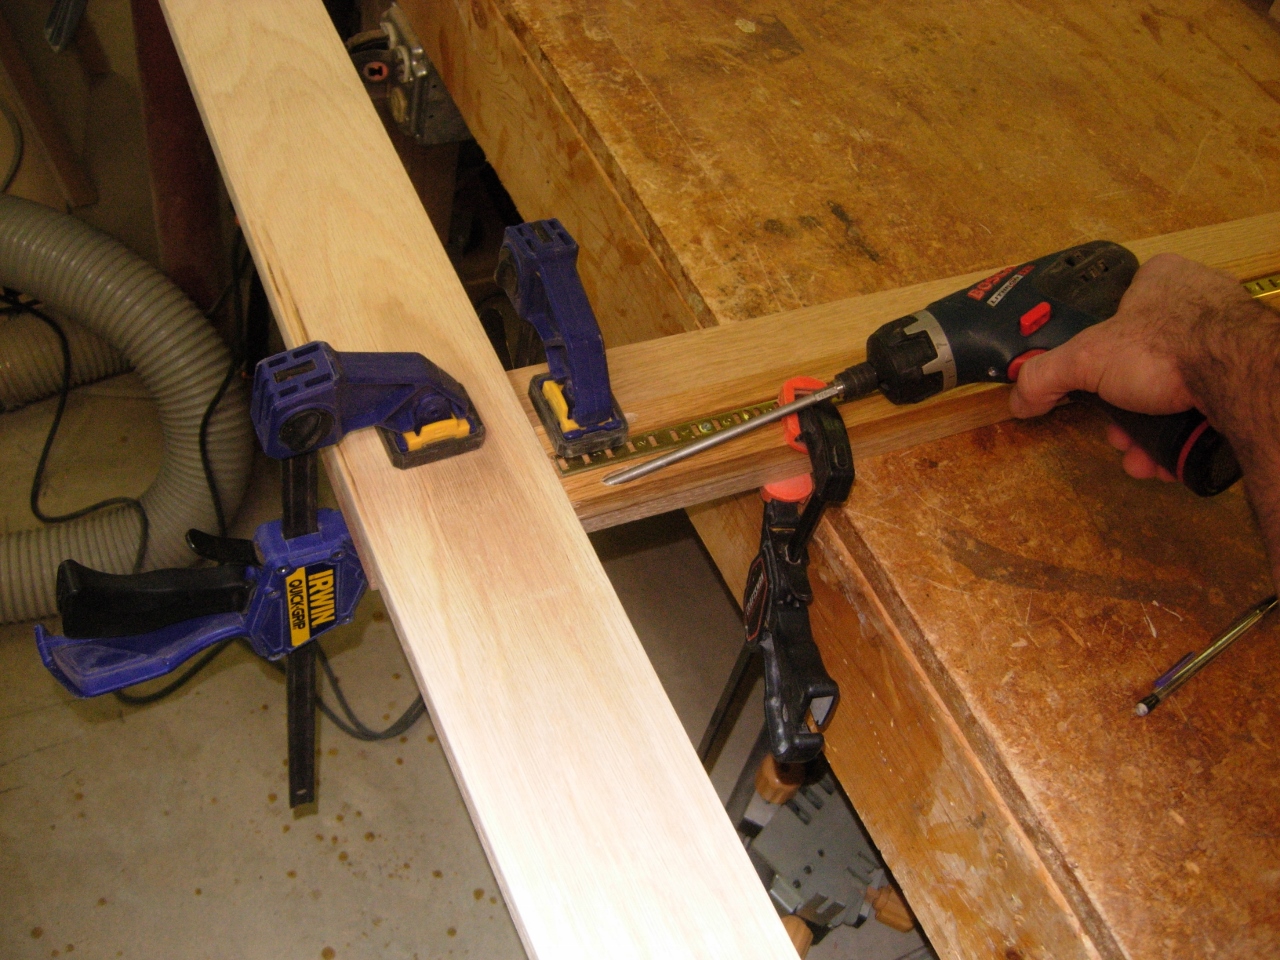
Clamping the face on
Once the frame was assembled, I clamped it in place, and attached the pocket hole screws from the sides.

Attaching the face to the sides
Attaching the face to the base
The knock-down work bench was perfect for this assembly because it is completely open on the bottom. I was able to attach the screws through the base to the face without laying the cabinet down.

Face frame attached
Once the frame was installed, I cut down the trim pieces for the sides.

Cutting the trim pieces to length
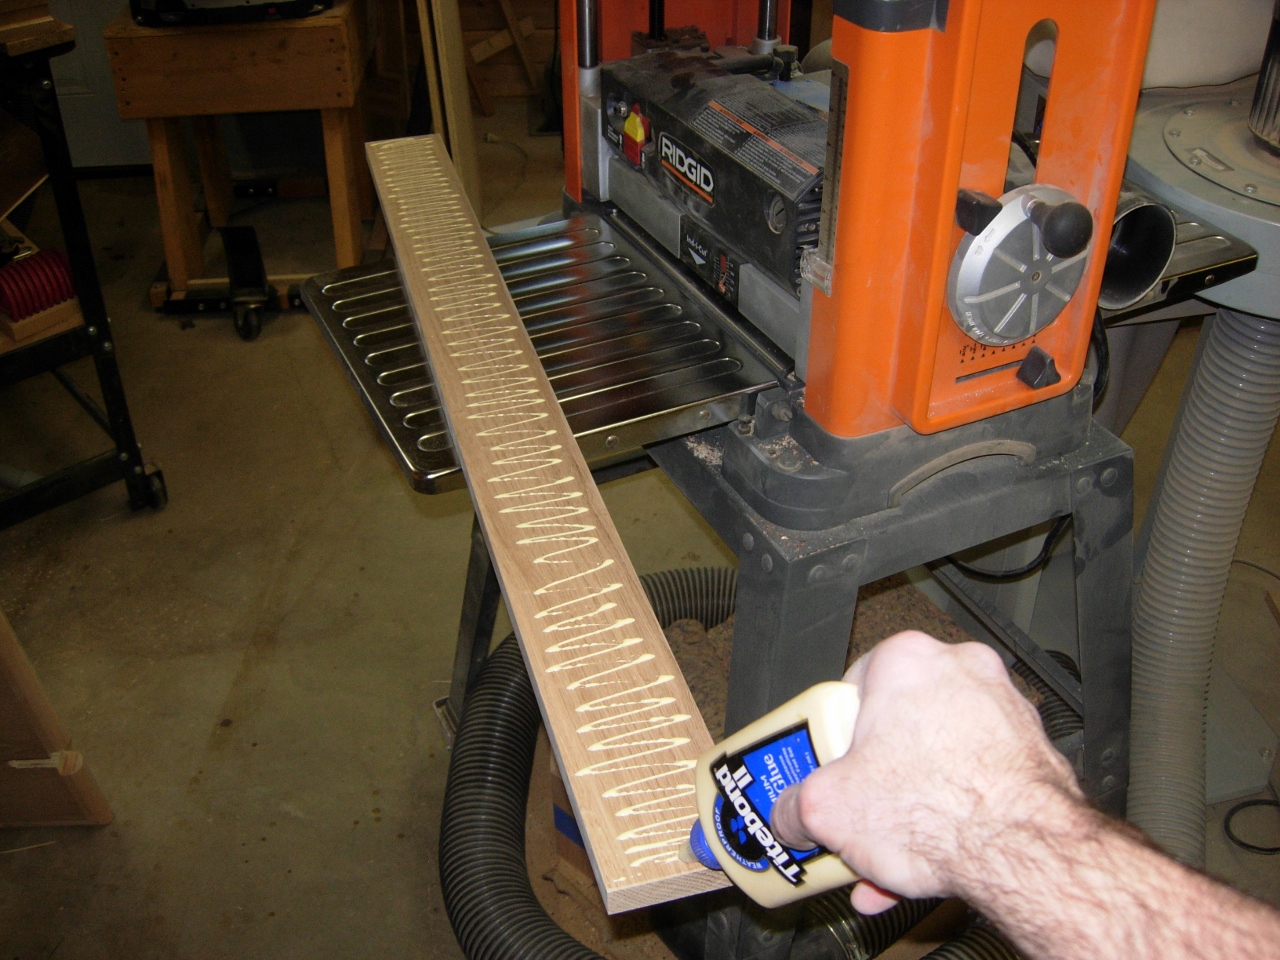
Applying glue
After applying glue, I clamped the 3-1/4″ vertical piece on and attached it with brad nails from inside the cabinet.
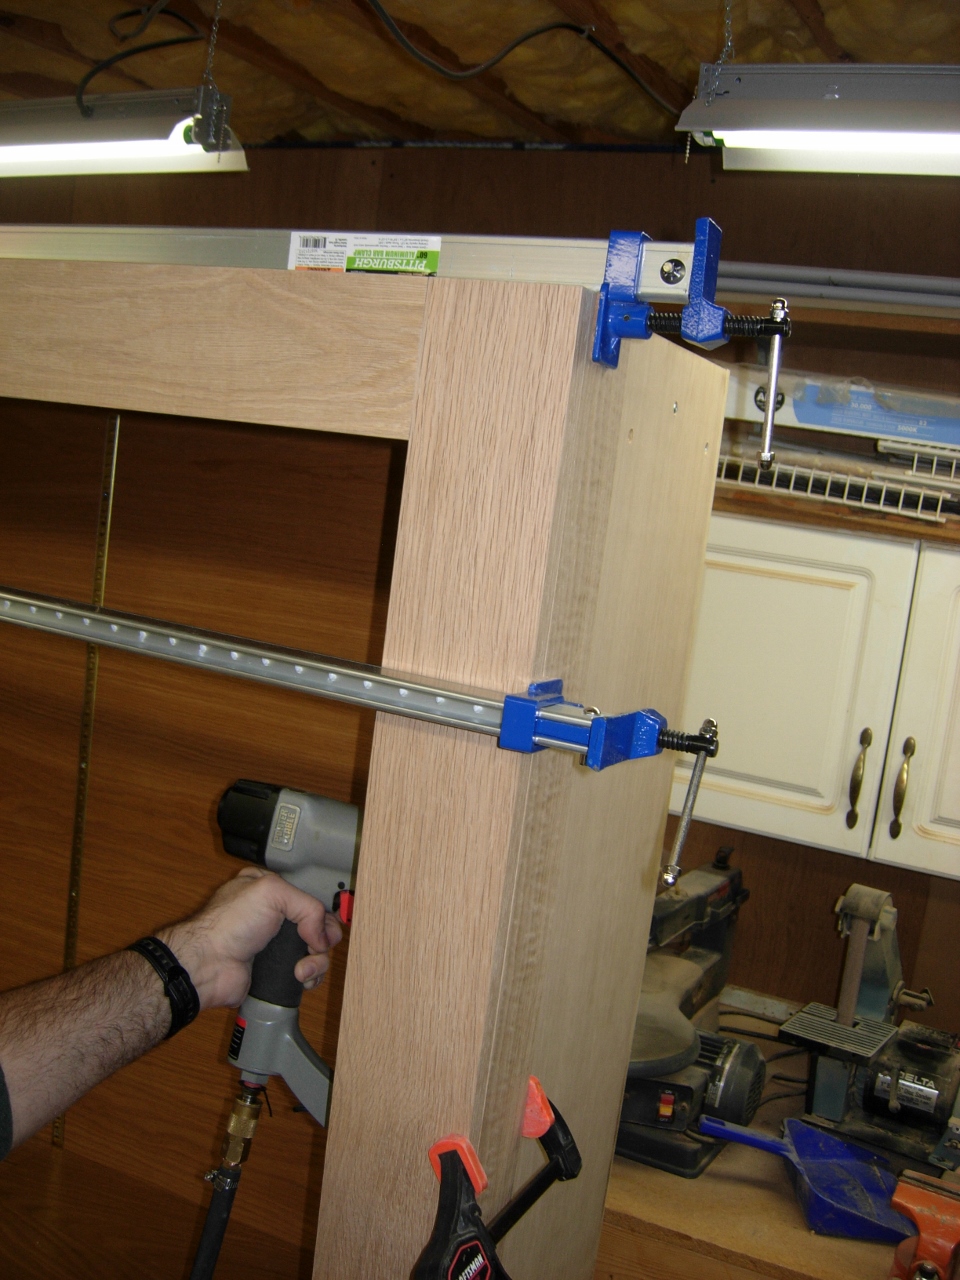
Attaching the trim from the inside
I repeated this for all of the trim on both sides.
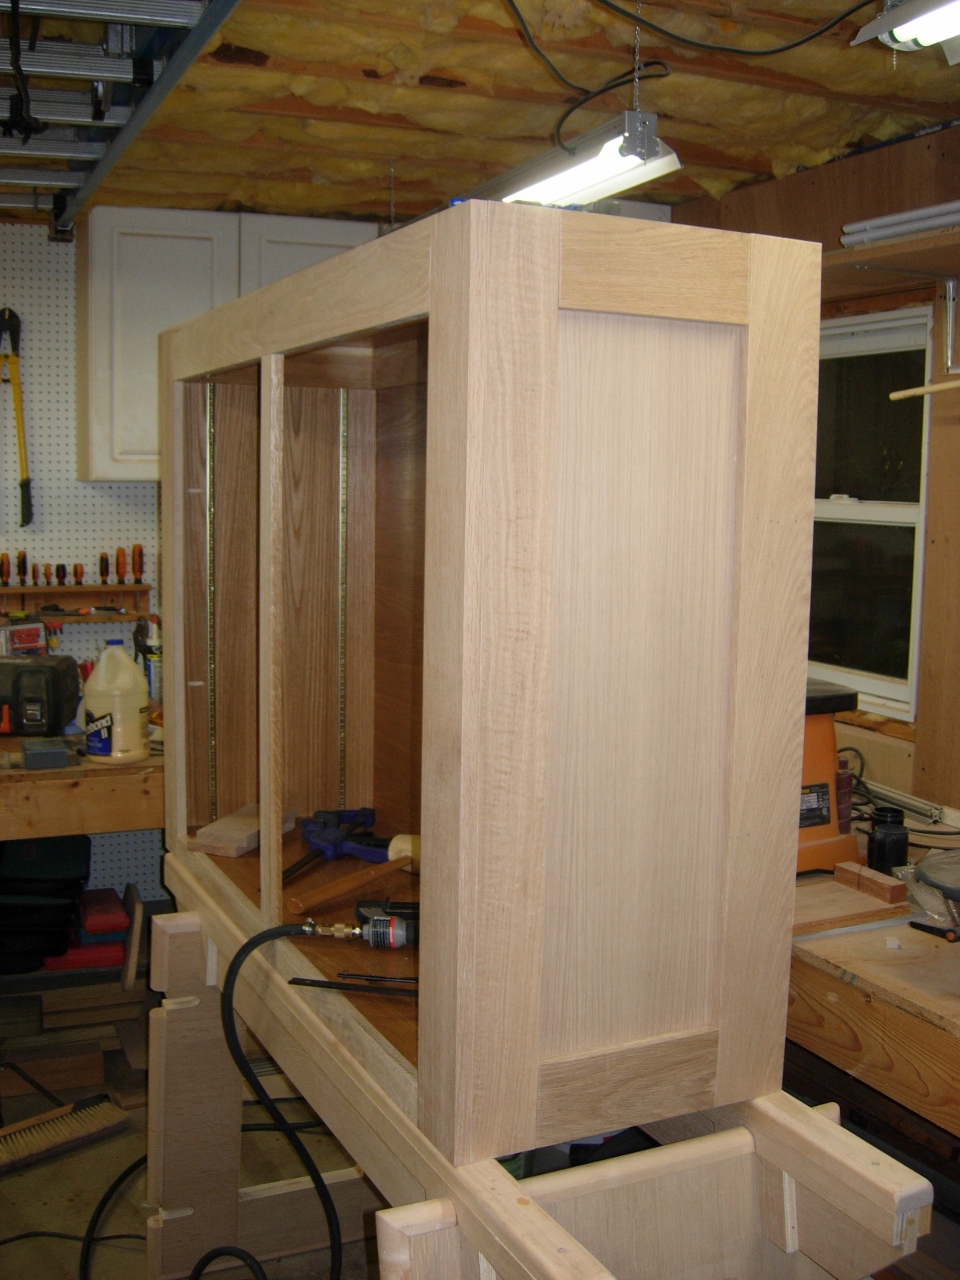
Cabinet all trimmed
I am down to the doors and shelves. I should have them done by Saturday and be able to start applying the polyurethane finish.
