
Oak storage cabinet – day 9
I let the doors set clamped up overnight, to ensure that the glue dried completely. When I pulled the clamps off today, the doors looked a lot straighter than they did yesterday. They are not dead straight, but they now both bow very slightly inwards. When hung, they will both be flush with each other.
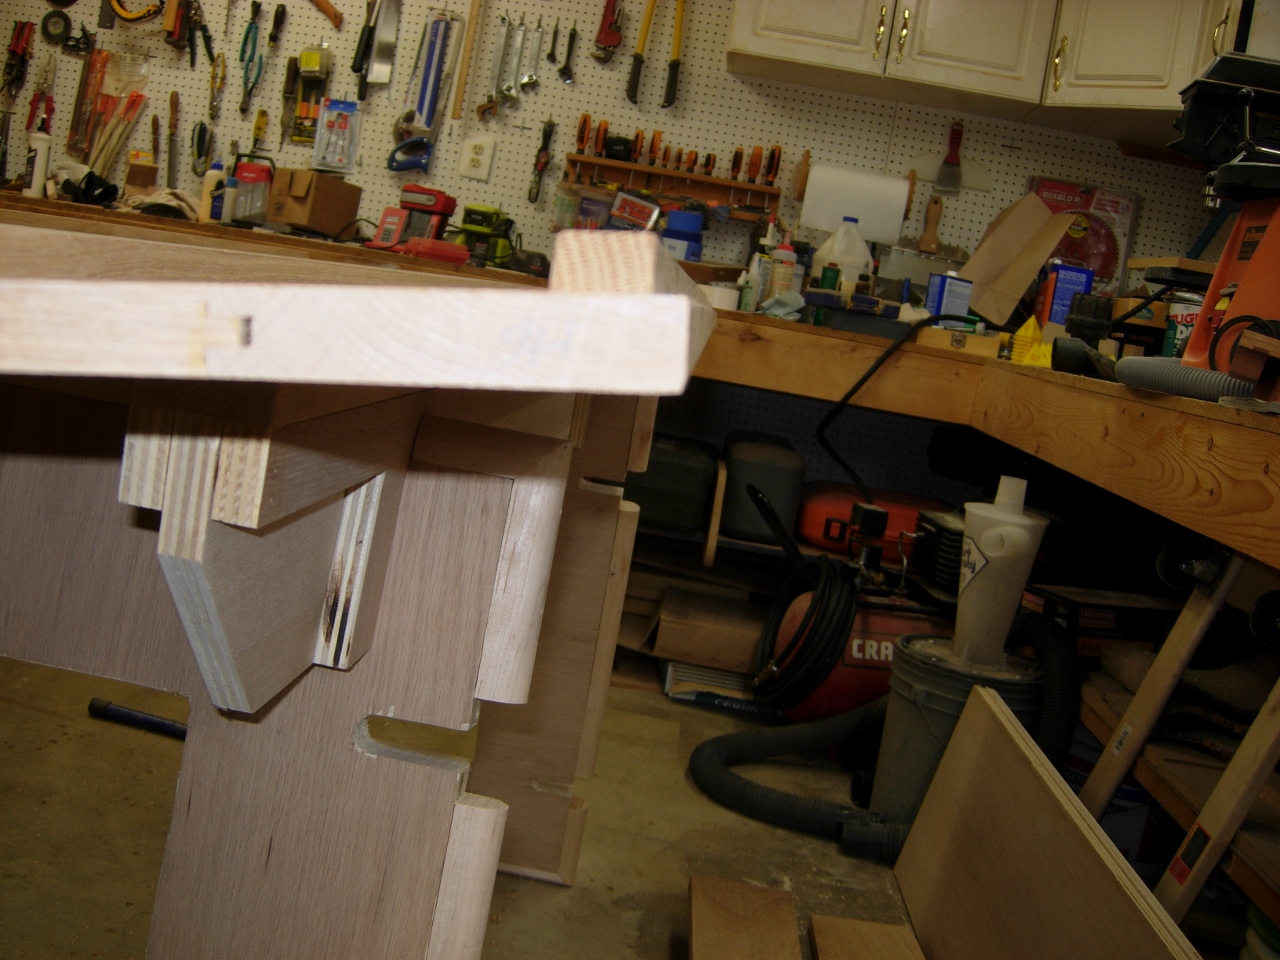
Door no.1 straightened
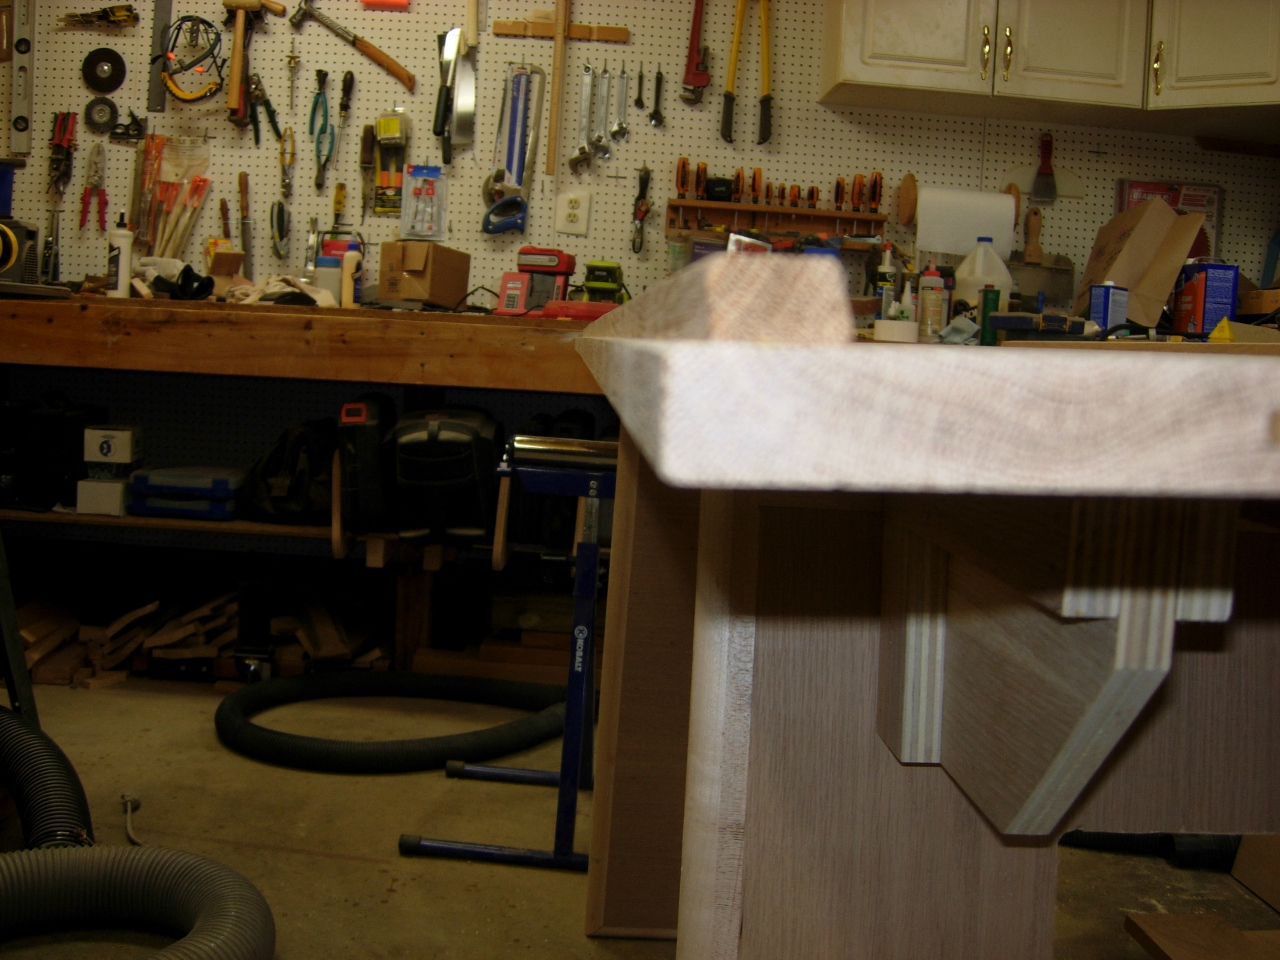
Door no.2 straightened
With the doors done, I spent a good bit of time cleaning out the right side of my shop and vacuuming up dust. I will be converting half of my shop over to a very cramped spray booth. I can’t do much about the ceiling, but I can put up some temporary plastic walls to protect the tools in my shop from over-spray.
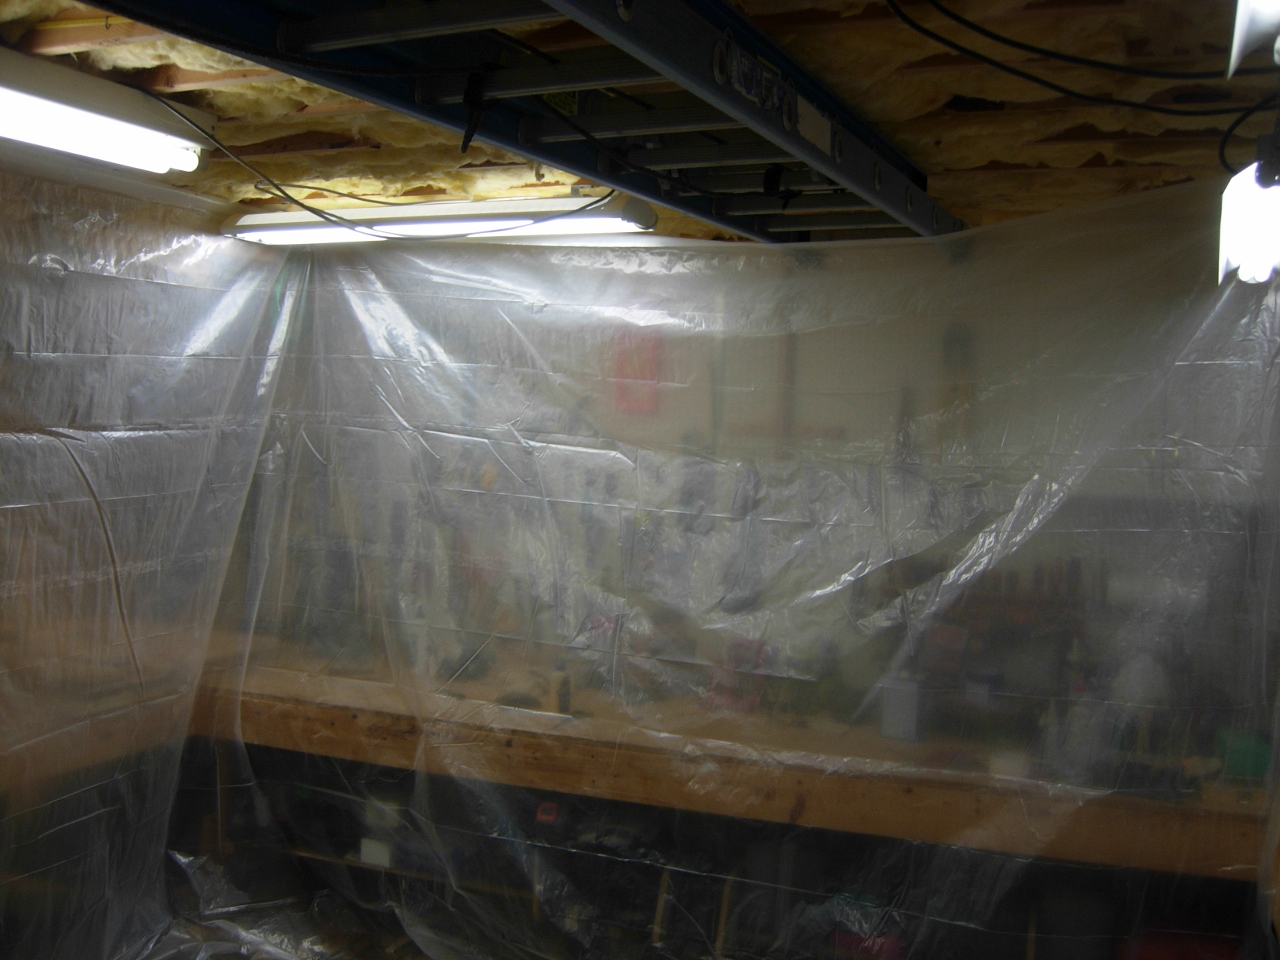
Setting up my temporary spray booth
I bought two rolls of 3.5 mil poly sheeting. I started in the corner, clamping the sheeting to the ceiling joists.

Spring clamp support
I used two rolls that were 10′ tall x 25′ long. This gave me an over-lapped corner by my finish storage cabinet, and an over-lap in the opposite corner where I can enter and exit. This was intentional. The last time I sprayed, I put up one sheet, and left the back half-open. This allowed spray to settle on all of my tools. It also blocked off my access to my finishing supplies.

Half my shop is now my booth
With the floors clean and the plastic up, I moved all of my tools out of the spray area. I also broke the cabinet completely down, and moved all of the pieces into the booth.

The other half of my shop is now a parking lot…
The left half of my shop is now a parking lot, and the right half of my shop is a totally cramped spray booth. I don’t think much woodworking will get done in there for the next week or so…

Cramming in as much as possible
With such big cabinet components, I tucked the shelves and the sides off to one side and stood the rest of the pieces up to be sprayed. I laid the doors on my saw horses, thinking this would give me the best angle to spray all sides.

Firing up the sprayer
I poured a quart of semi-gloss polyurethane into the spray can, and started spraying everything down. After some minor adjustments, I had a nice even spray pattern. With this new Earlex 5500 HVLP sprayer, I did one side of the doors, the front, the rear, the top, and the bottom in about ten minutes. That is way faster than using a brush, and I didn’t leave a single brush hair in the finish anywhere…

First coat applied
I may have gone a little heavy on the doors, but we will see how it looks tomorrow, when it has dried.
