
Oak storage cabinet – day 8
Sorry I have been off-line for a couple of days, I got hit with a stomach bug the day before Thanksgiving, and I hadn’t had much energy for working in the shop. I had hoped to have the cabinet mostly finished by now, but one more week won’t hurt….

Installing hinges
Since I had just finished the doors, before I got ill, I decided to mount the hardware and make sure everything fit well, before rigging up a spray booth and trying to spray finish everything. I mounted the hinges to the door first, then placed a 4″ block on the floor to stand it on, with a shim below, equal to the gap that I wanted below the door. While the doors are tall and heavy, they cooperated and let me pre-drill and mount the hinges without much trouble. Since the doors are nearly seven feet tall, I attached a magnetic catch at the top as well as at the bottom of each door.

Mounting doors and hardware
I needed to take the plane to a corner or two , to make sure that everything would close properly once finish was applied, but everything worked out rather well. It really helps making sure that everything is square, before the glue dries…
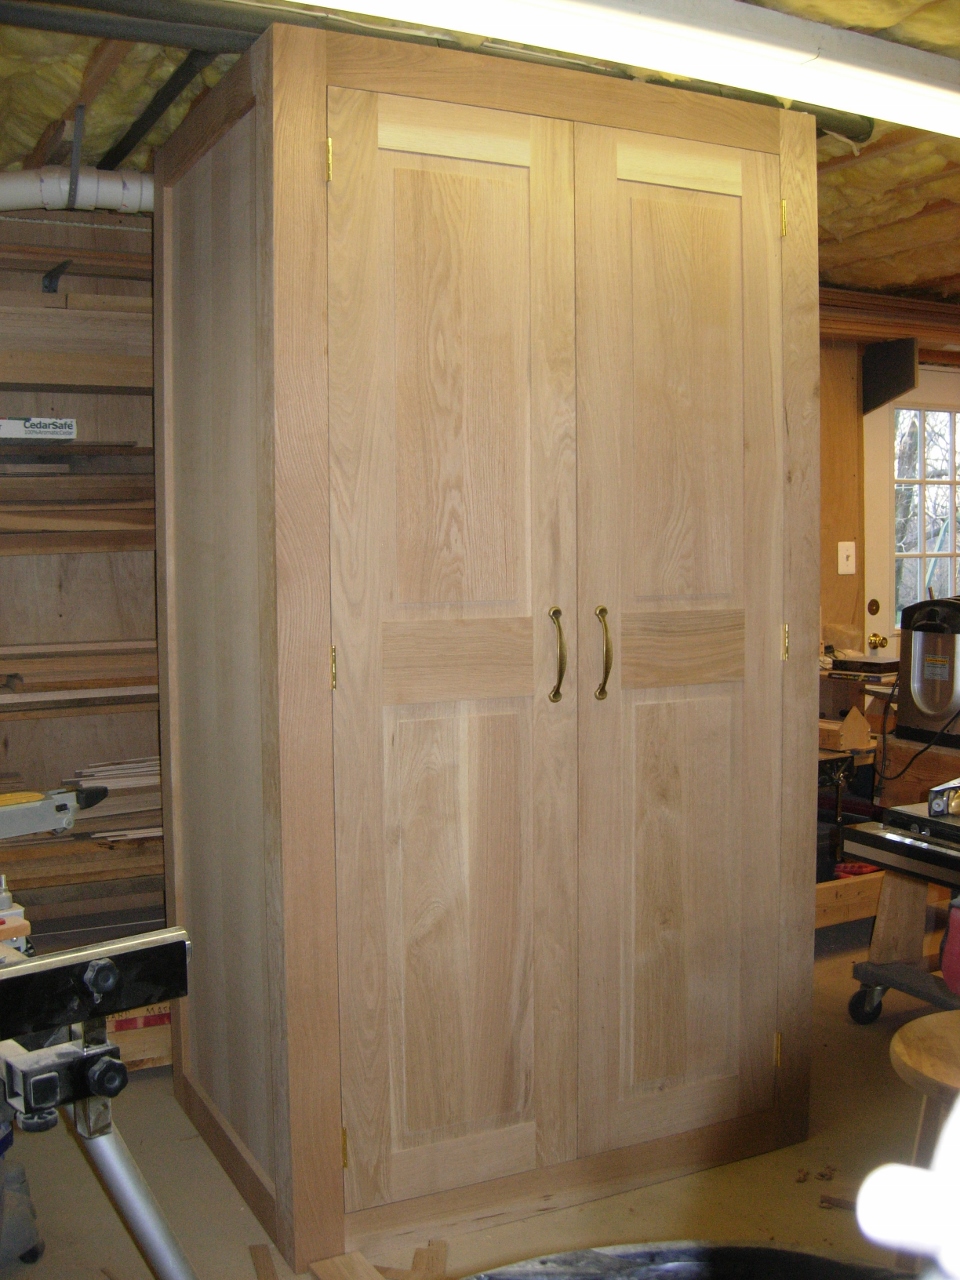
Doors mounted
There was only one thing that I wasn’t happy about. The faces of the doors were not exactly flush. One door bowed out 1/8″ and the other bowed in 1/8″ right in the center. These doors are 82″ tall, and some wood movement is expected, but I want to limit it as much as possible without having to add mechanical latches or closers.

Adding a stiffener
I decided to start with a basic stiffener, added to the inside of the doors. While the stiffener, by itself, won’t be enough to overcome the bow, the glue, laminating the two pieces of wood together, should straighten things out and reduce the tendency to bow. I clamped these together with the added support of a dead straight piece of hard maple. Now the boards will be held straight as the glue dries.

Clamping to a straight board
As you can see, it is straight now, we will see how they look tomorrow, when I pull the clamps.
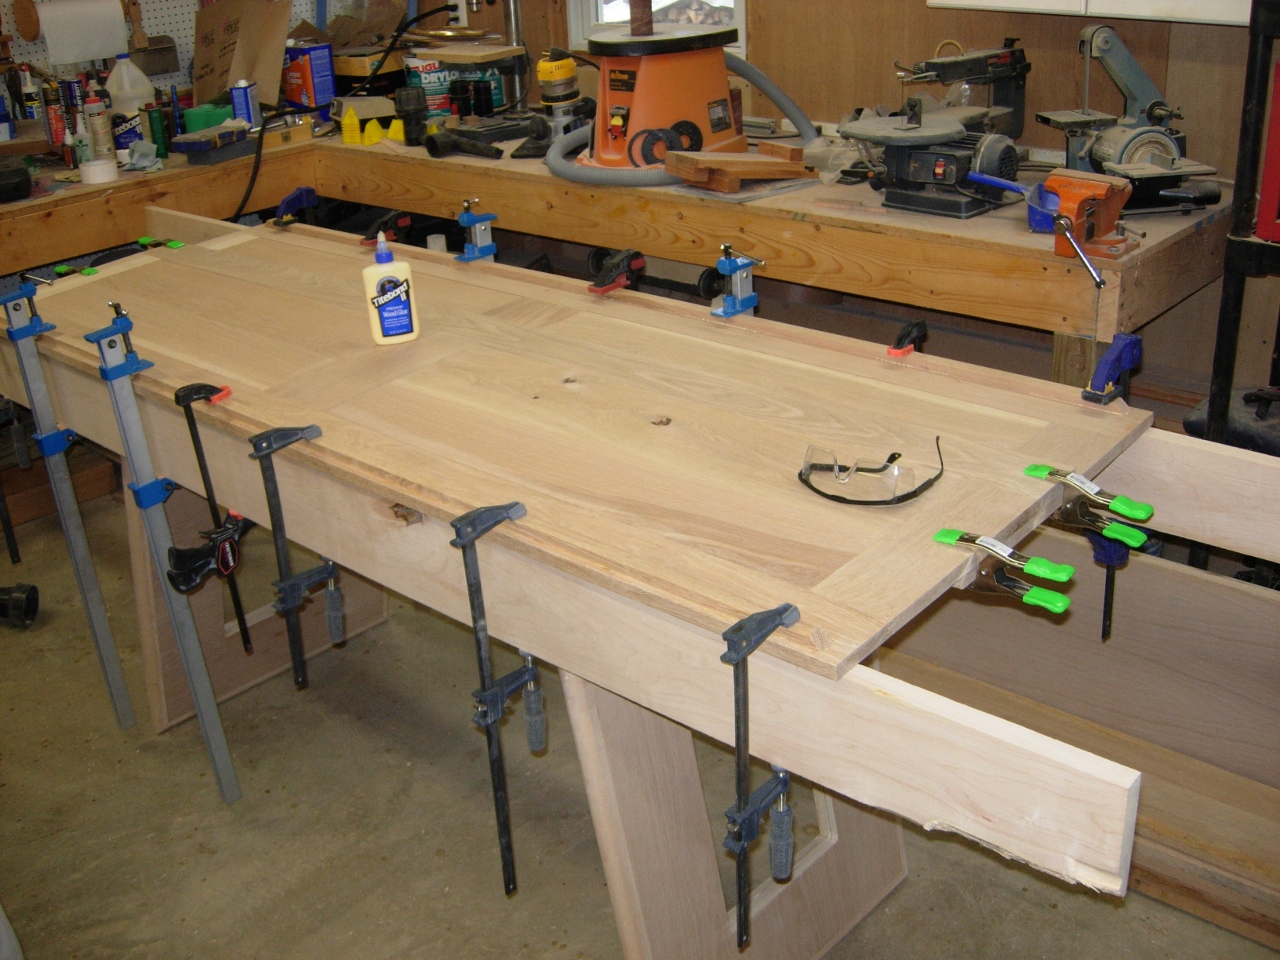
Both doors clamped and drying

Nice blogg thanks for posting